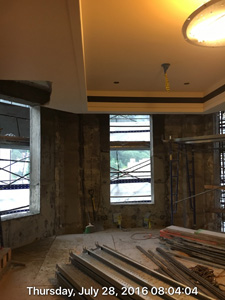
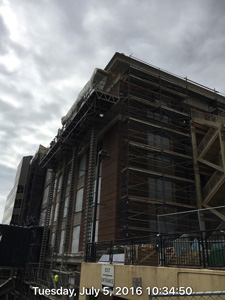
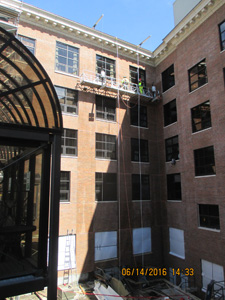
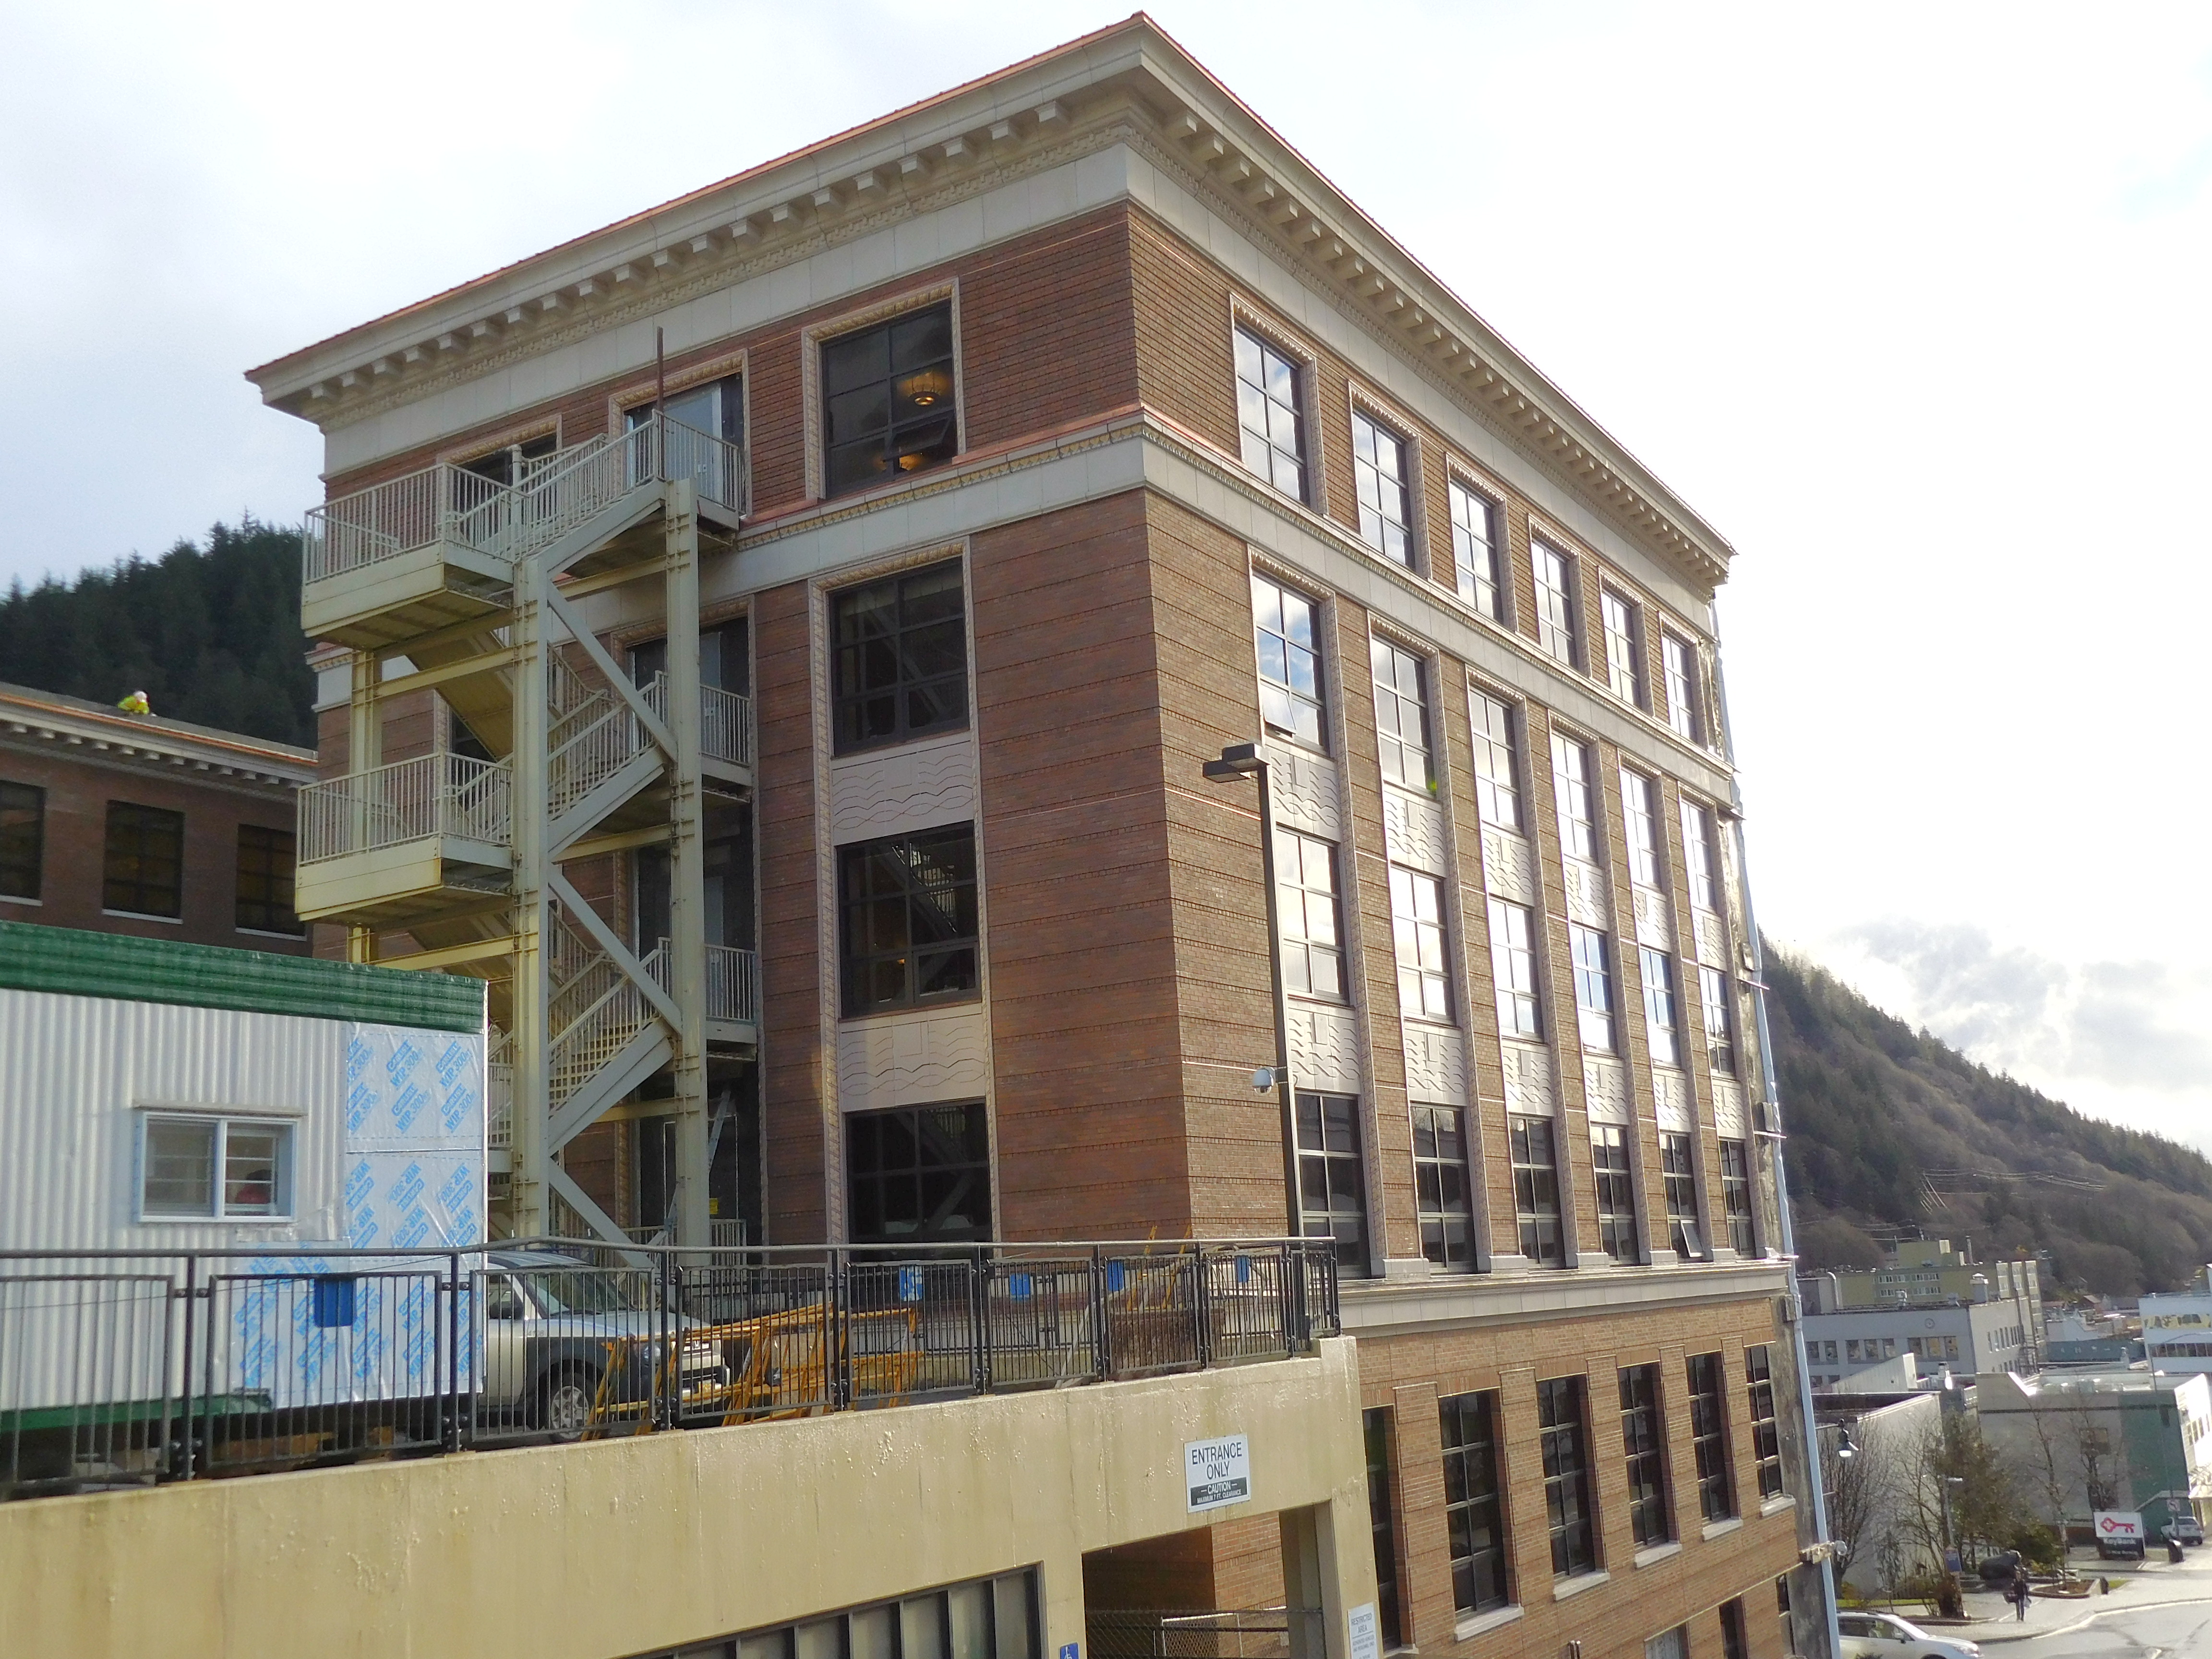
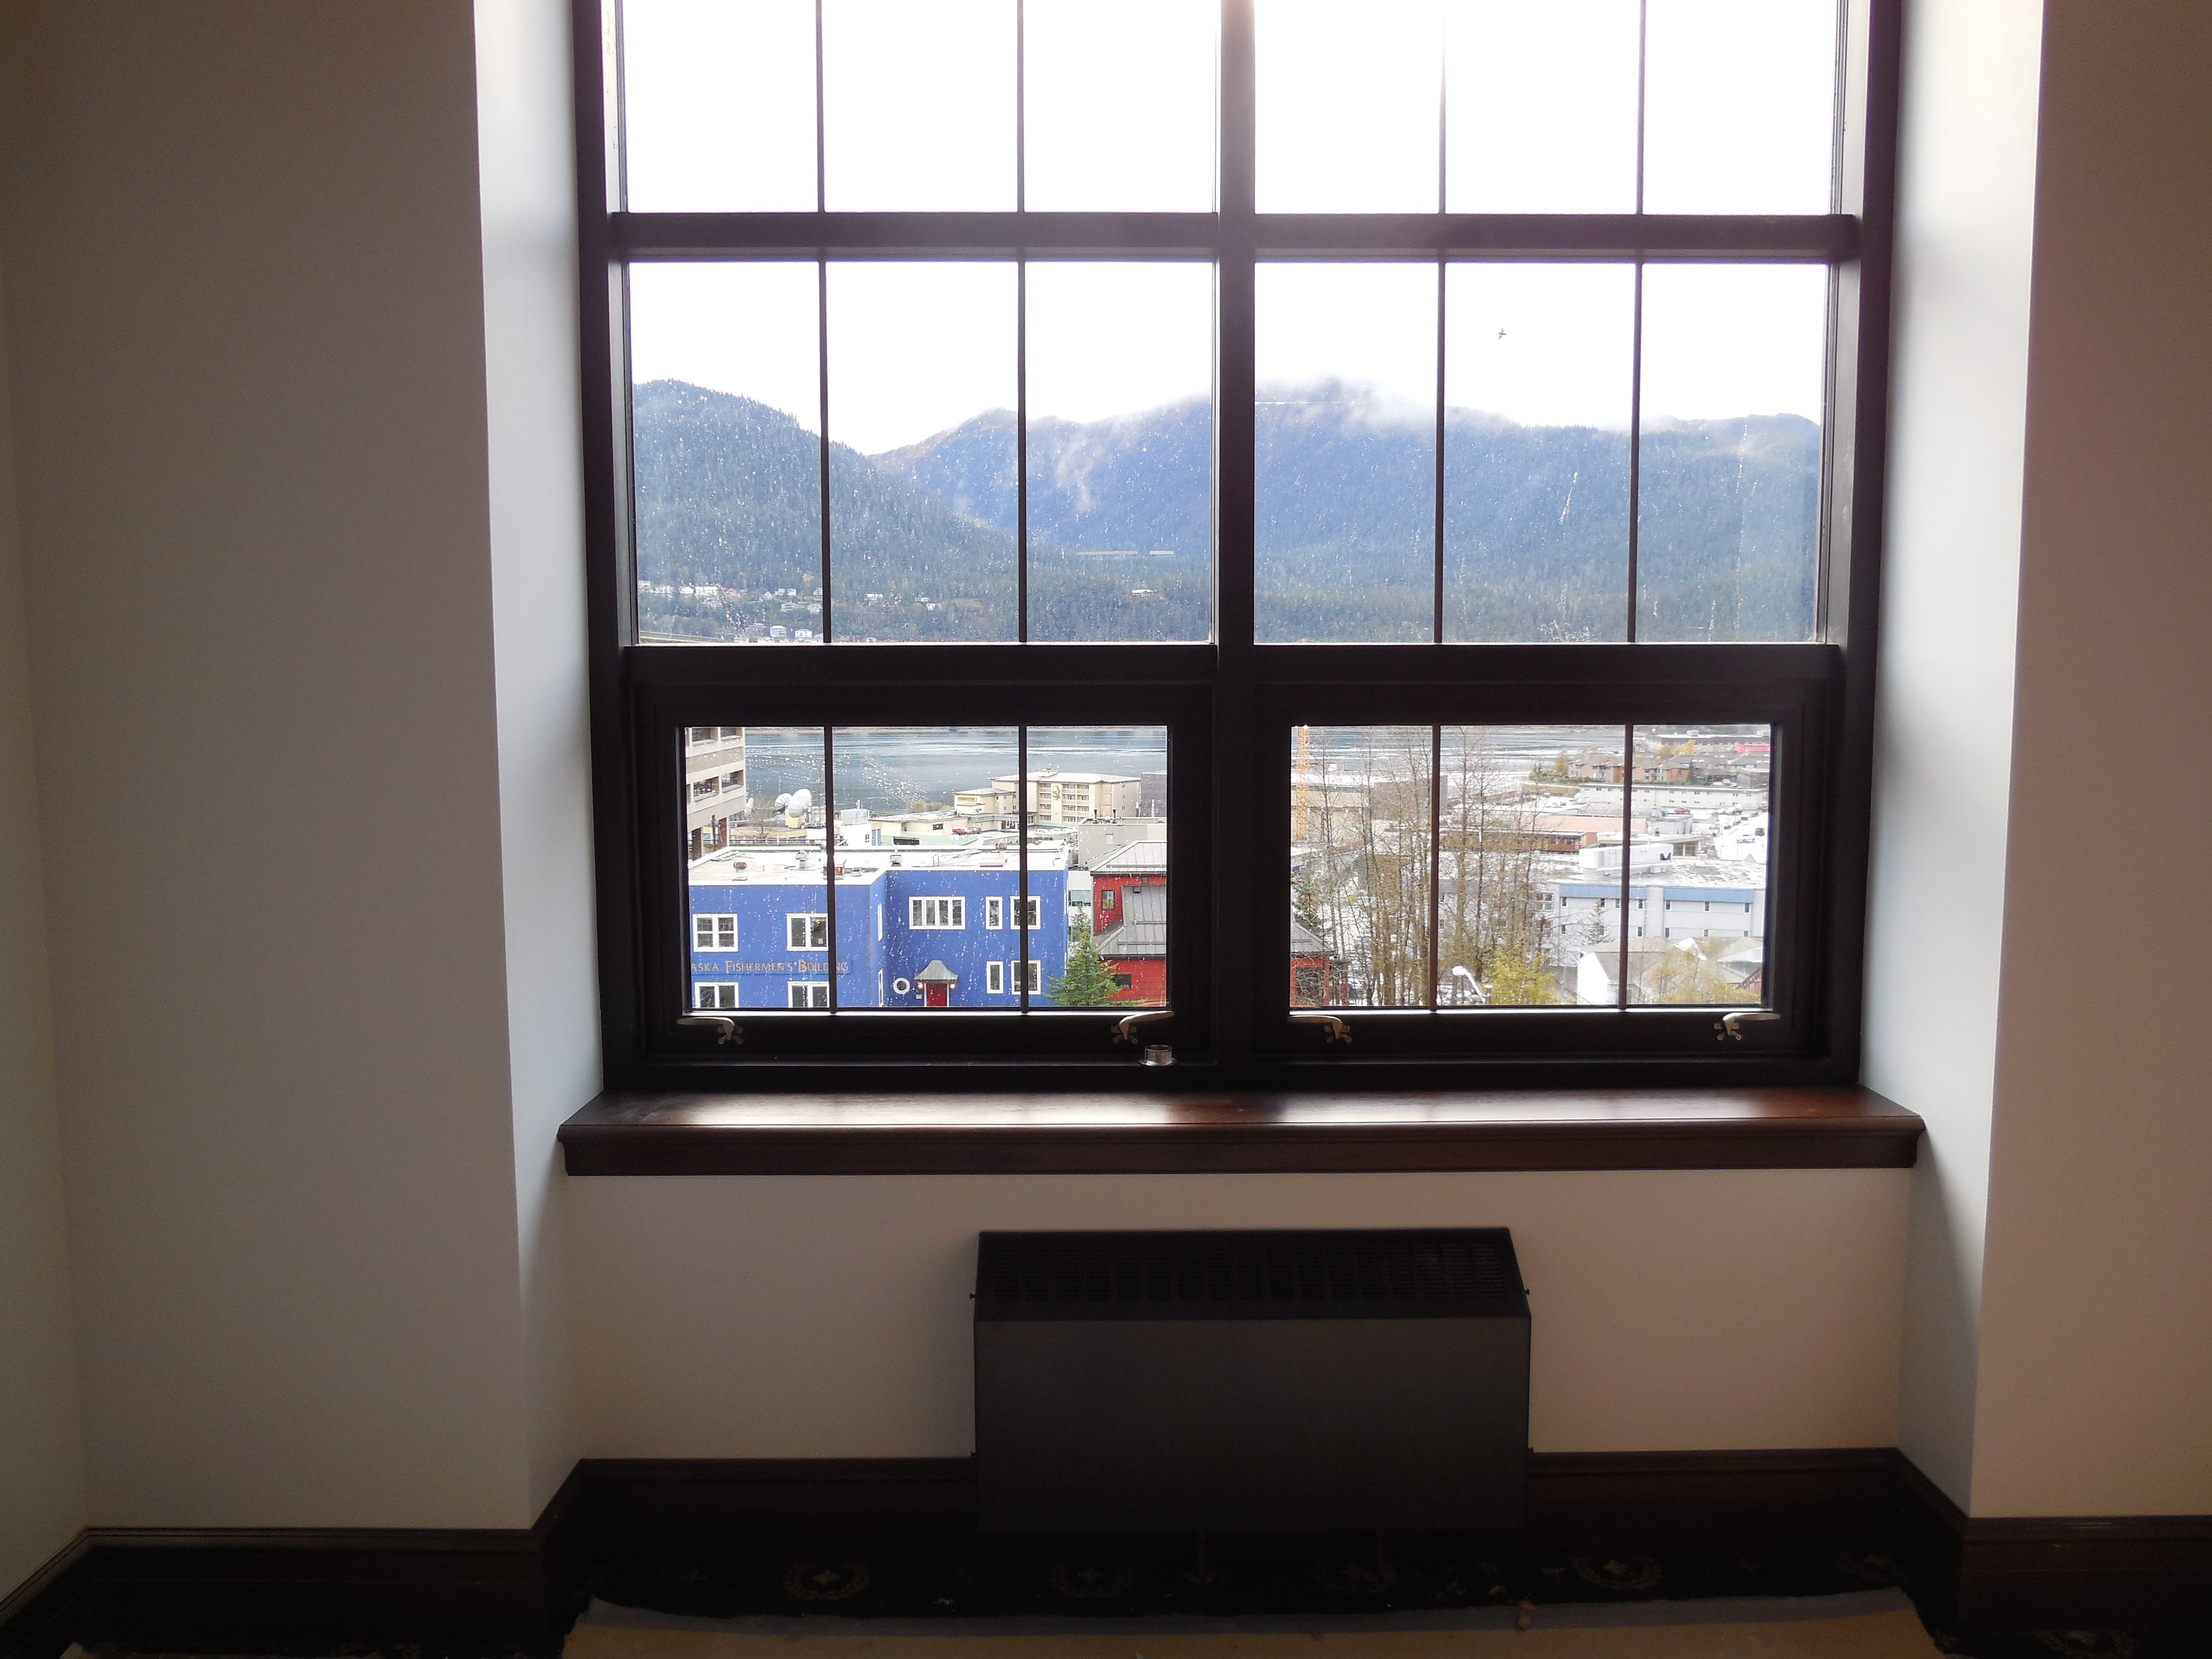
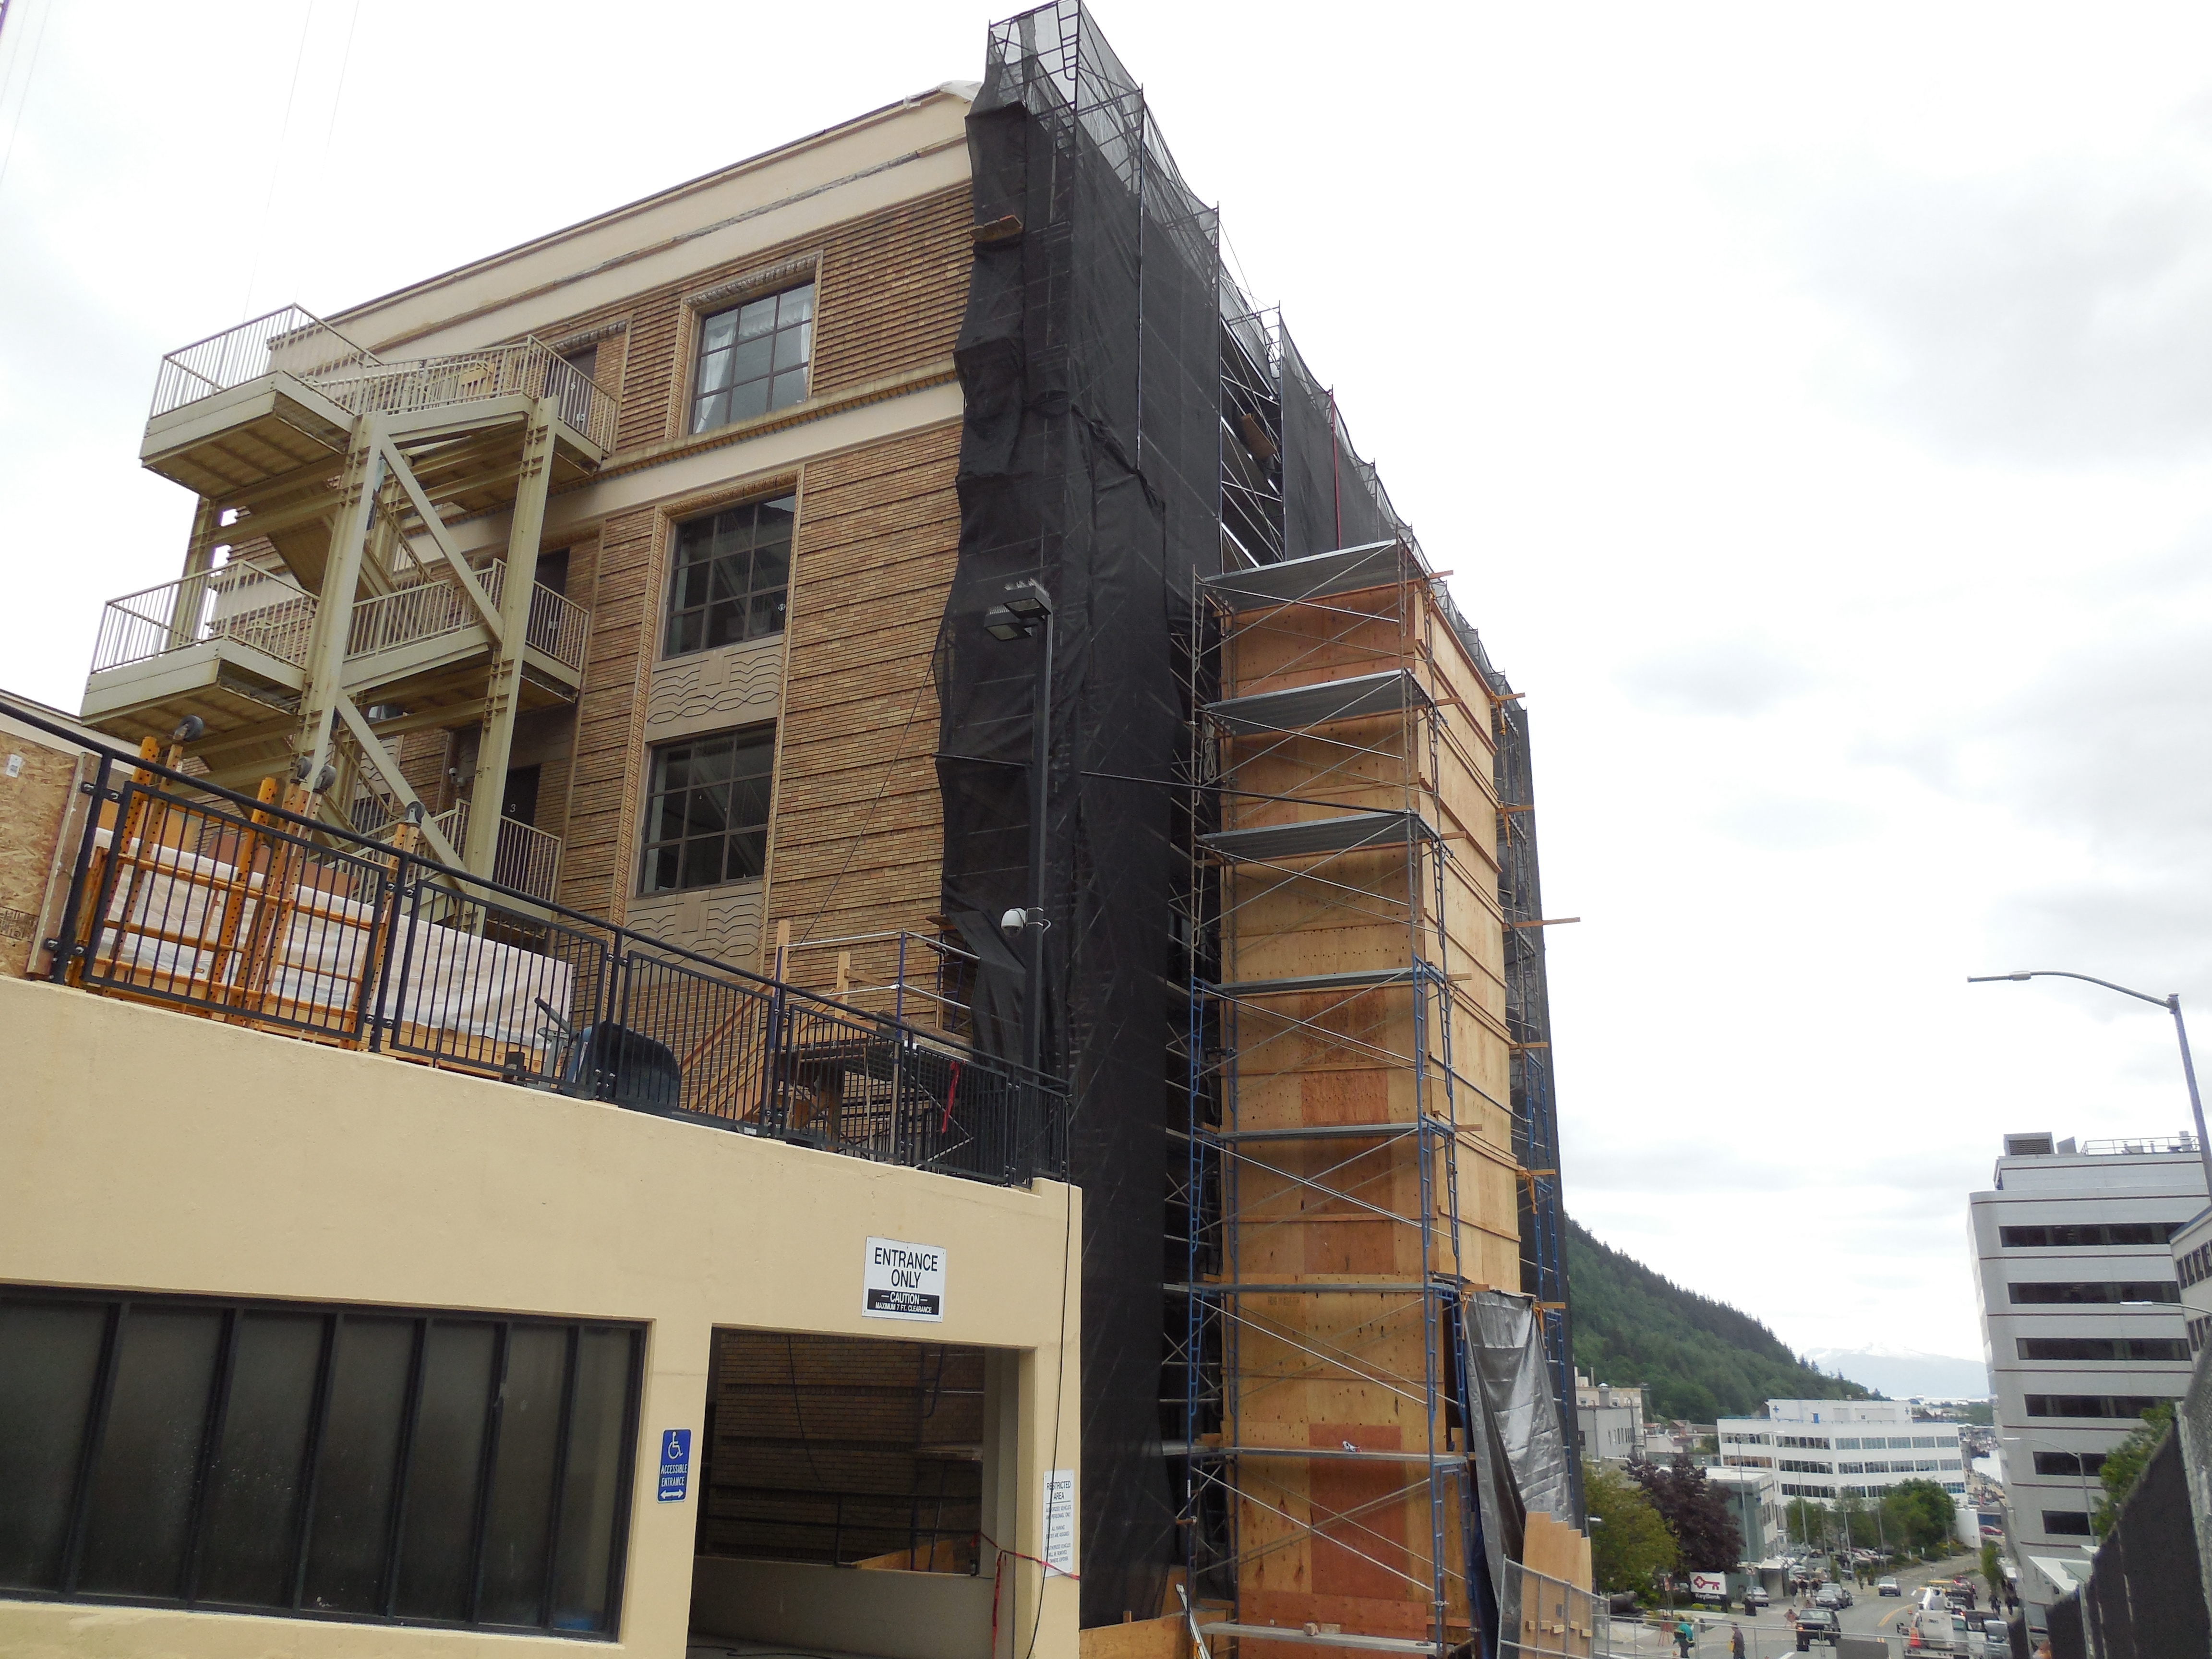
Capitol Building Exterior Restoration
Project Summary
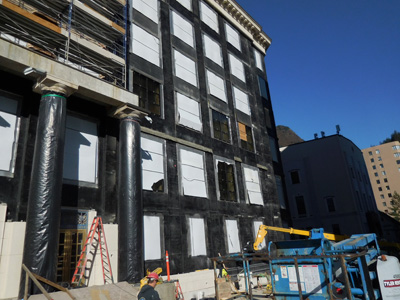
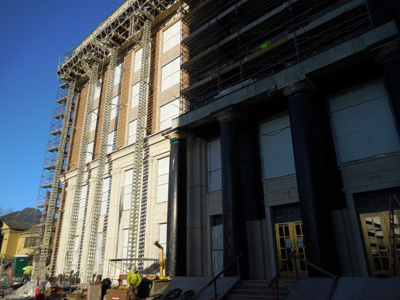
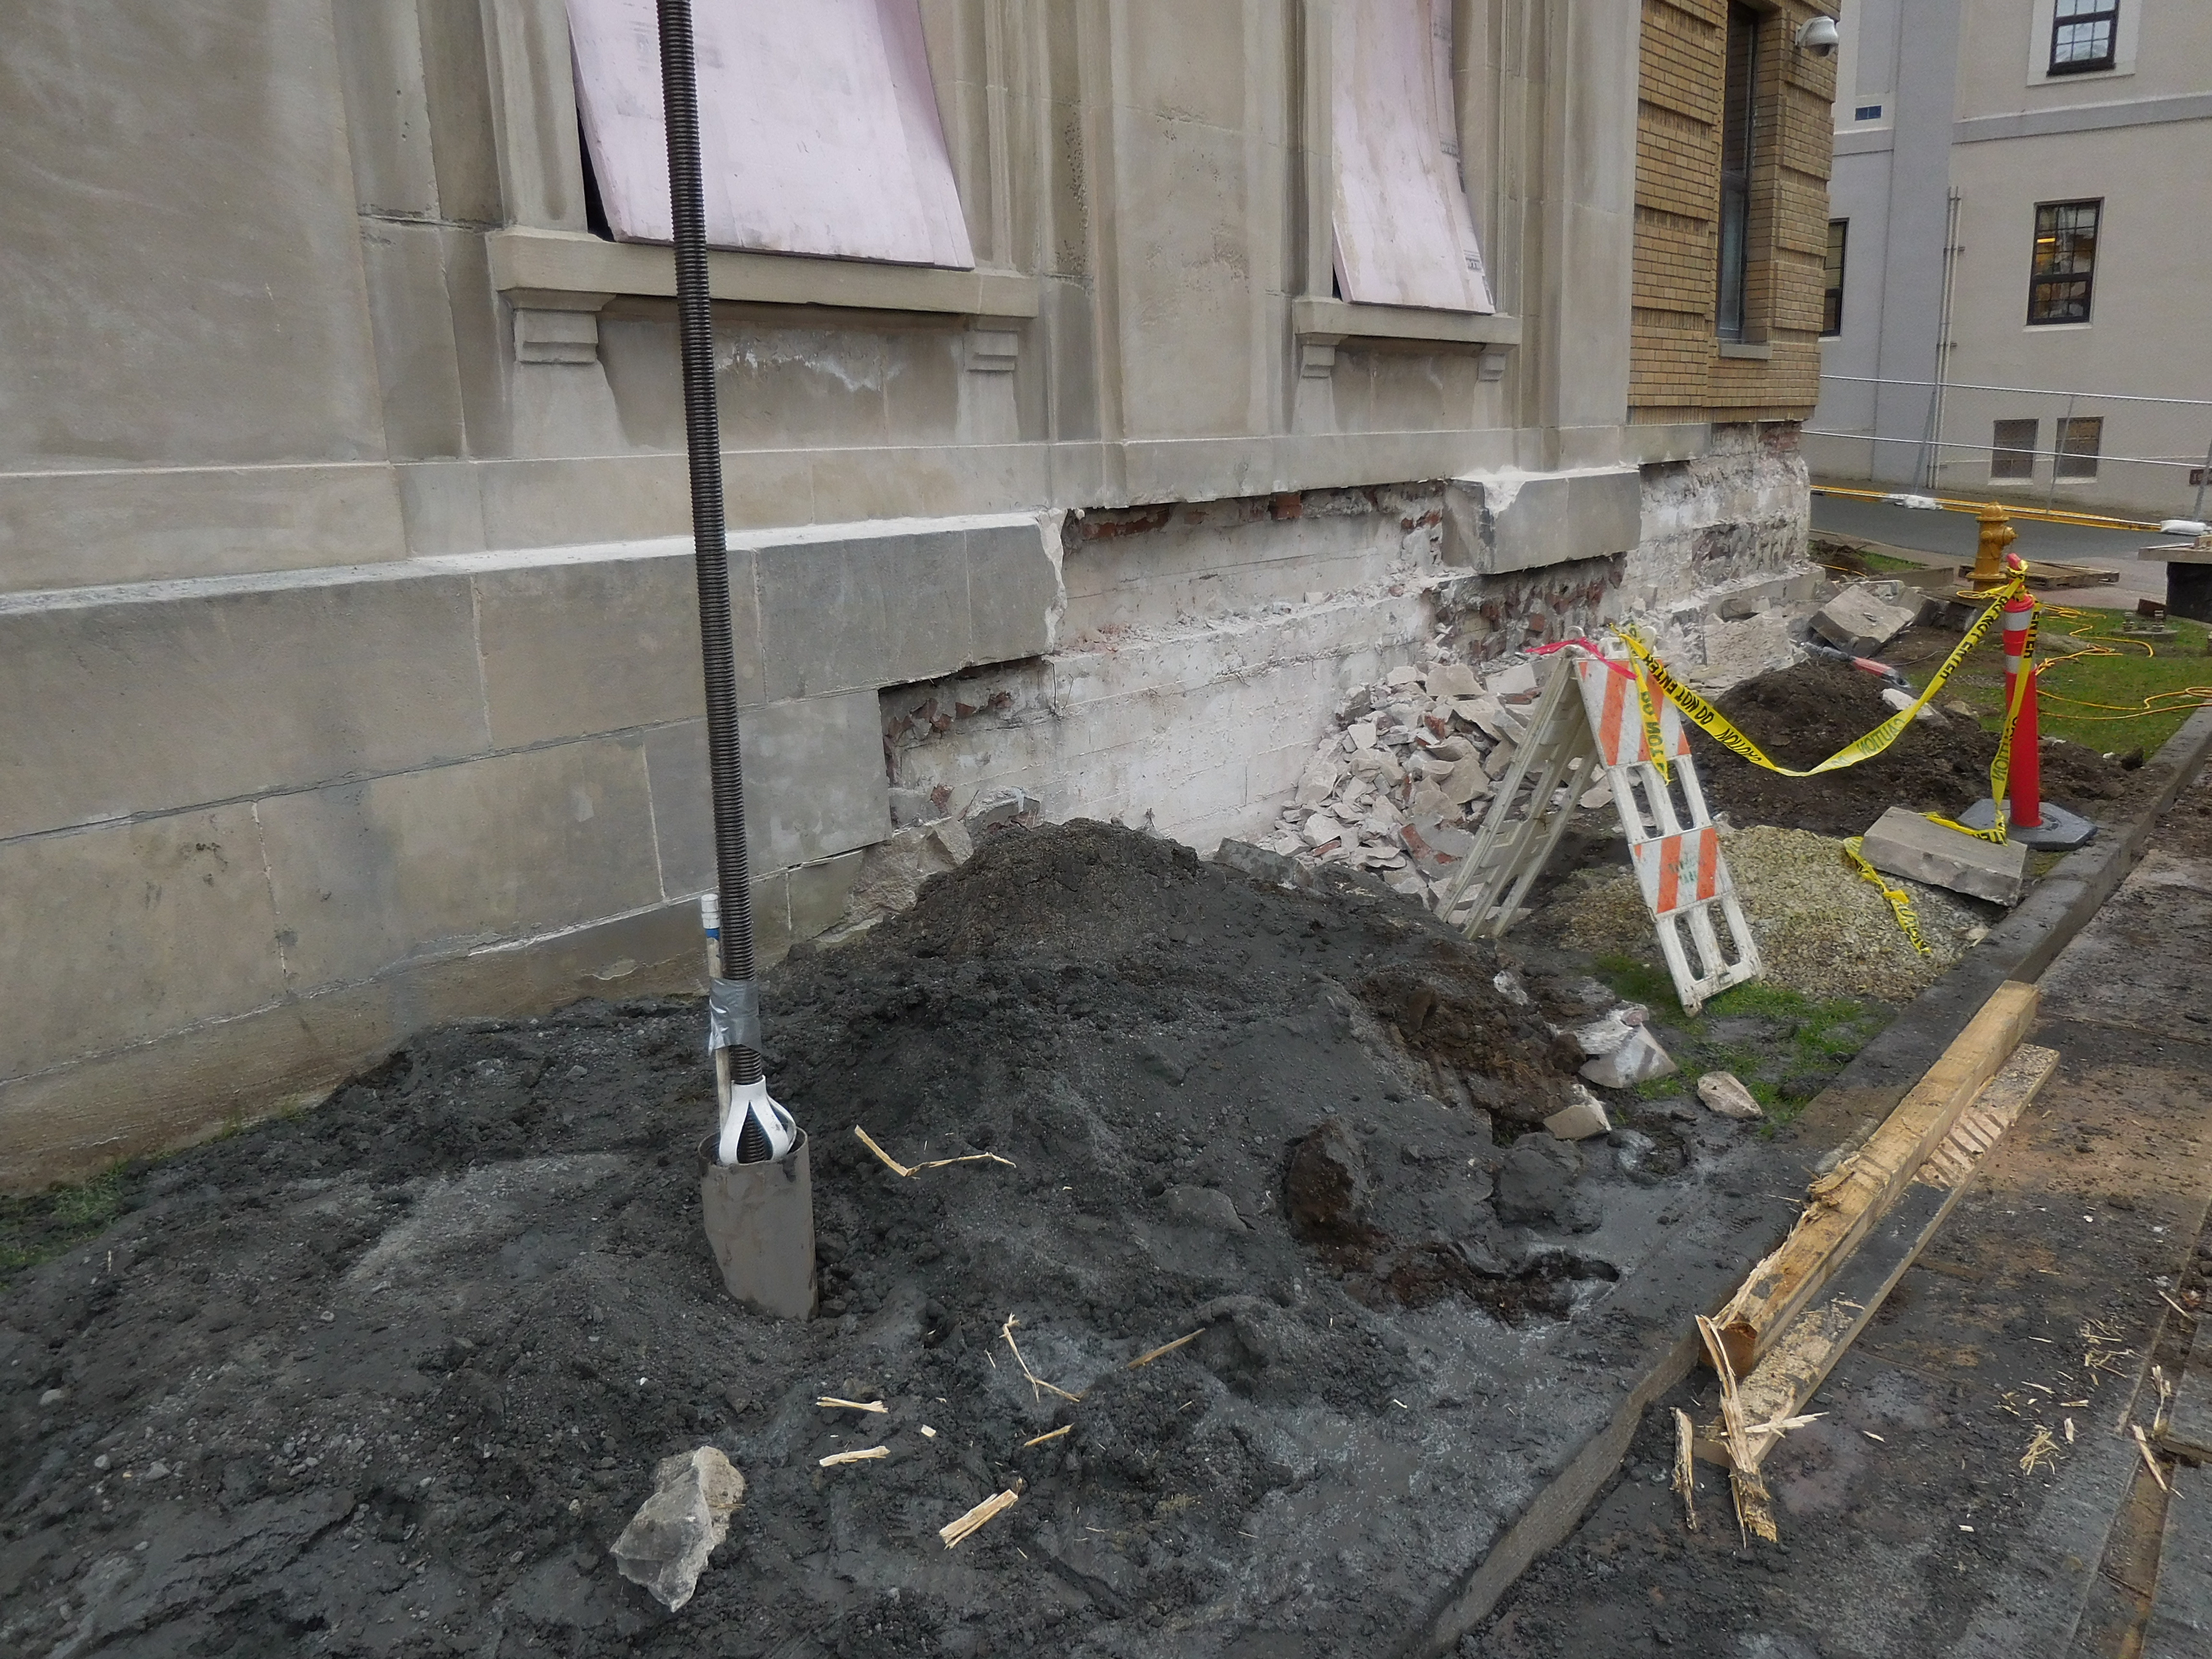
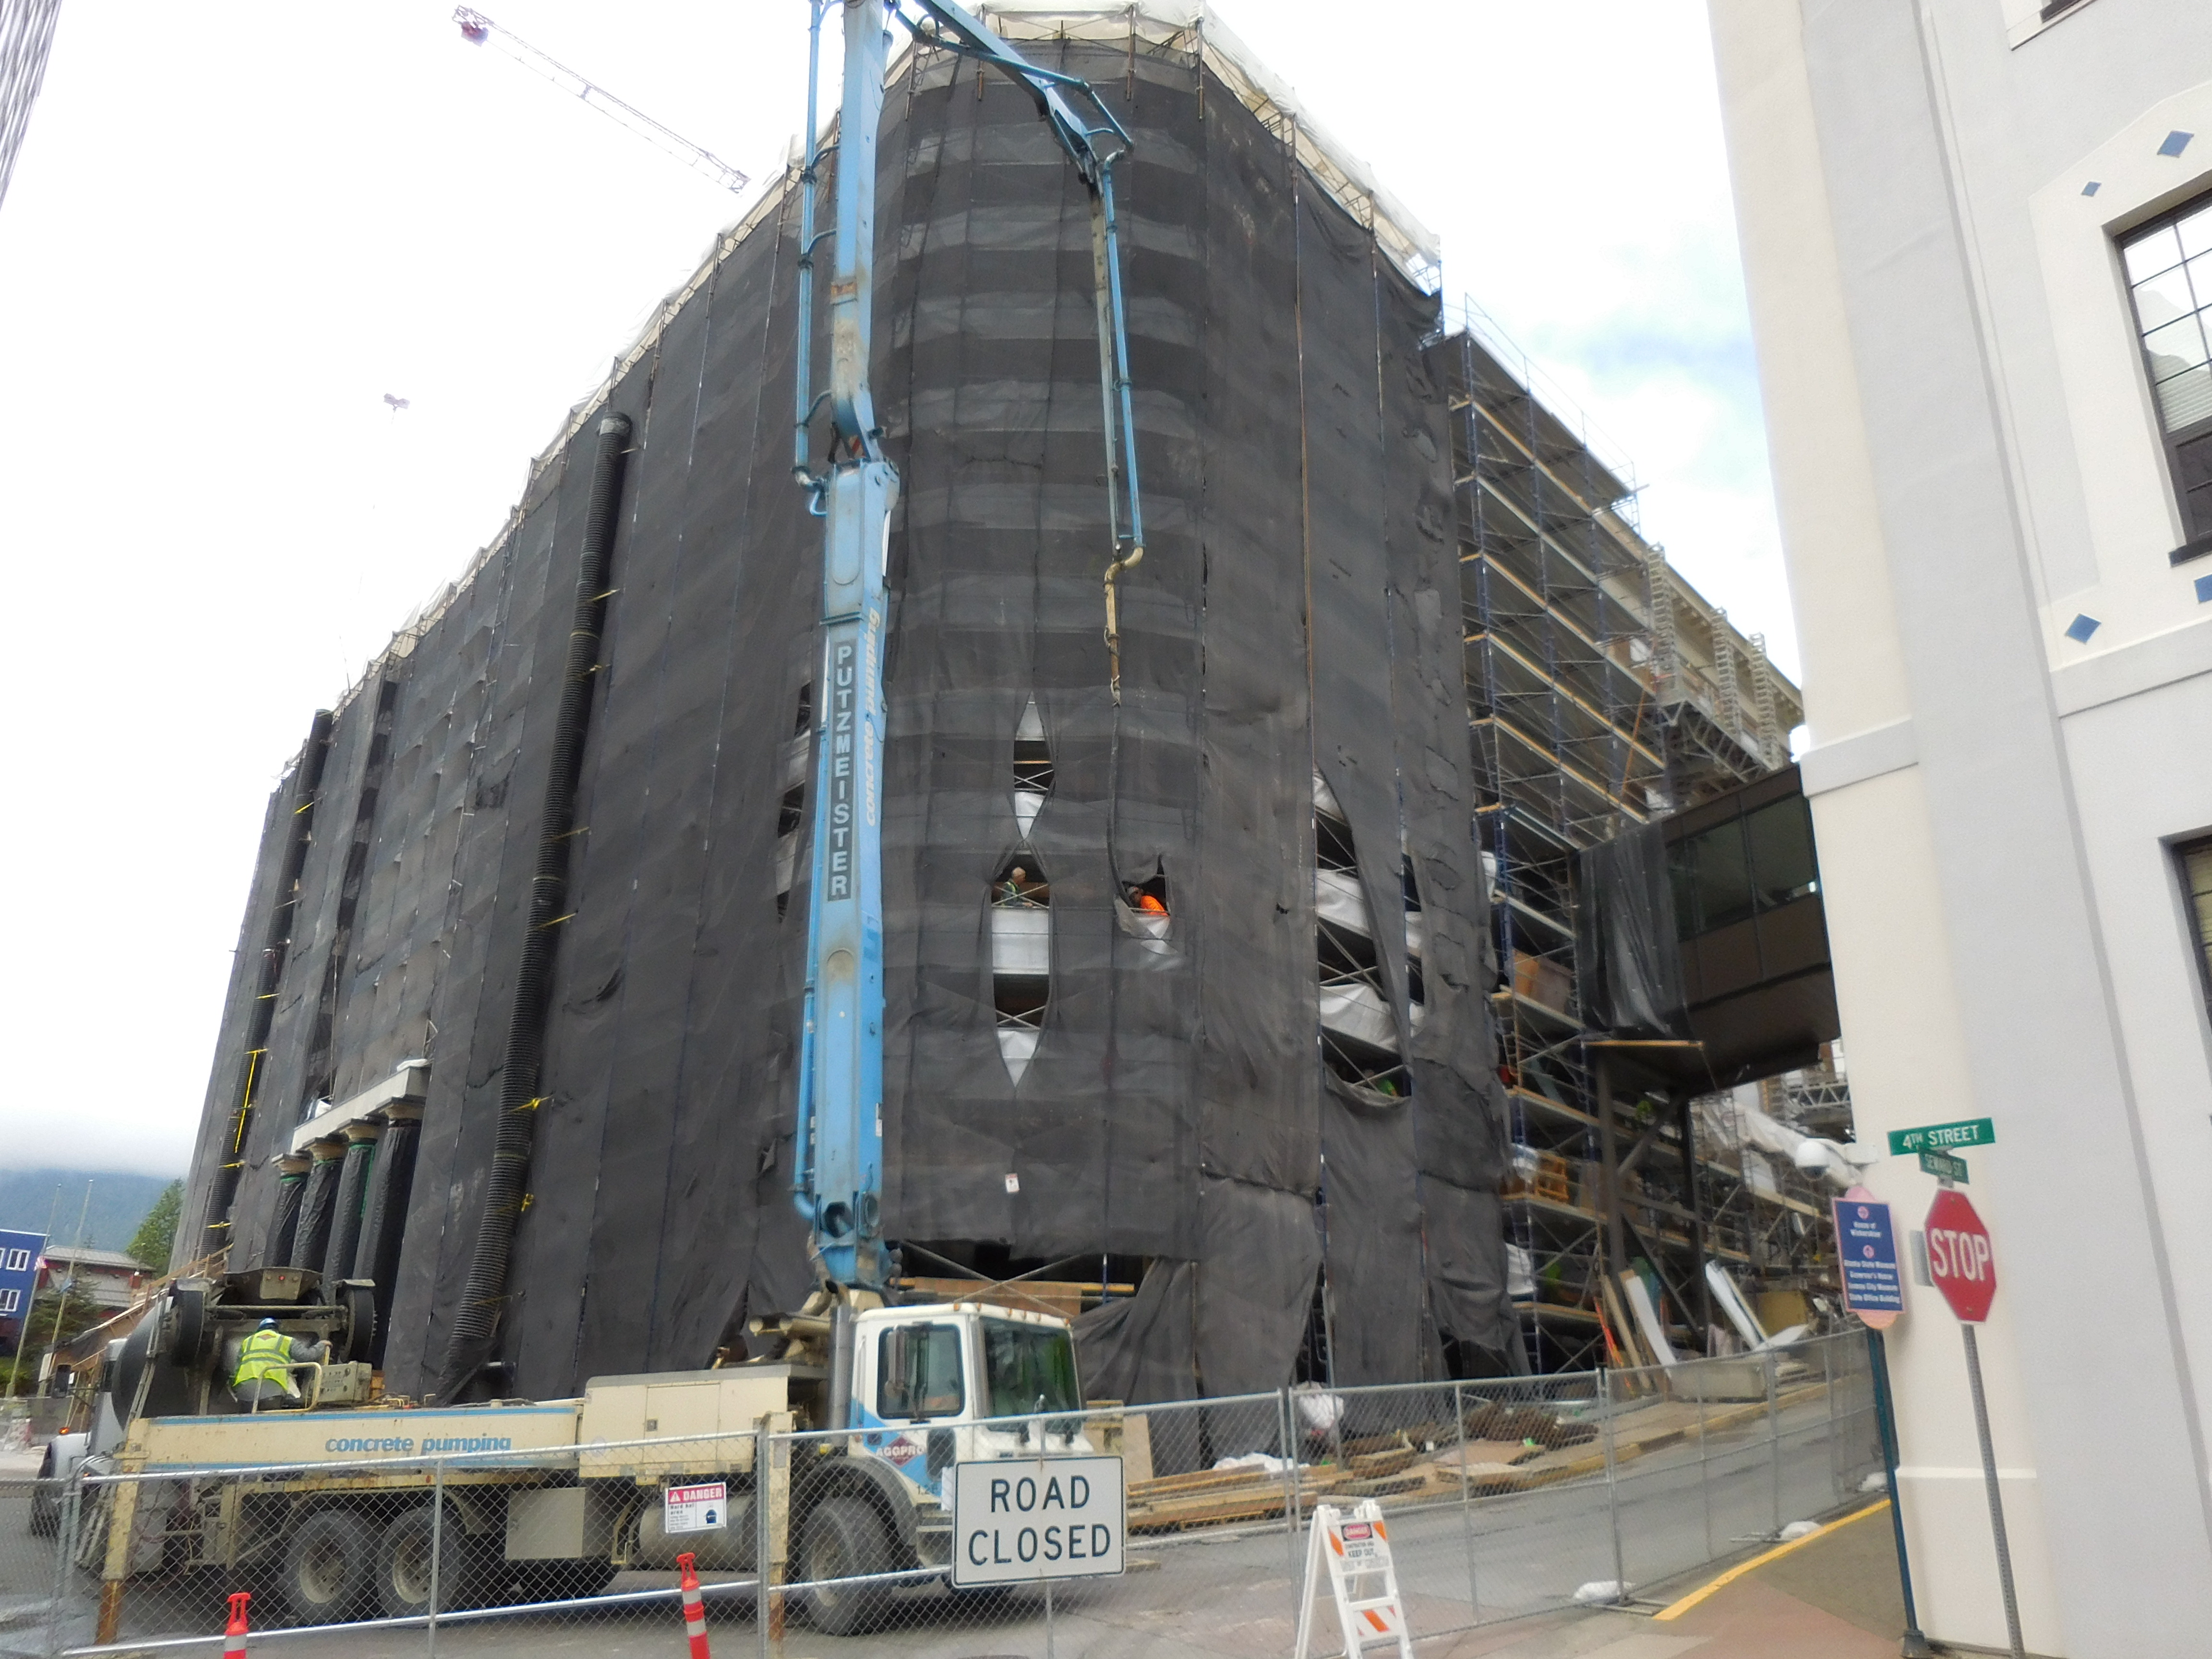
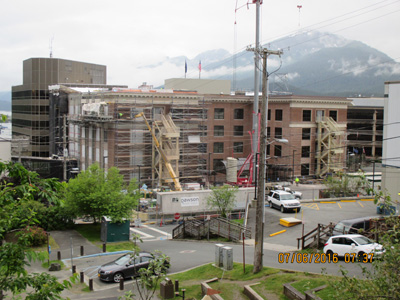
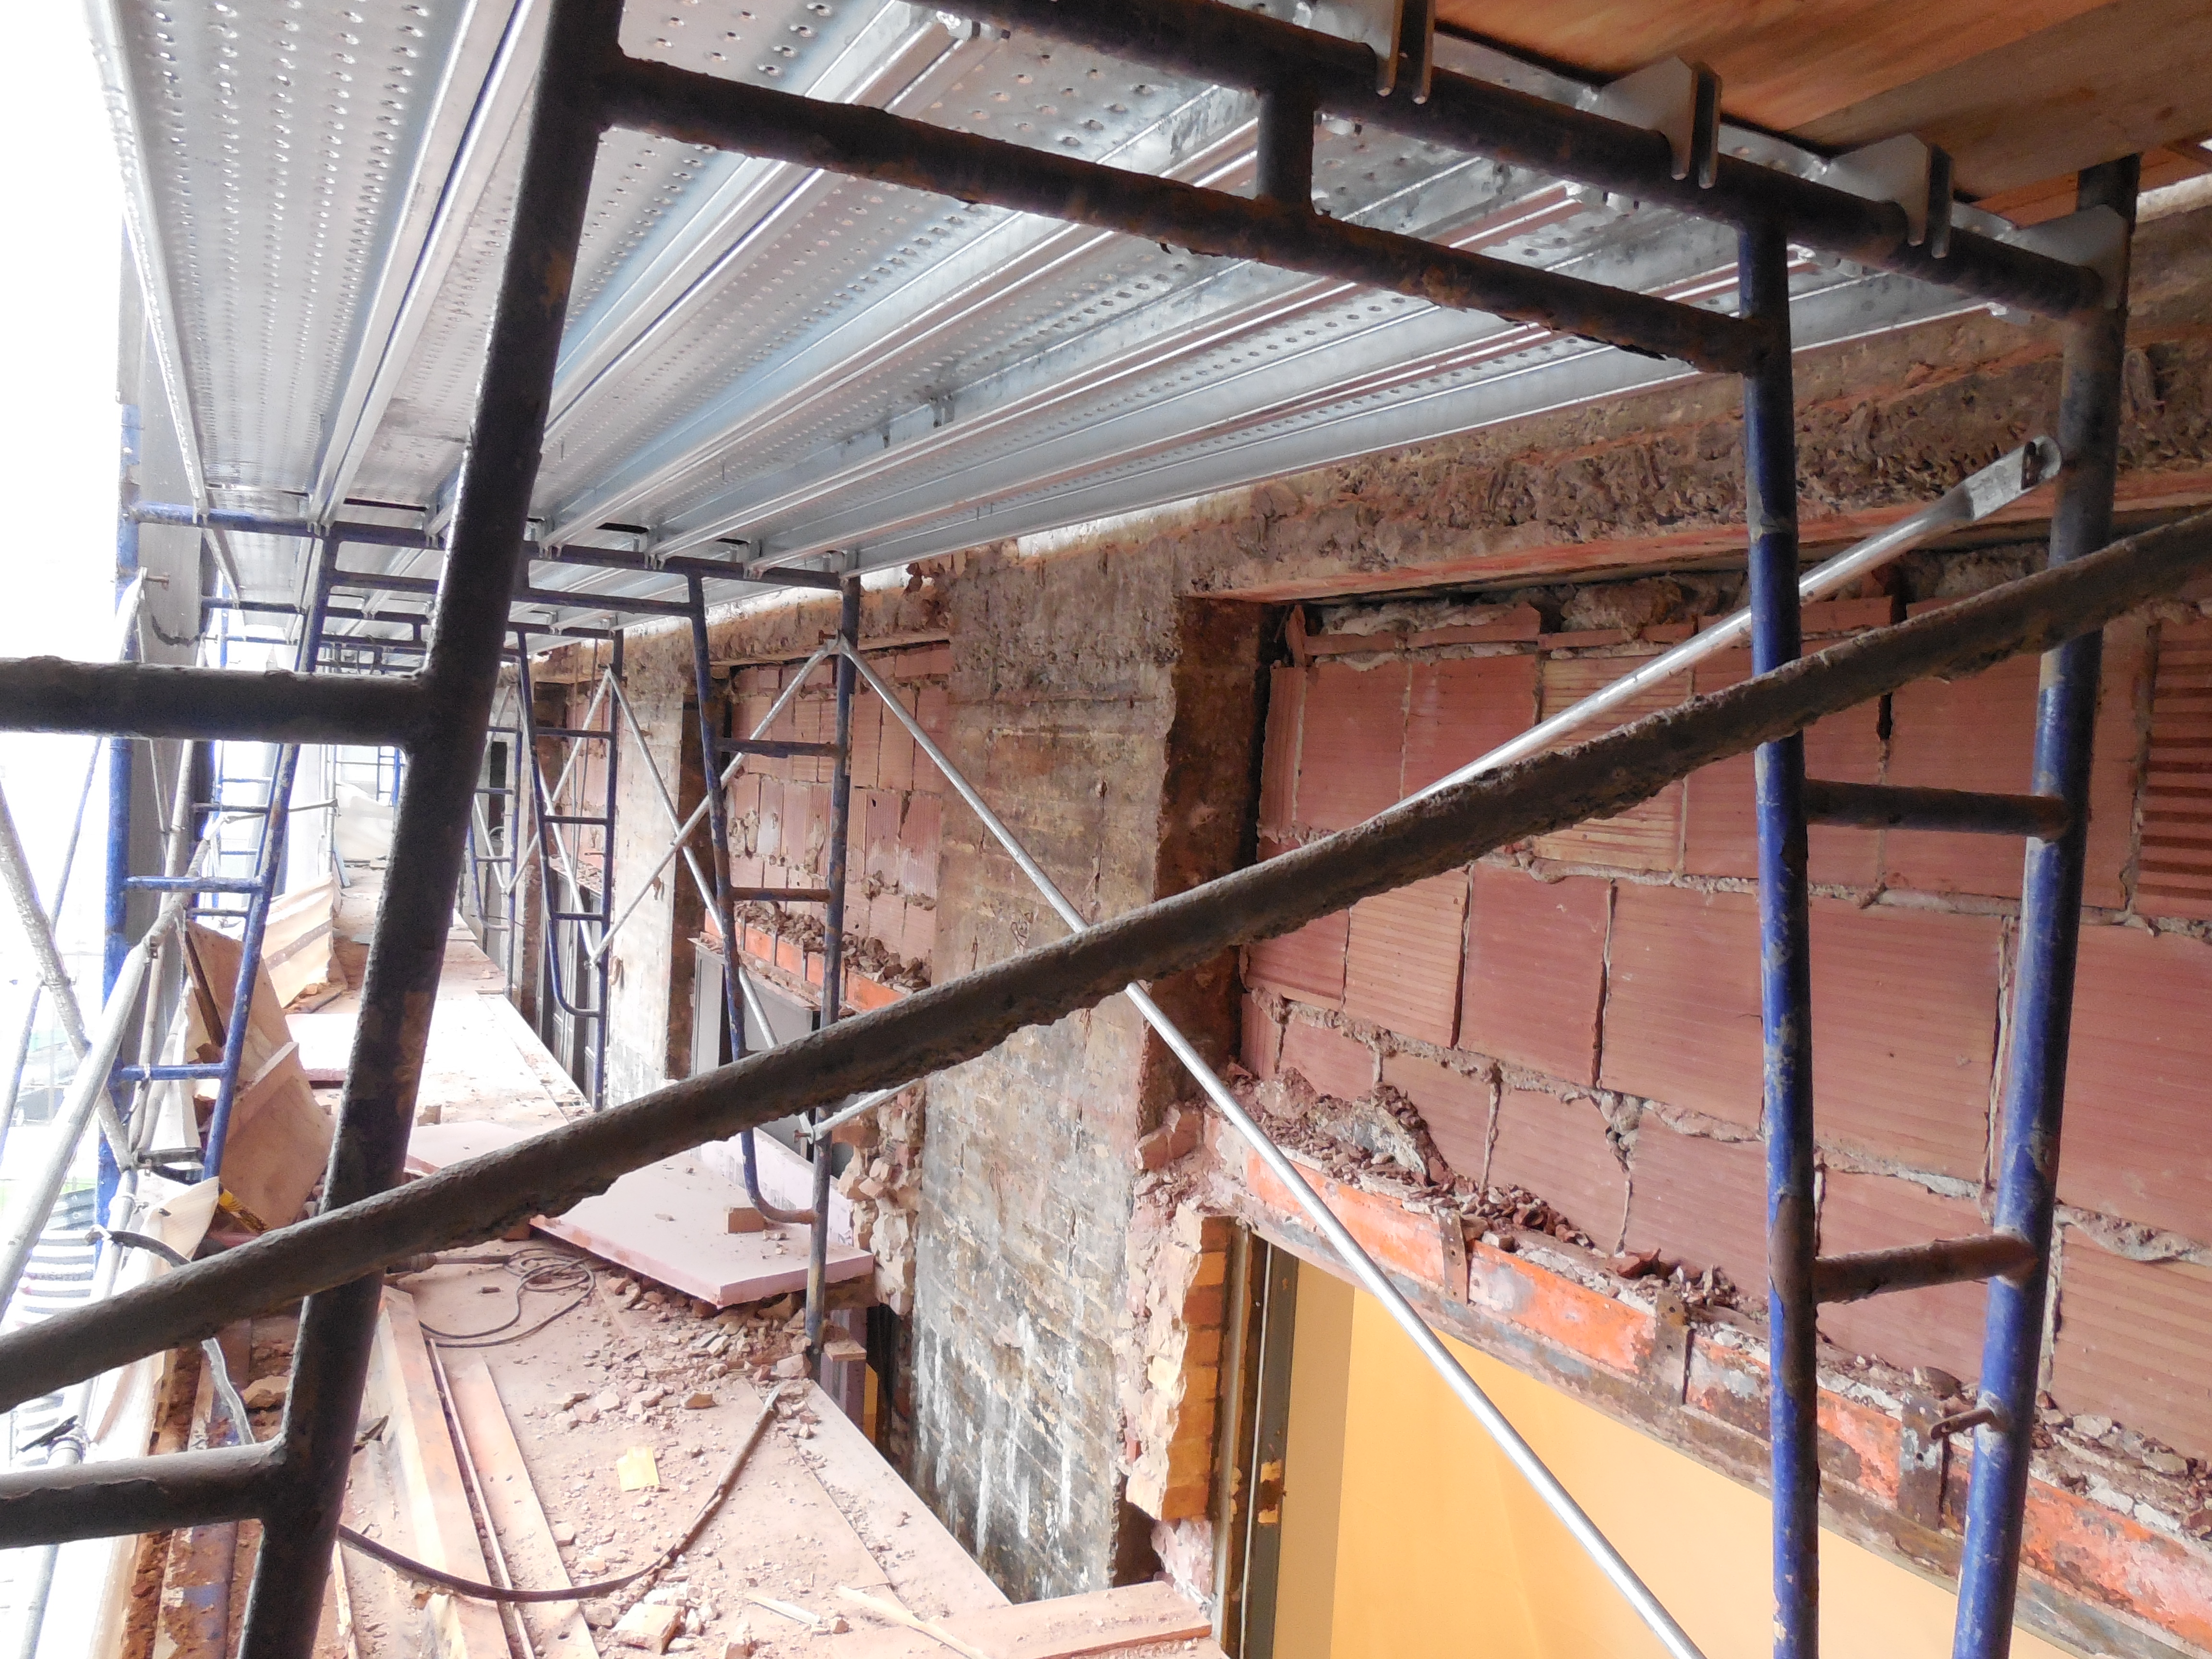
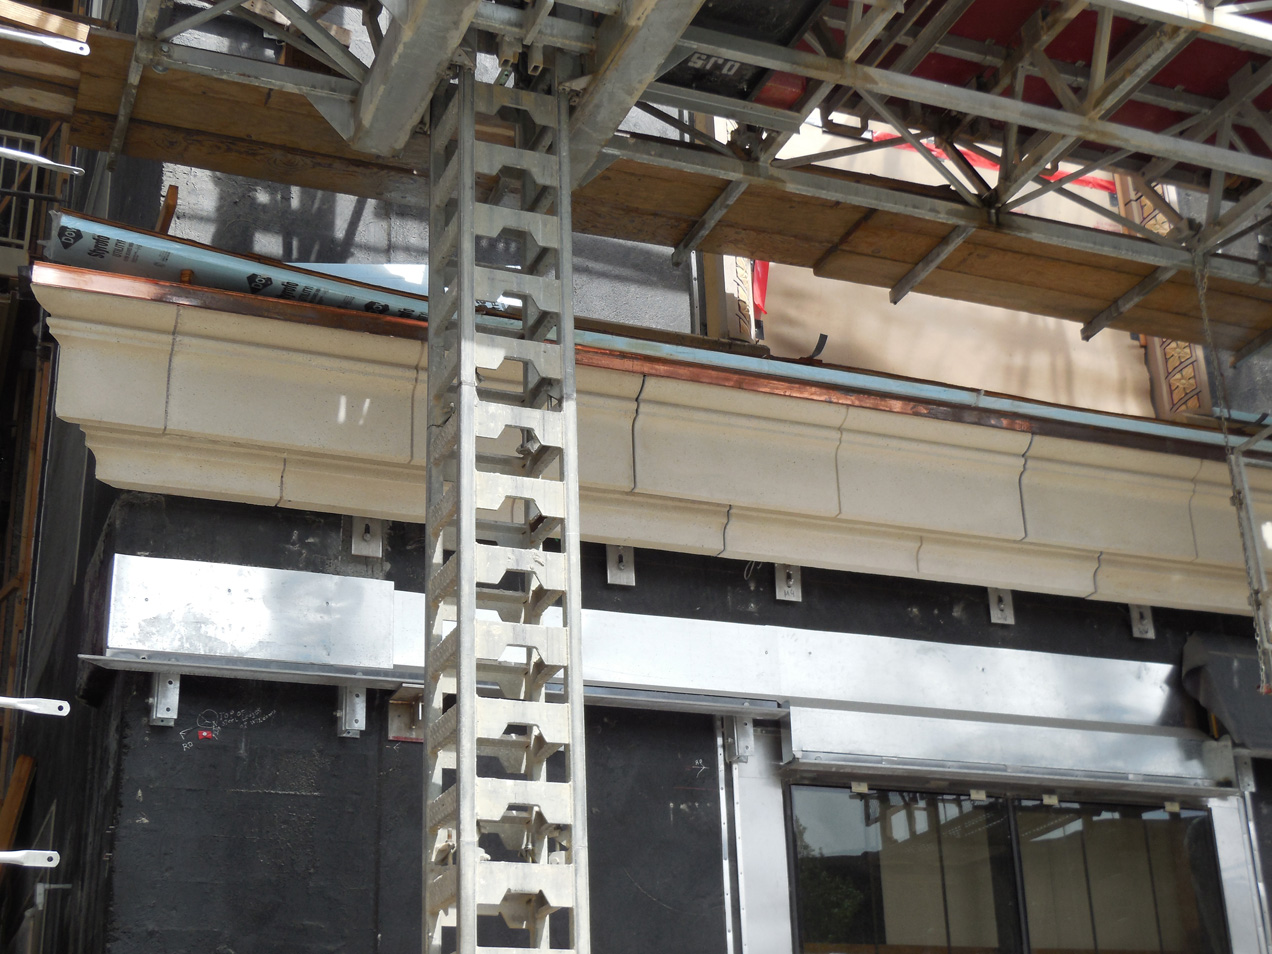
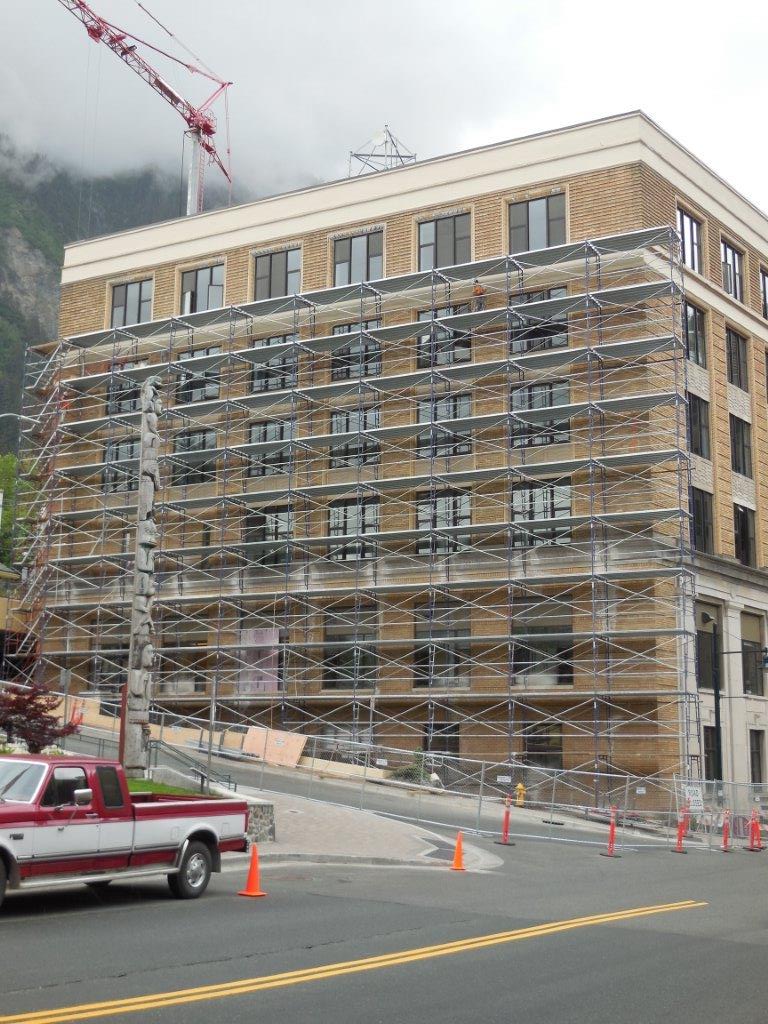
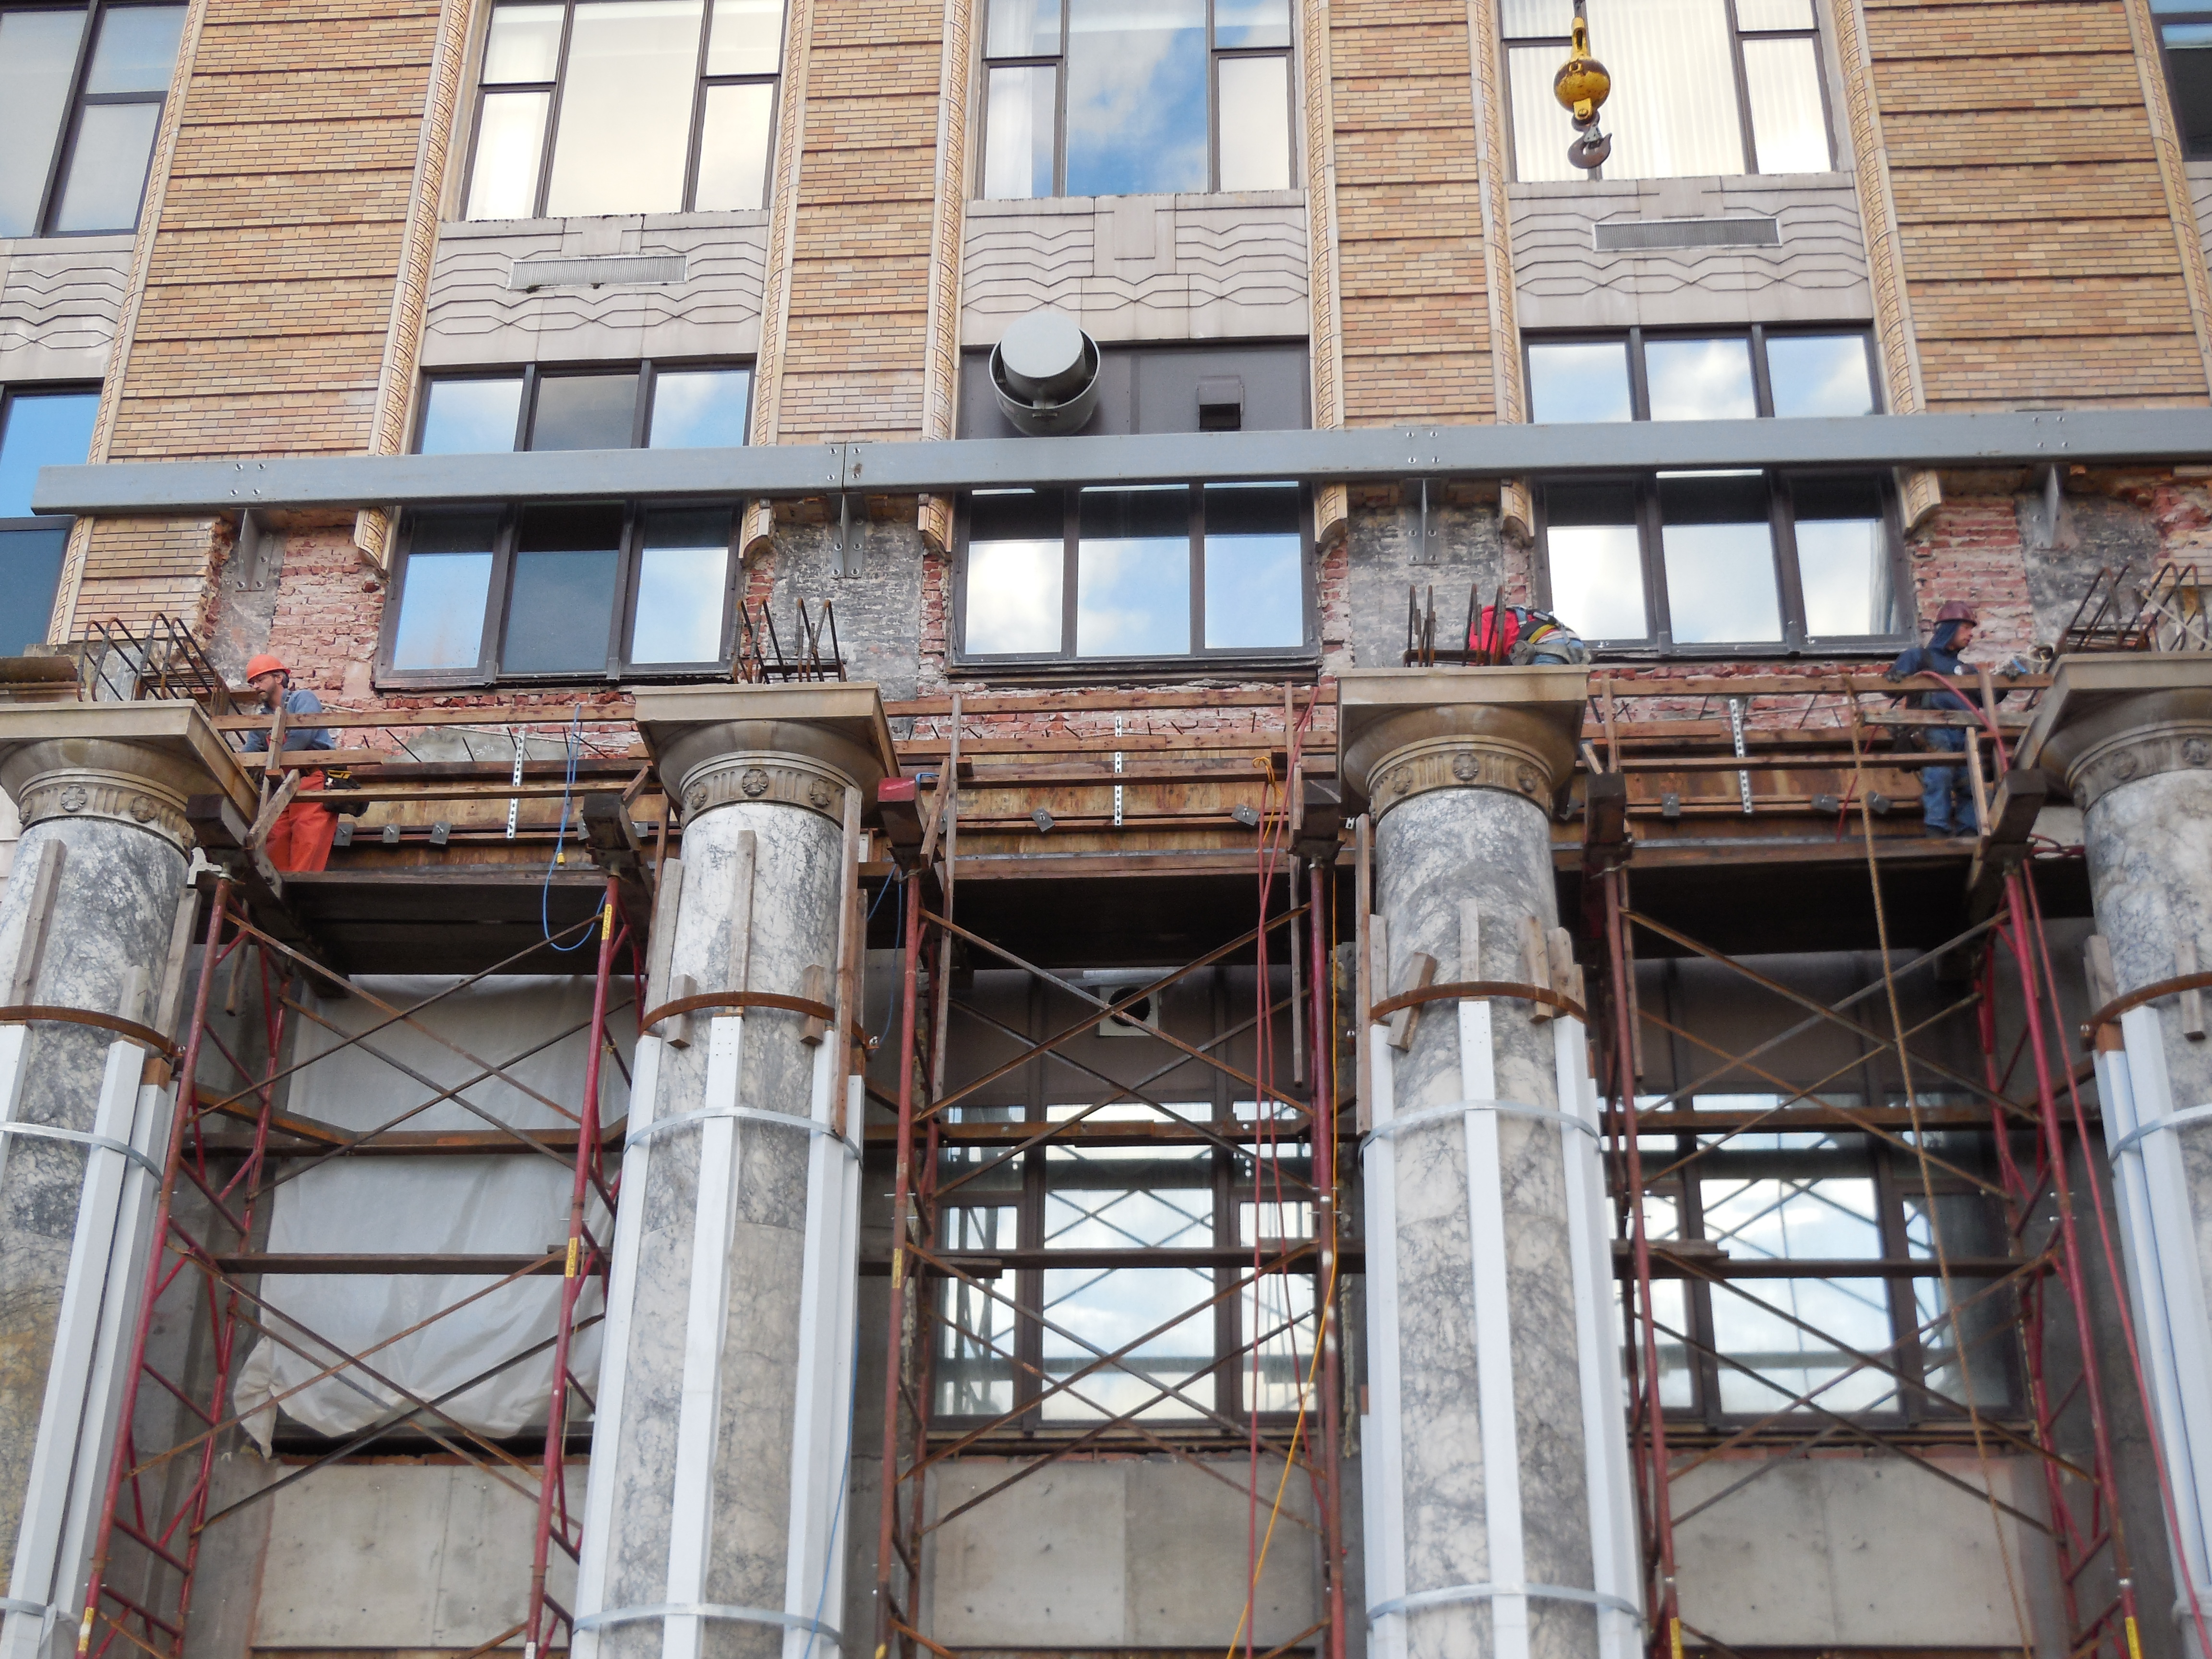
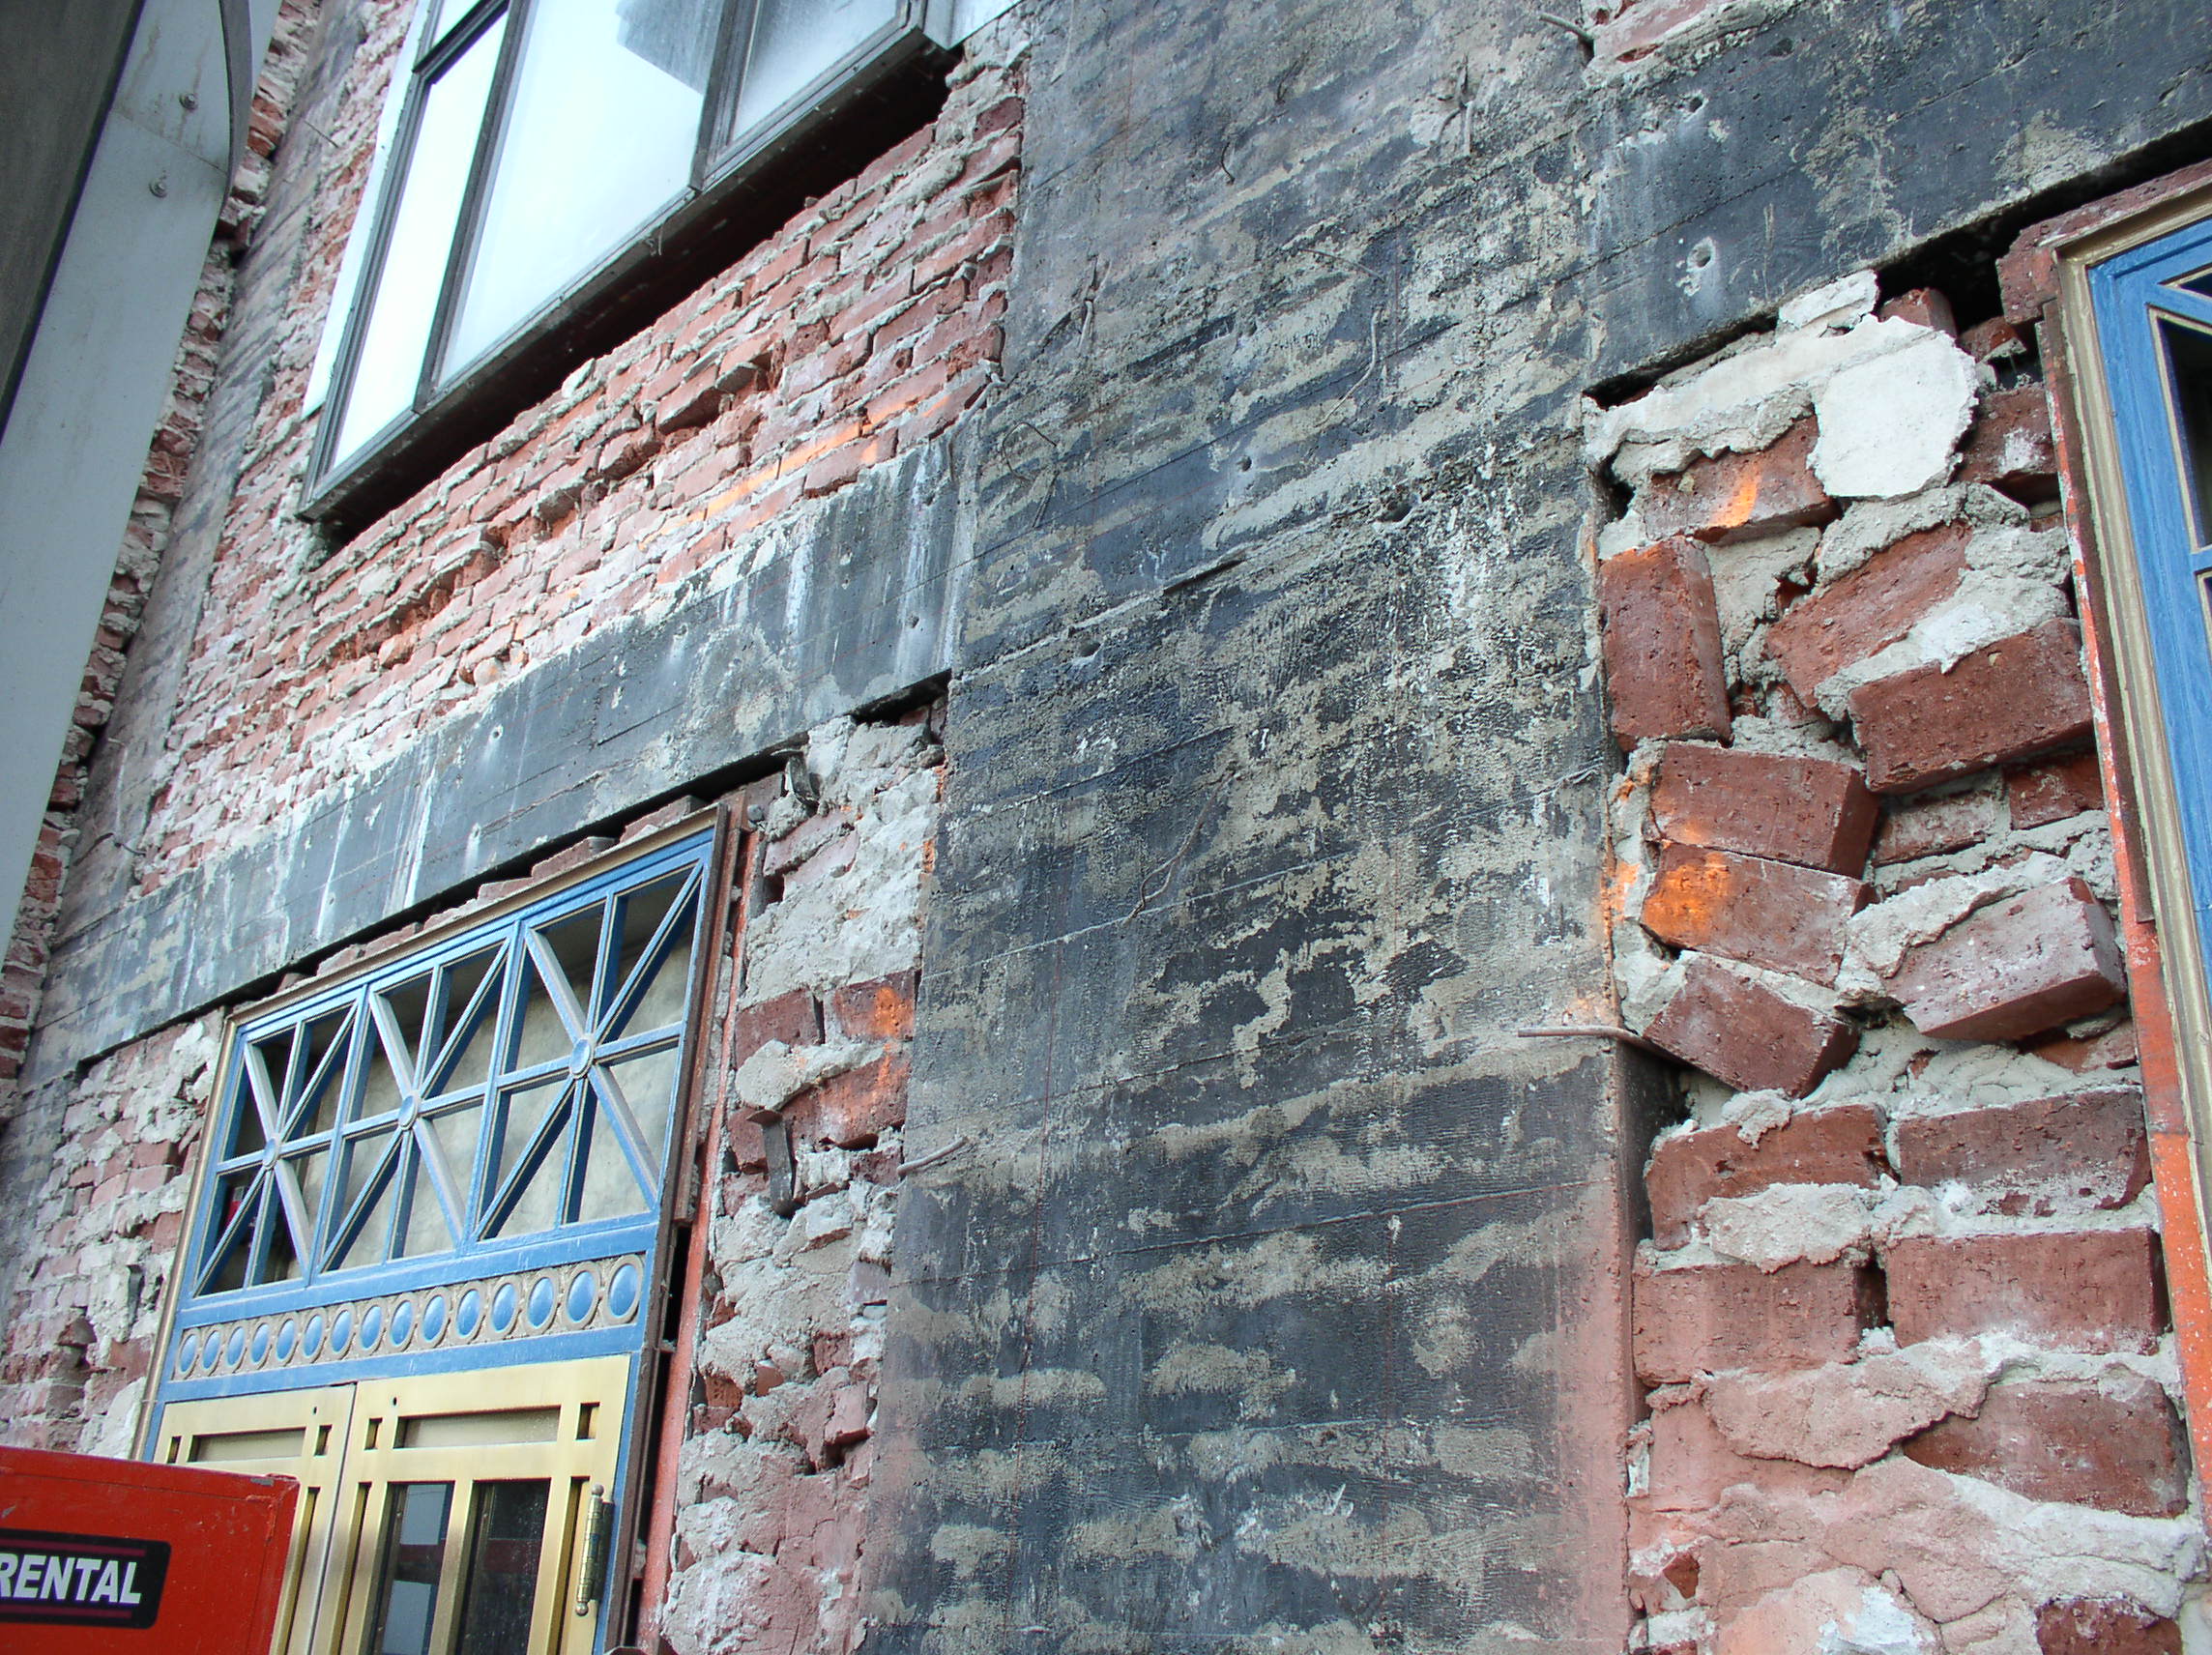
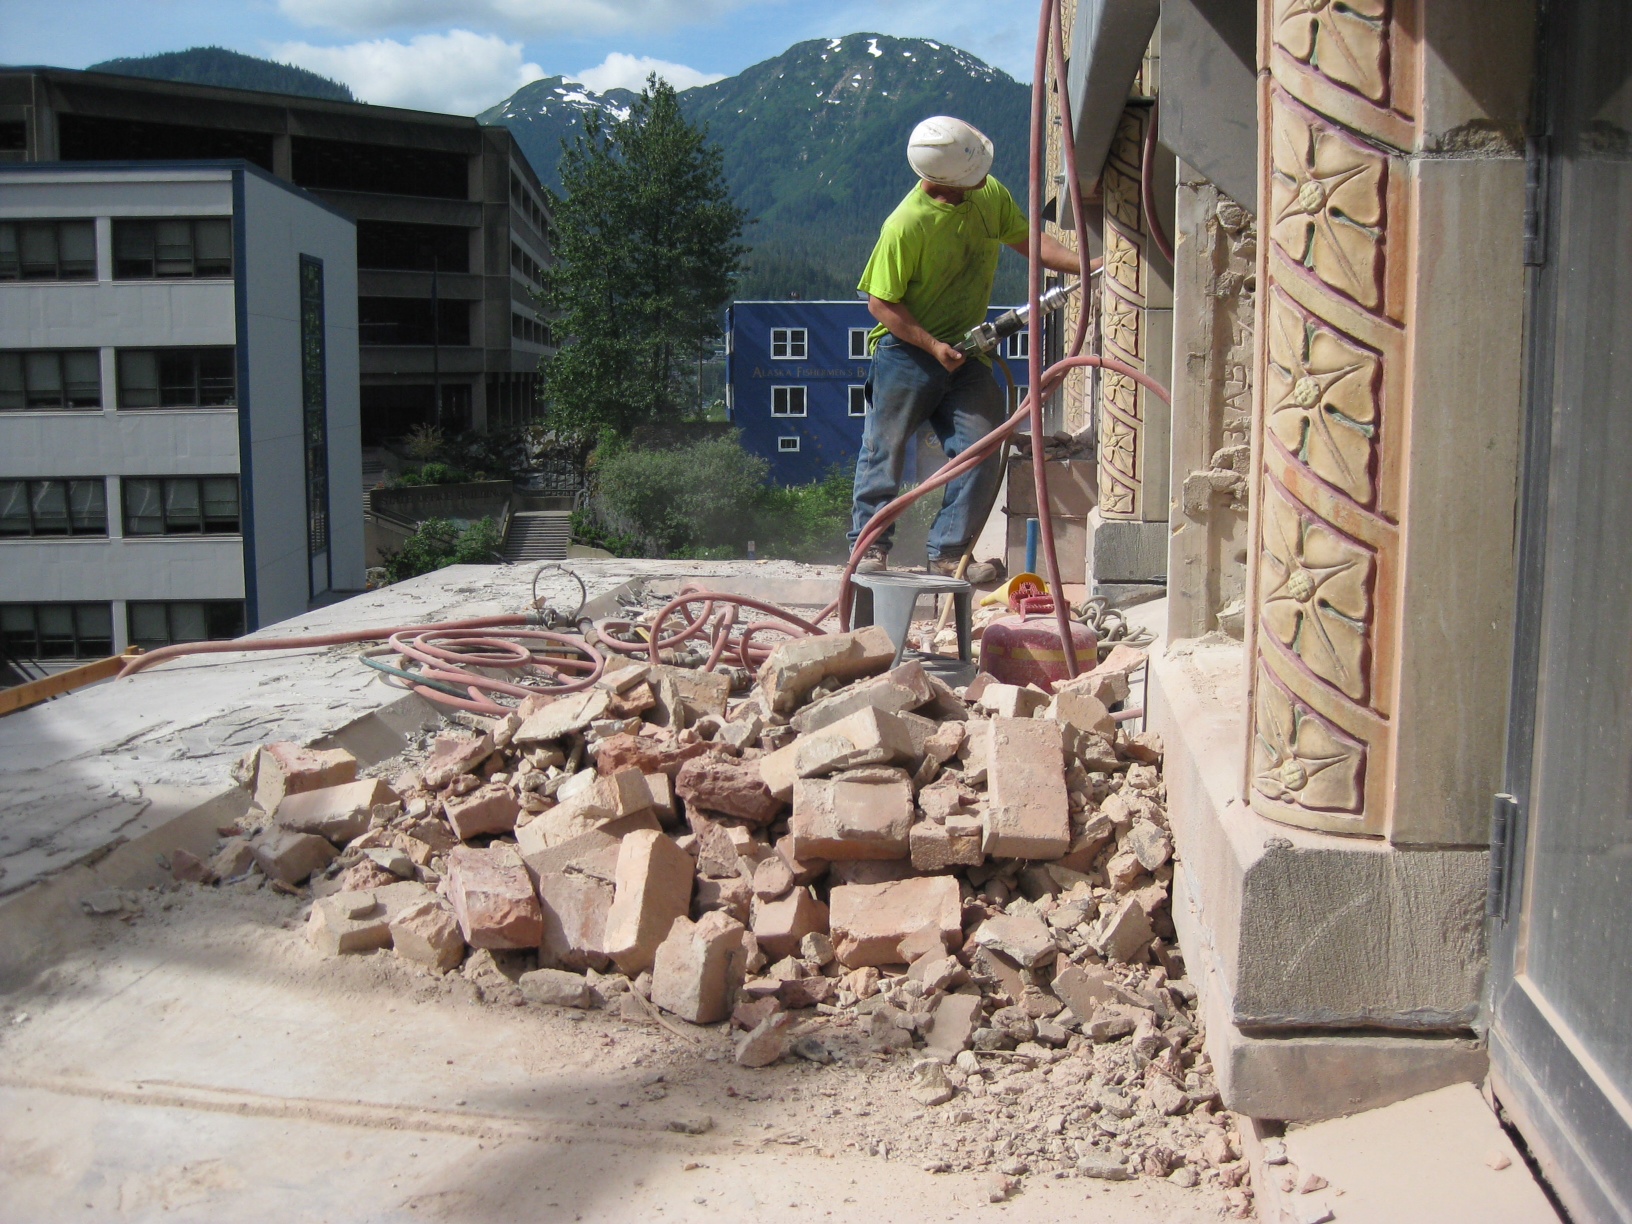
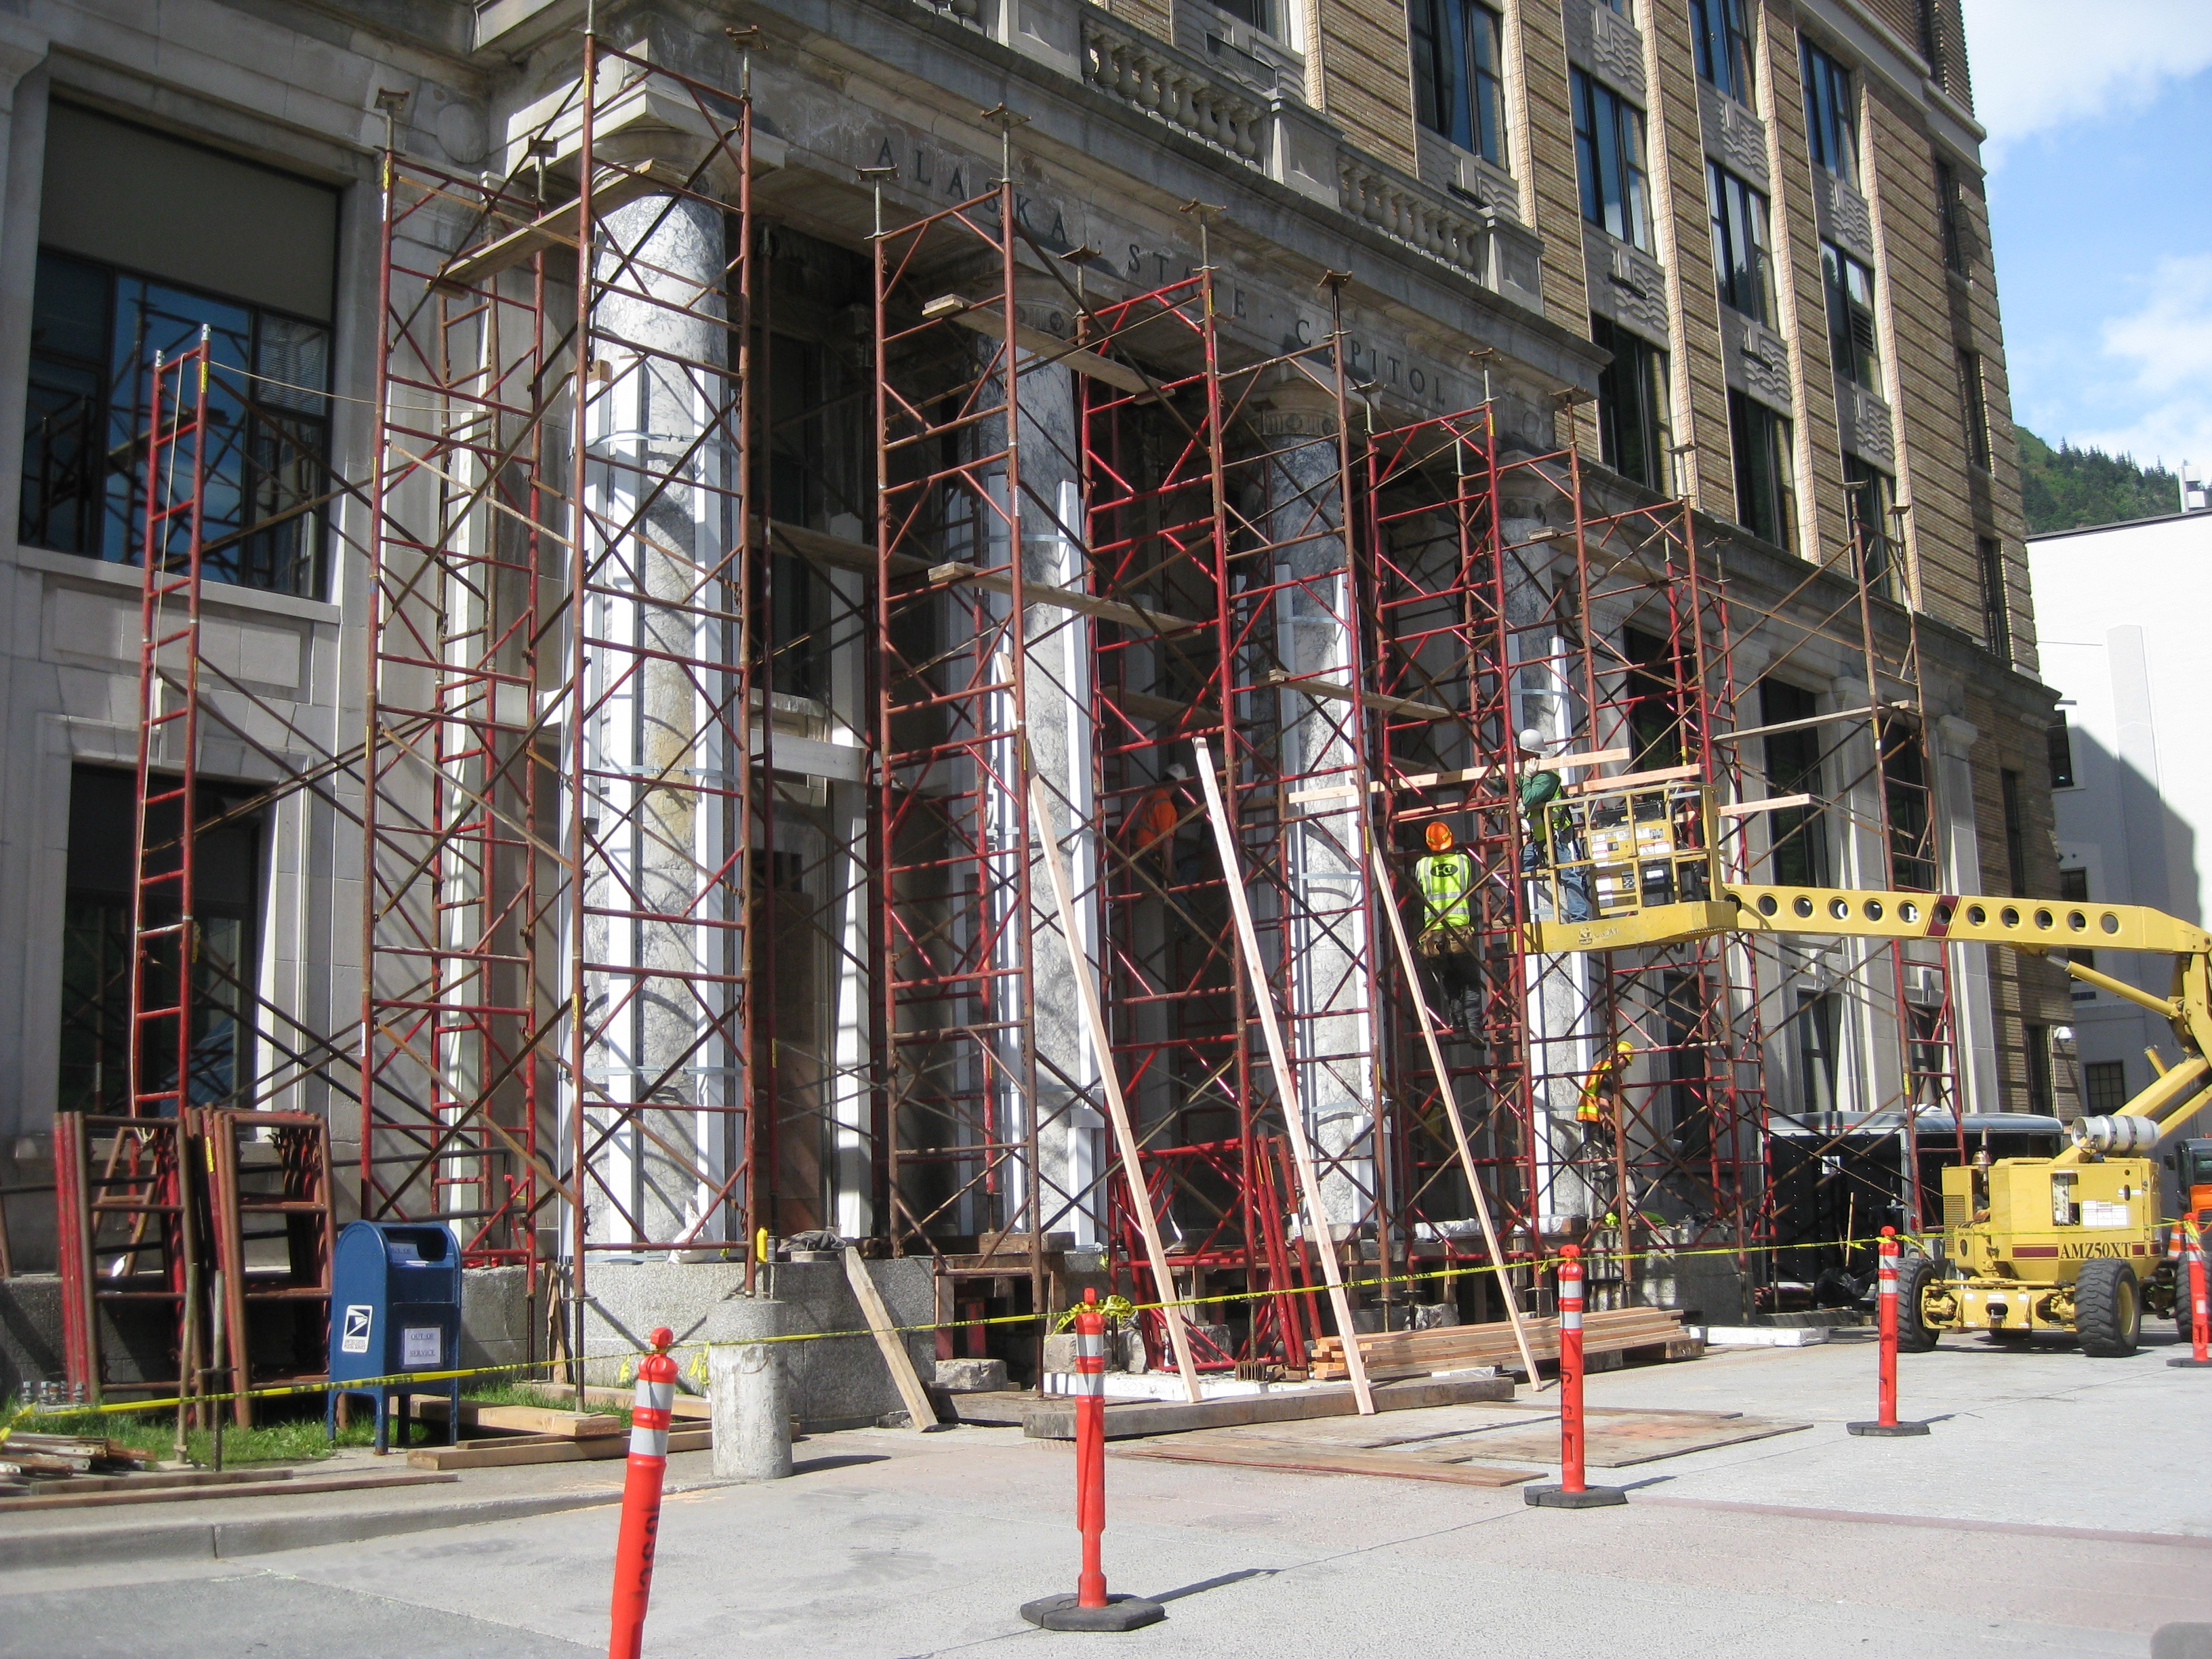
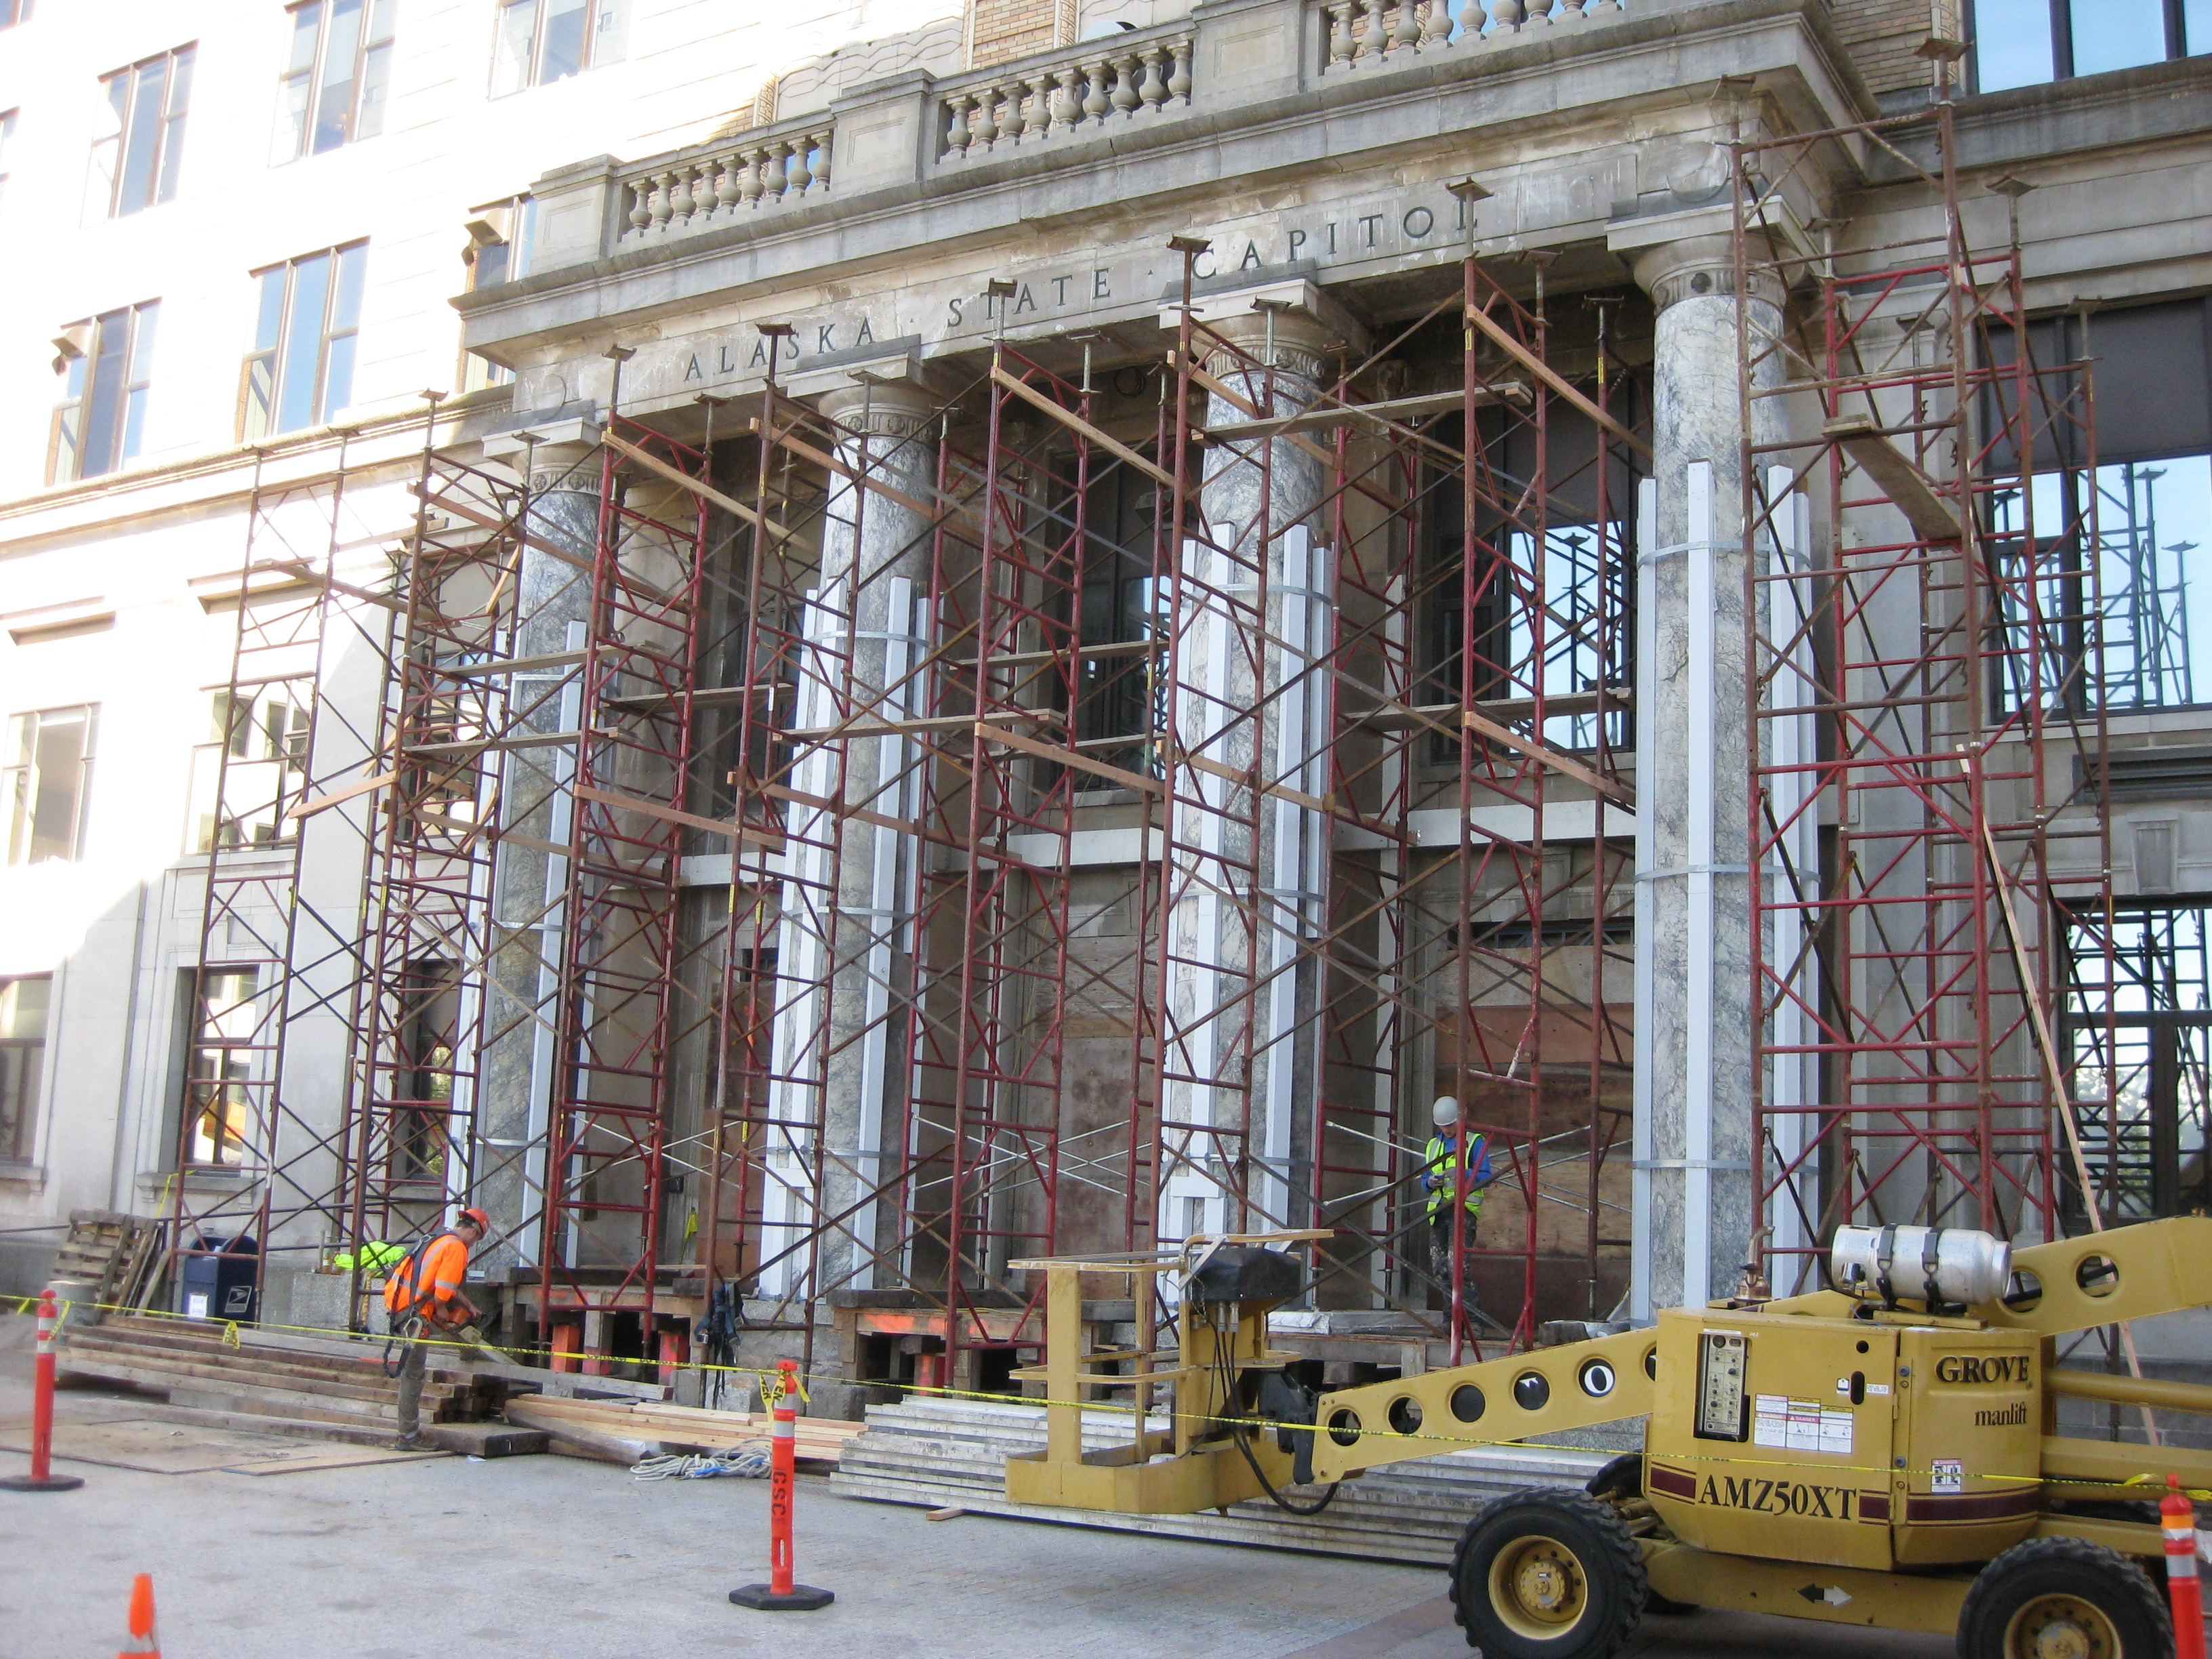
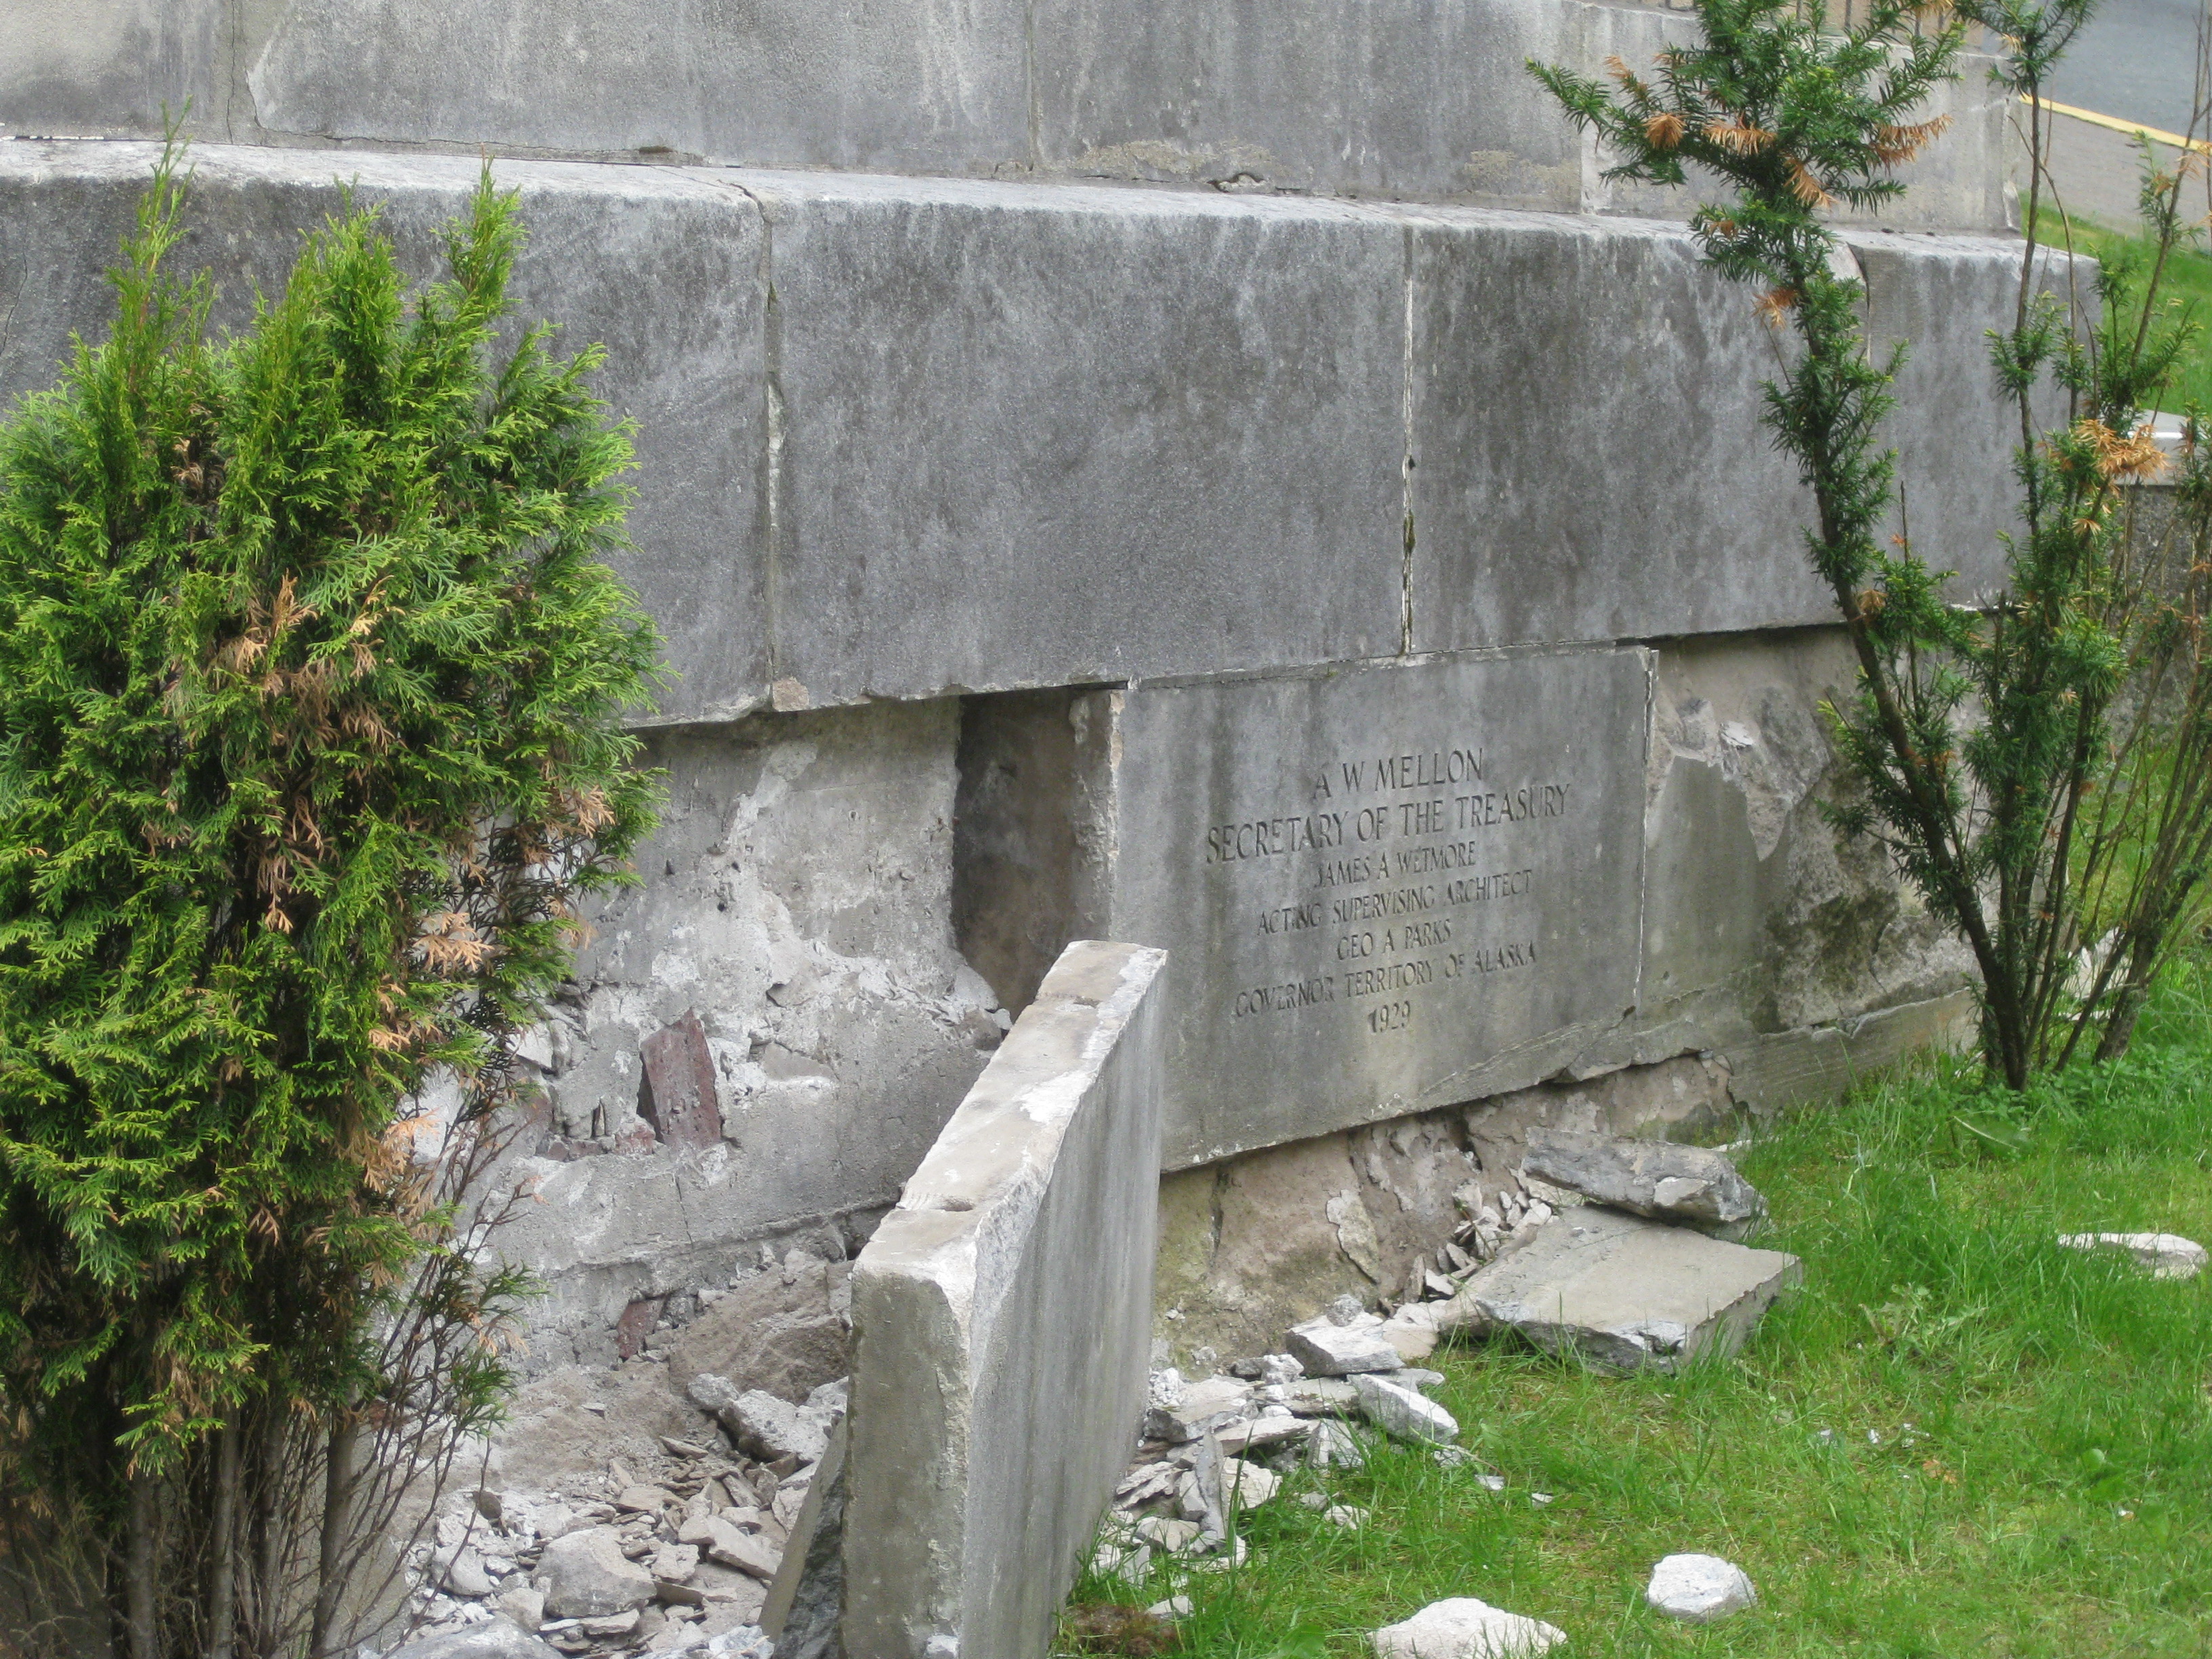
The Alaska State Capitol Seismic Retrofit and Exterior Renovation Project is a multi-year Legislative Council Project to provide much needed upgrades to Alaska's 85 year old Capitol building. The Legislature has been setting capital funds aside since 2006 for the Capitol's exterior repair and heating upgrades. Mr. Paul Lukes with Building Envelope Consulting Services LLC performed several studies on the effects of 80 years of weather on the building's exterior that has begun to display signs of leakage, degradation and stress such as broken bricks and cracked sandstone along the lower wall and portico roof structure. Legislative Council awarded RFP 591 to Jensen Yorba Lott, Inc. for design services, construction documents and, if needed, bidding and construction services for a seismic retrofit beginning January 1, 2013, and ending December 31, 2016.
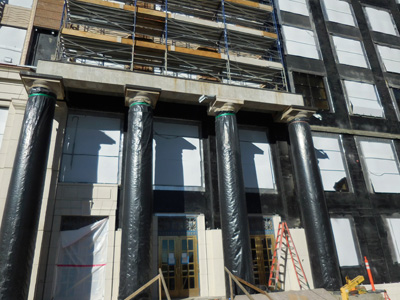
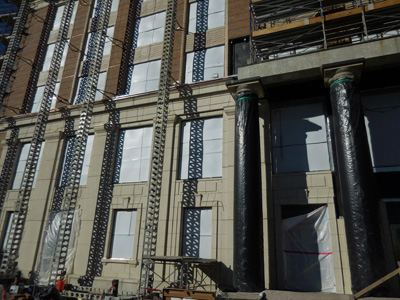
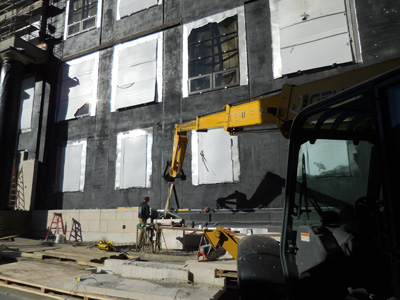
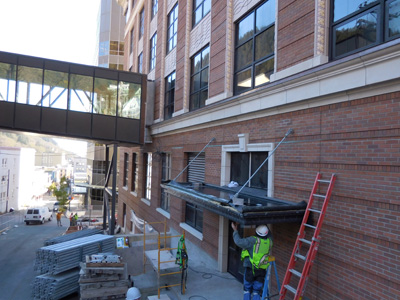
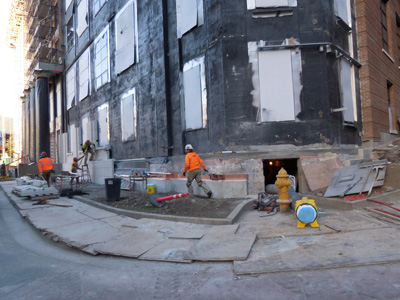
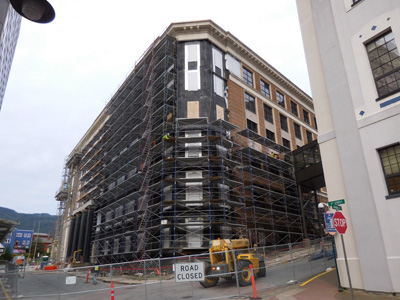
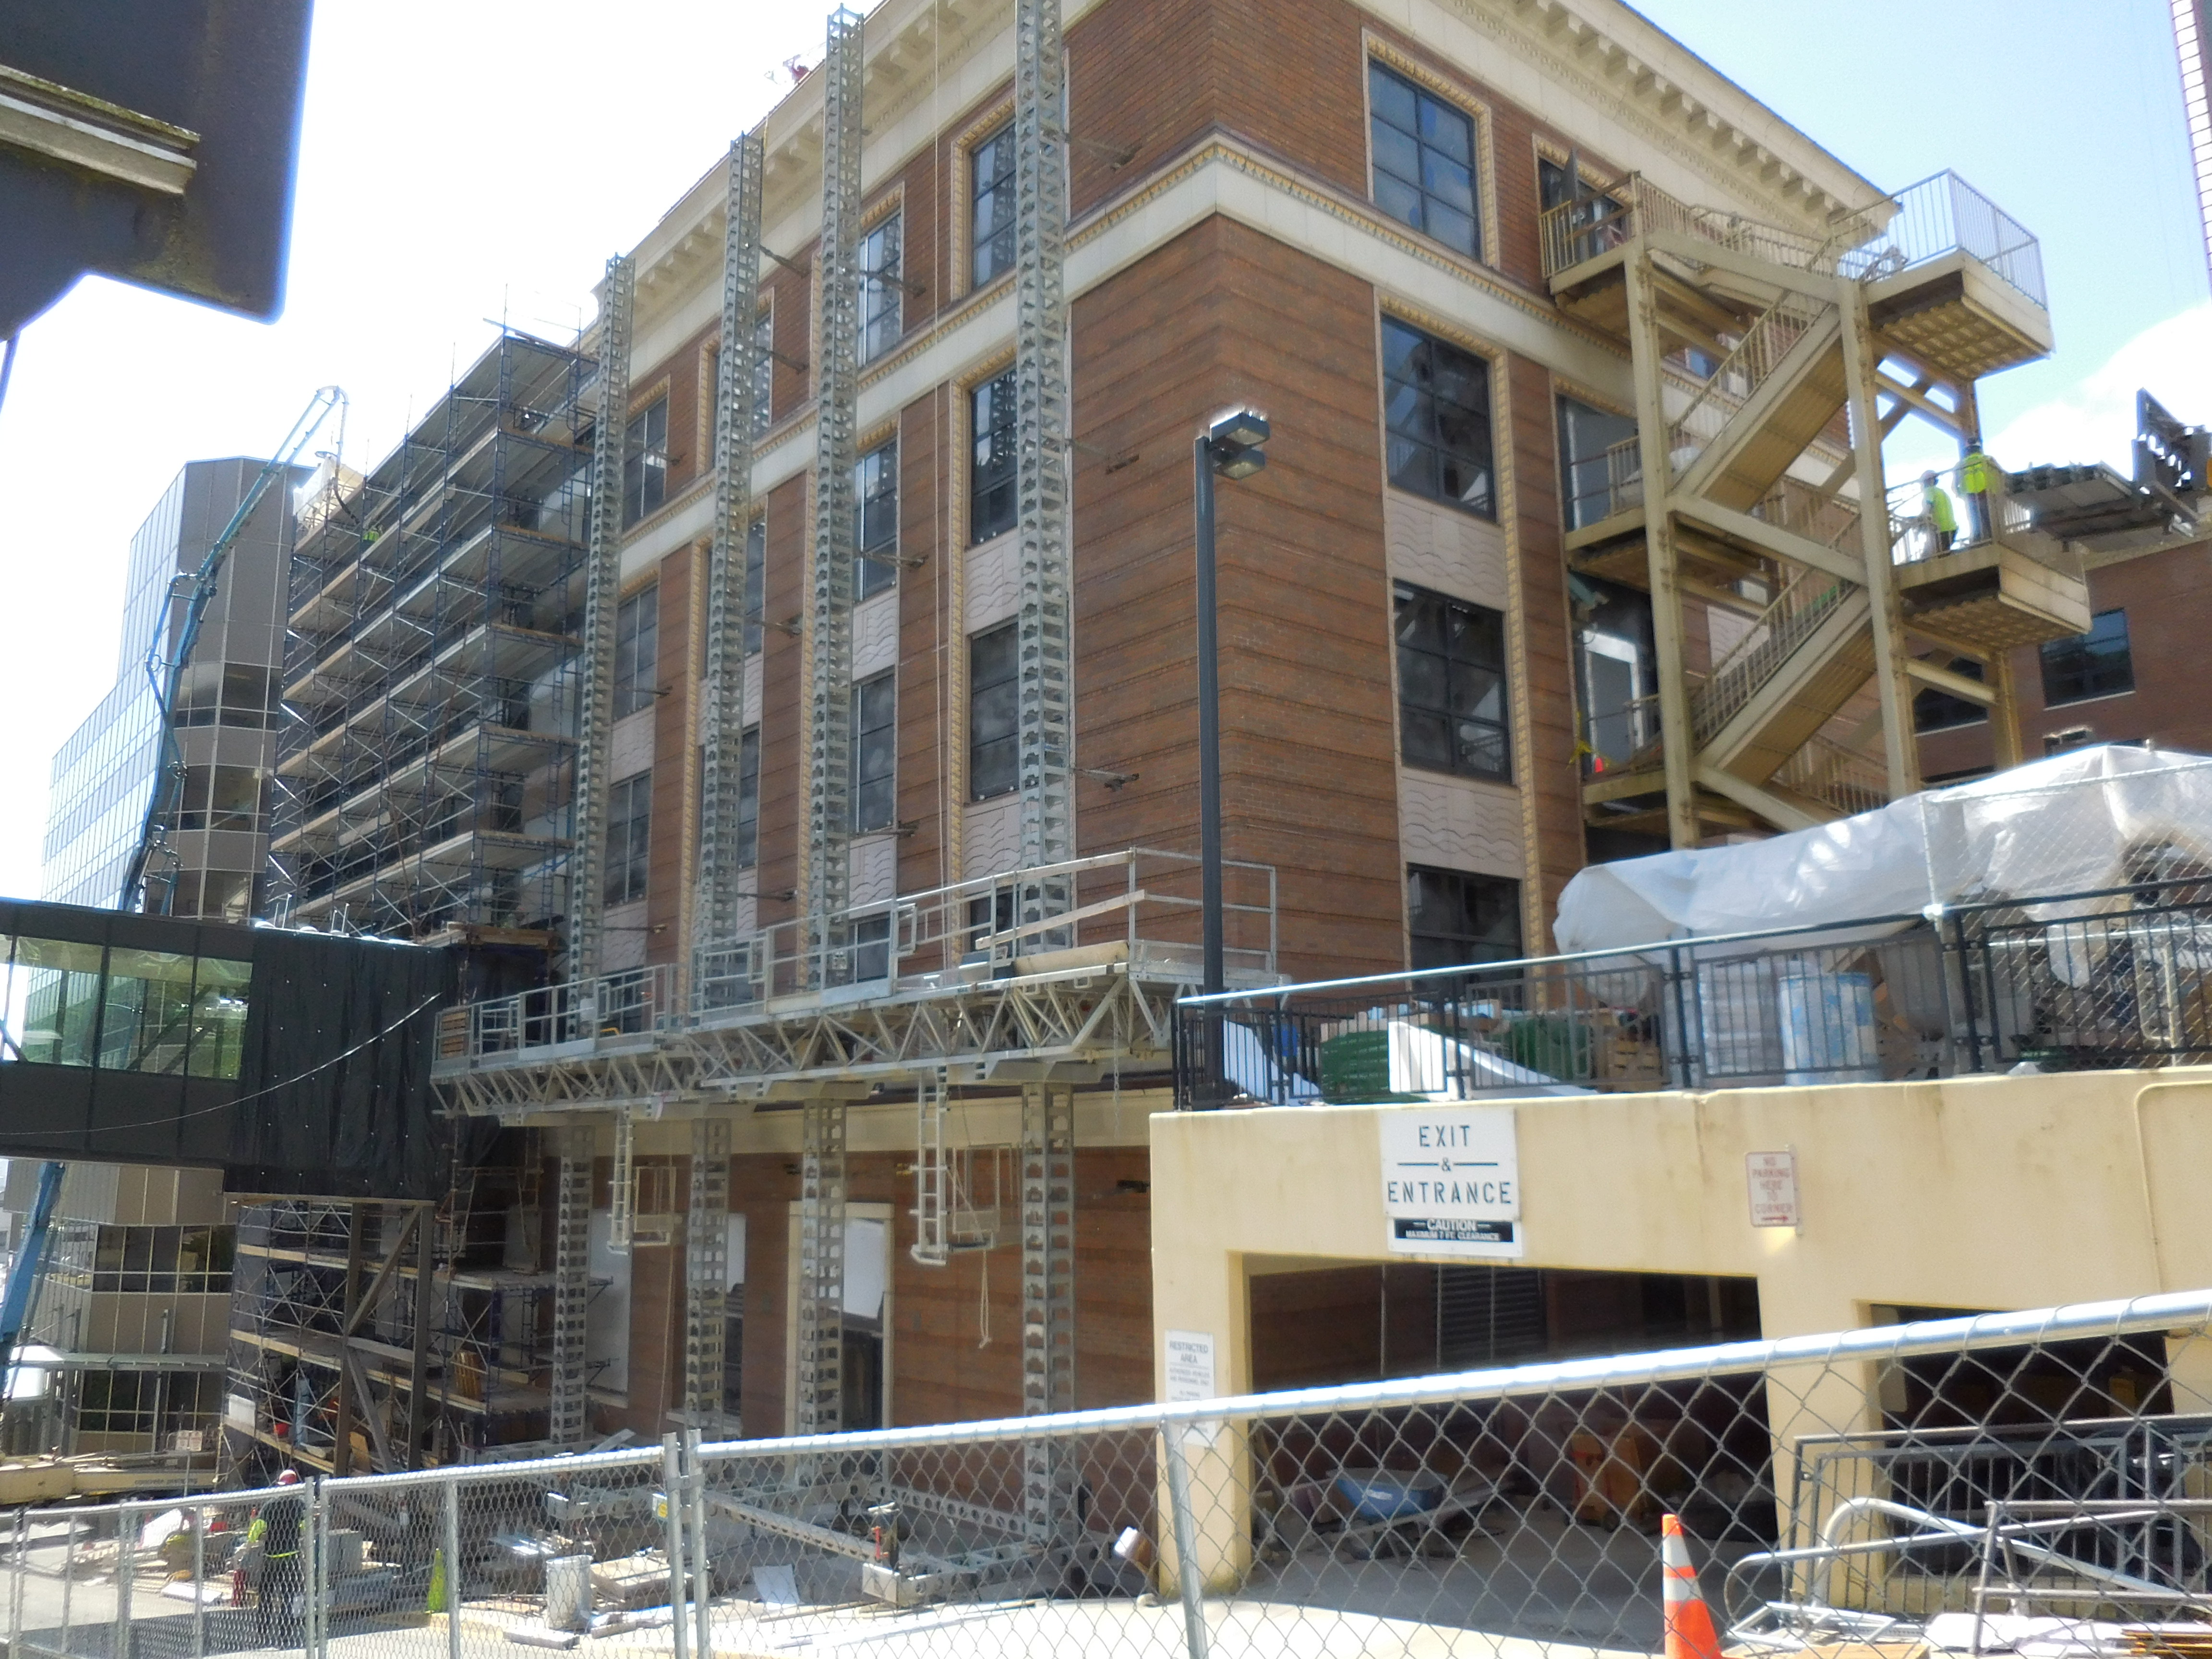
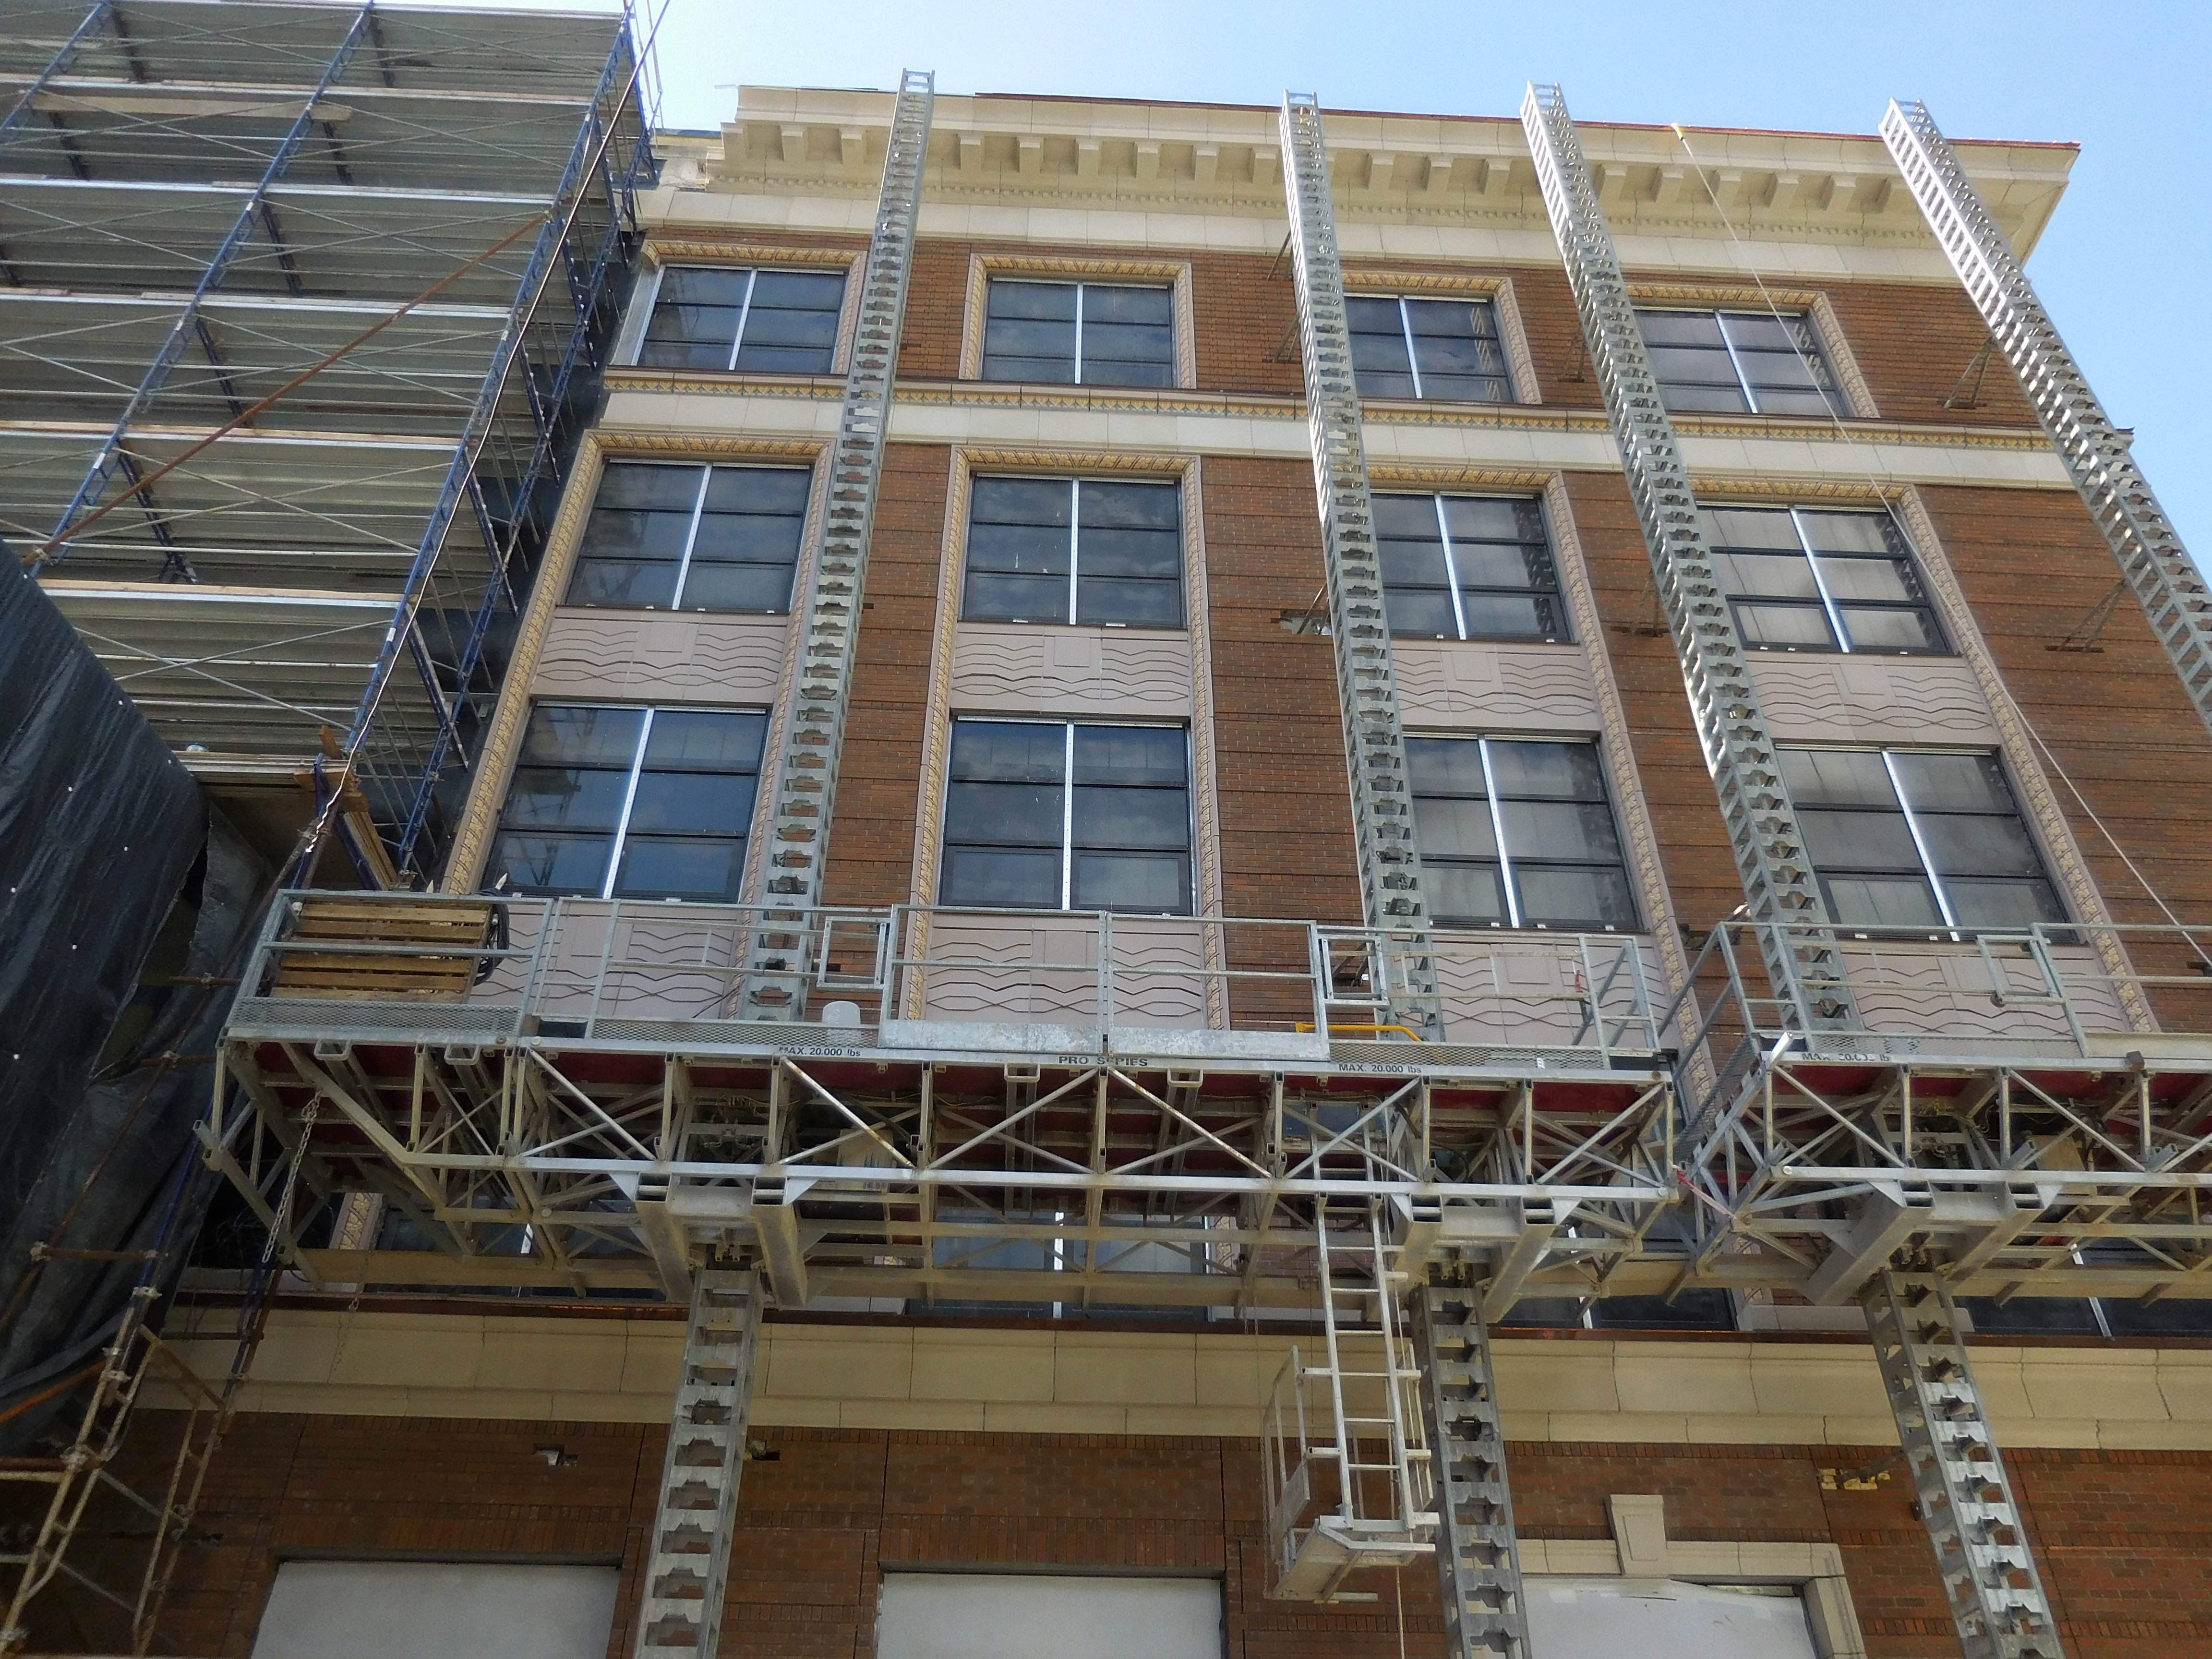
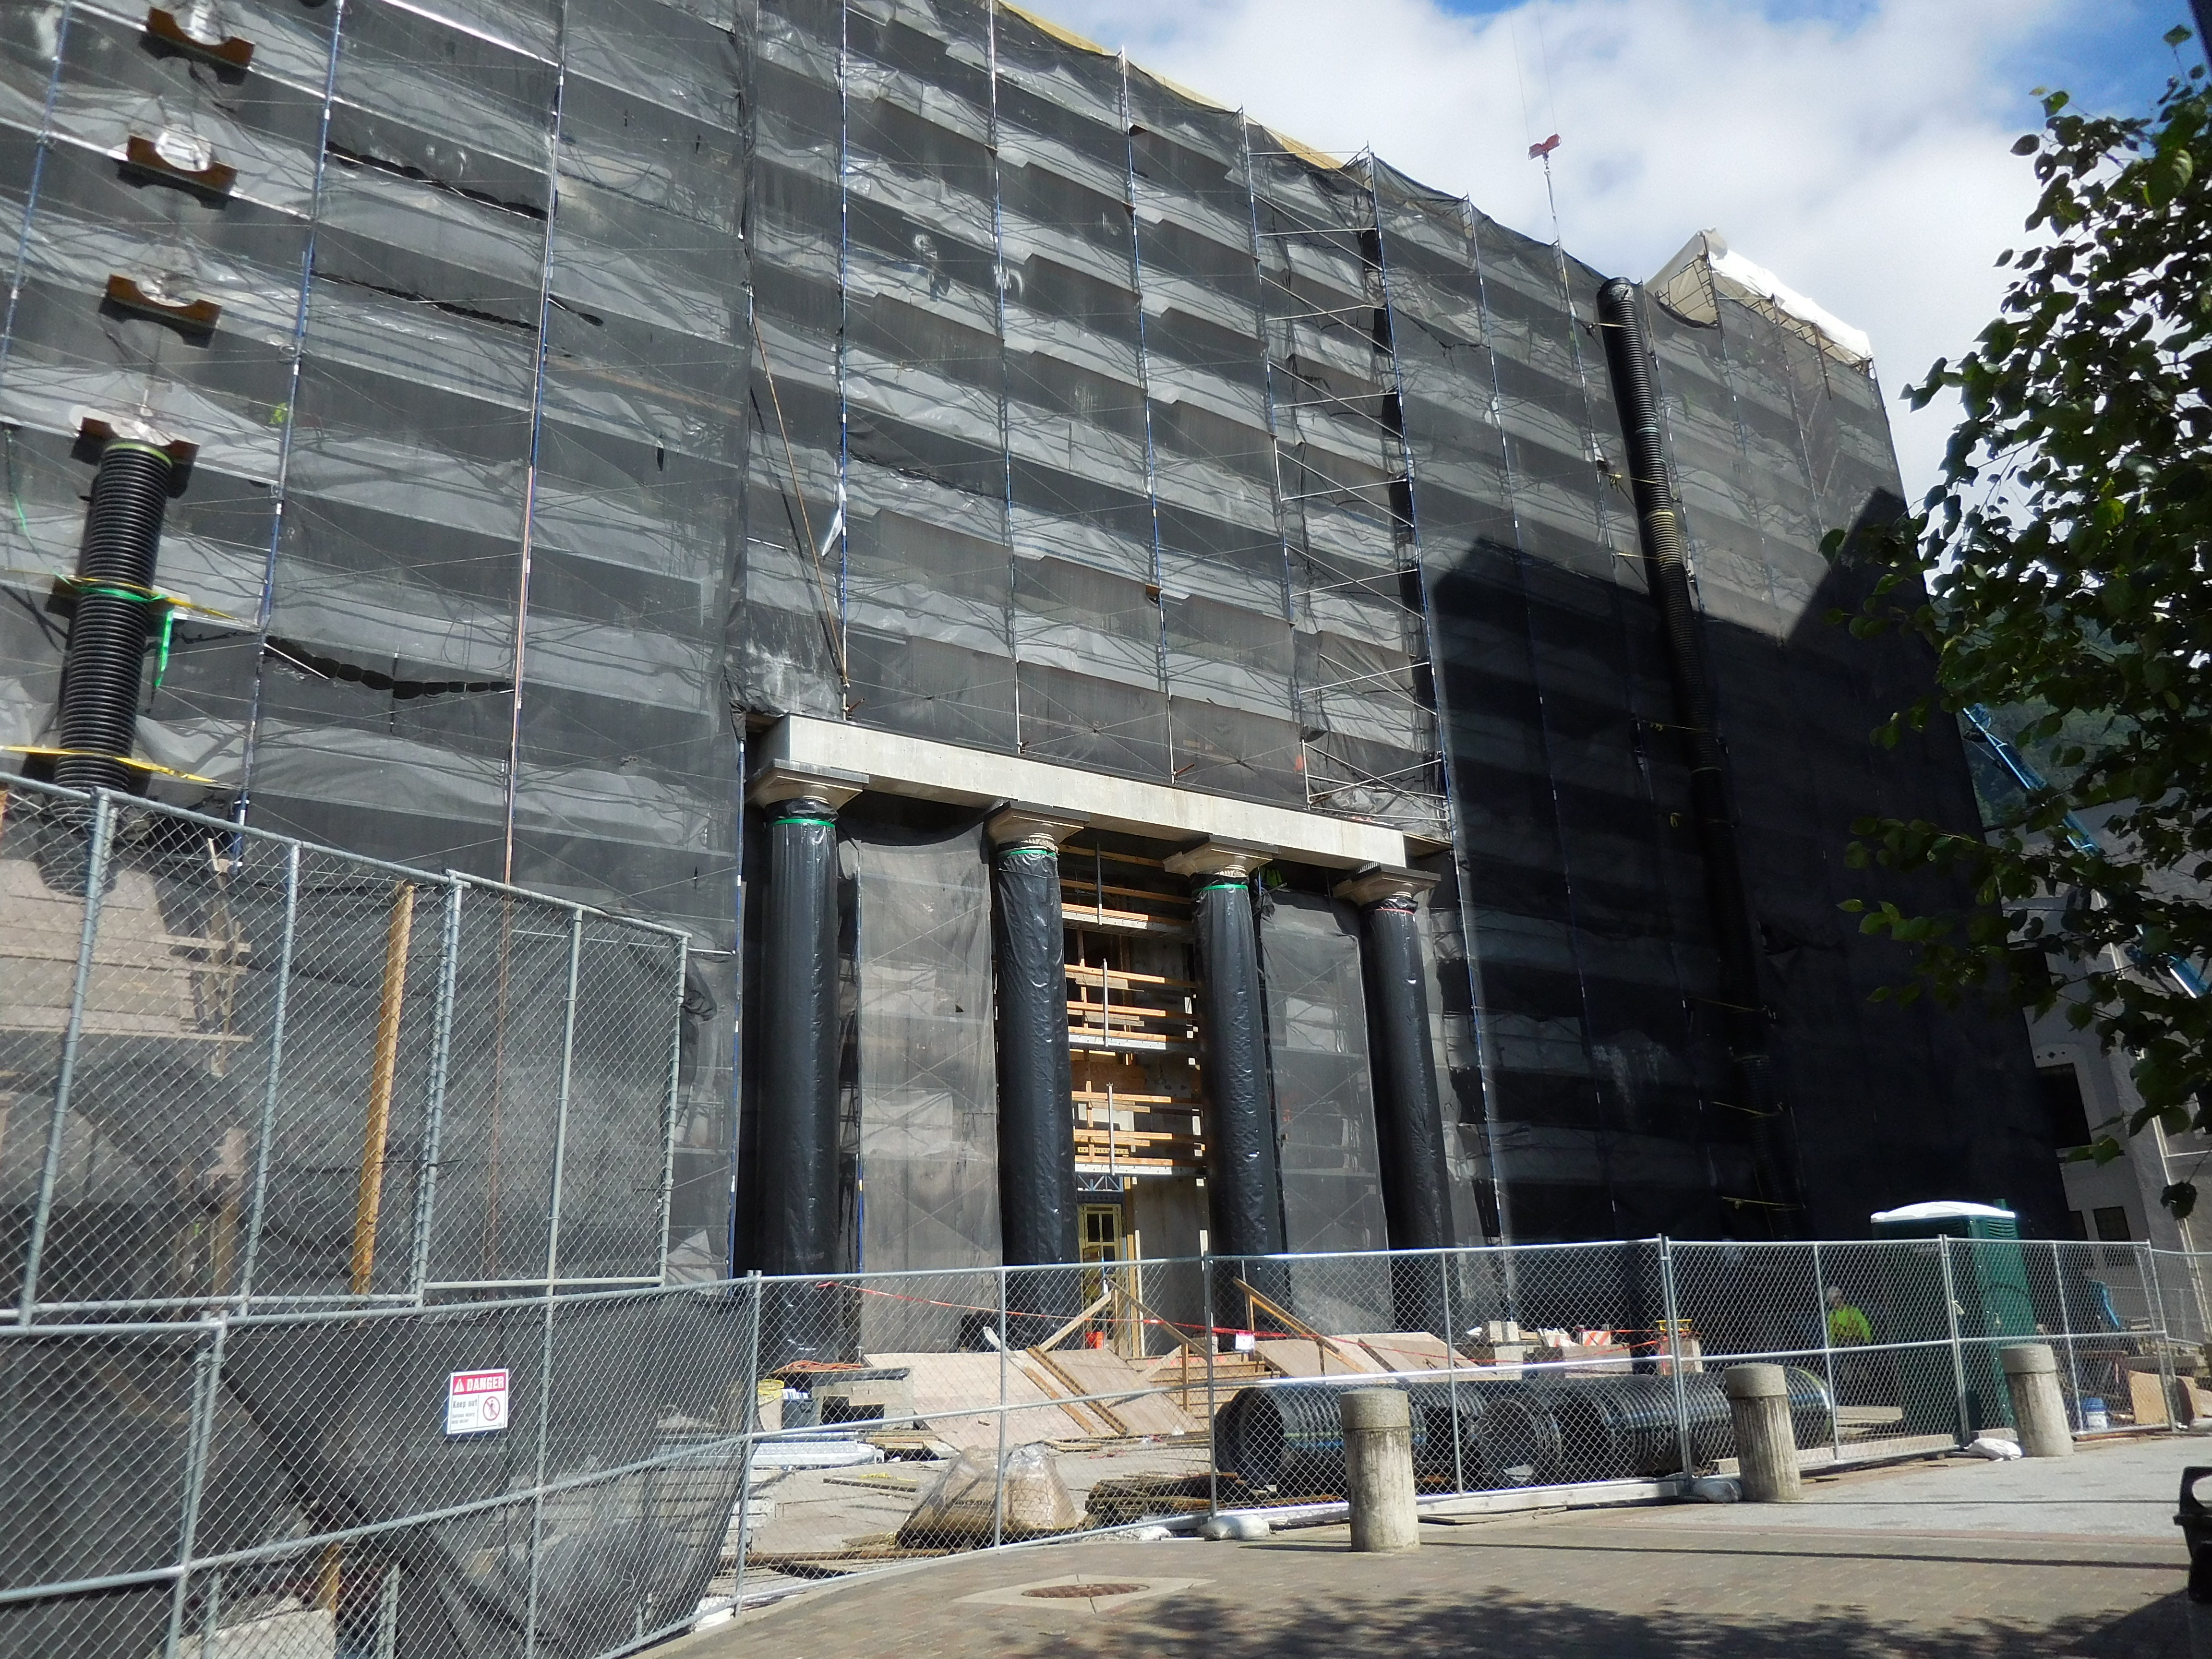
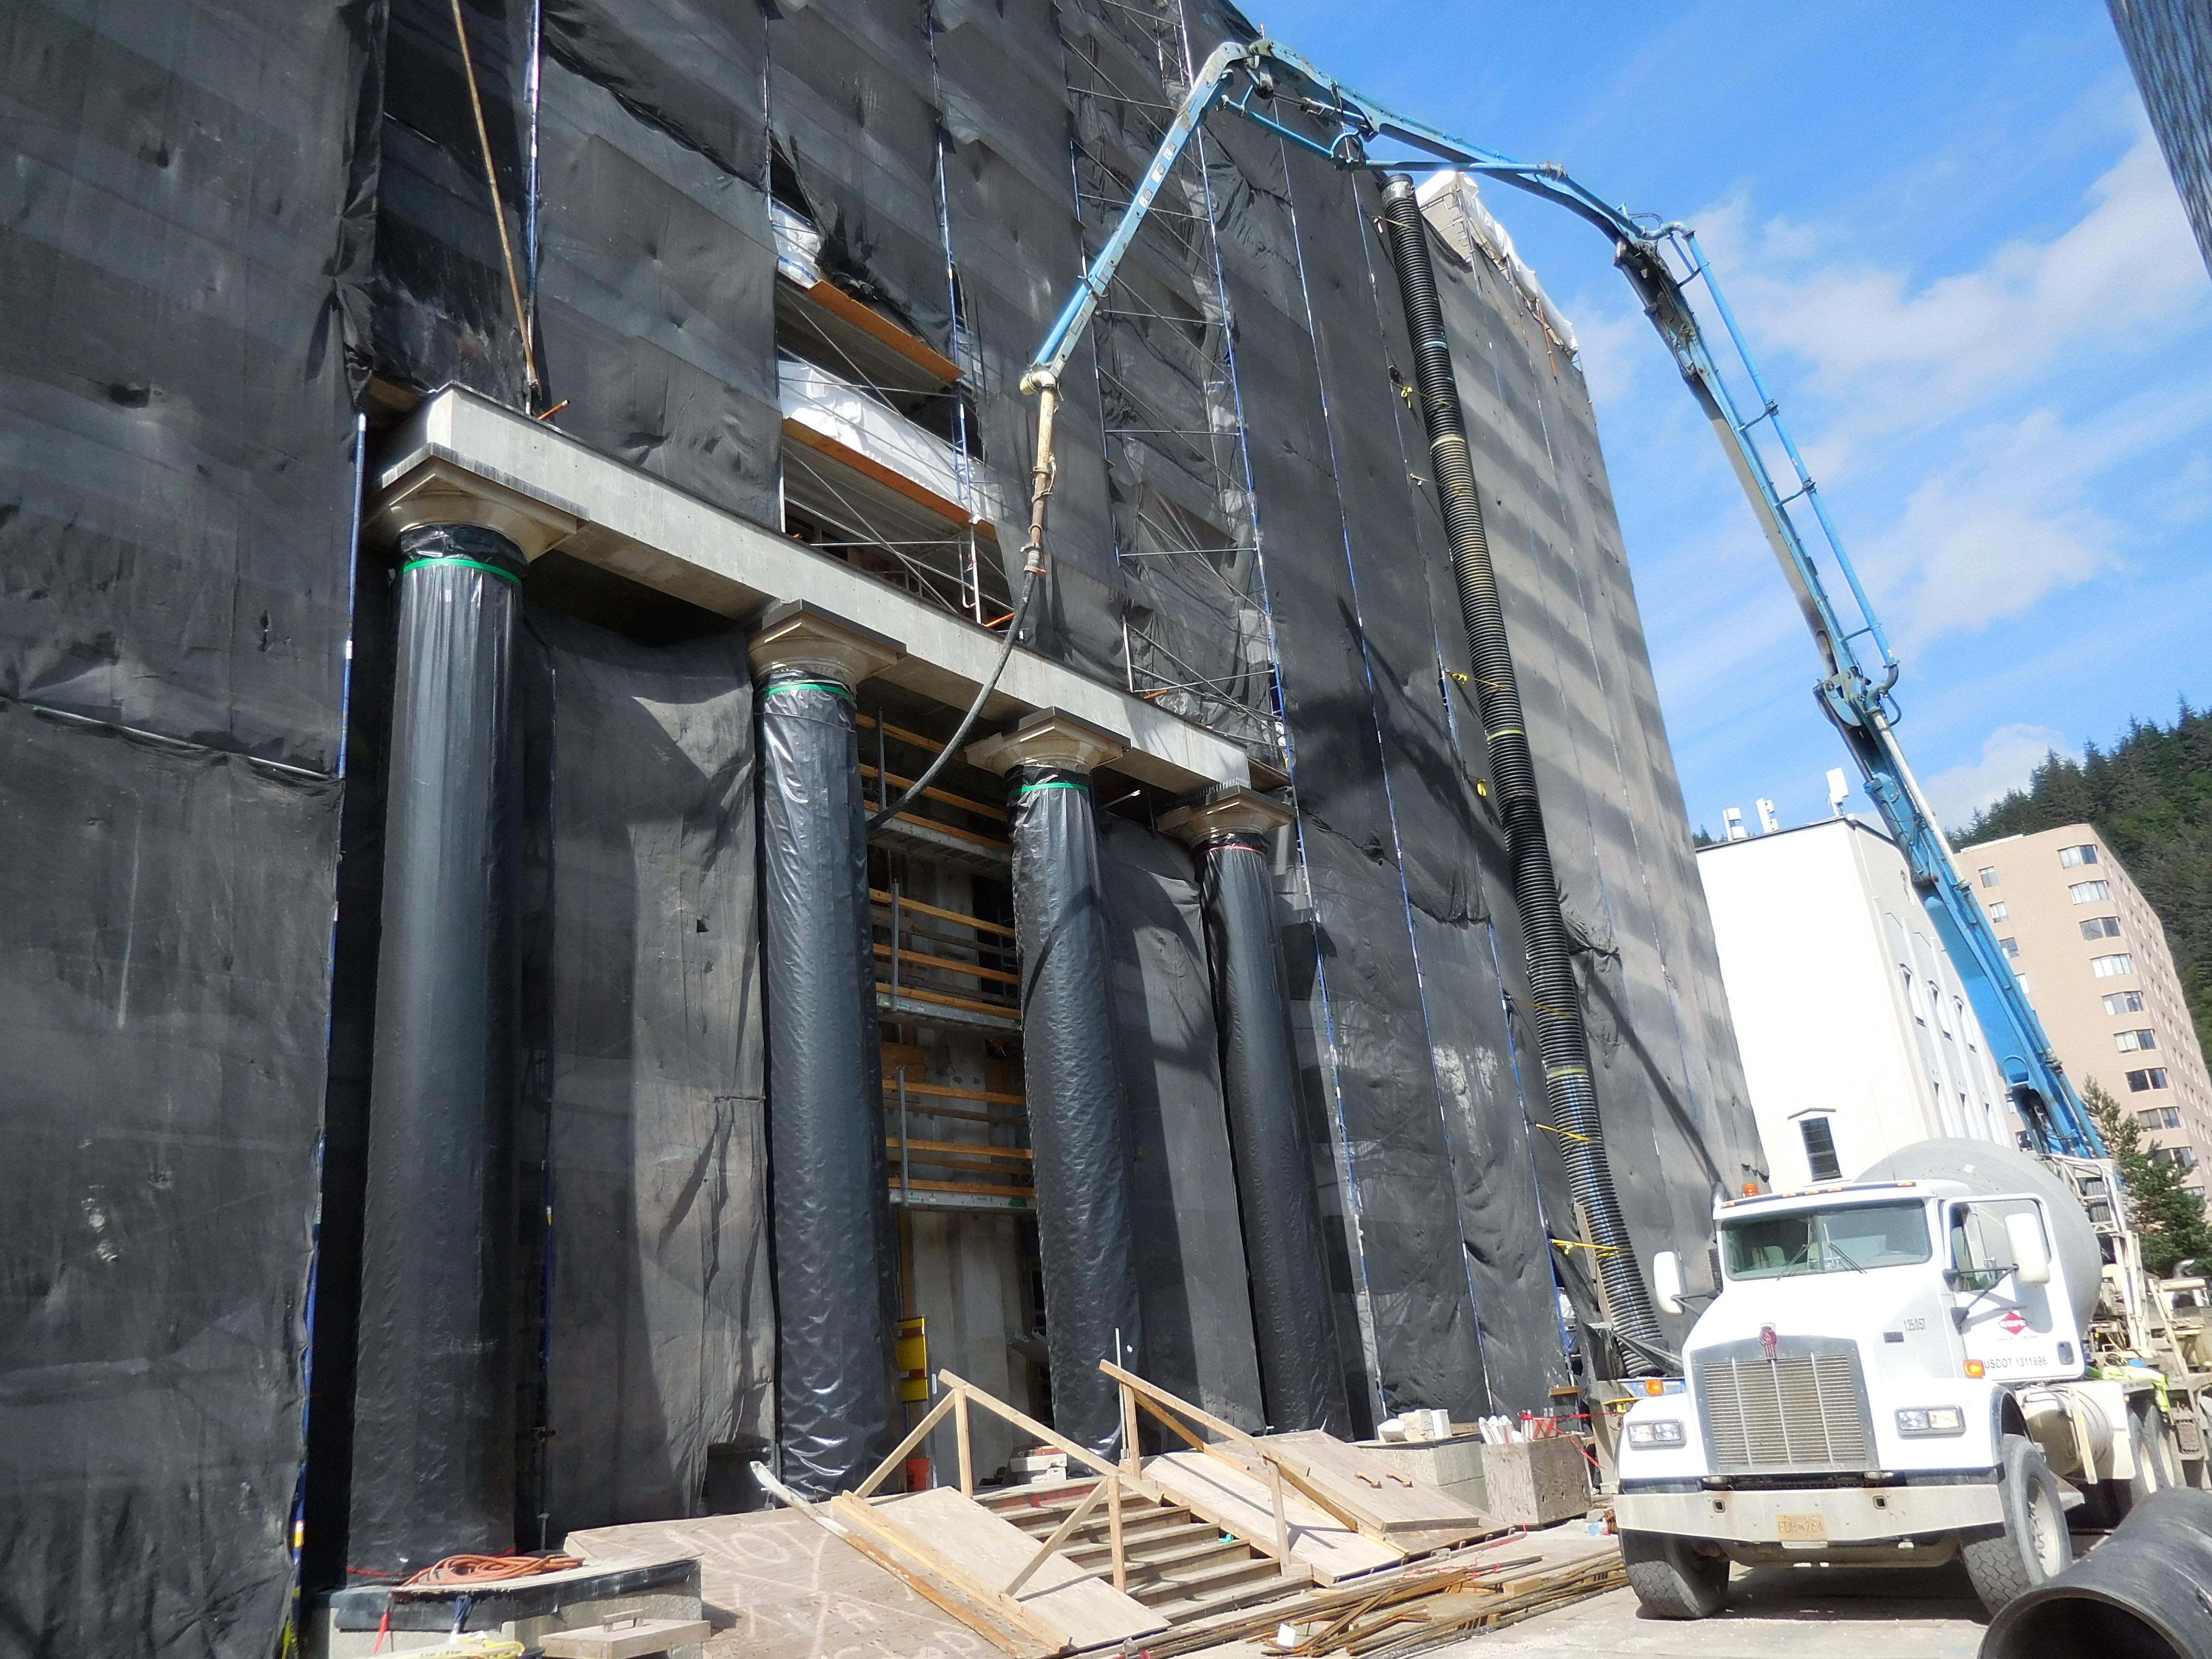
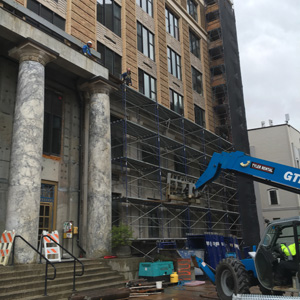
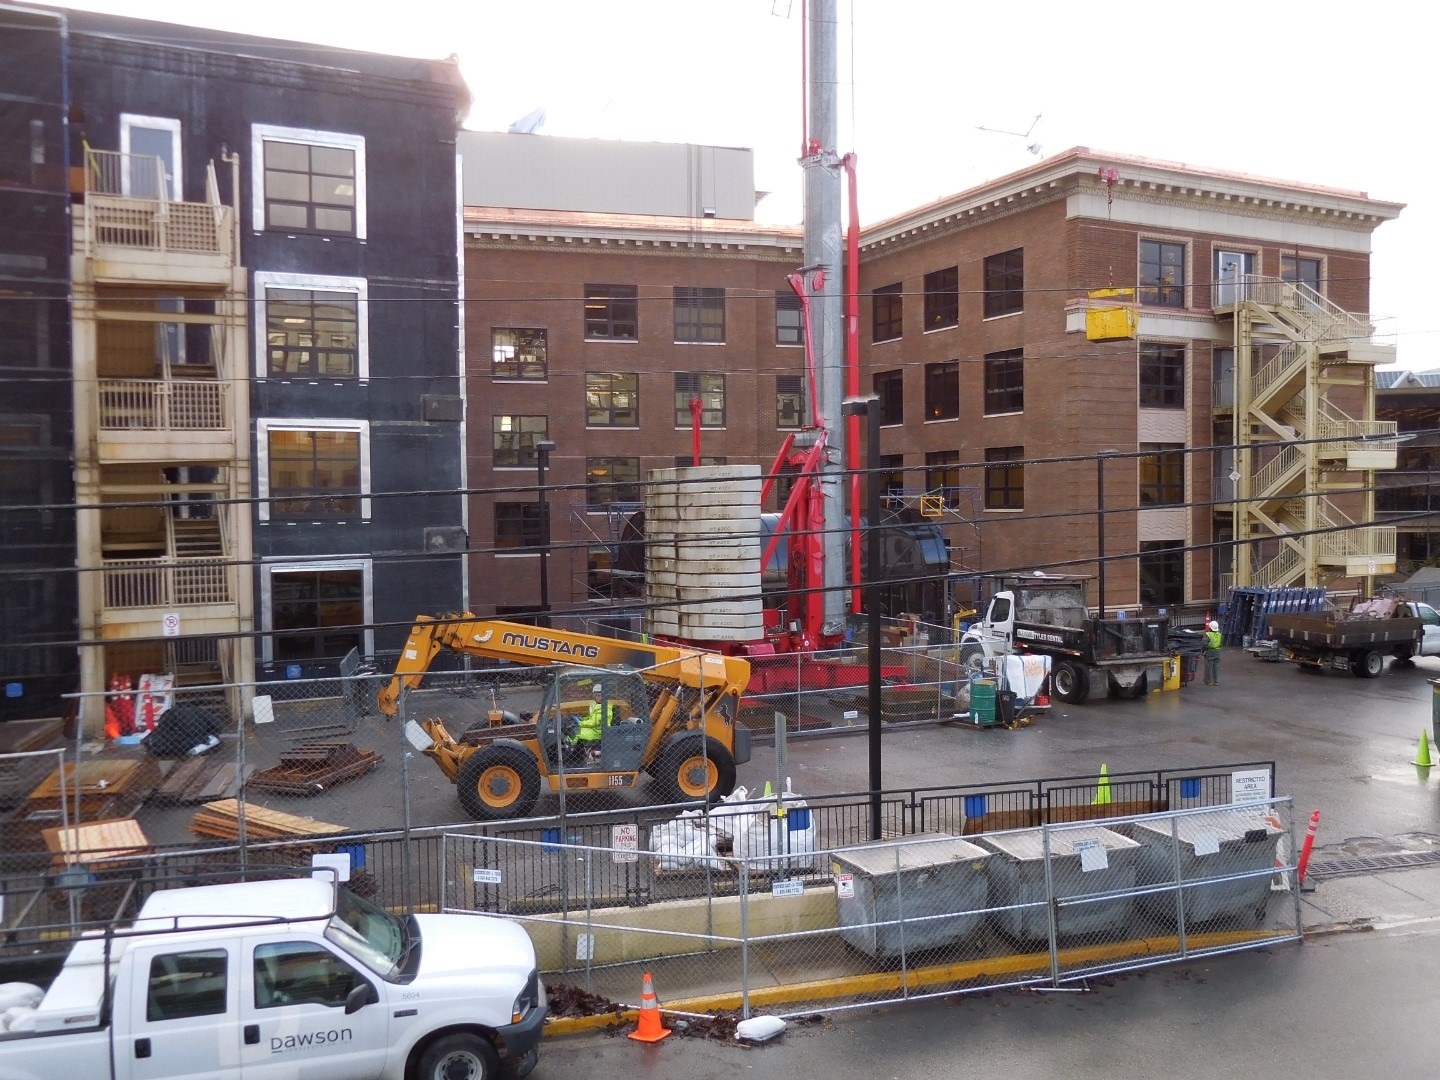
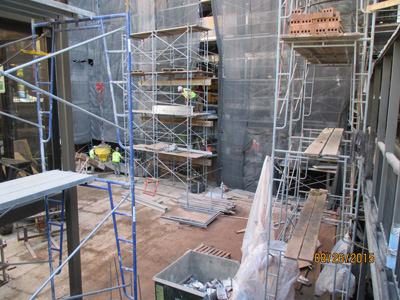
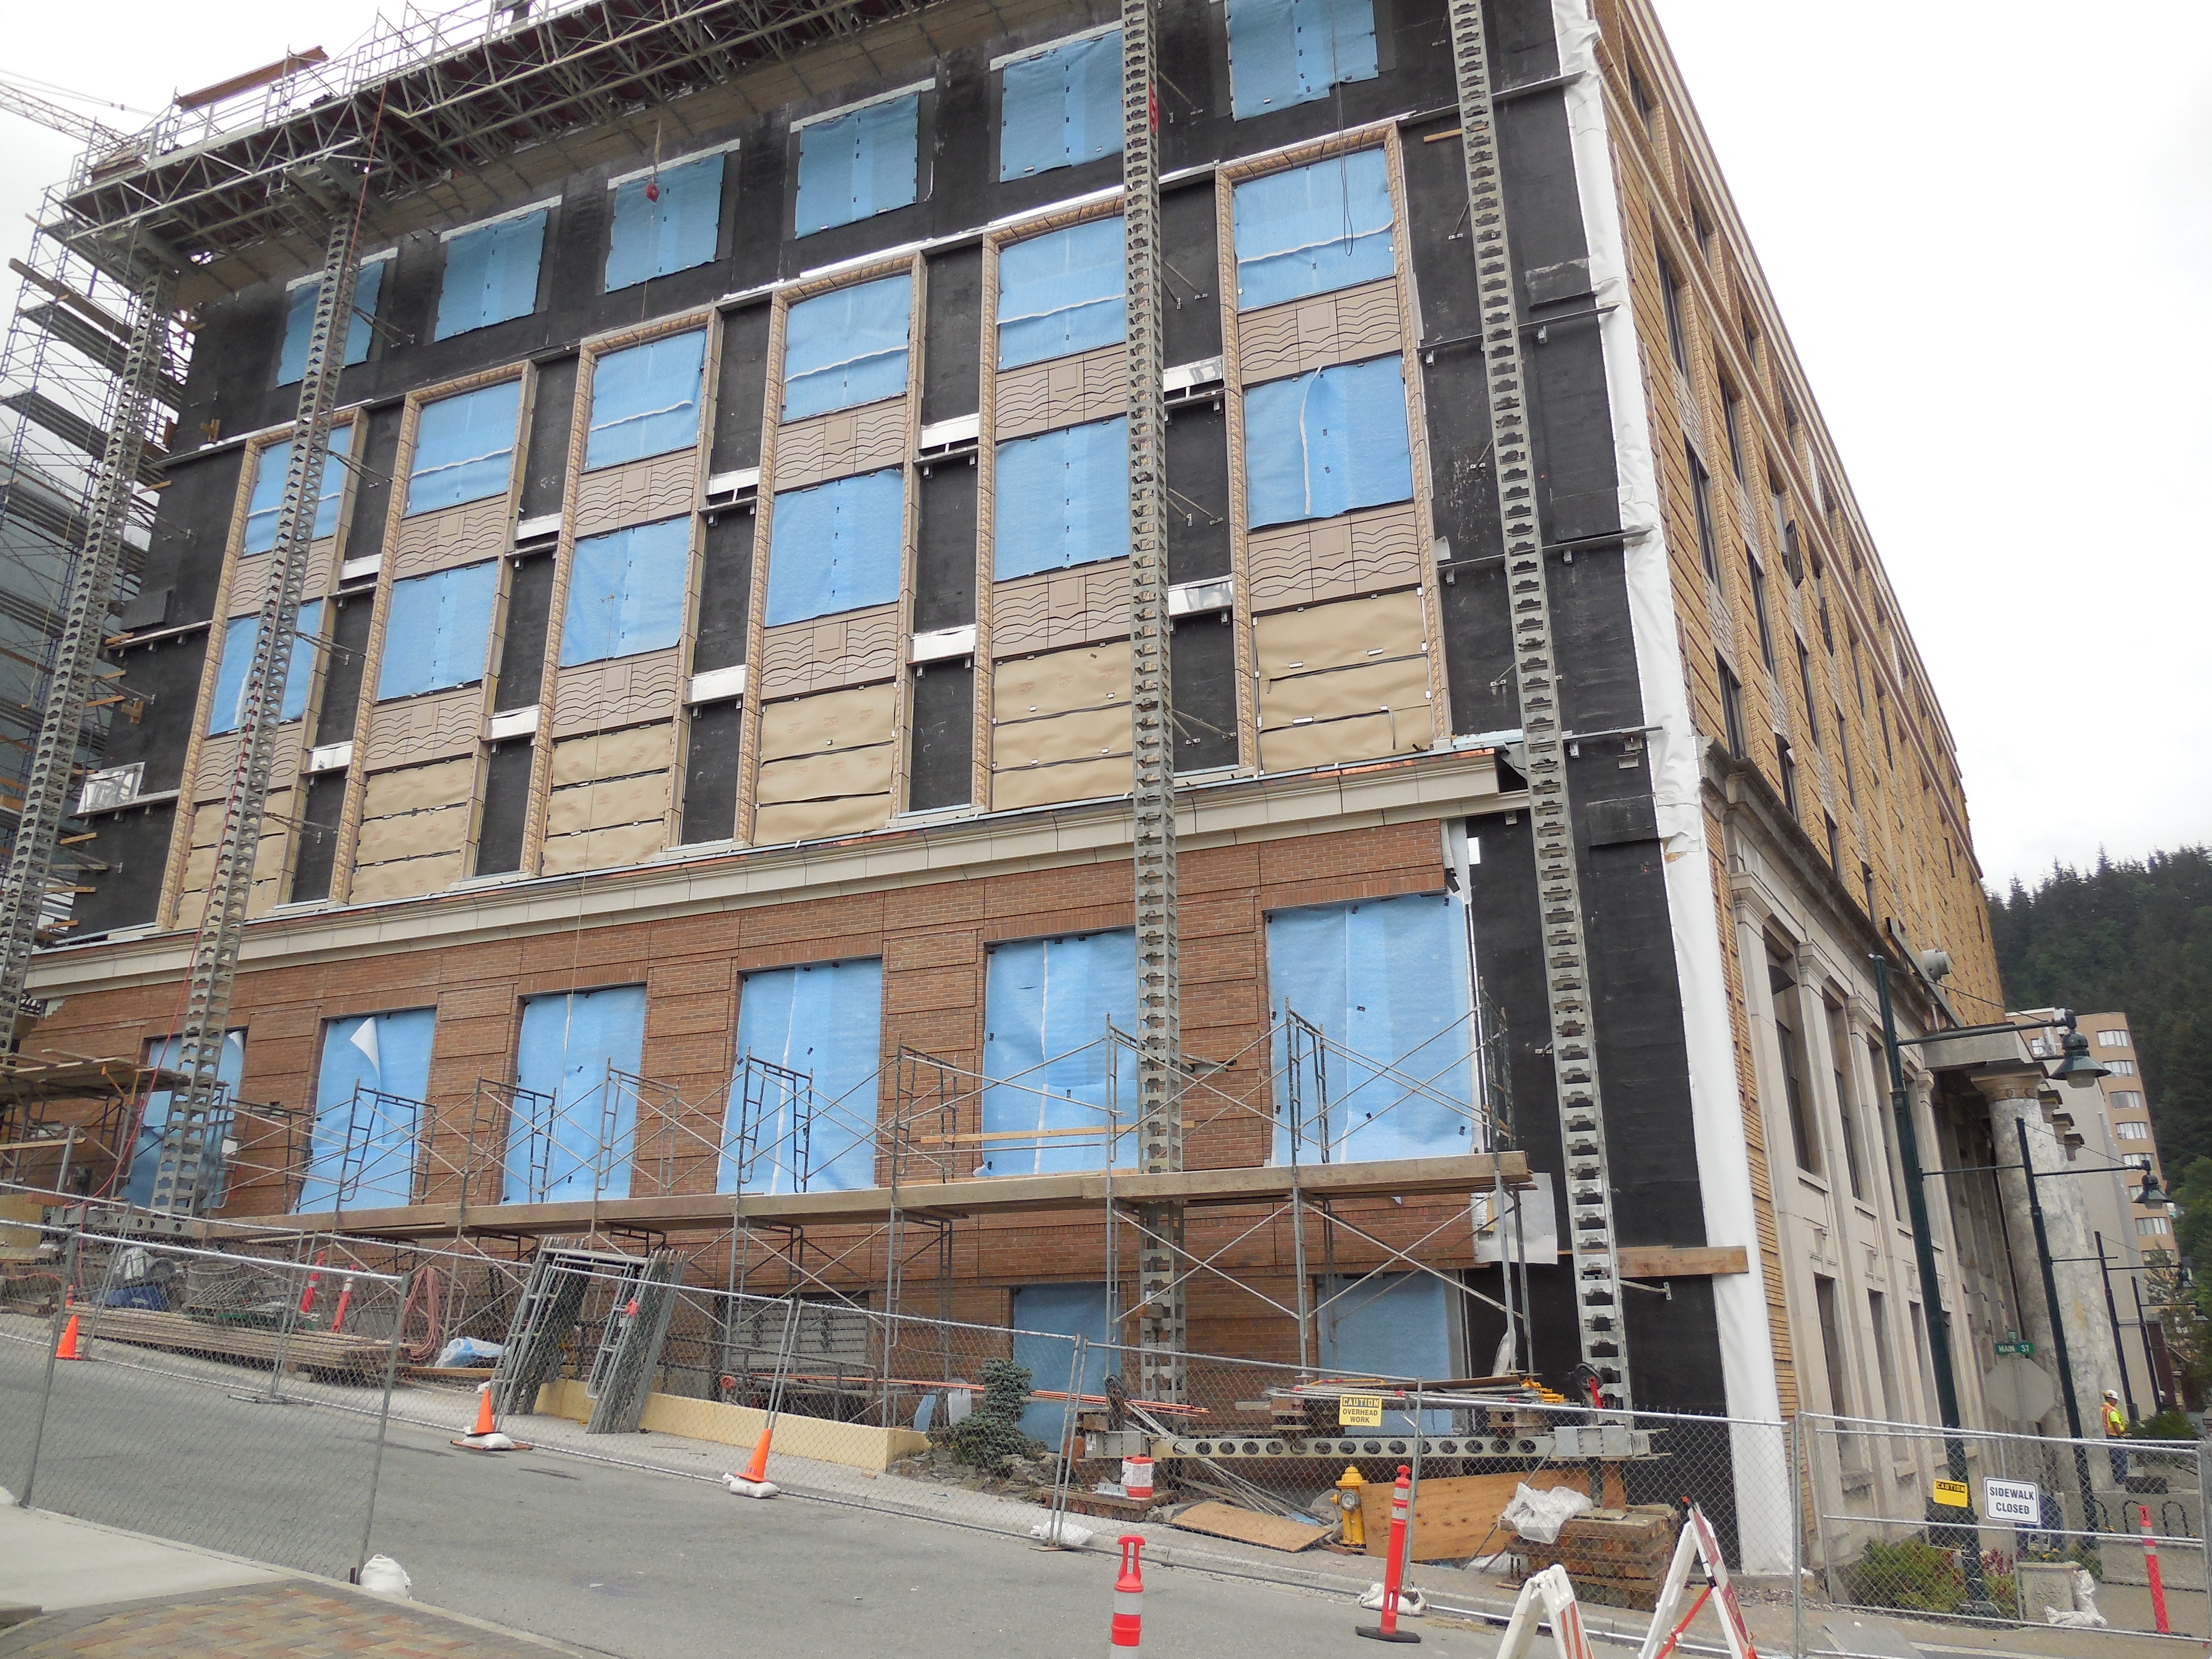
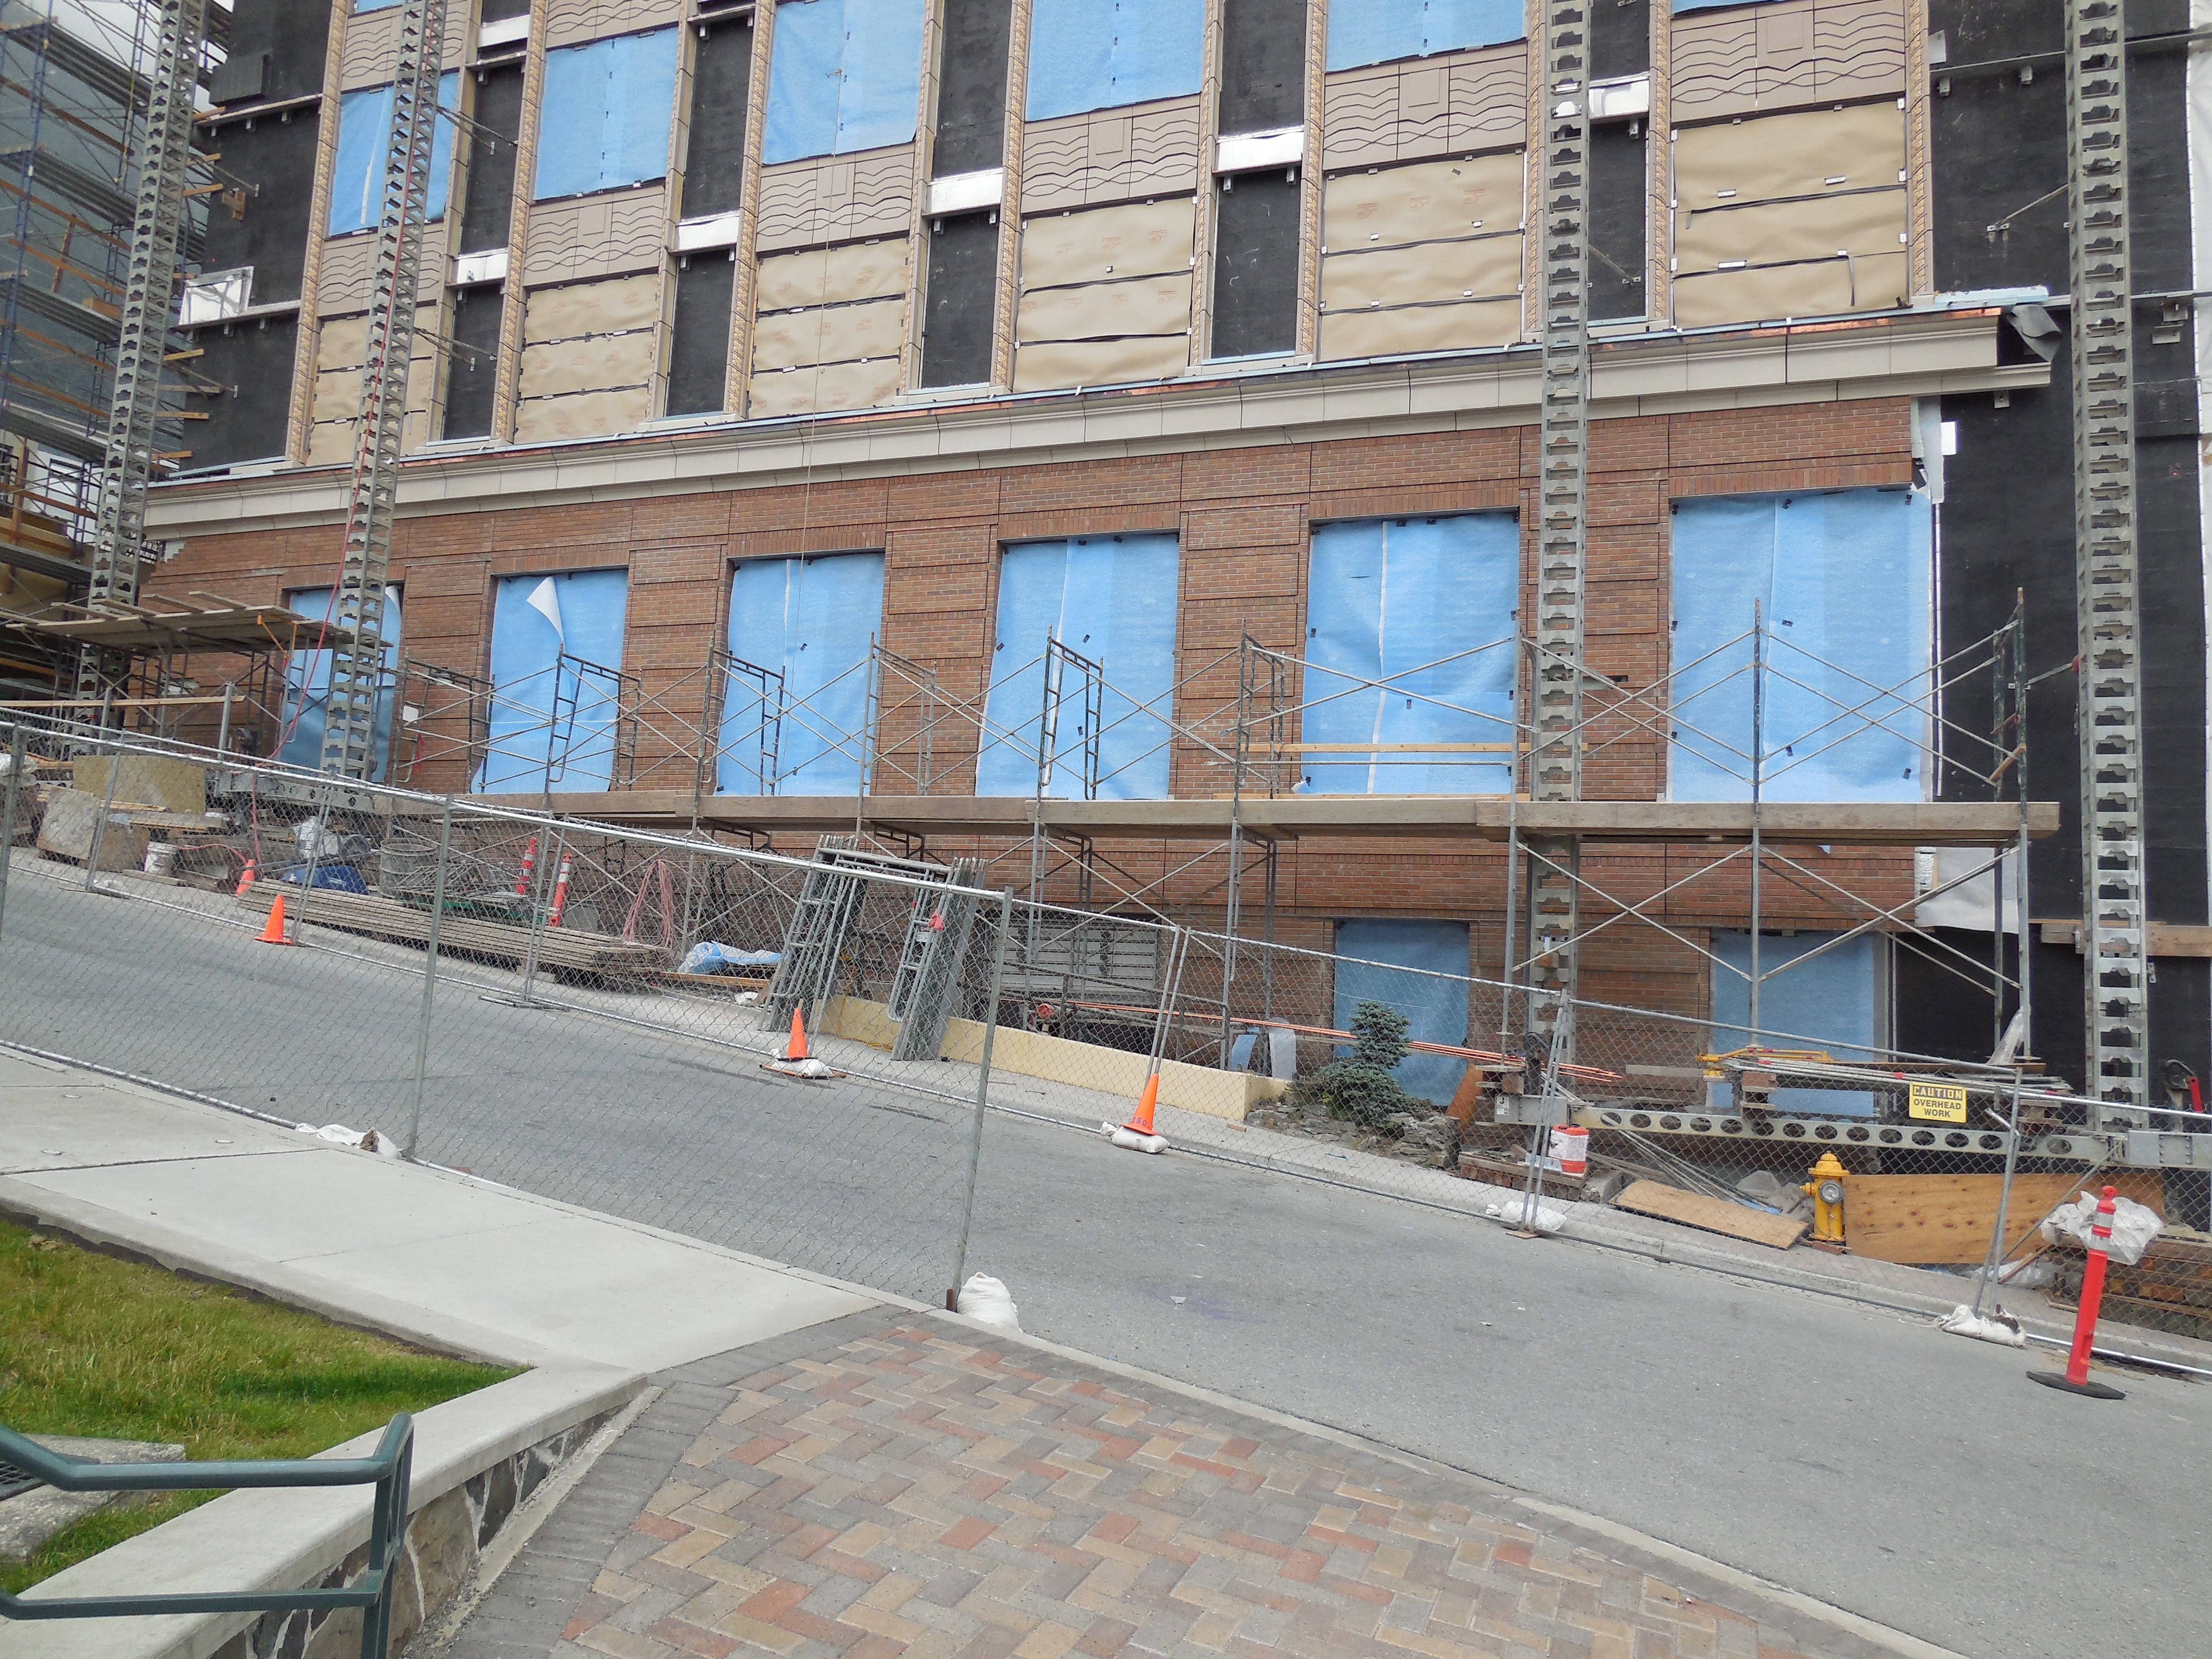
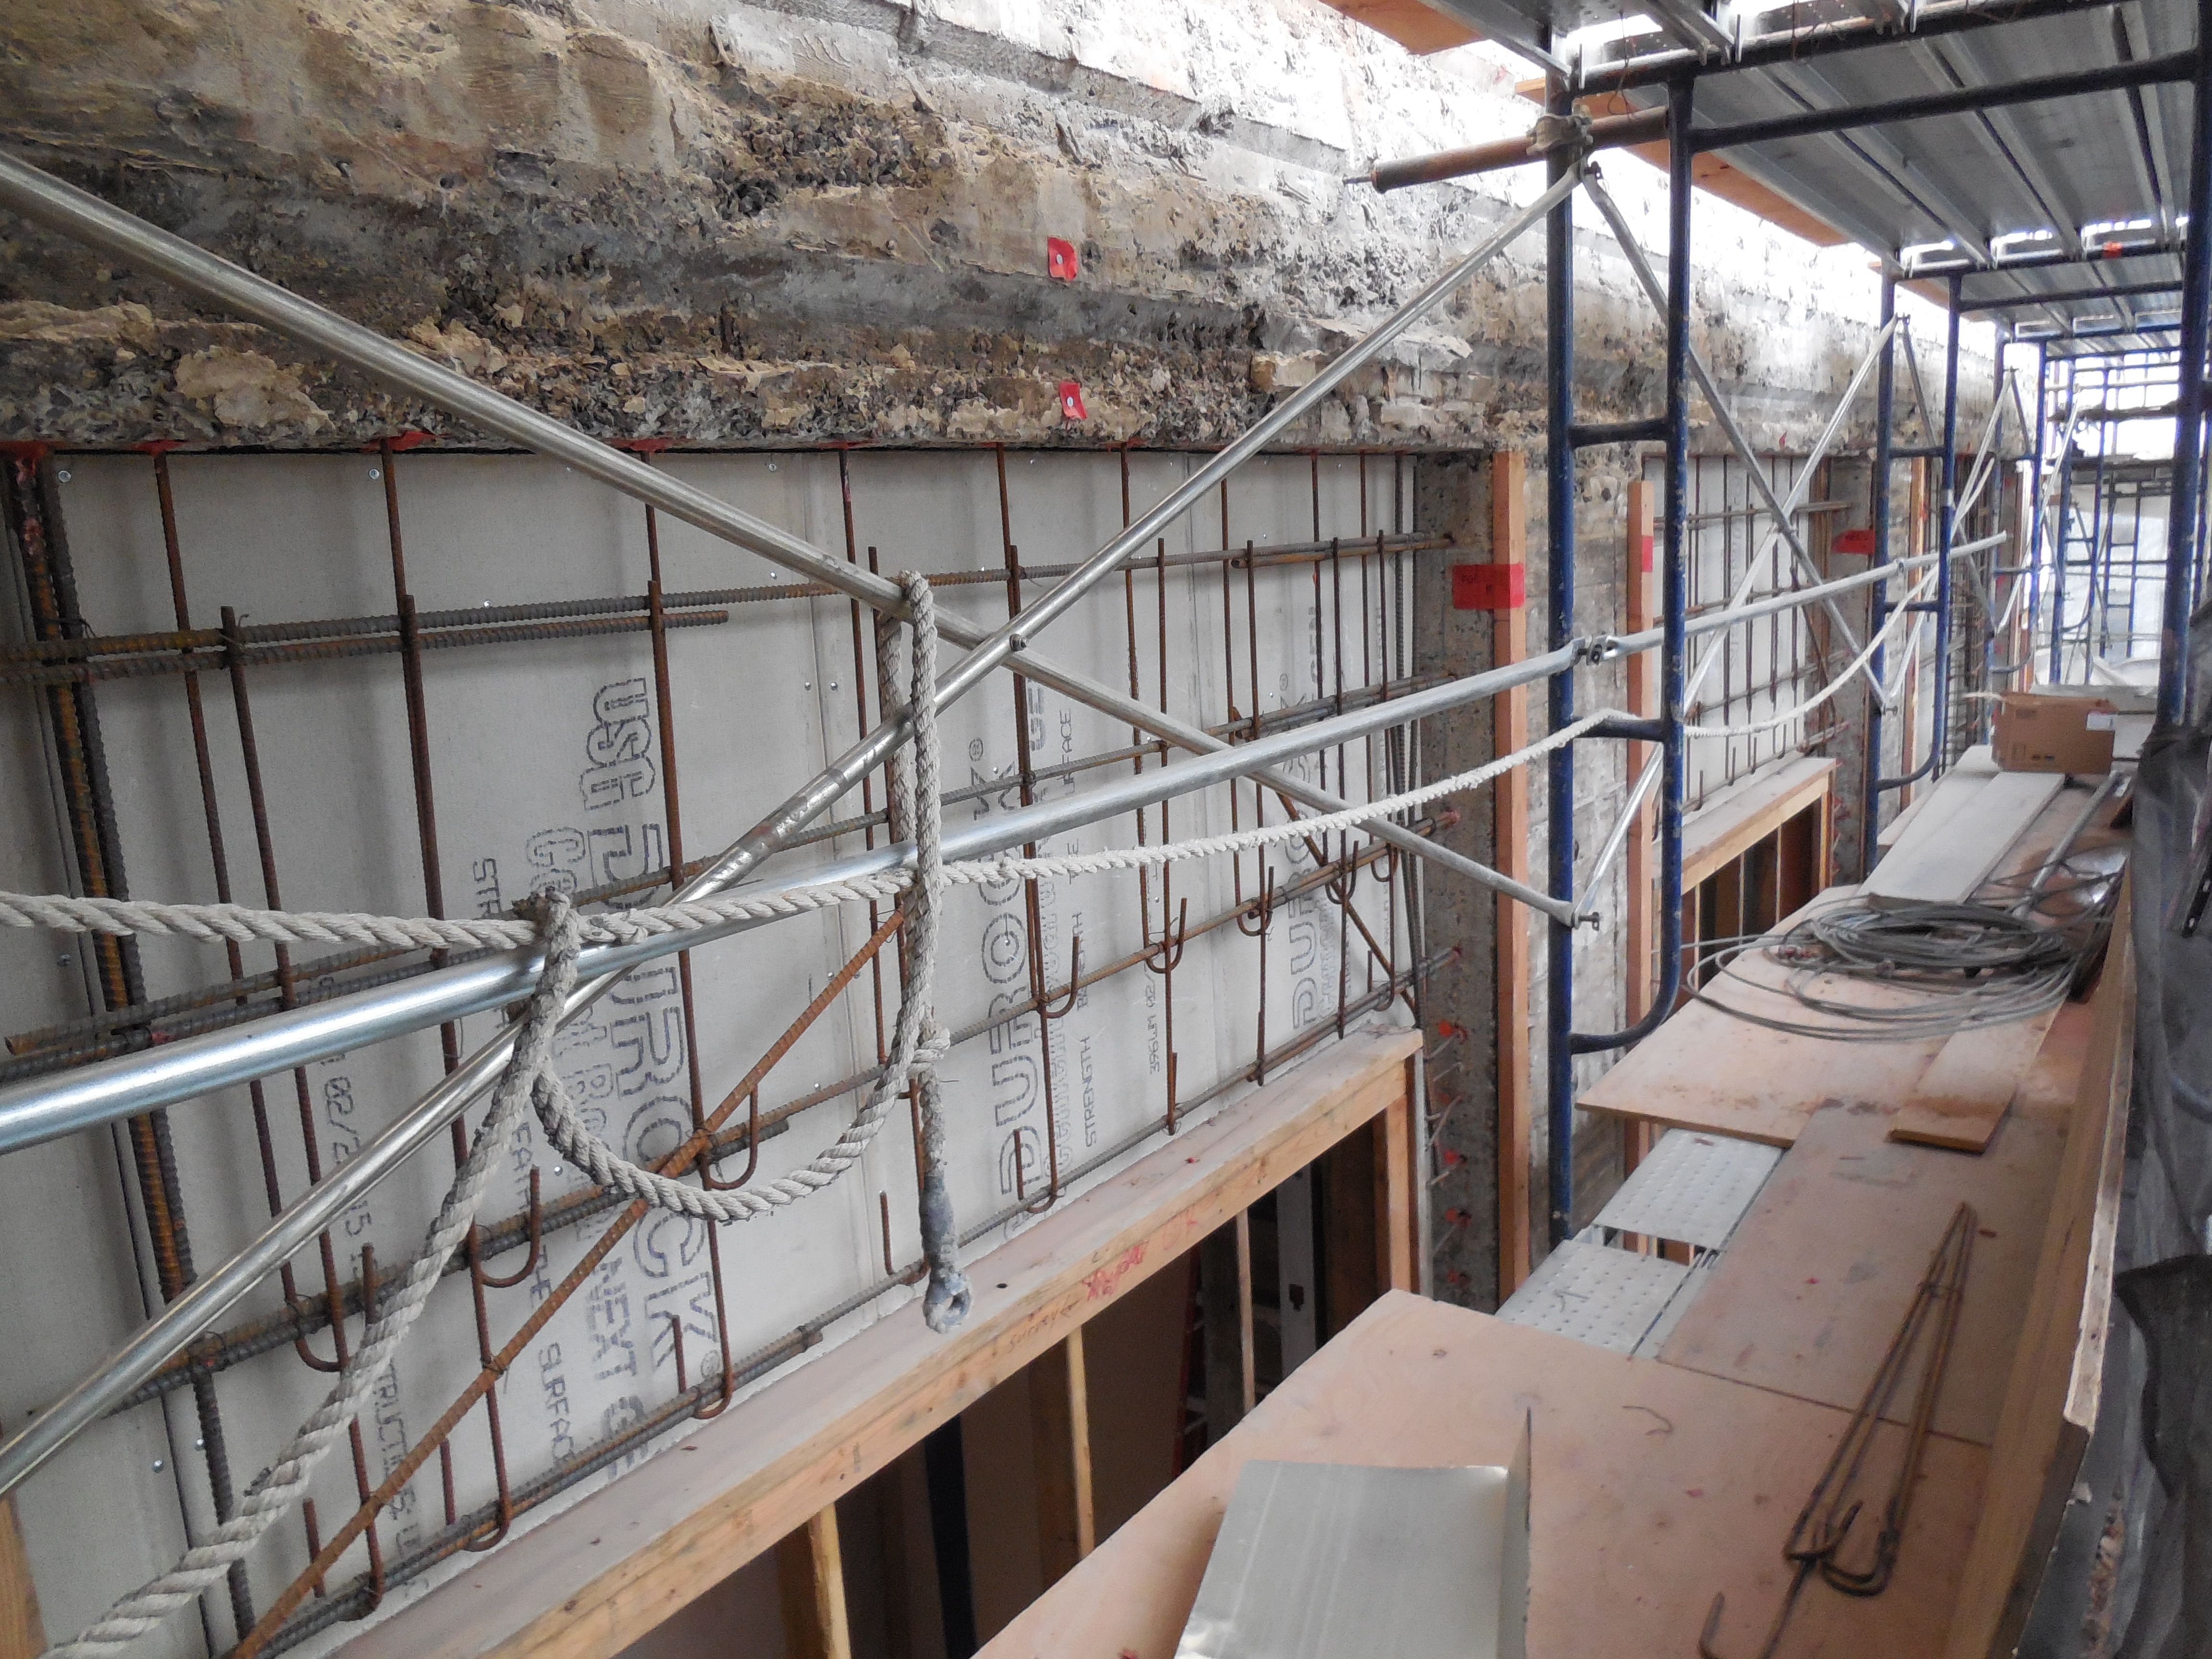
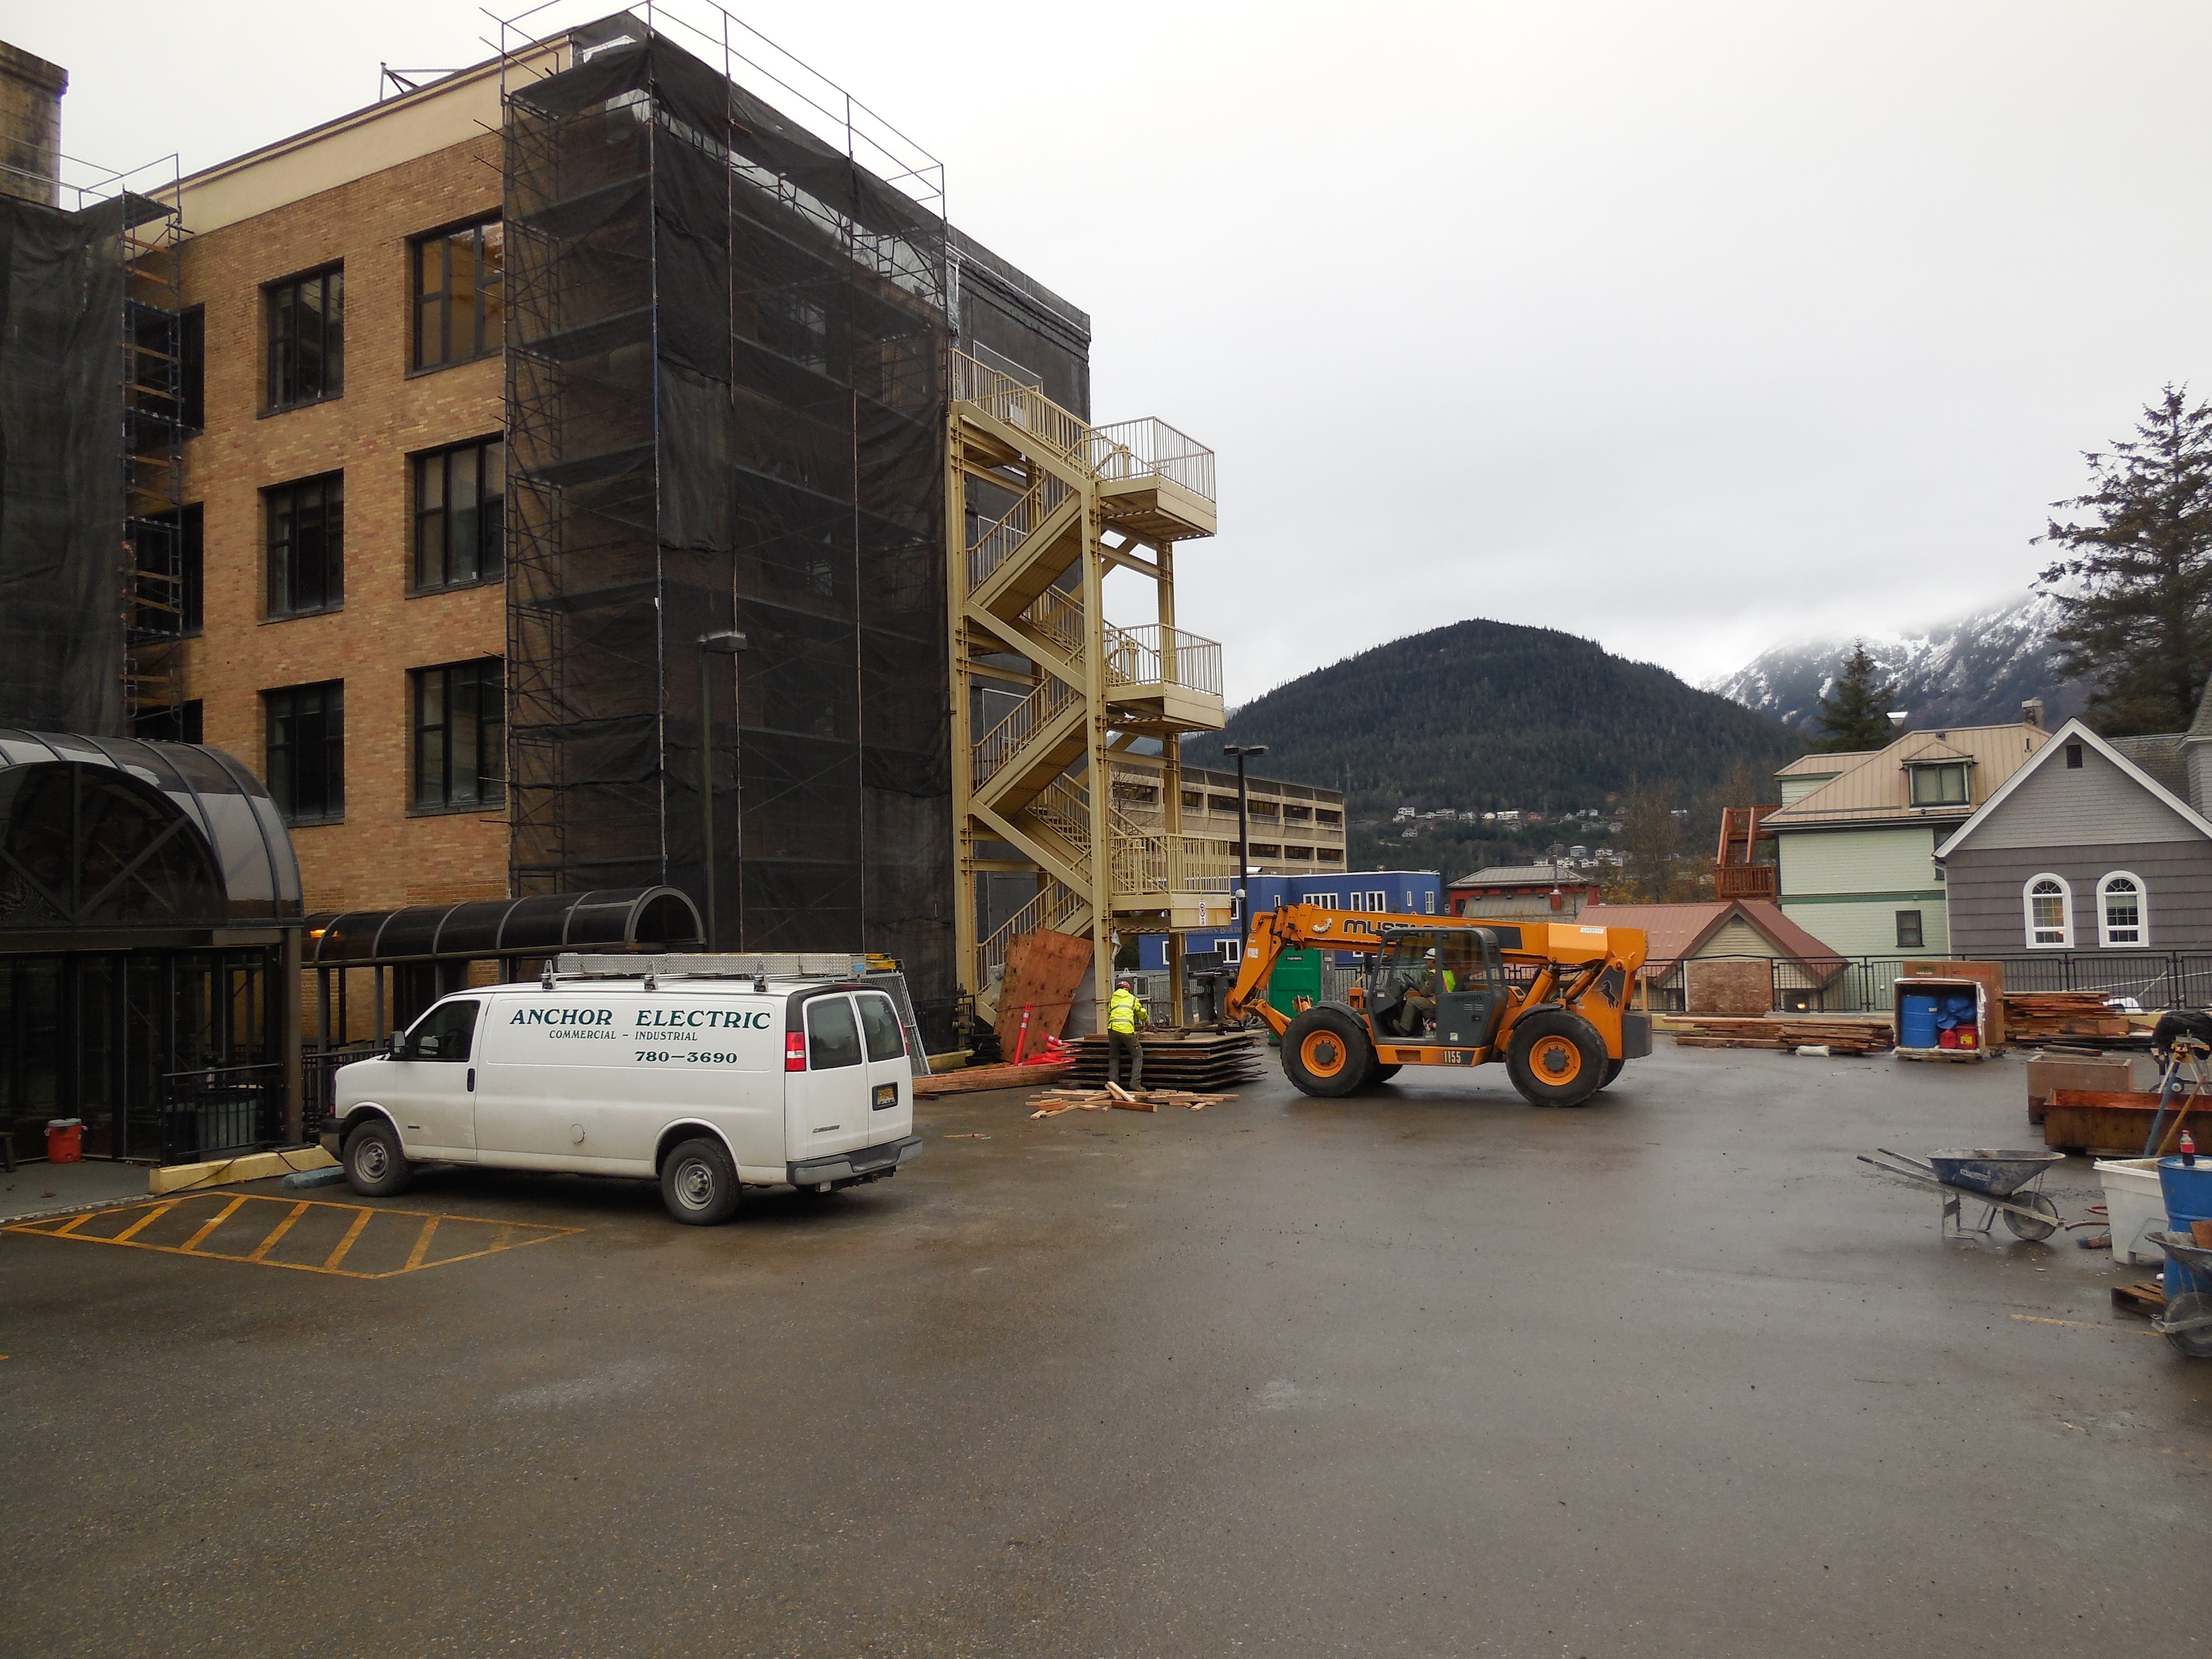
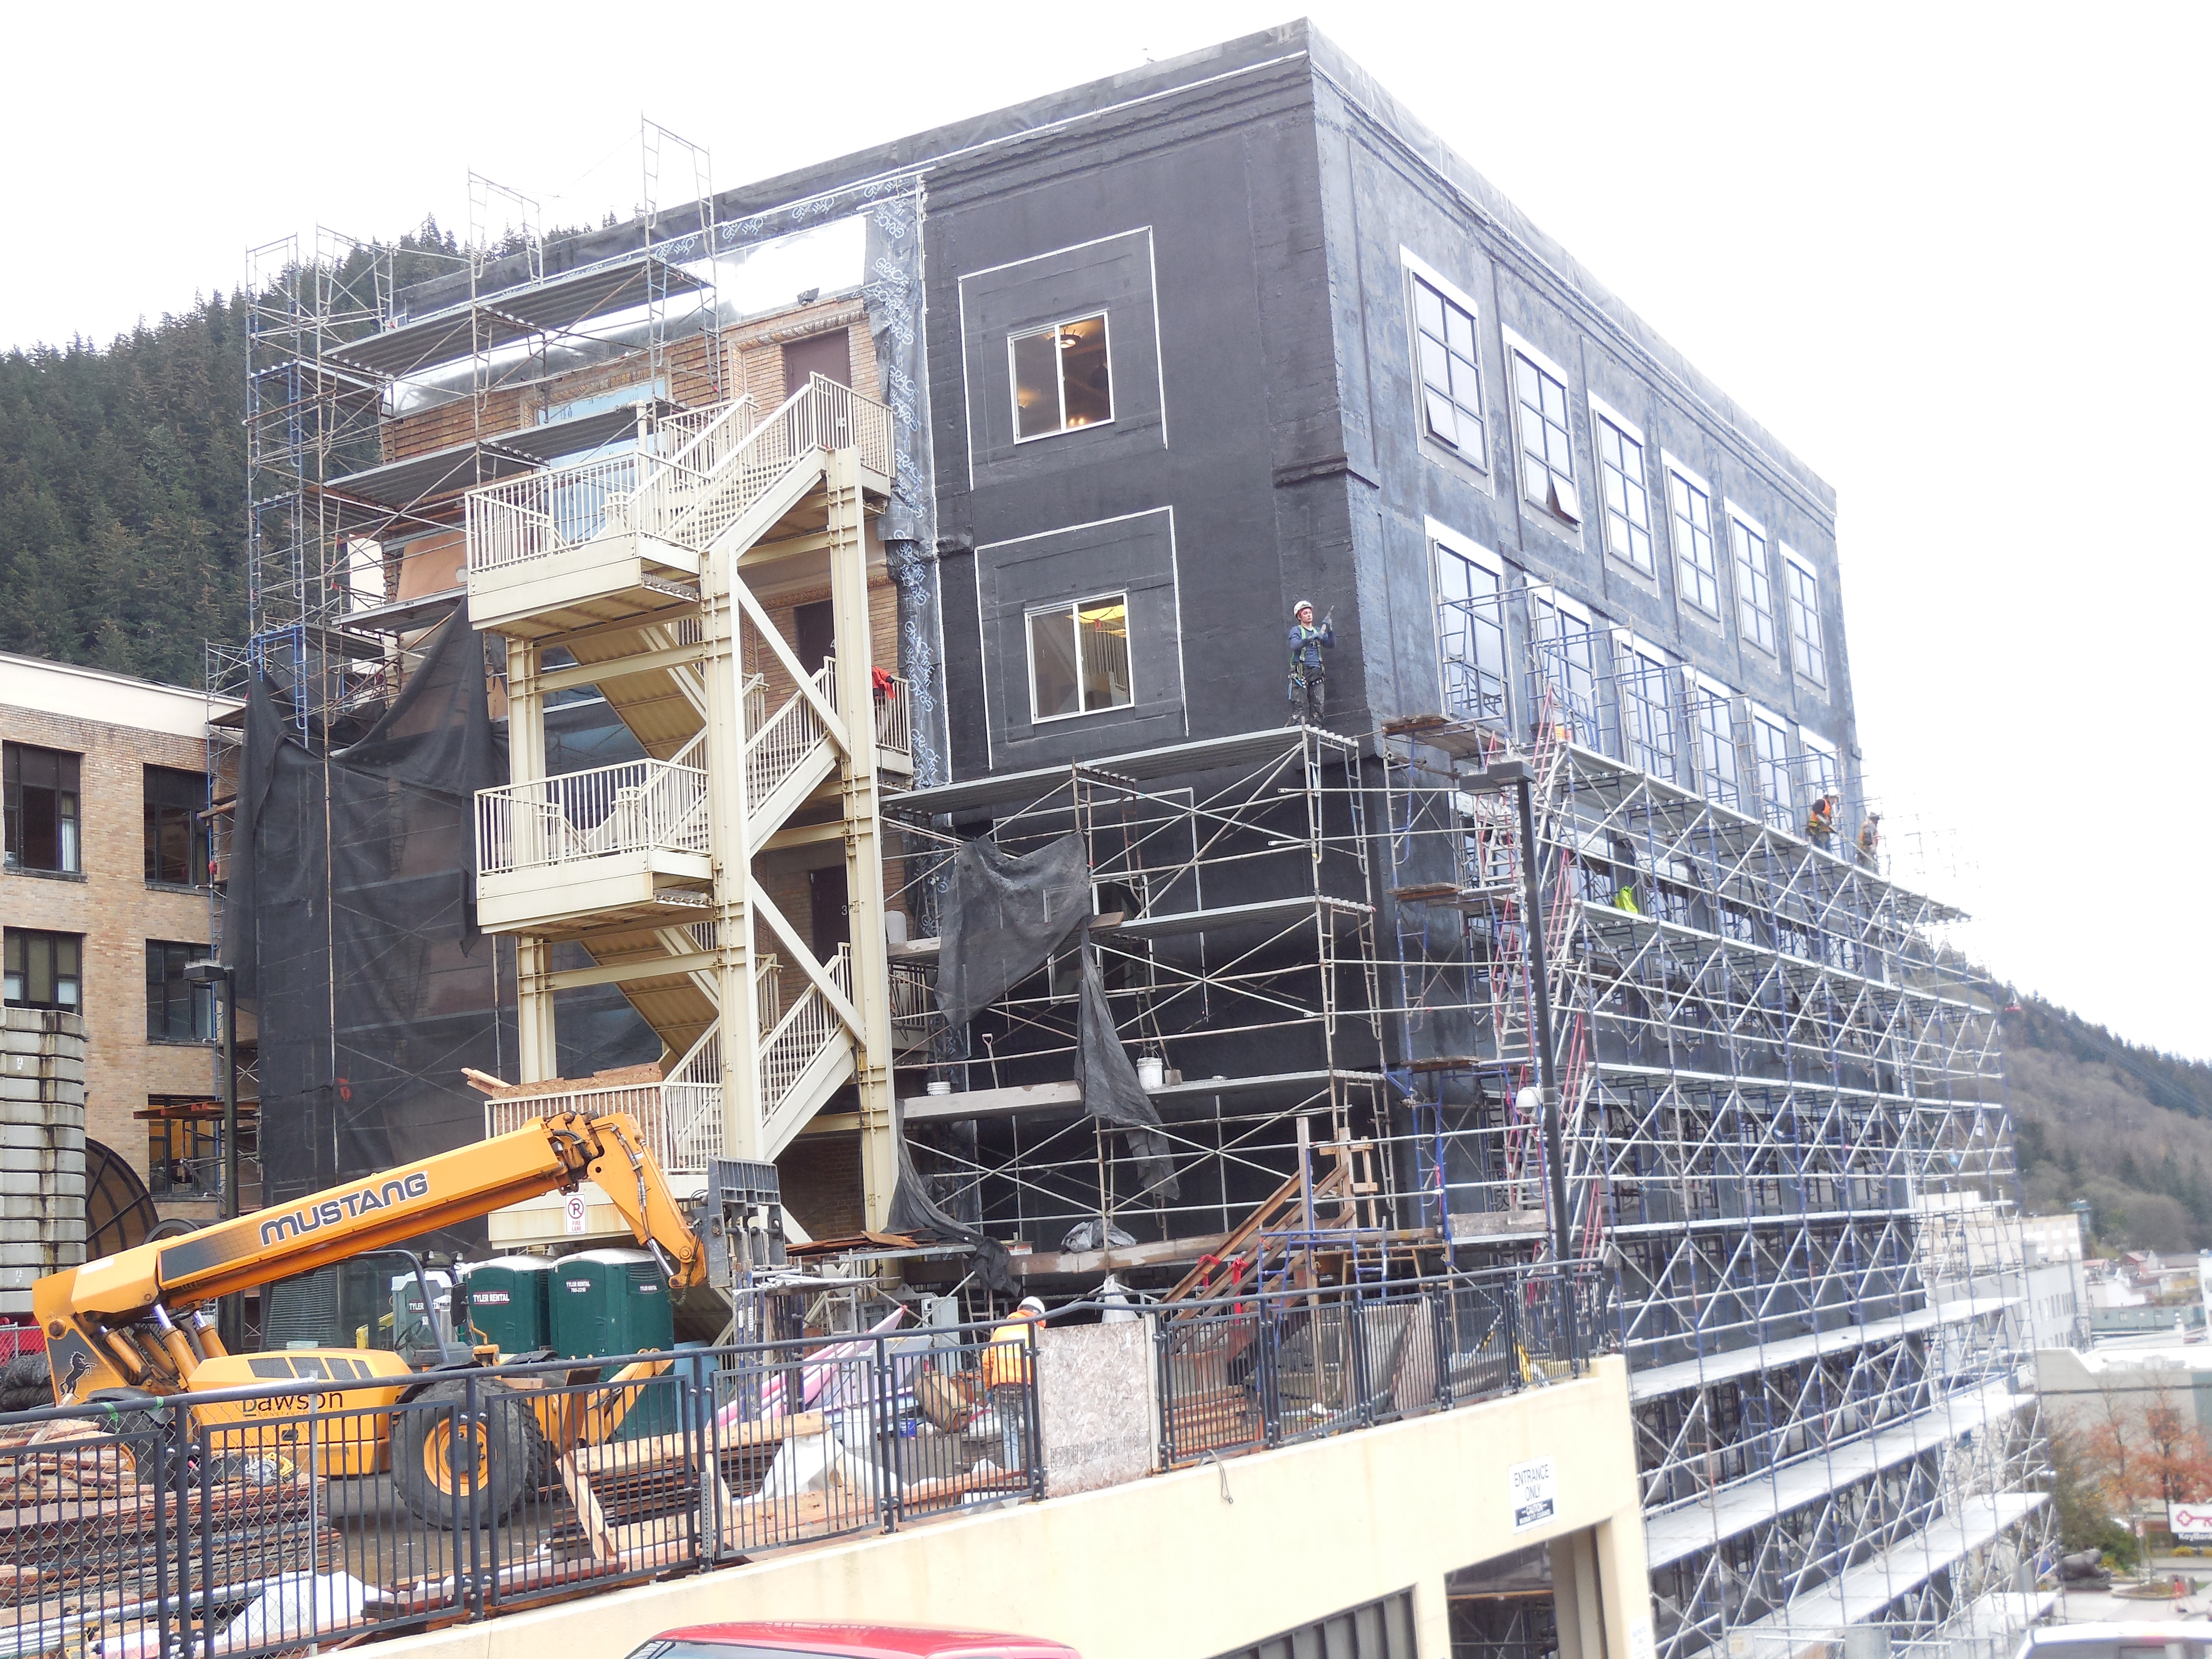
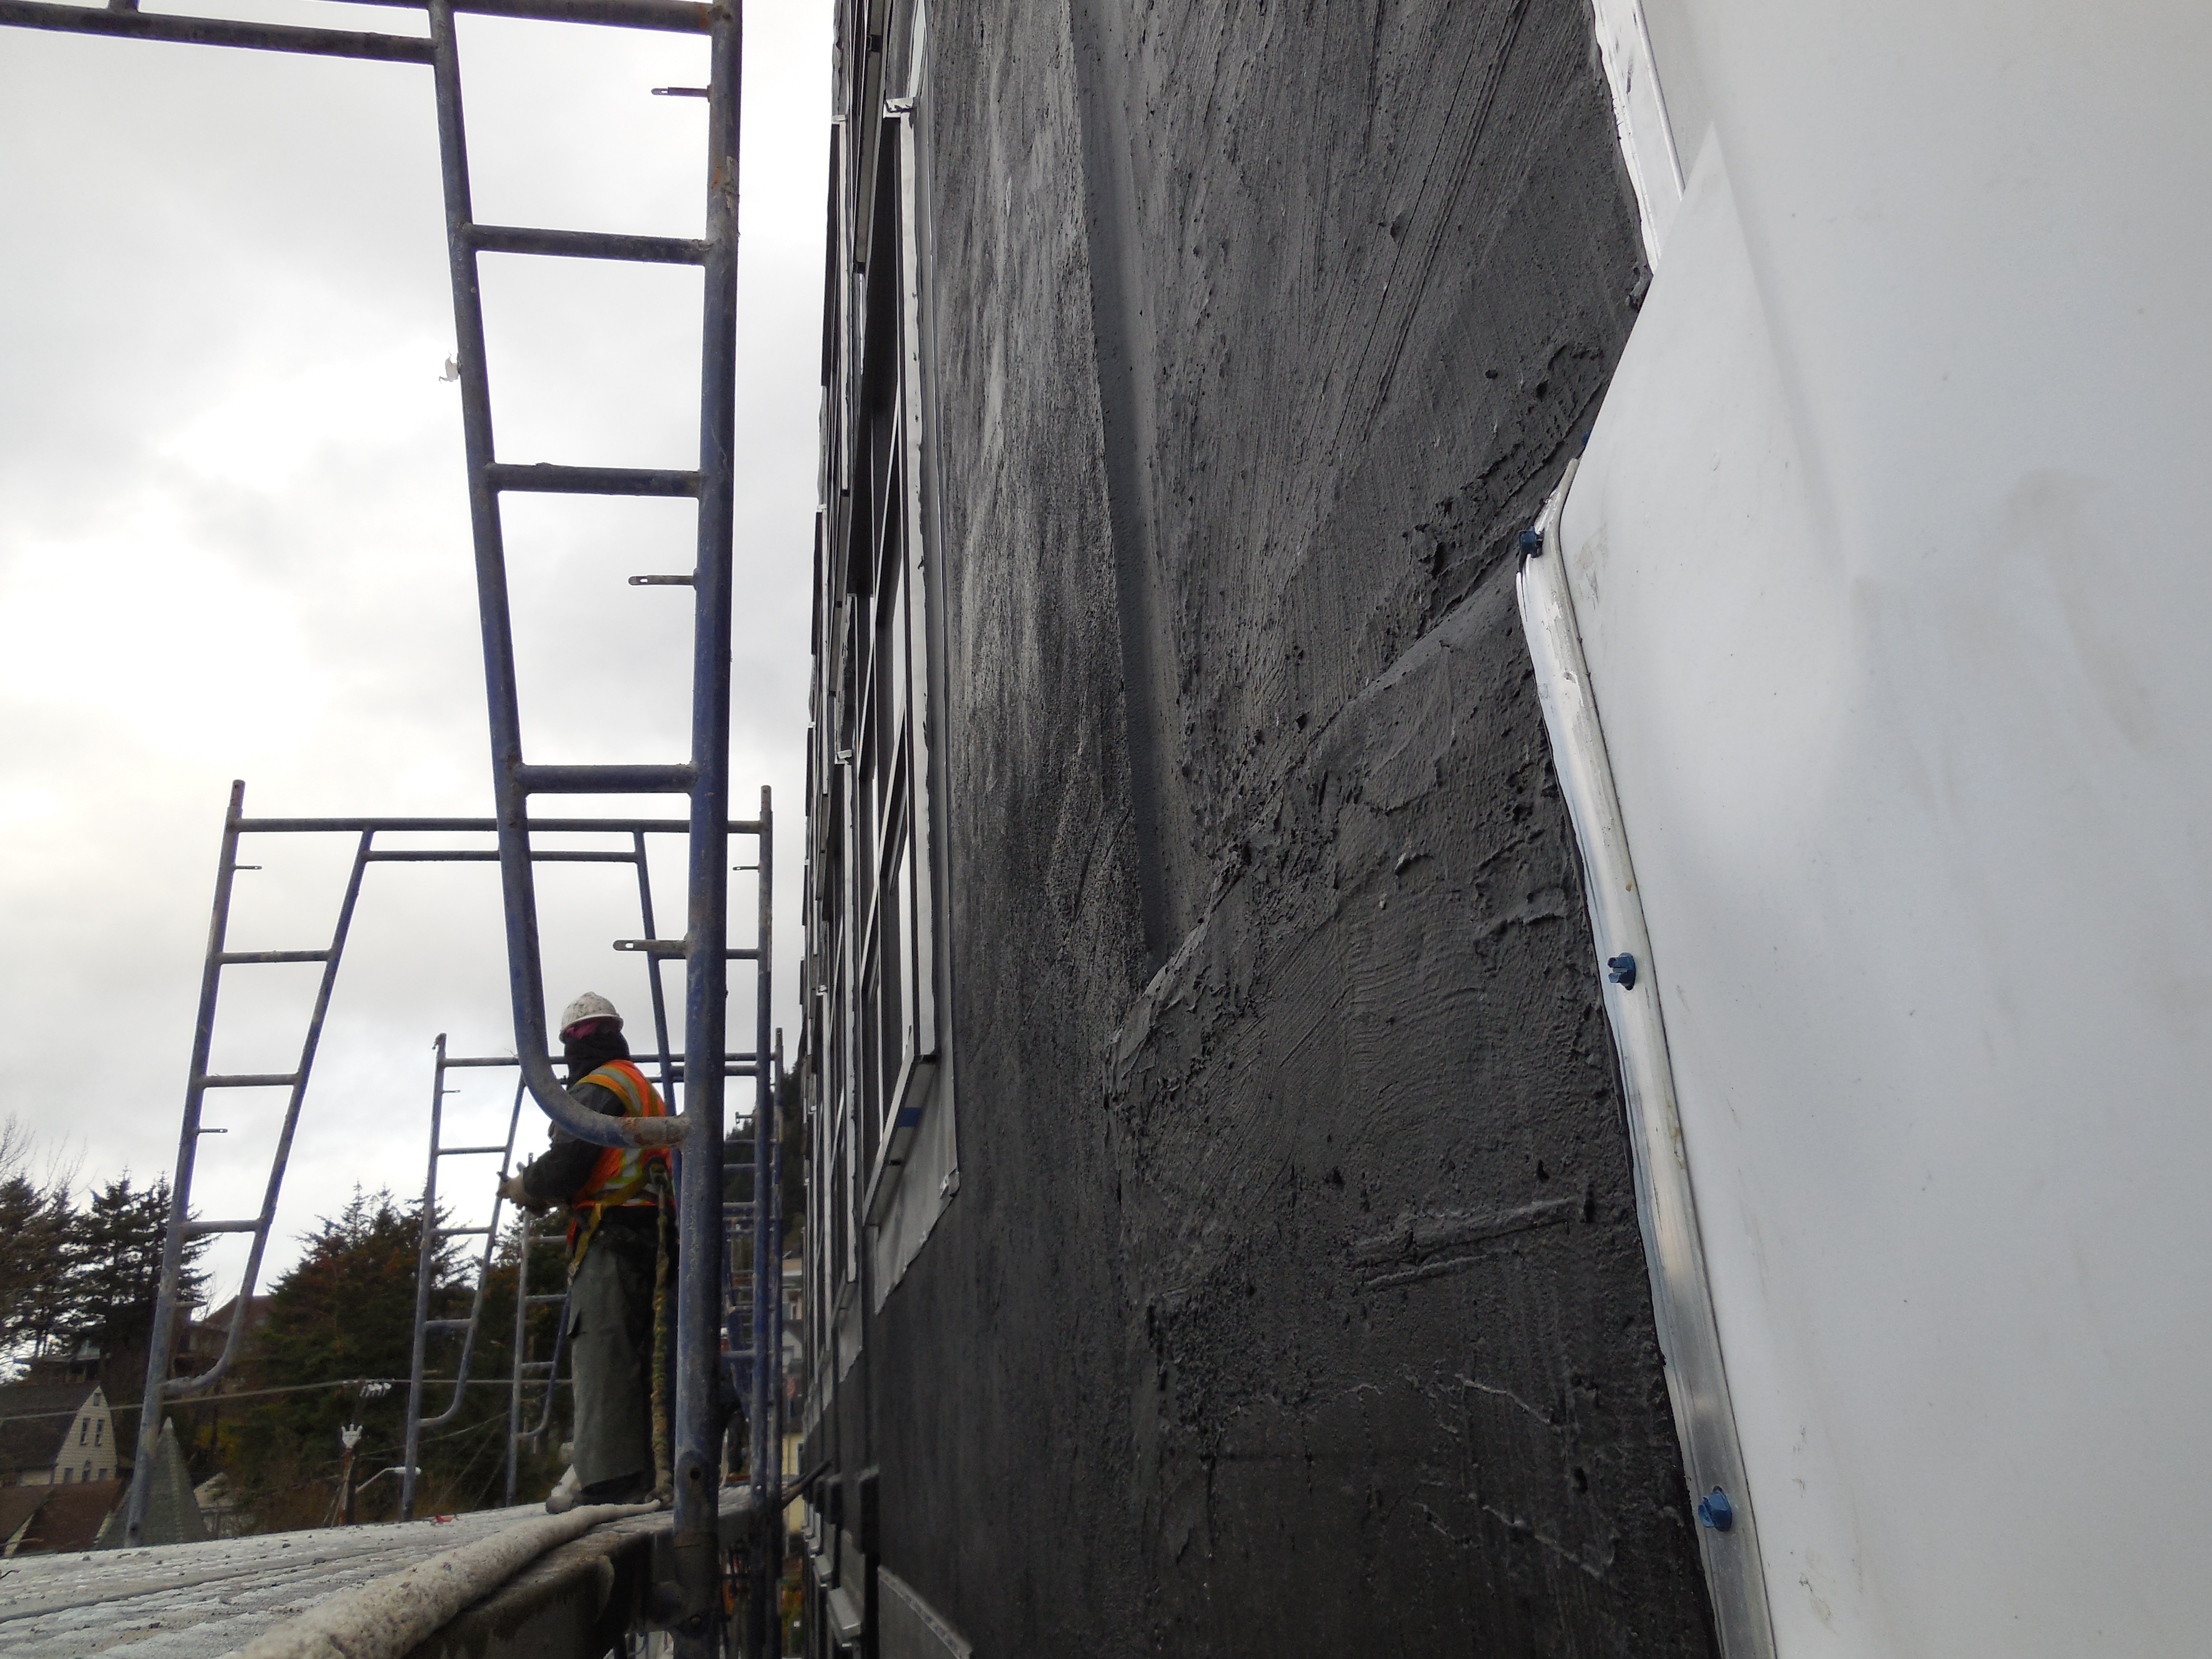
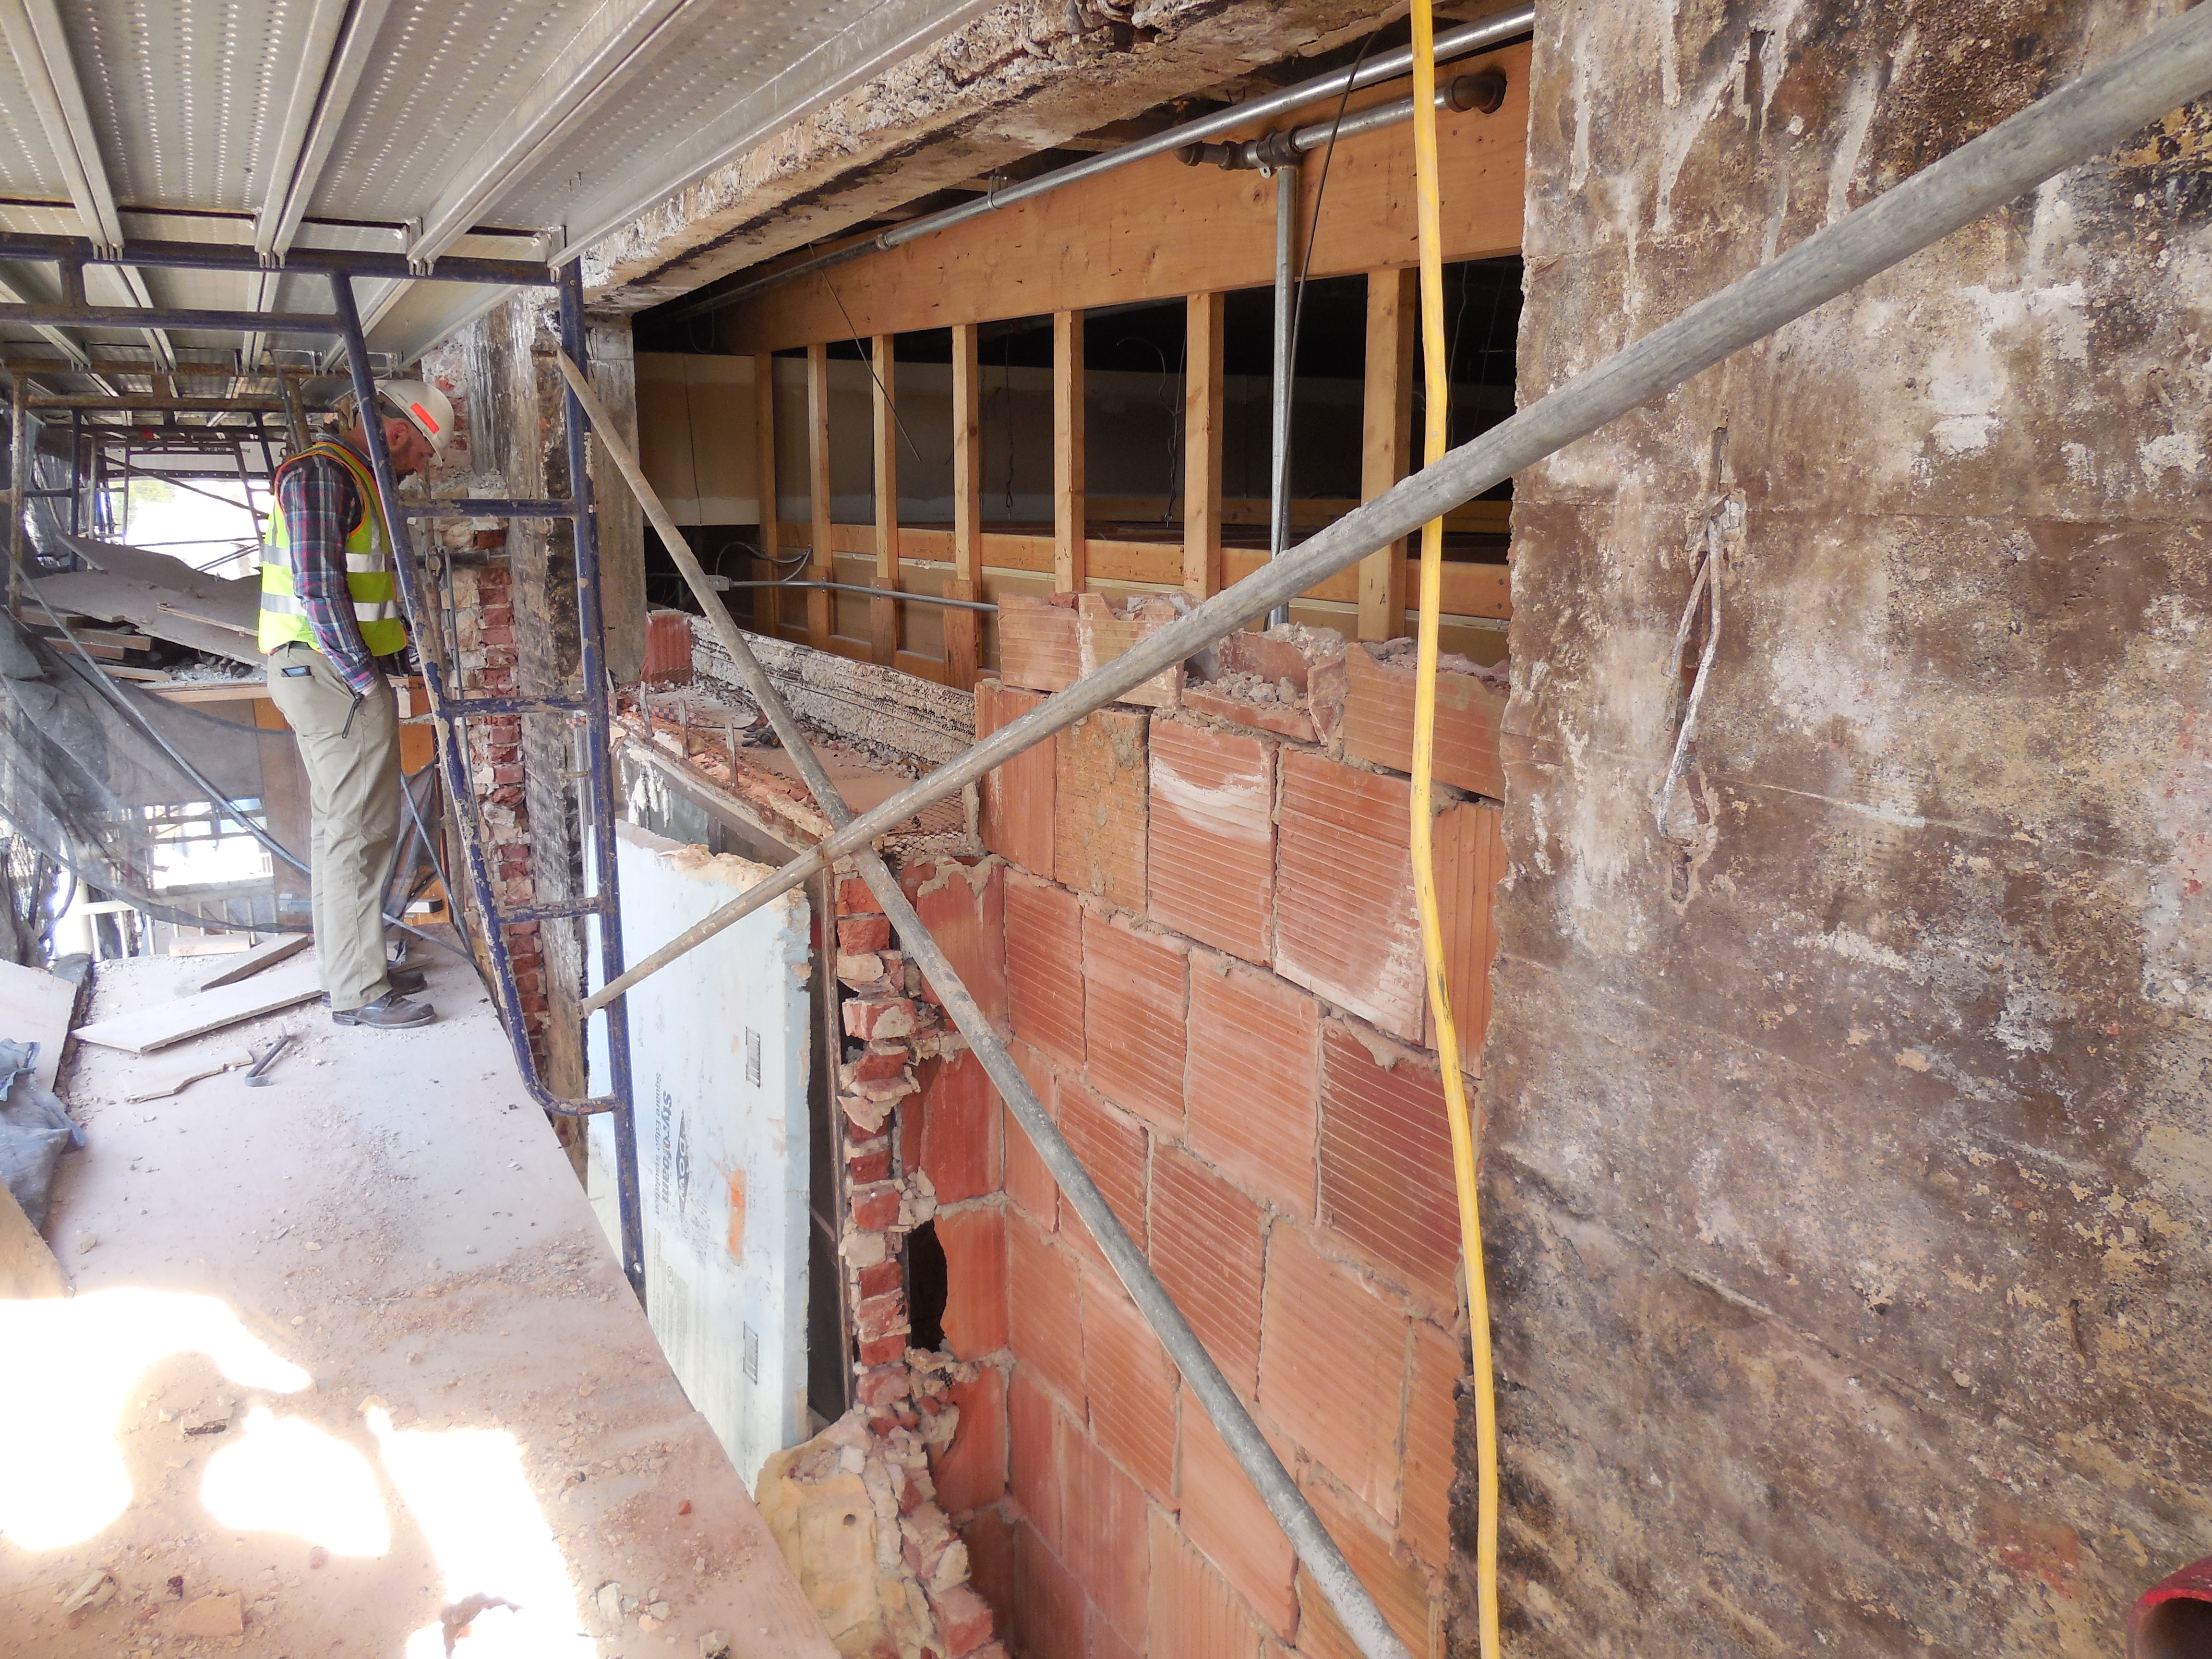
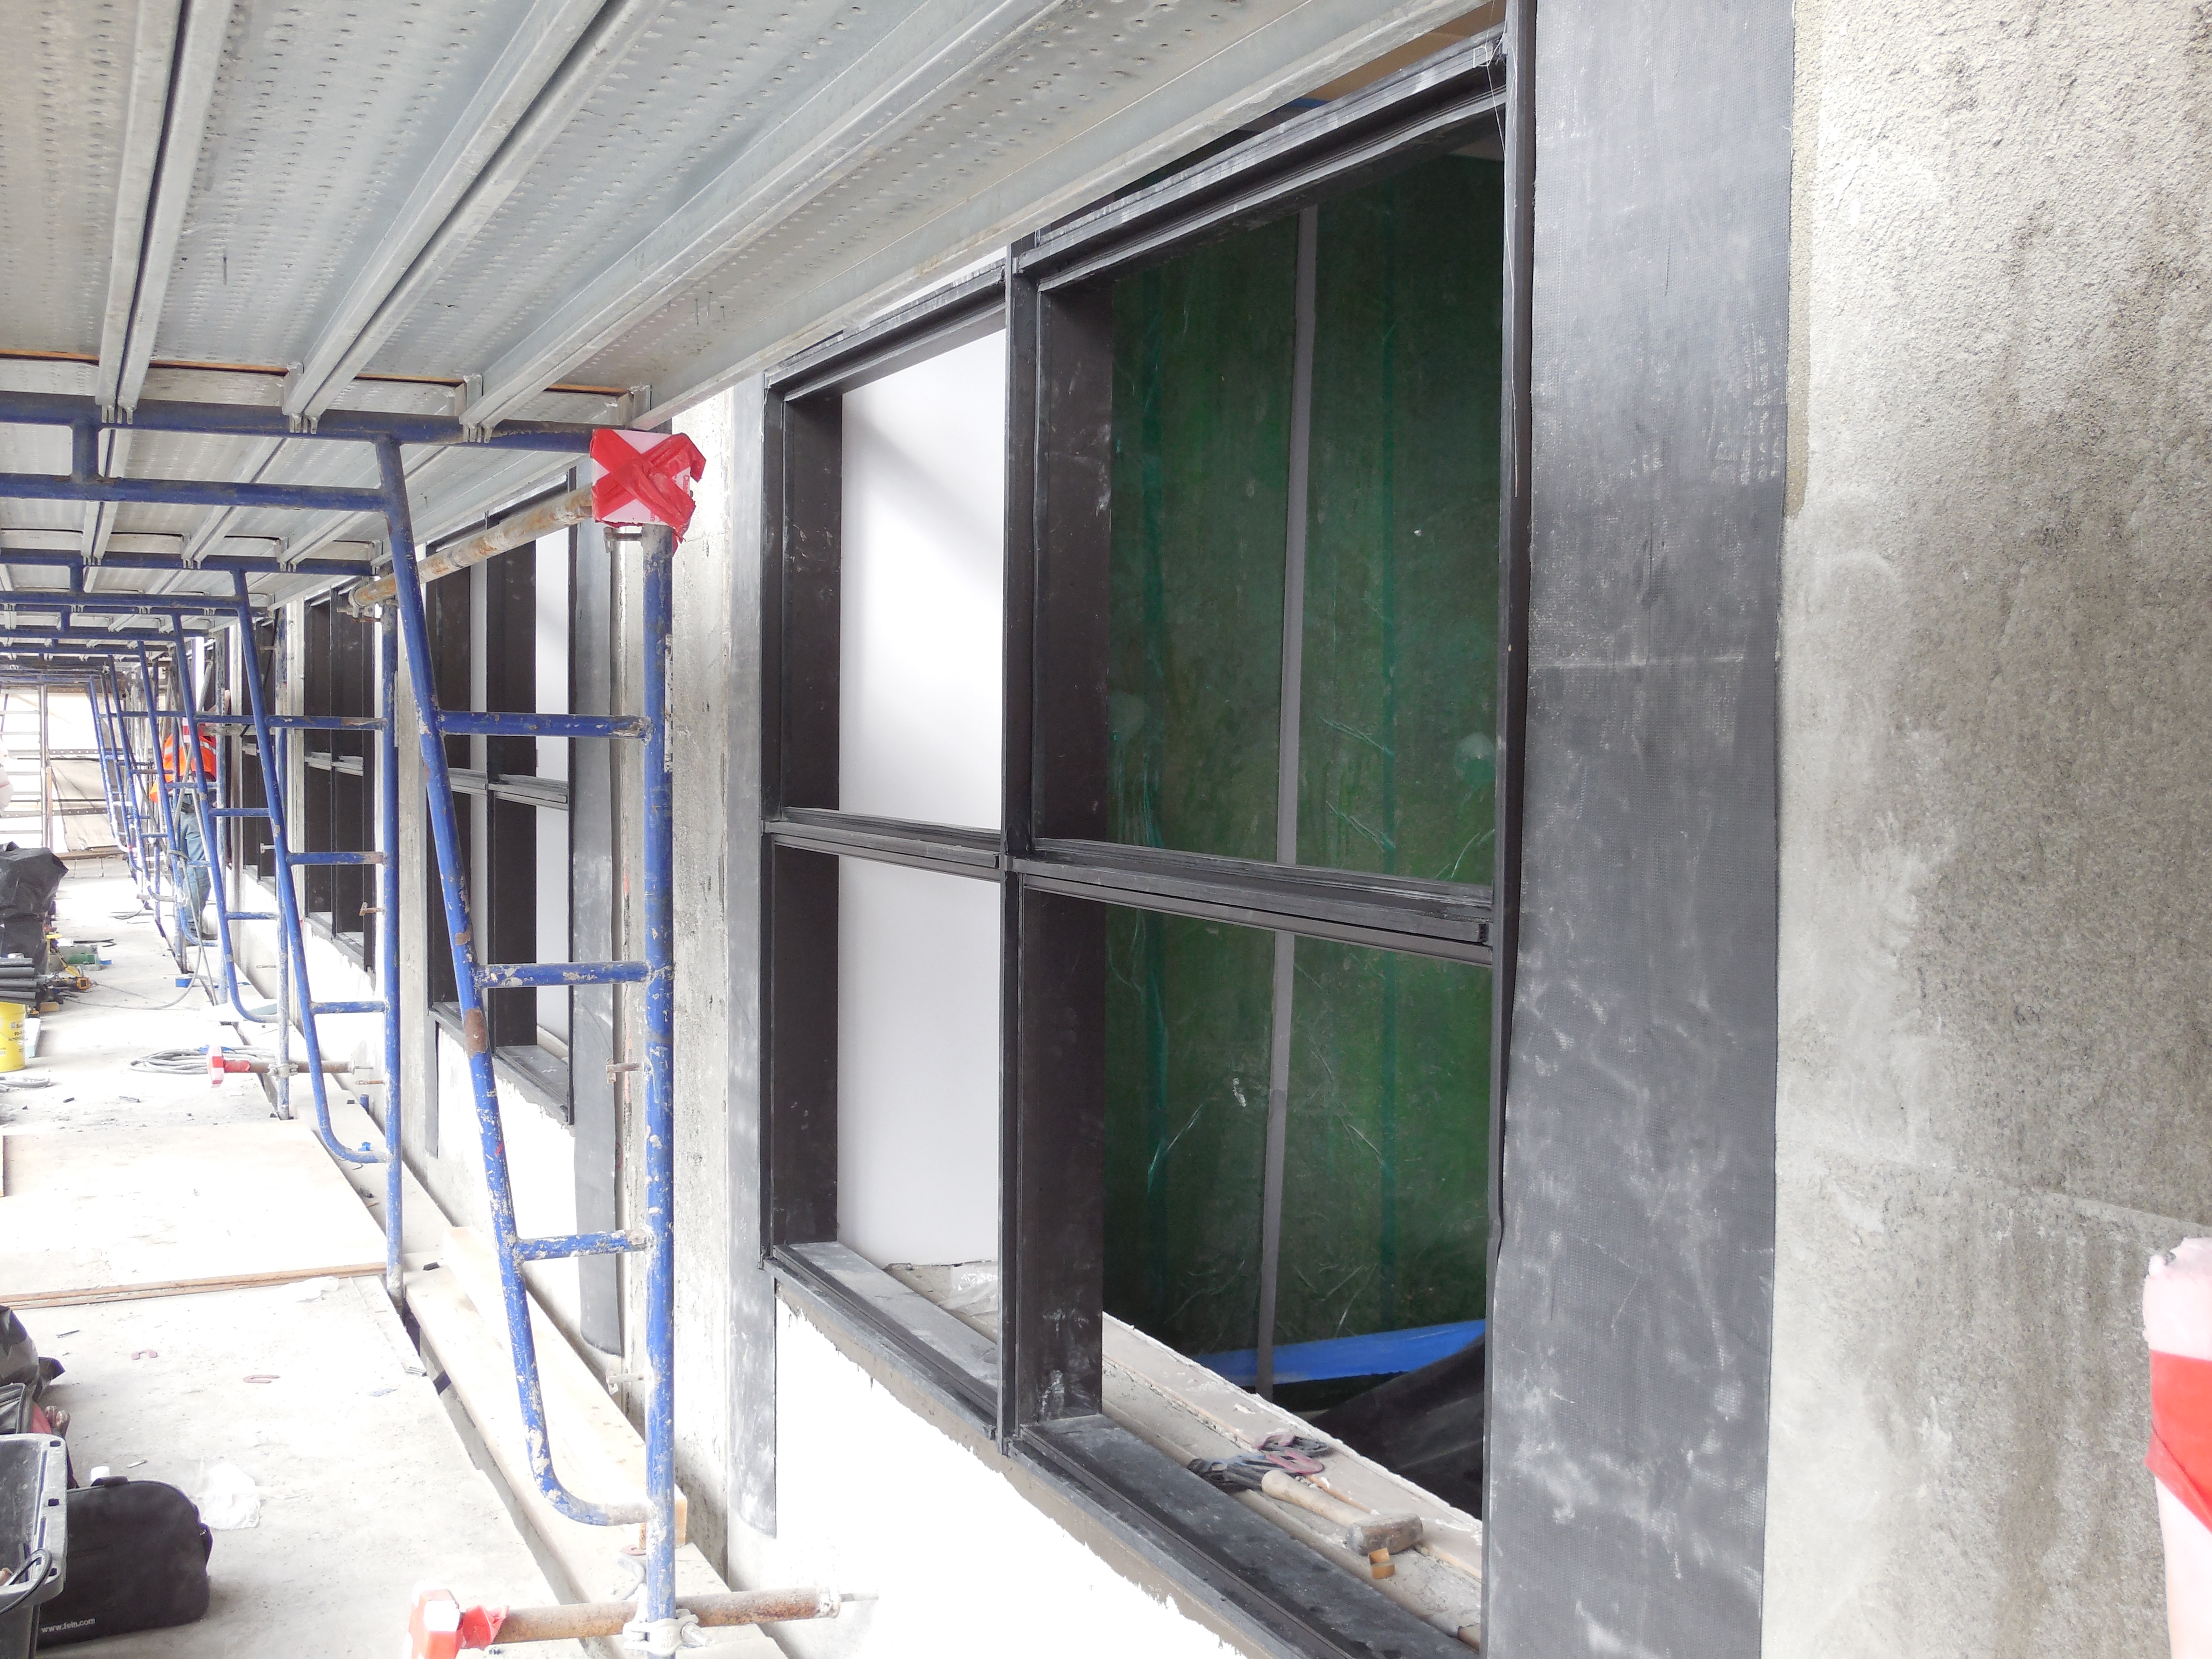
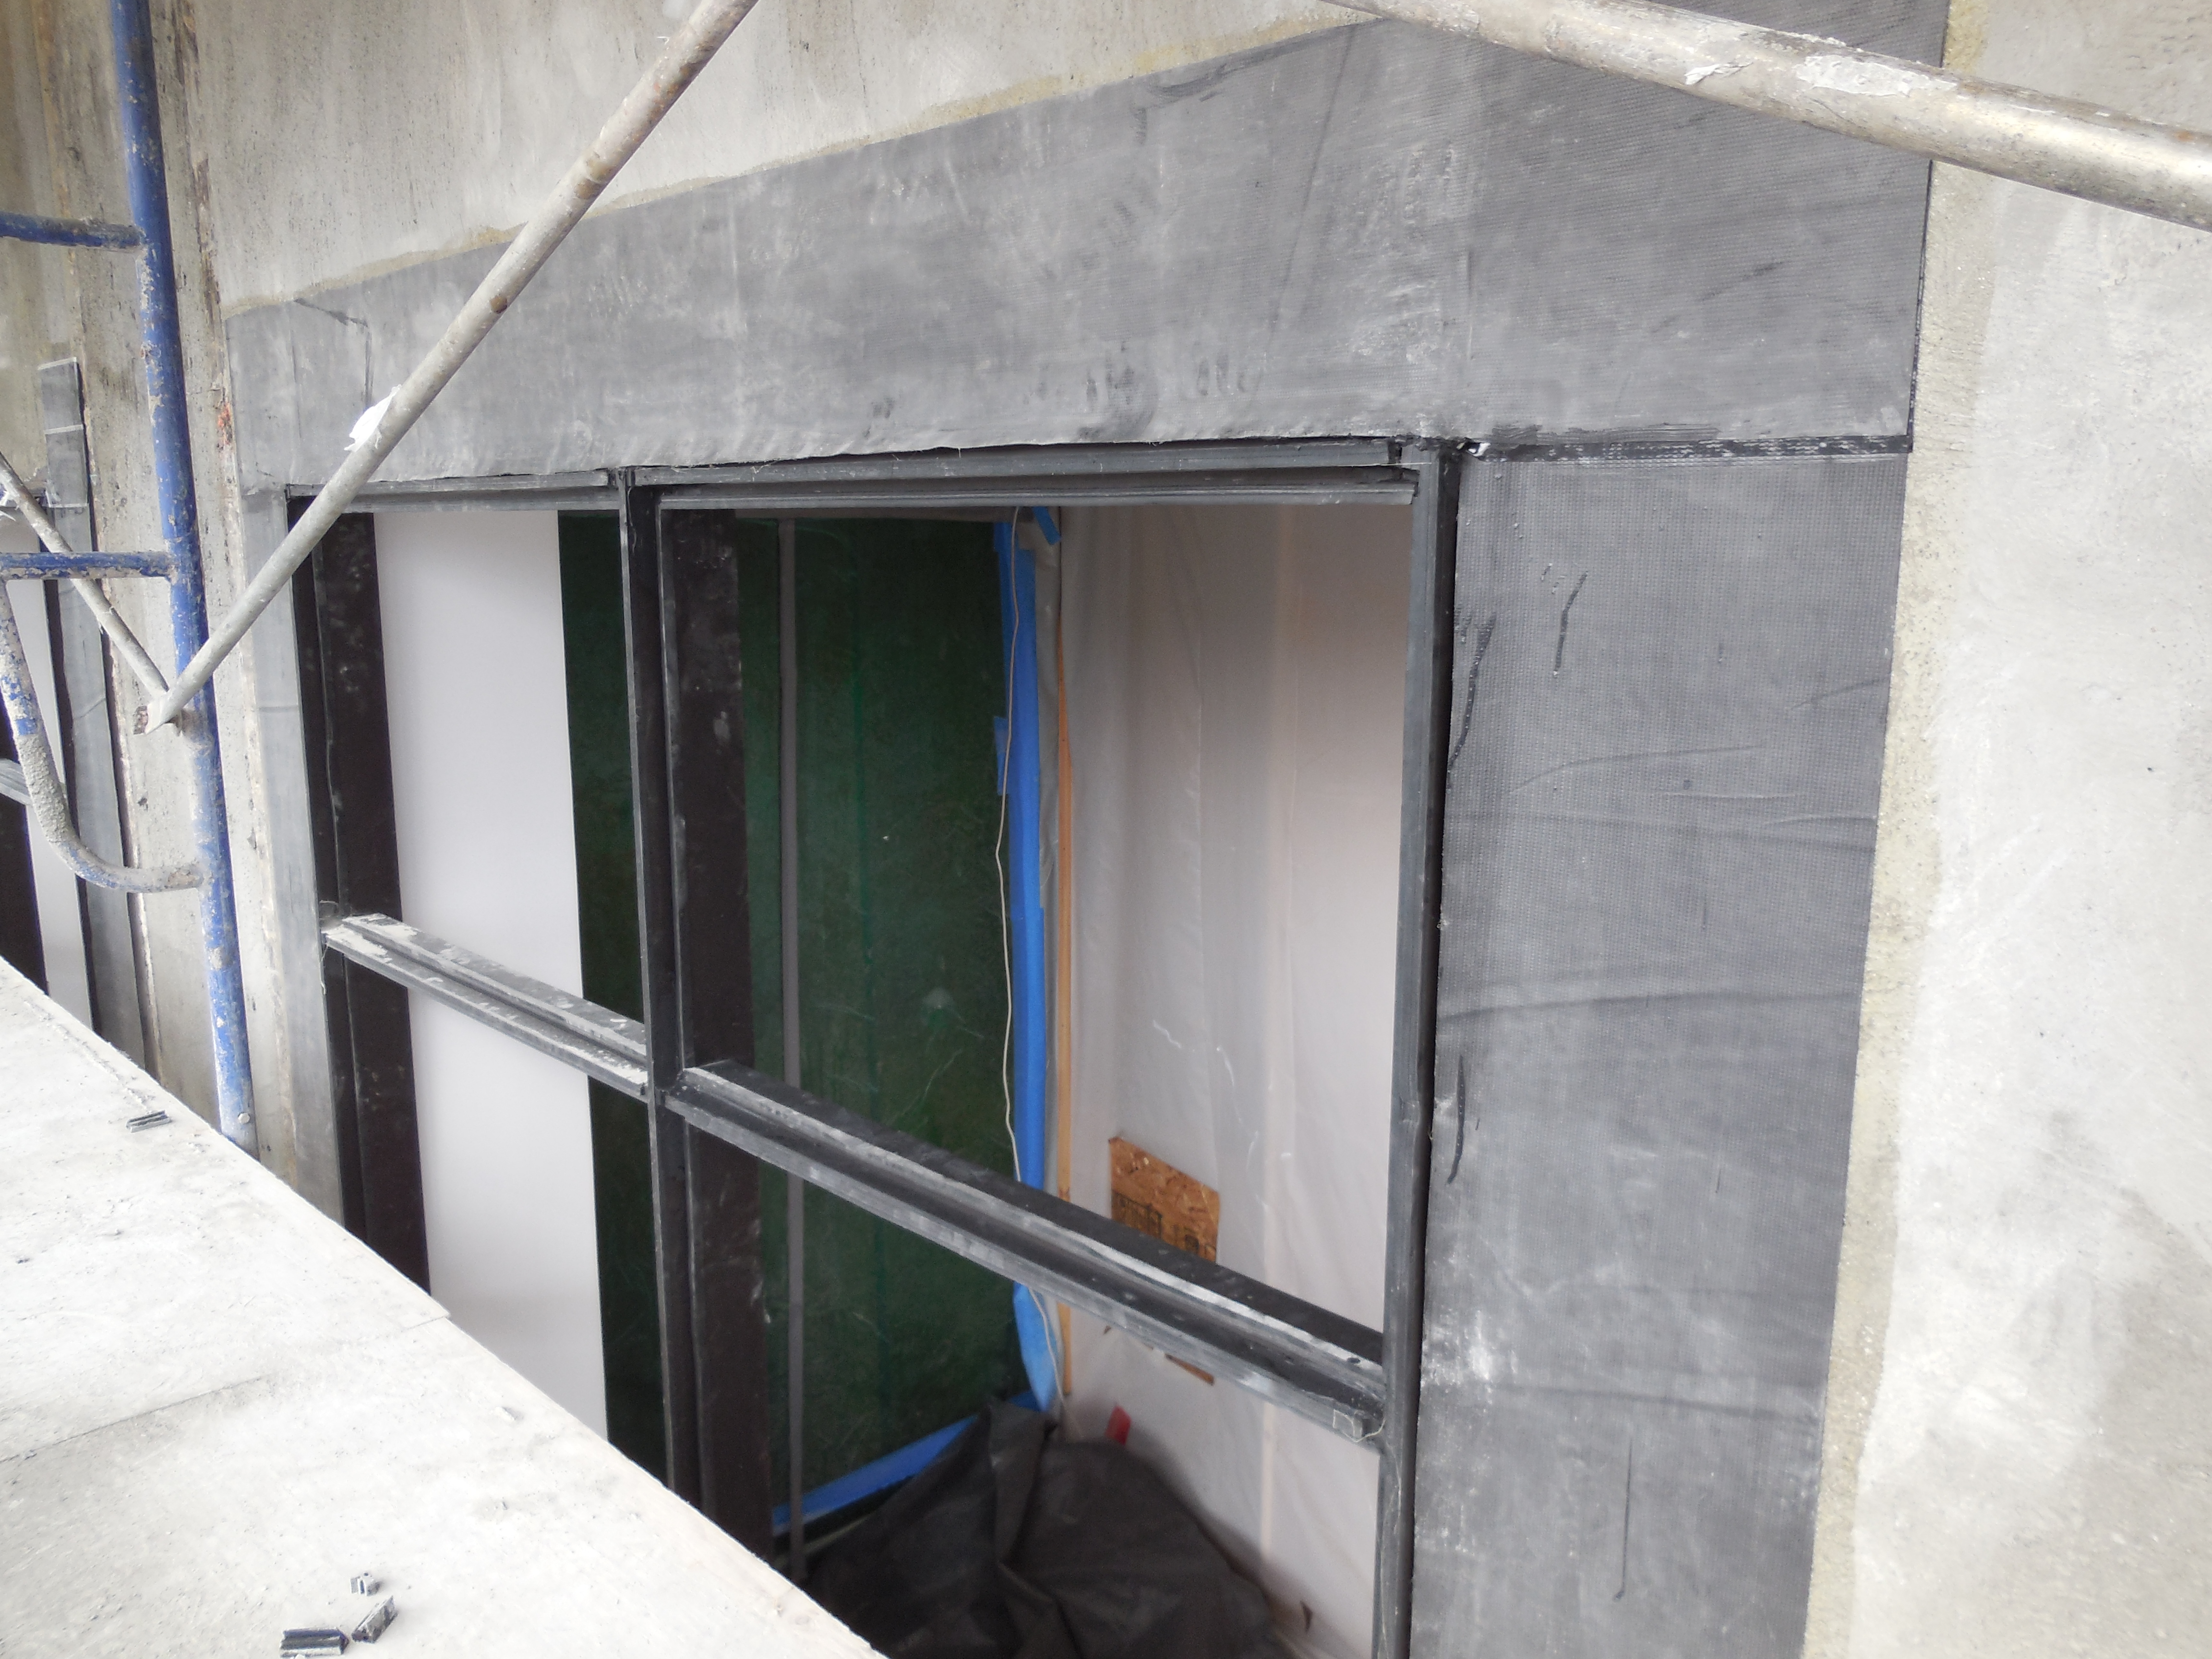
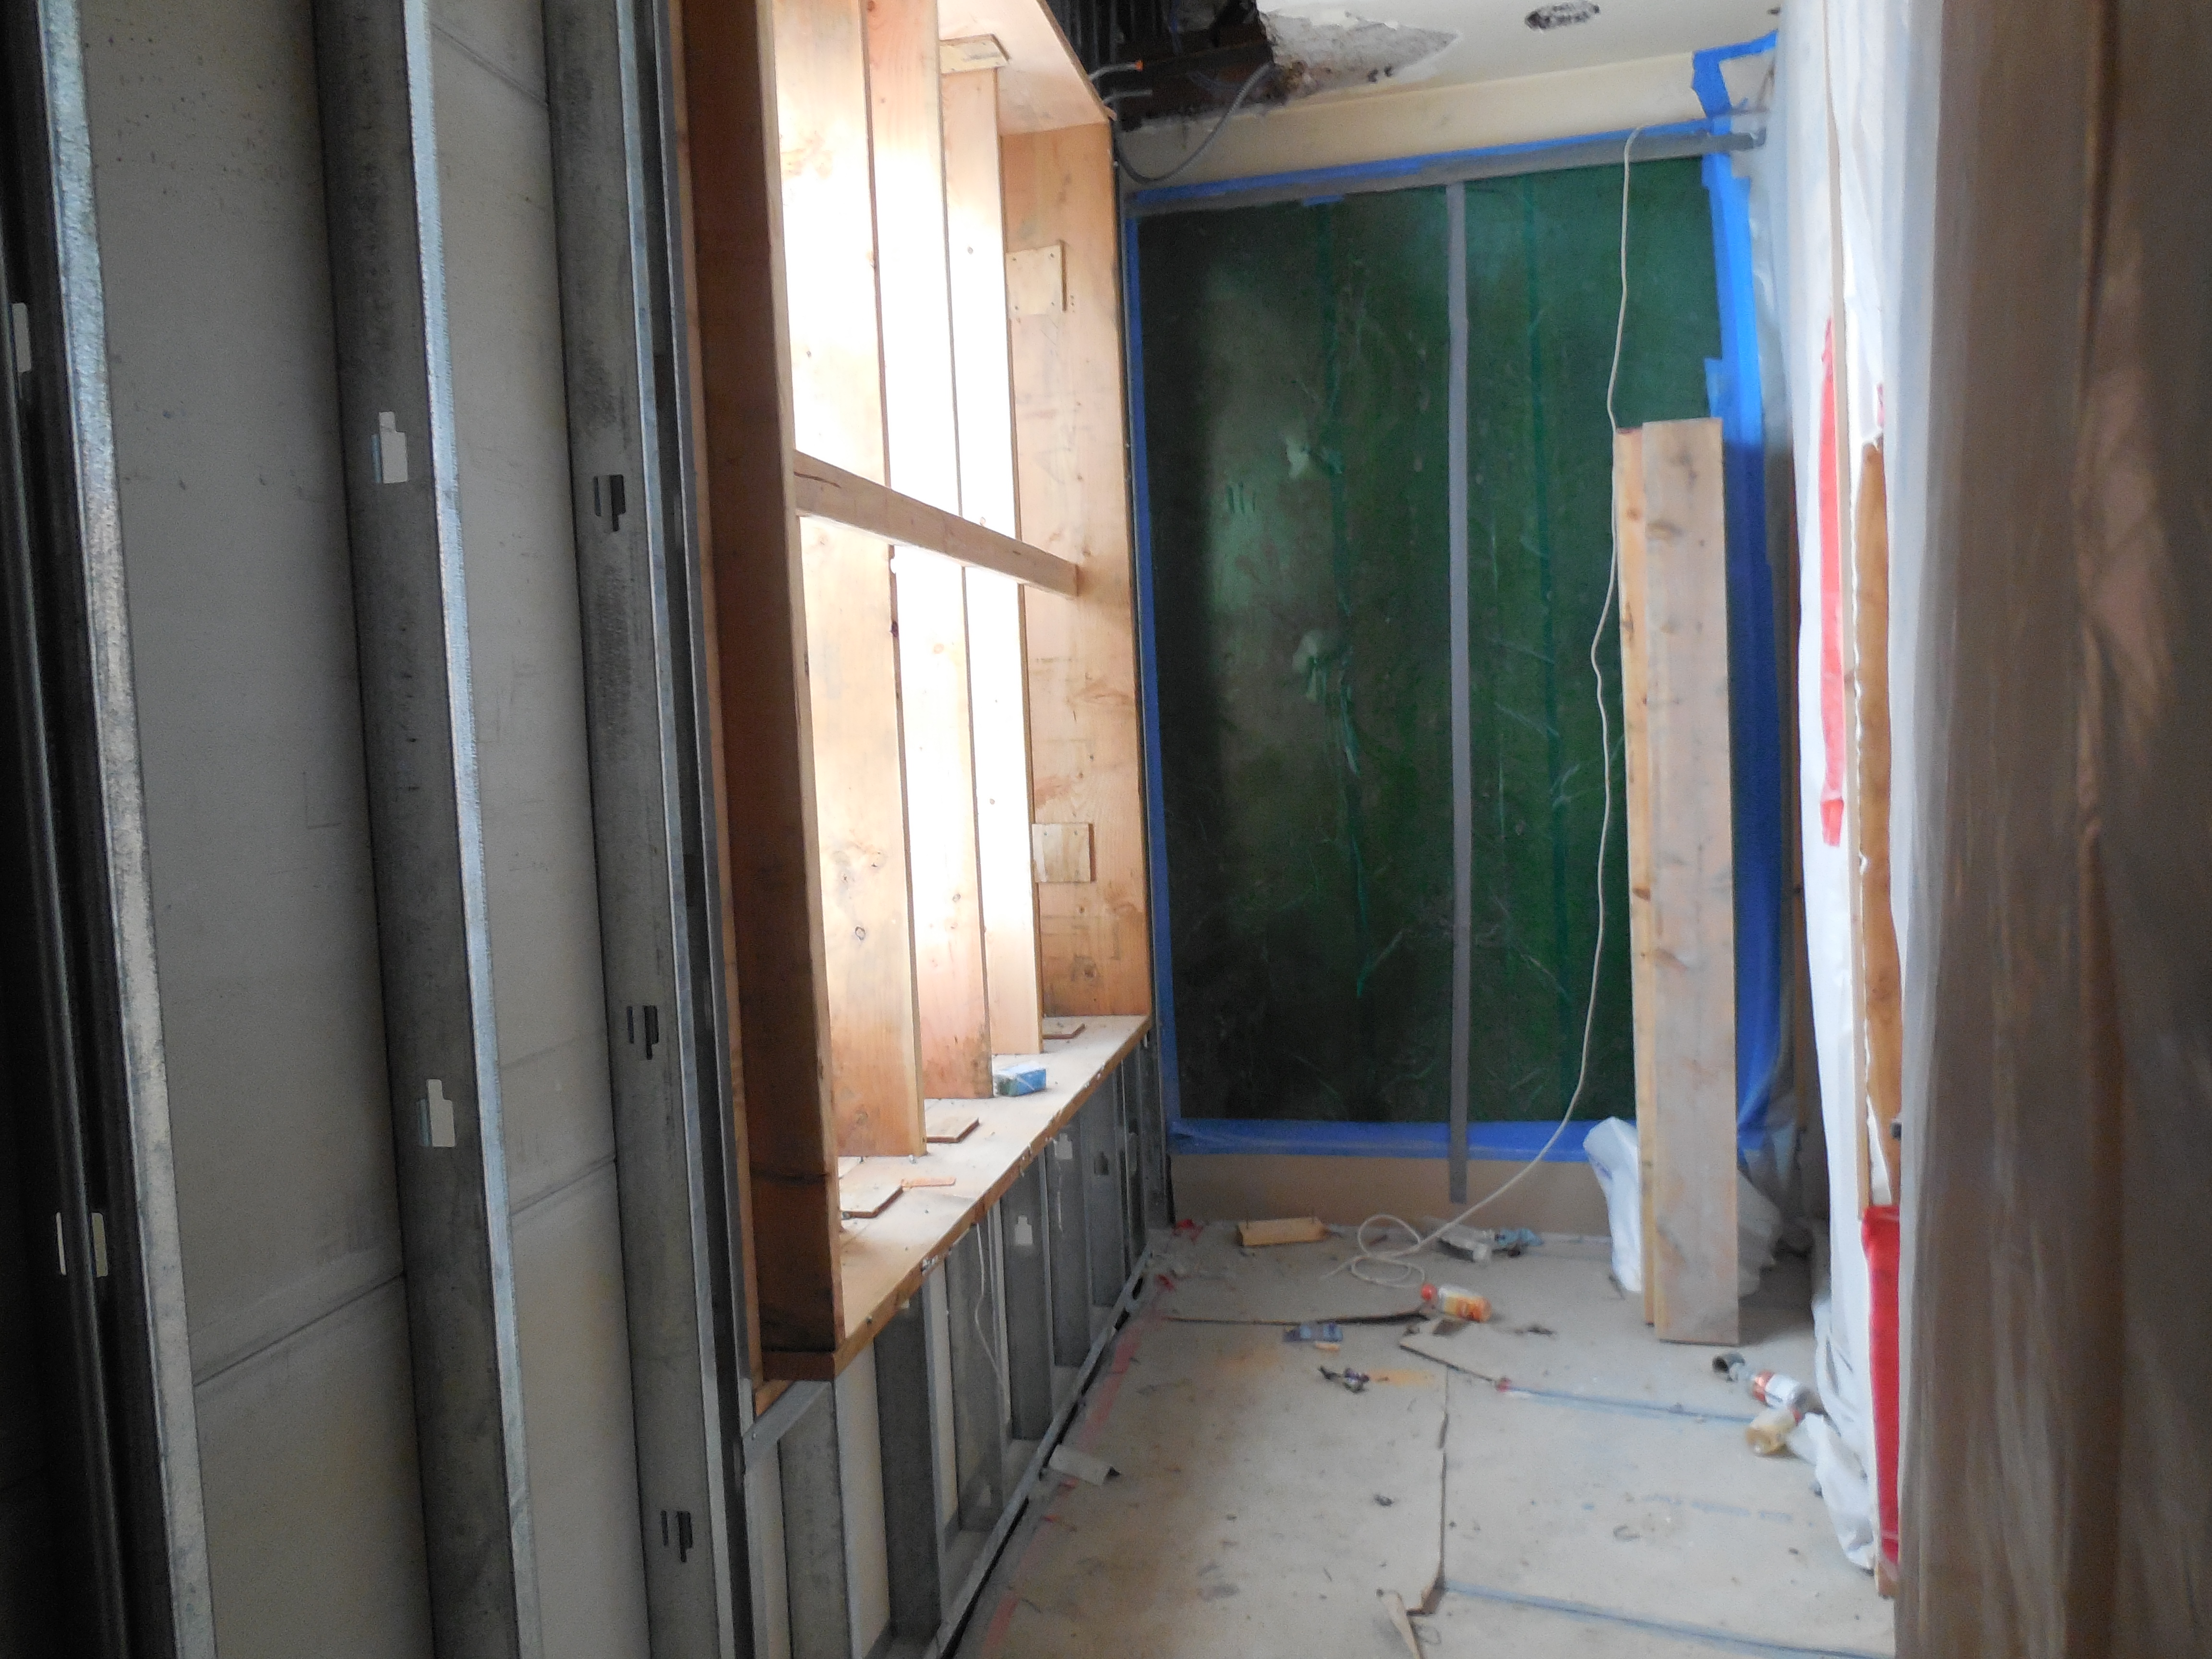
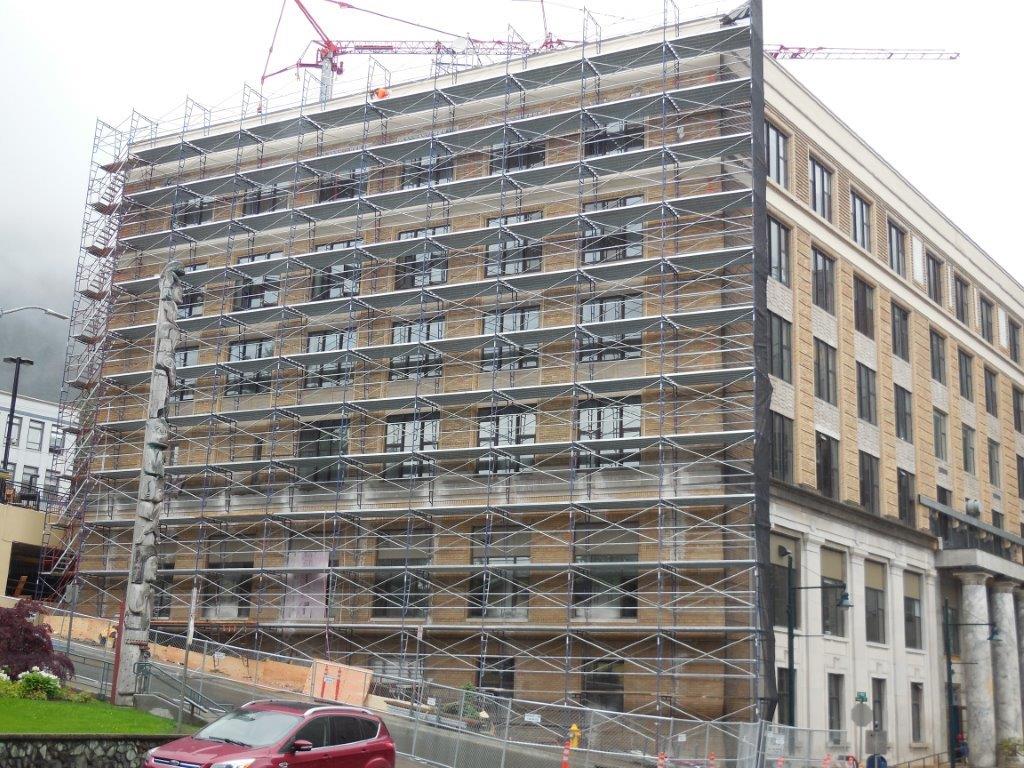
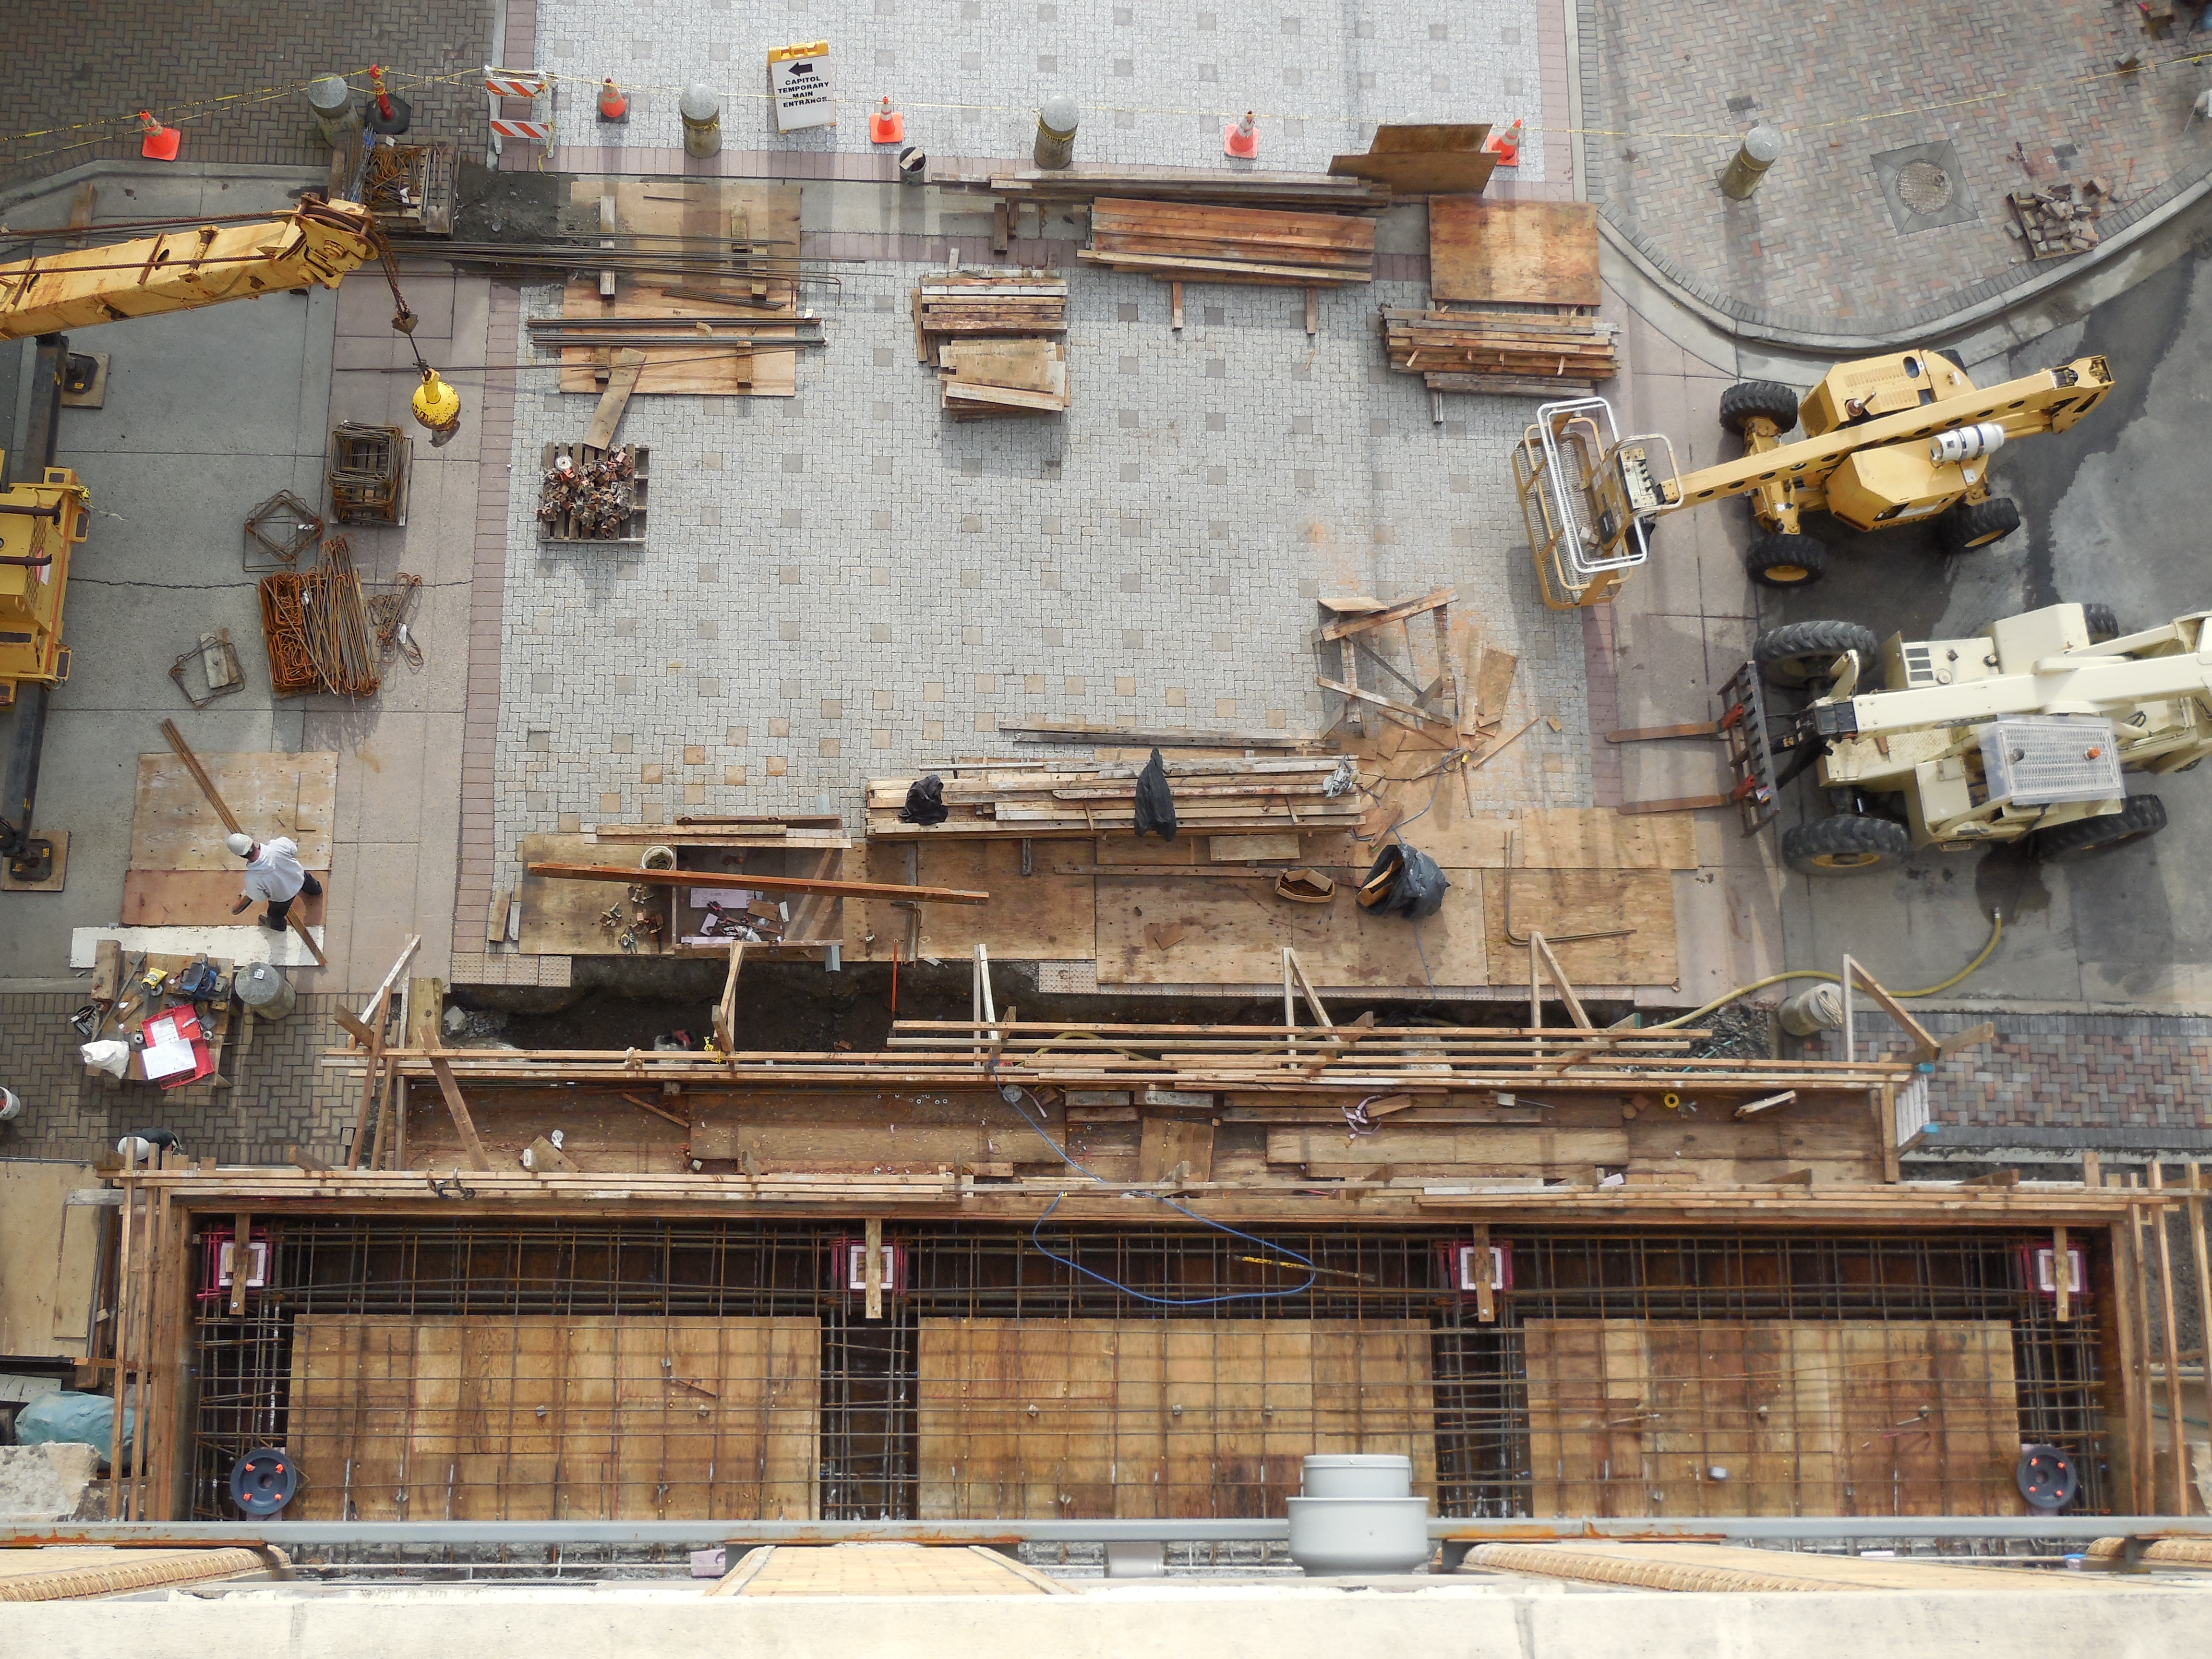
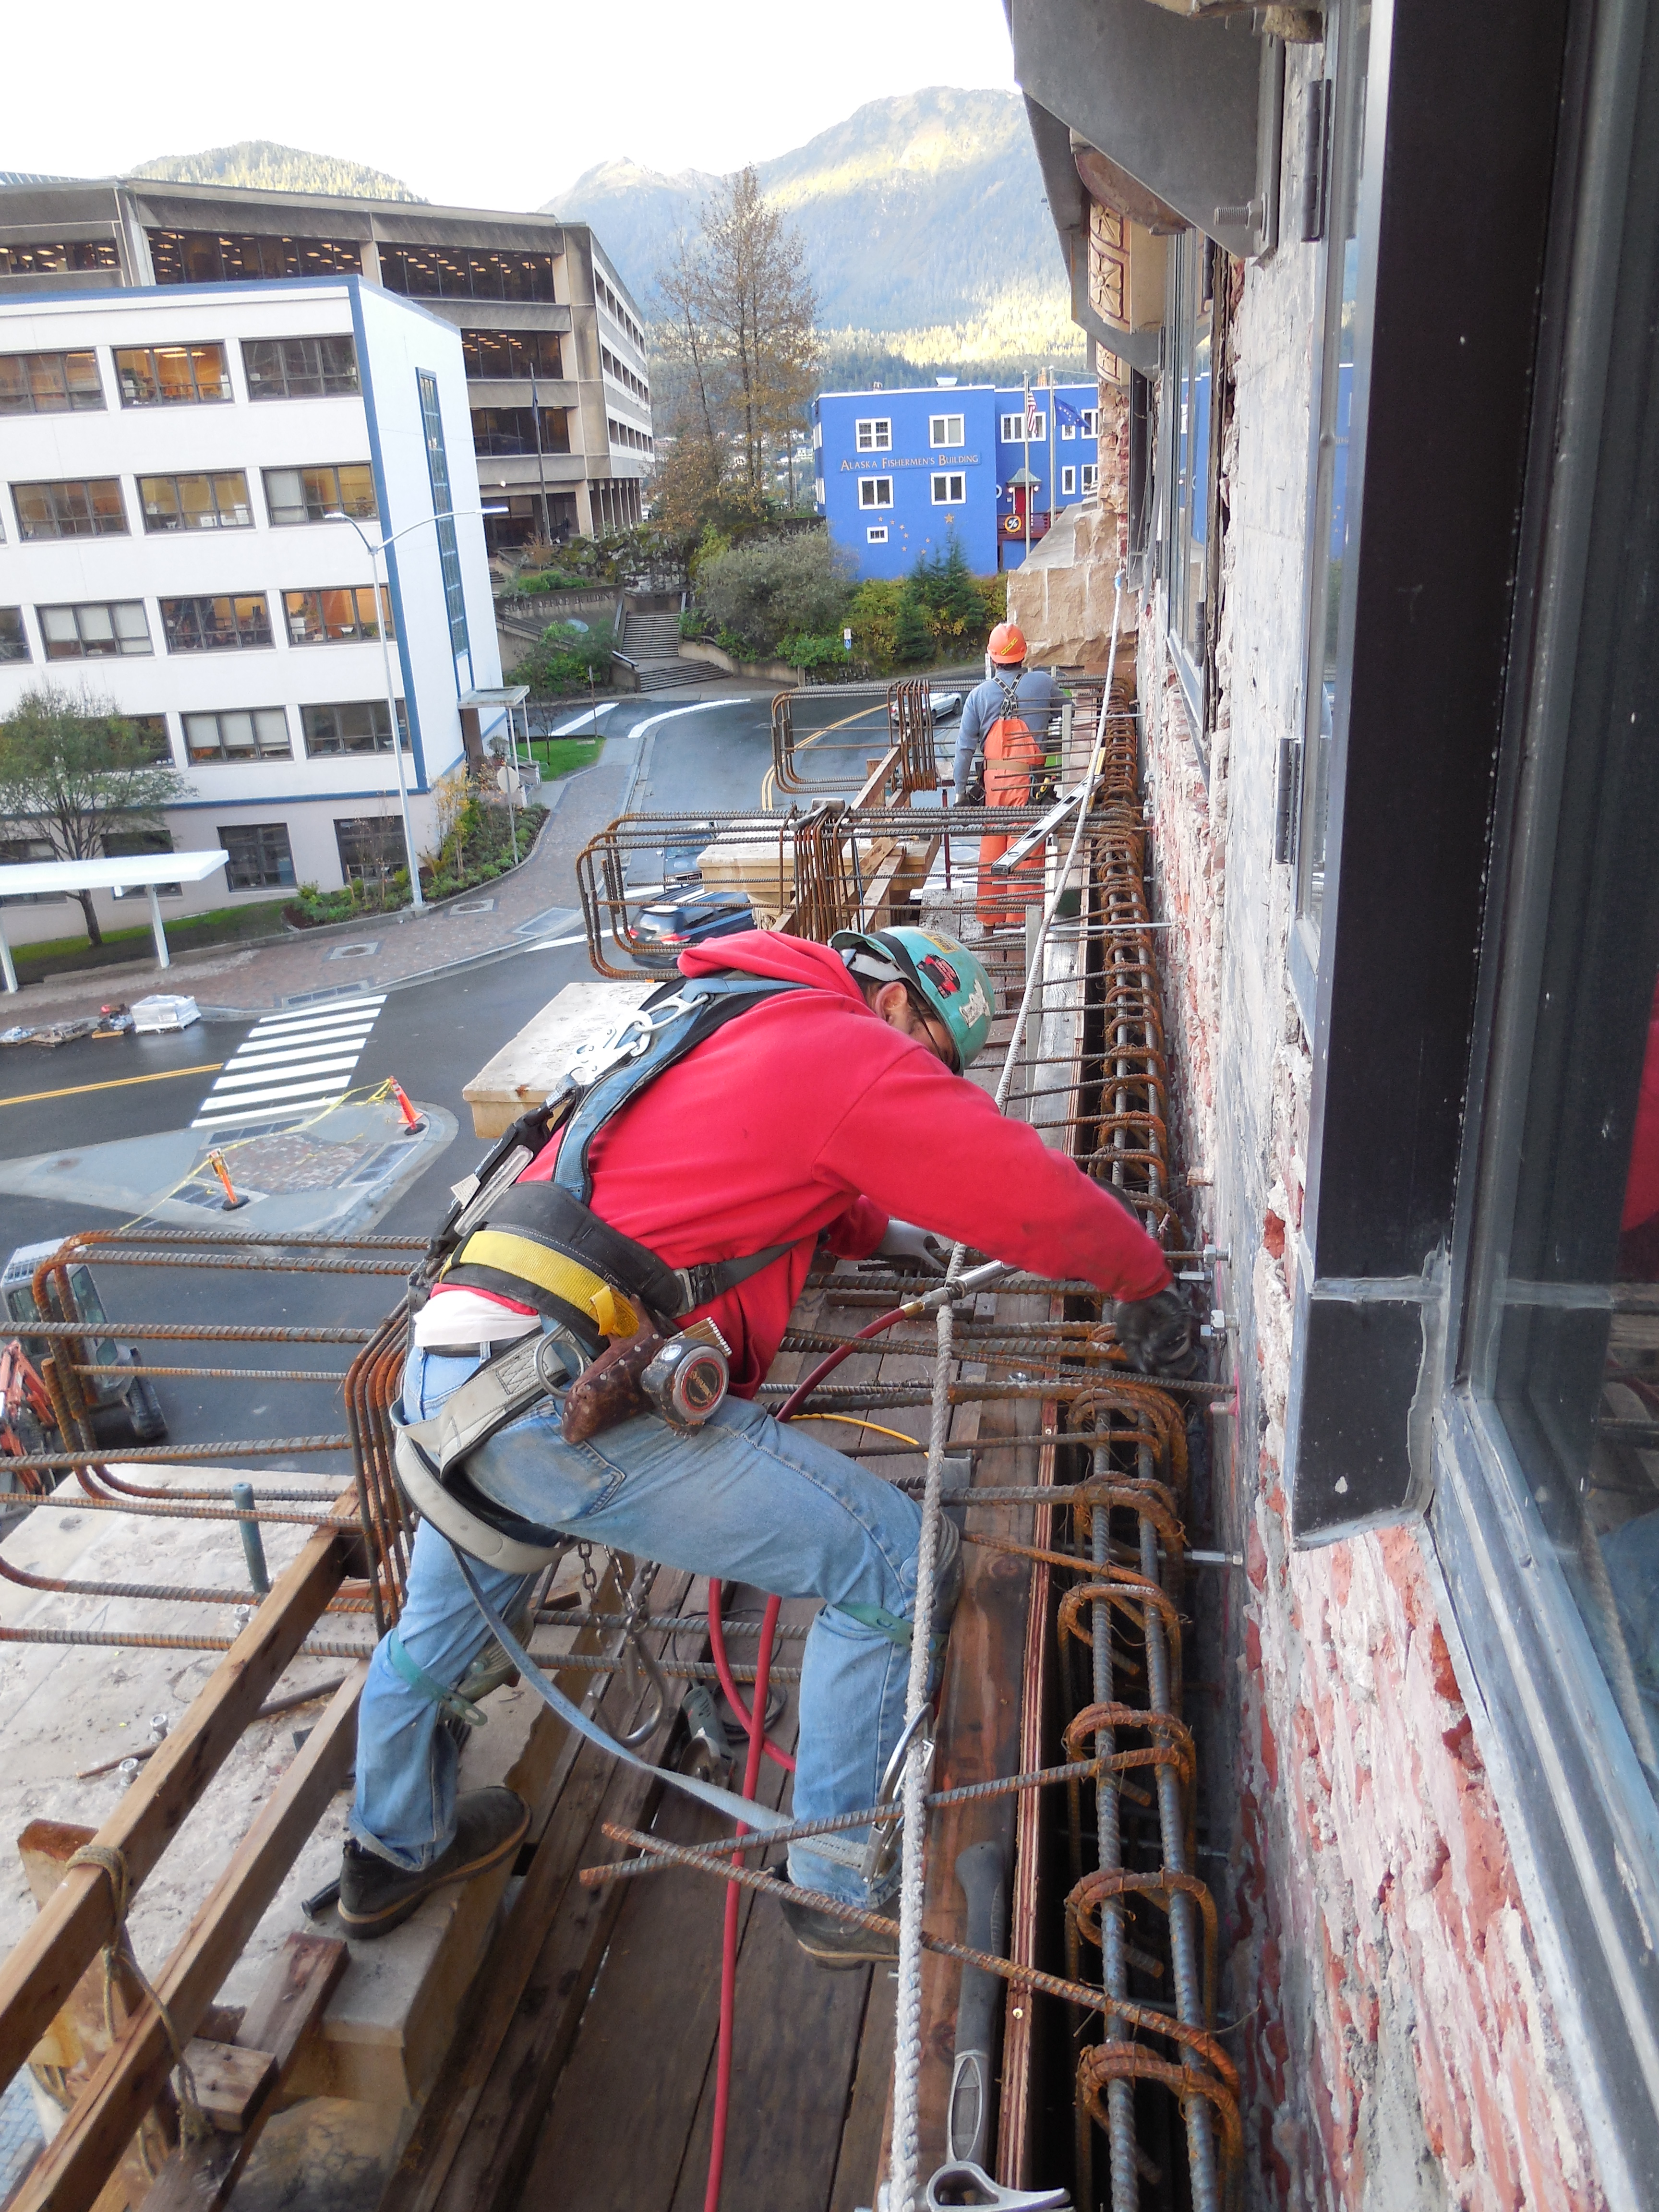
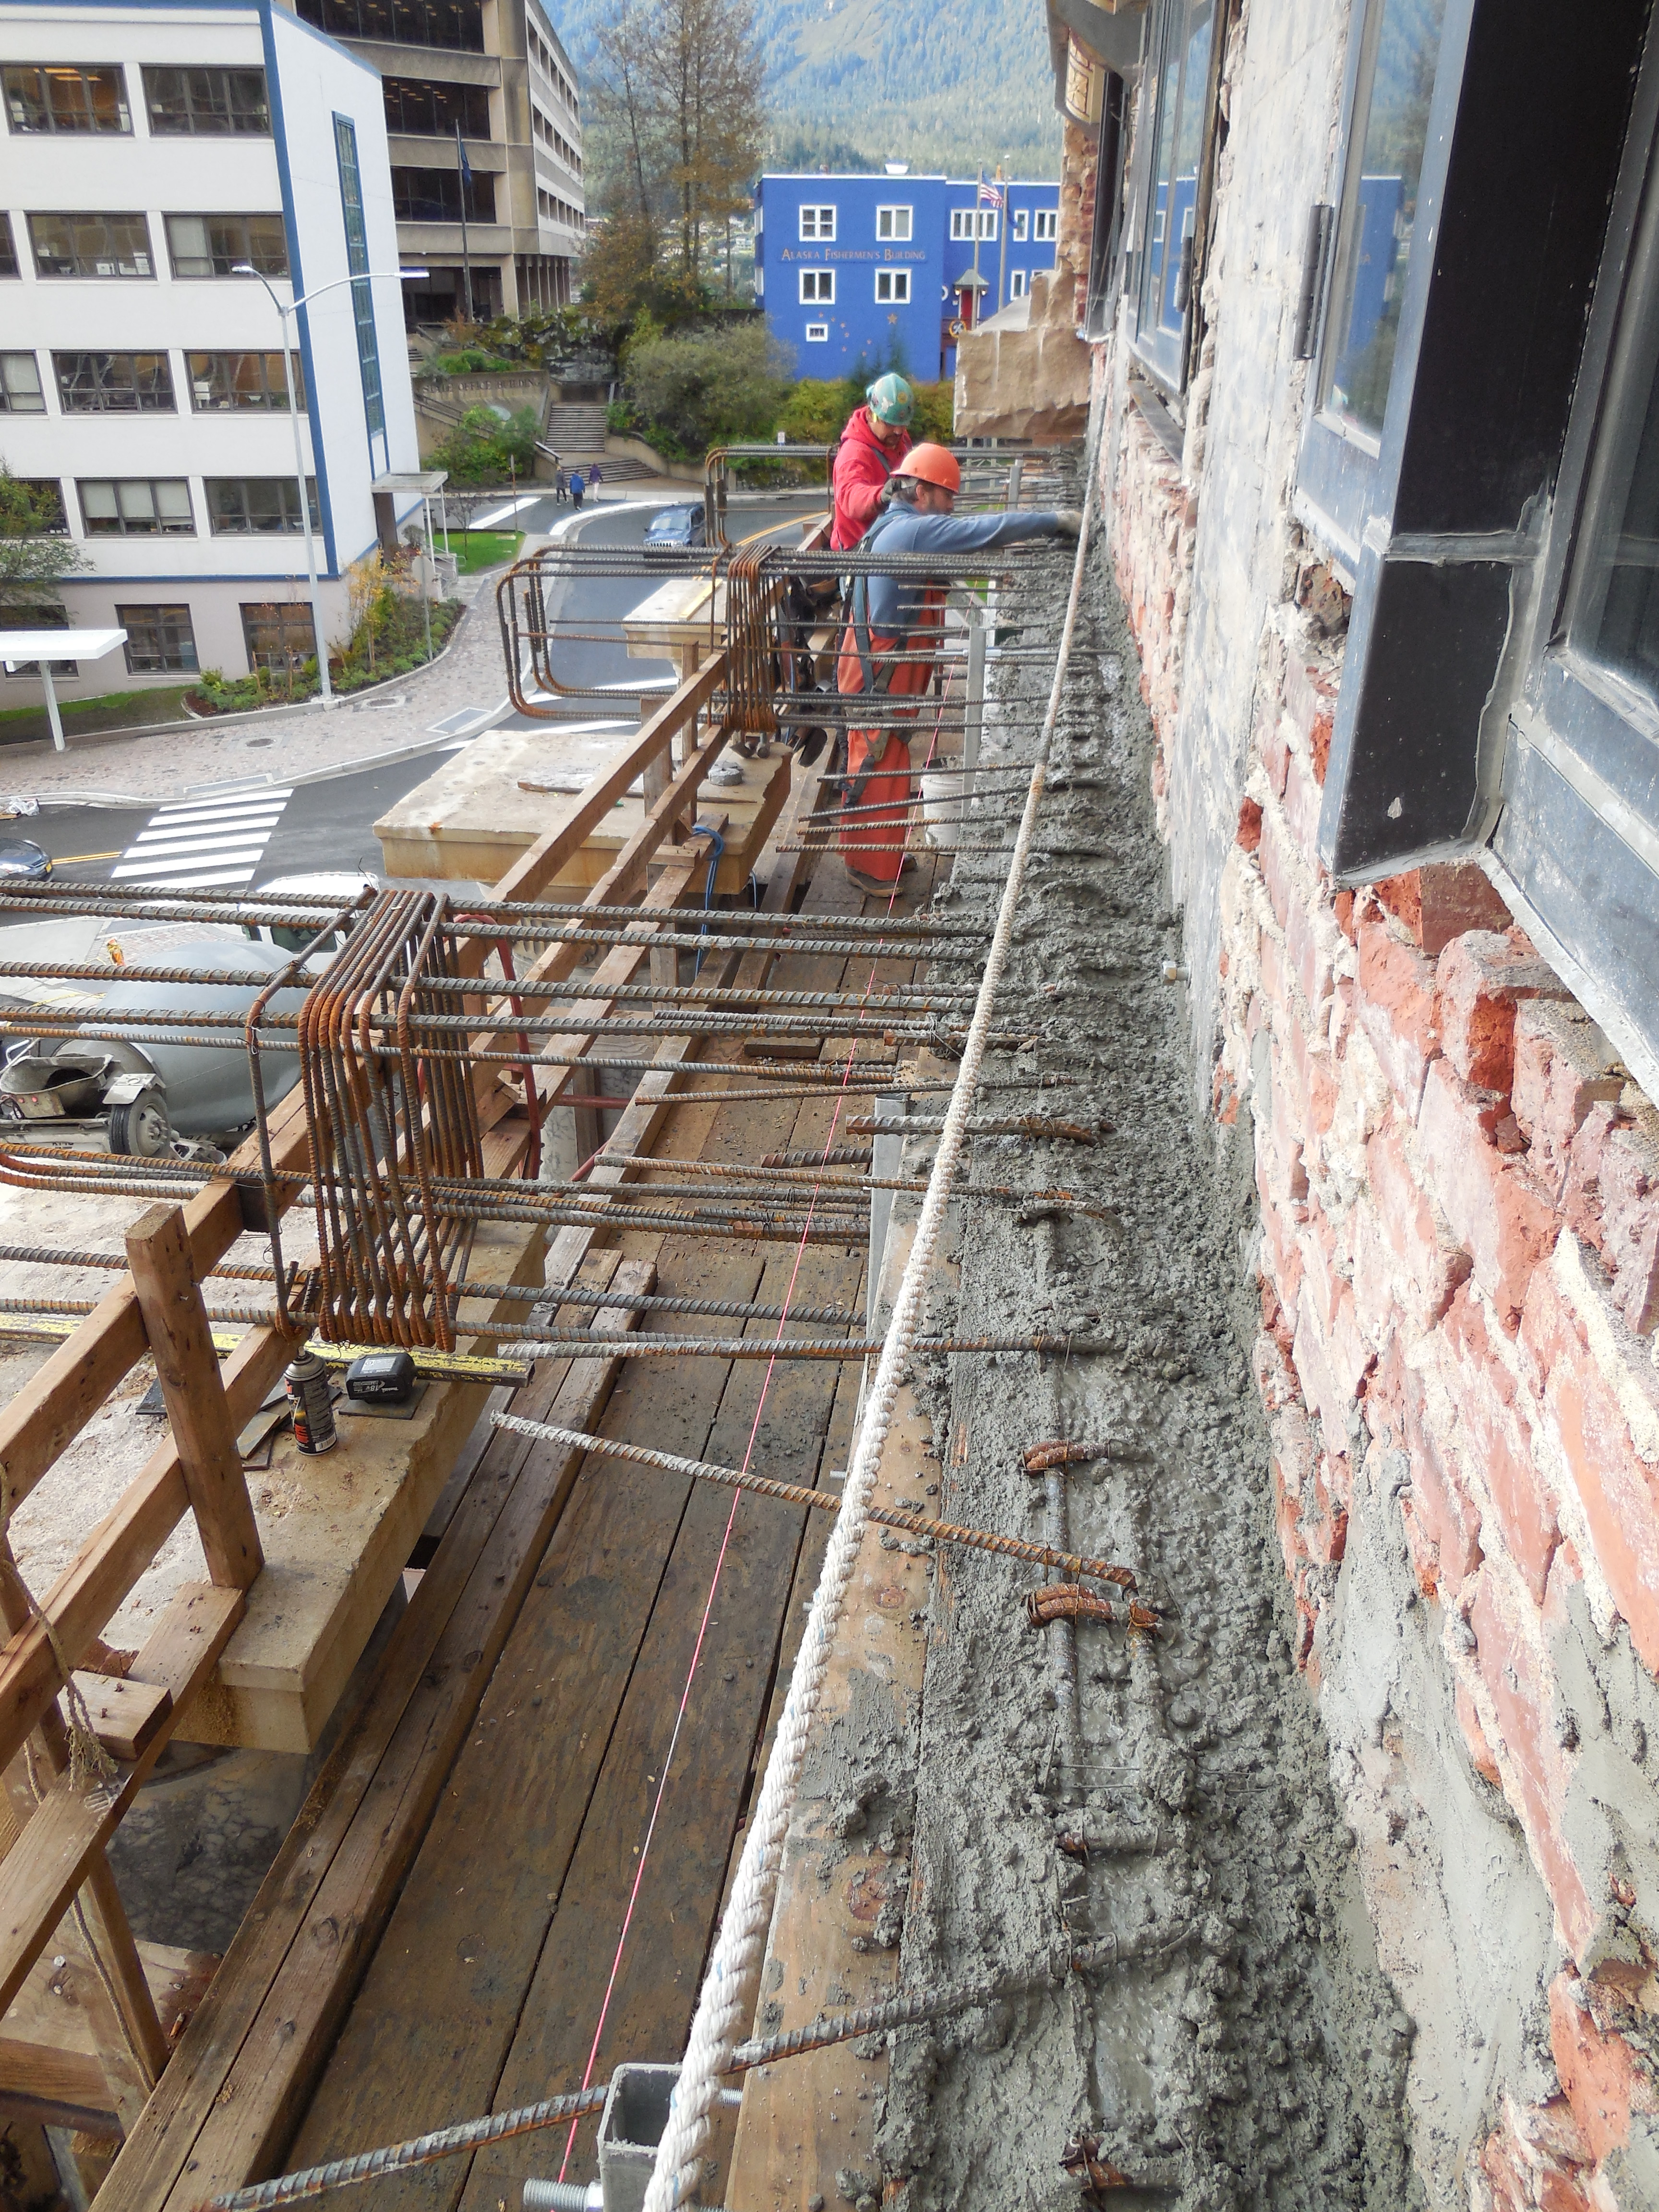
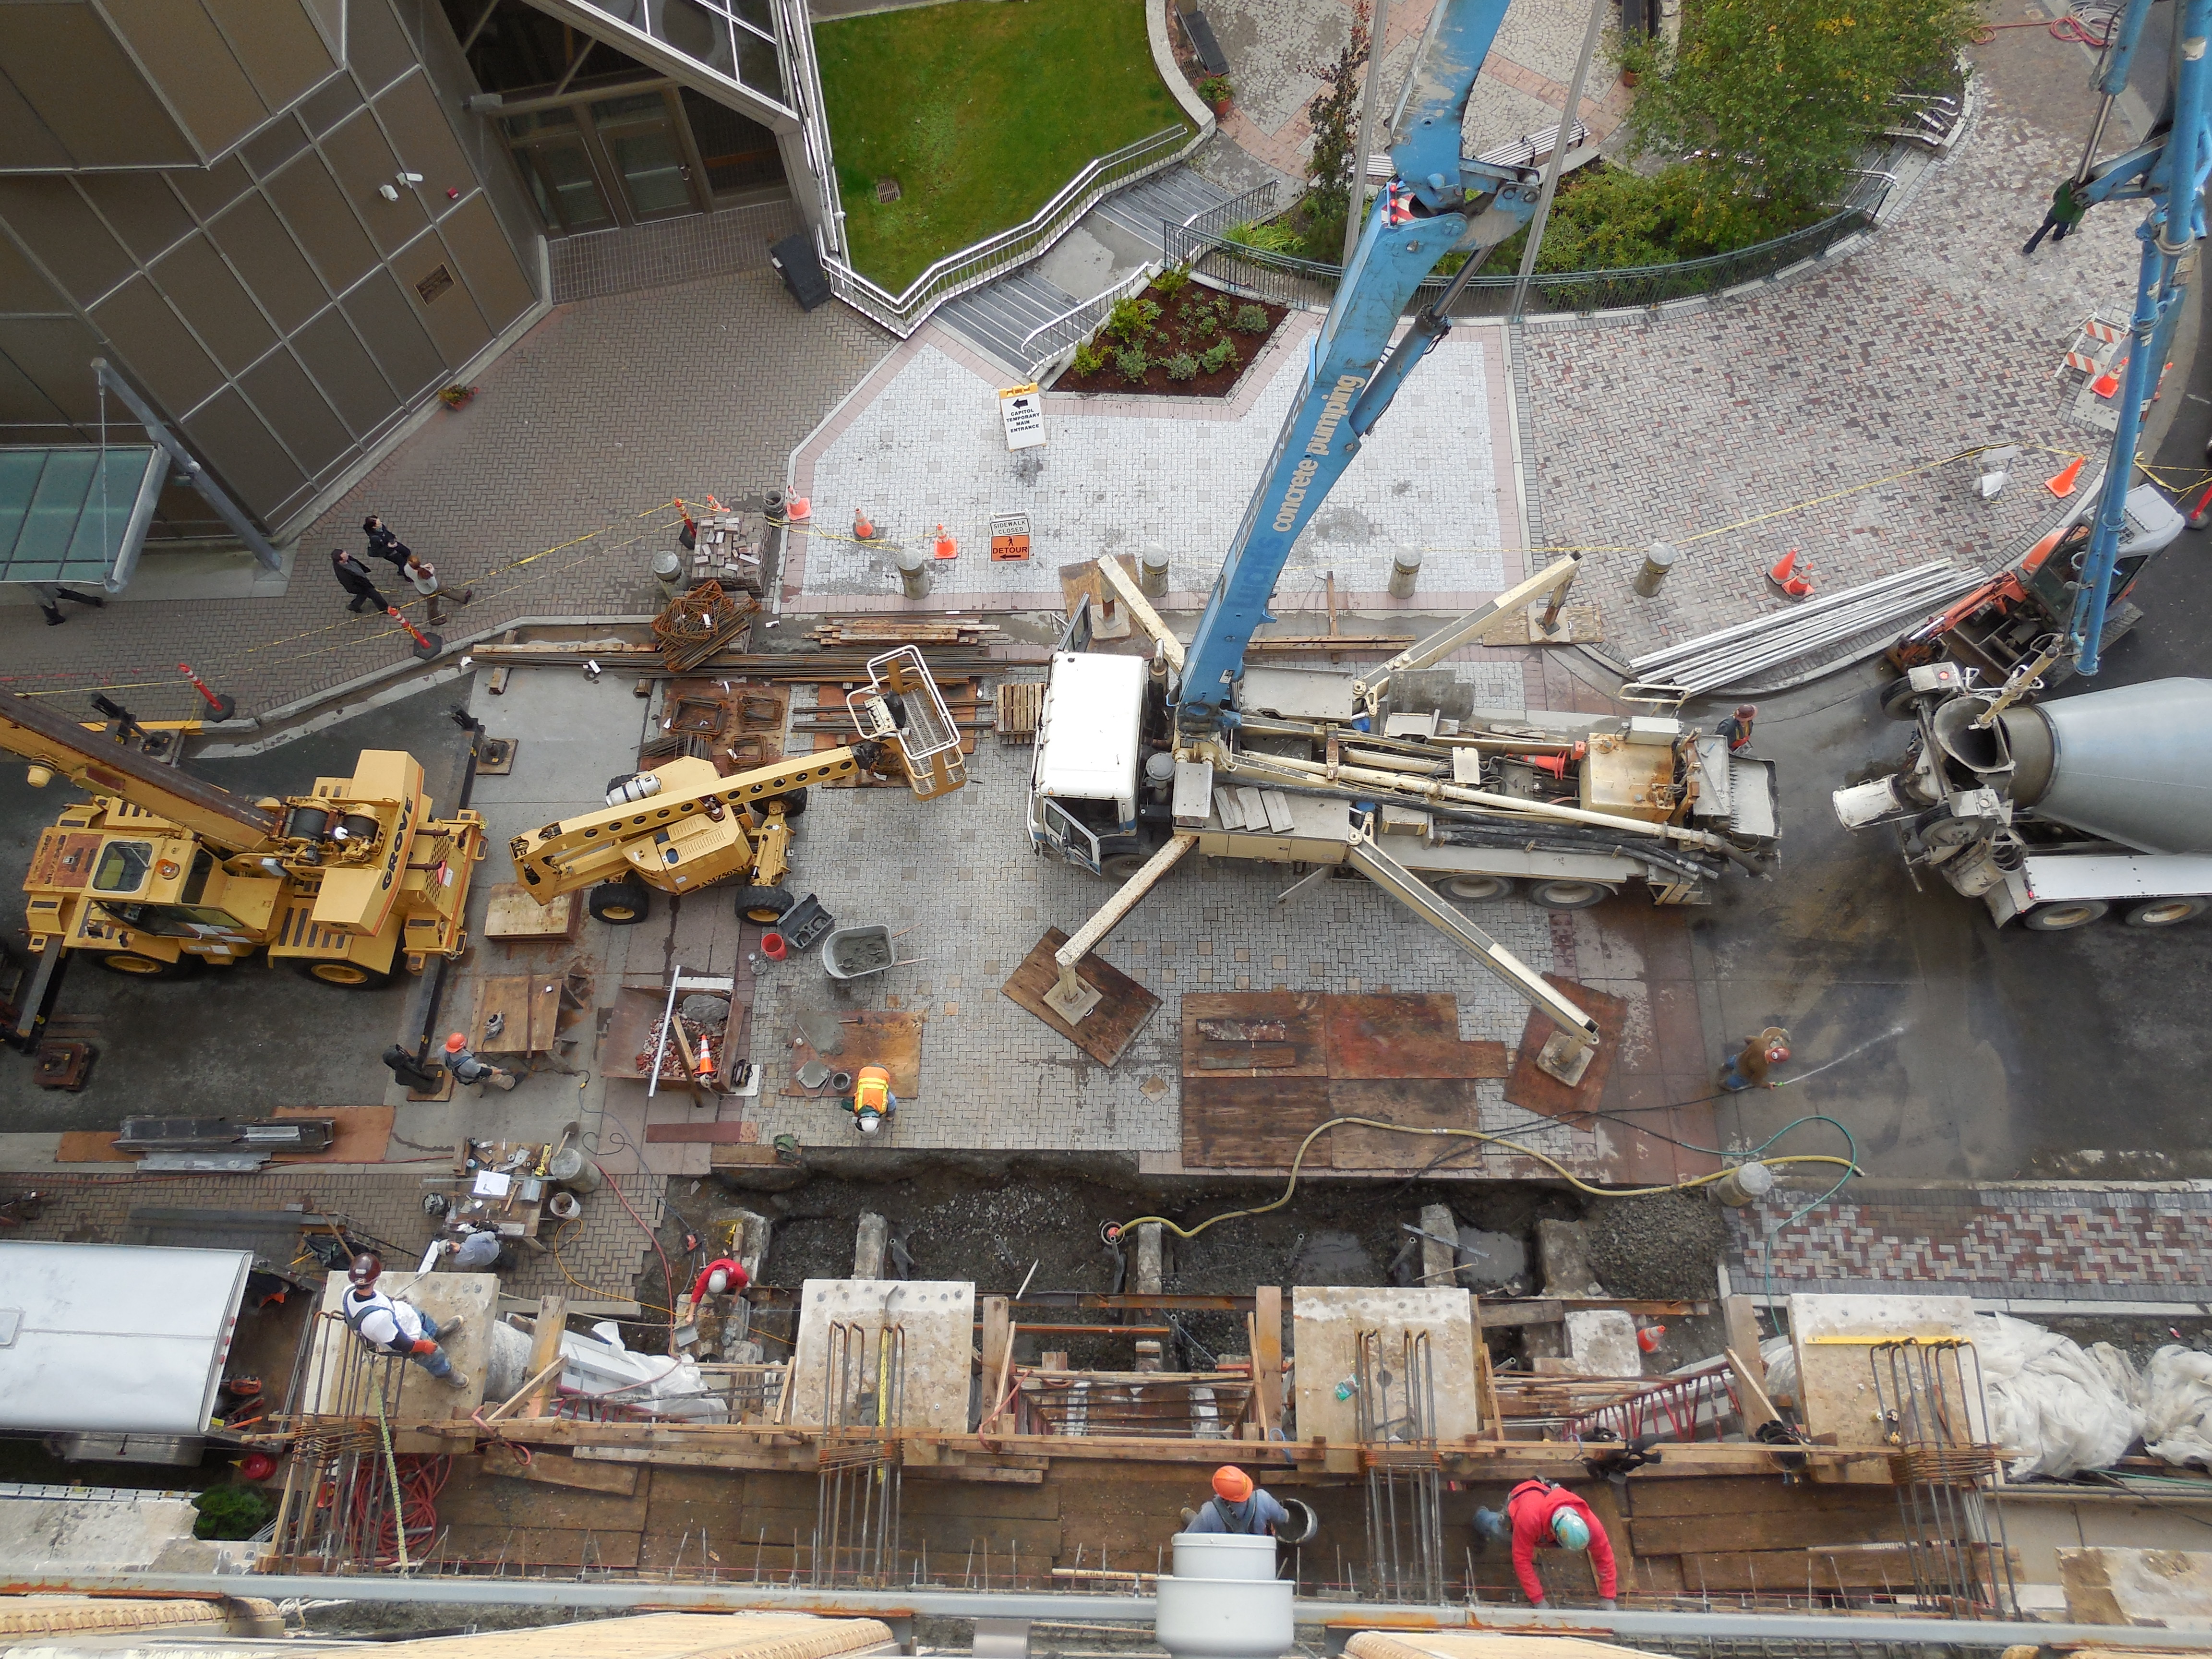
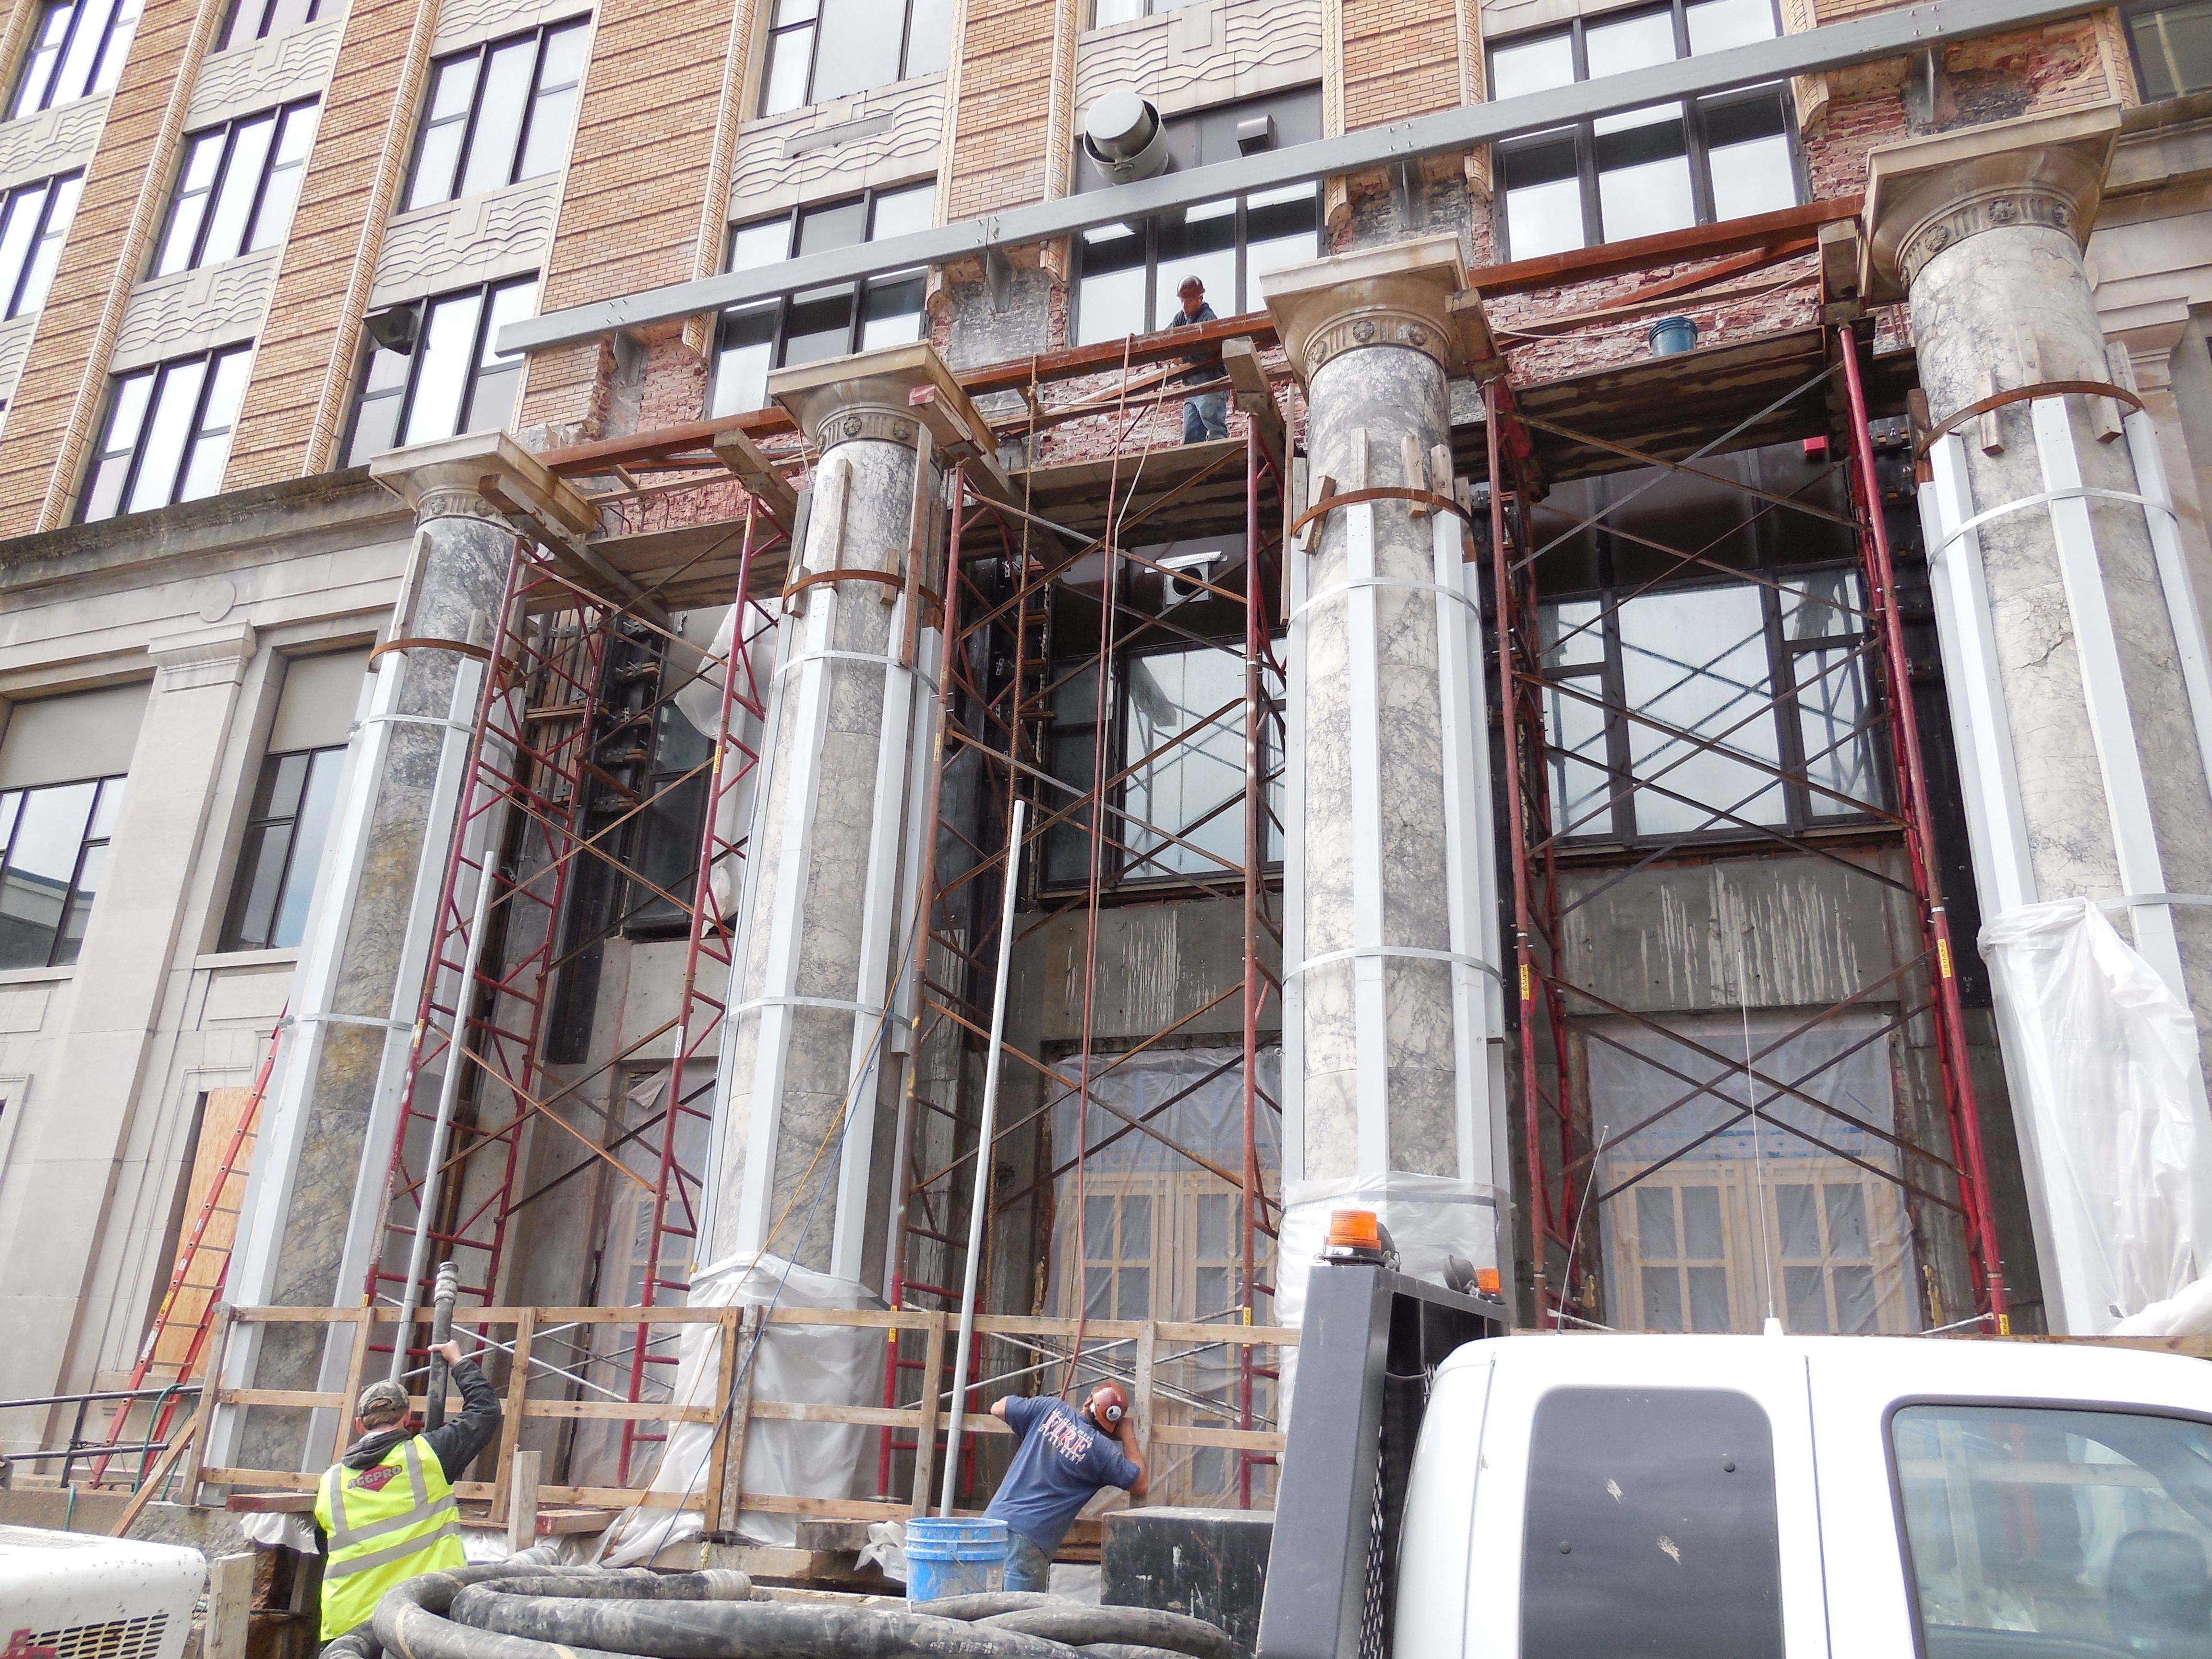
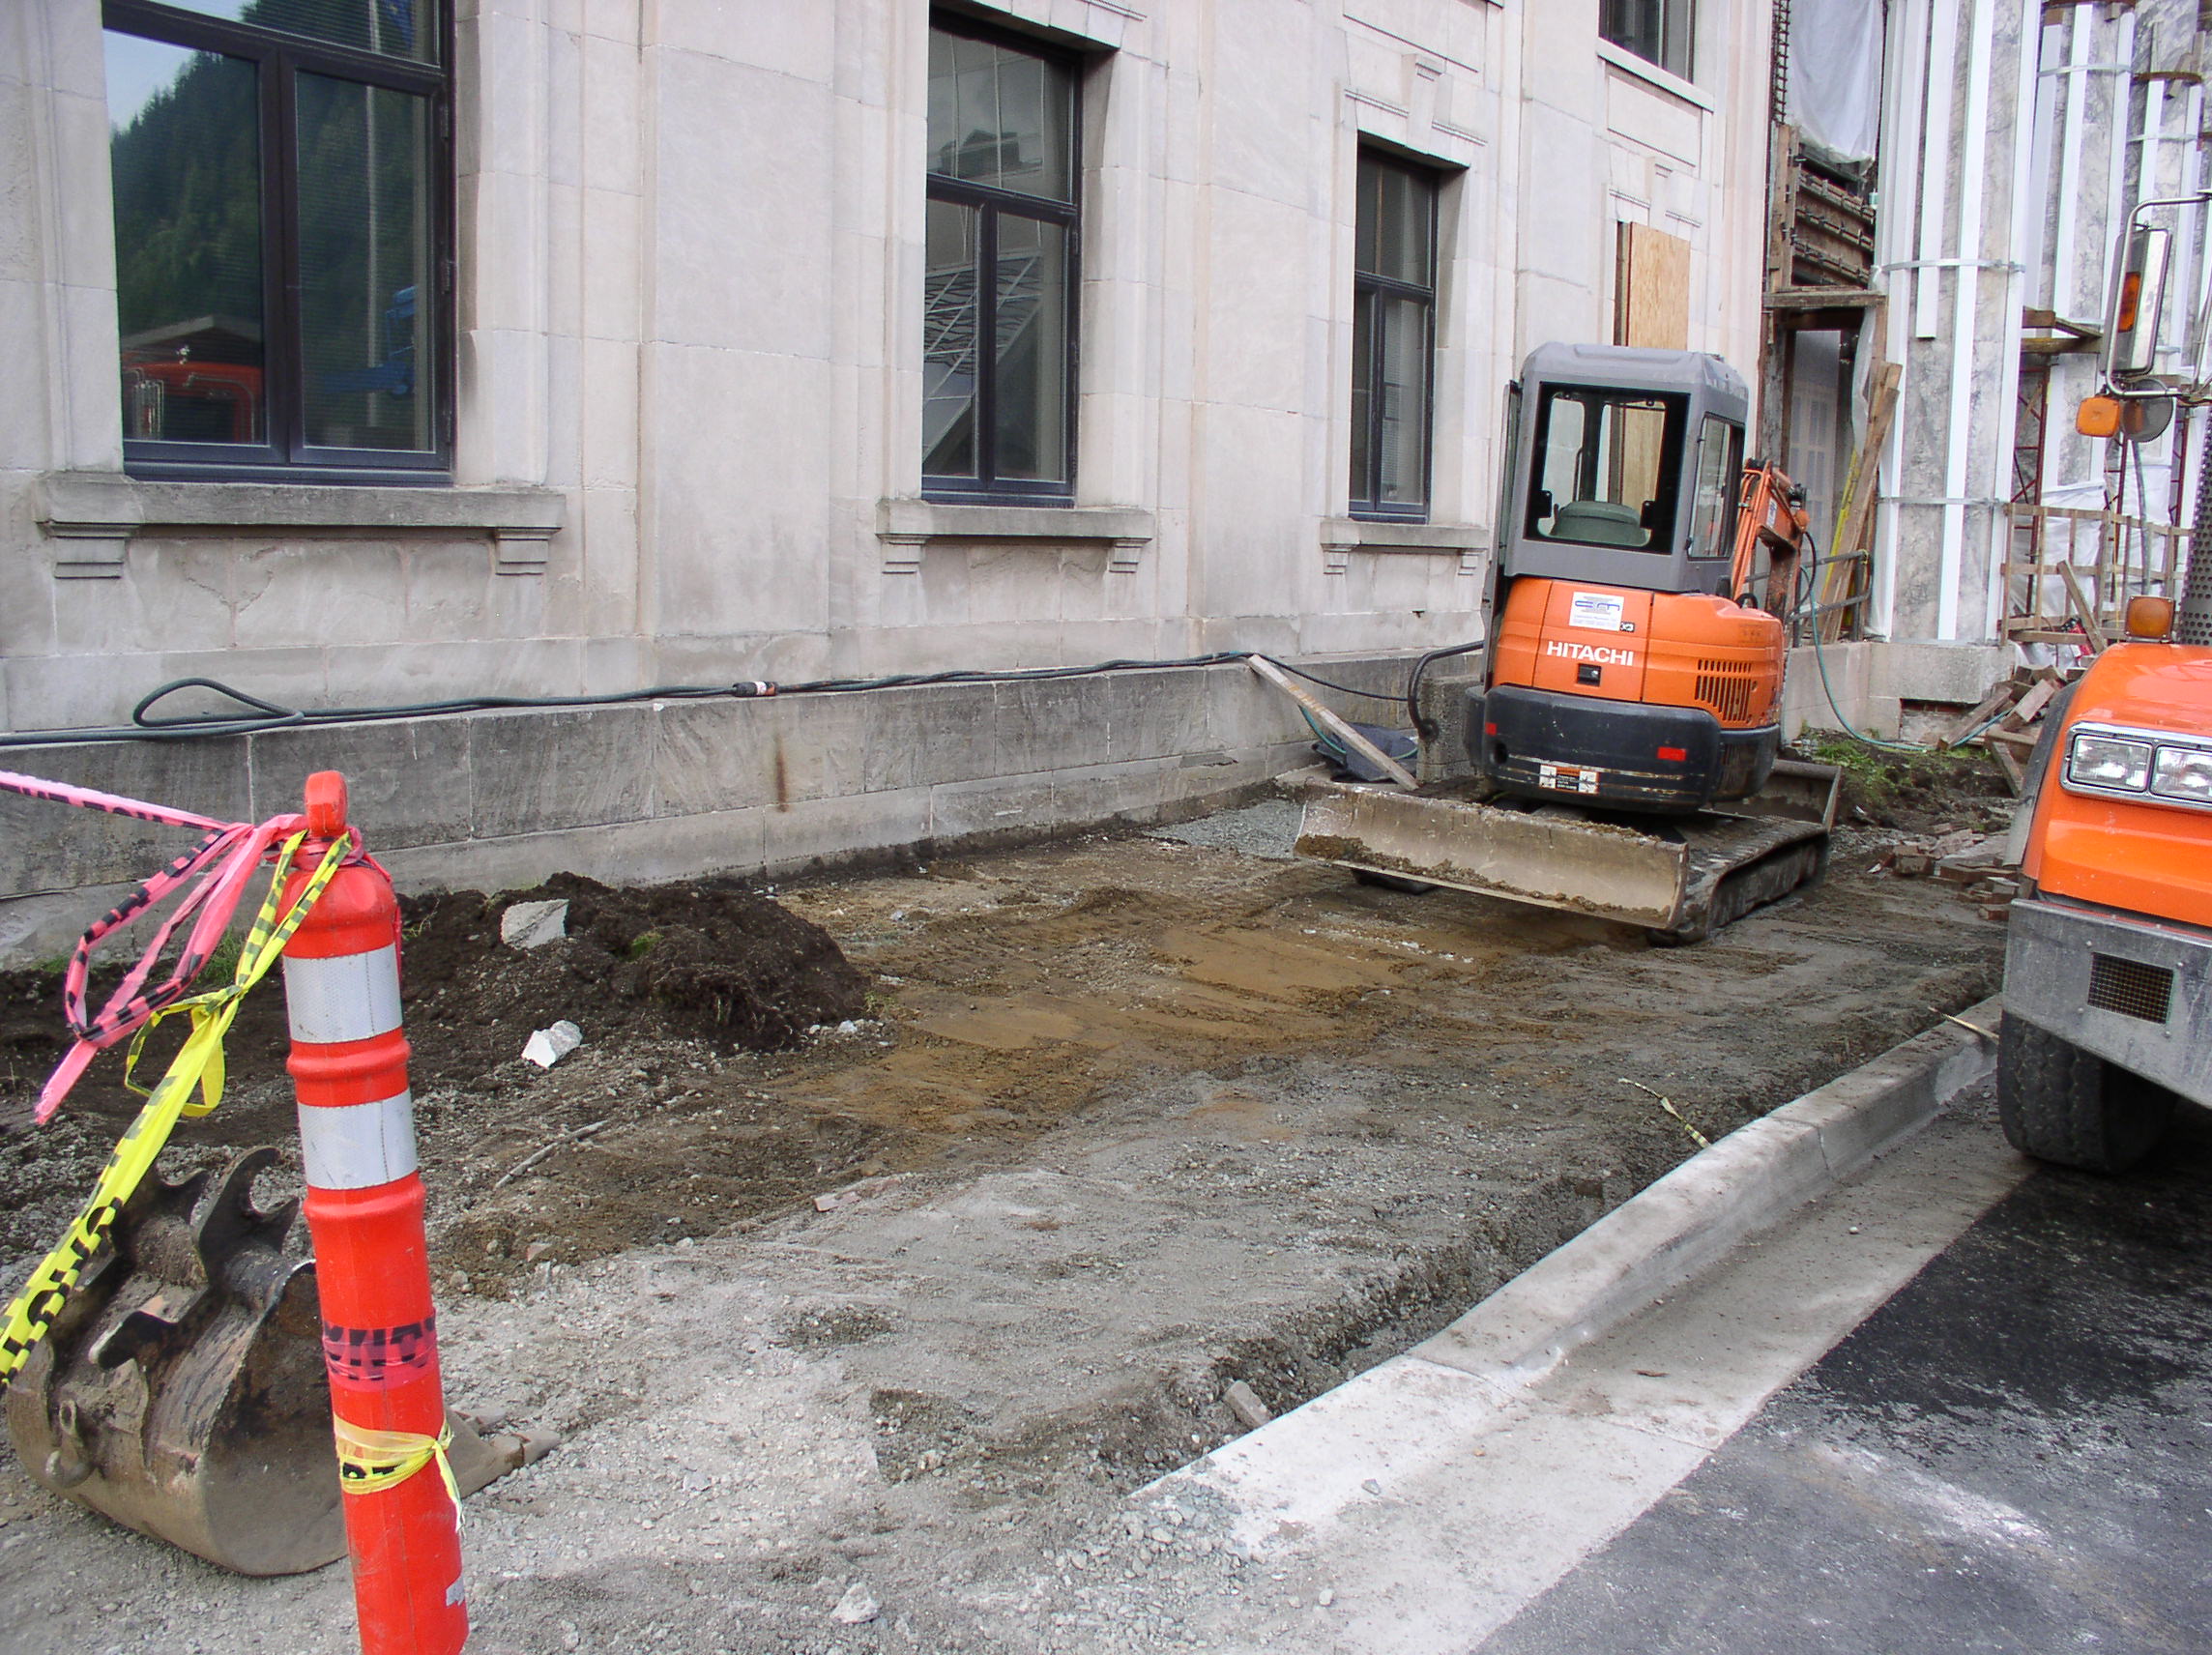
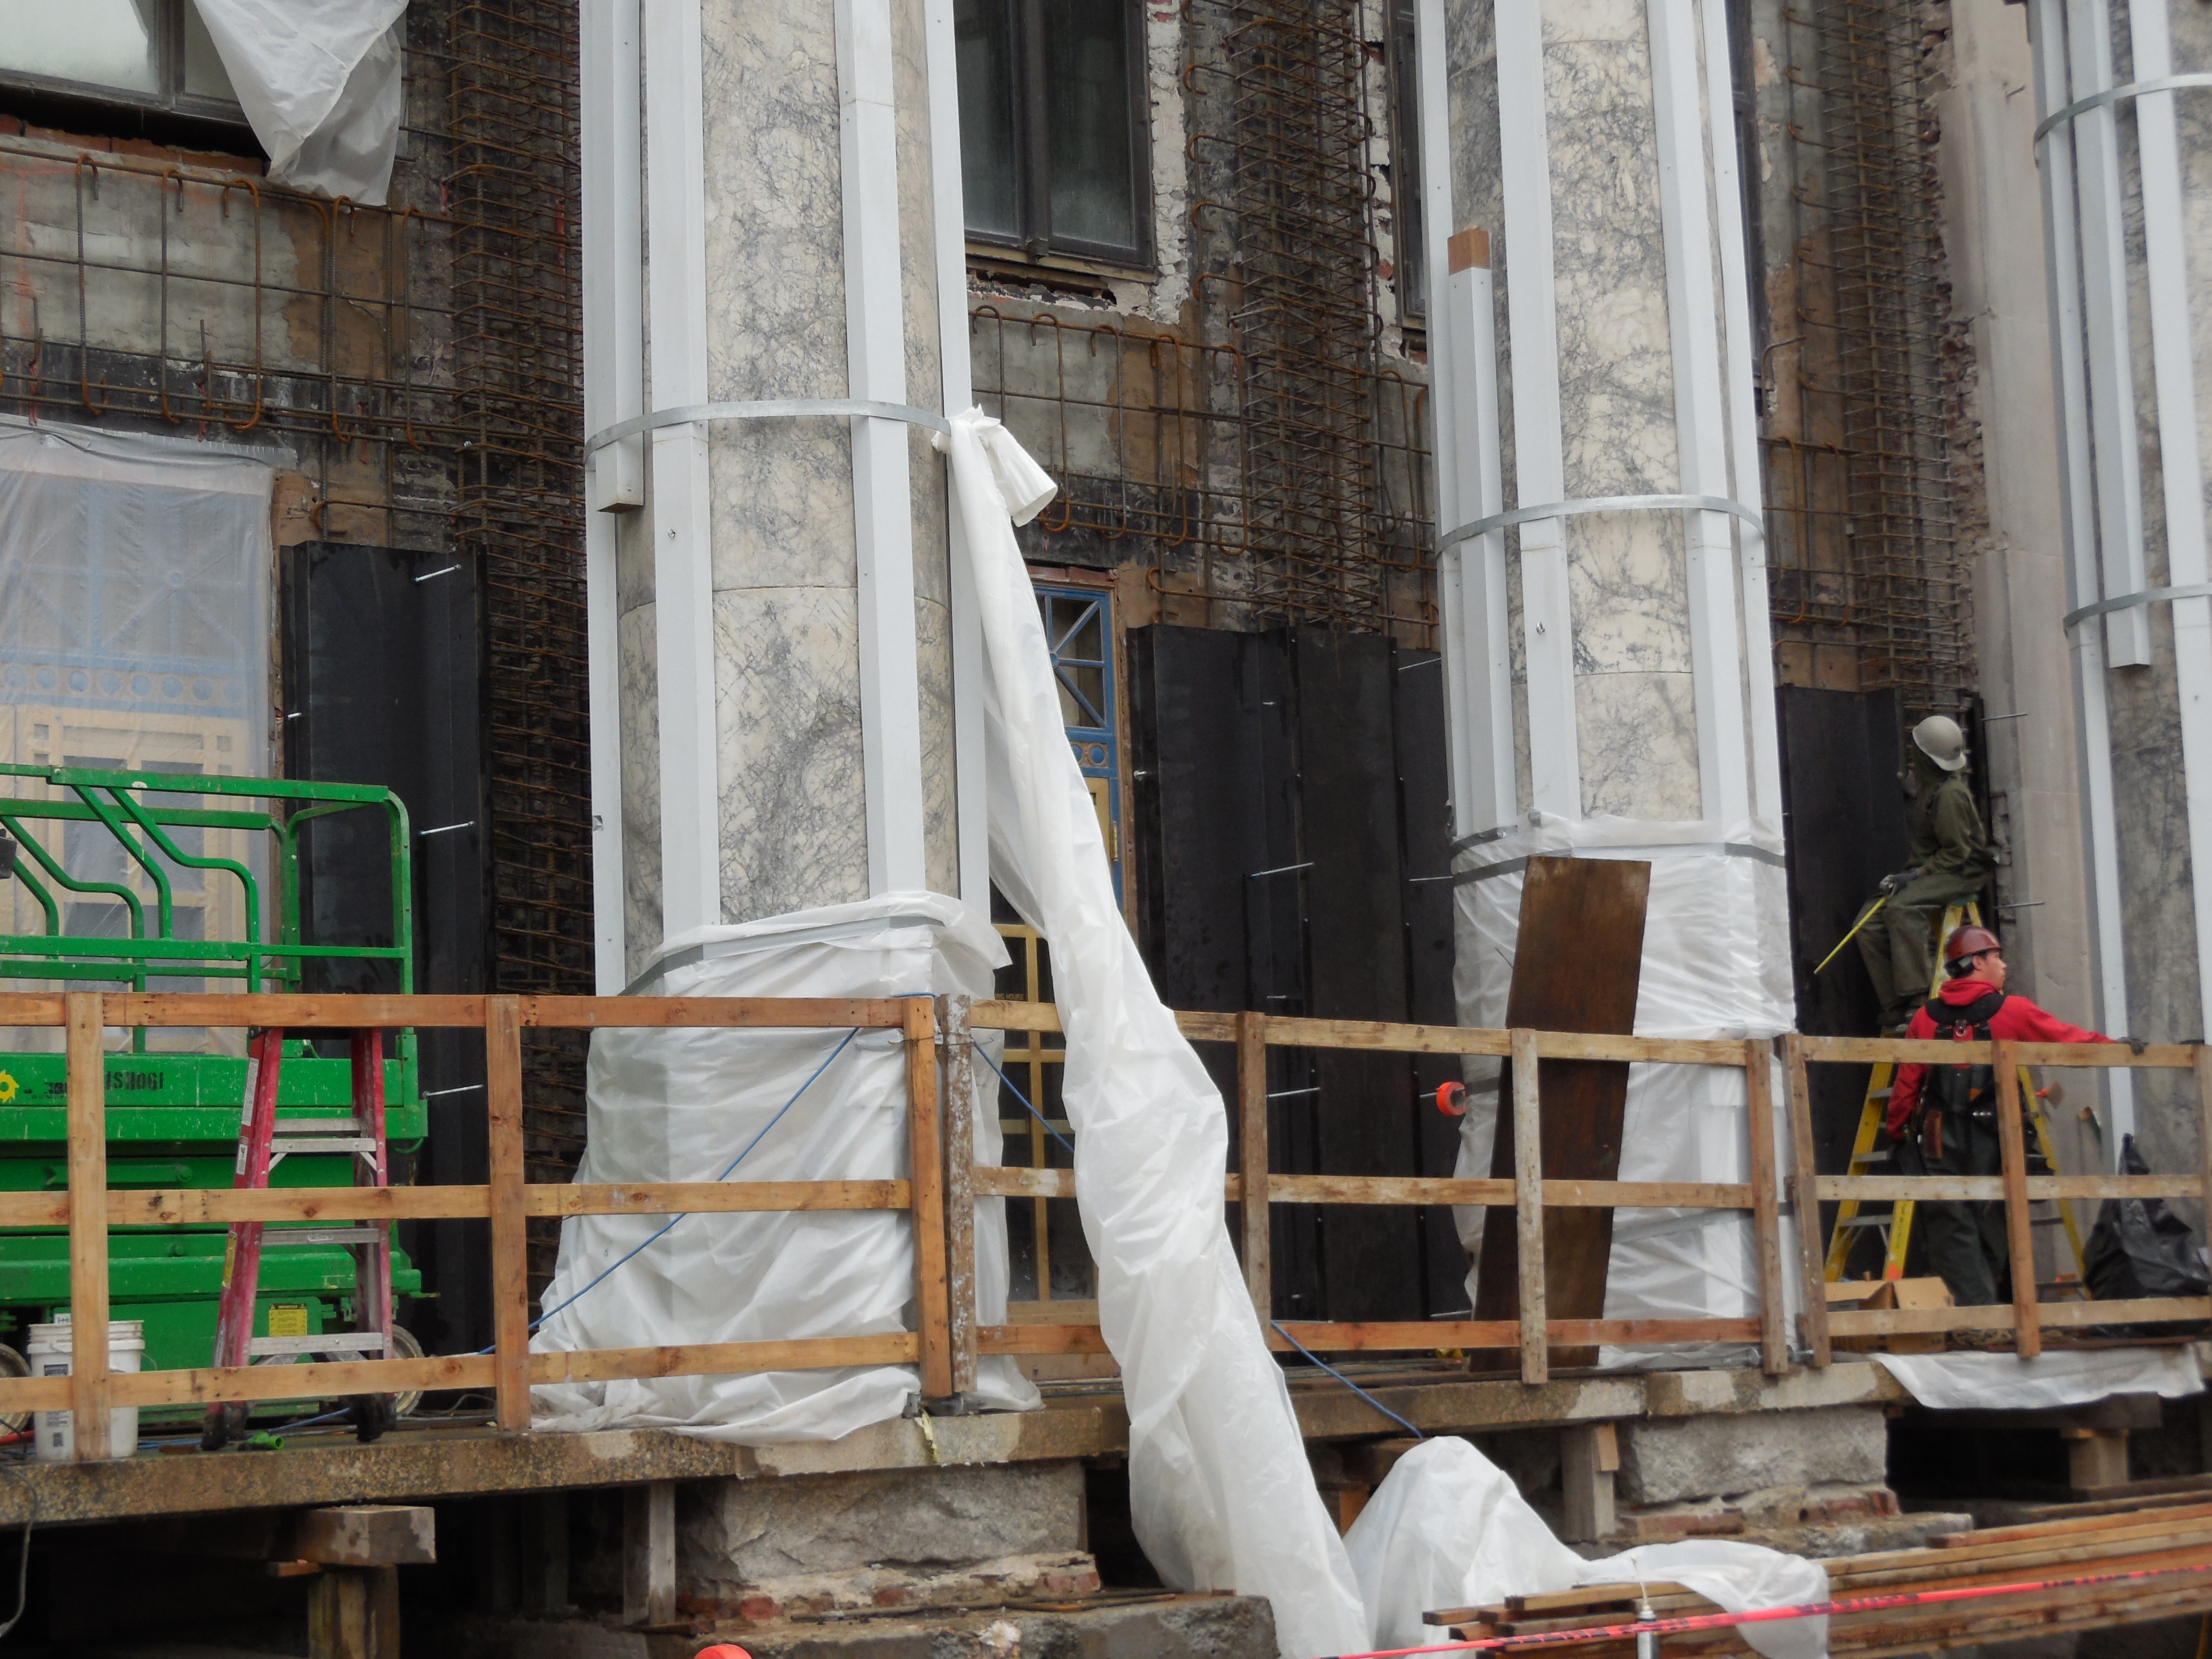
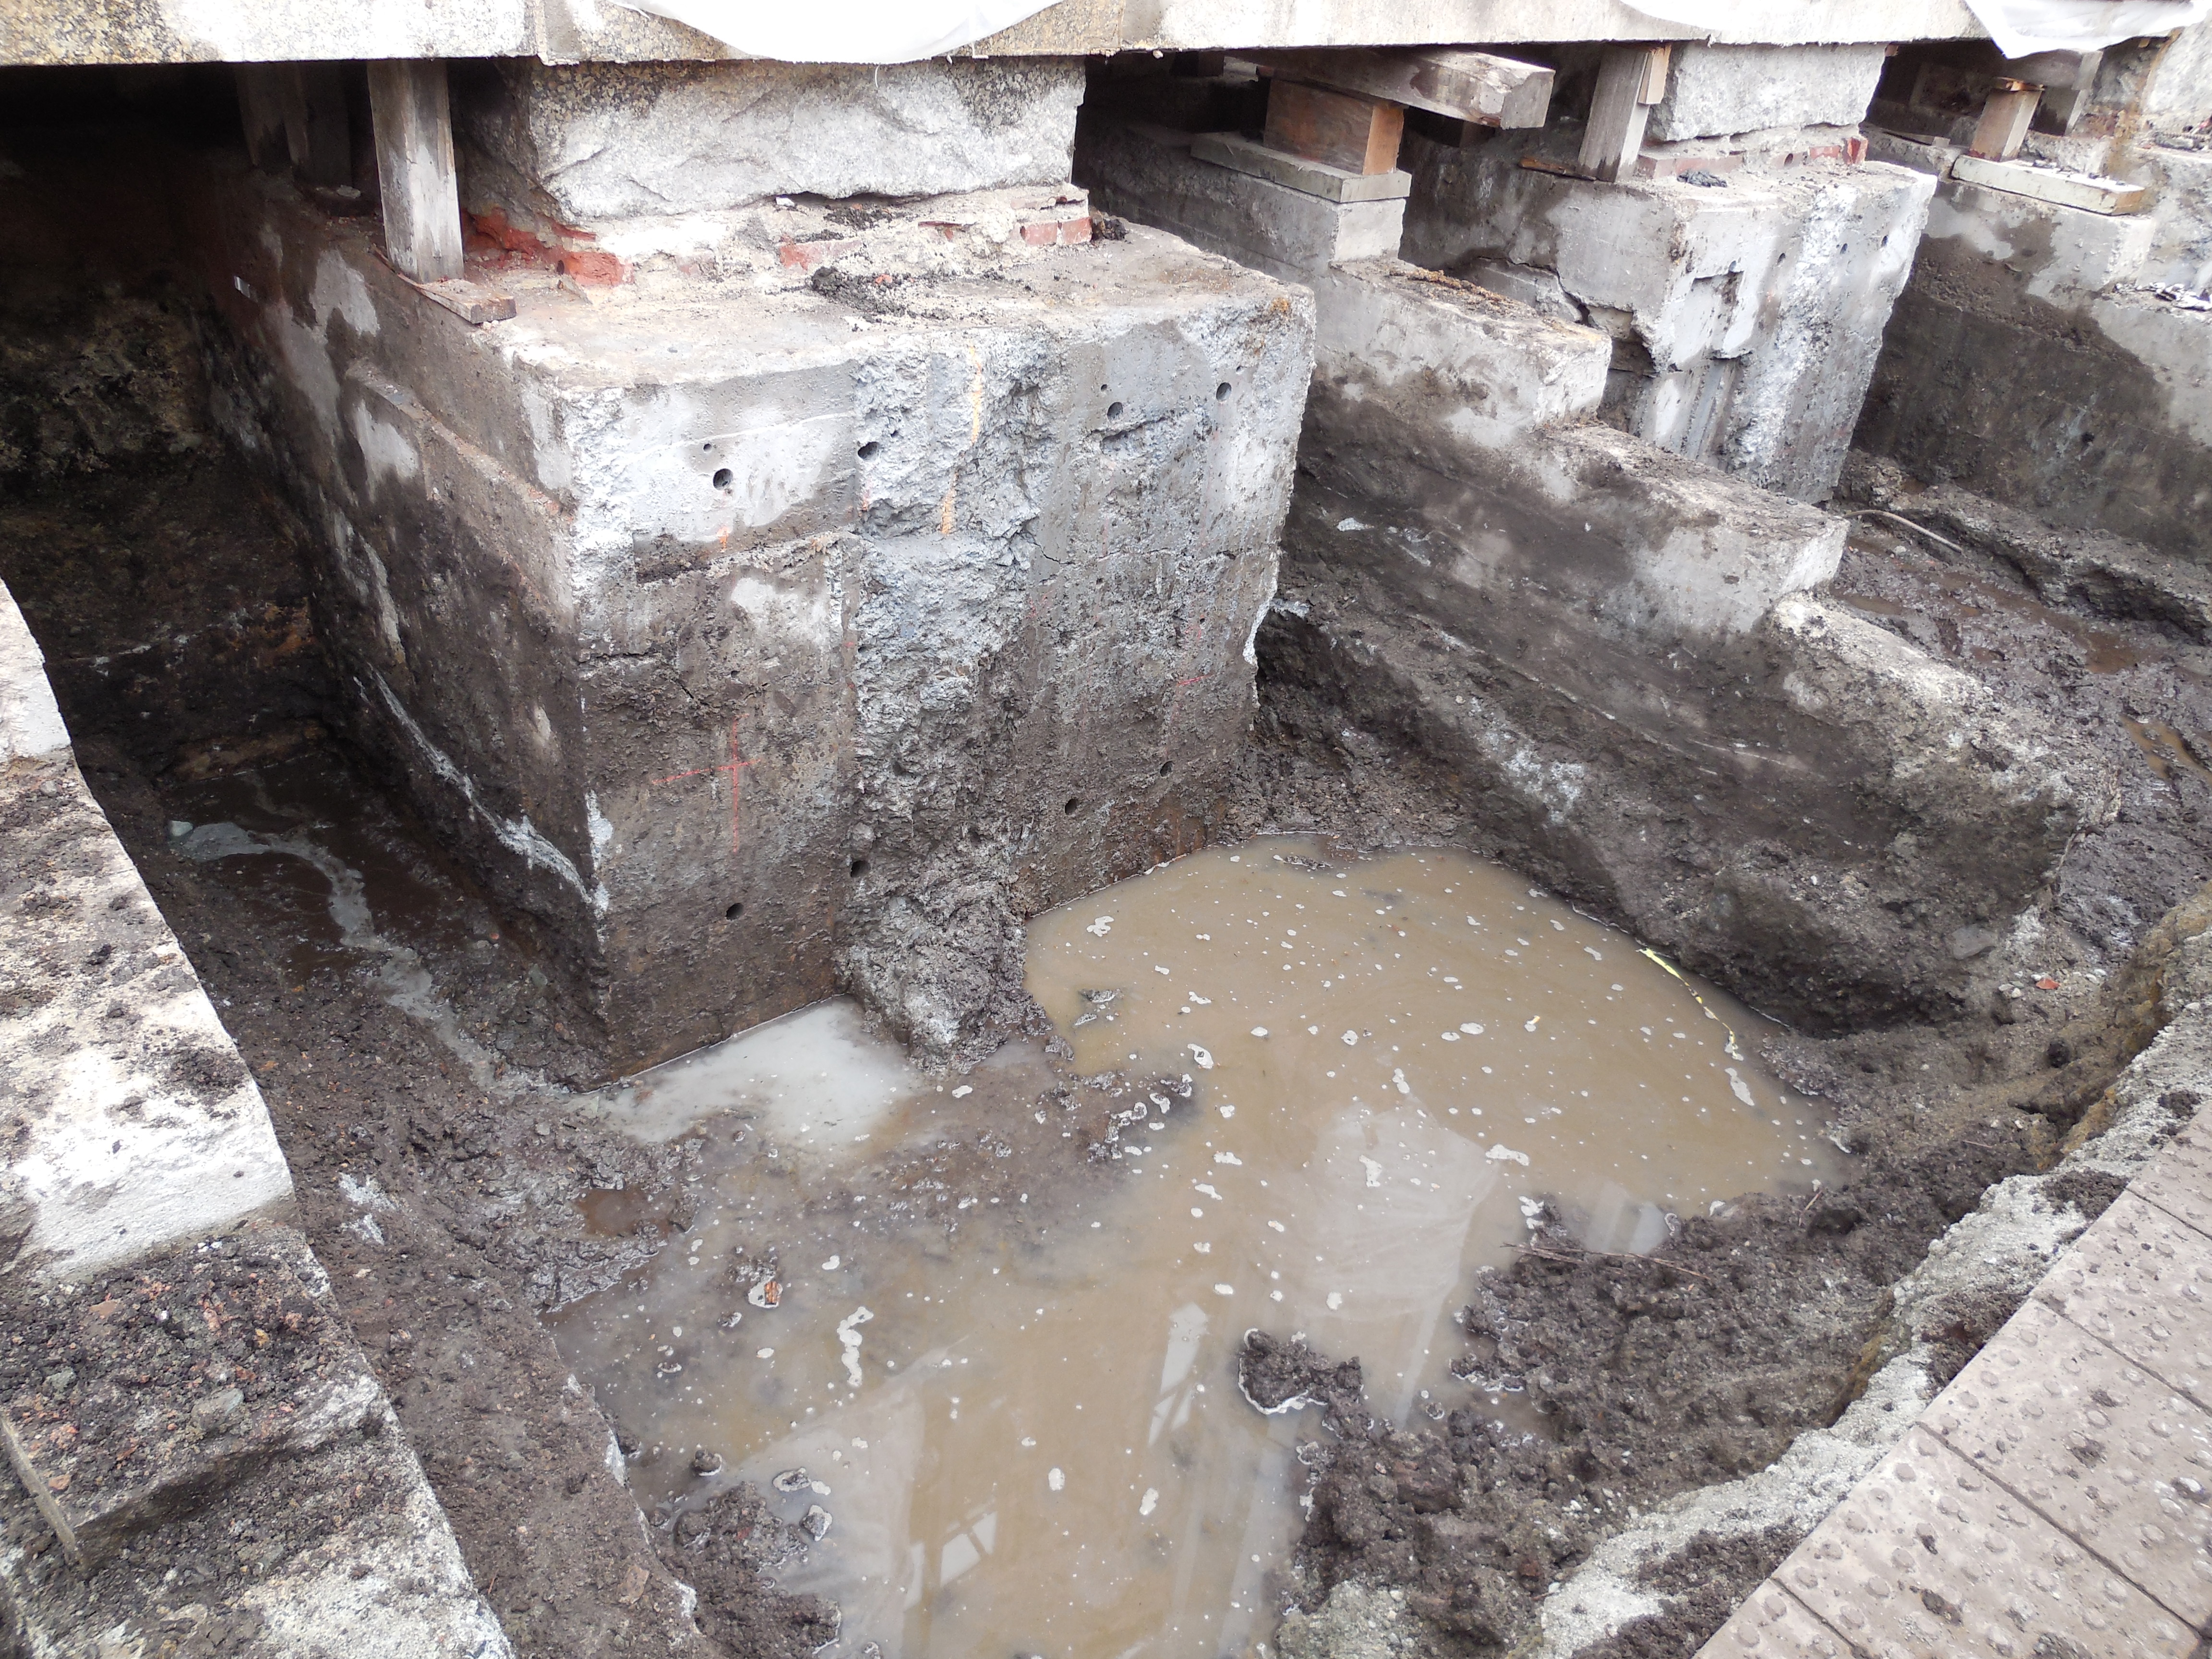
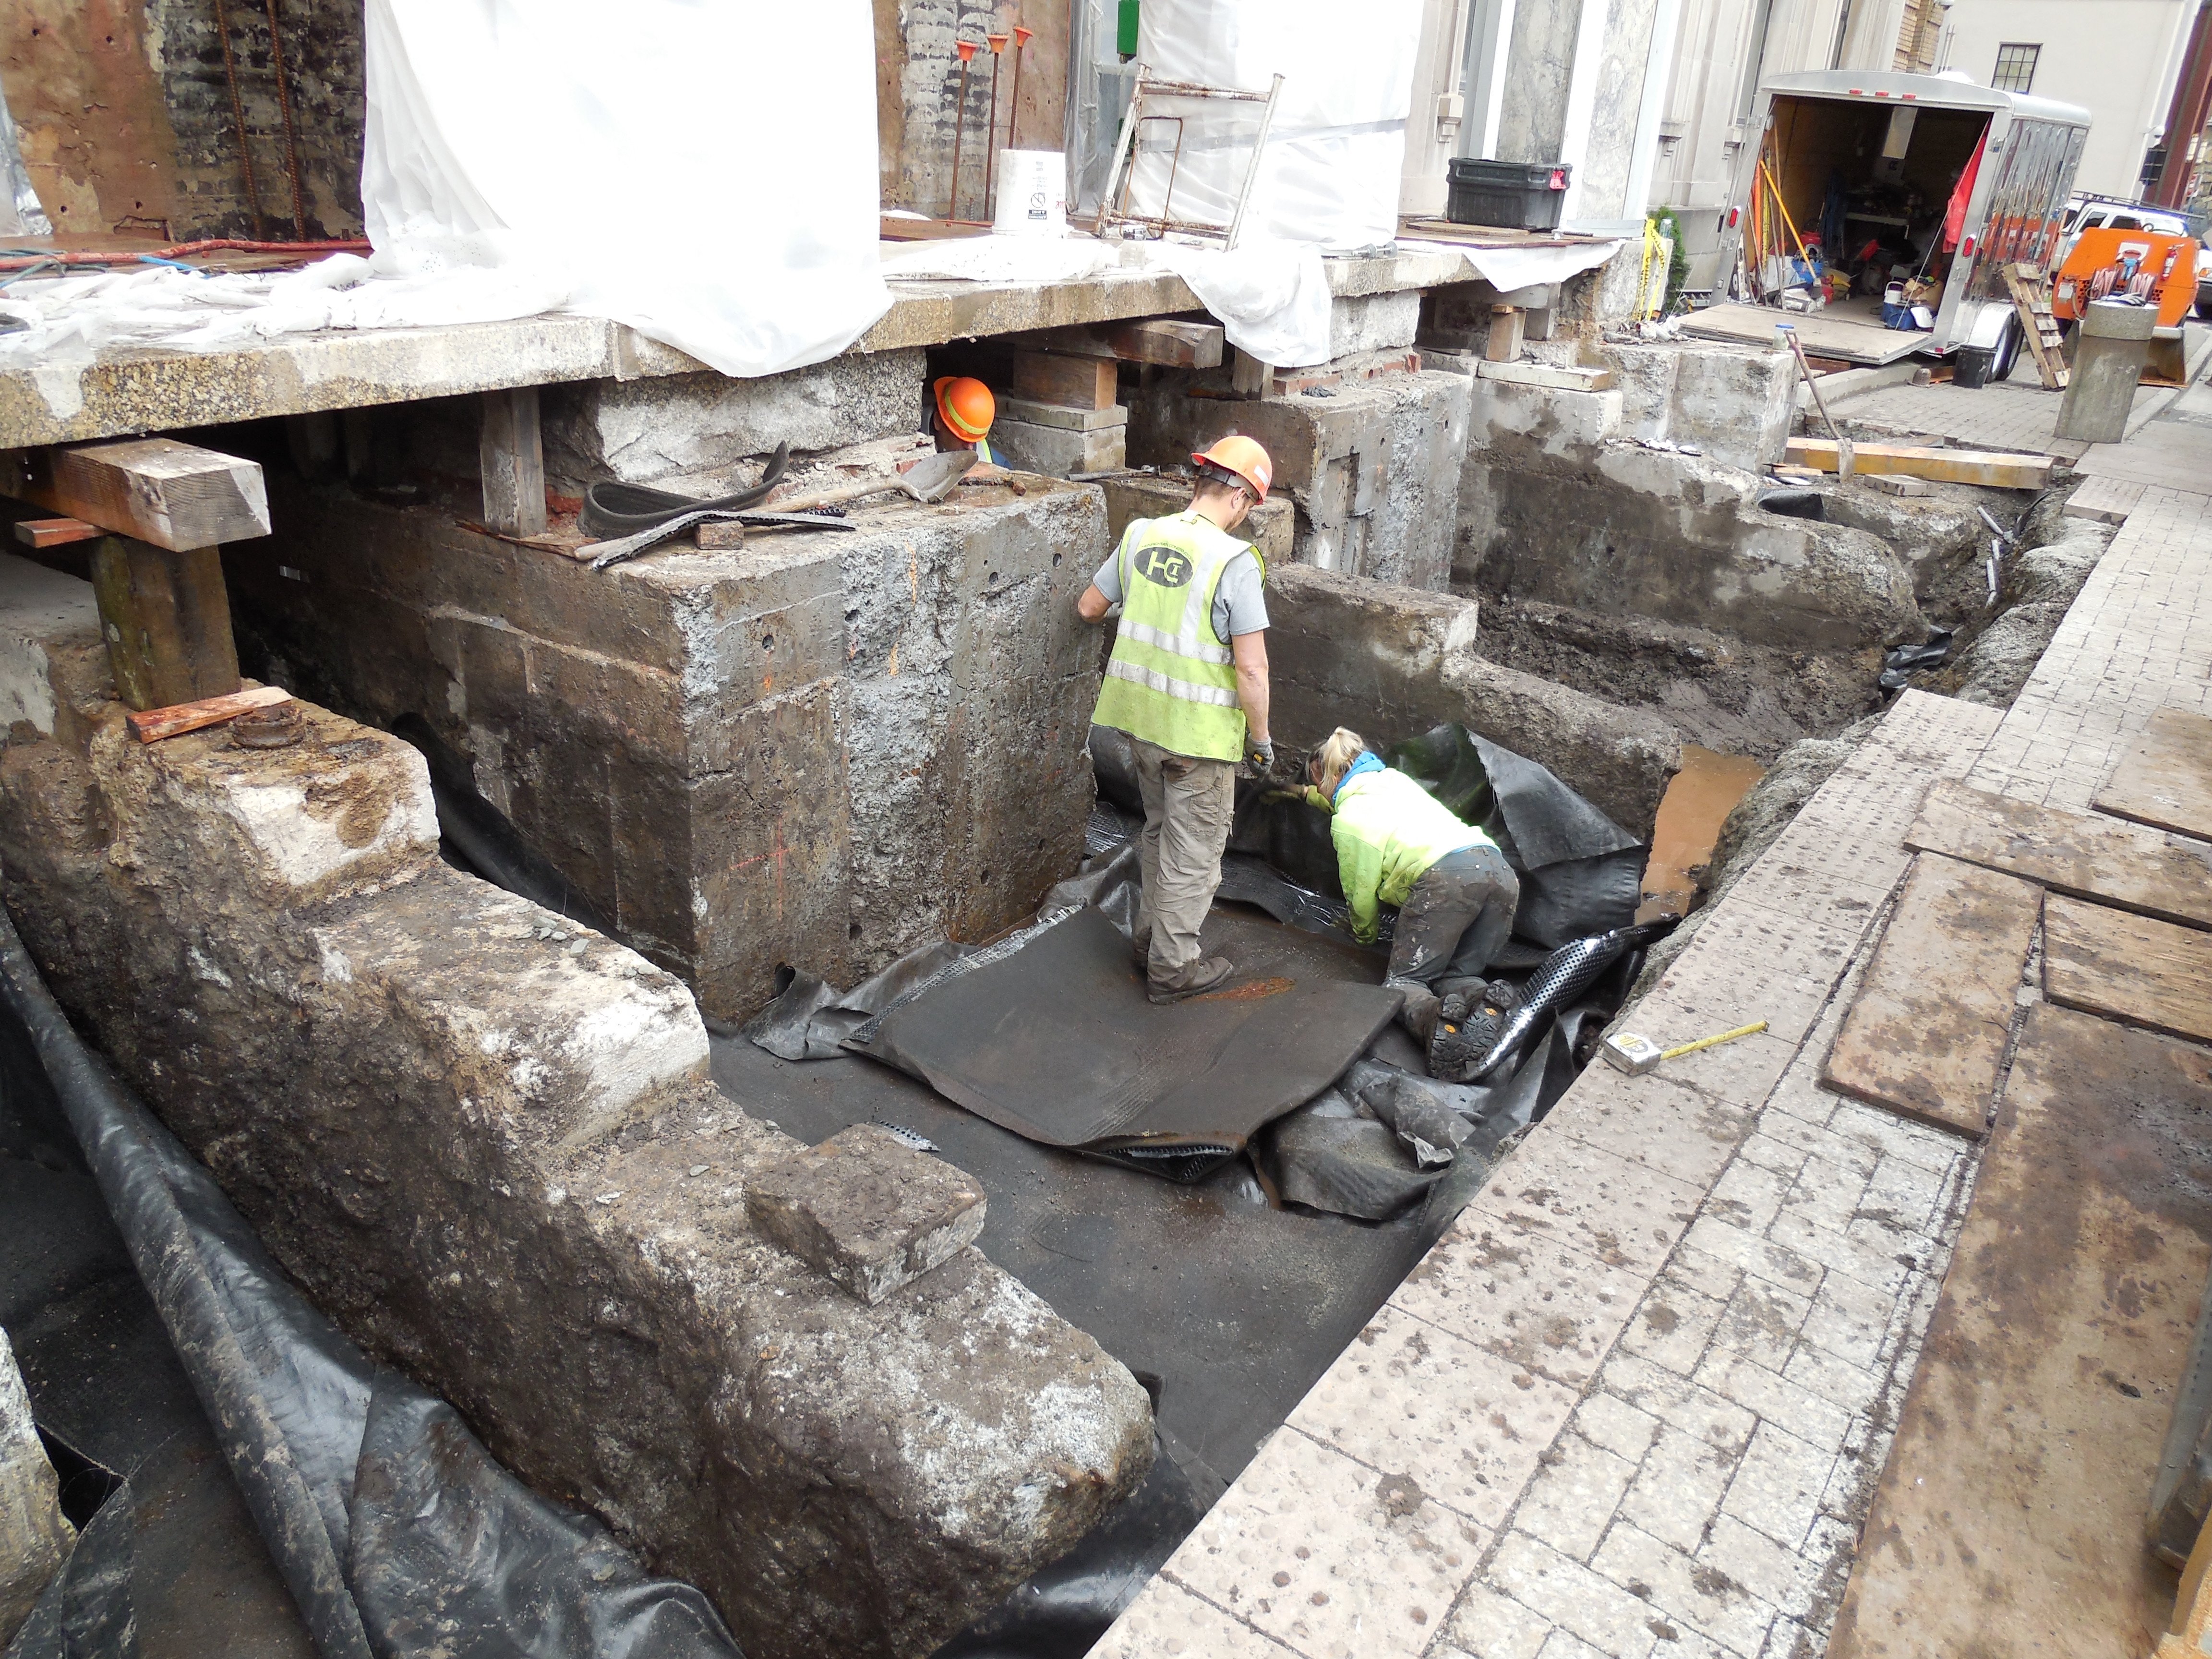
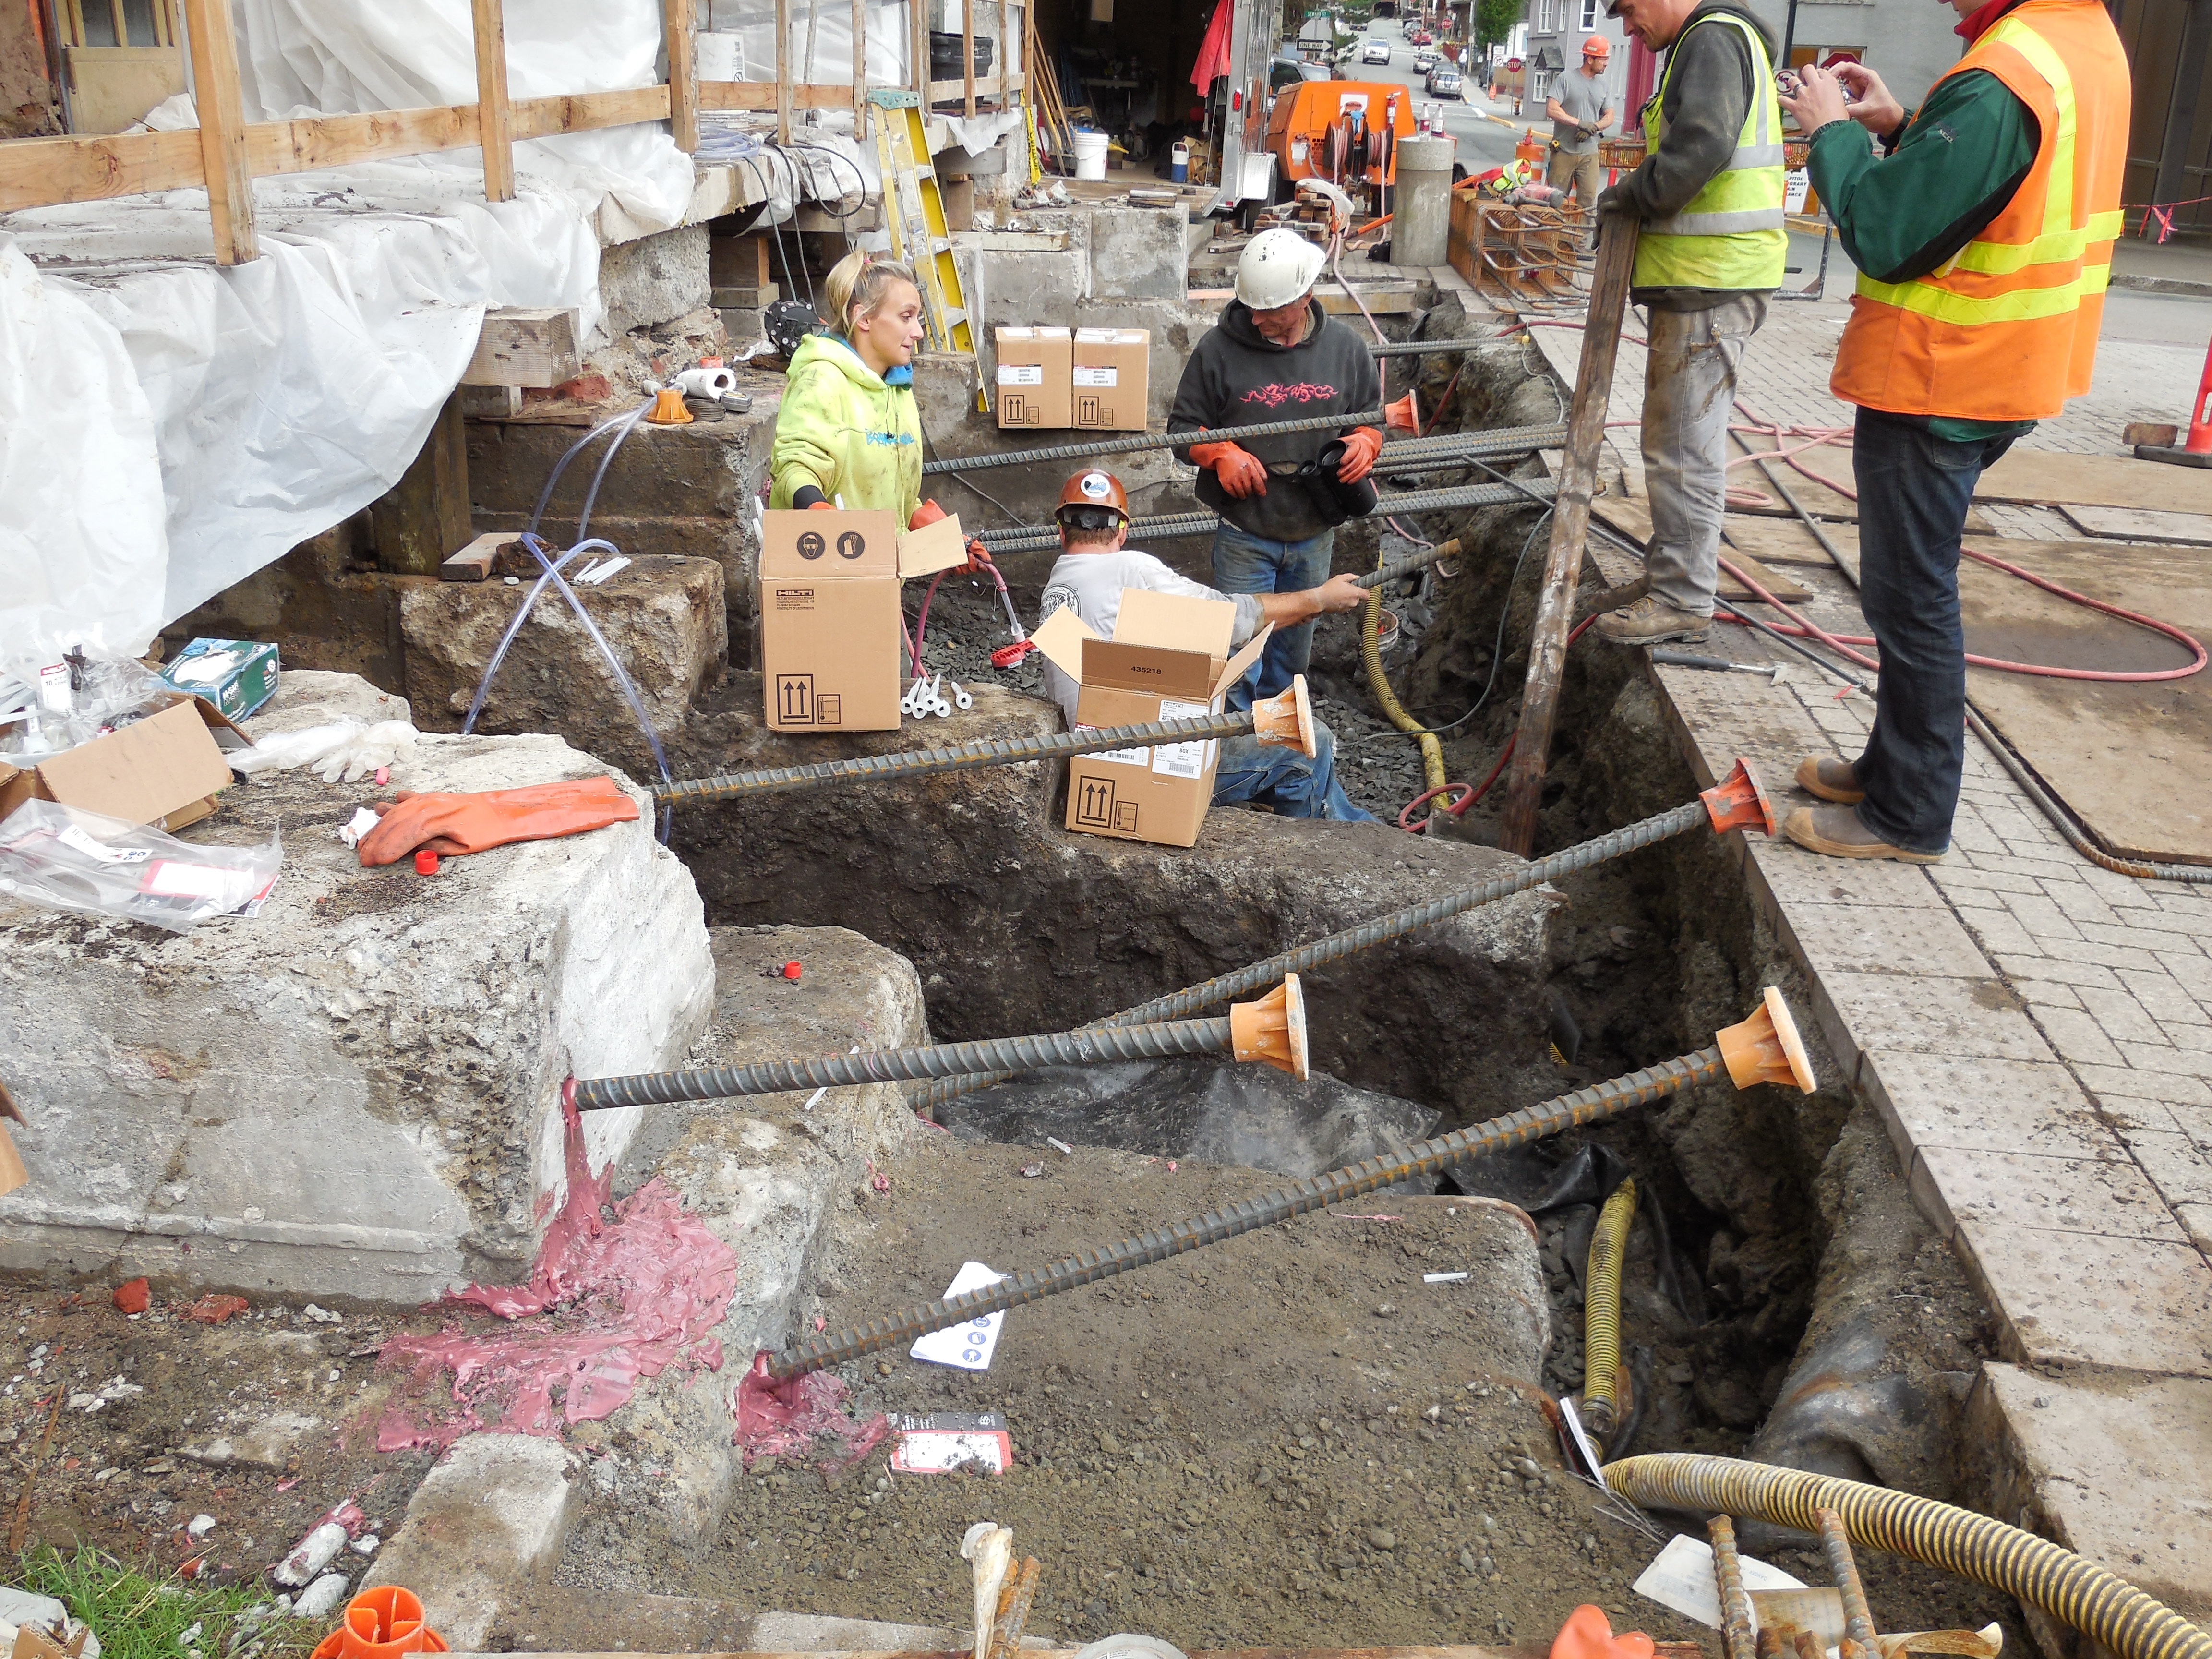
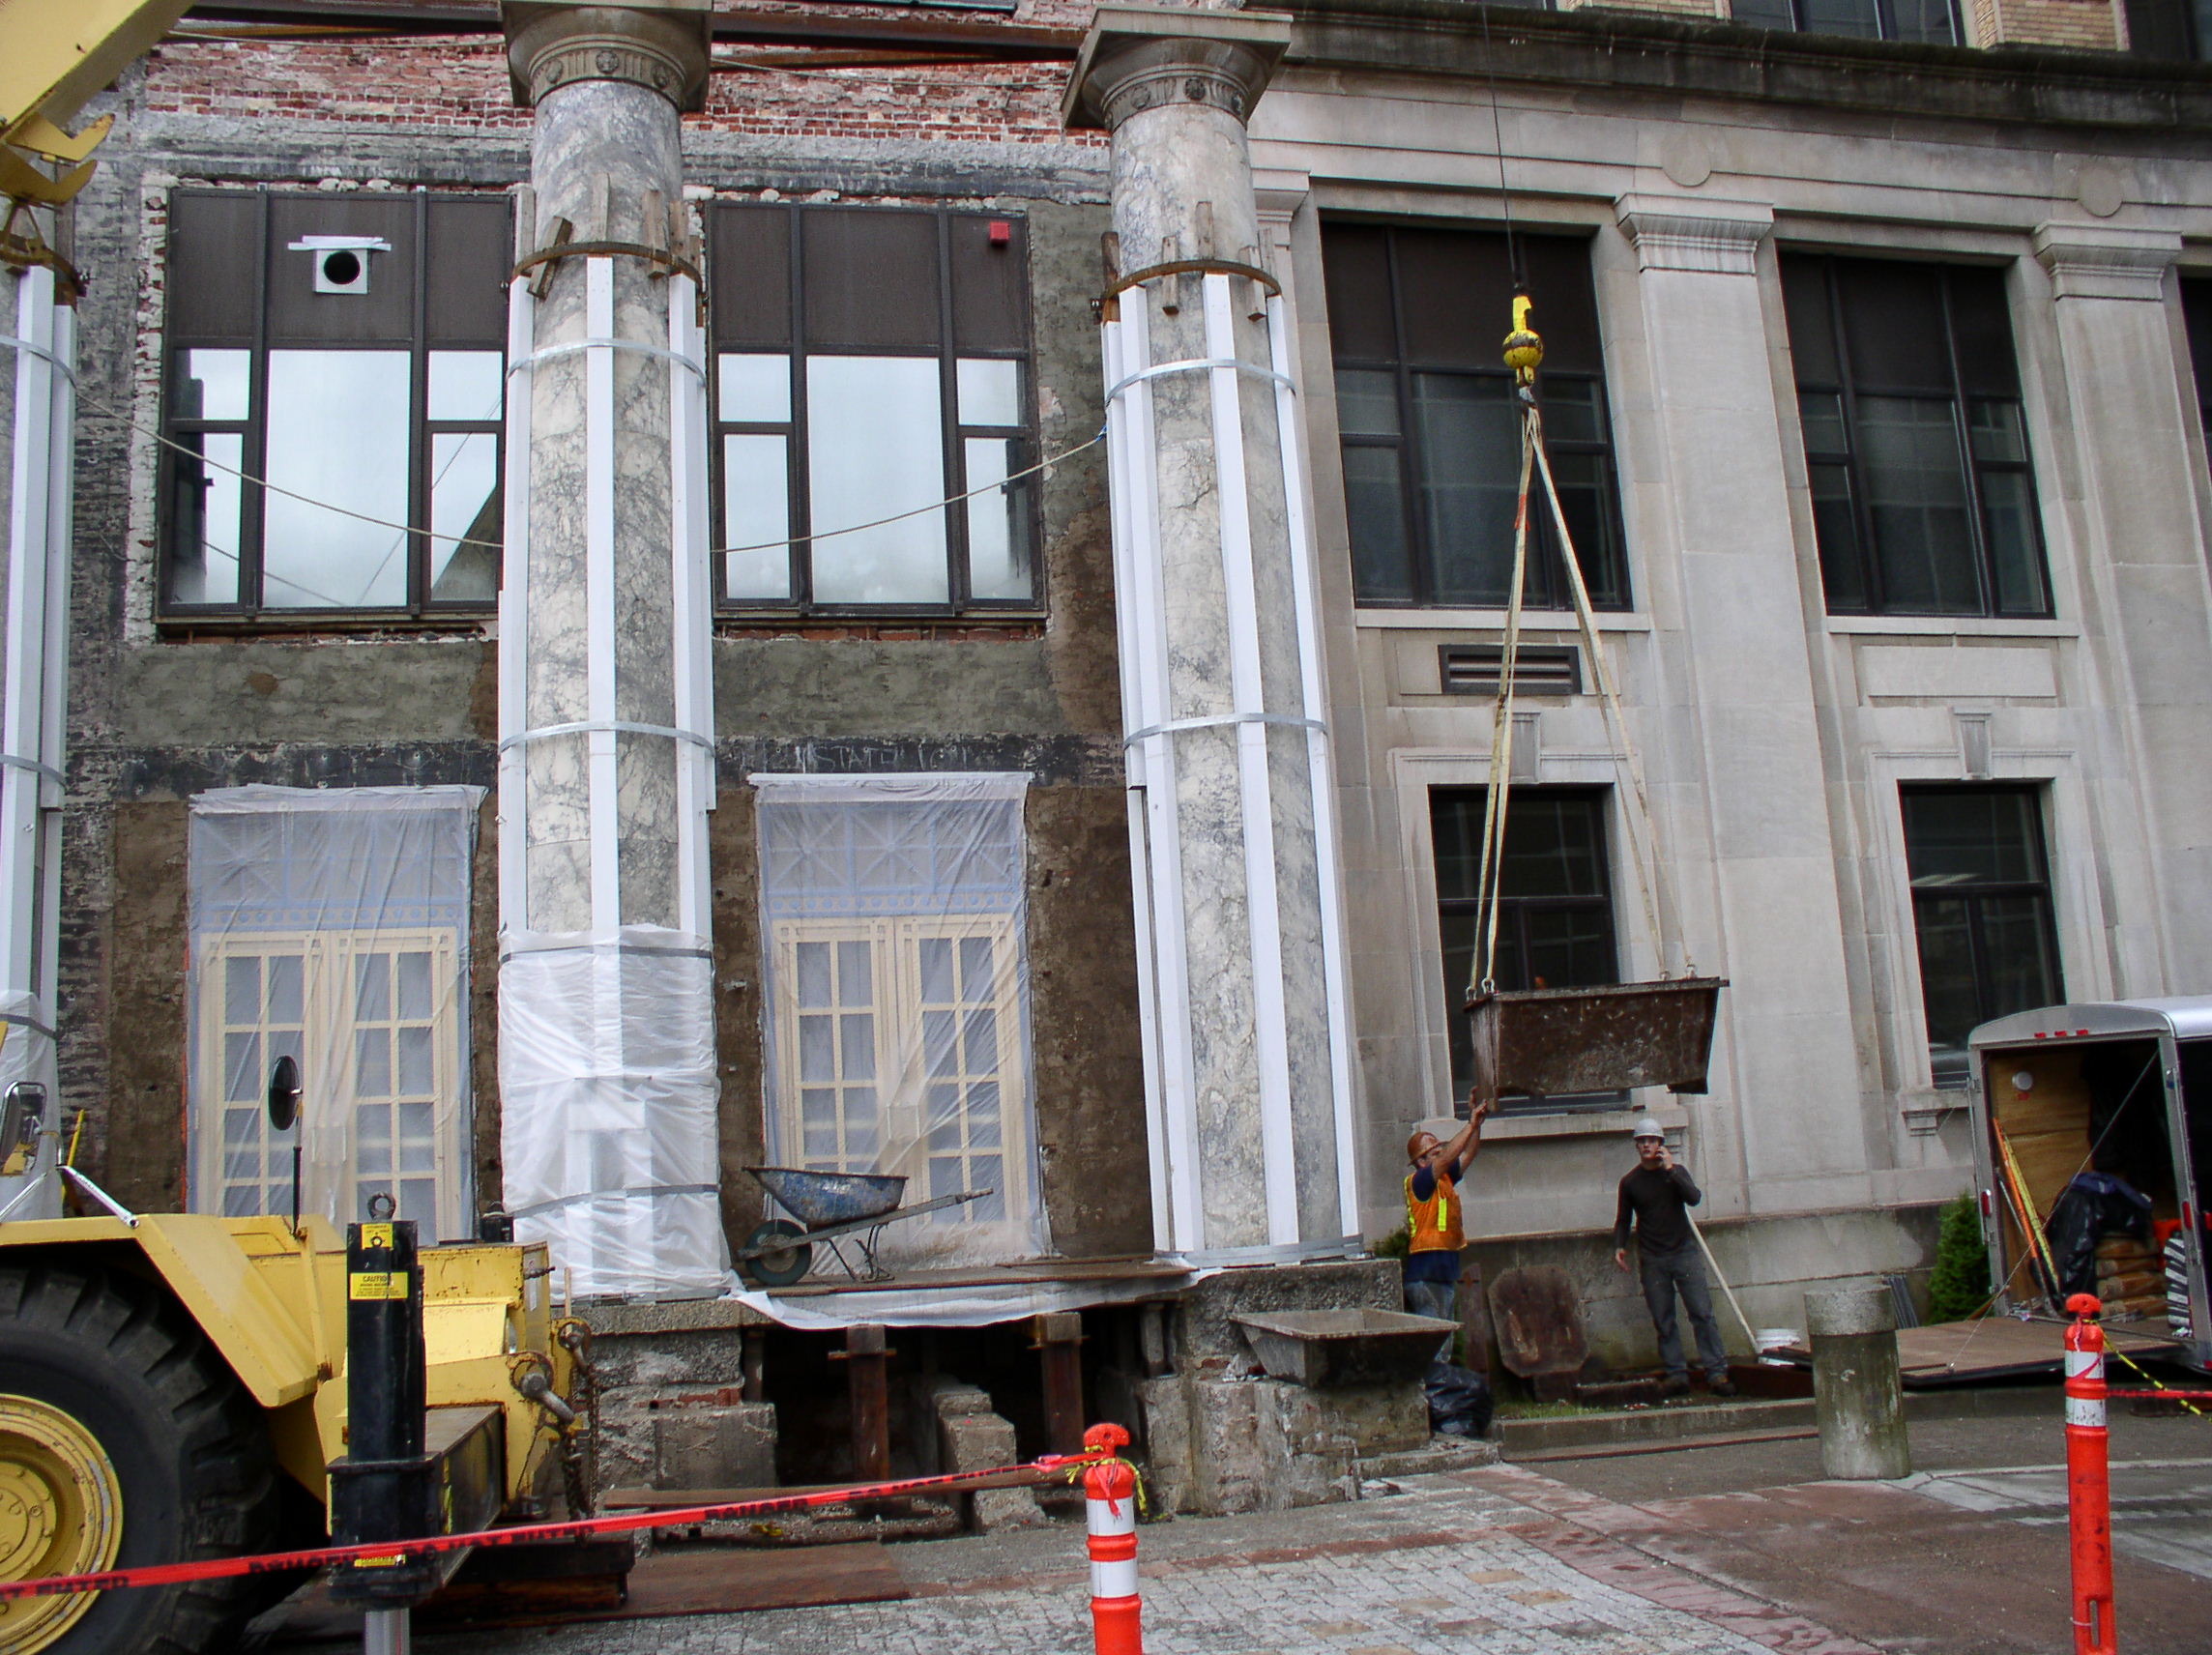
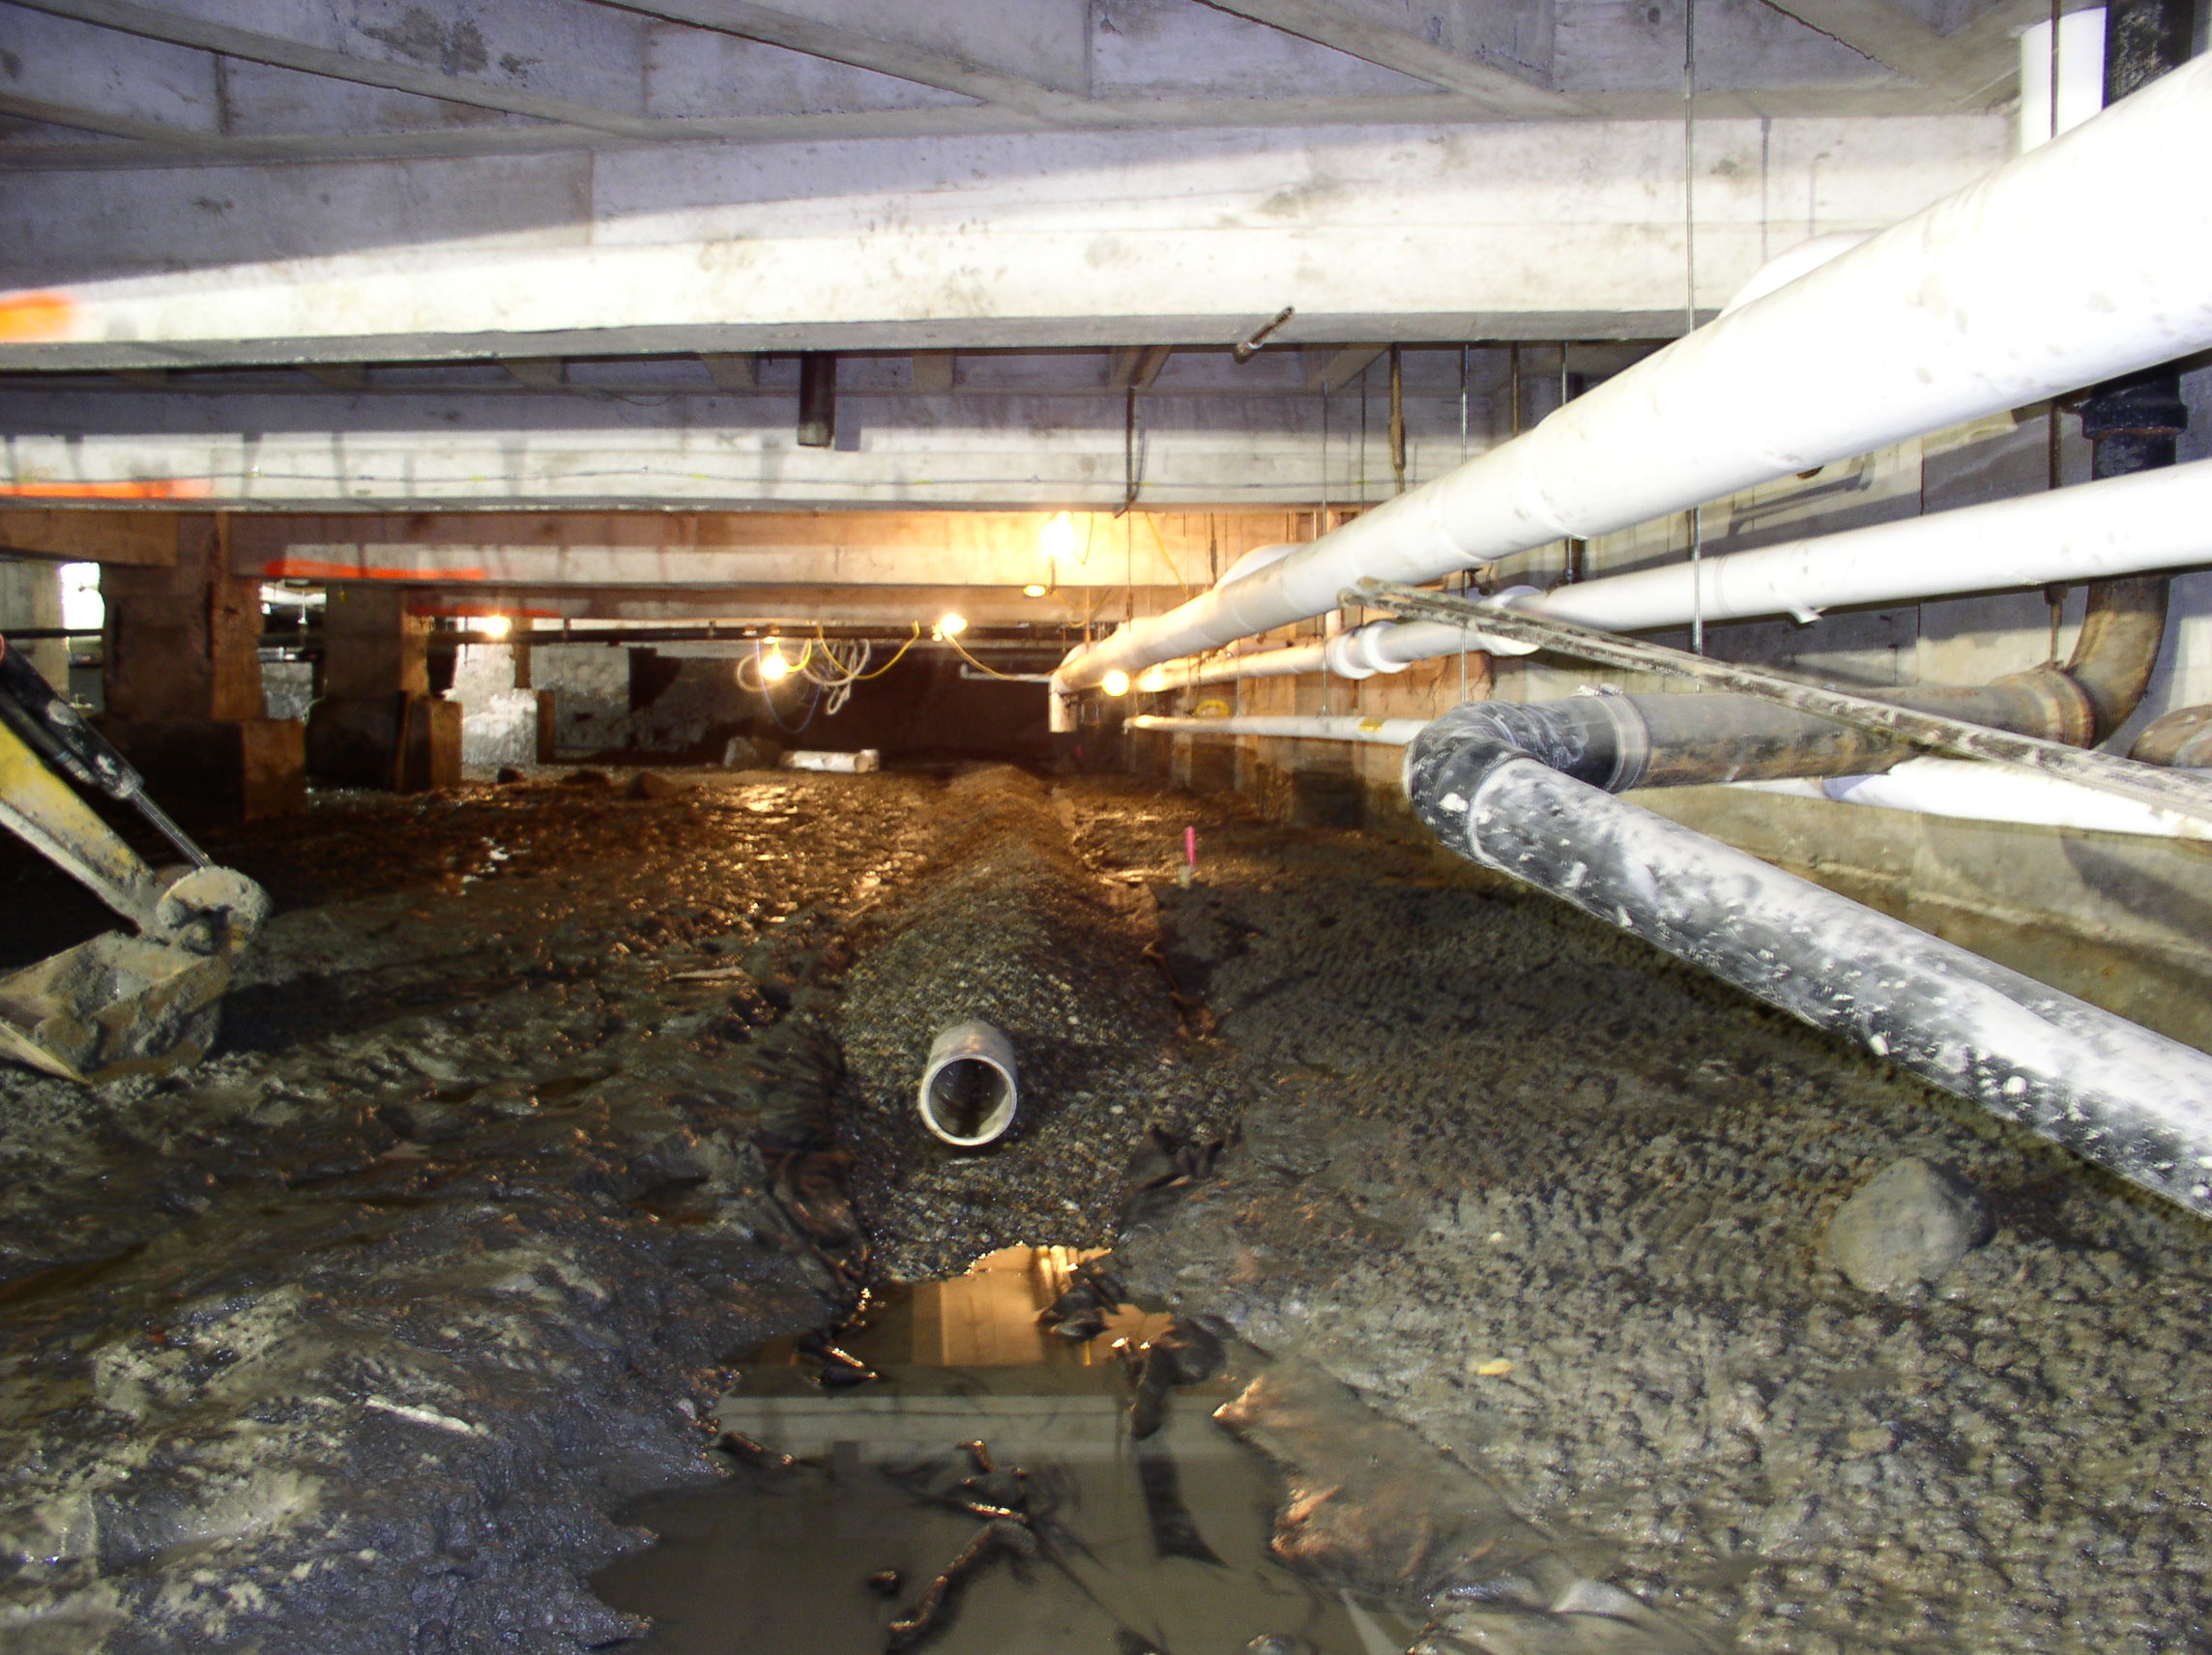
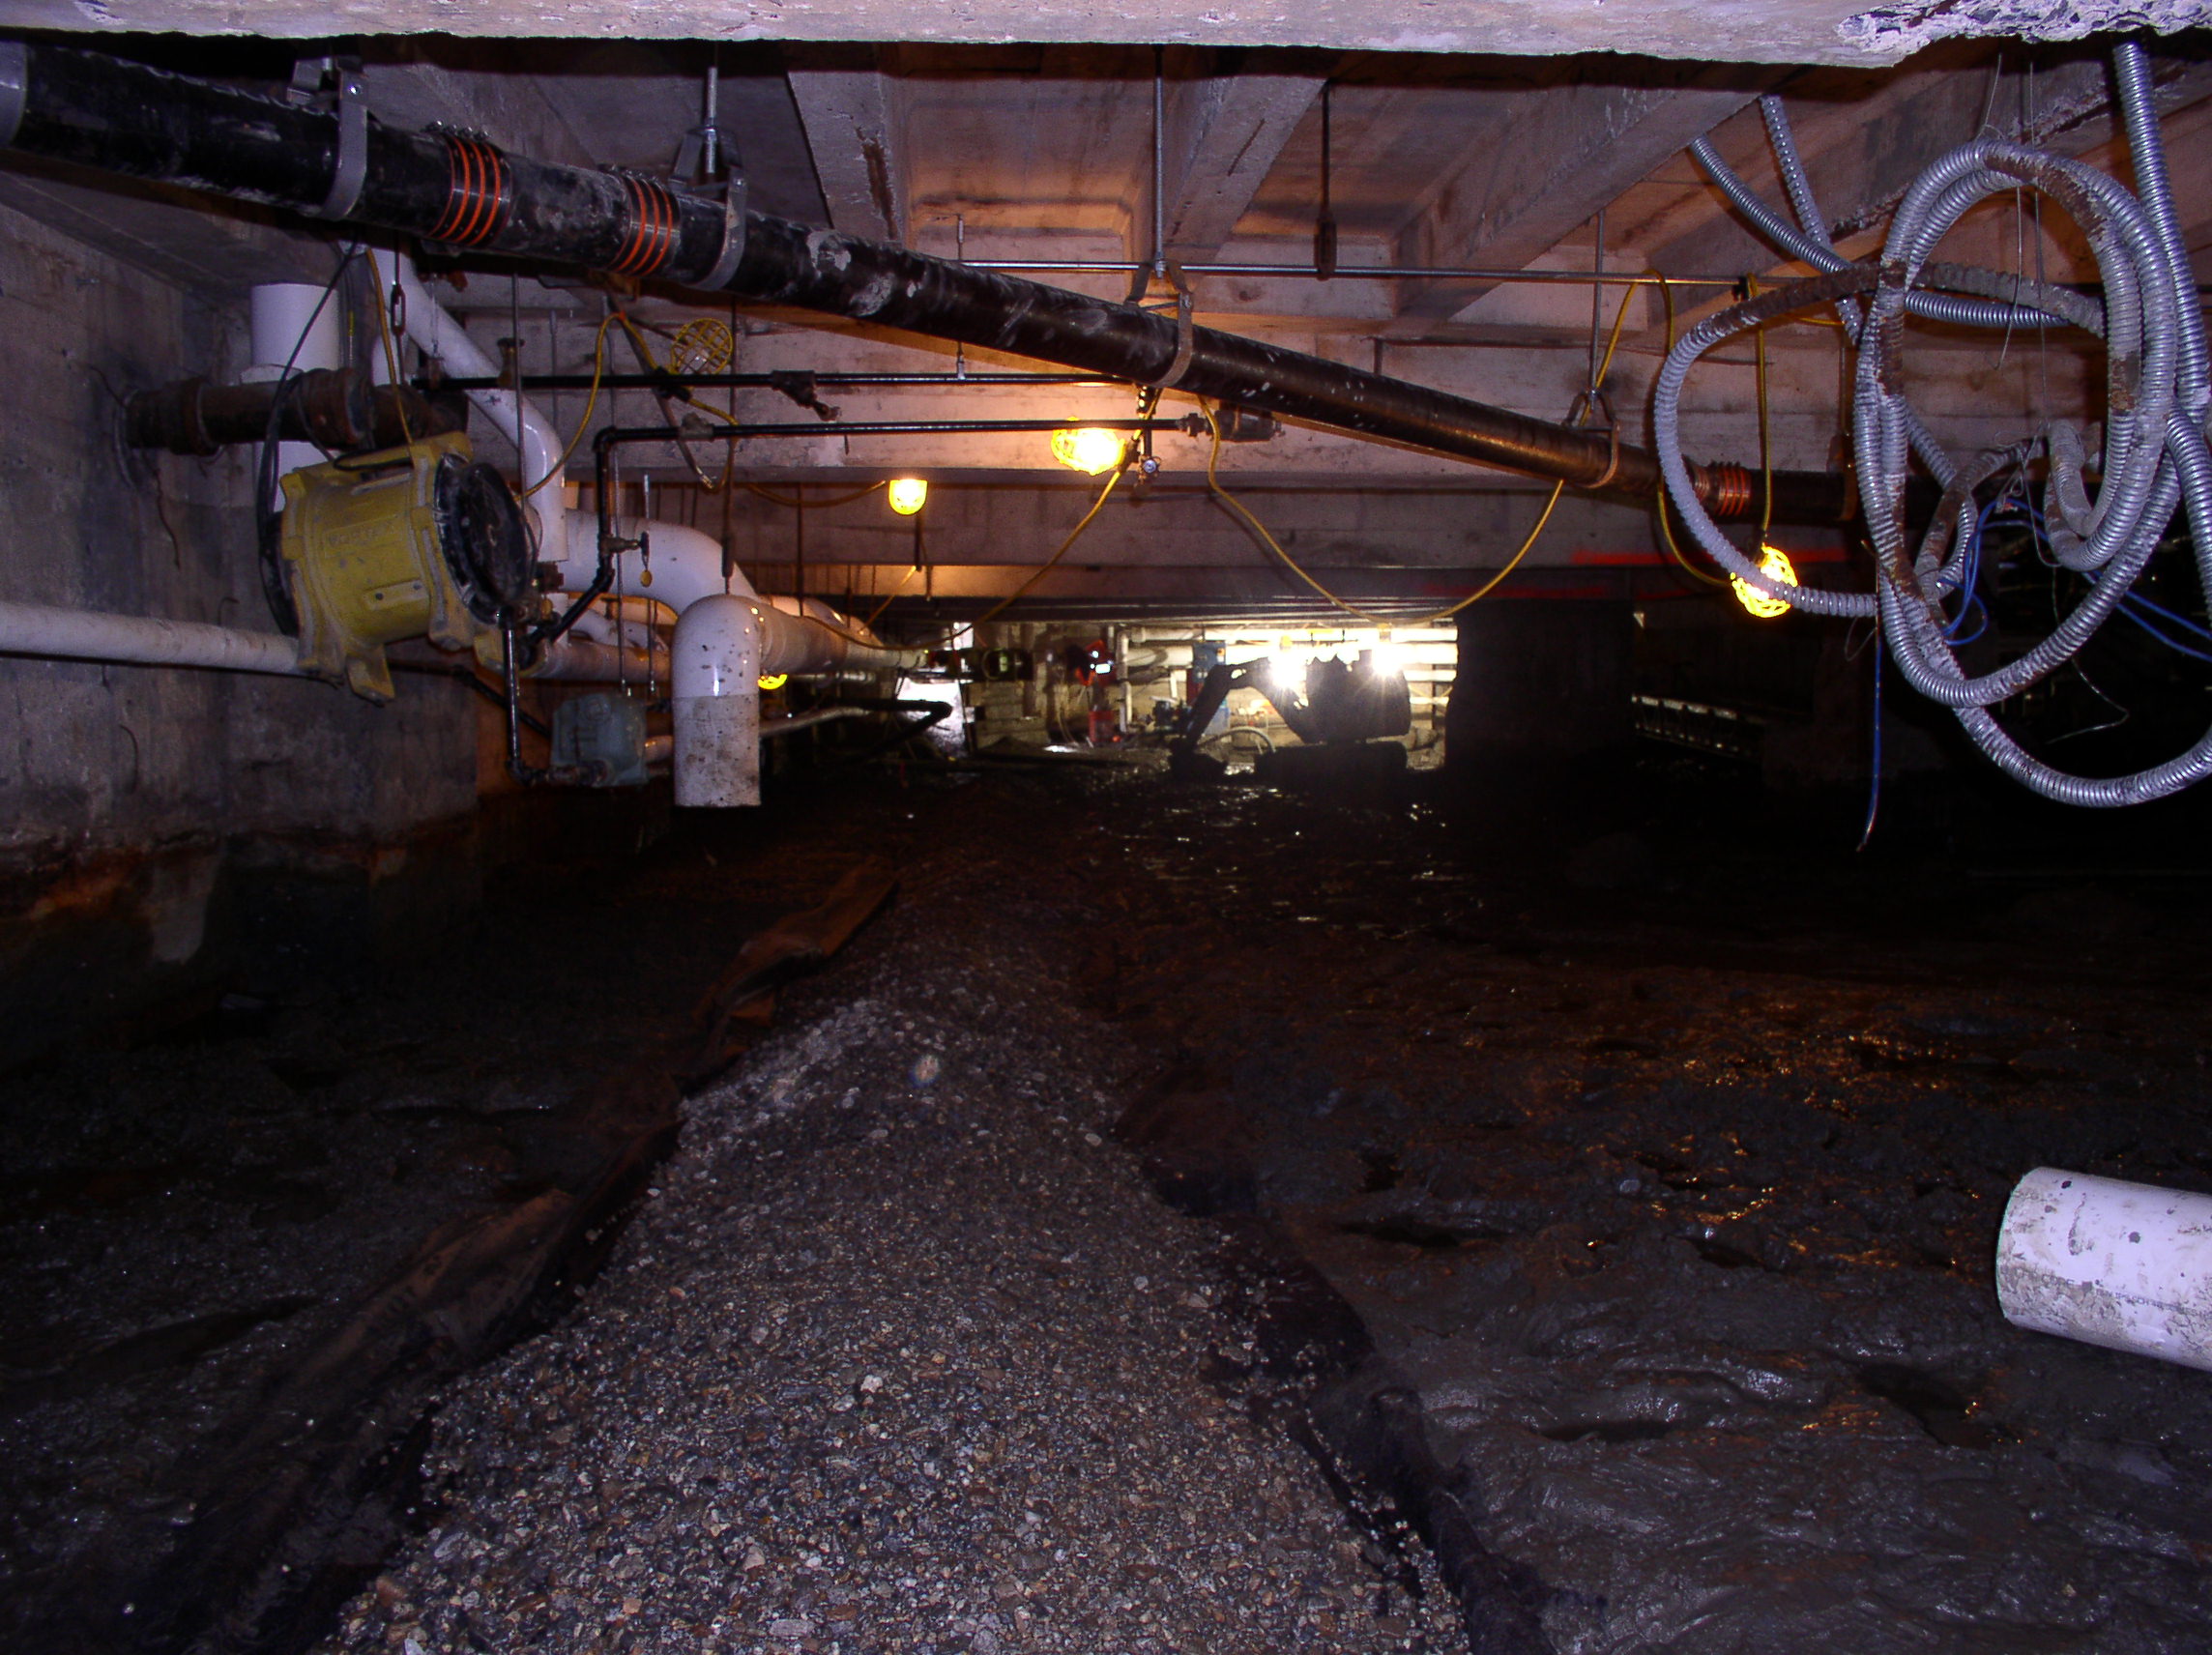
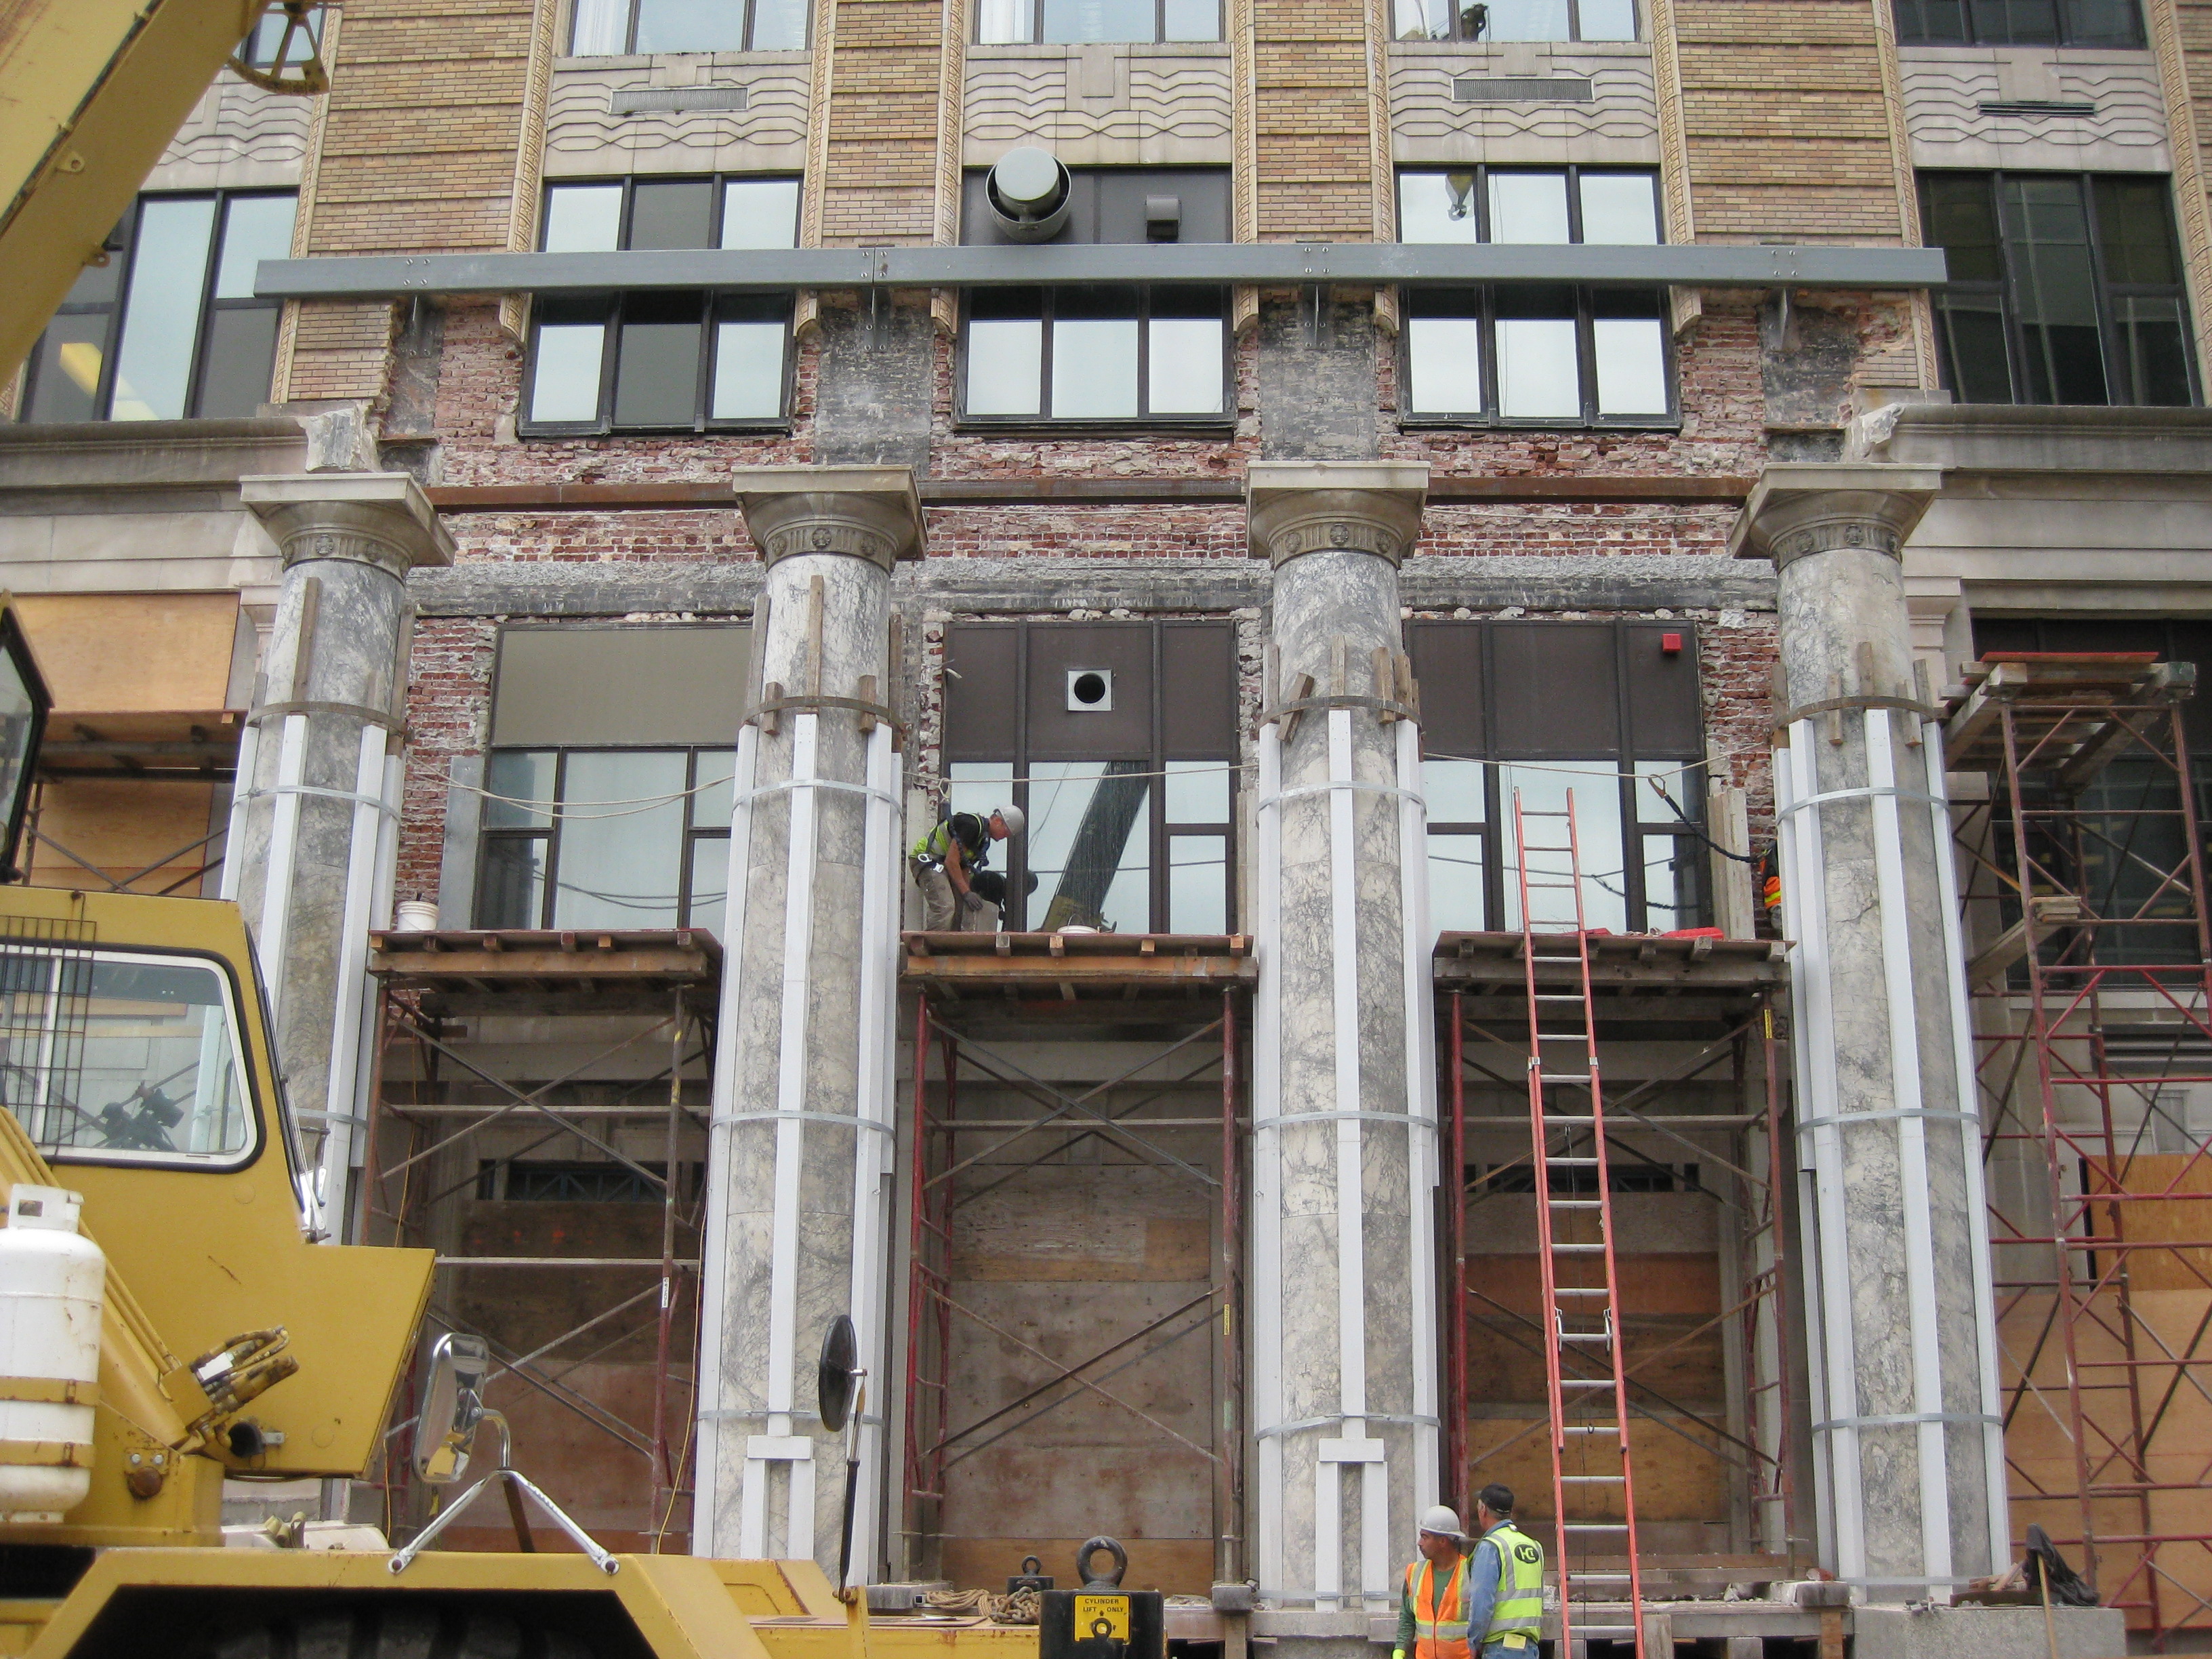
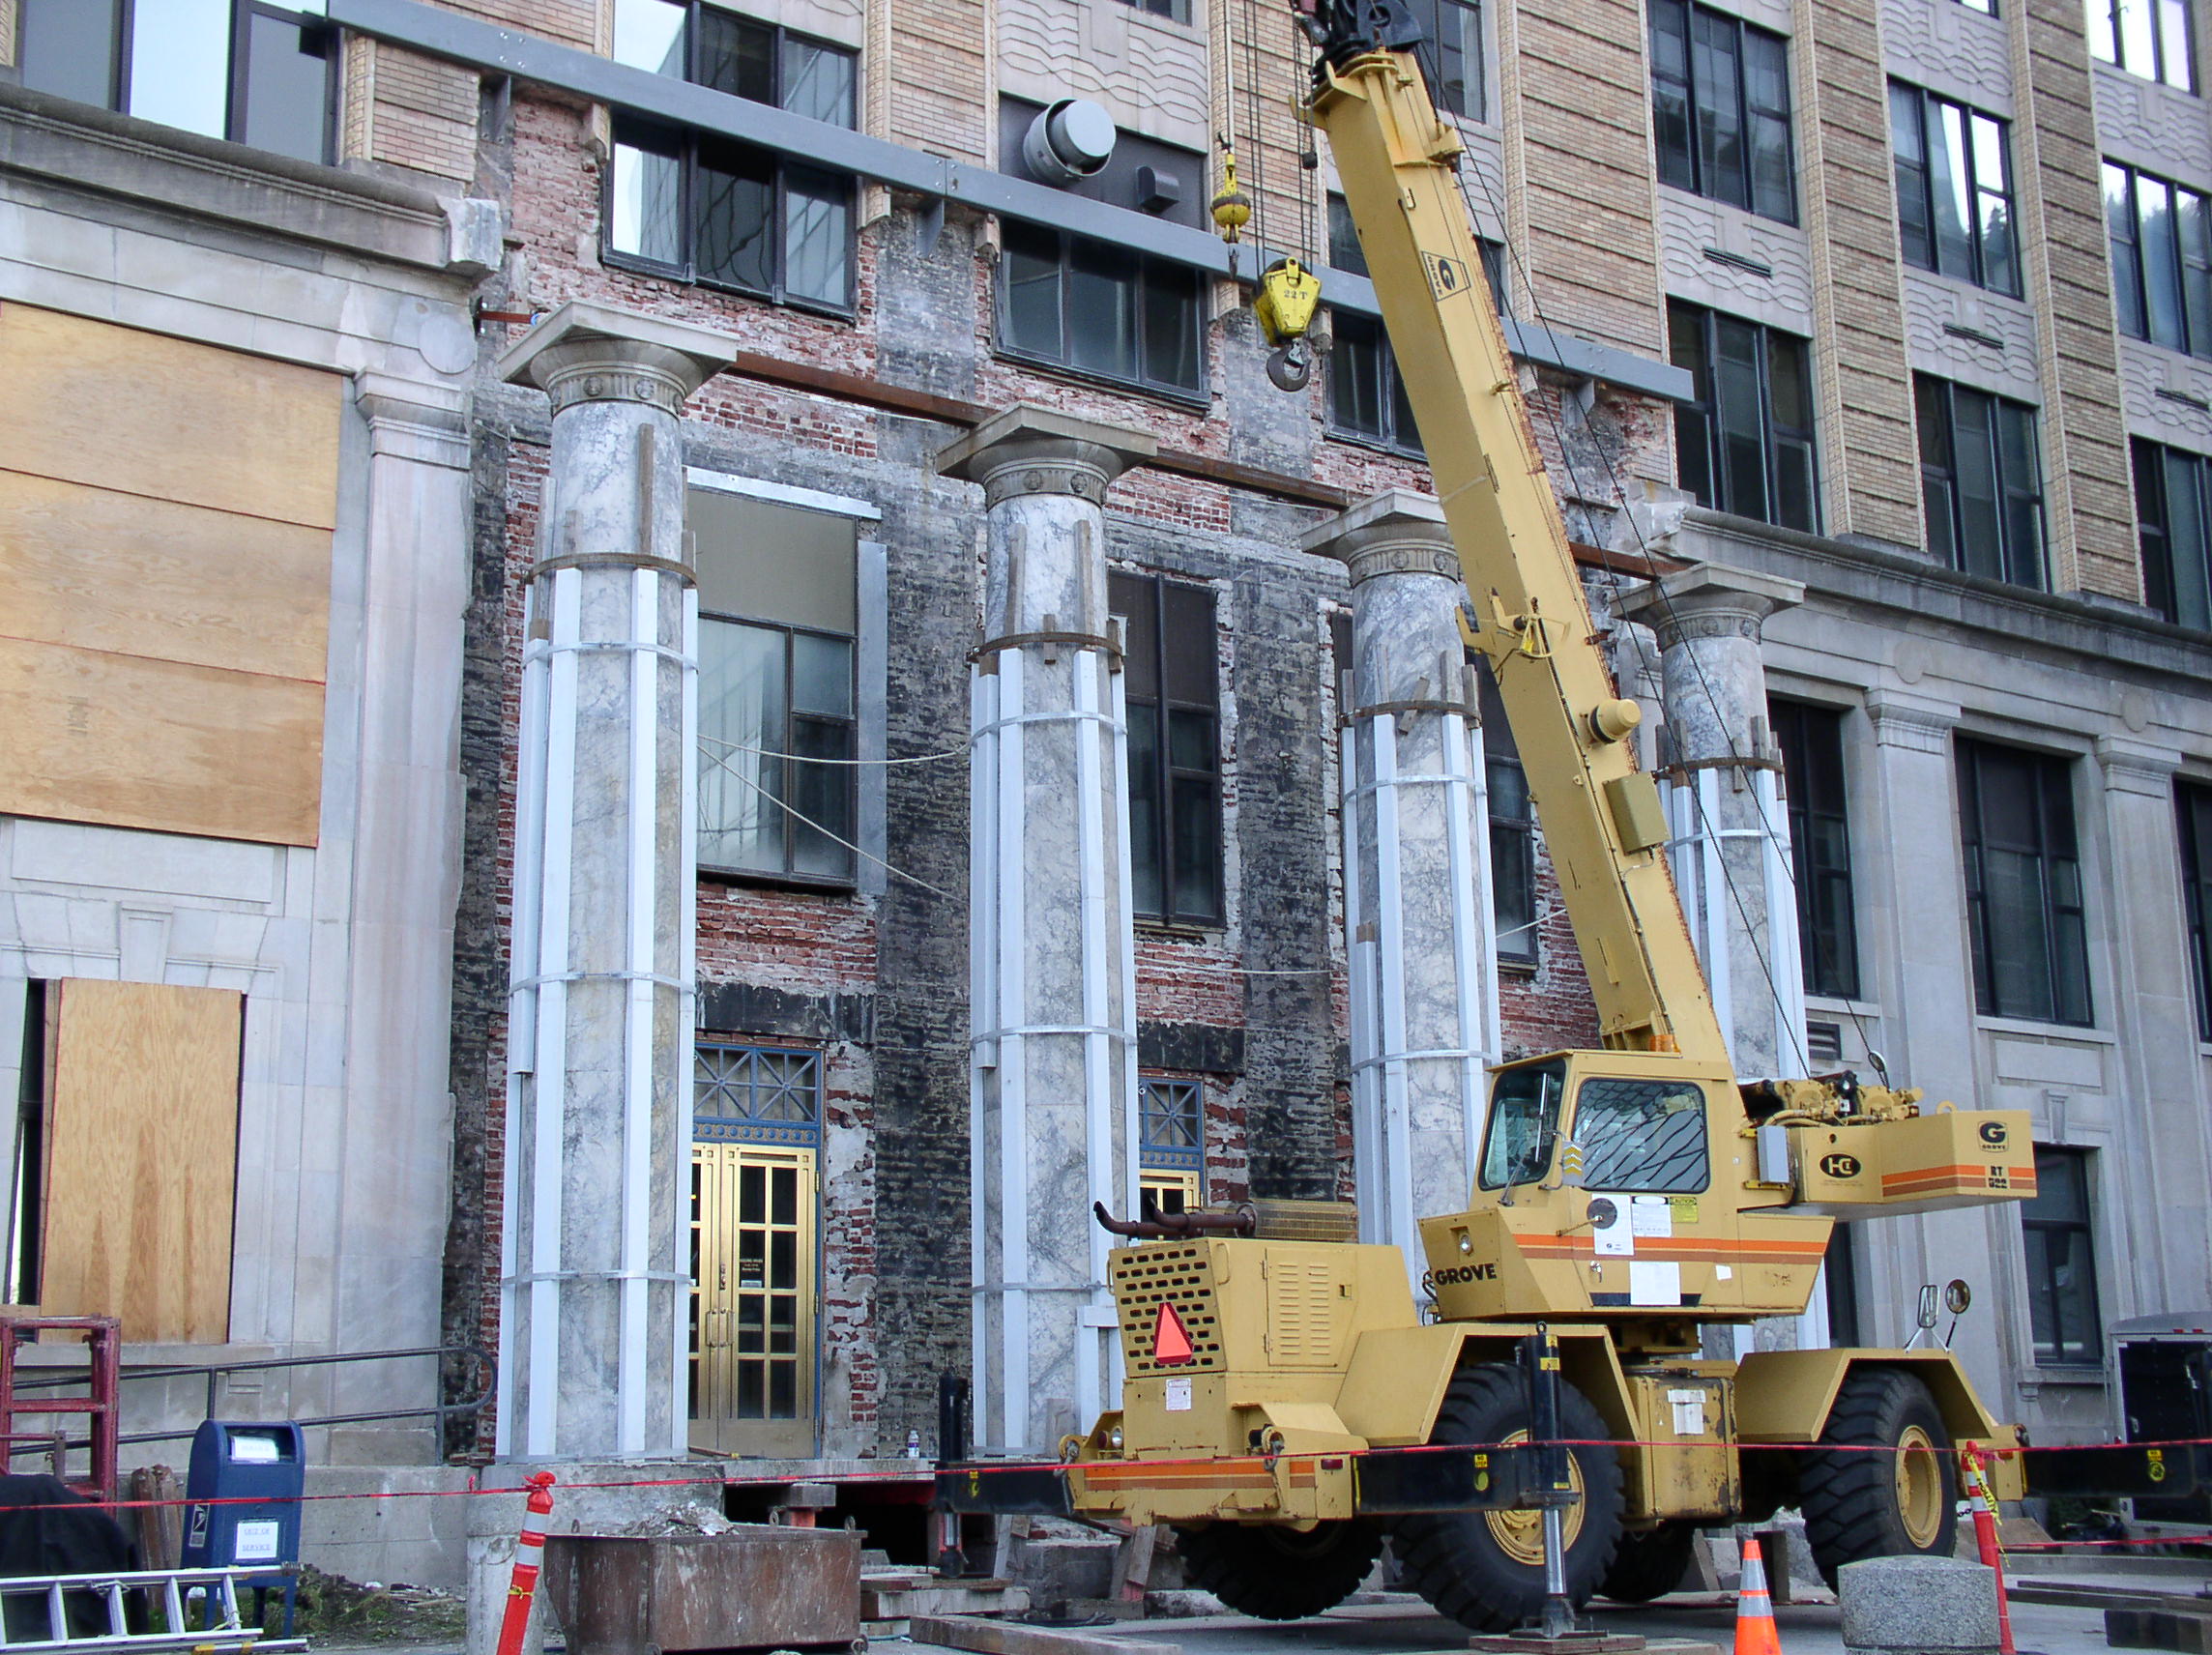
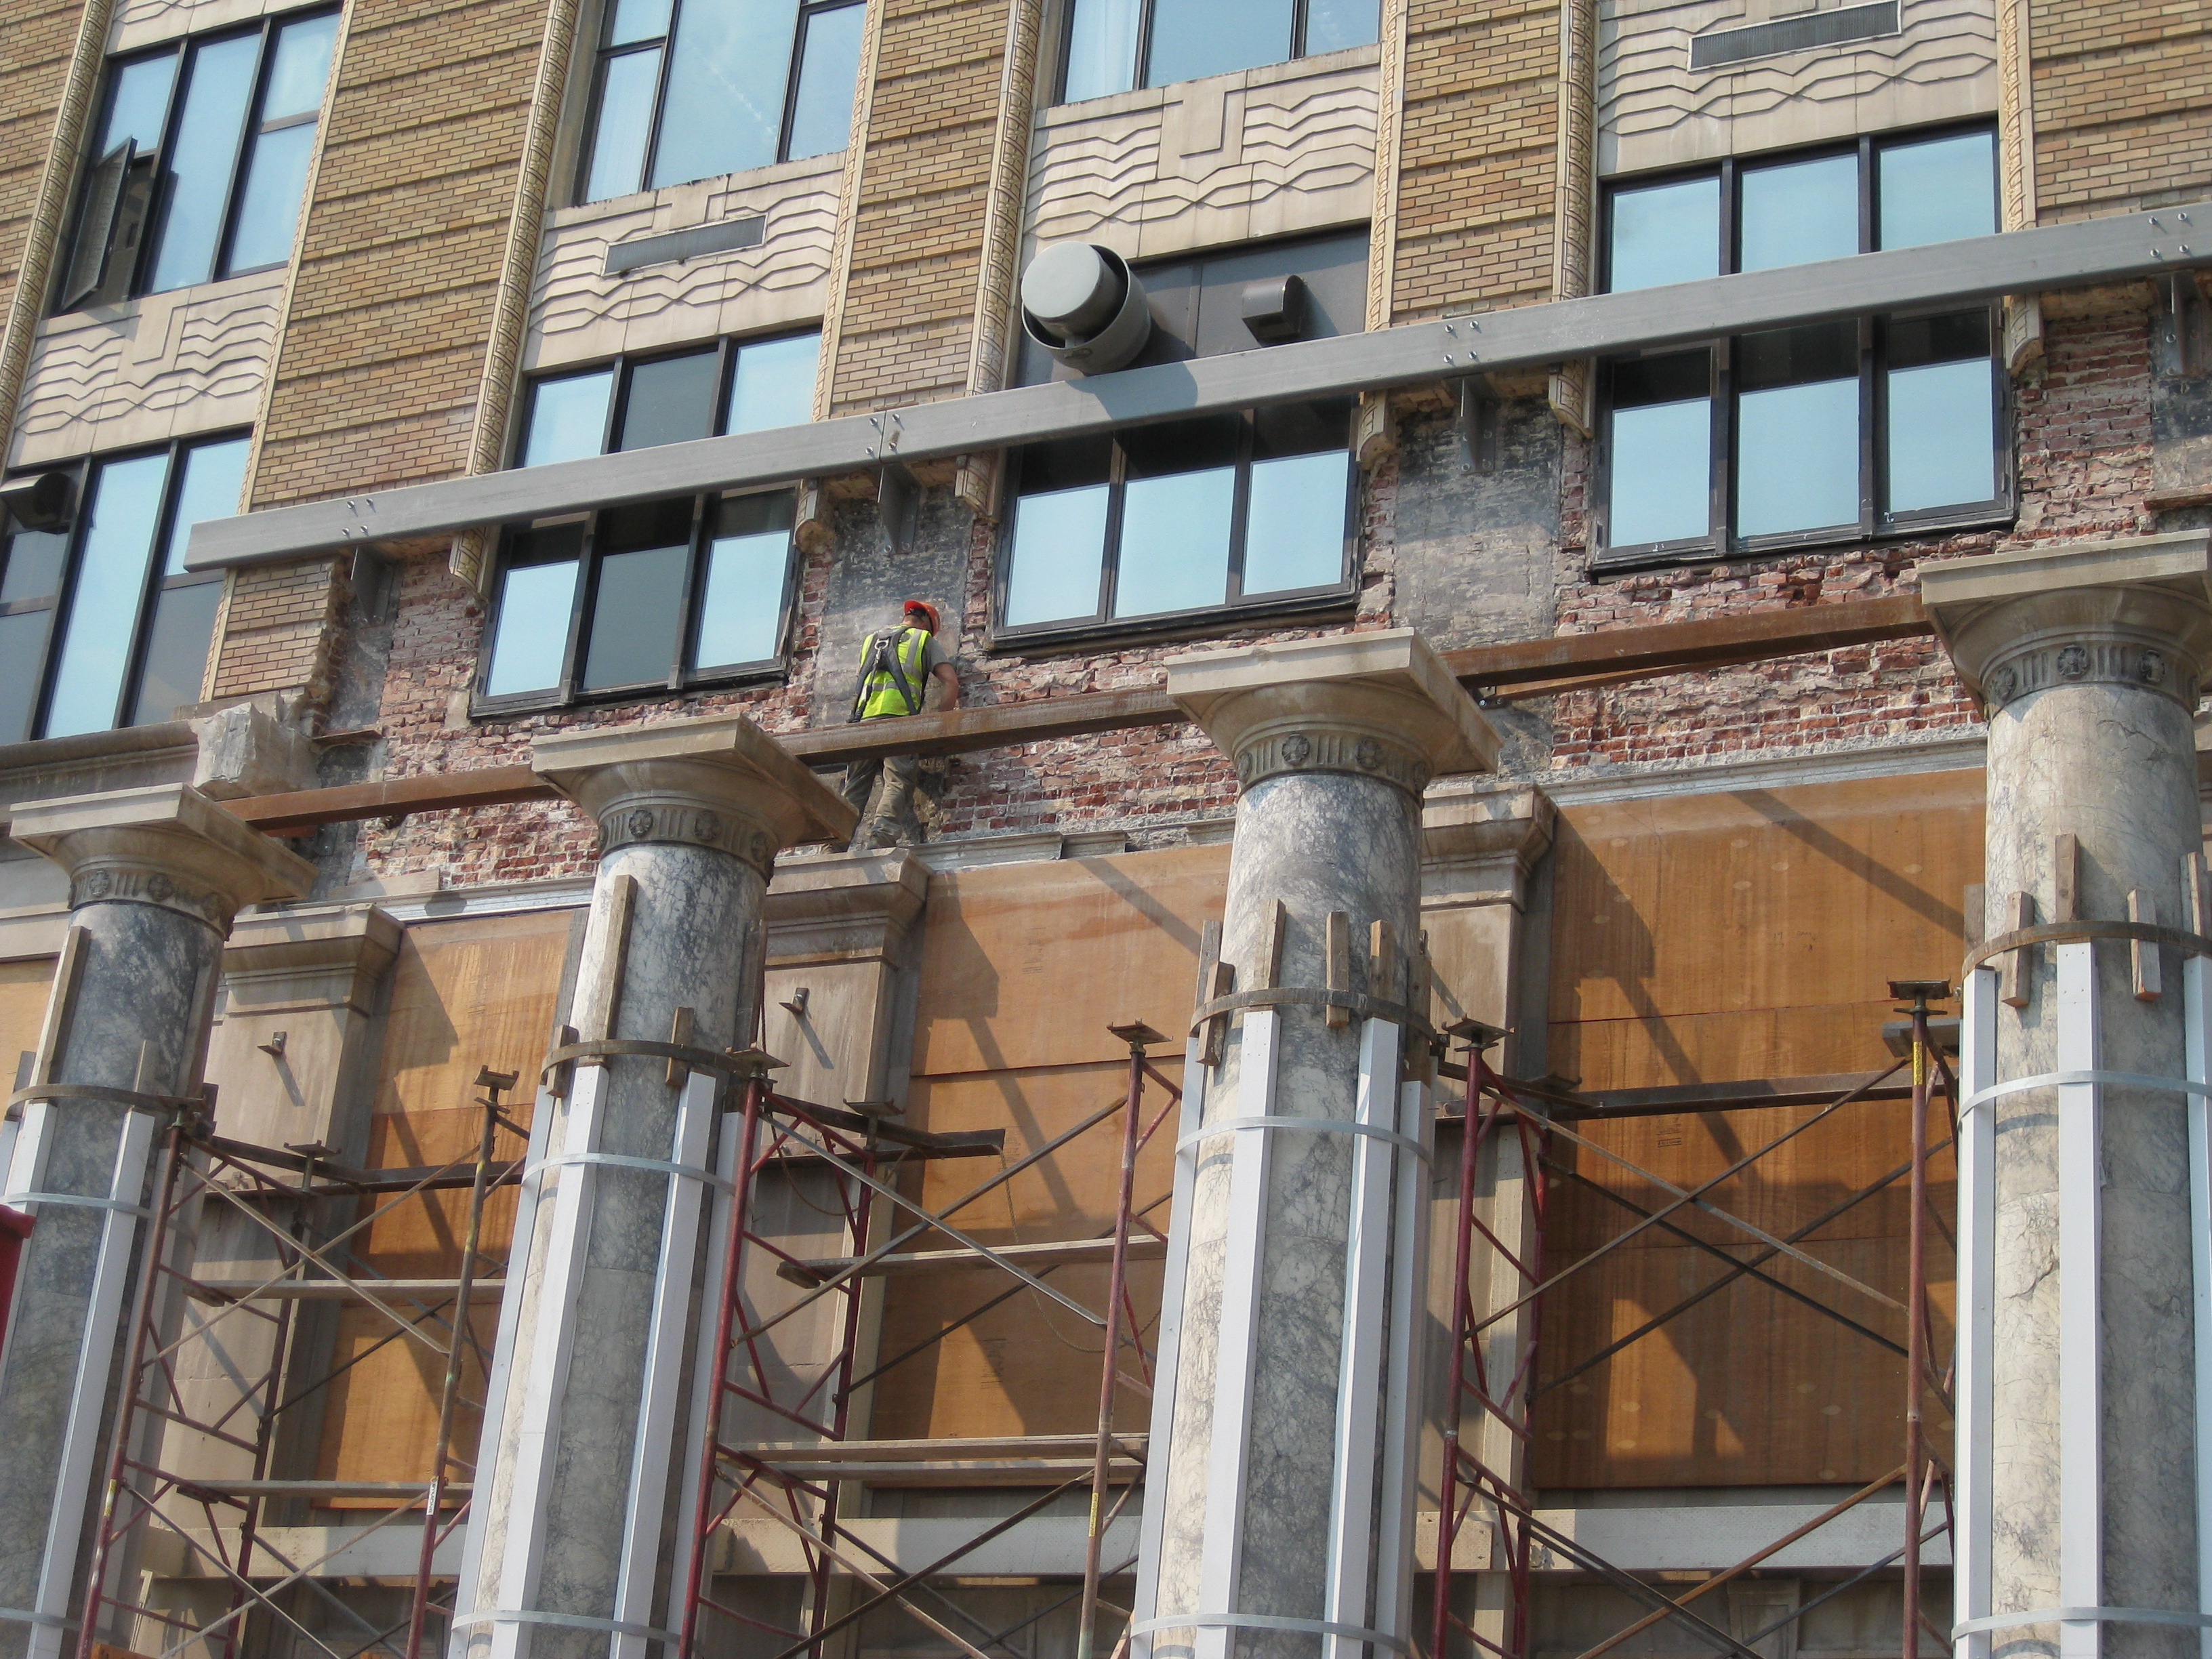
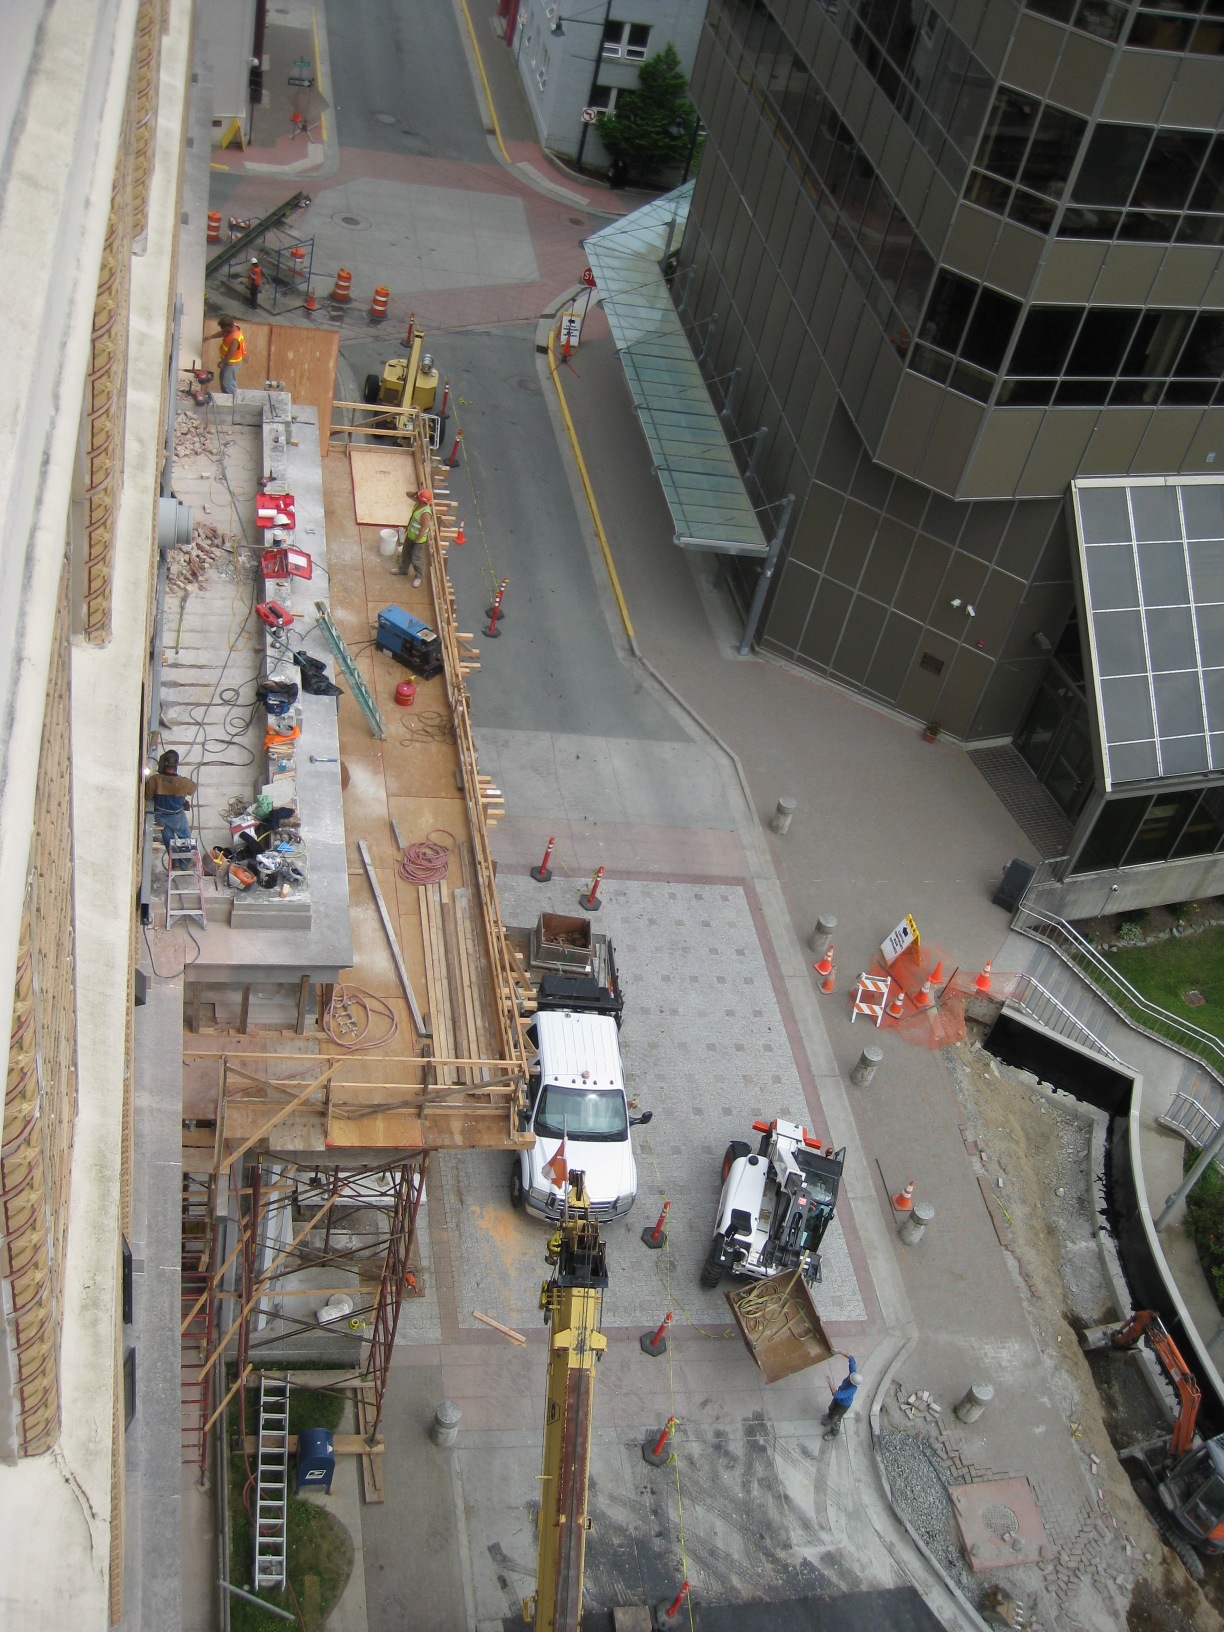
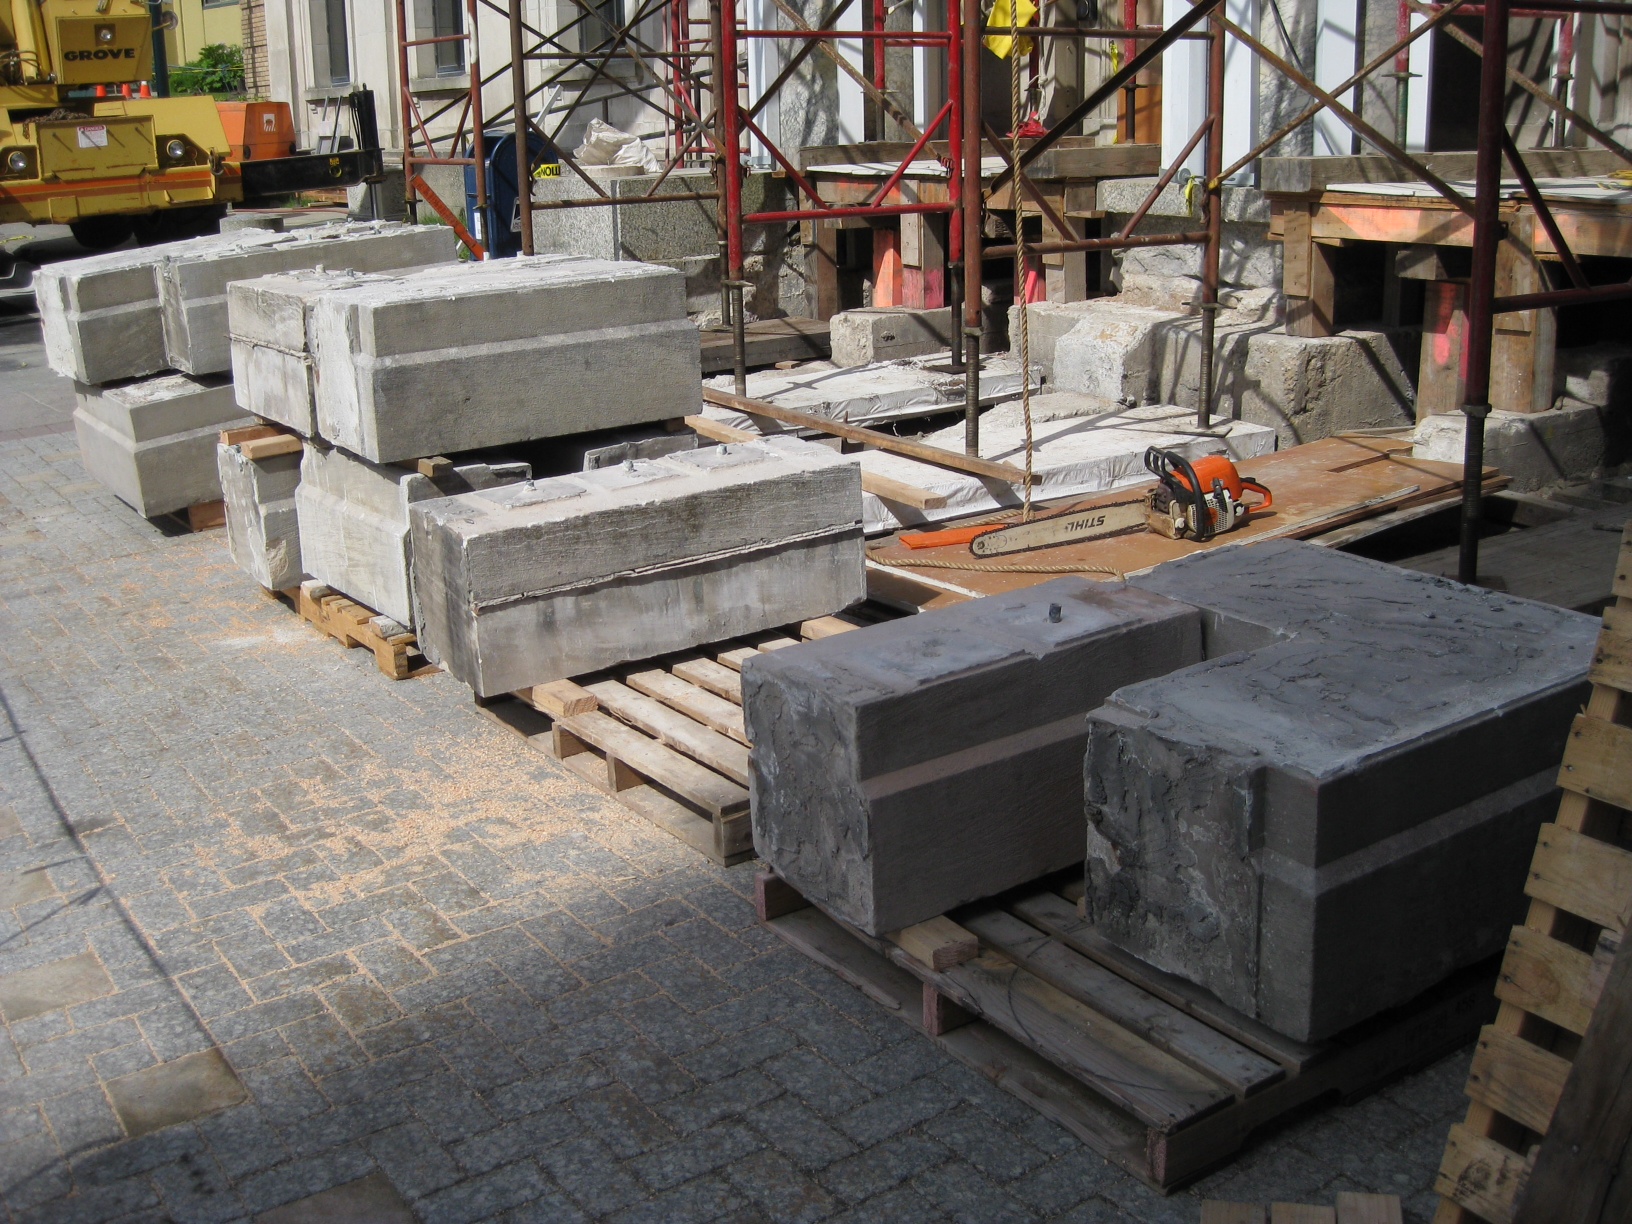
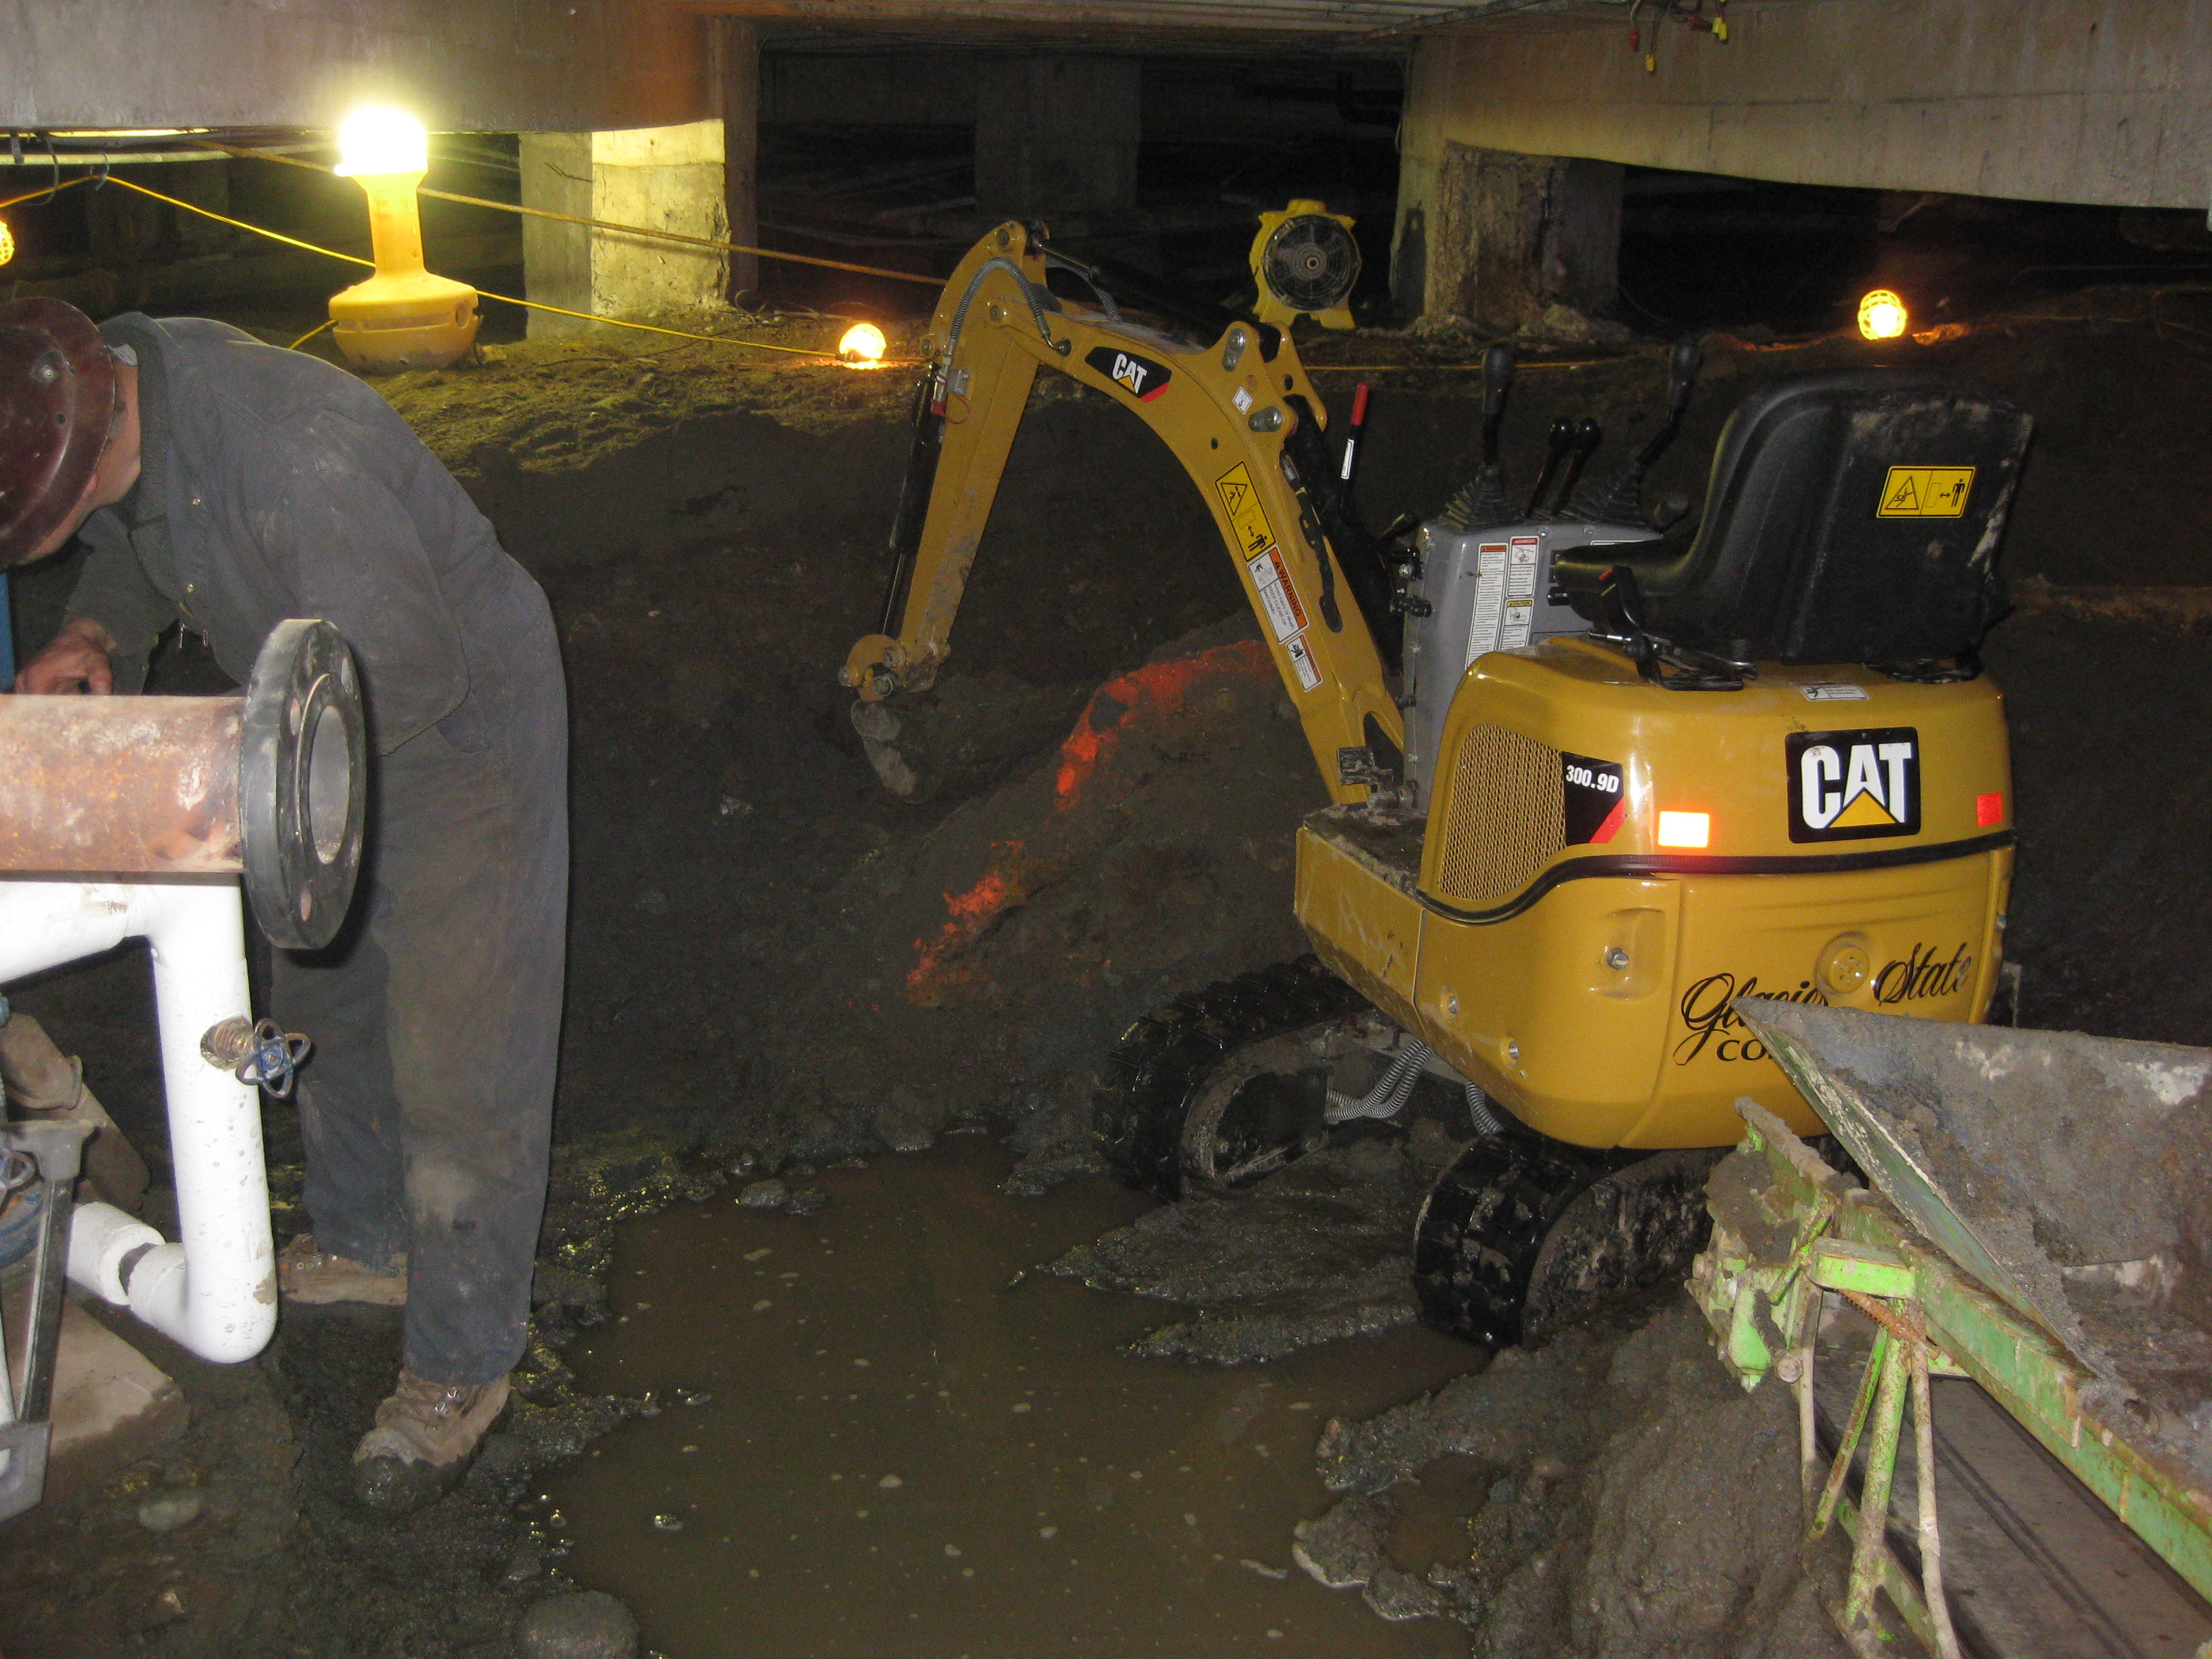
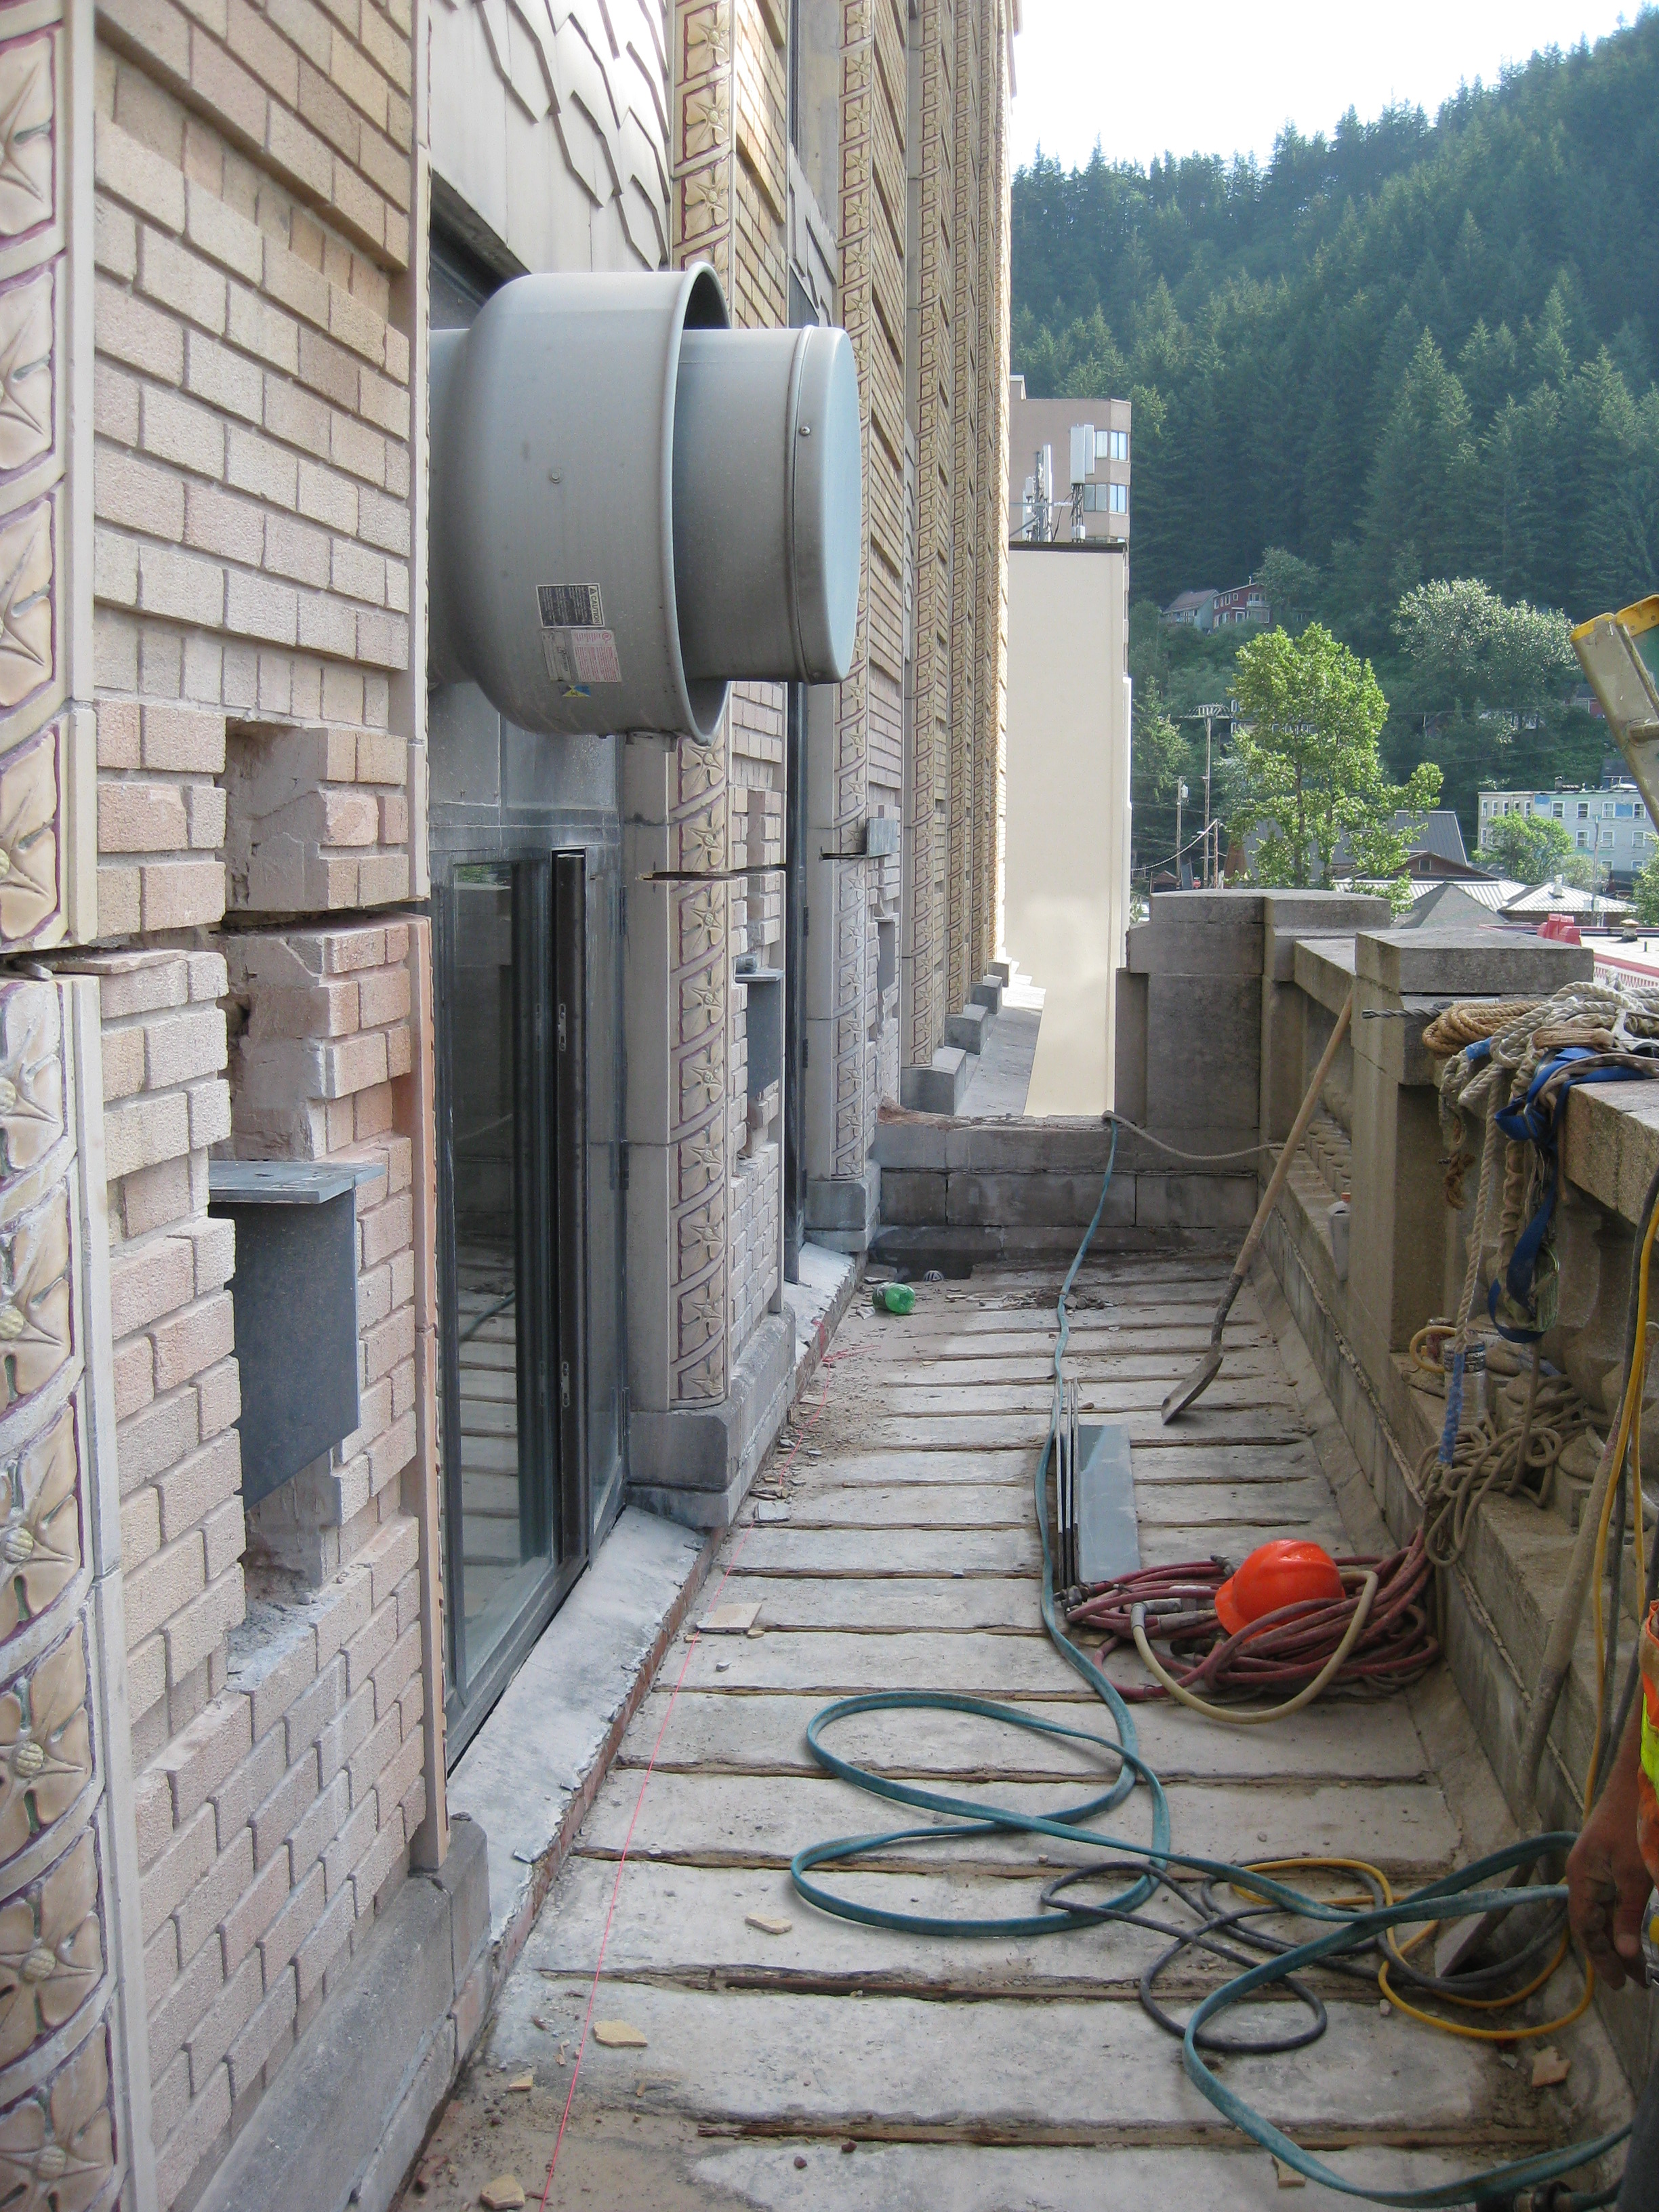
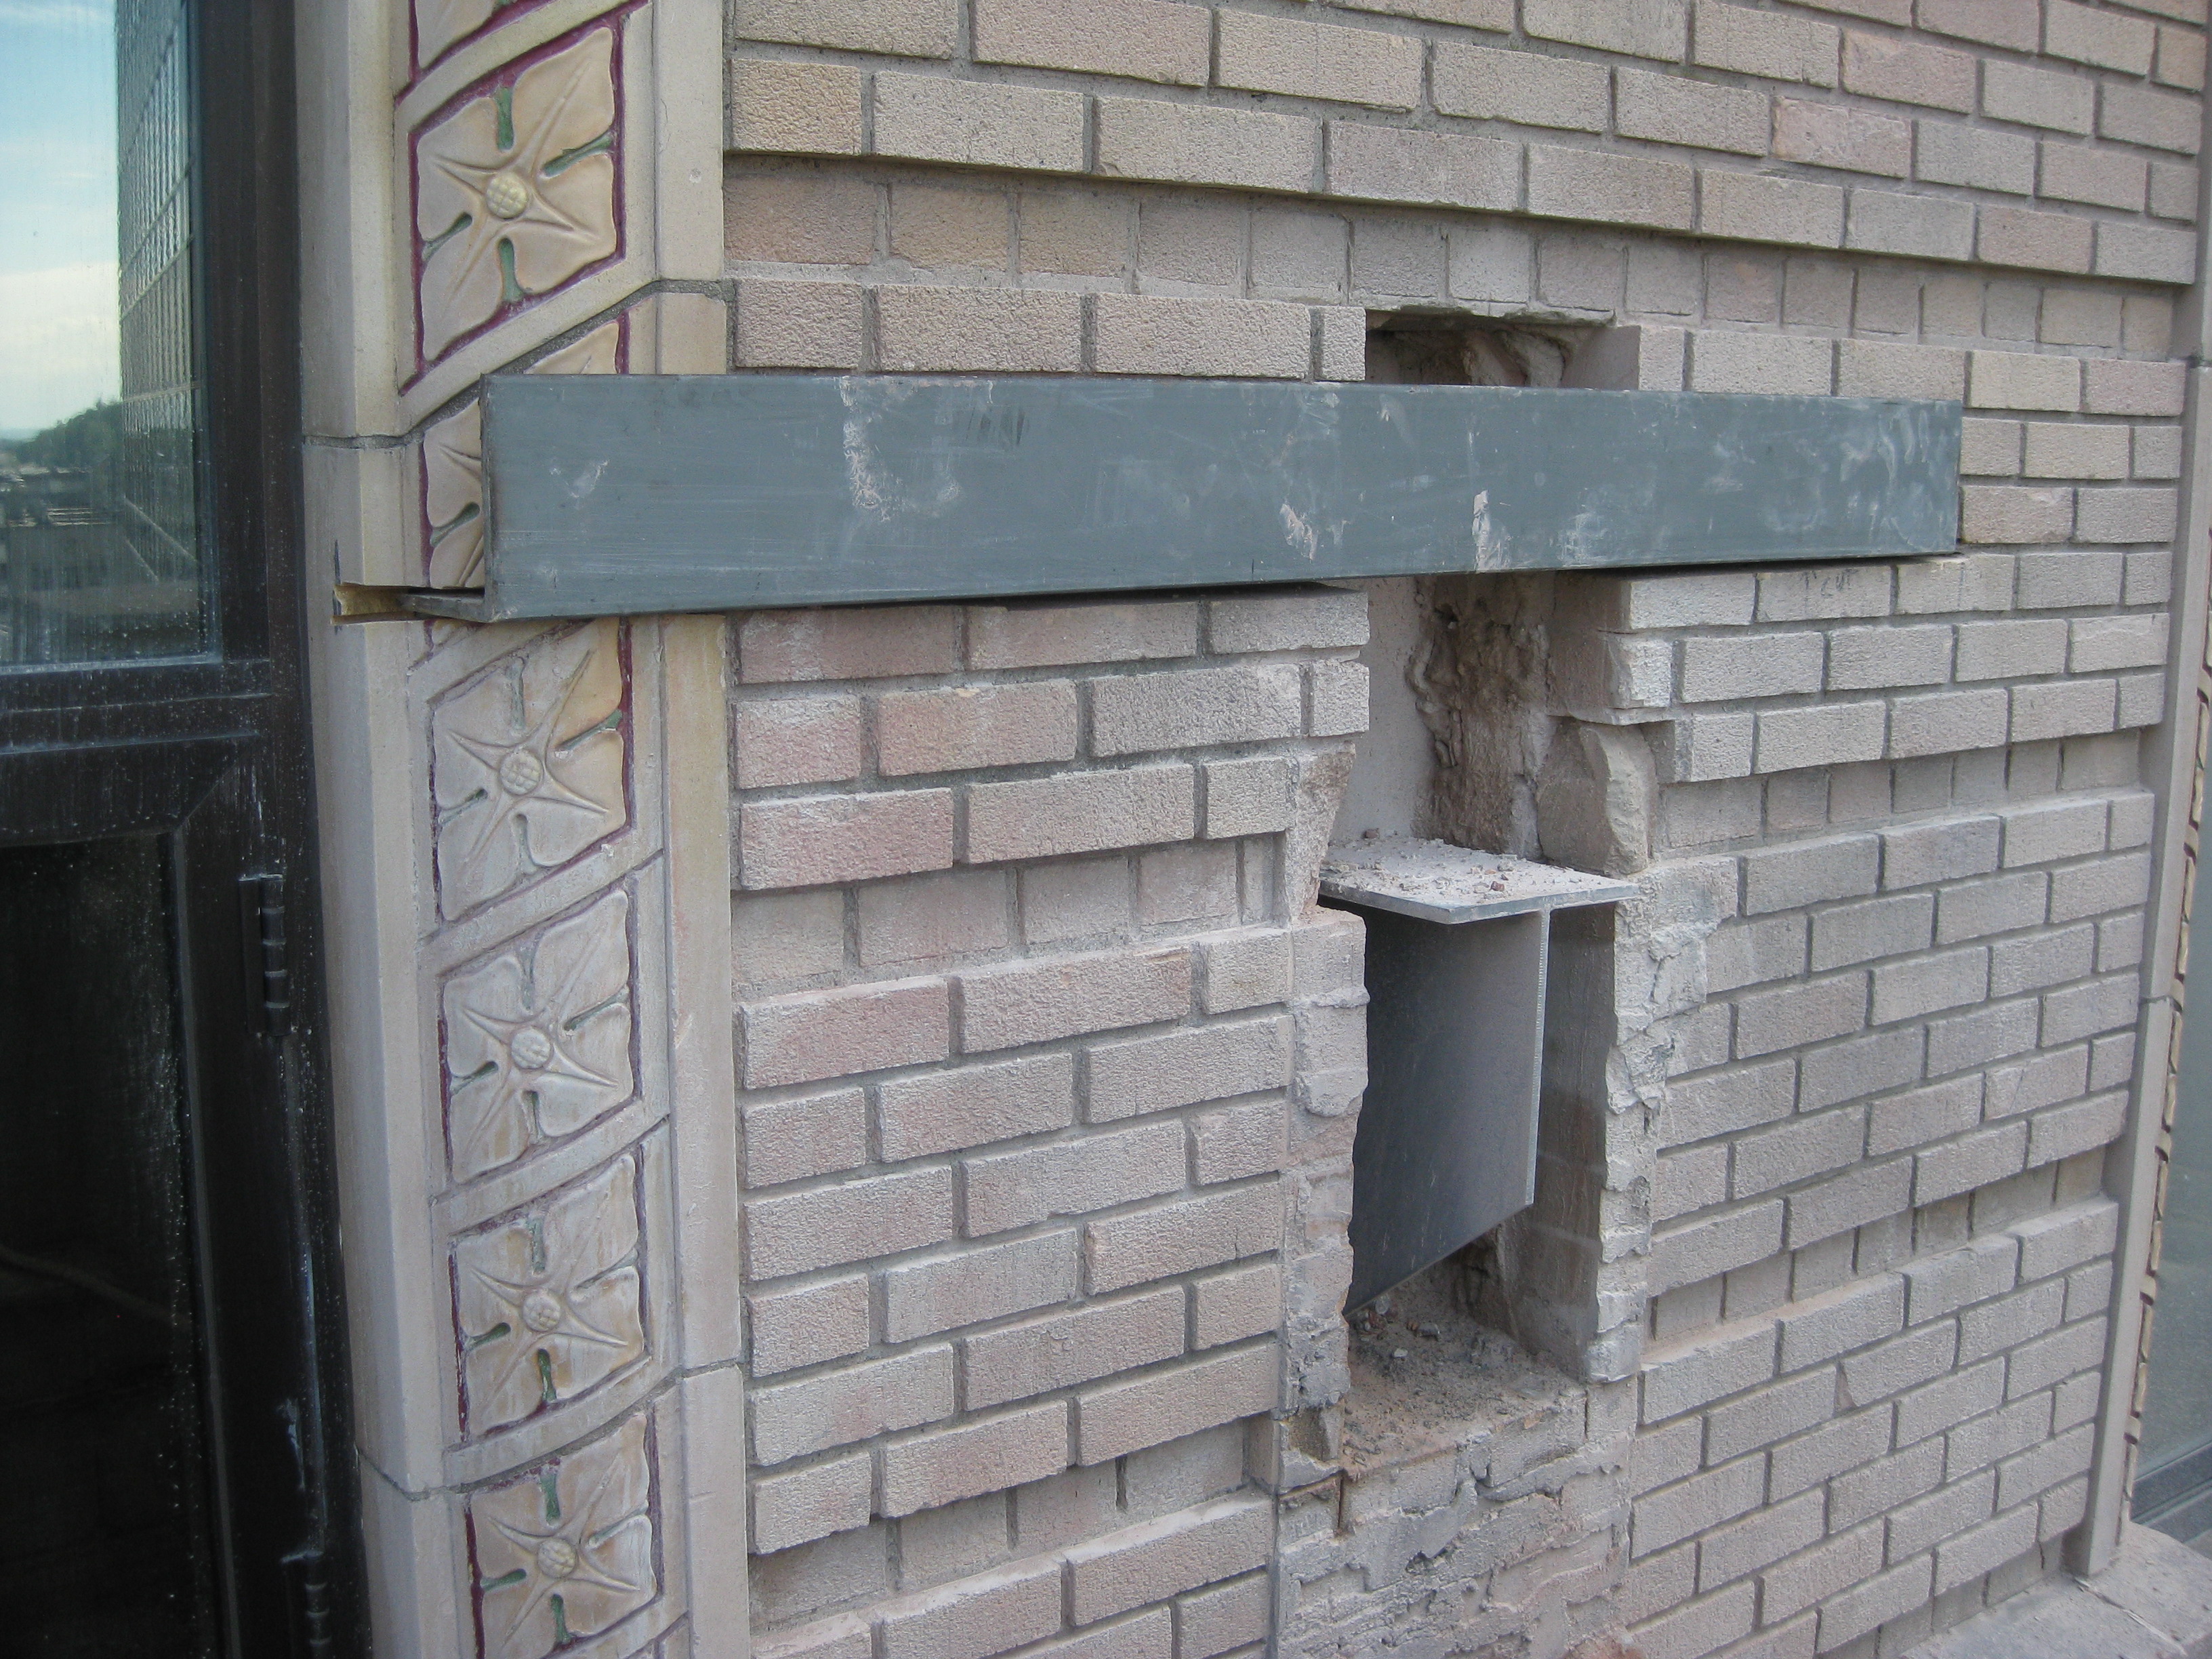
Legislative Council awarded ITB 590 to Alaska Commercial Contractors, Inc. for Phase I of the Alaska State Capitol Seismic Retrofit and Exterior Renovation starting May 14, 2013, and ending October 30, 2013. Phase I consists of structural work related to reinforcing the portico, column stone repair, repair of concrete structural members in the crawl space, removal and salvage of components to the portico at the main entrance of the building, replacement of existing aging and deteriorating waste lines, cleaning of existing storm draining system and creating additional drainage for the crawl space. Phase II will began in 2014, after we issued a bid for construction services to restore or replace exterior masonry (brick, stone and terra cotta components), retrofit the Capitol, replace windows, and upgrades to the heating system. This work will be done over several years due to session, winter conditions and the size of the project.
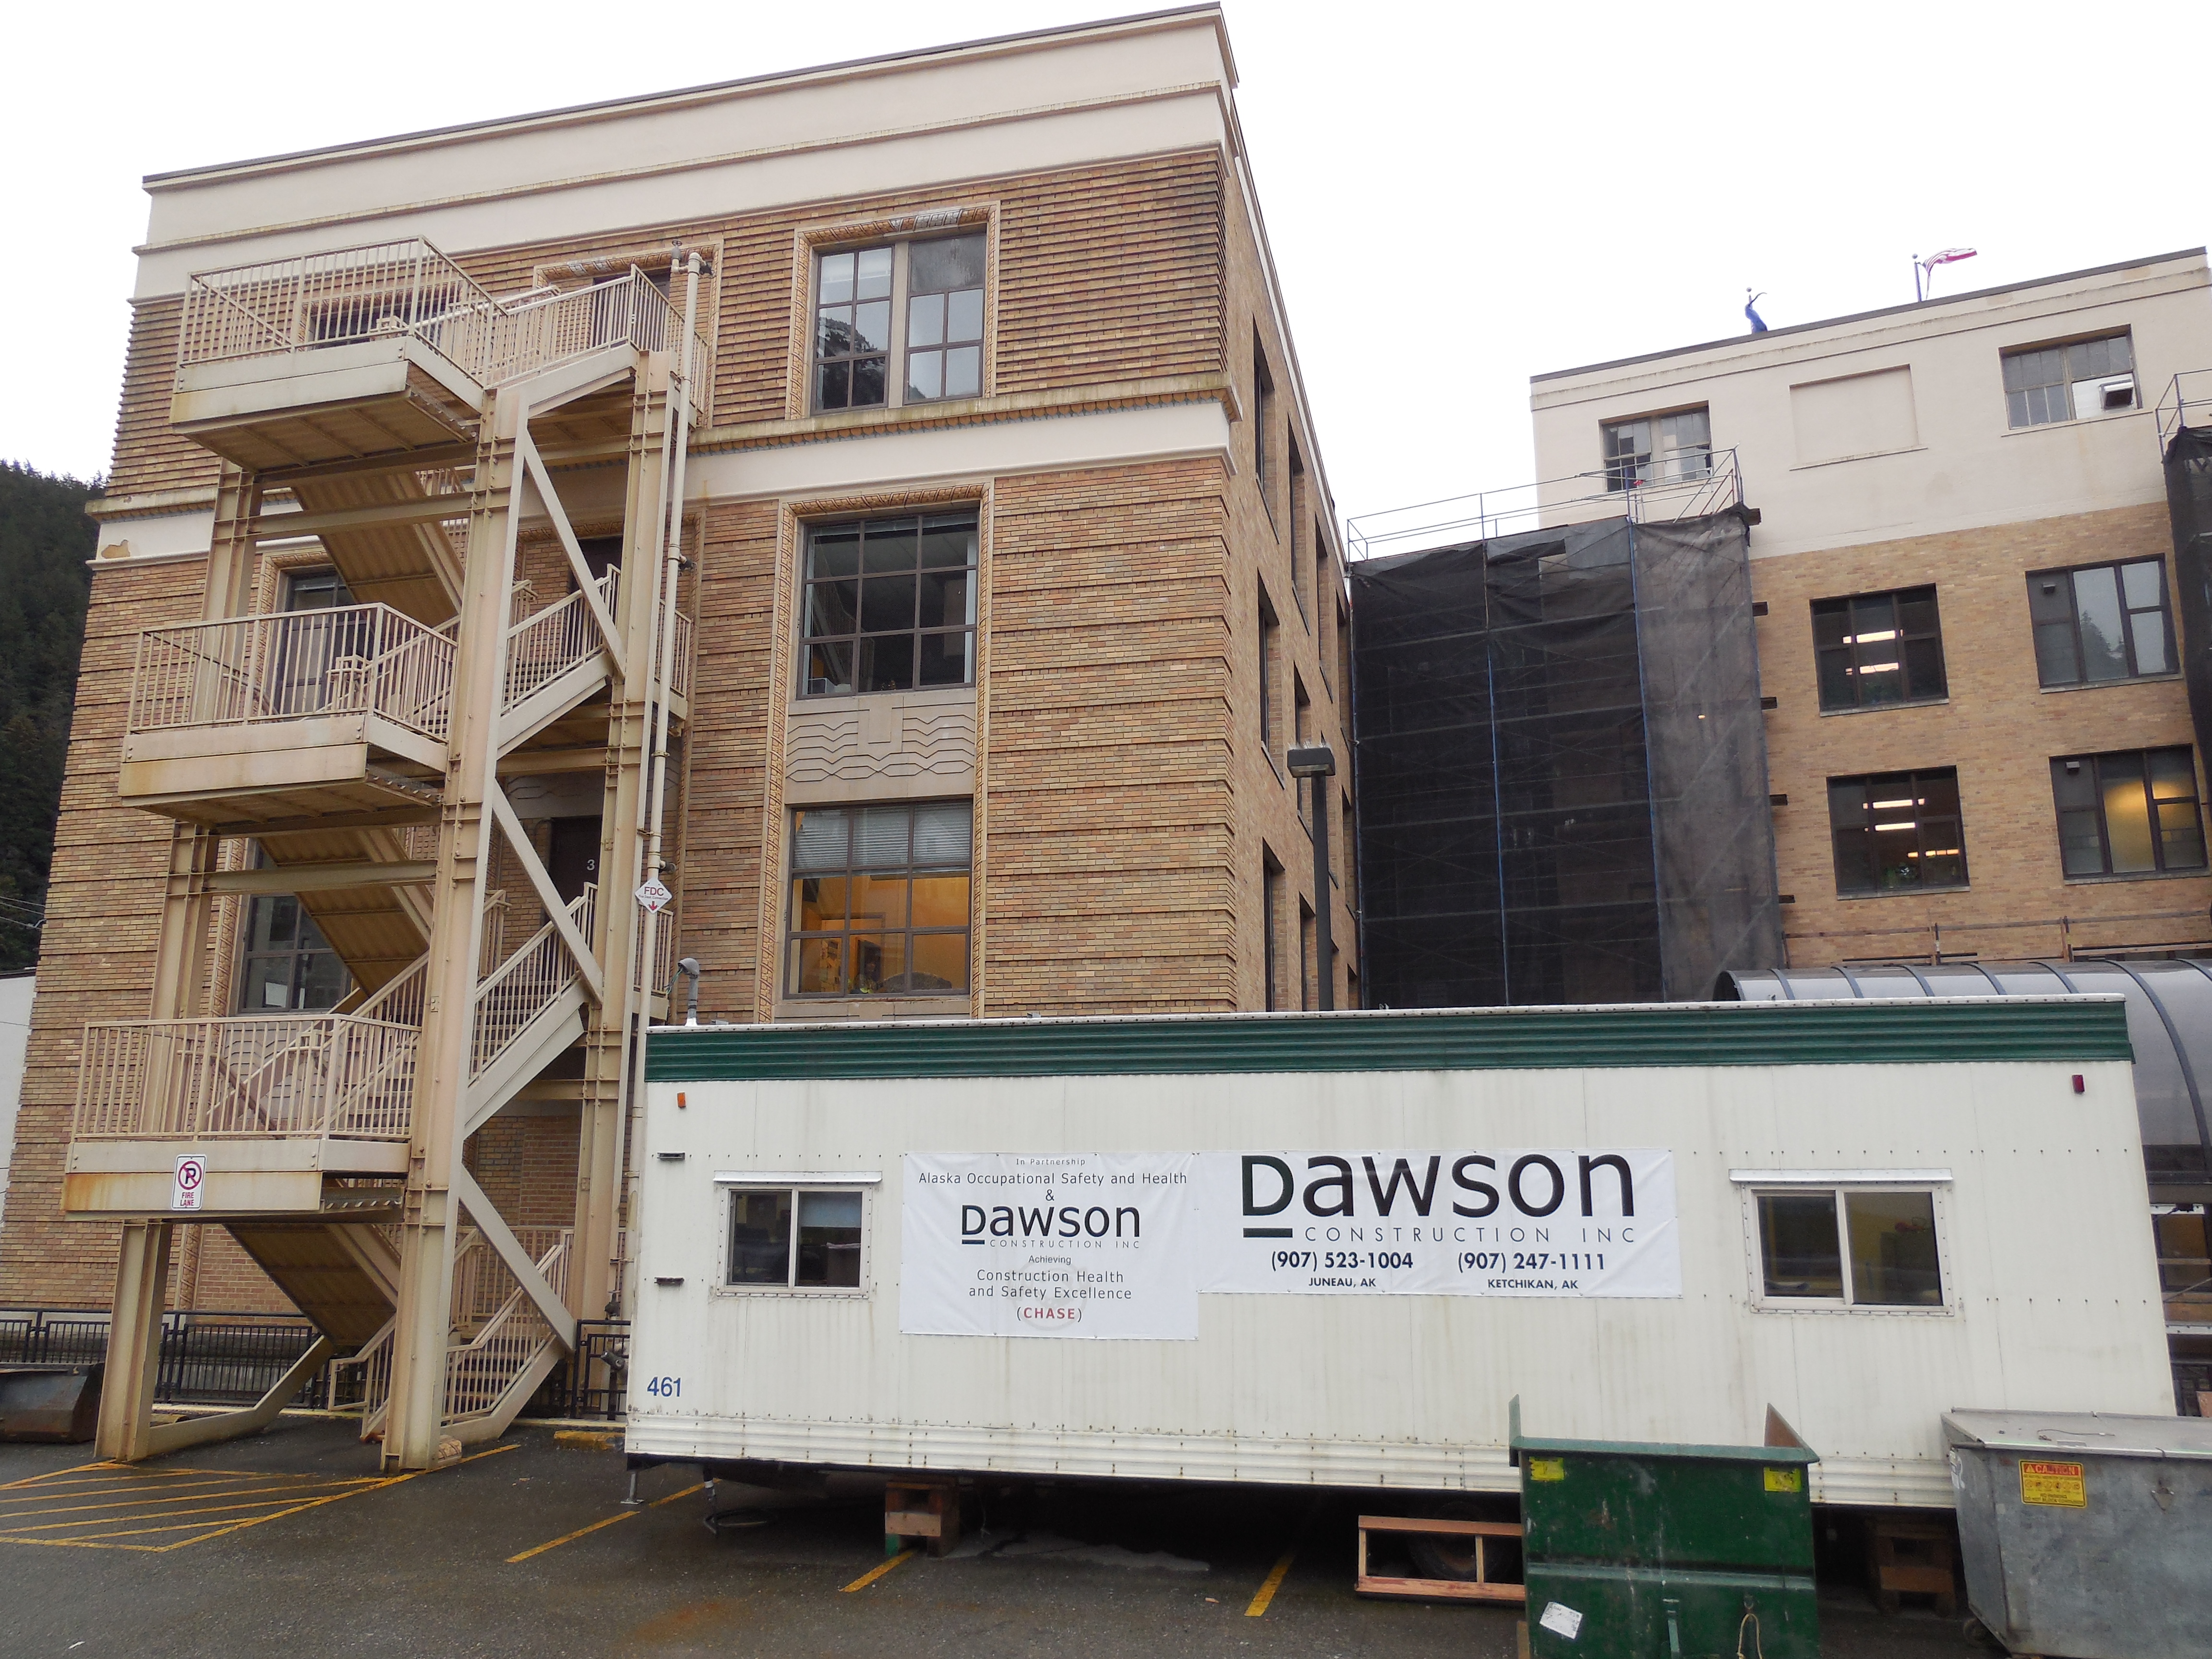
Public notice of RFP 598 was provided on November 8, 2013. On December 18, 2013, the Legislative Council met and approved the award of RFP 598 to Dawson Construction Inc. in the amount not to exceed $200,000 for pre-construction services for the Capitol Seismic Retrofit & Exterior Renovation Phase II.
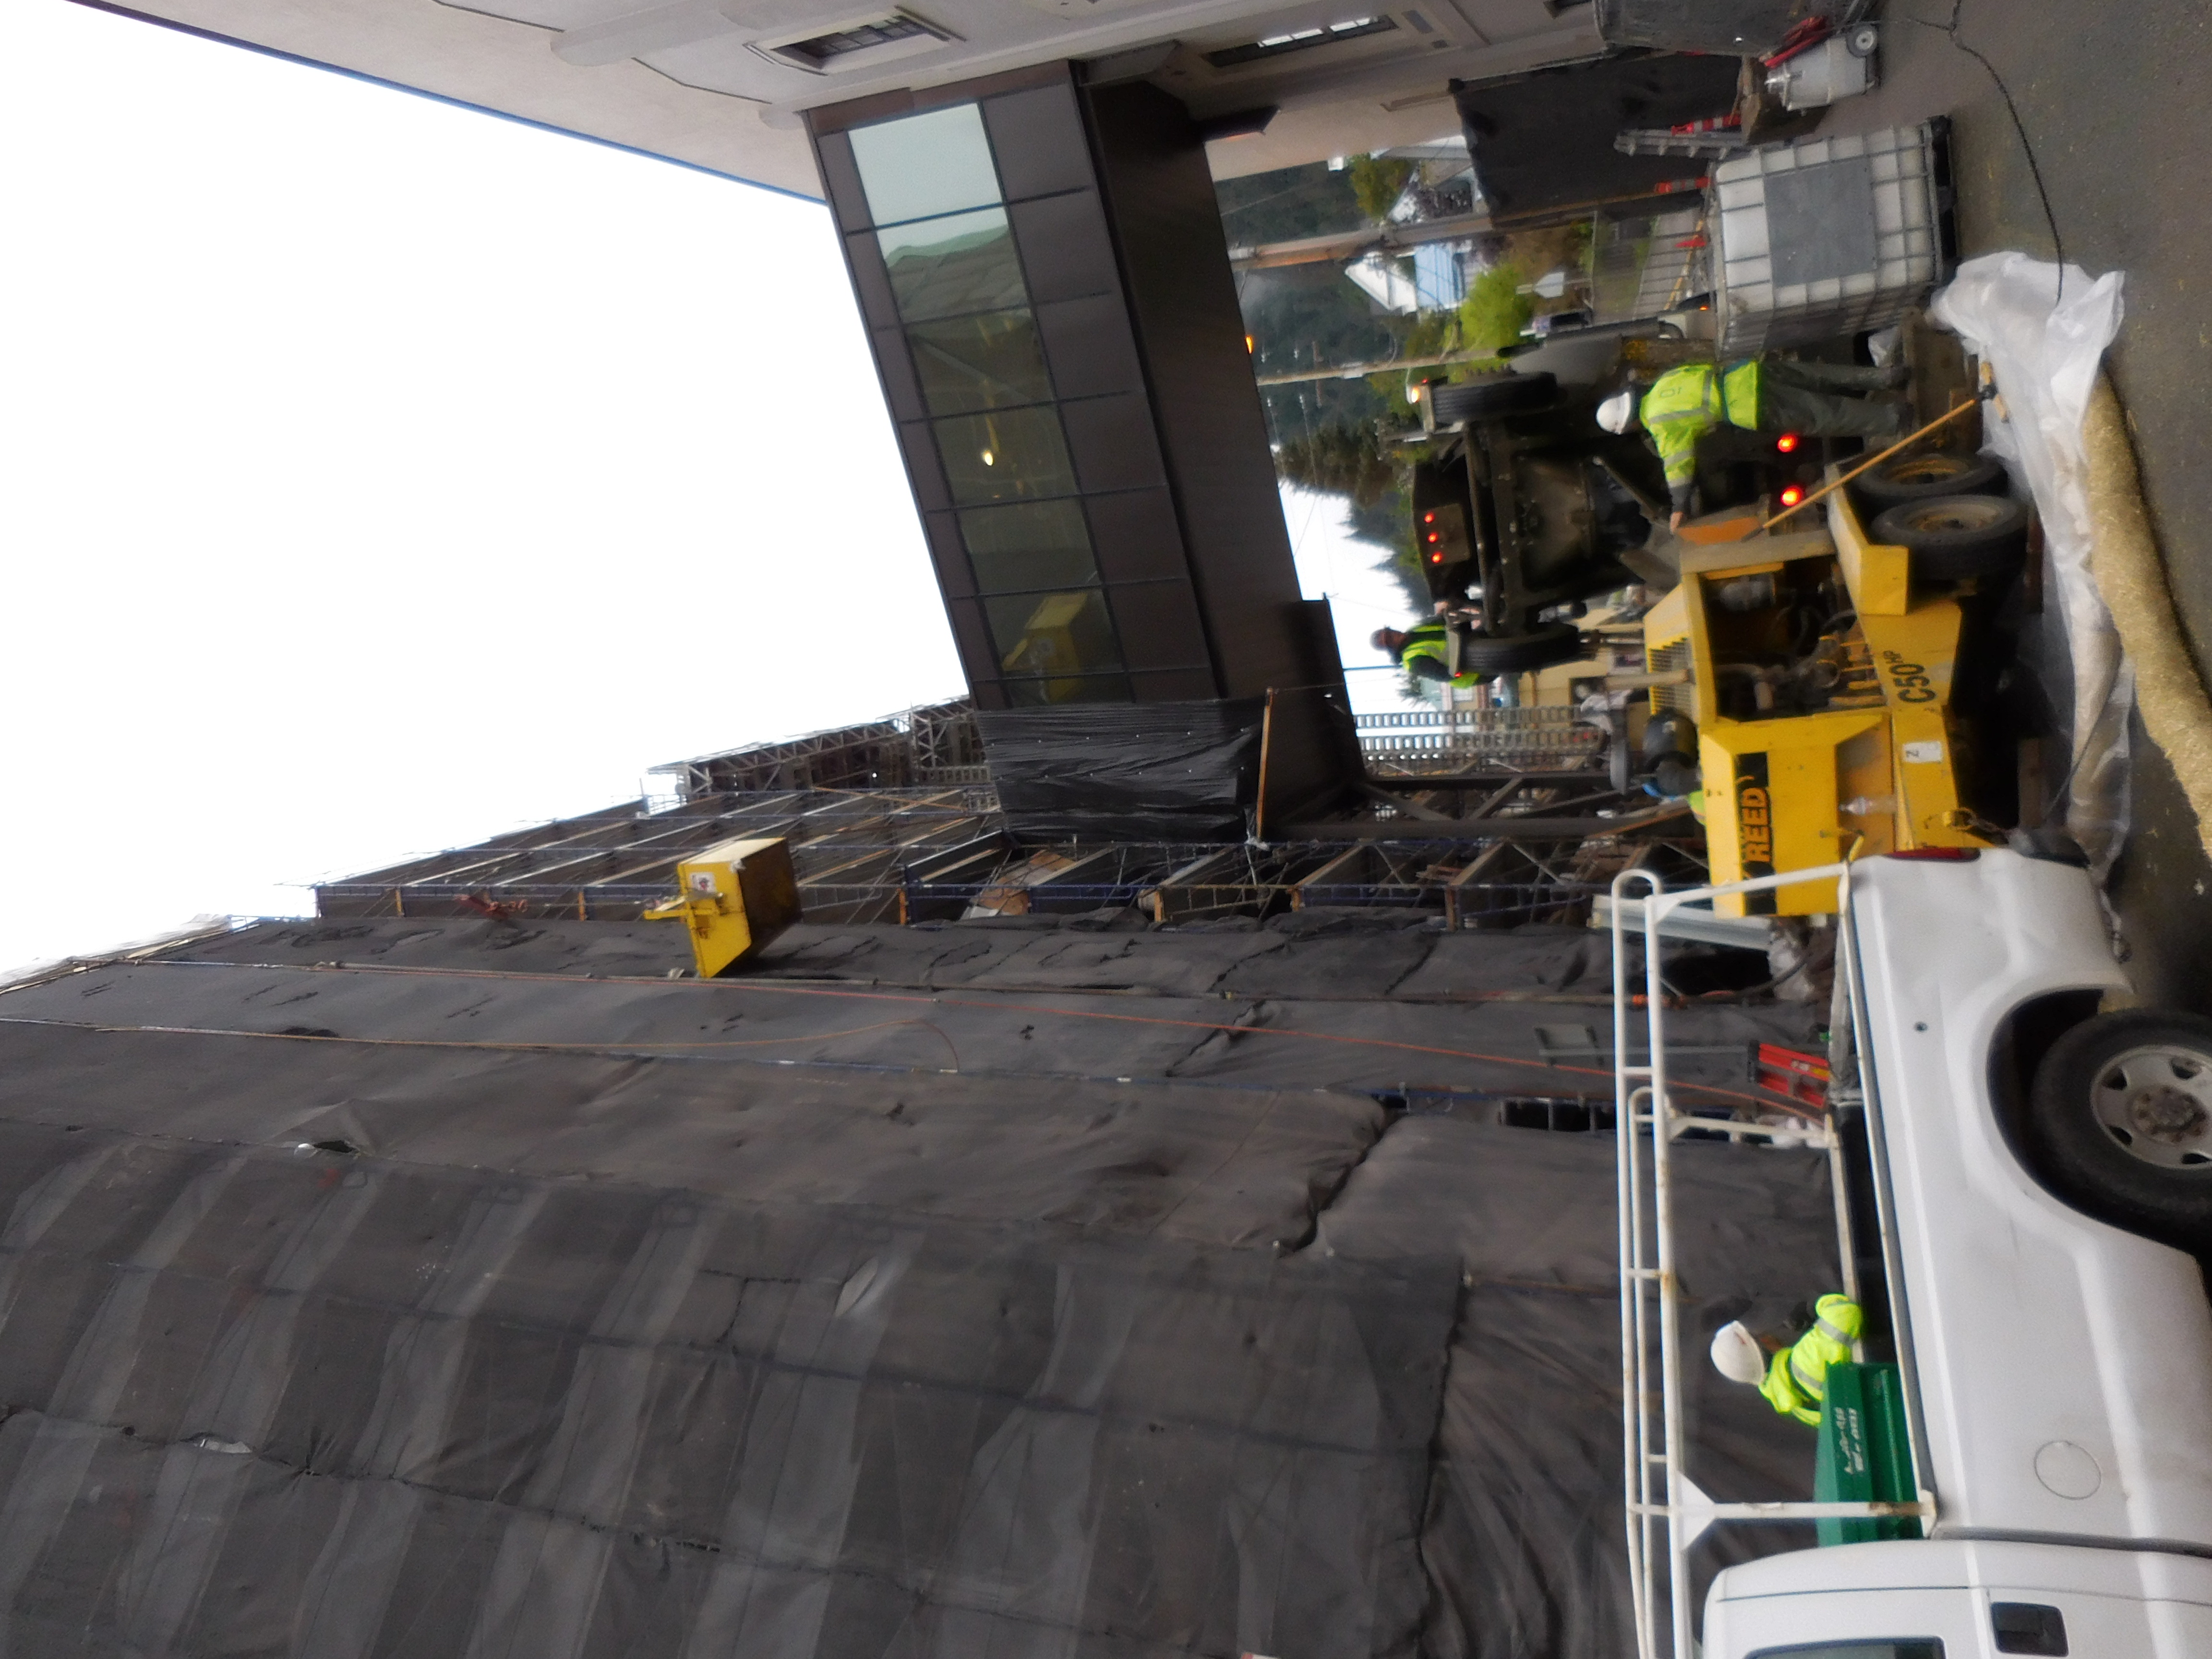
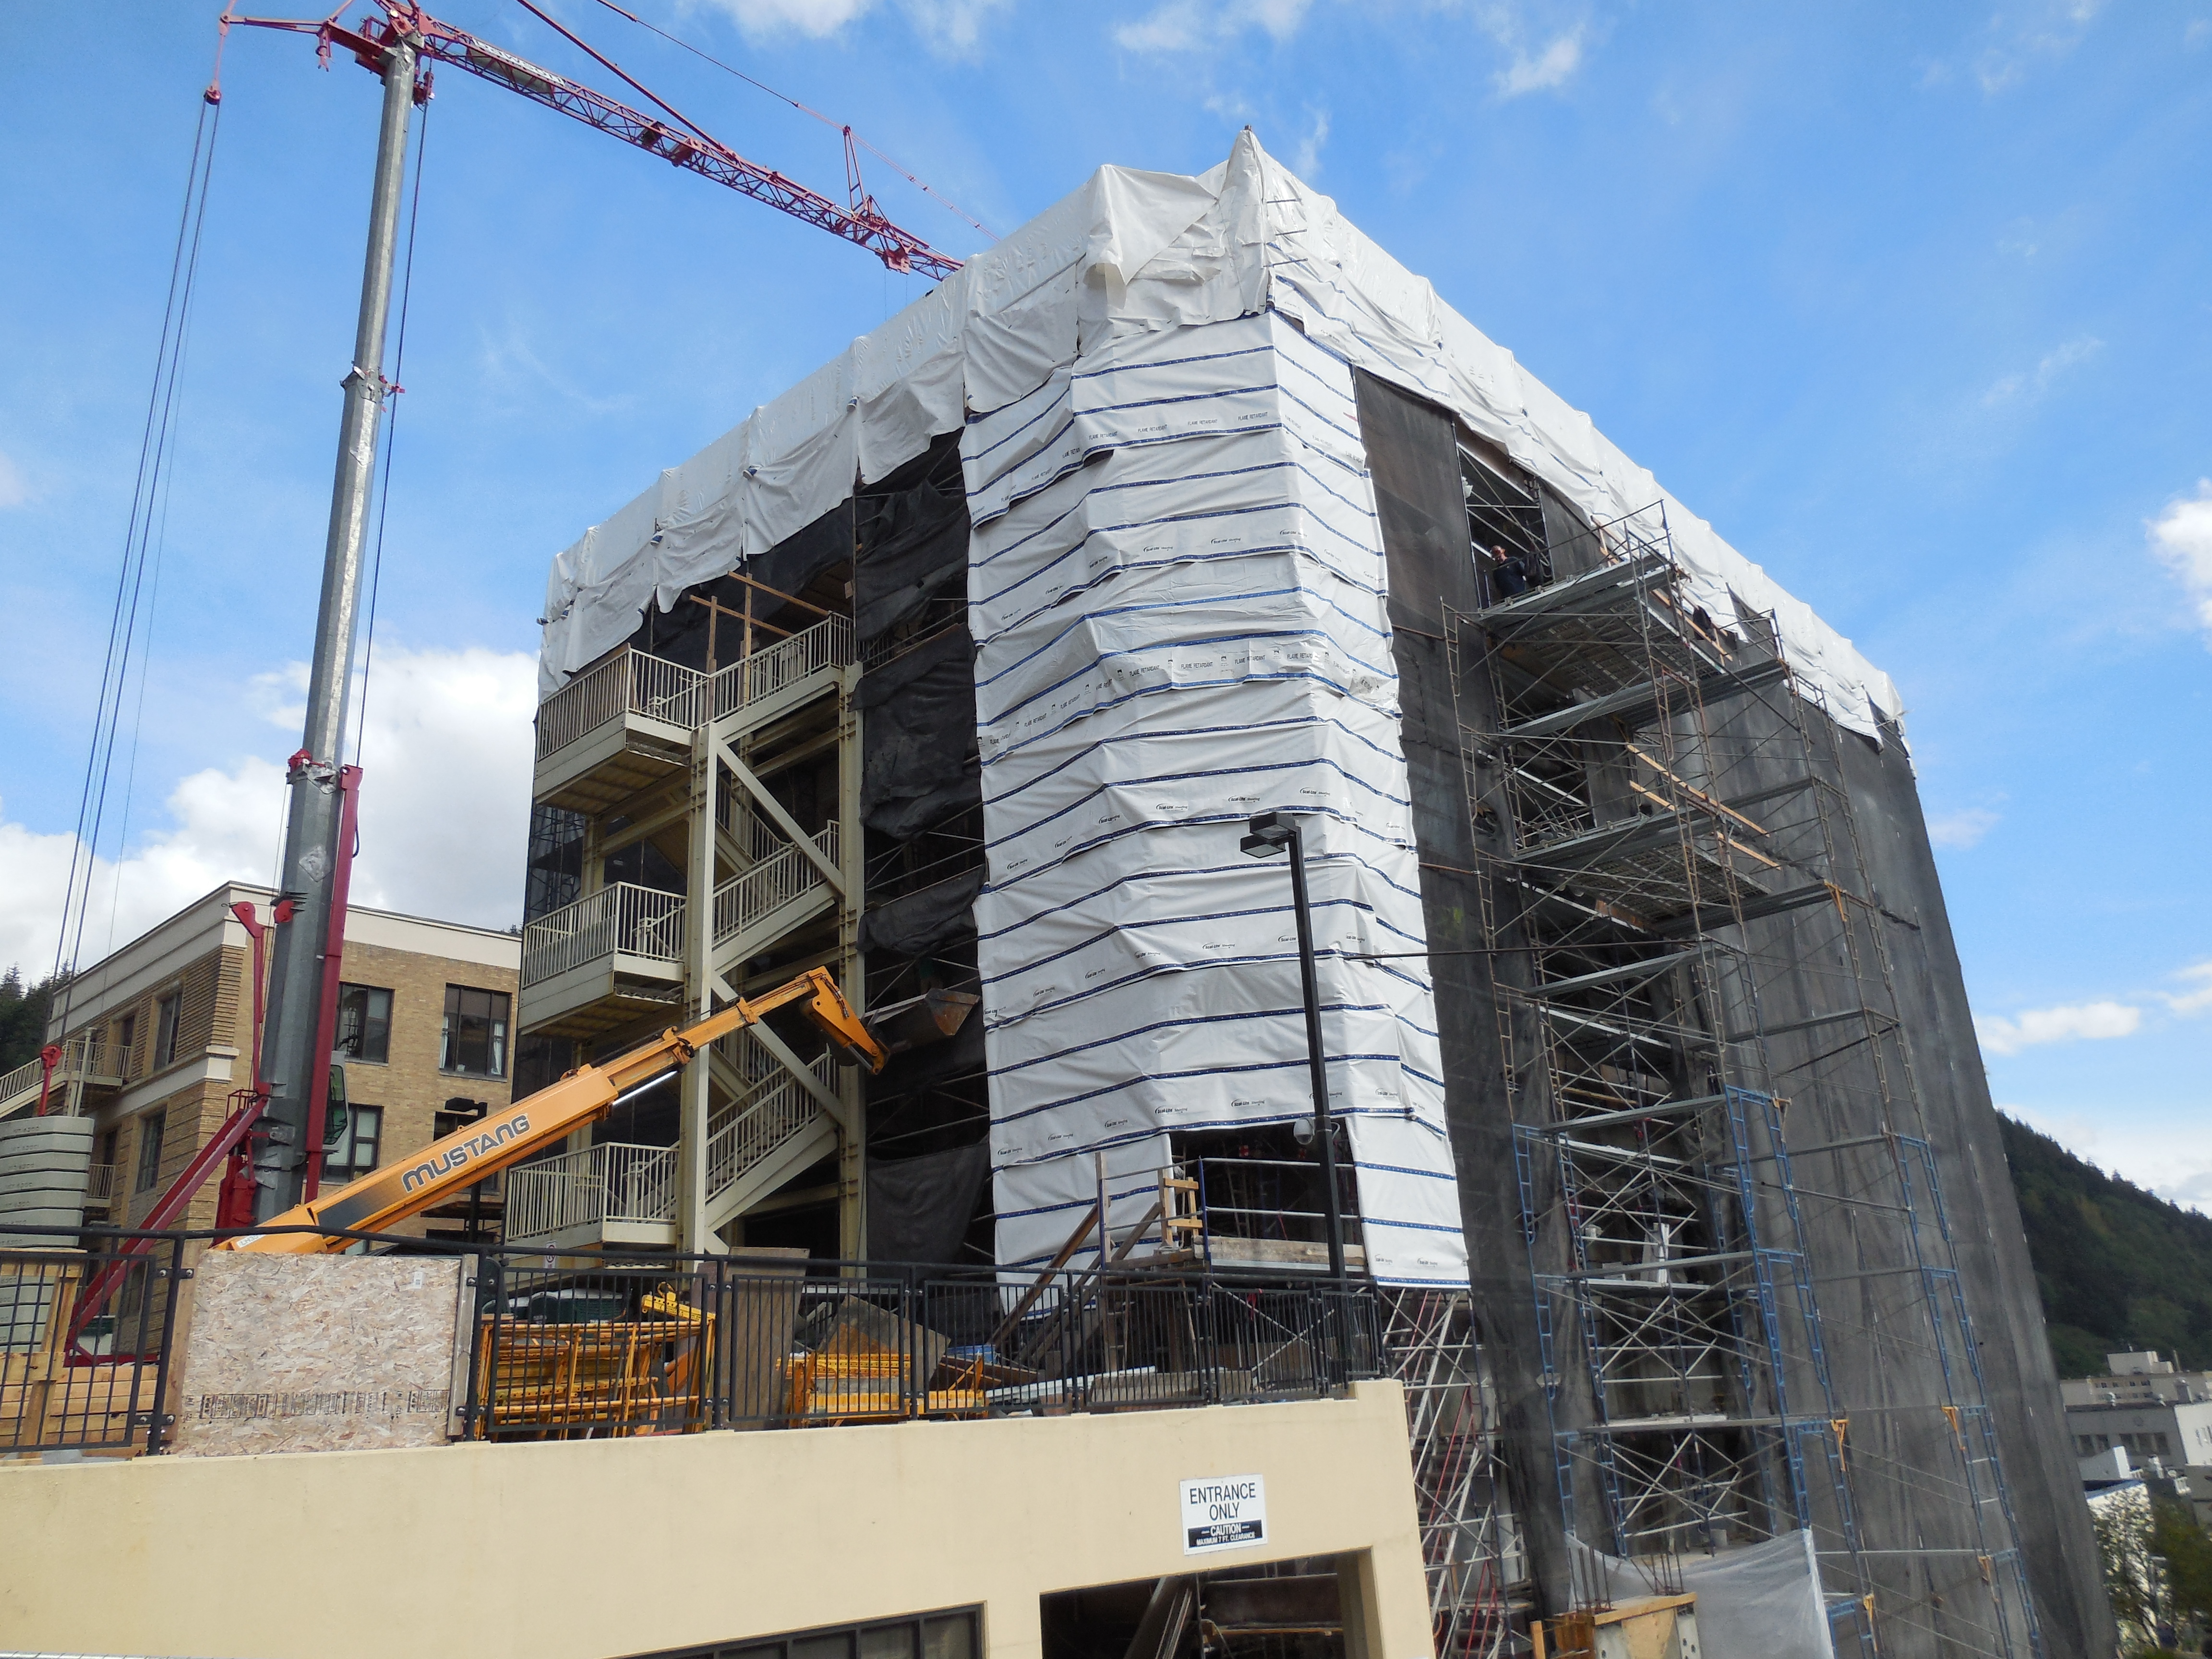
On April 3, 2014, Legislative Council approved a construction services contract for the 2014 construction season with Dawson Construction, Inc. in an amount not to exceed $5,800,000 for the first phase of the construction work. The work during the 2014 construction season will primarily be limited to construction work on the west side (Main Street side) of the Capitol because the west side is representative of the rest of the building and can be used to project the work for the other parts of the building. Also, some work on the infill areas will be completed in 2014. Estimated final construction completion date of the work described in RFP 598 is 2016.
On August 7, 2014 Legislative Council approved an amendment to the Dawson Construction contract to increase the contract amount by $650,000 to accelerate the work and scope of the 2014 construction season for the Seismic Retrofit and Exterior Renovation, Phase II. This will avoid a conflict between the masonry work and the demolition work near the northwest corner at the beginning of the 2015 construction season and reduce the amount of work to be done in the following years.
On November 12, 2014 Legislative Council approved an amendment to the Dawson Construction contract in the amount of $27,150,000 to complete the project over the next several years.
Procurement Officer:
Senator Gary Stevens, Chairman, Legislative Council
Project Directors:
Don Johnston, Capitol Building Manager (until 12/30/2013)
Jeff Goodell, Capitol Building Manager (since 12/31/2013)
Pam Varni, Executive Director
Contractors:
Alaska Commercial Contractors, Inc.
Jensen Yorba Lott, Inc.
Dawson Construction Inc.
Paul Lukes, Building Envelope Consulting Services LLC
Updates:
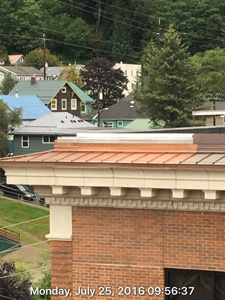
Update October 13, 2016
Update October 4, 2016
Update September 21, 2016
Update September 9, 2016
Update September 2, 2016
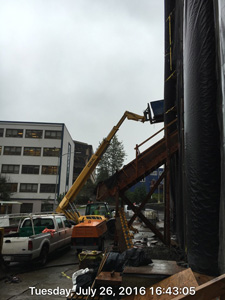
Update August 19, 2016
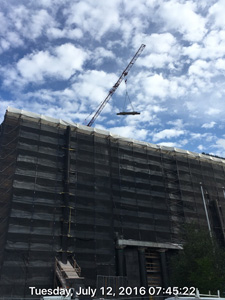
Update July 2016
Update
June 2016
Update May 2016
Update November 13, 2015
Update October 2015
Update September 2015
Update August 2015
Update July 17, 2015
Update June 26, 2015
Update June 12, 2015
Update May 29, 2015
Update May 15, 2015
Update November 11, 2014
Update October 22, 2014
Update October 3, 2014
Update September 19, 2014
Update September 5, 2014
Update August 29, 2014
Update August 15, 2014
Update August 4, 2014
Update July 21, 2014
Update June 13, 2014
Update June 6, 2014
Update May 30, 2014
Update May 23, 2014
Update November 1, 2013
Update October 25, 2013
Update October 18, 2013
Update October 11, 2013
Update October 4, 2013
Update September 27, 2013
Update September 20, 2013
Update September 13, 2013
Update September 6, 2013
Update August 30, 2013
Update August 23, 2013
Update August 16, 2013
Update August 9, 2013
Update August 2, 2013
Update July 26, 2013
Update July 19, 2013
Update July 12, 2013
Update July 5, 2013
Update June 28, 2013
Update June 21, 2013
Update June 14, 2013
Update June 10, 2013
Update June 7, 2013
Update May 31, 2013
Project Documents
Update October 13, 2016
 |
 |
| Demo scaffold coming down East side of portico, front of Capitol | Scaffold down East side front of Capitol, prec cast installation started |
 |
 |
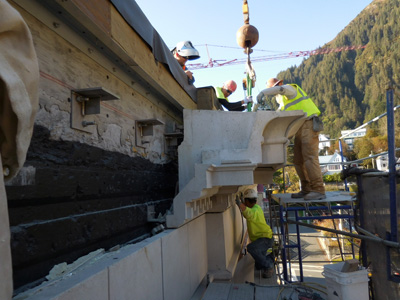
| Masonry work in progress above portico roof, front of Capitol | West side of portico near completion. pre cast & brick work |
 |
 |
| Pre cast being set, East side of portico | Roofing & flashing work at Seward St. canopy, East side of Capitol |
 |
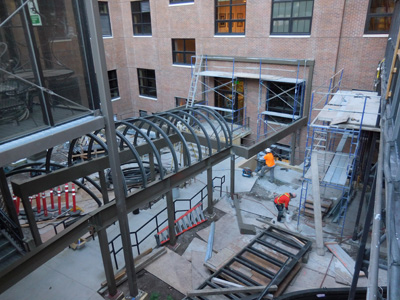 |
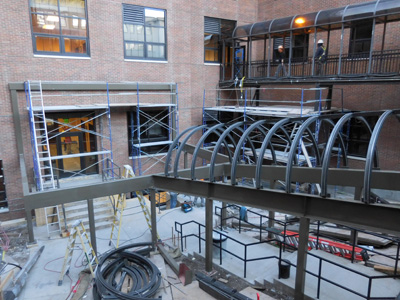
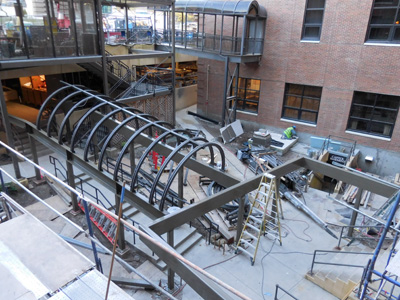
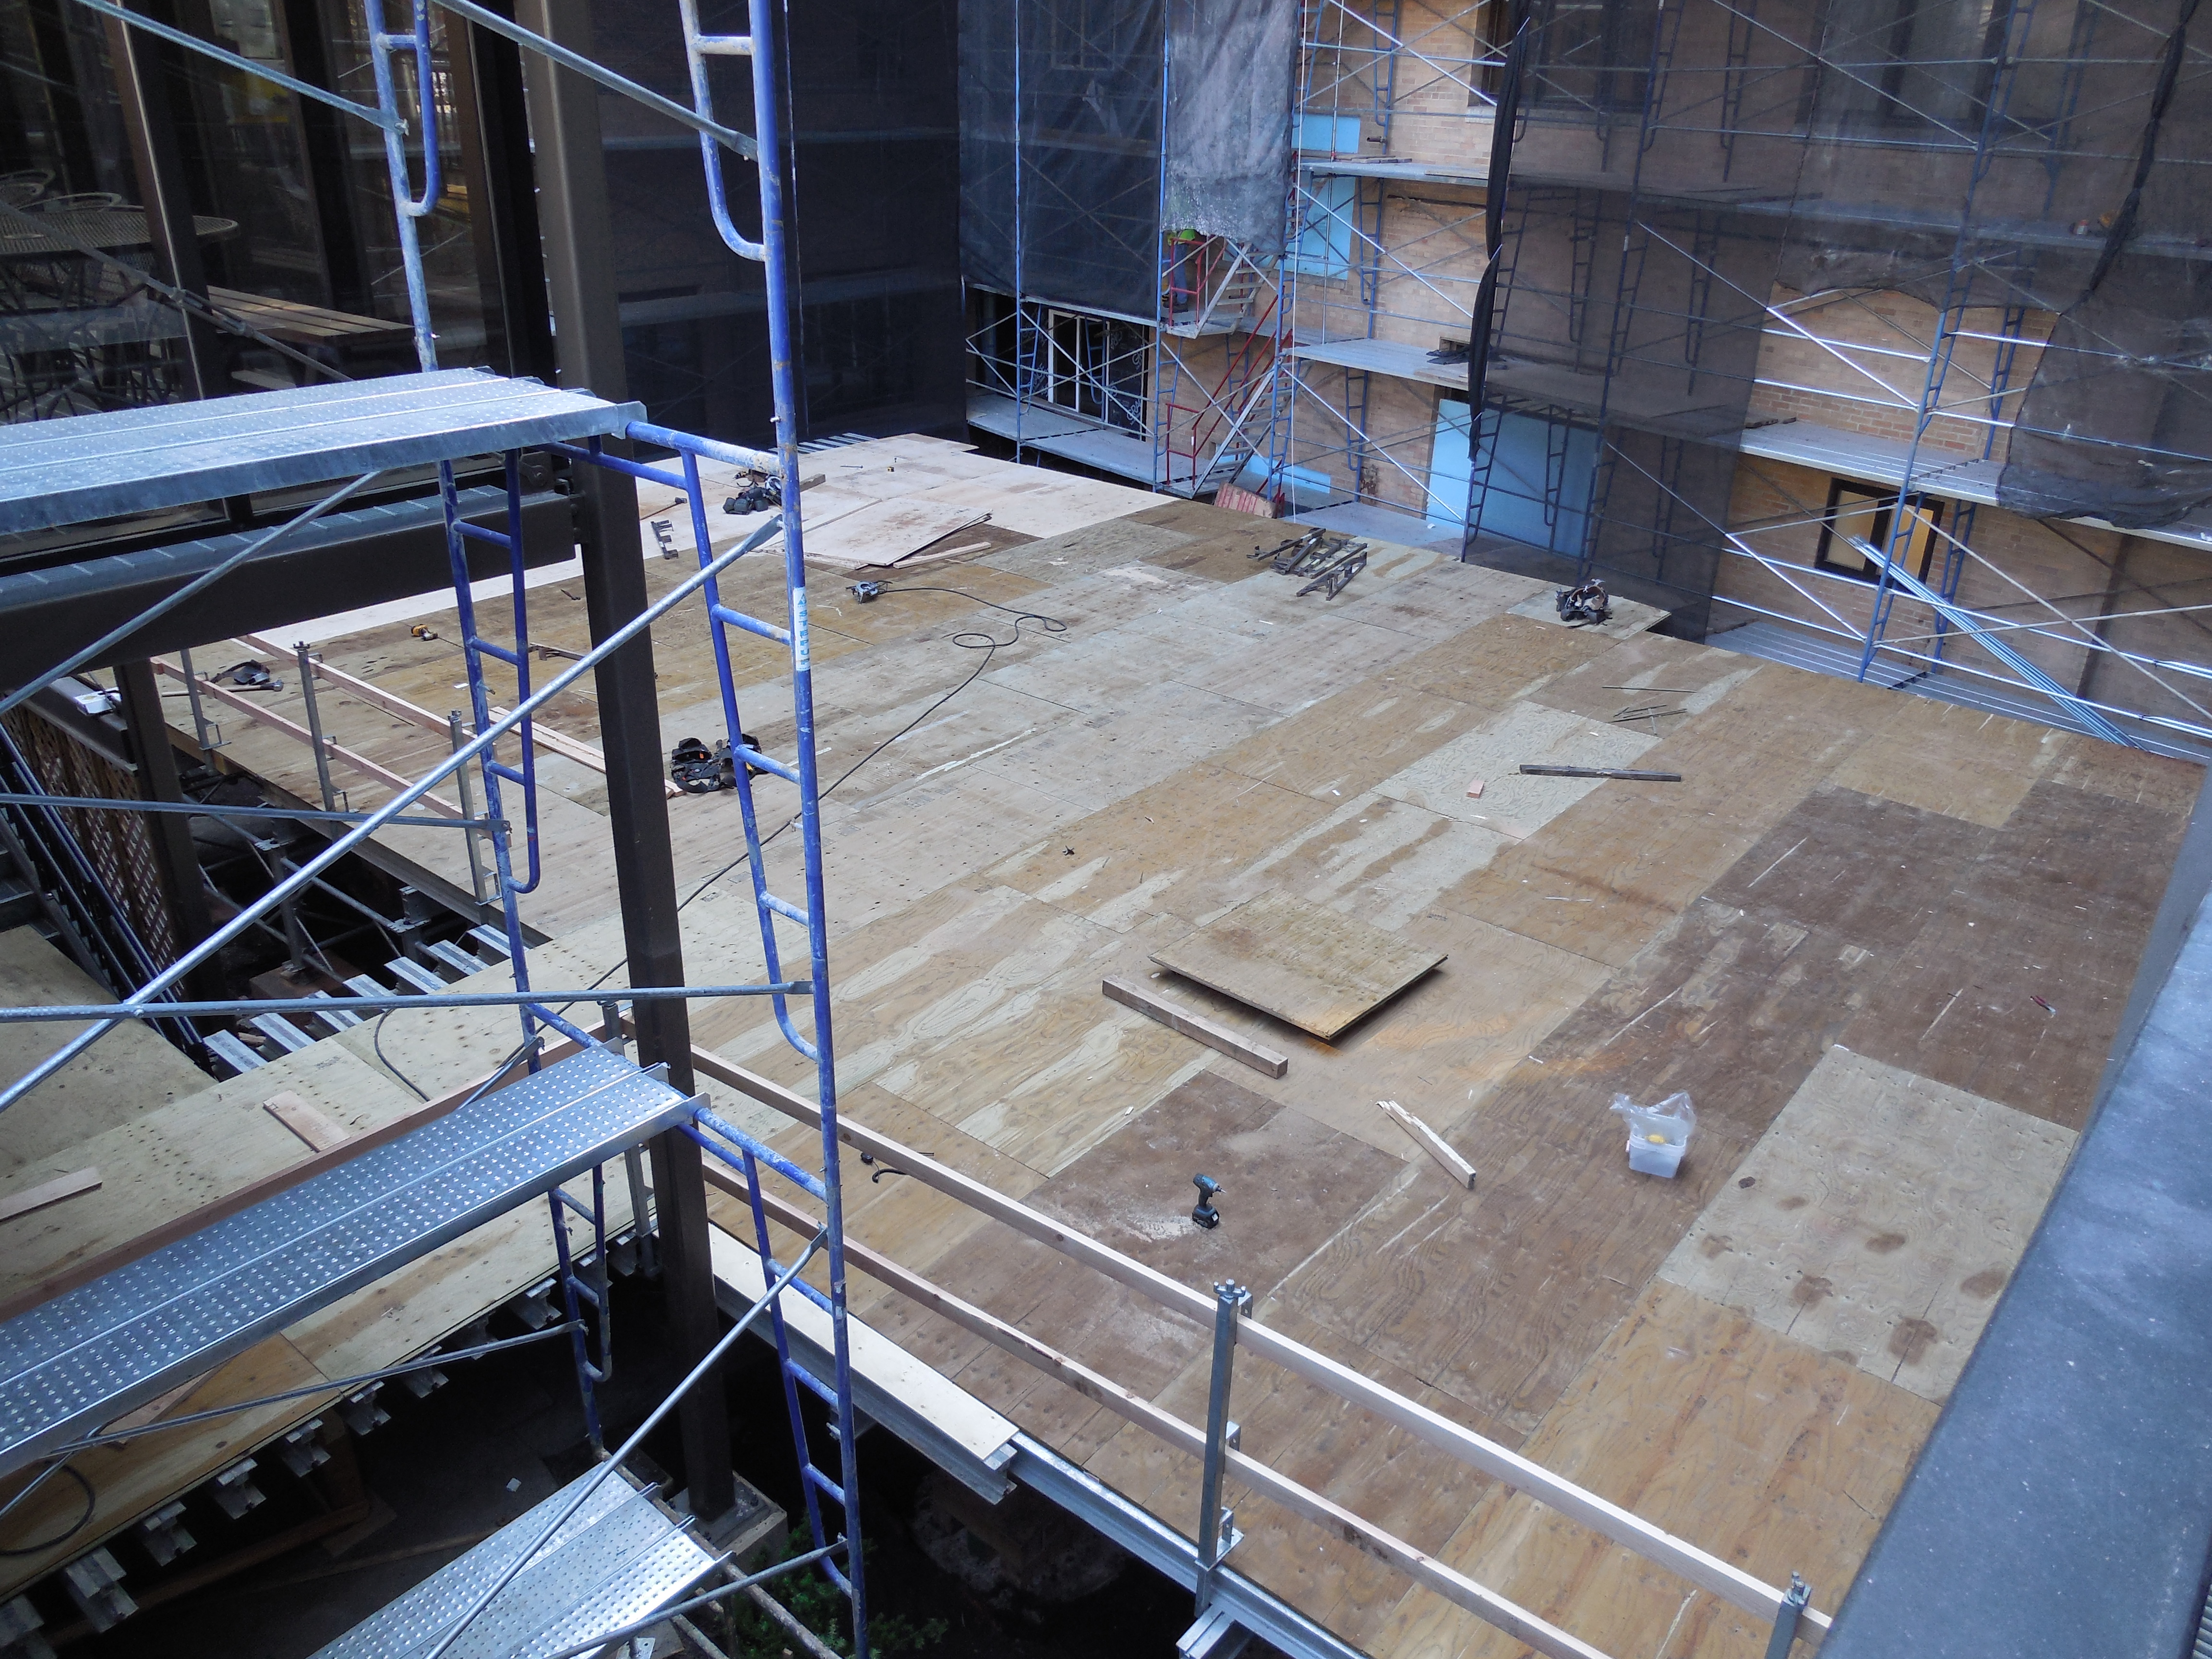
| Courtyard reconstruction | Courtyard reconstruction |
 |
 |
| Courtyard reconstruction looking toward TMLOB | Southeast corner & South face with flashing and precast installation |
 |
 |
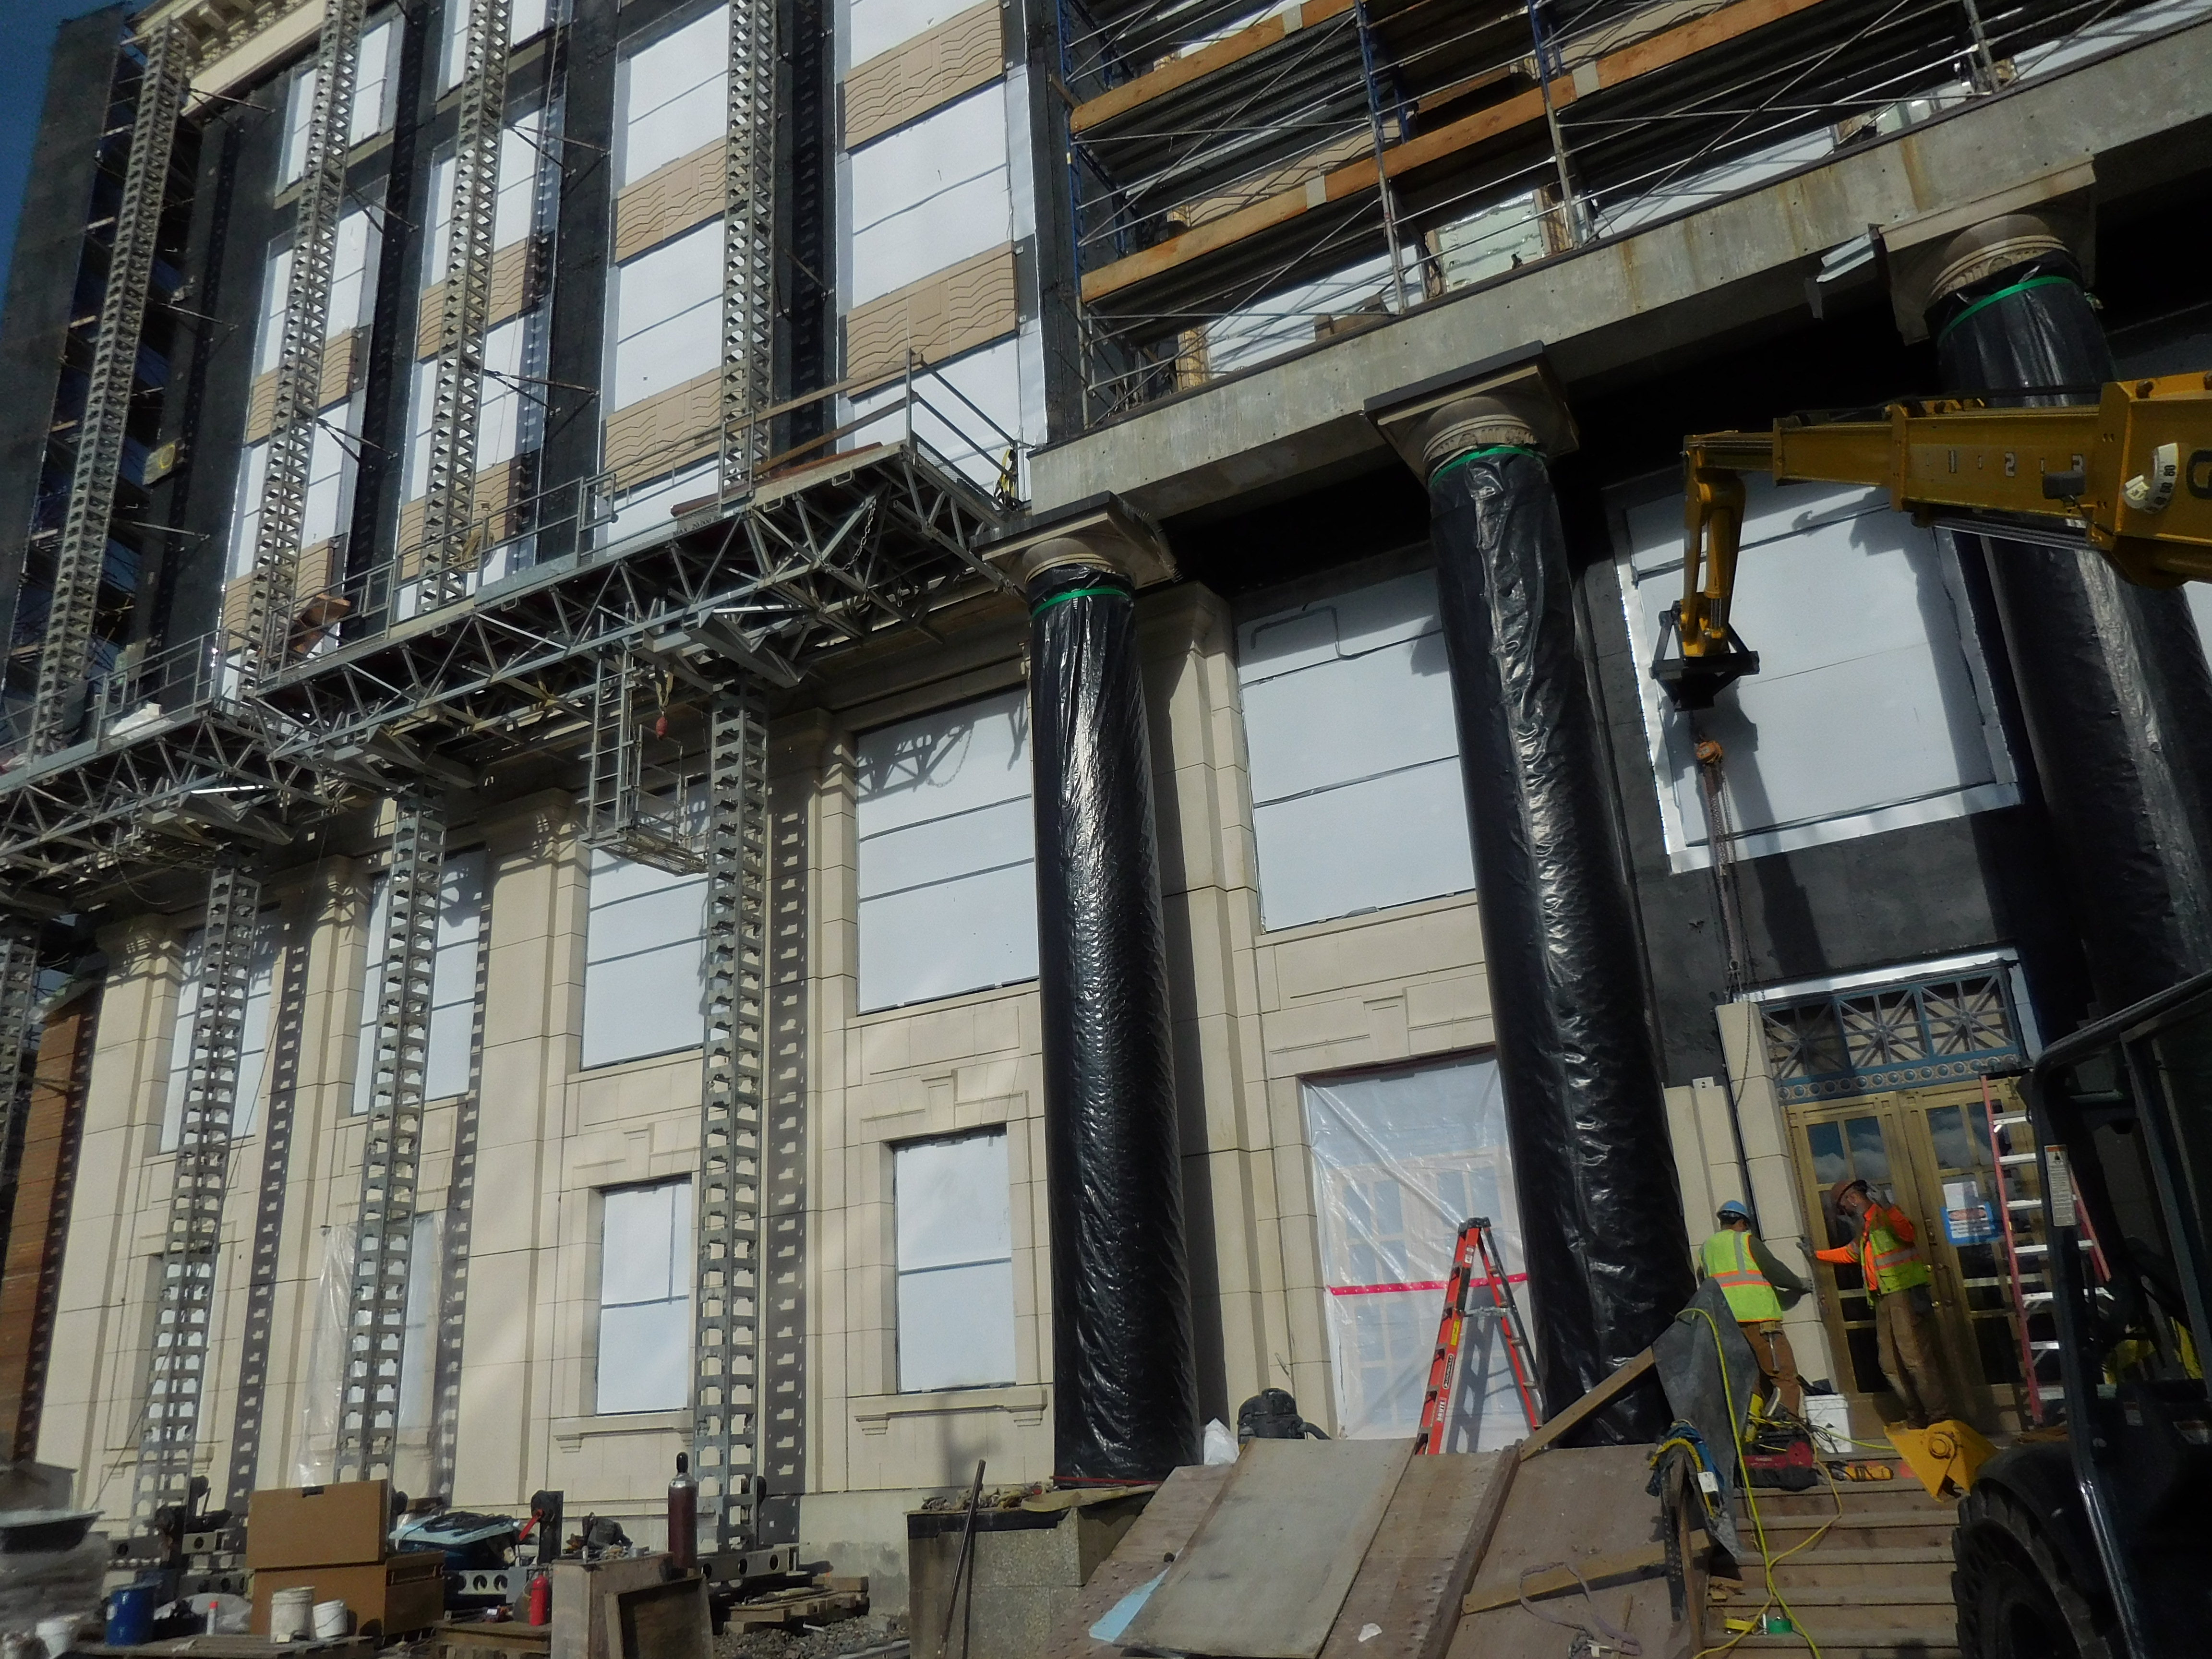
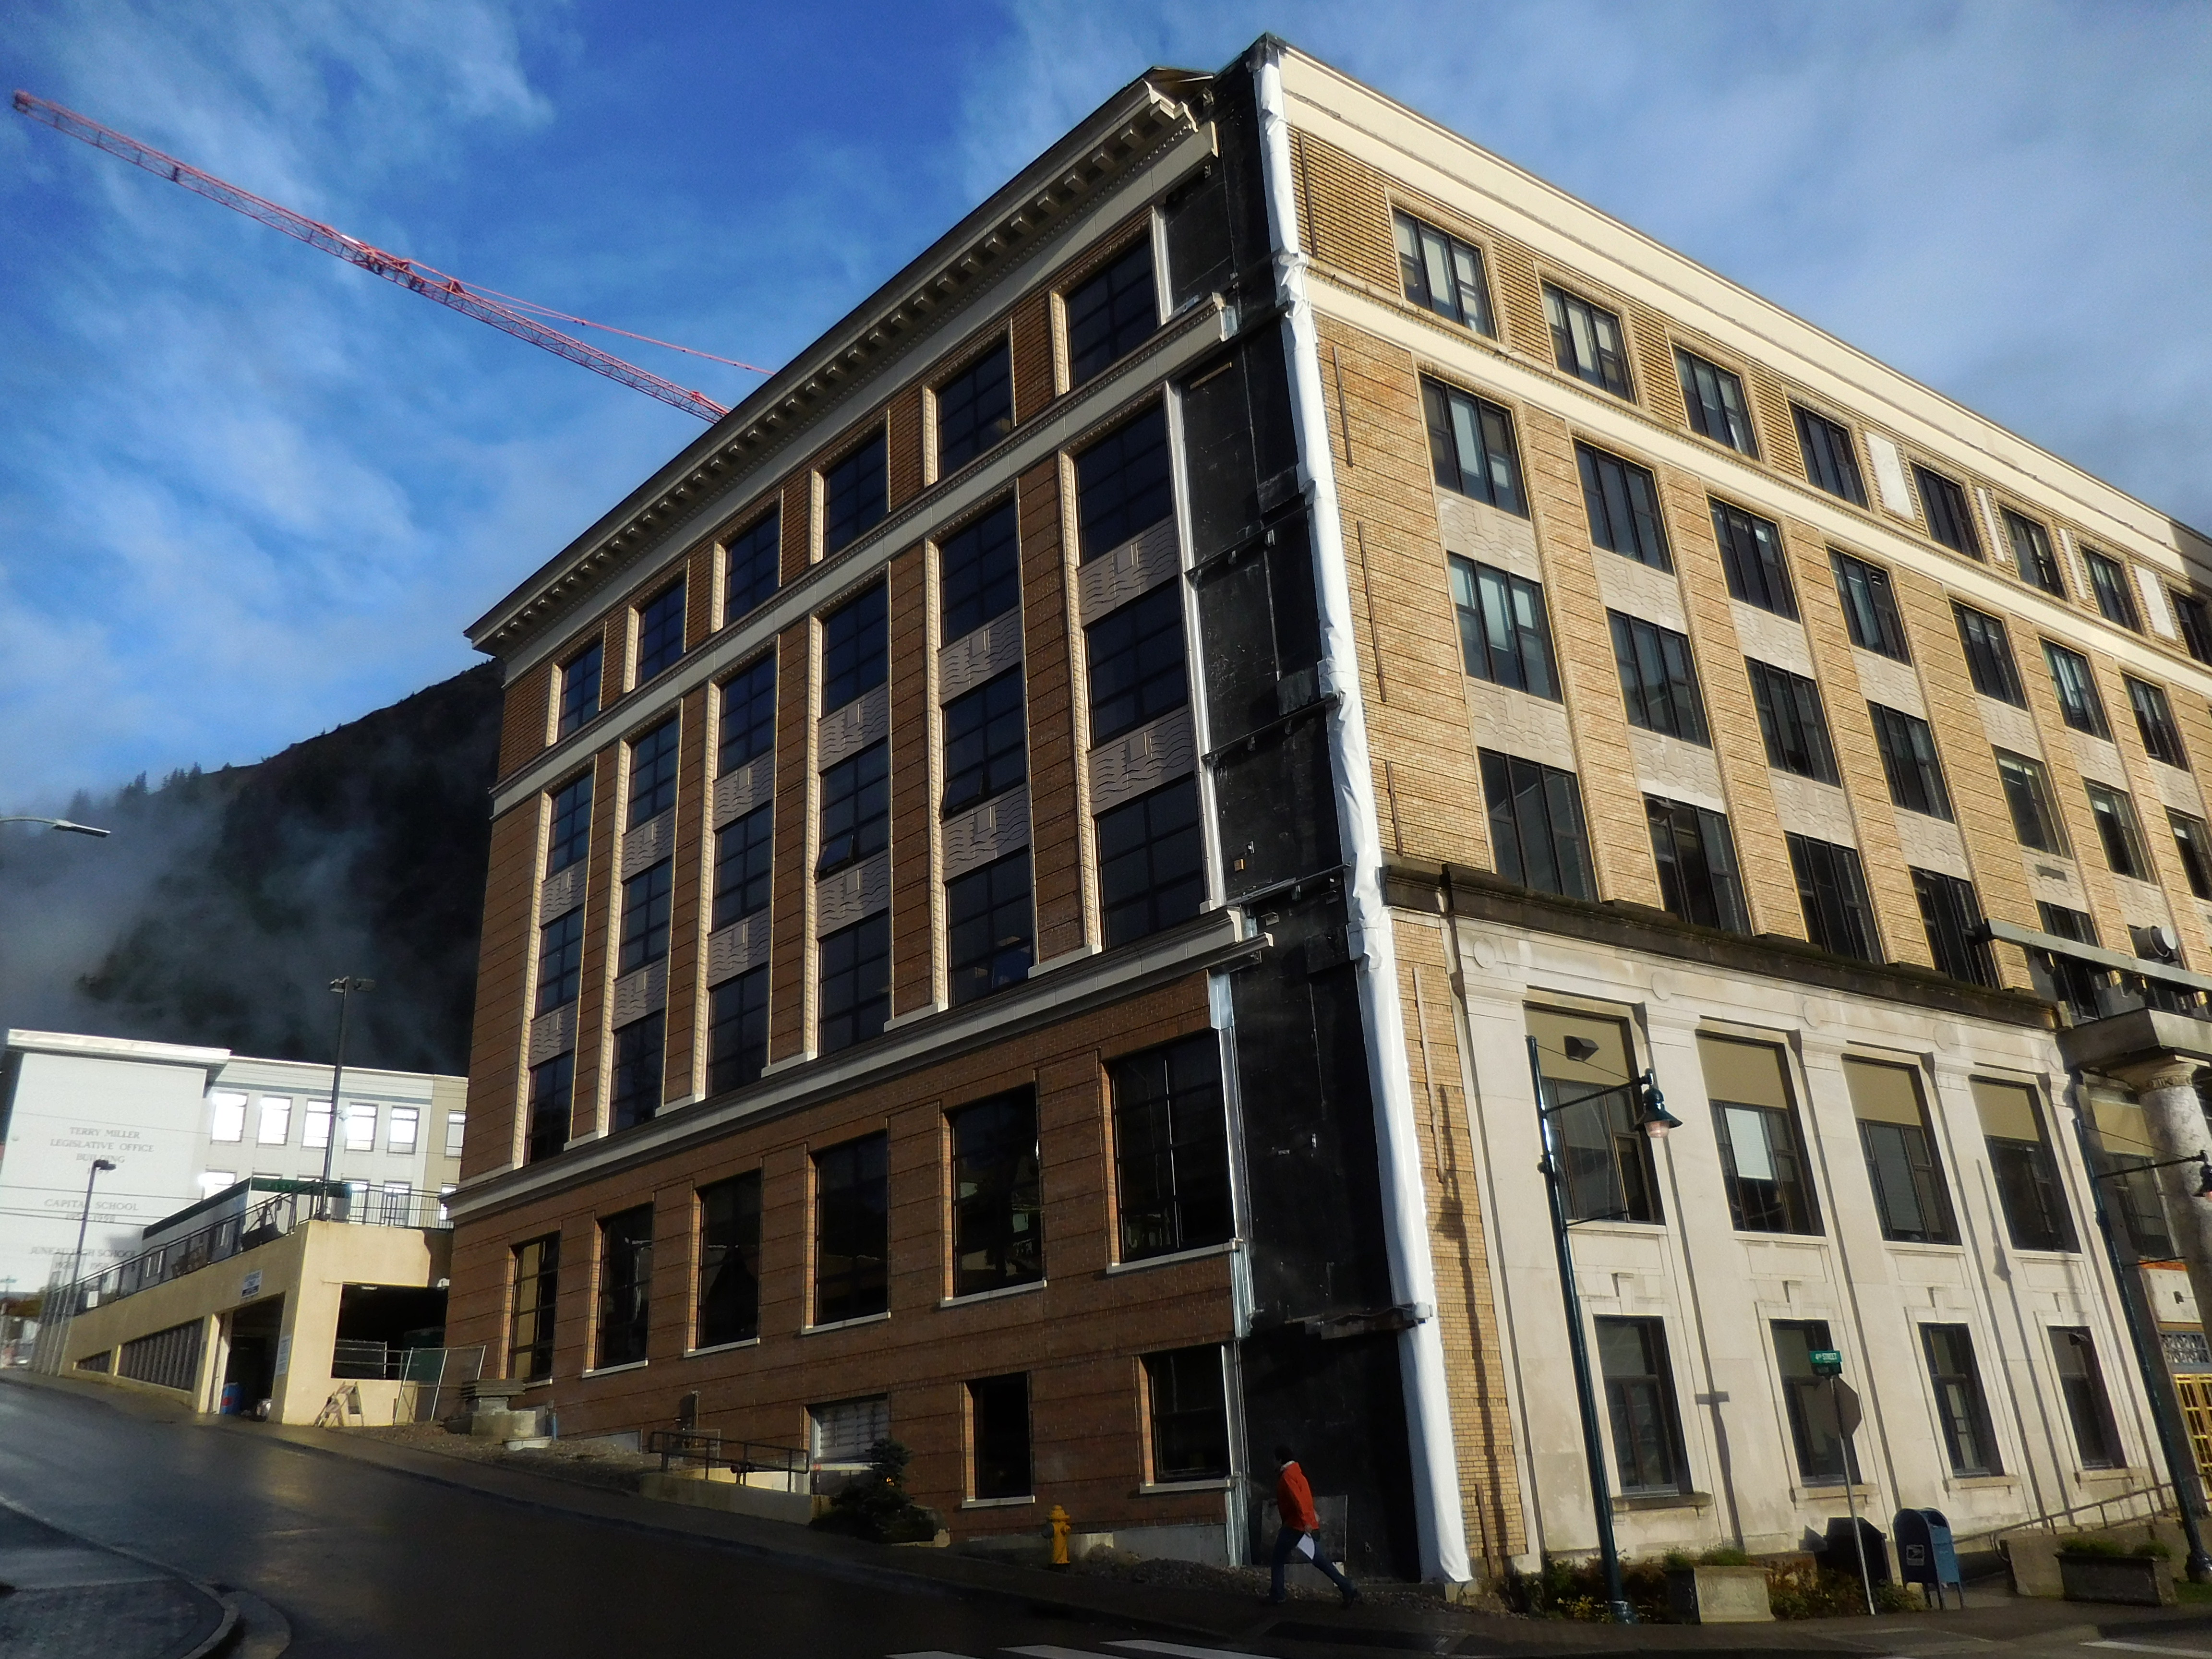
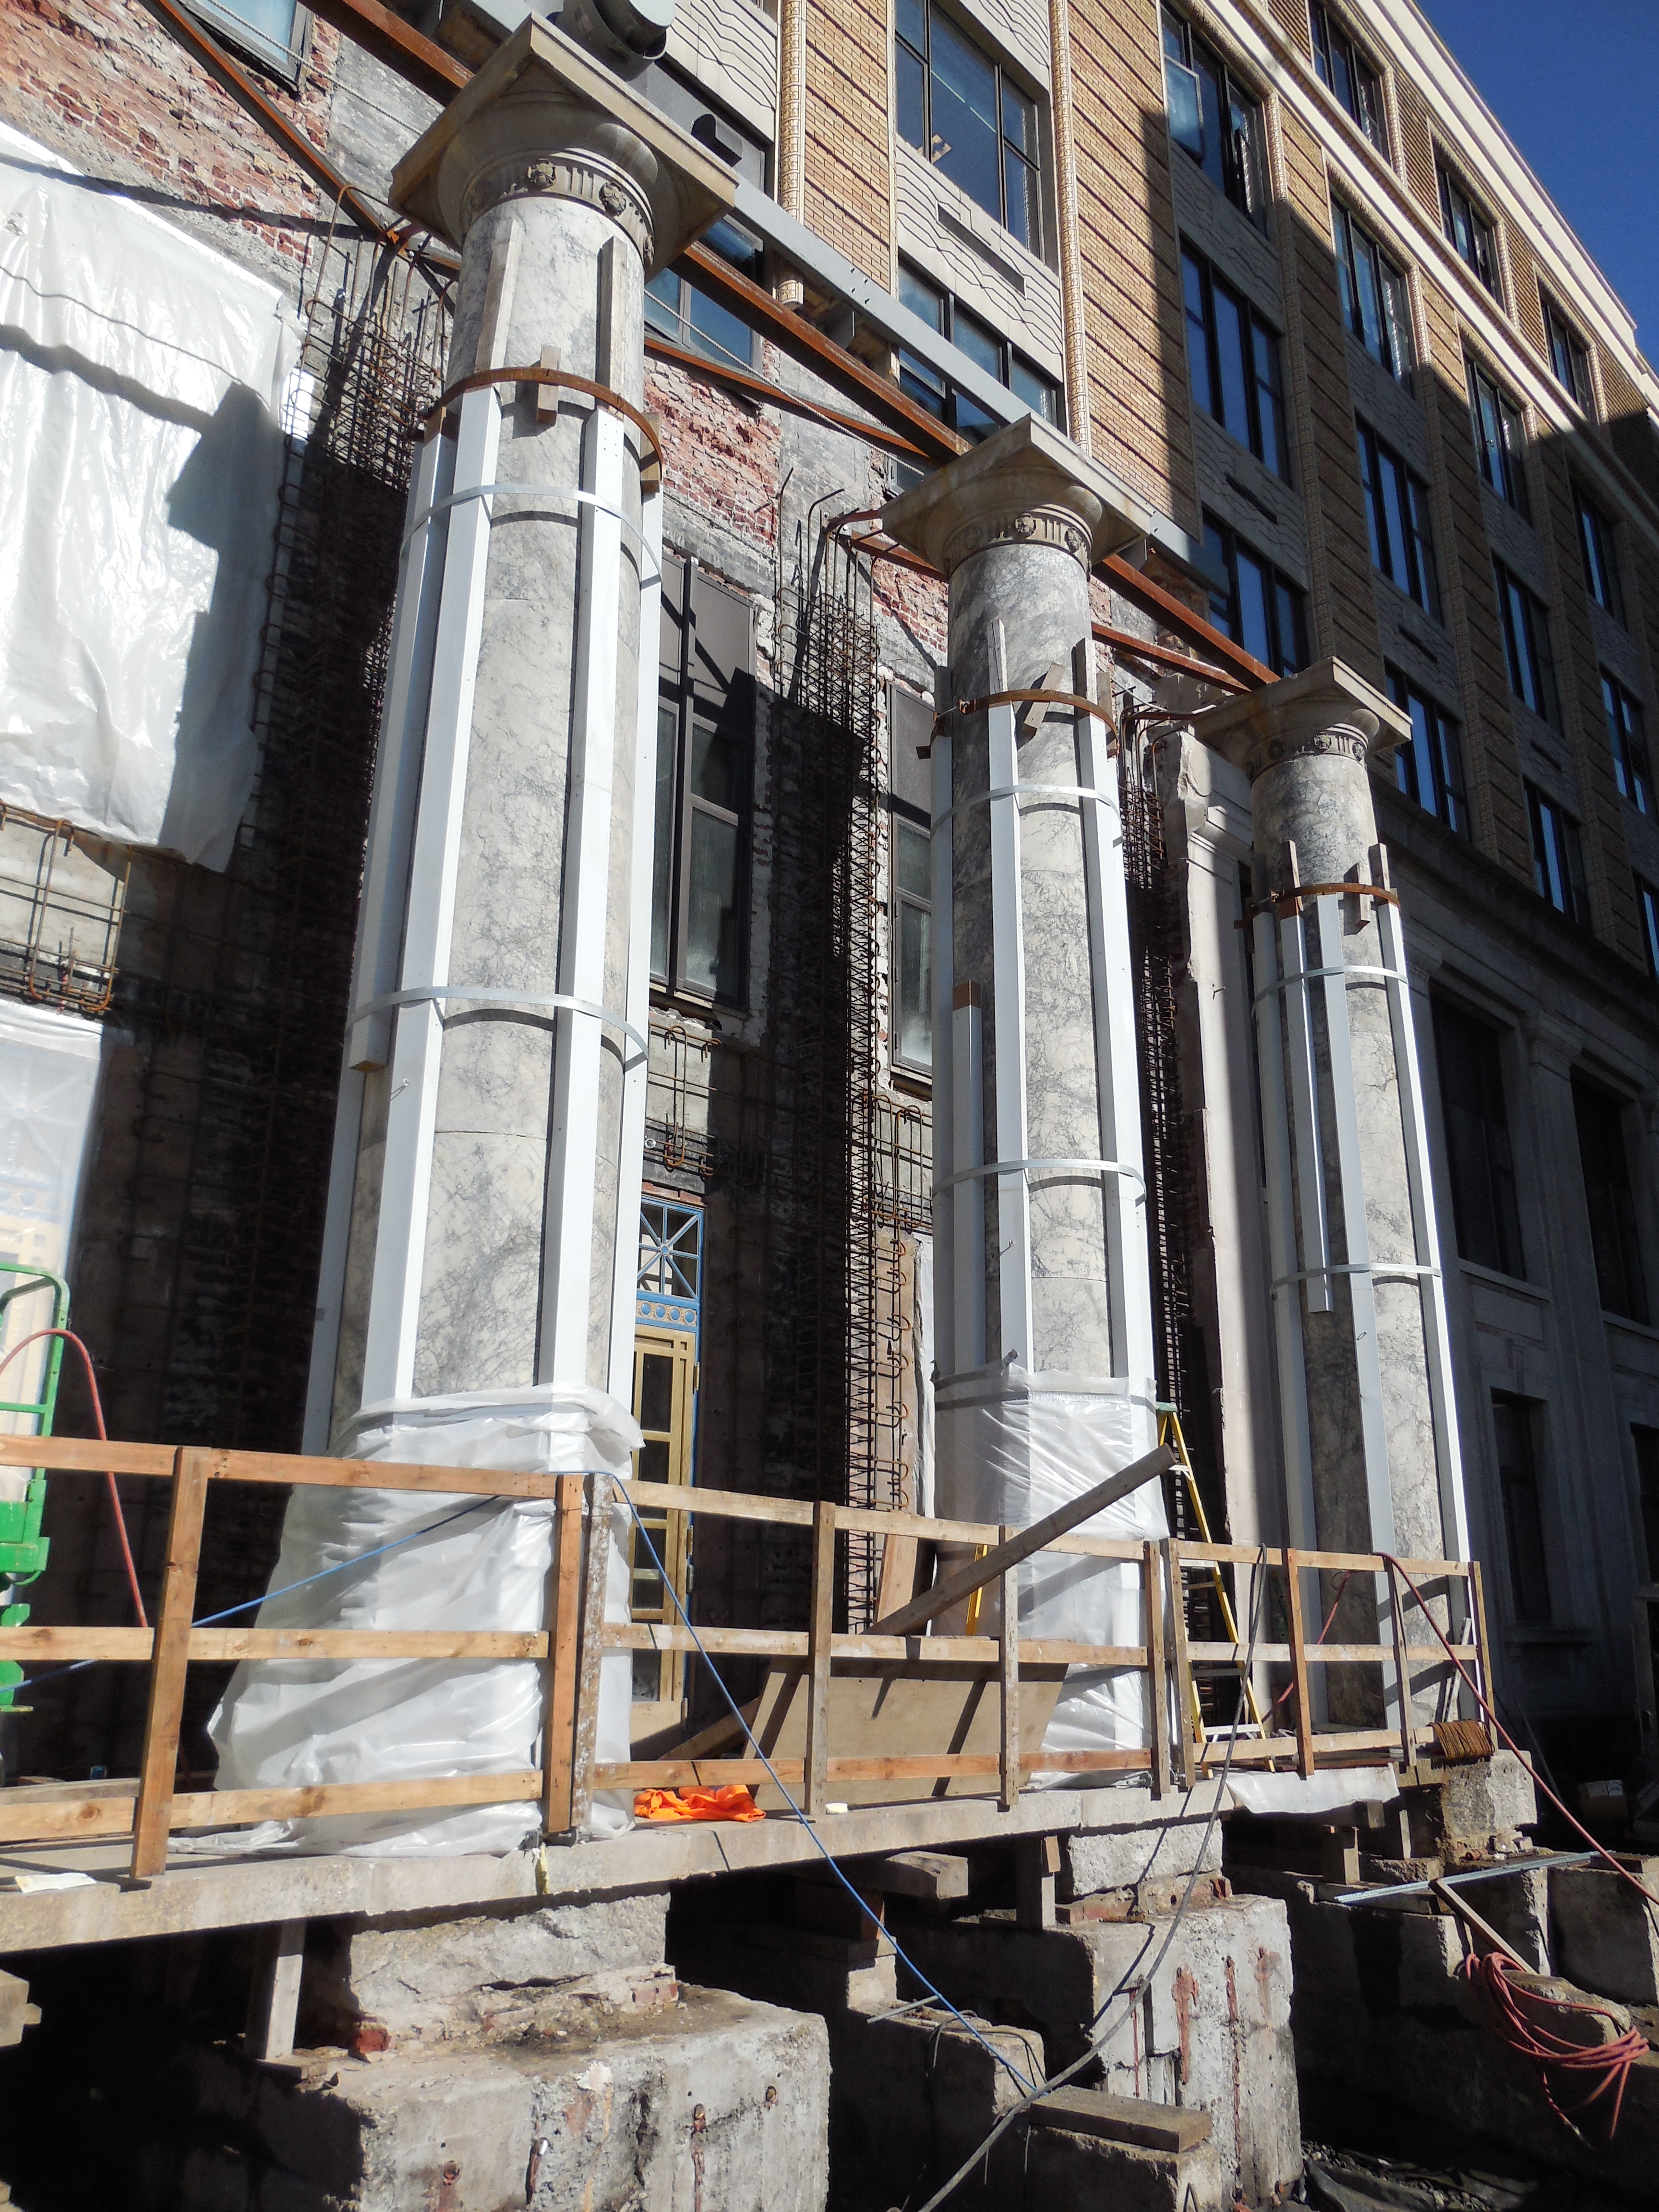
| South face East of portico with wrapped columns | The sun drenched West side of the front facade |
Update October 4, 2016
 |
 |
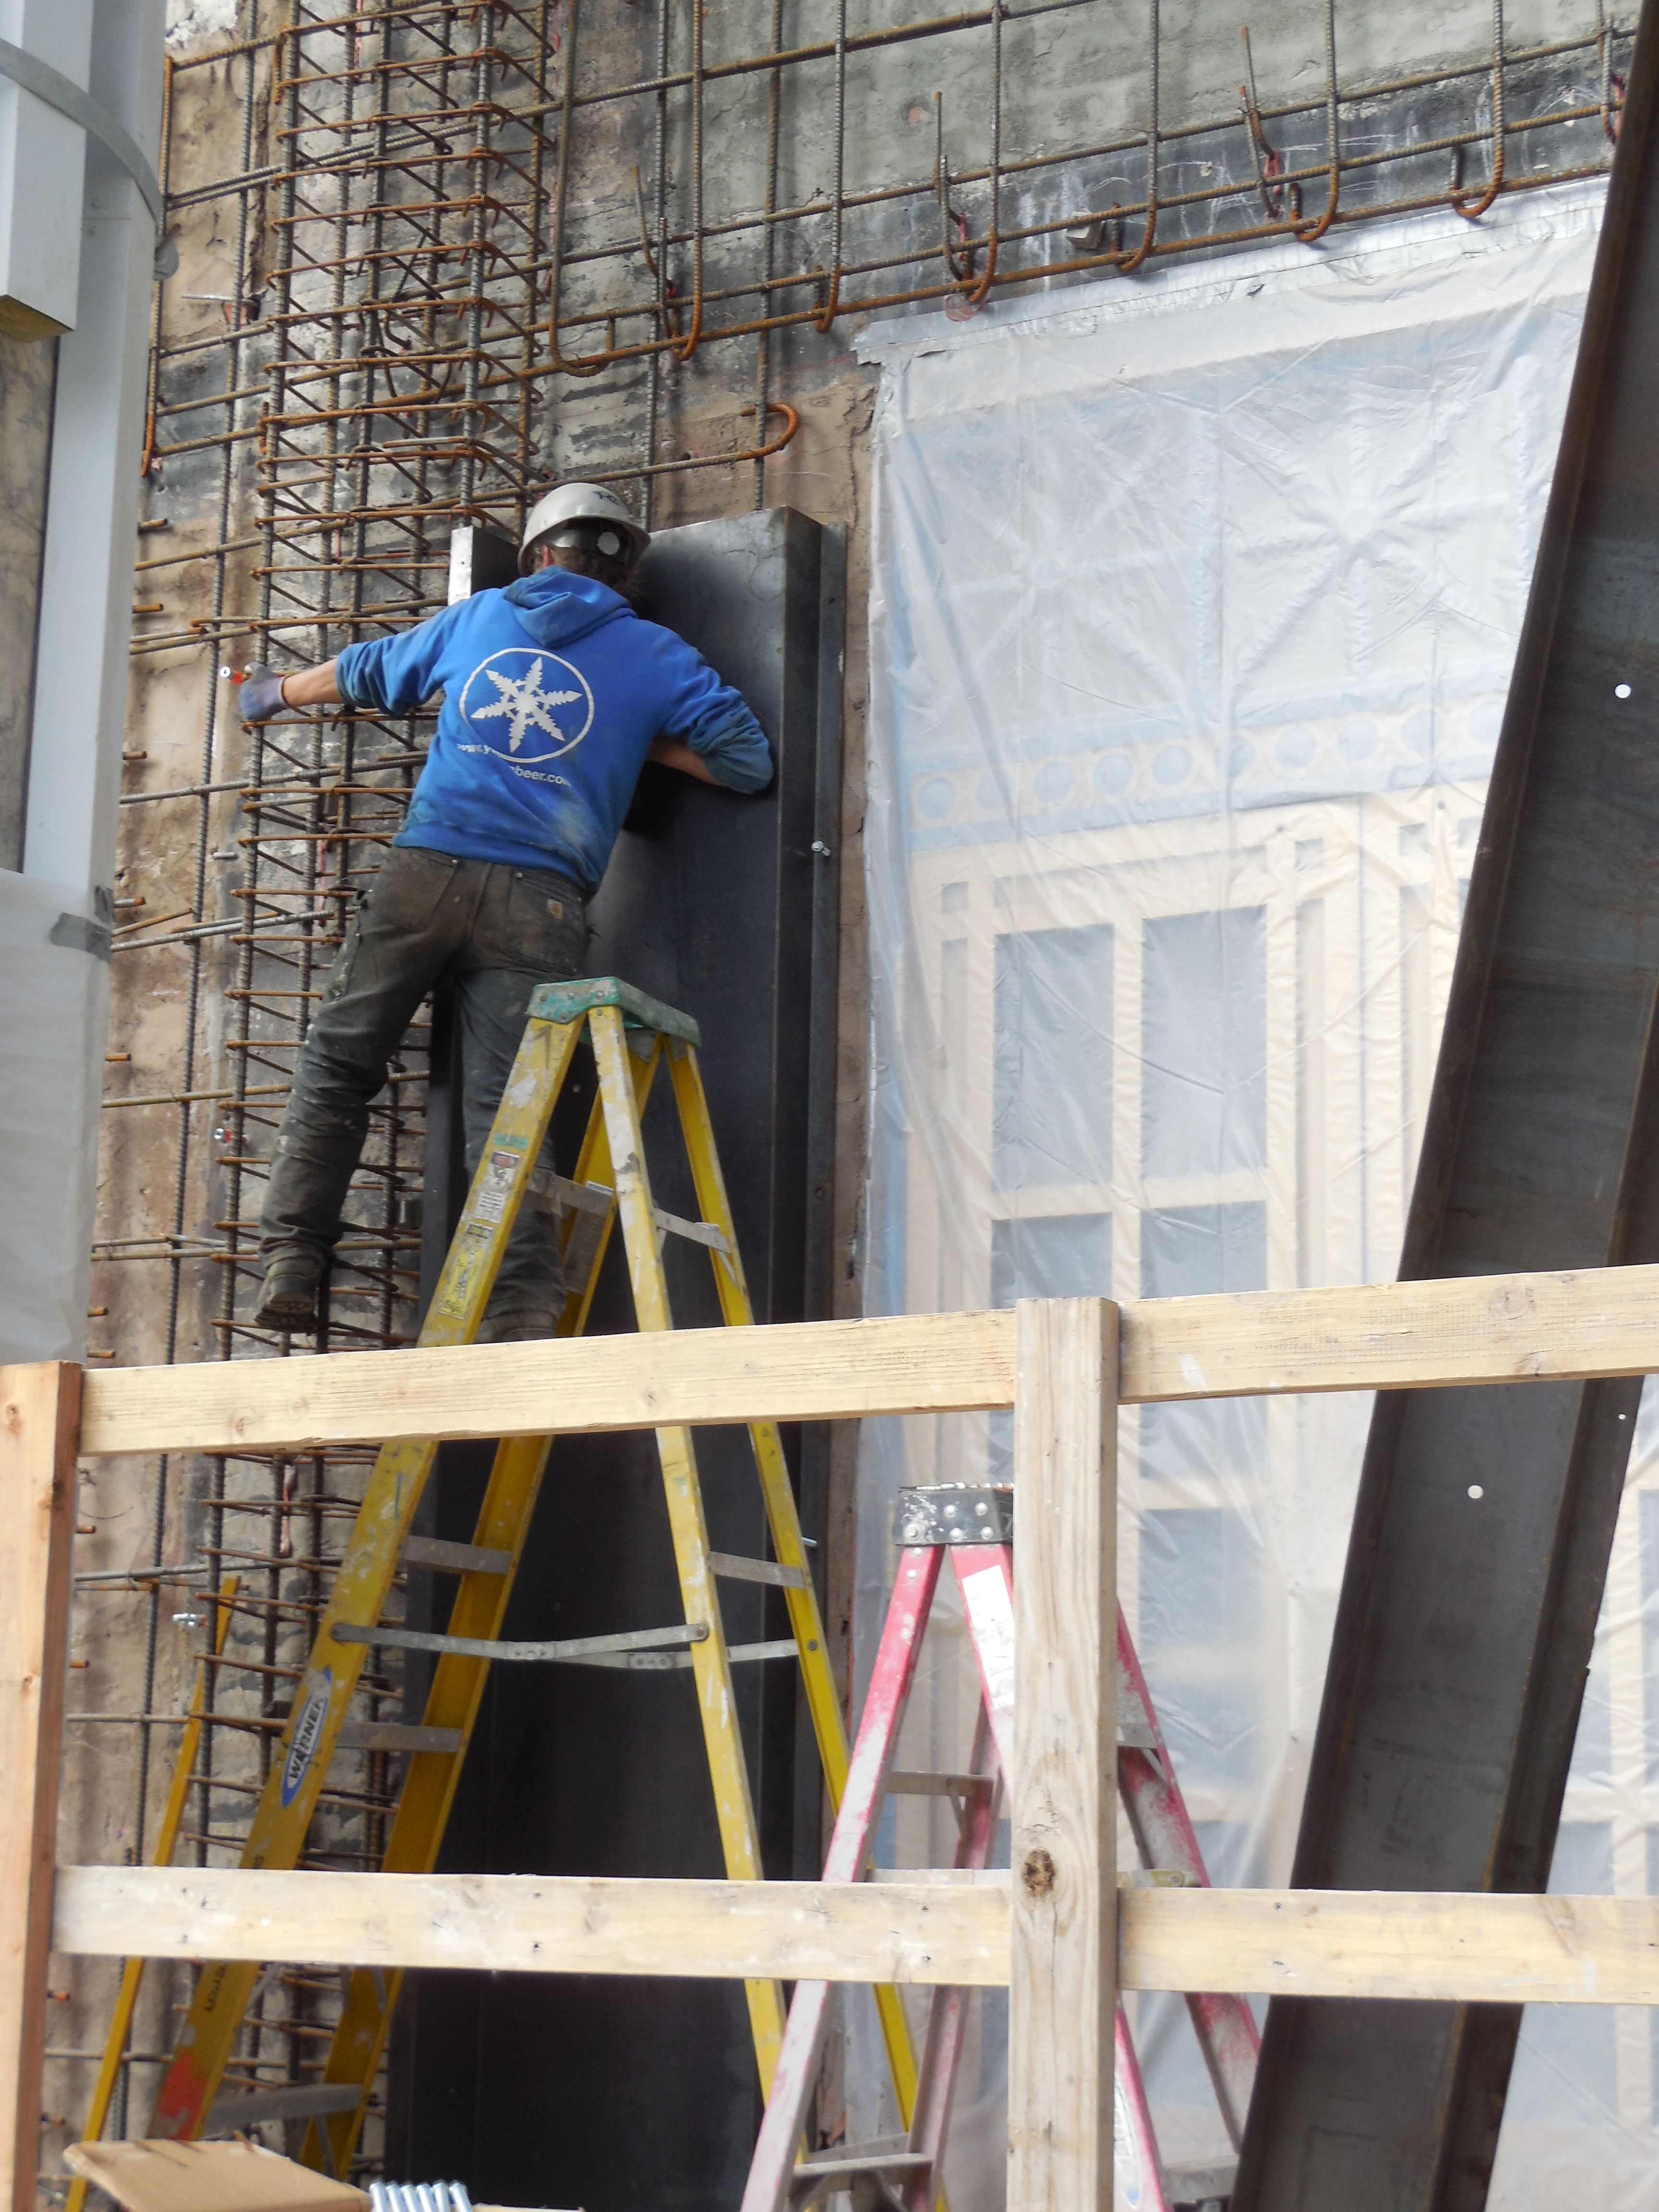
| Crawl space reinforcing bars for concrete addition to foundation | Crawl space rebar at micro pile location South face foundation |
 |
 |
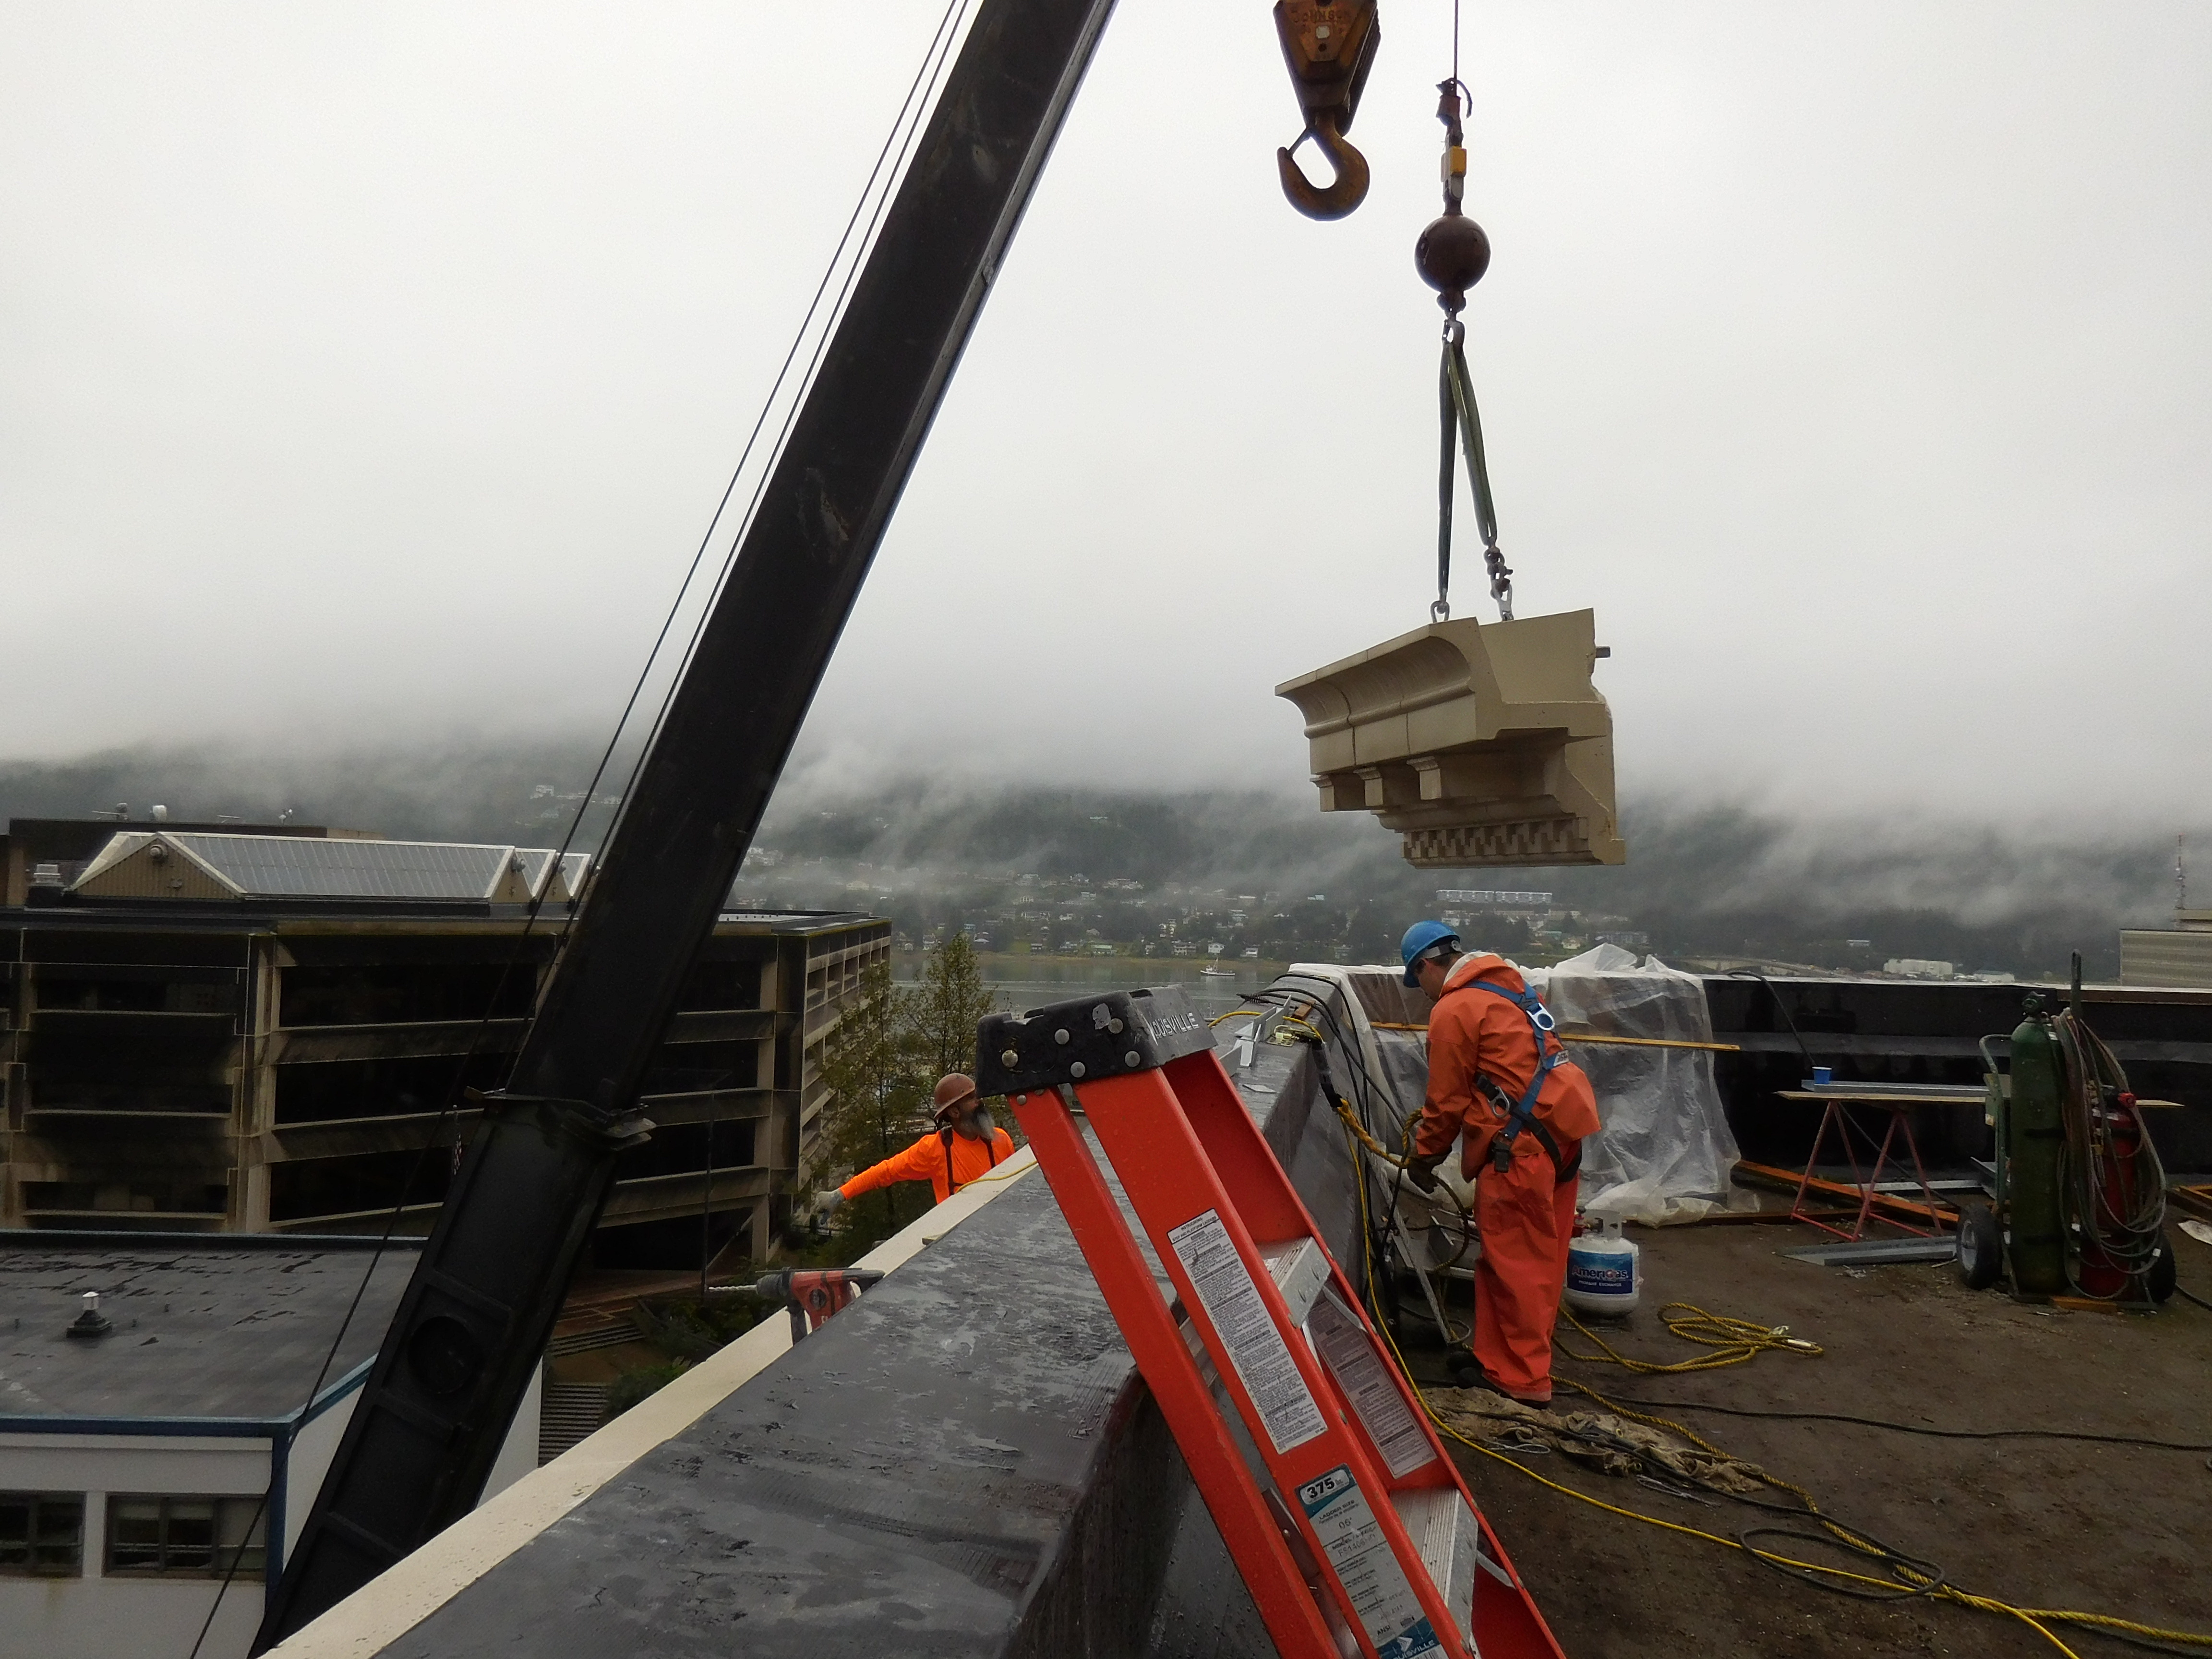
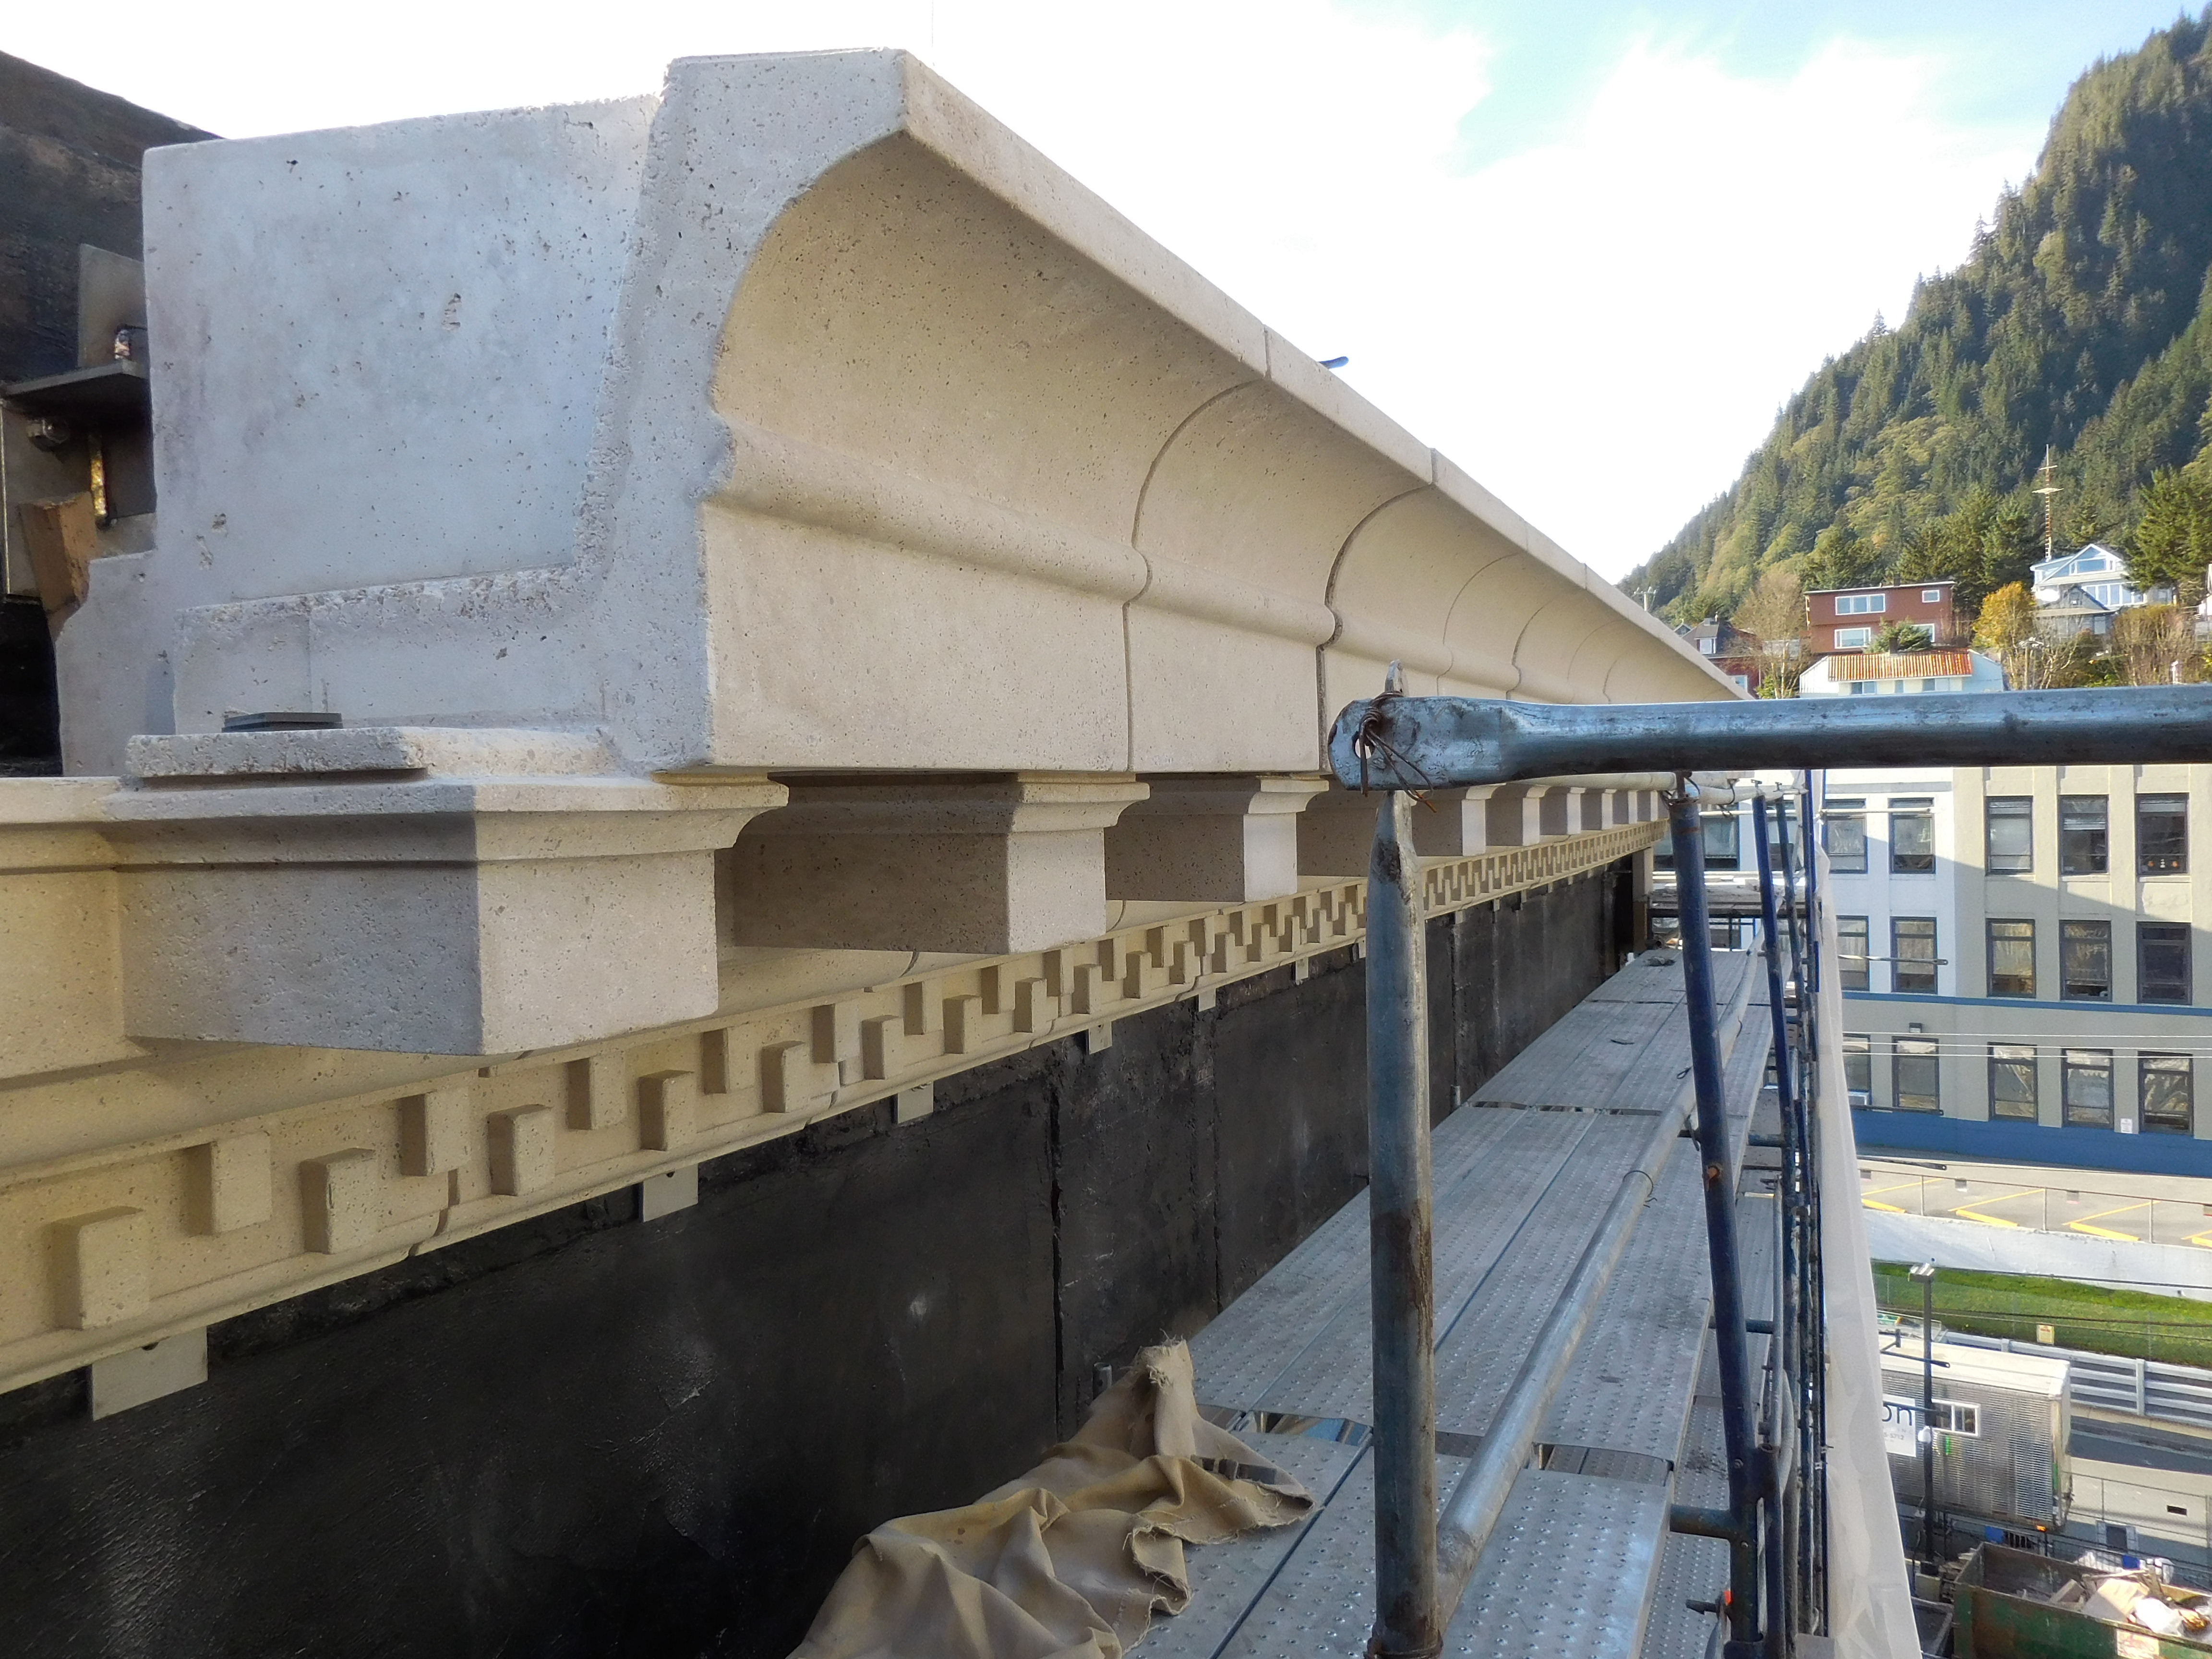
| Crawl space rebar at Southeast corner of foundation | Cornice piece setting atop the Southeast corner |
 |
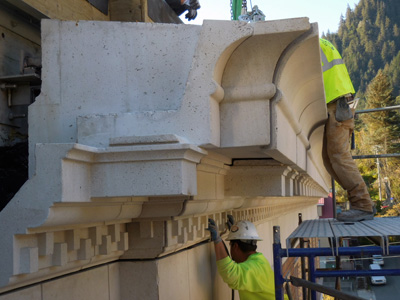 |
| One of the last pieces of cornice to be set on the East face | Cornice up close at Southeast corner |
 |
 |
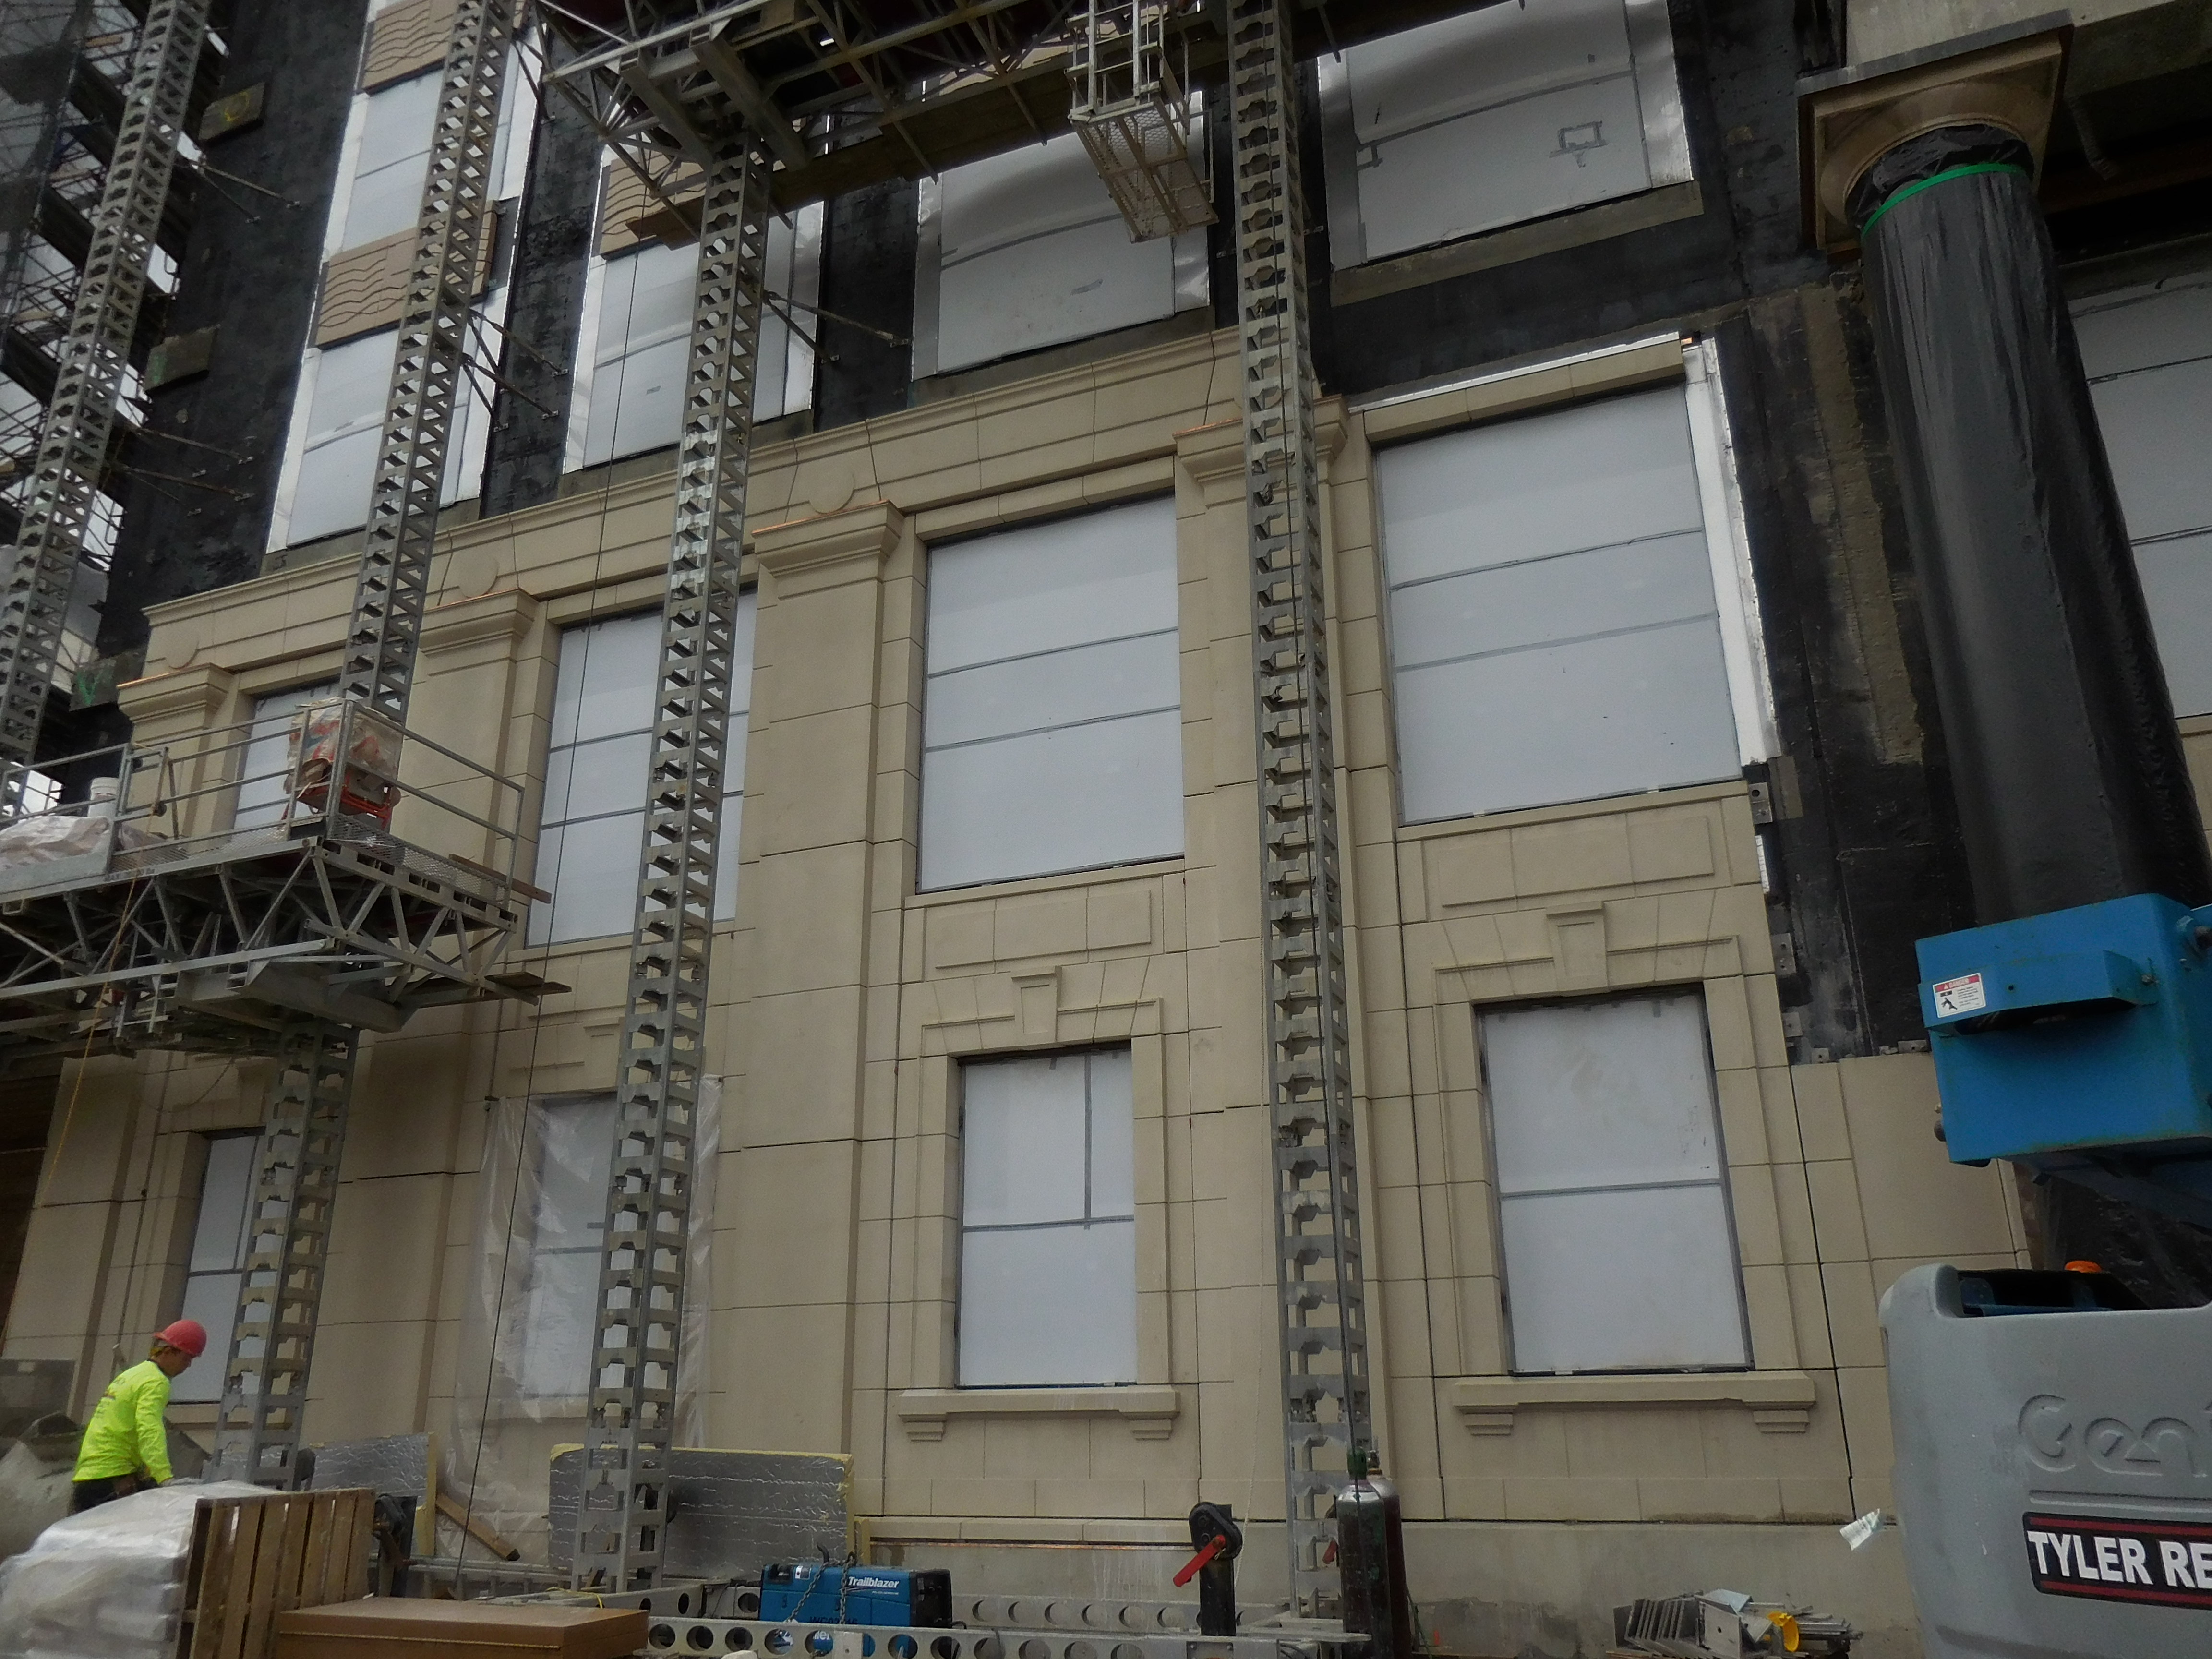
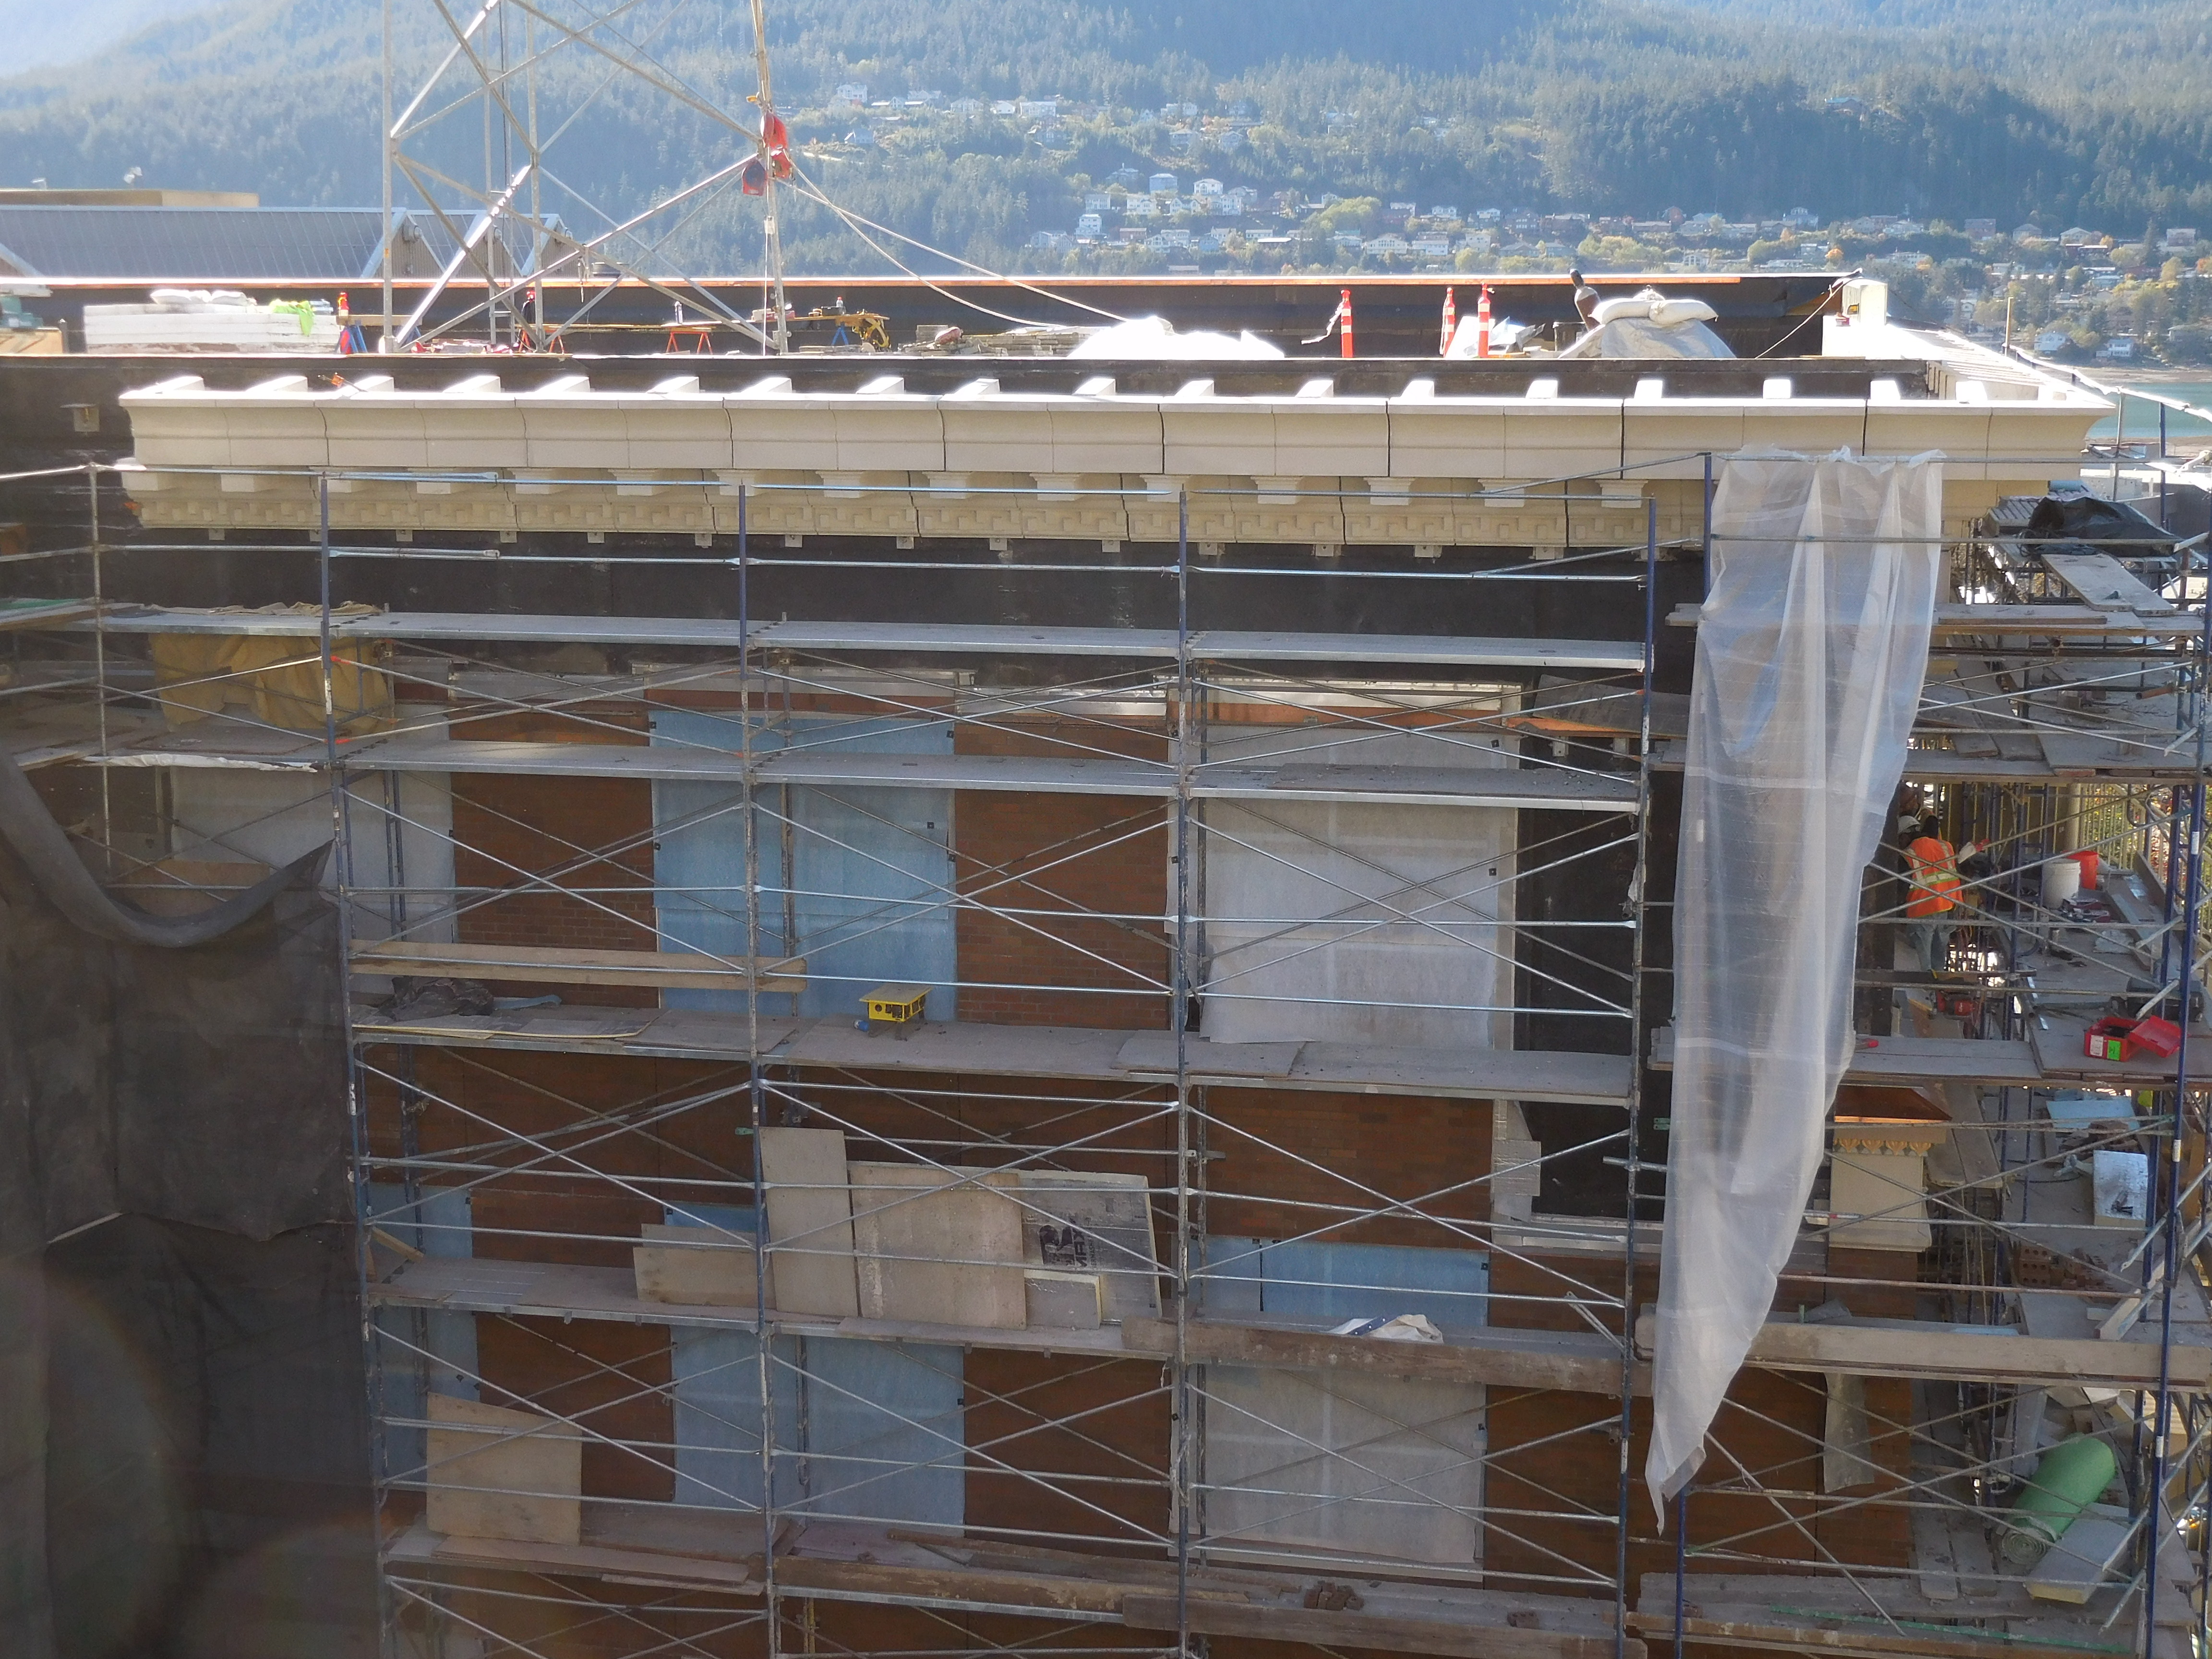
| Looking across front of building, down the line of the cornice above 5th floor windows | Setting terra cotta window surrounds at 4th floor on South face |
 |
 |
| Scaffold coming down on Seward, with view of completed cornice at Southeast corner | Looking at Southeast corner 3rd, 4th and 5th floors |
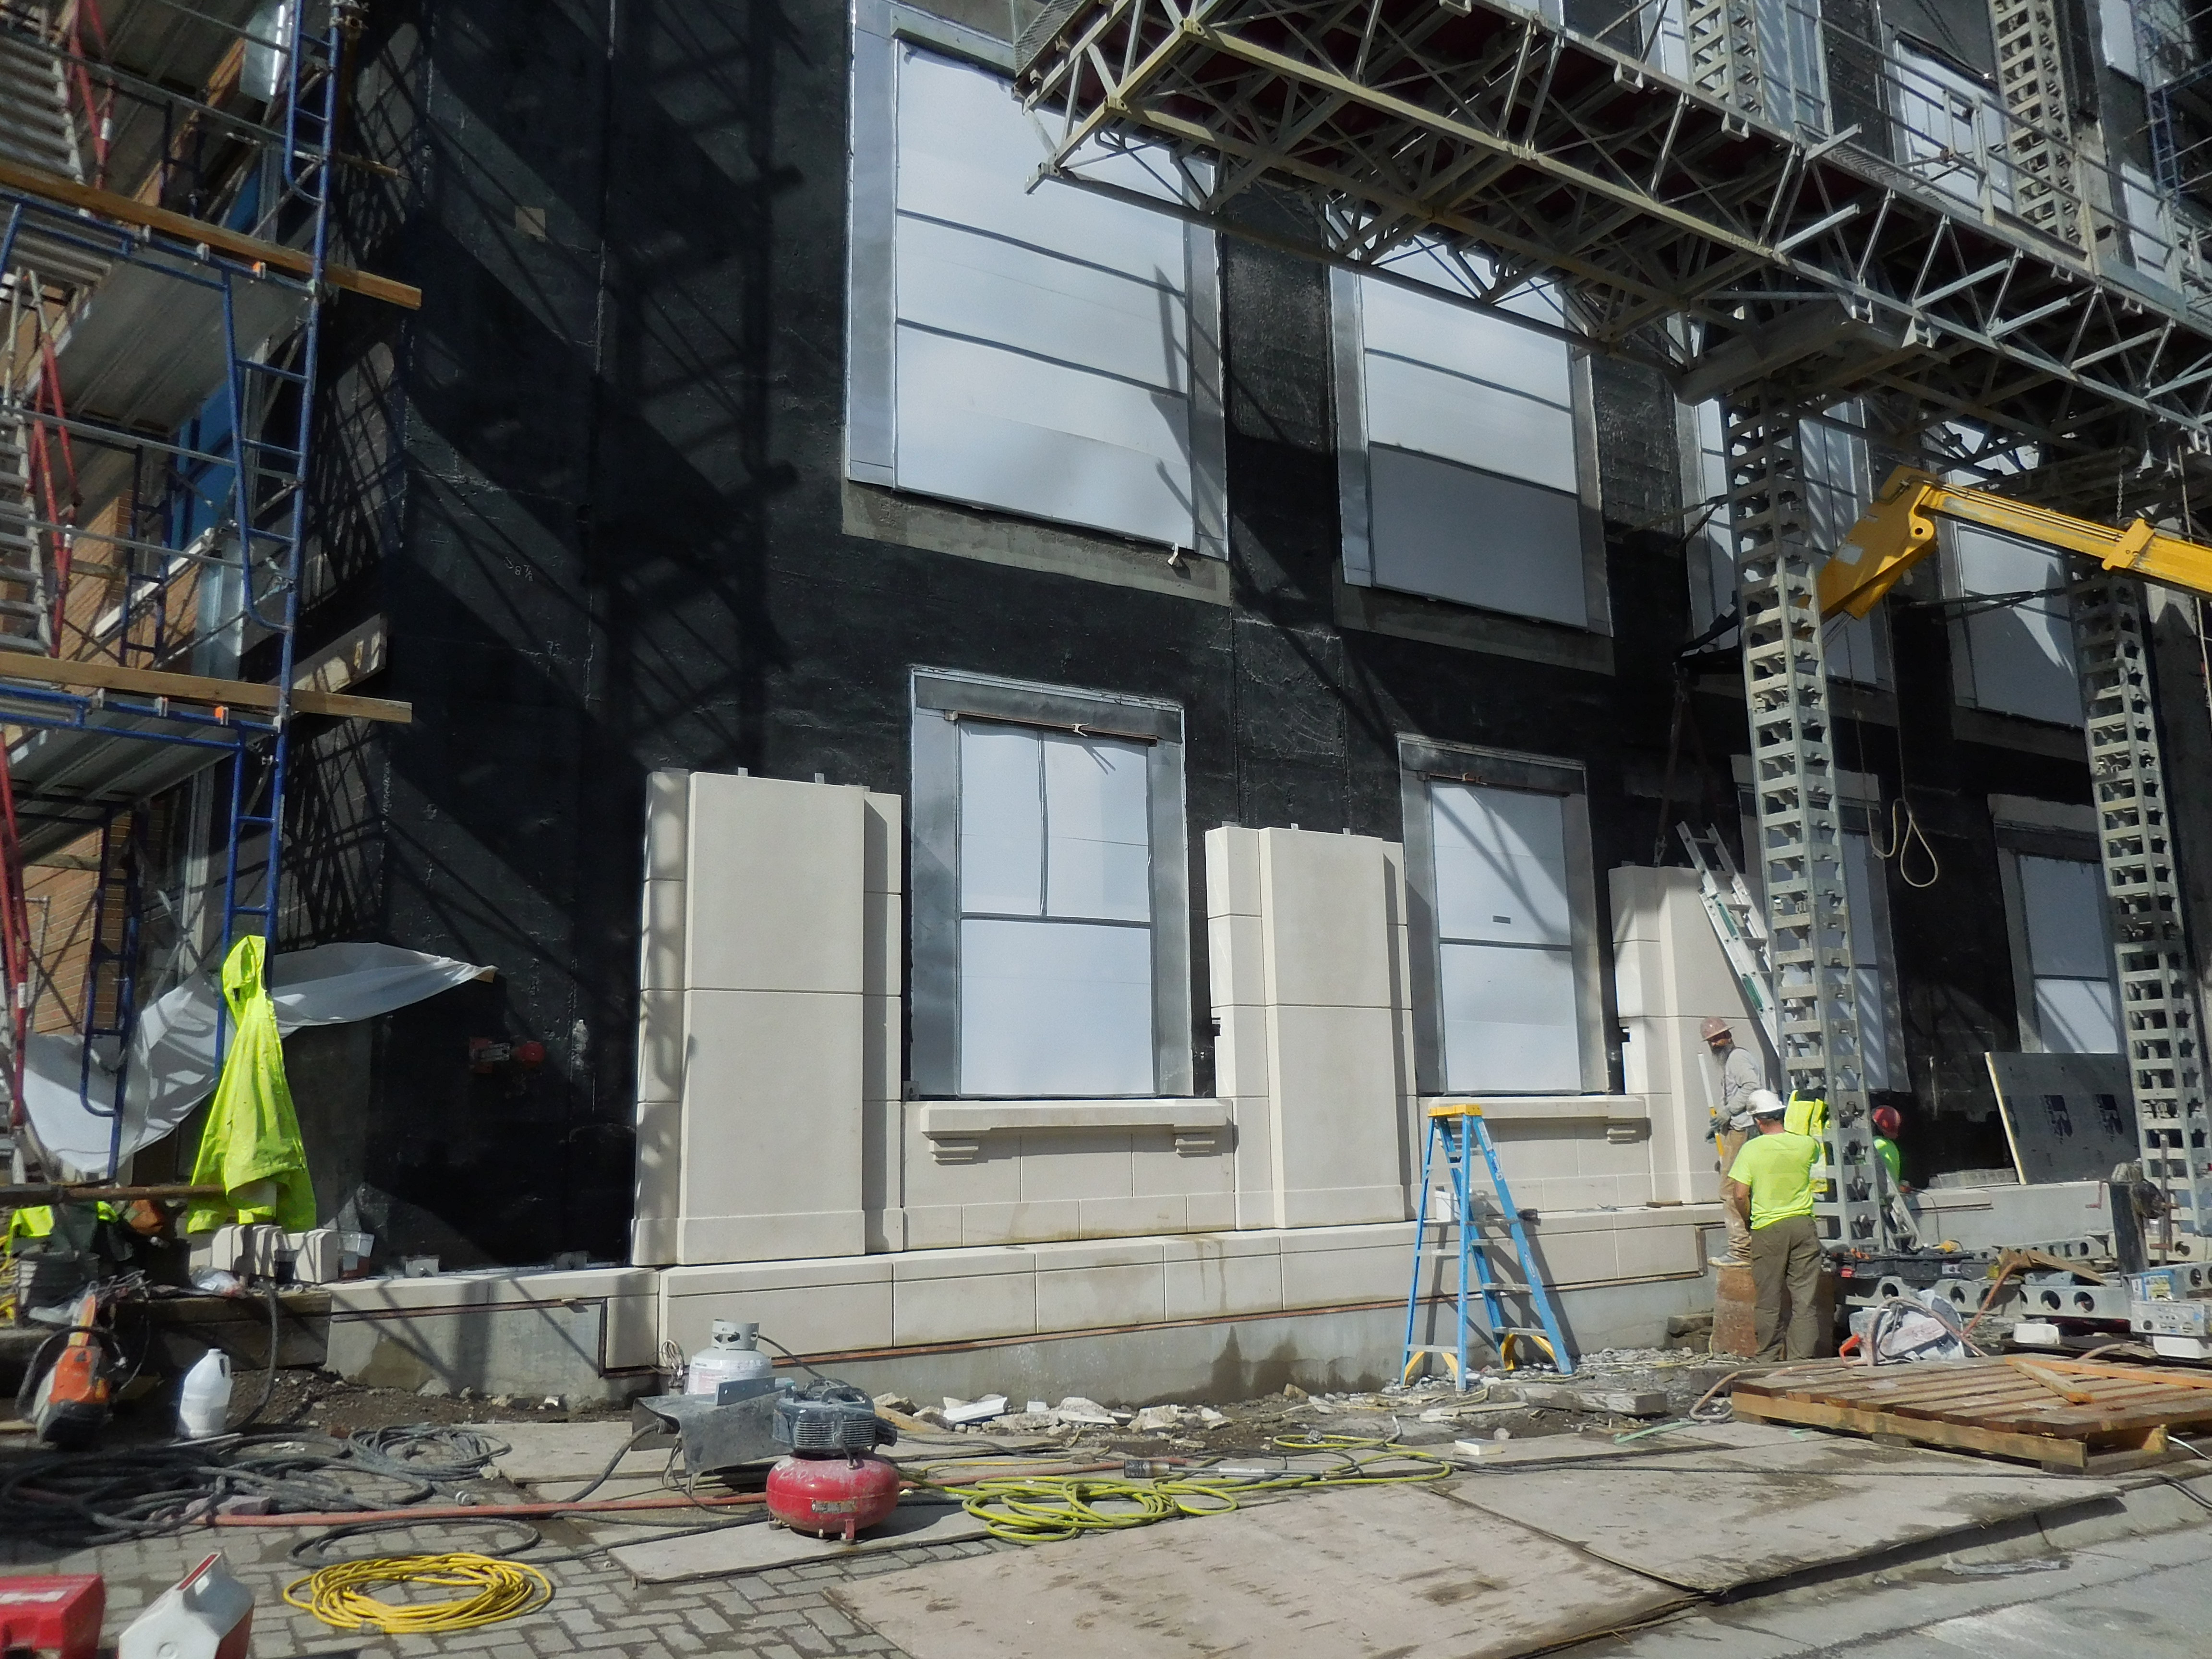
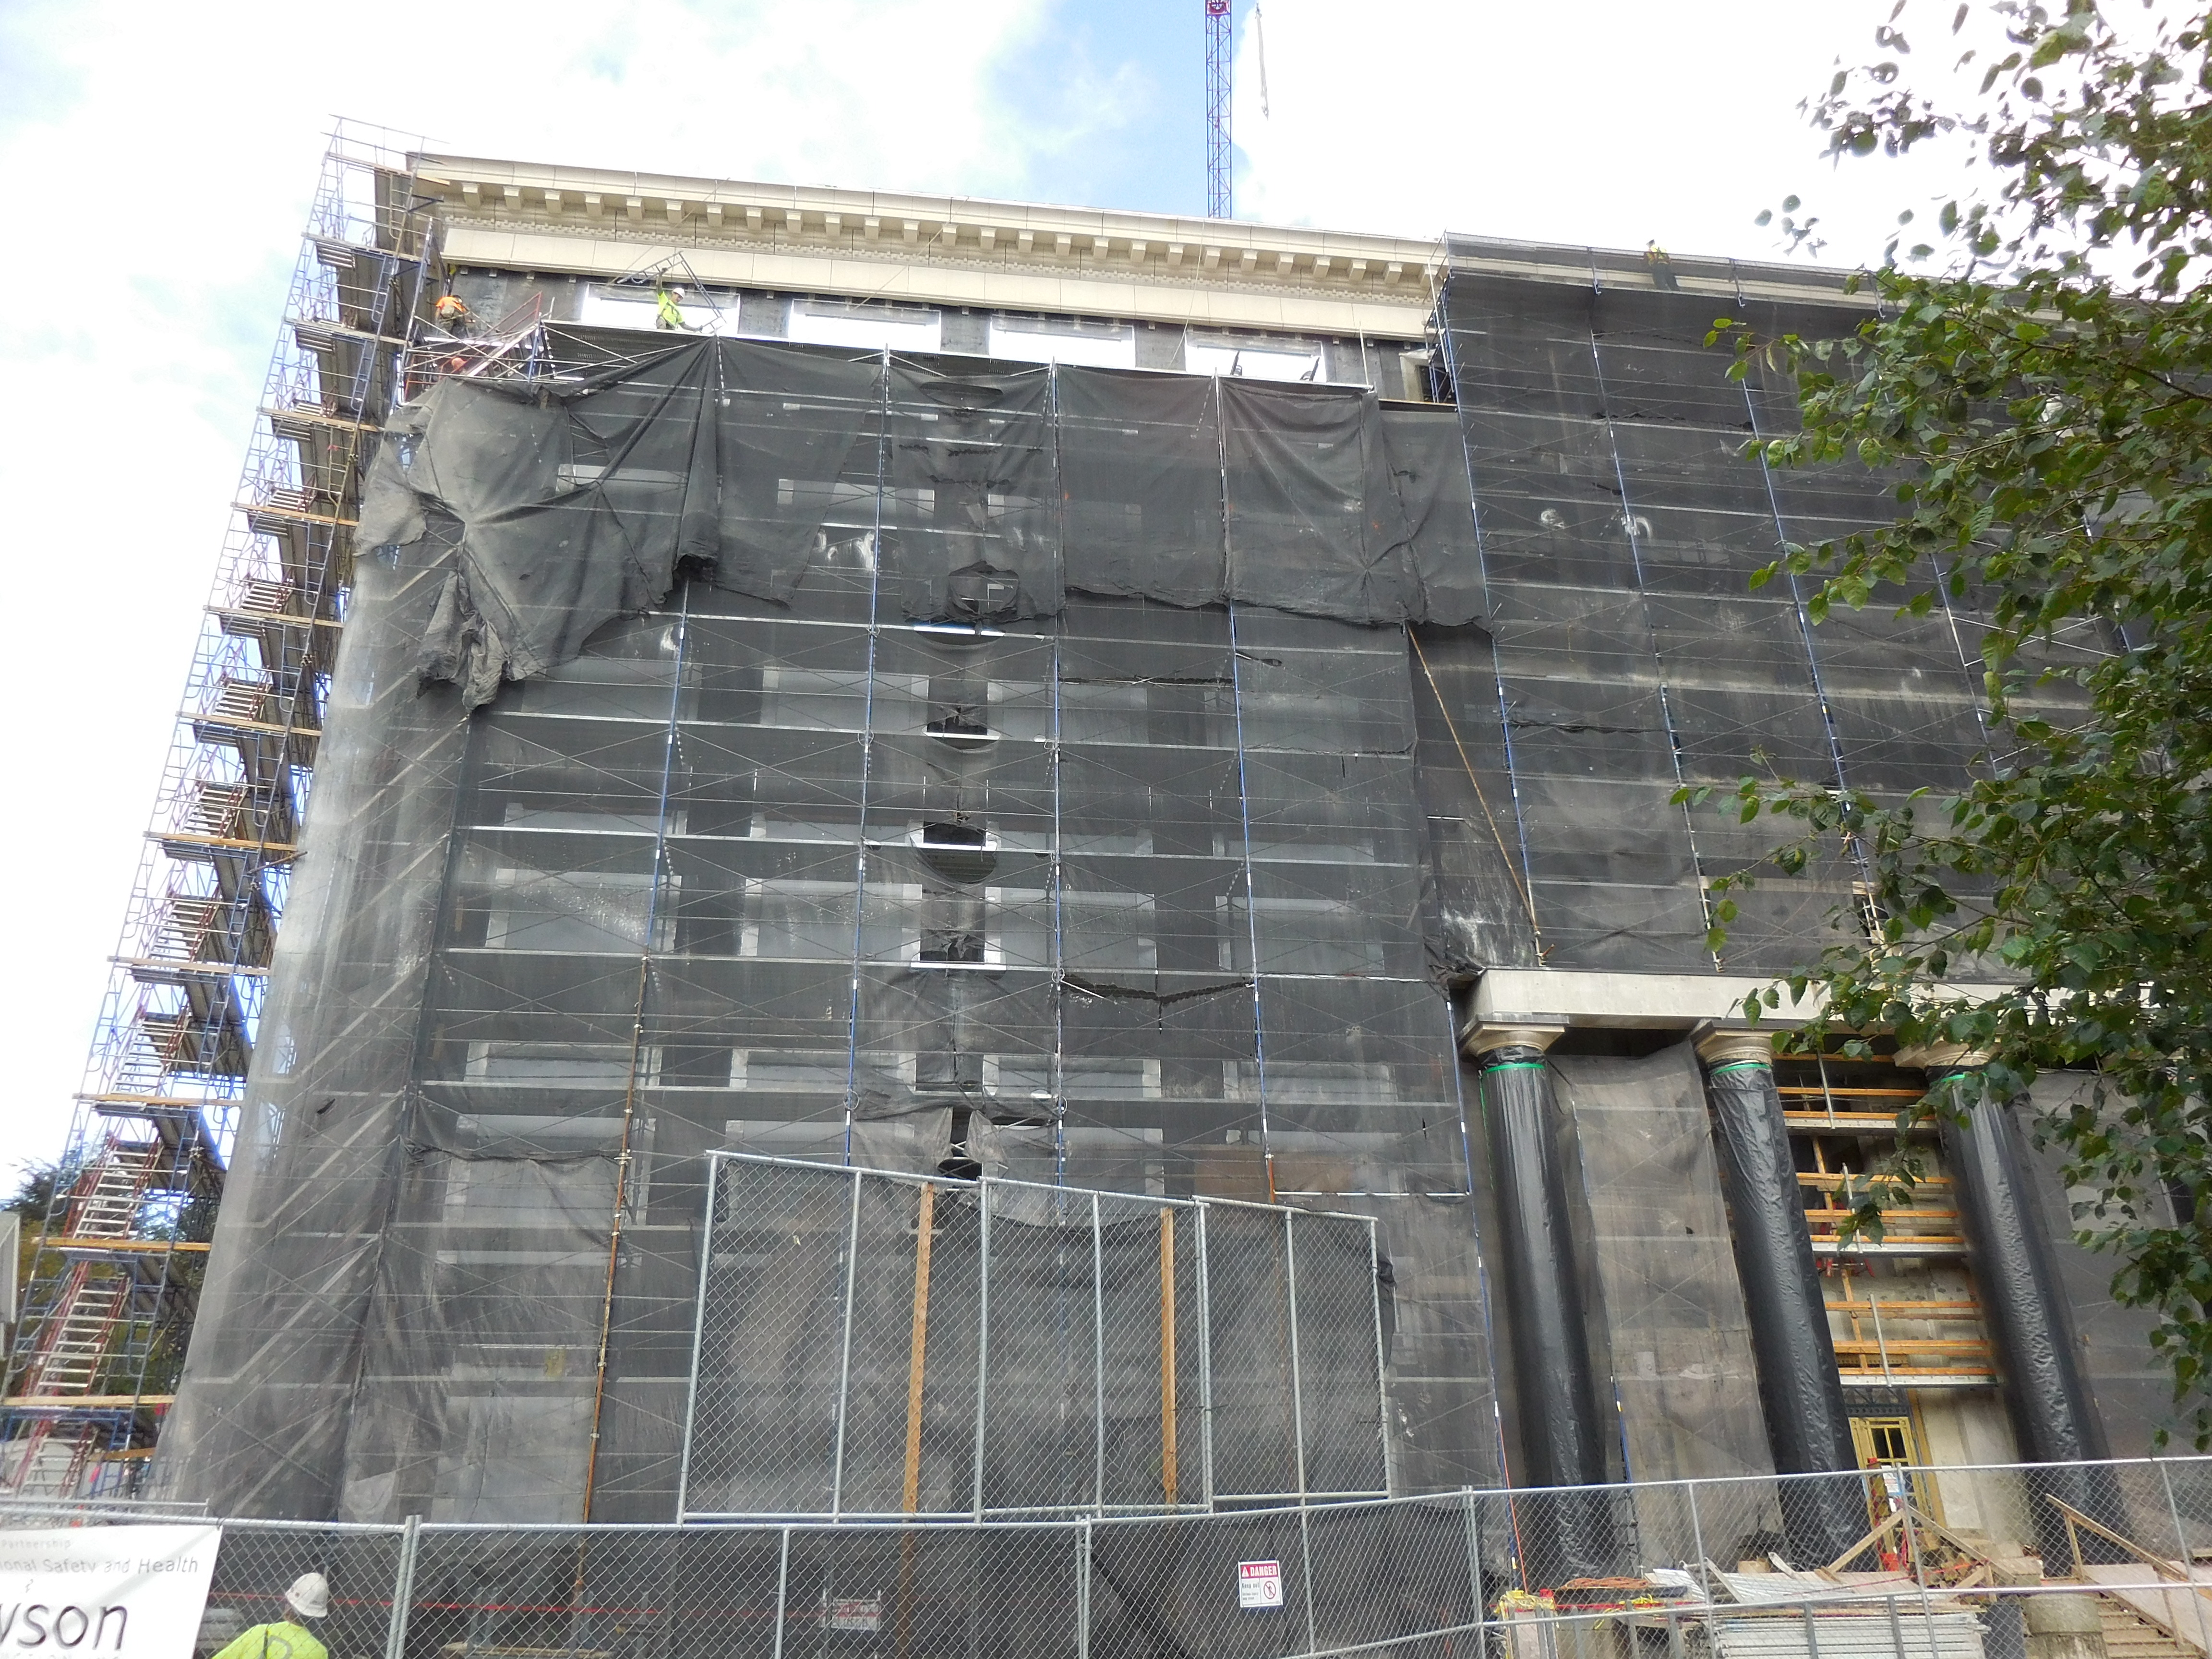
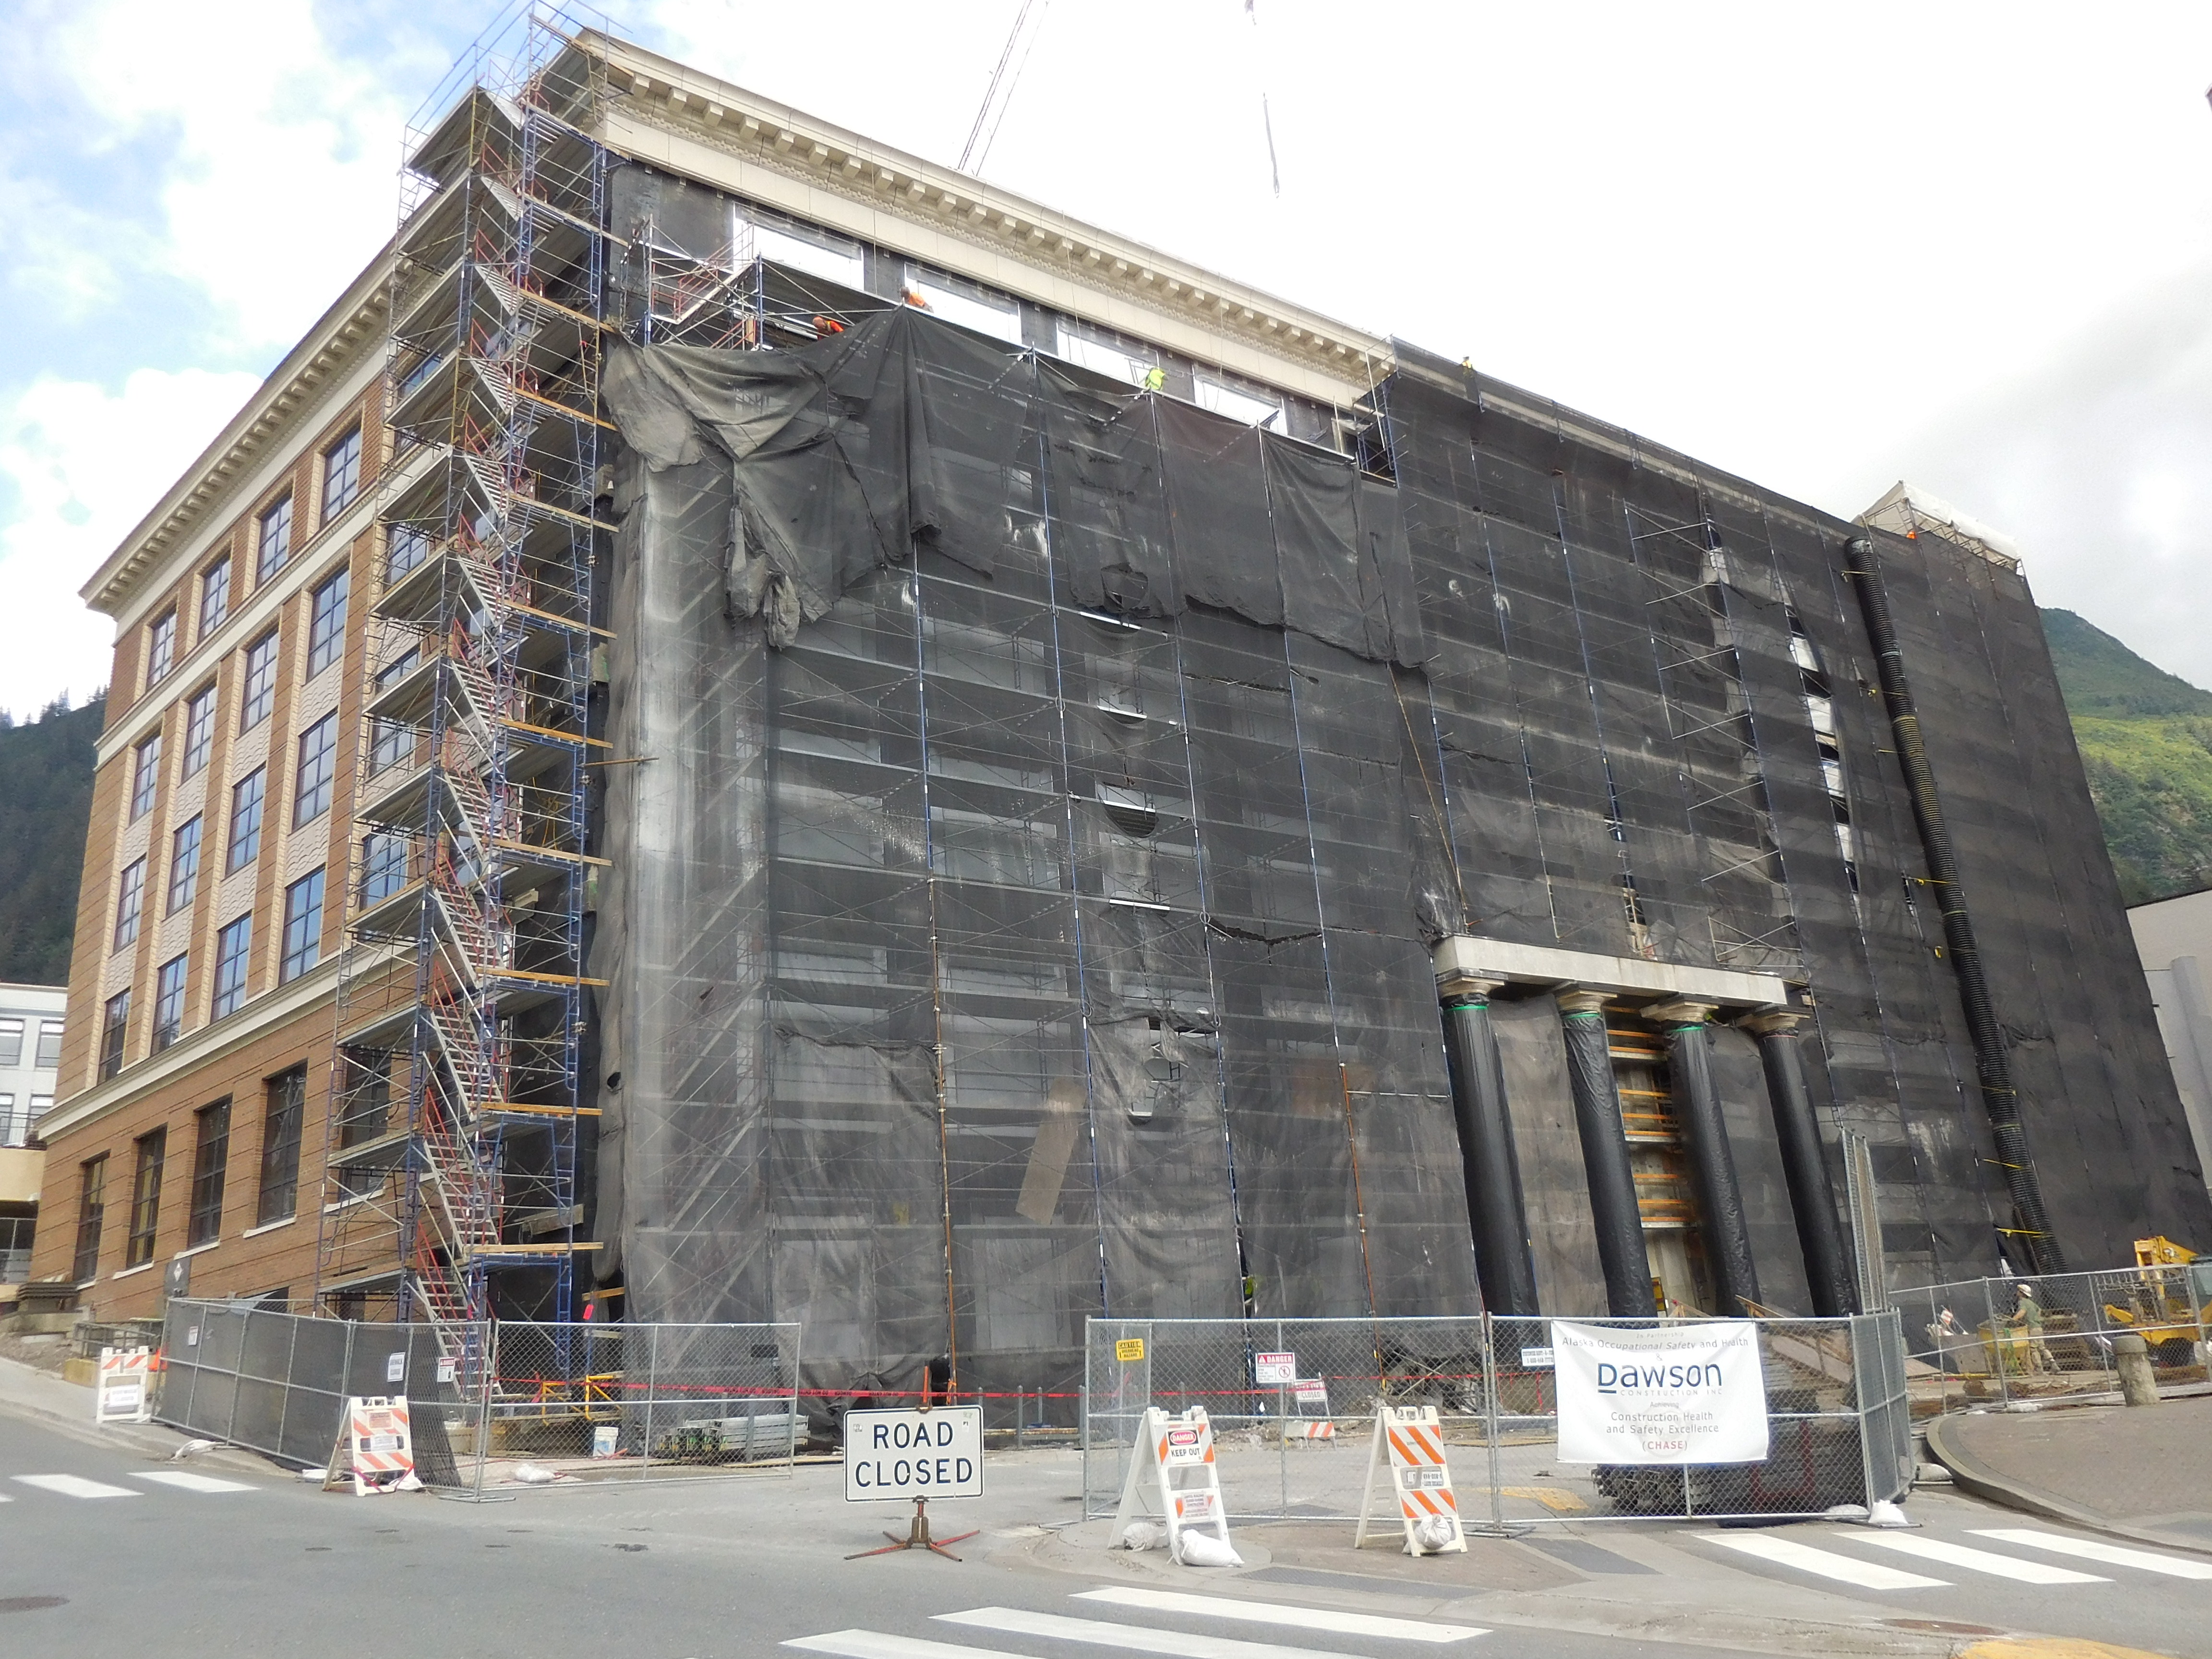
Update September 21, 2016
 |
 |
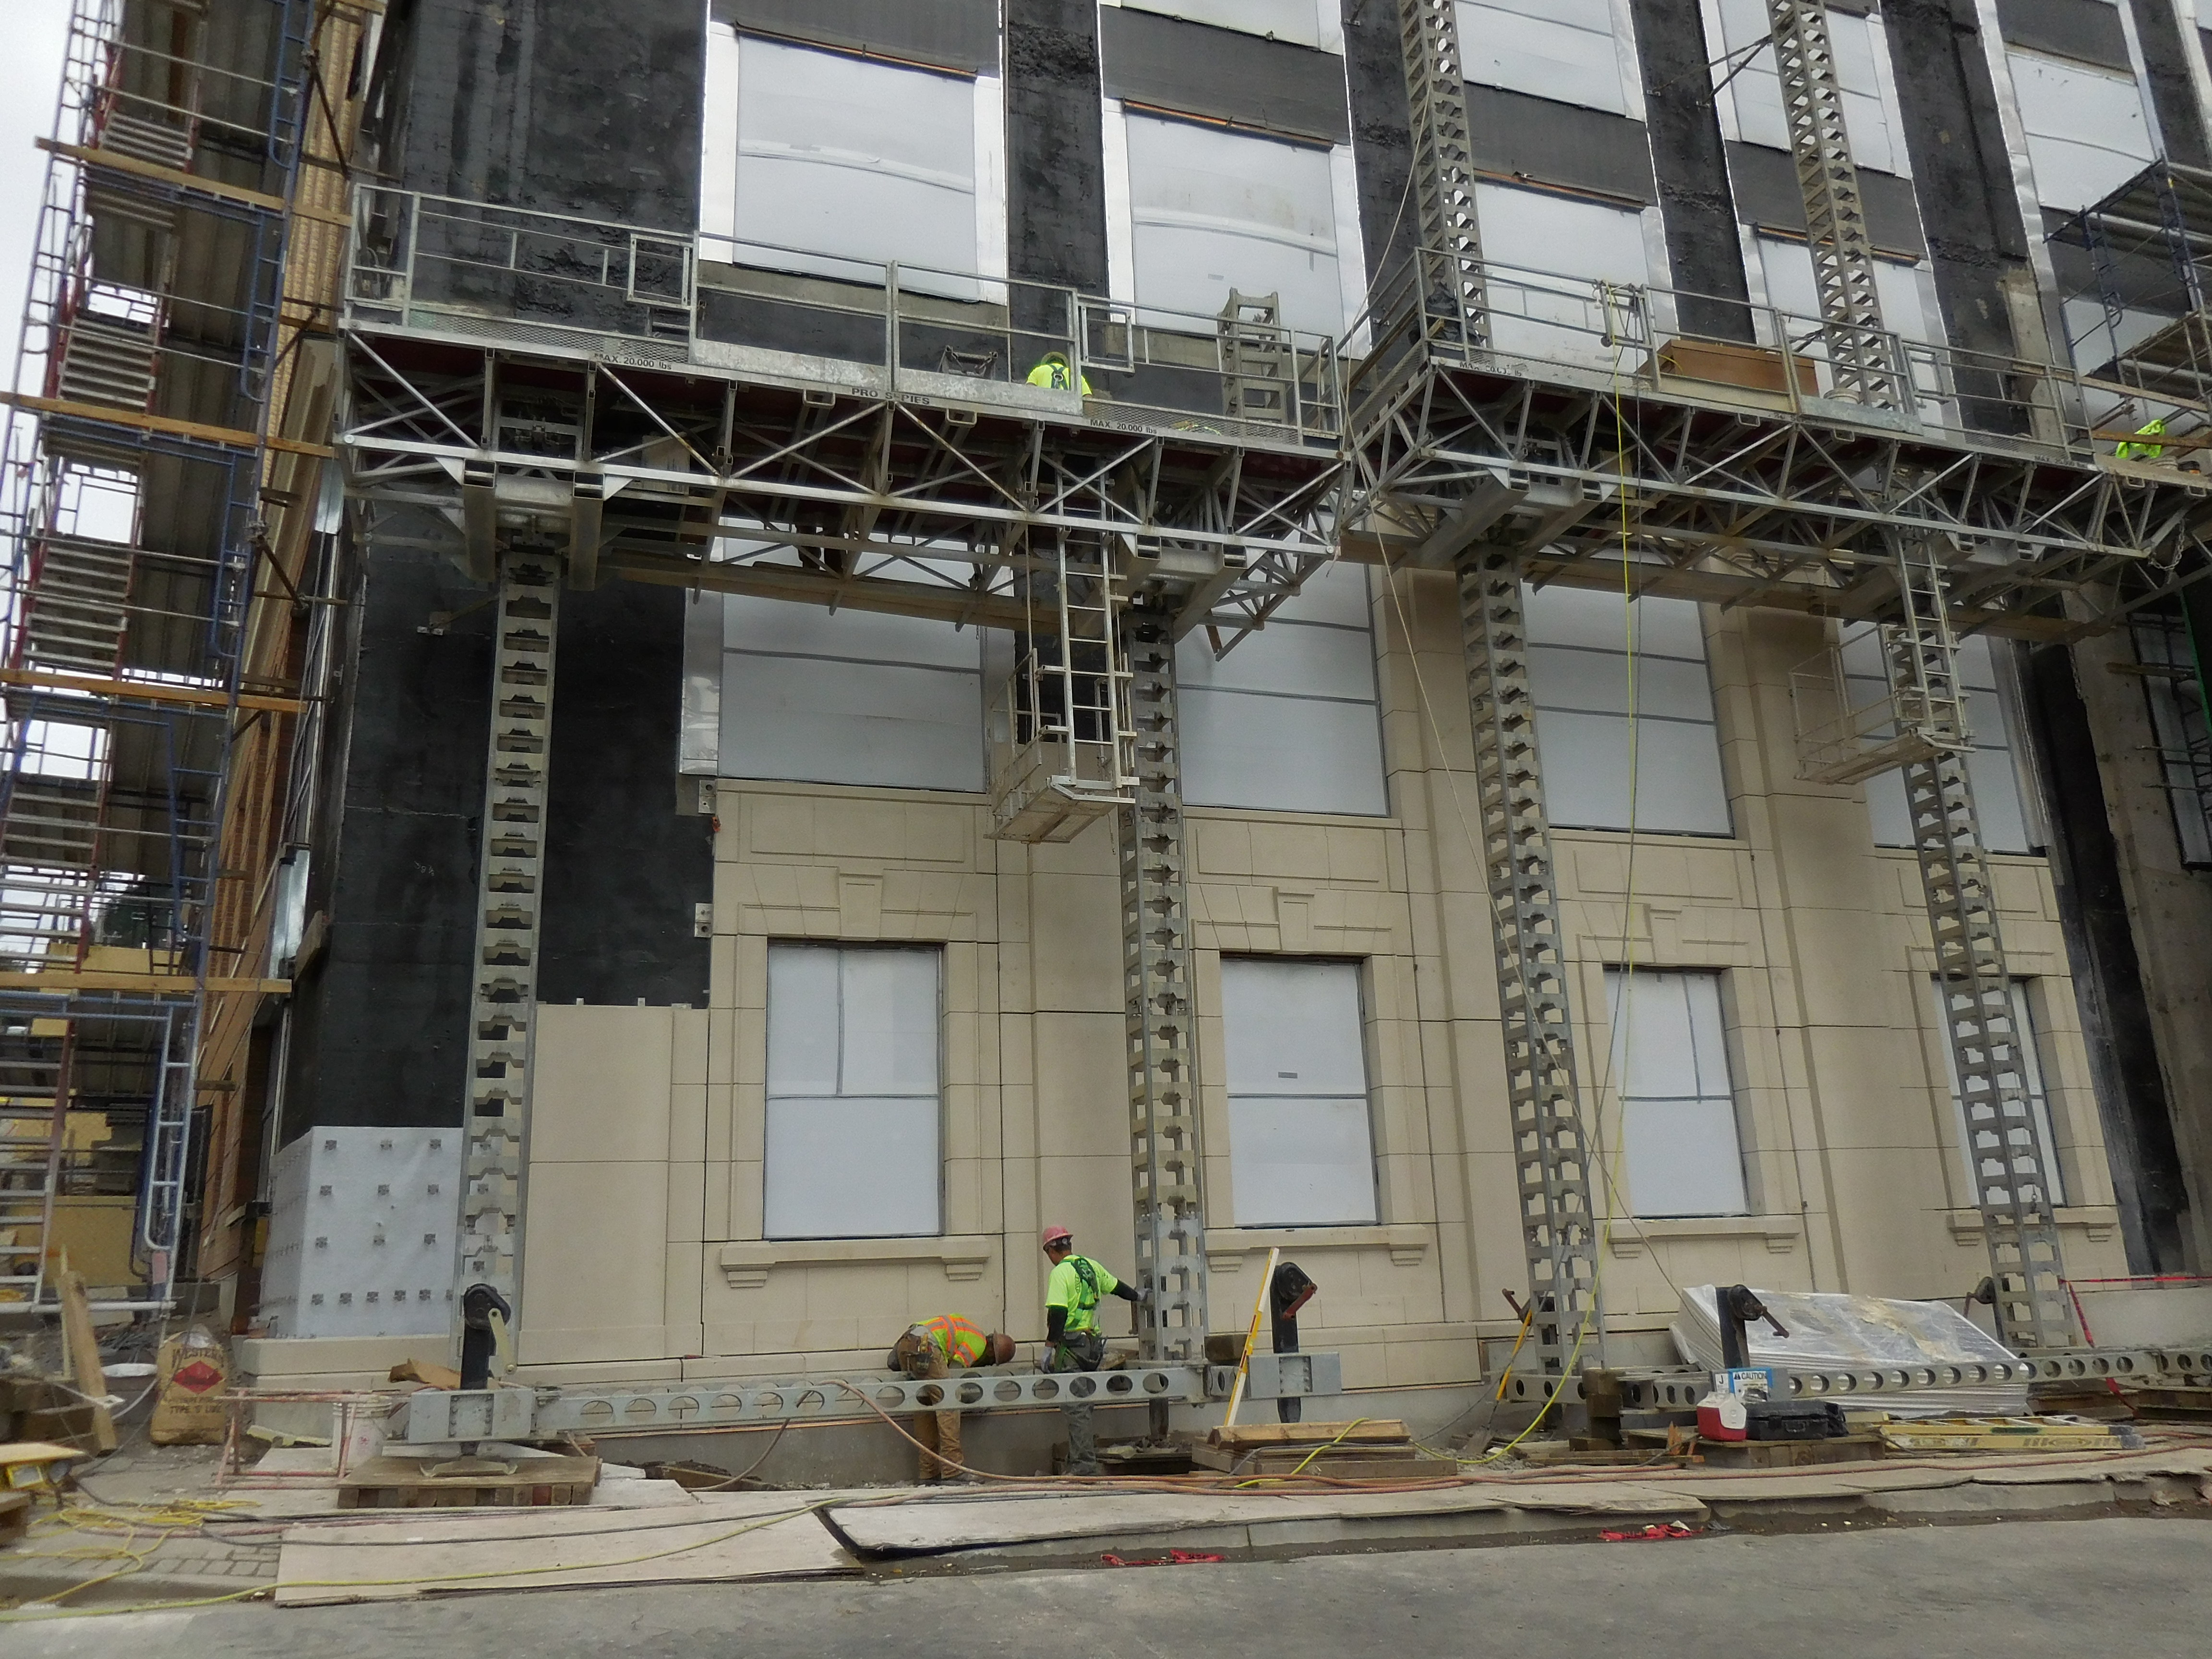
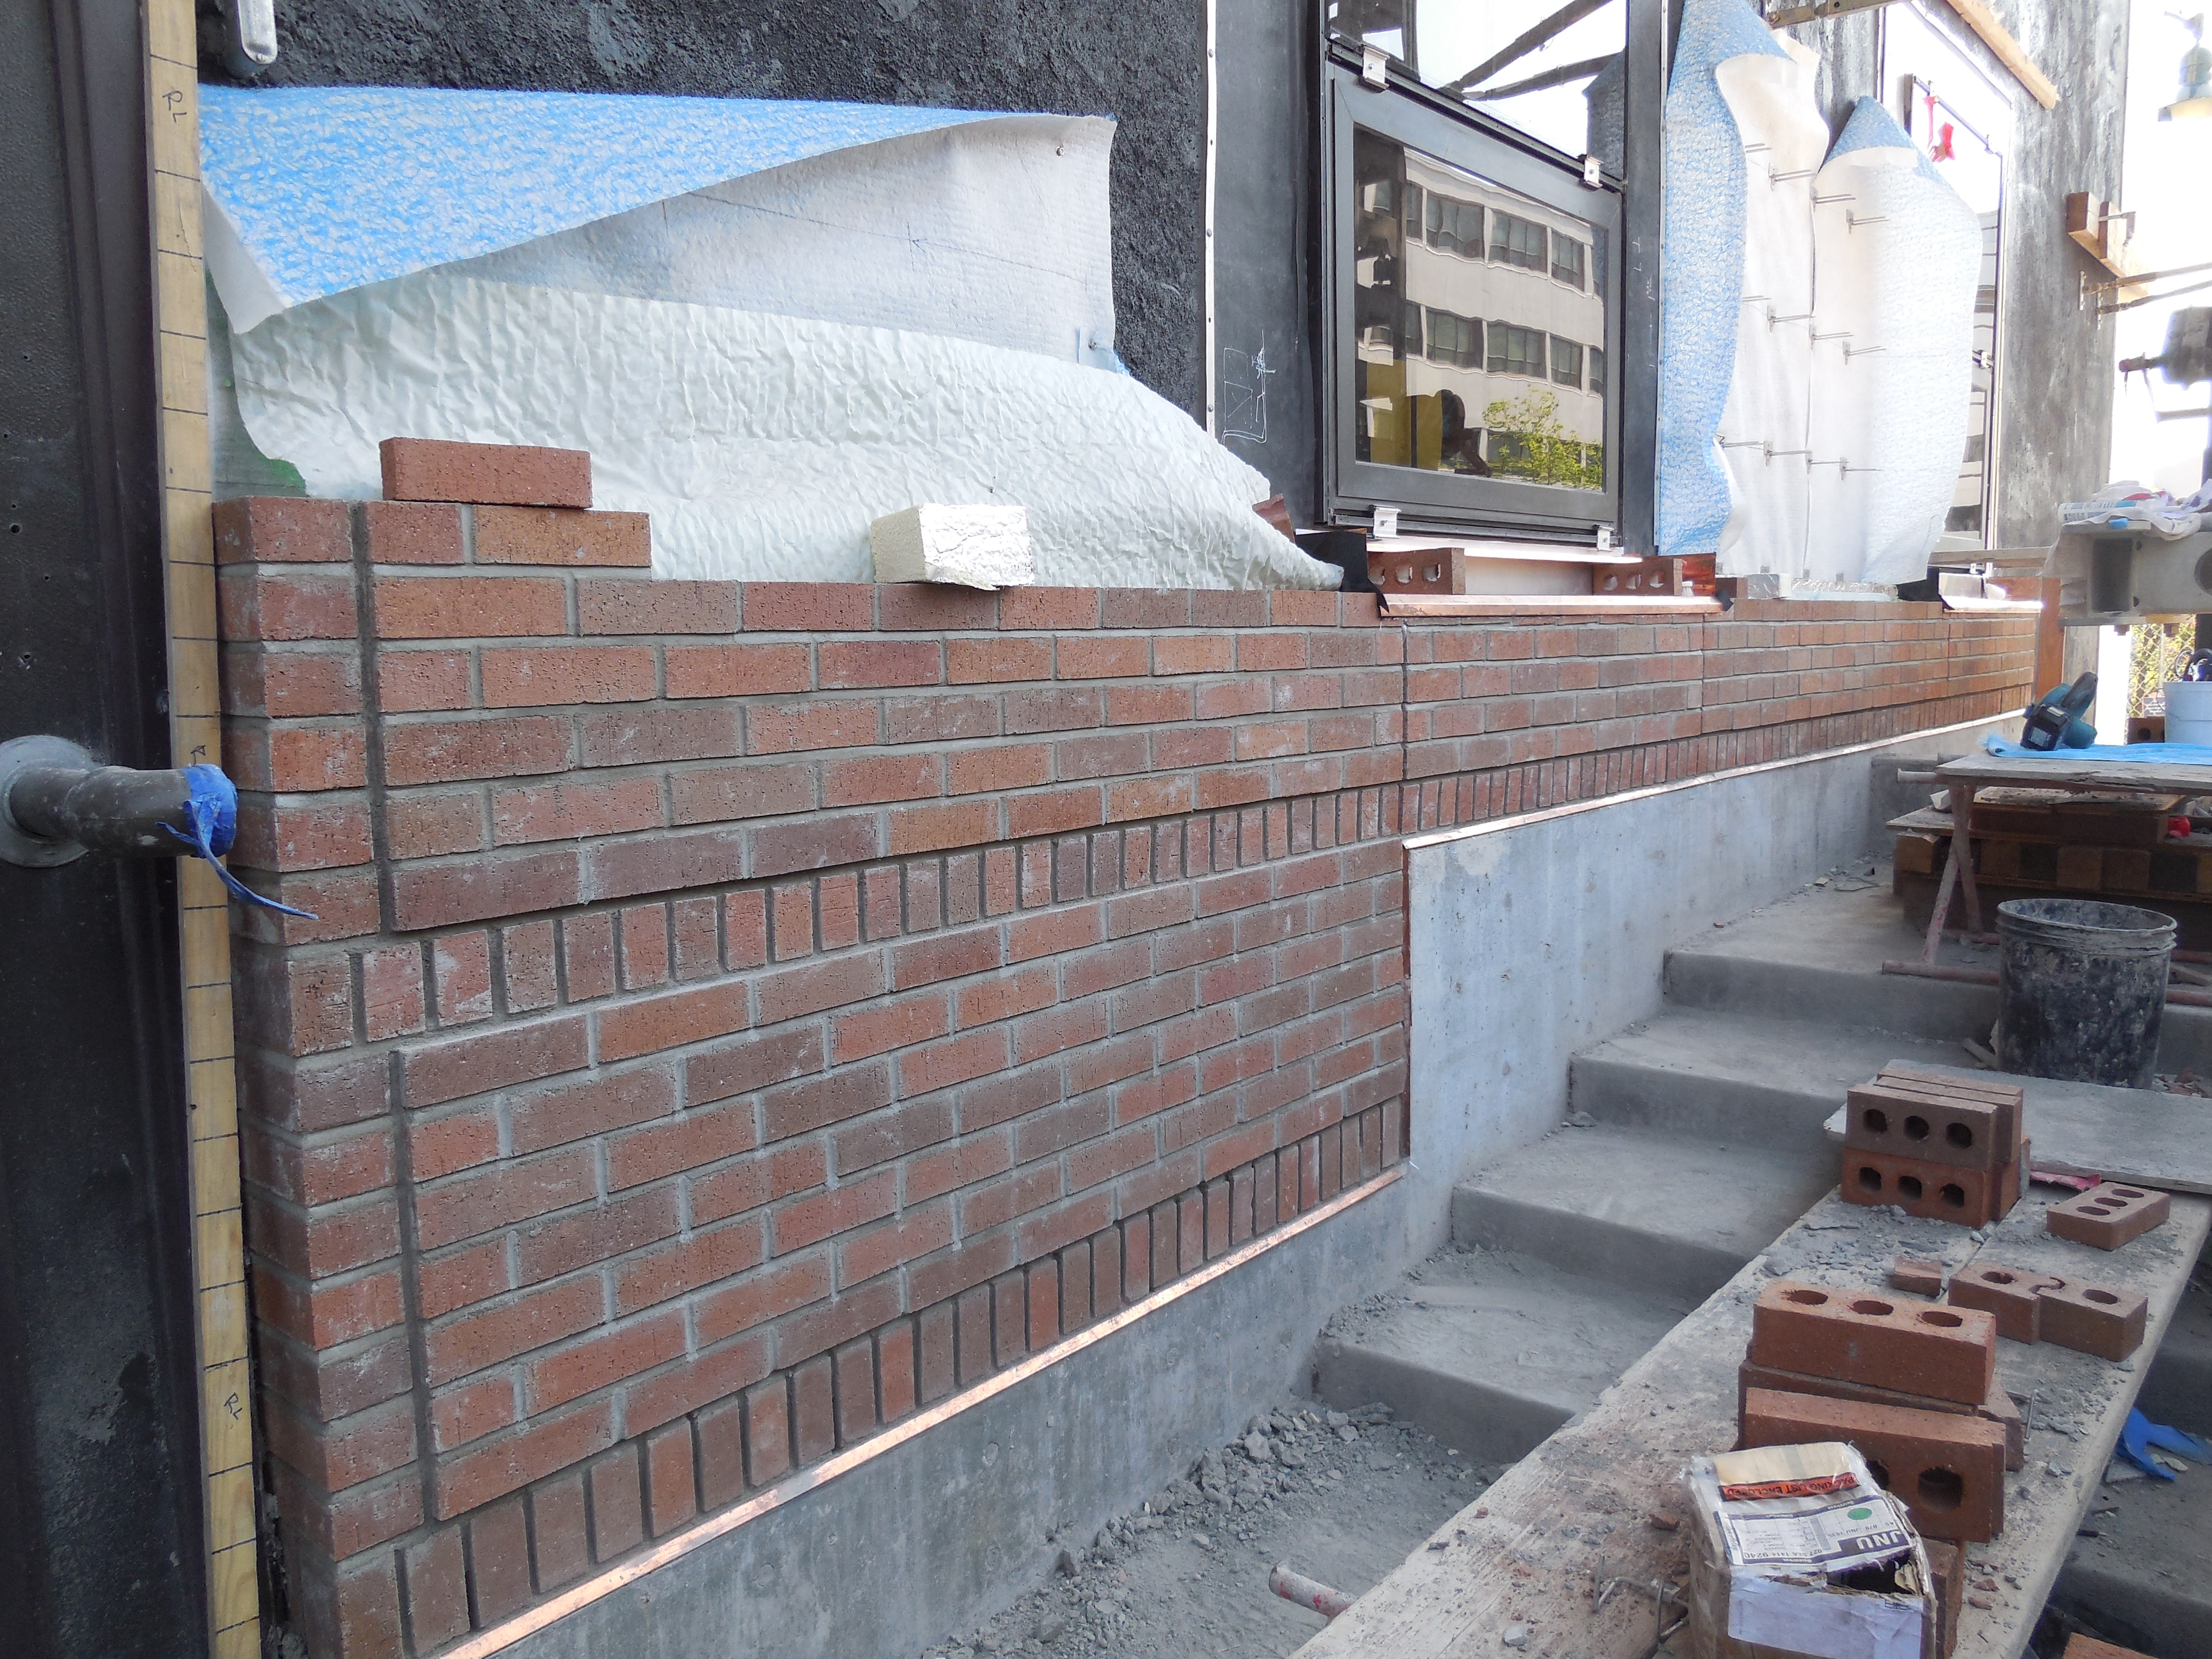
| Southwest corner ground floor, new brick and precast | Precast installation at Capitol building entry |
 |
 |
| Precast installed at Soutwest corner ground and first floor windows | Soutwest facade with precast and spandrell panels above |
 |
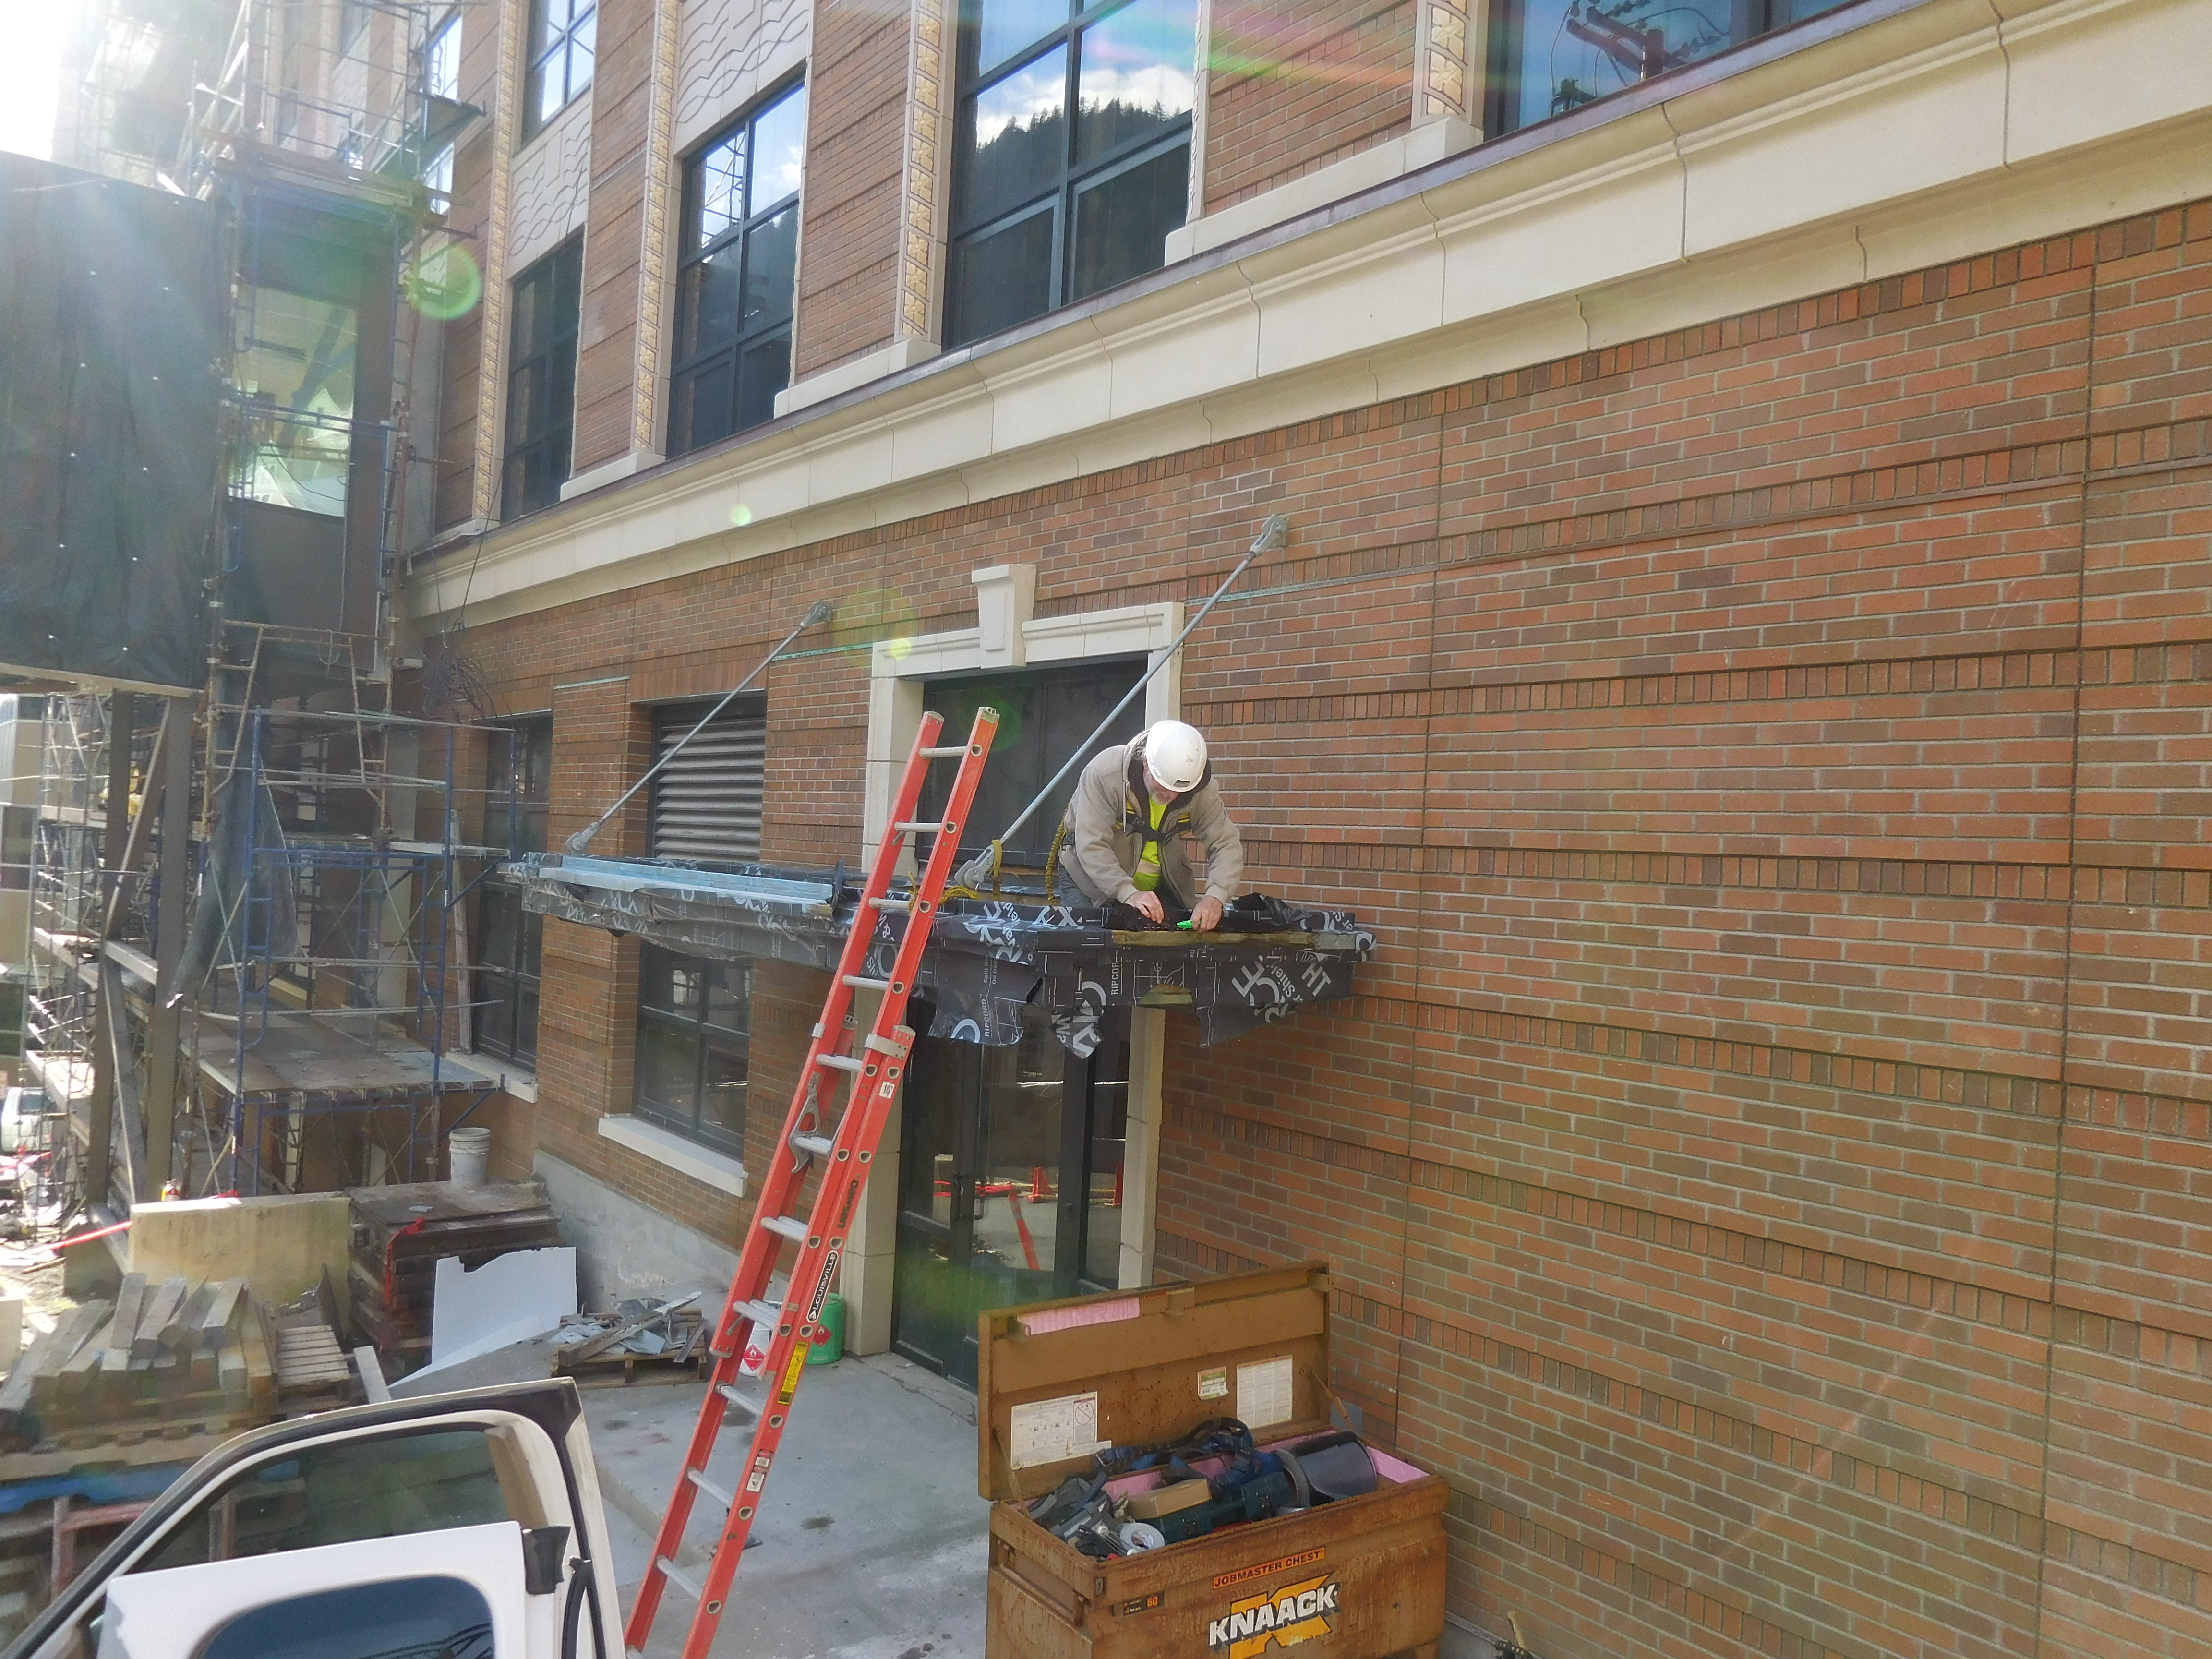 |
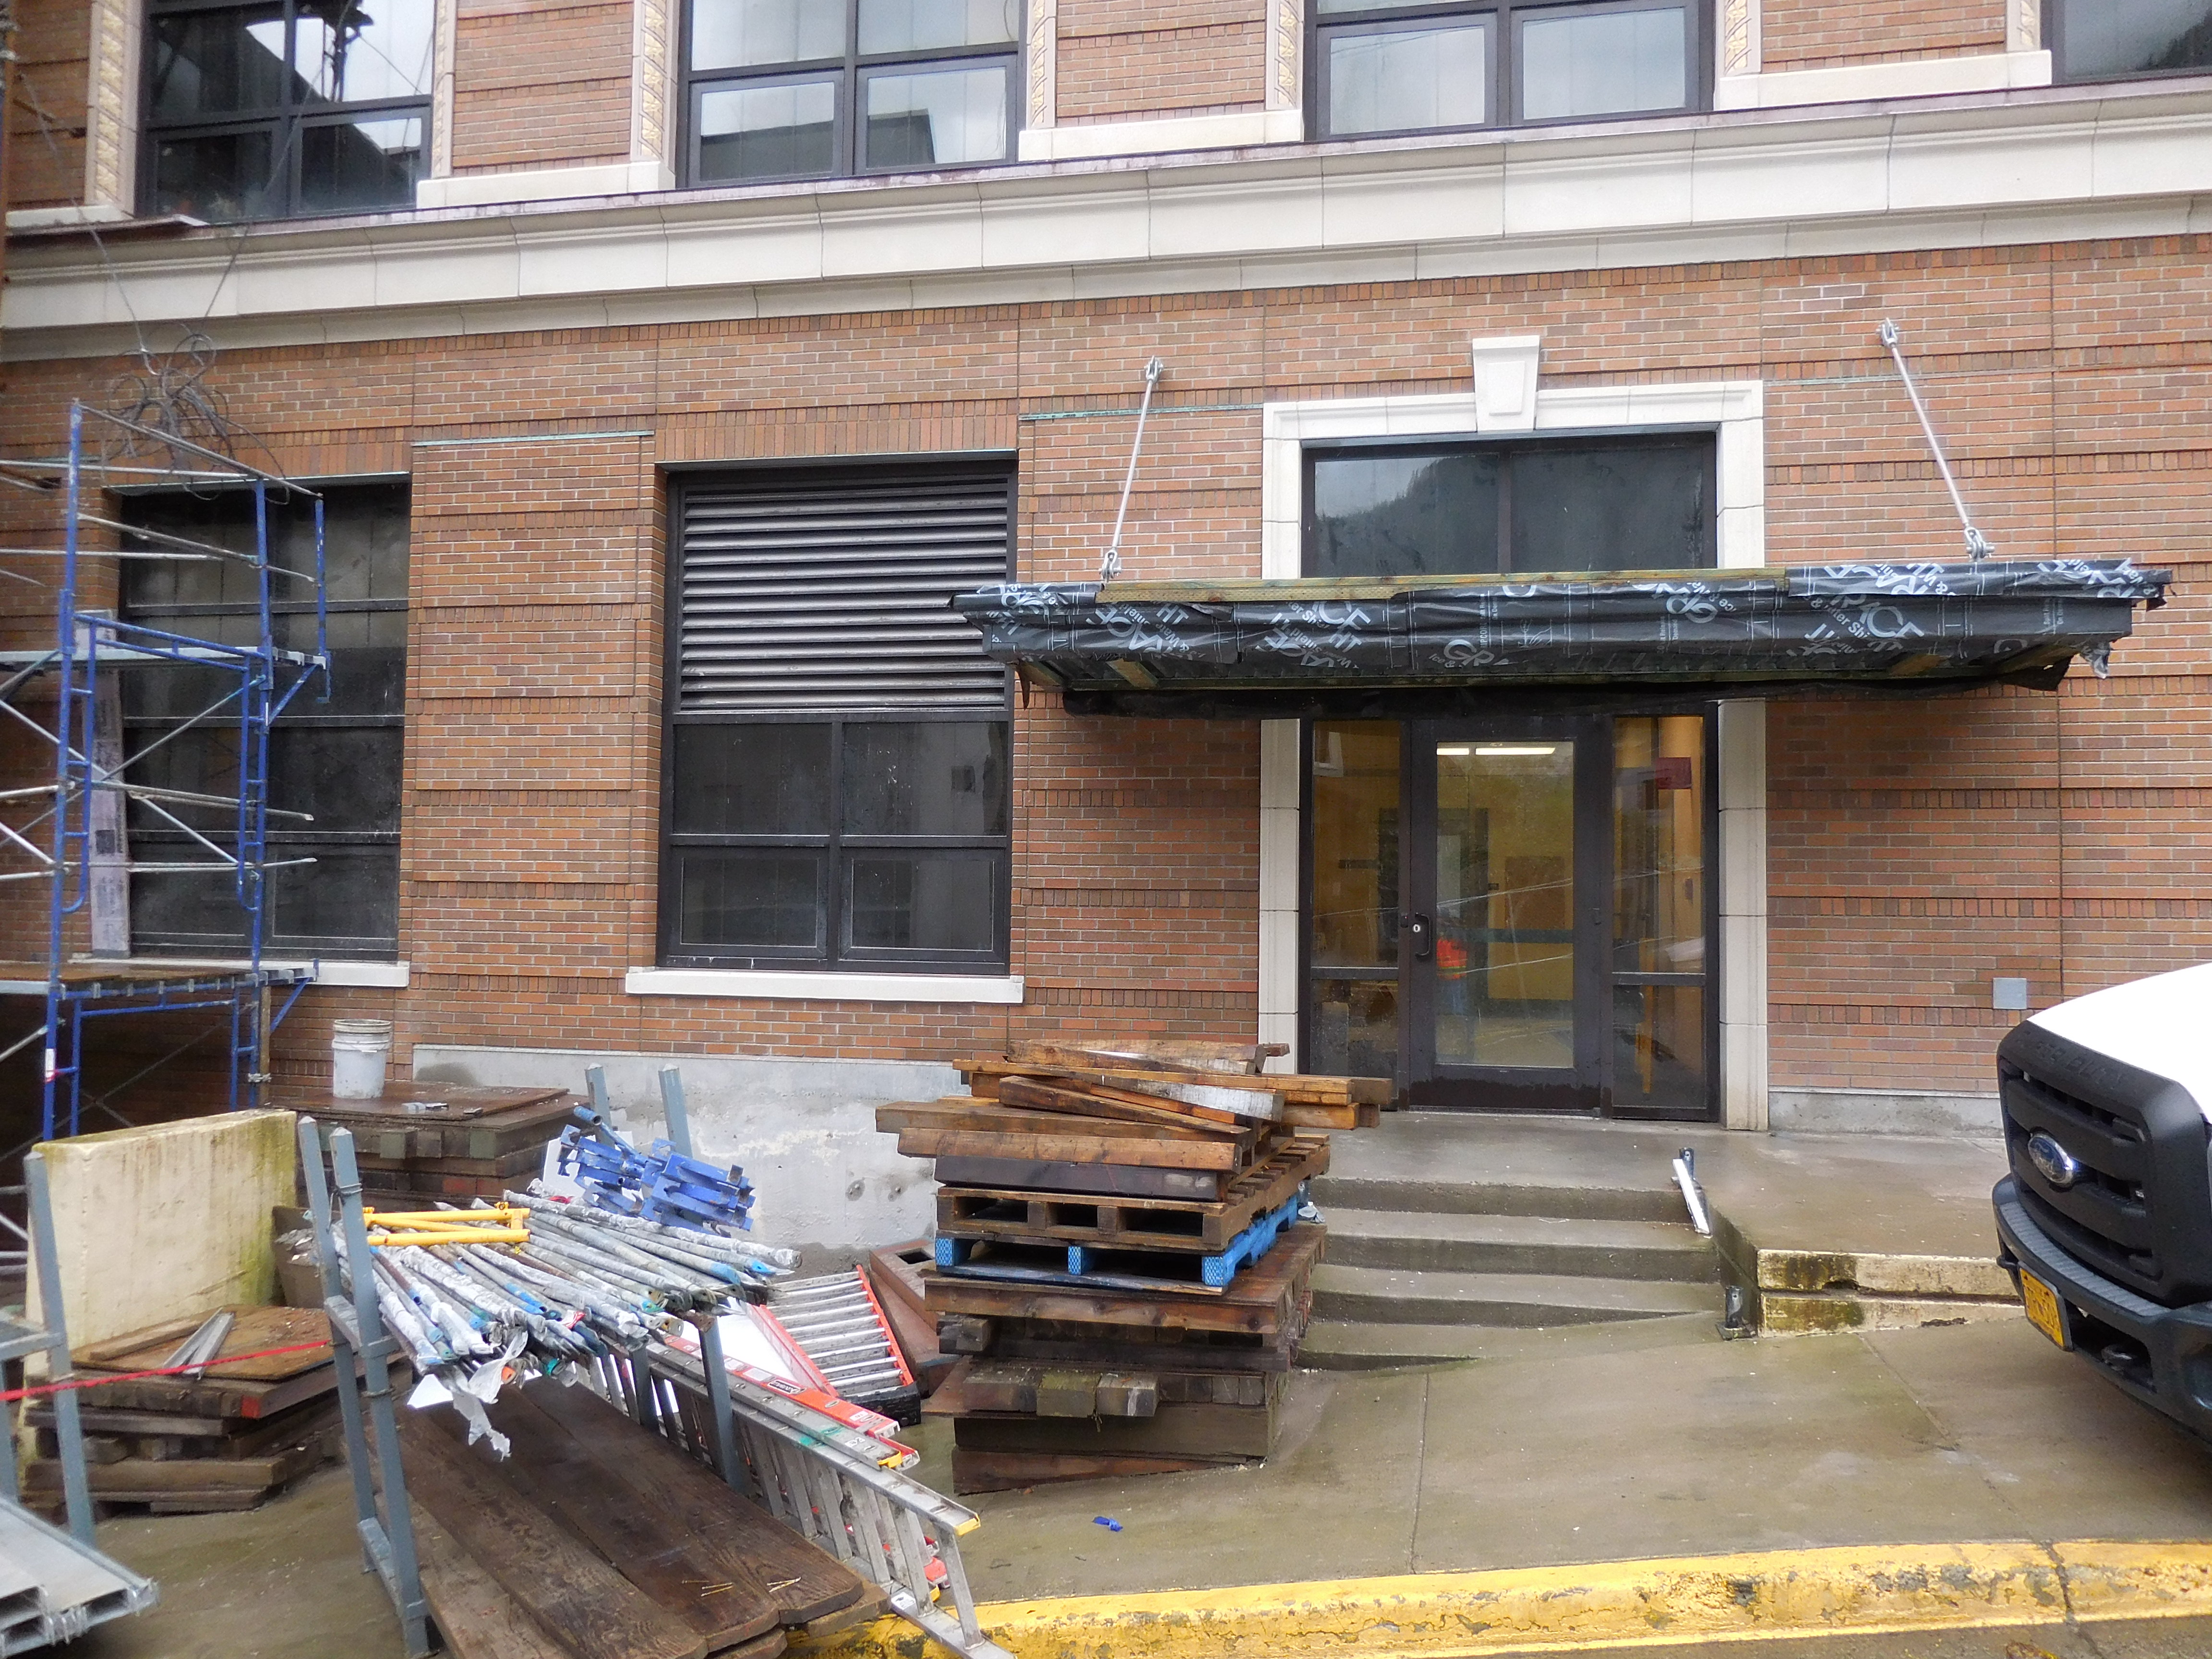
| Newly installed canopy at Seward Street entrance | Roofing prep at new canopy Seward Street East wing |
 |
|
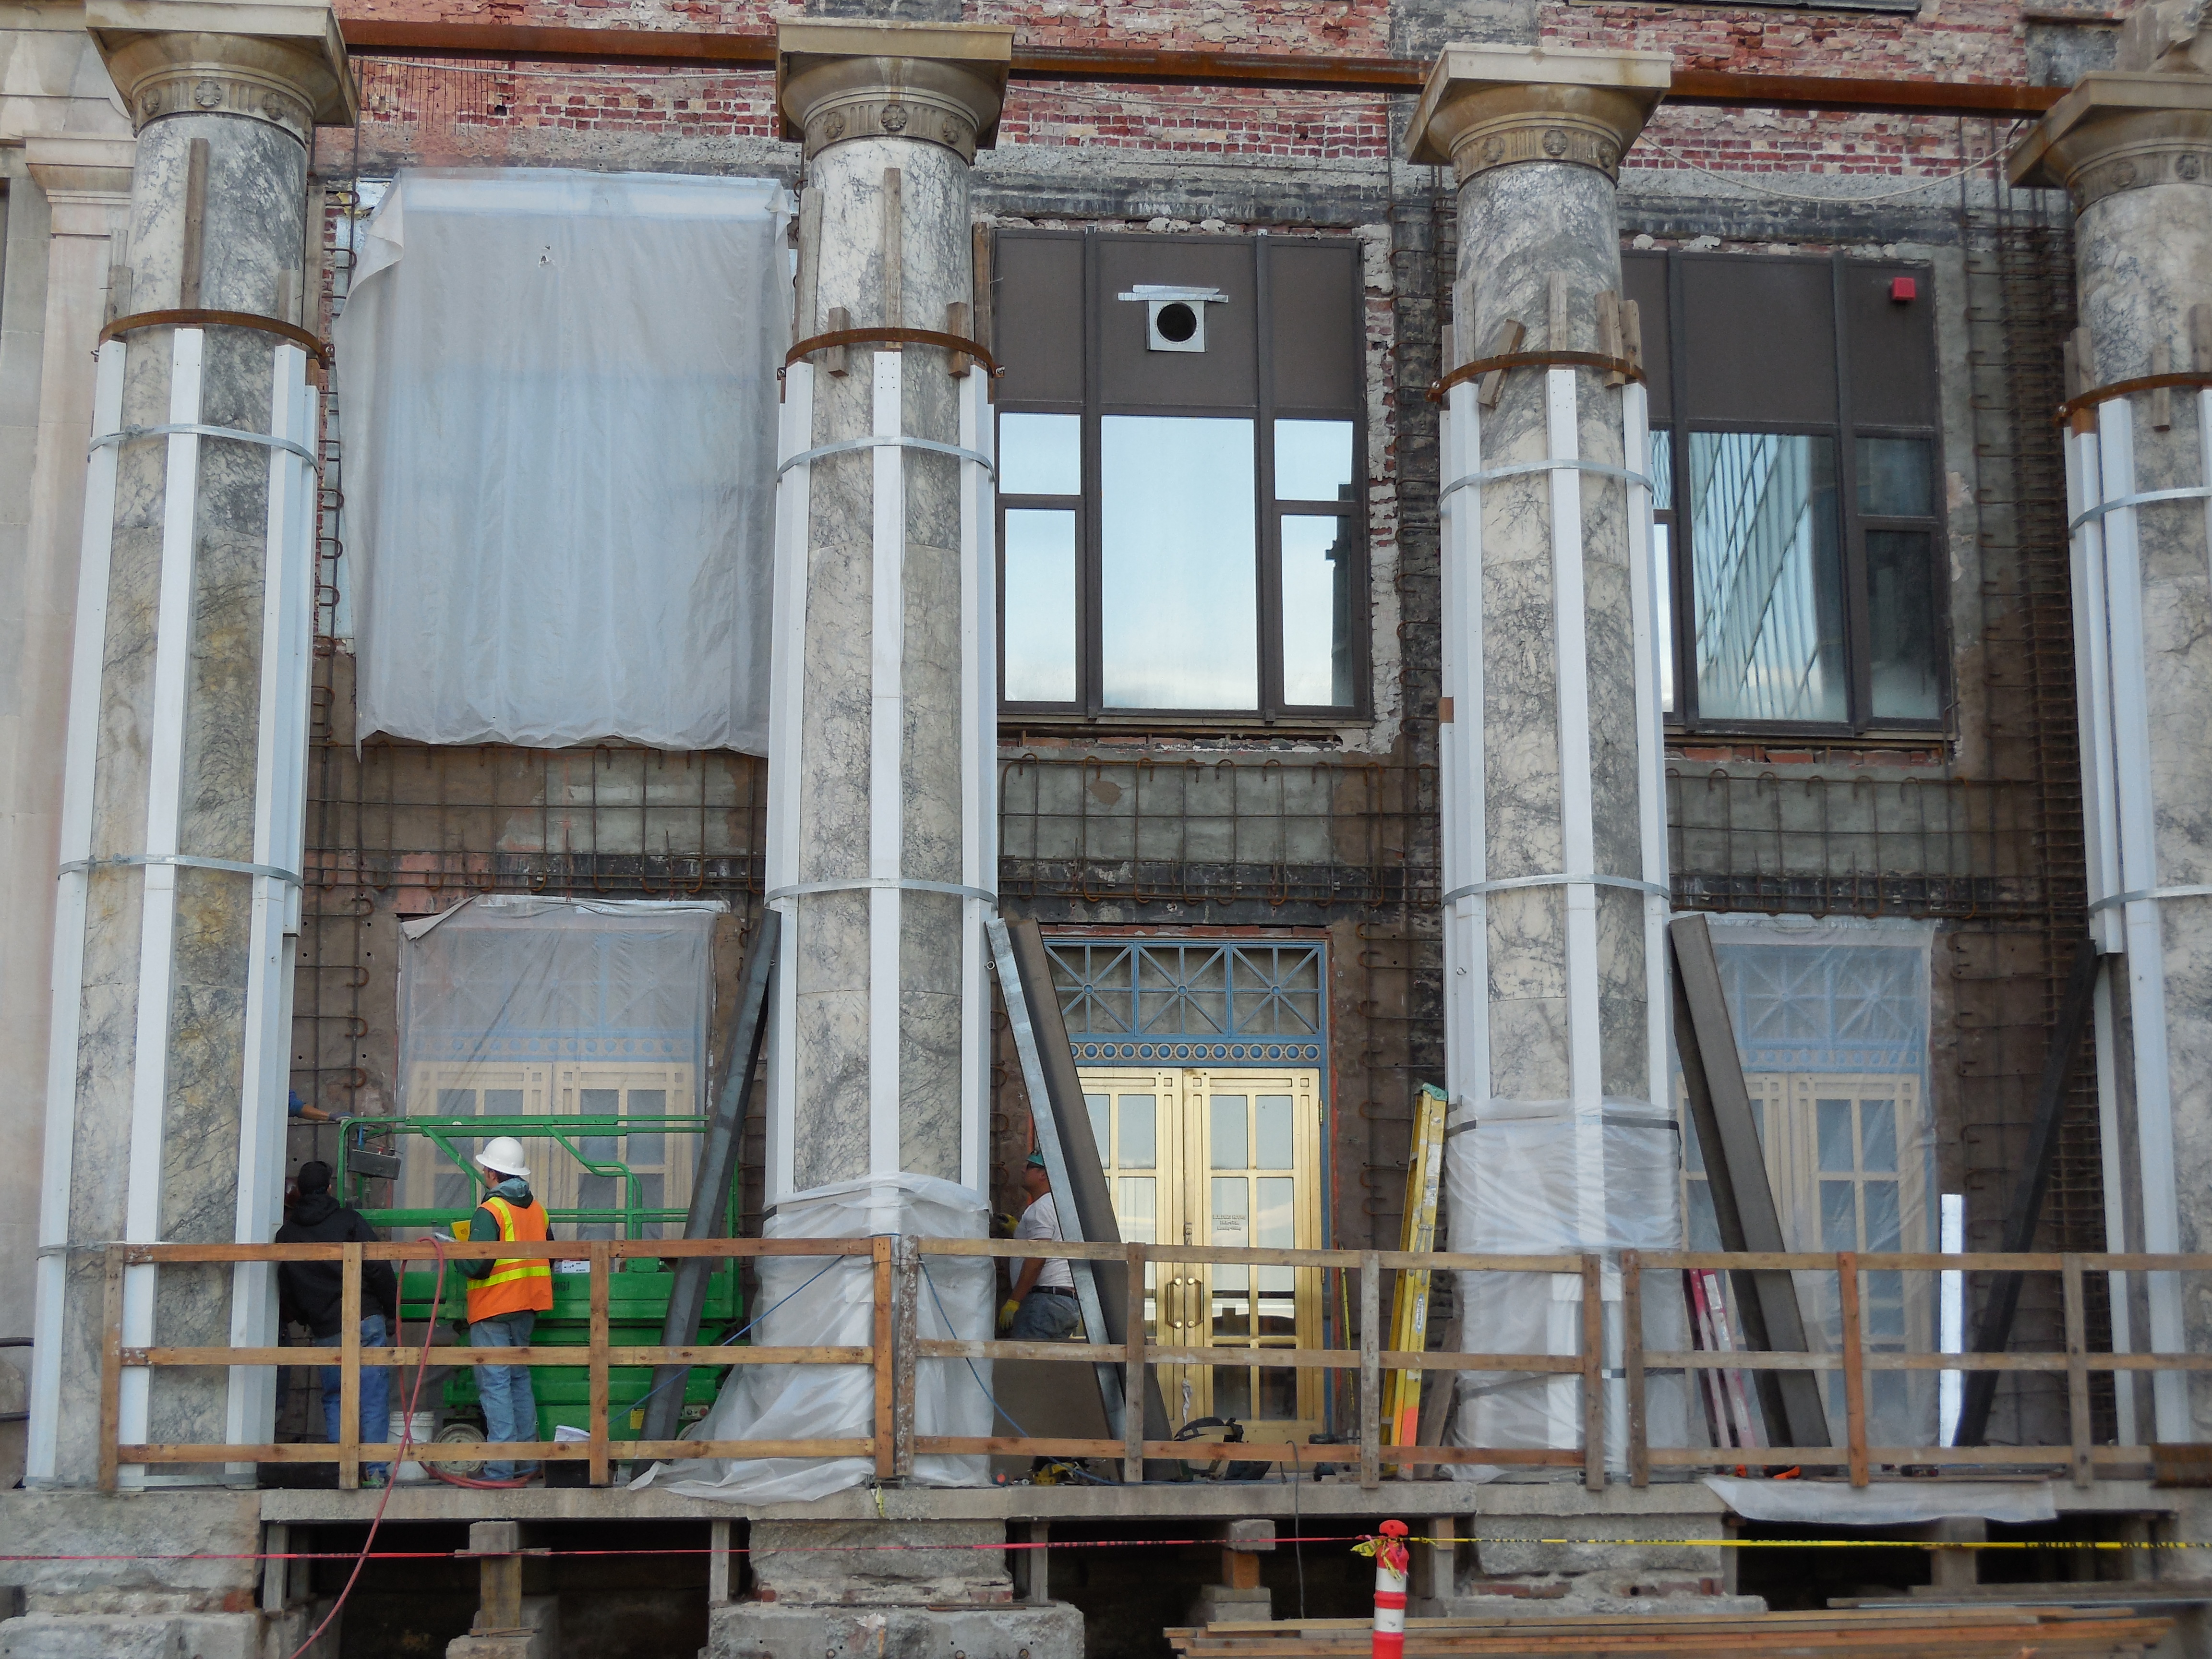
| Front of Capitol building with precast installation at entry doors on 4th Street |
Update September 9, 2016
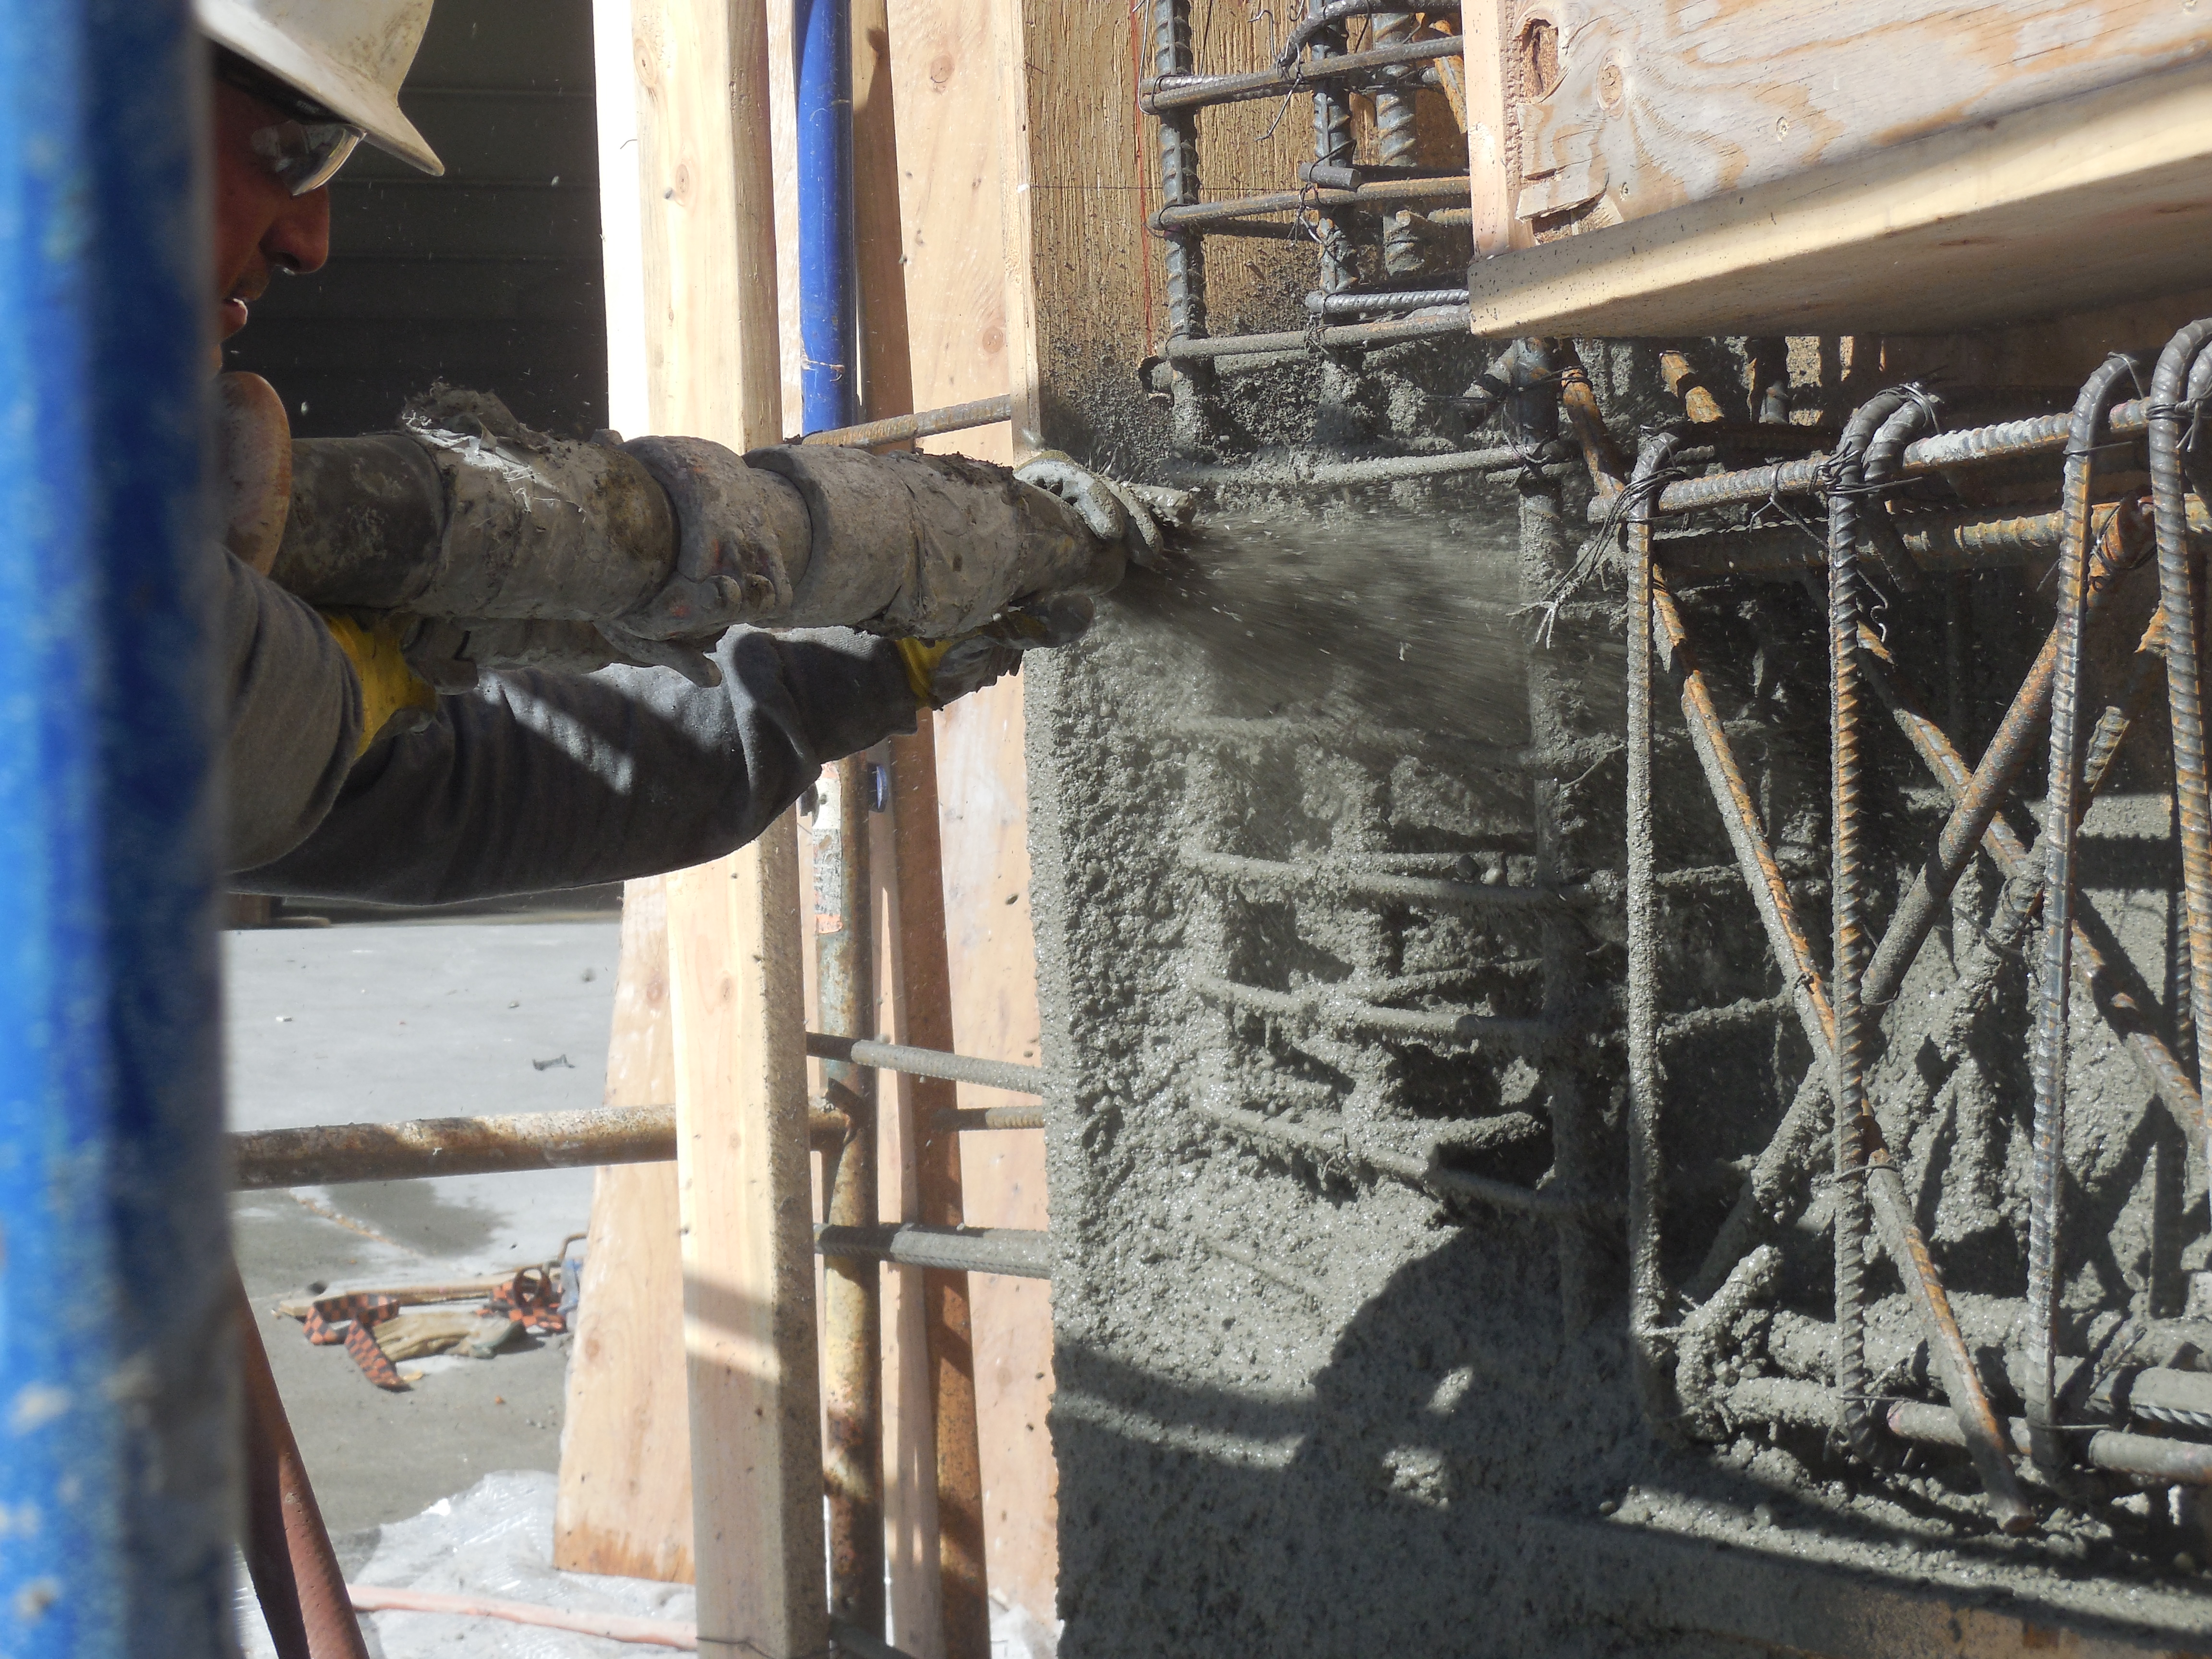
 |  |
| Ground Floor & 1st Floor precast installed West of Portico | Precast wrap at front of Capitol |
 |  |
| Precast up to 1st Floor water table, front of Capitol | Shotcrete Rm 9 |
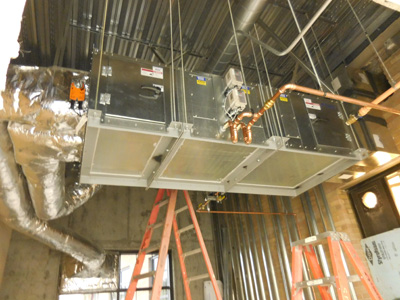 |  |
| Heat Recovery Ventilator in East Alcove 5th Floor | Heat Recovery Ventilator in West Alcove 5th Floor |
 |  |
| Heat Recovery Ventilator in East Alcove 4th Floor | Heat Recovery Ventilator in West Alcove 4th Floor |
 | |
| Shotcrete Rm 106 |
Update September 2, 2016
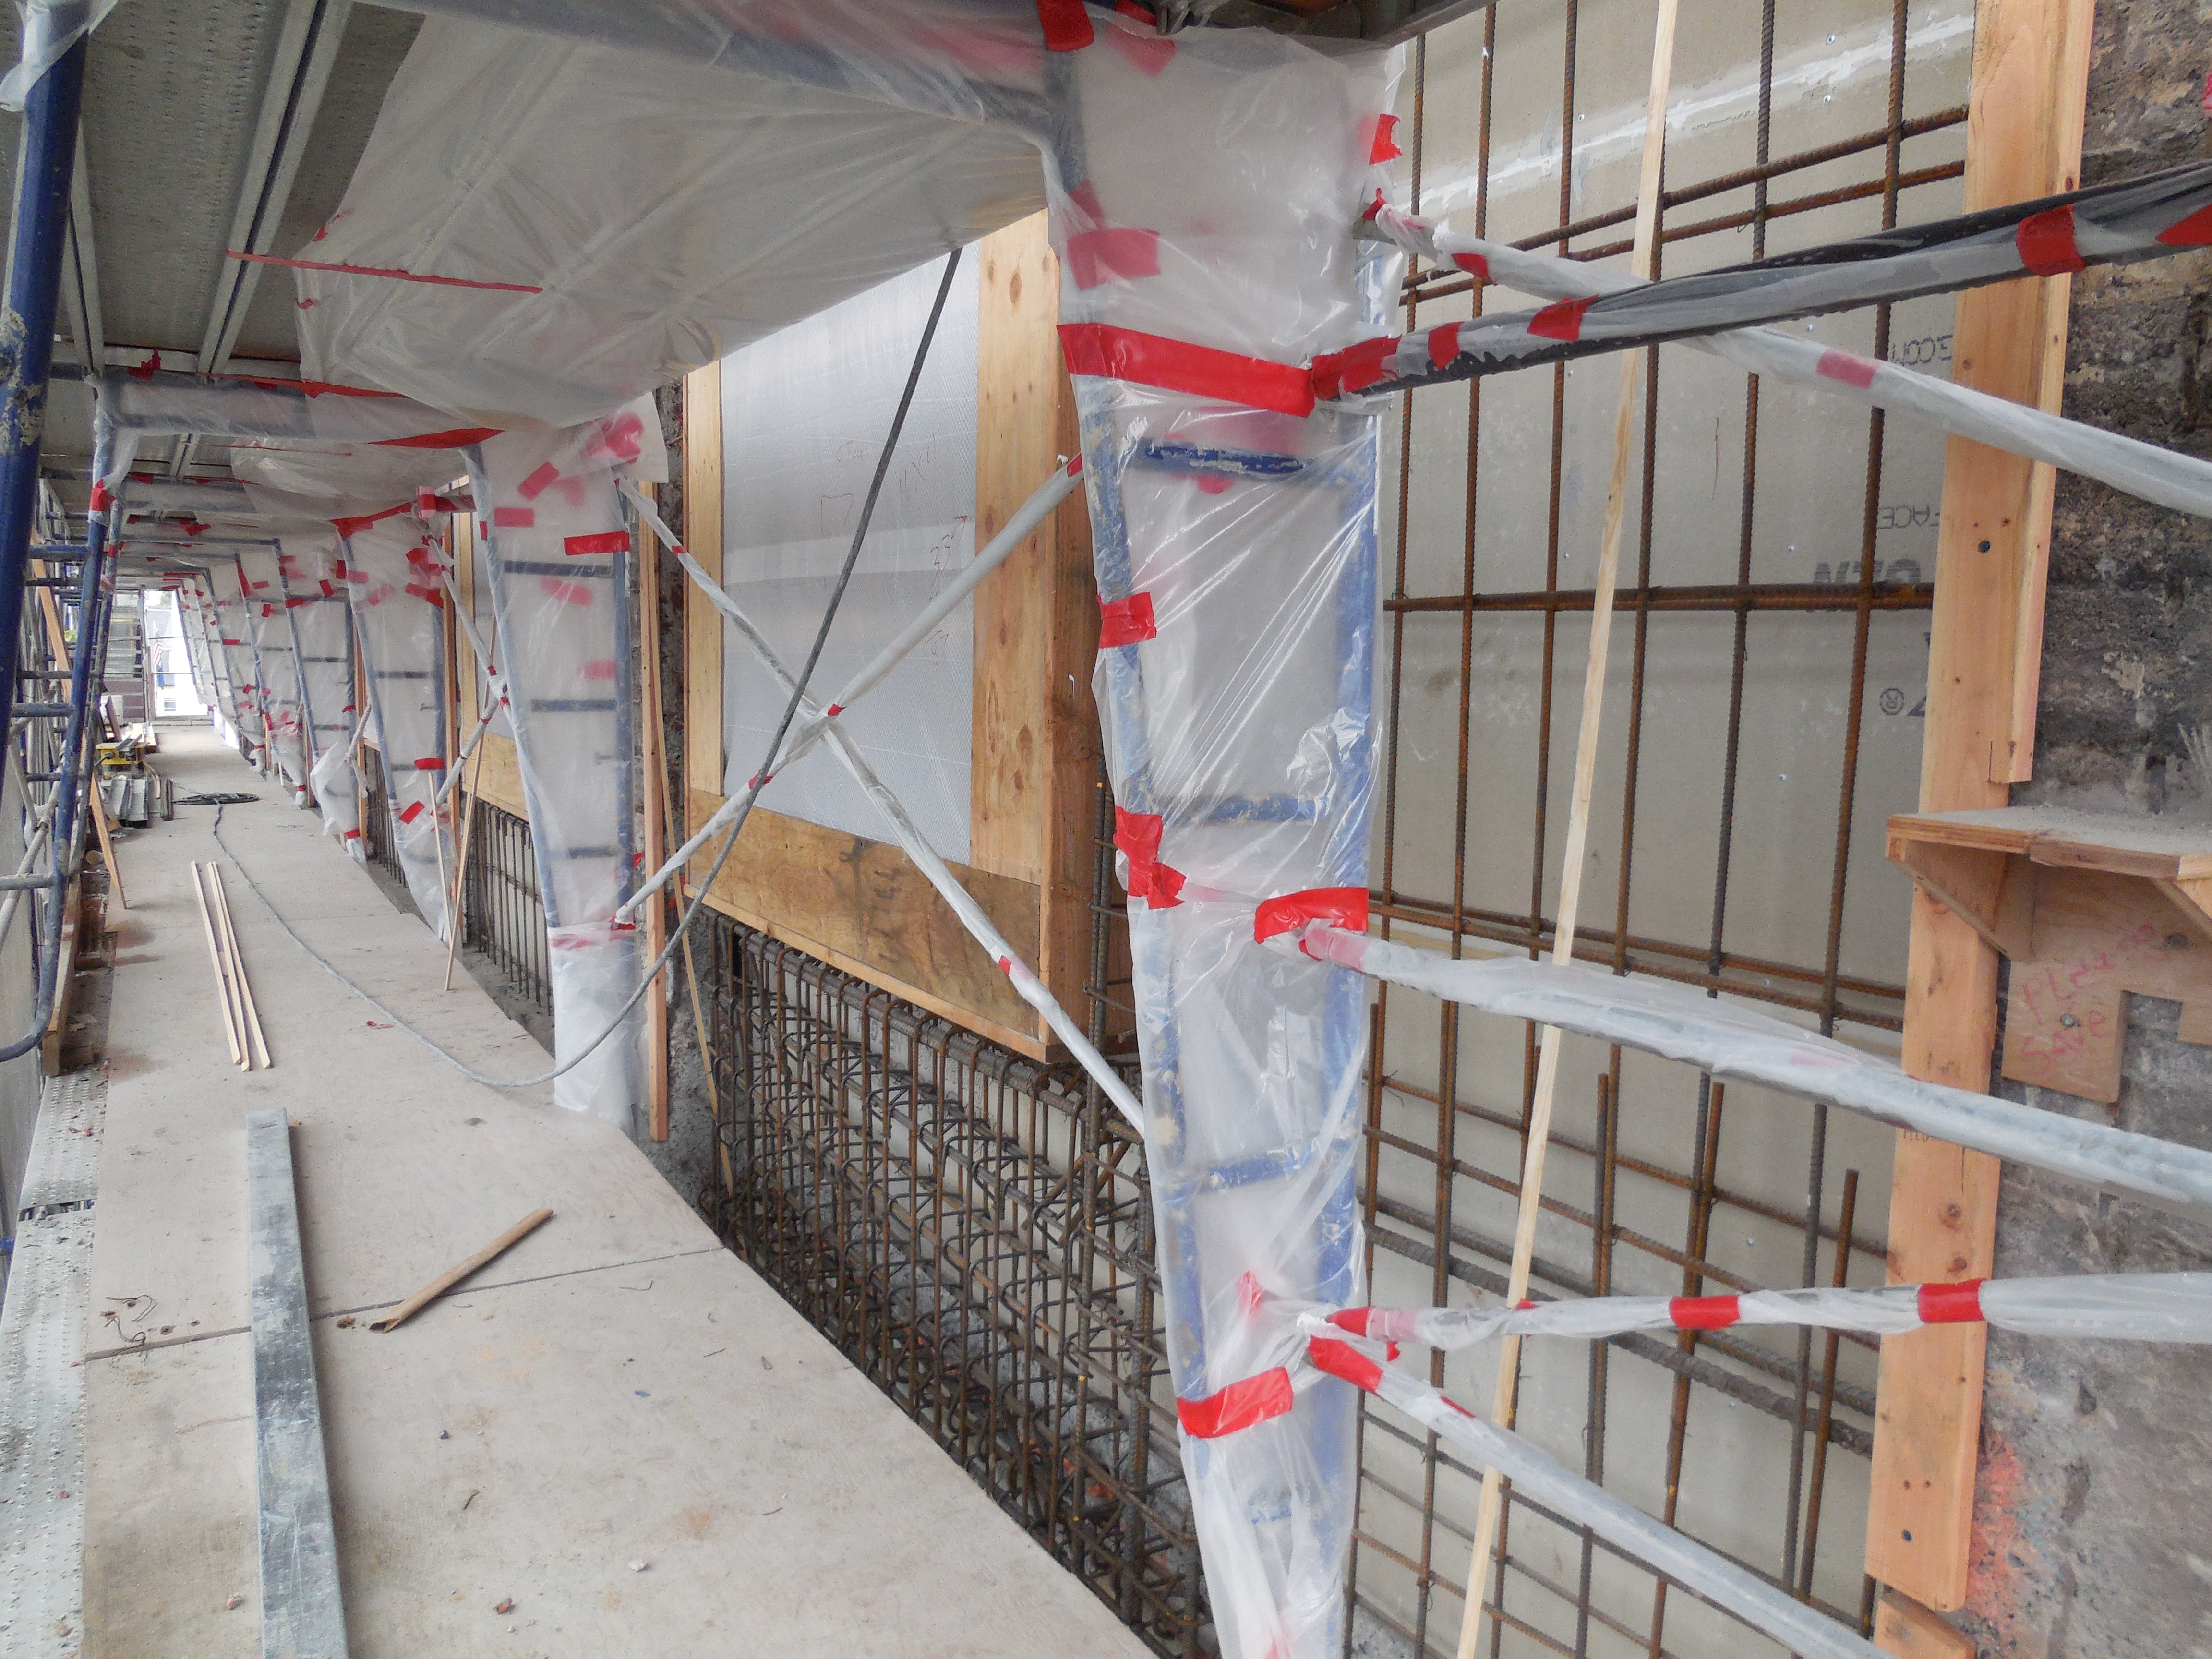
 |  |
| Flashing, South Face | Precast, Southwest Corner |
 |  |
| Mason's scaffold, South Face | Precast attachment, South Face |
 |  |
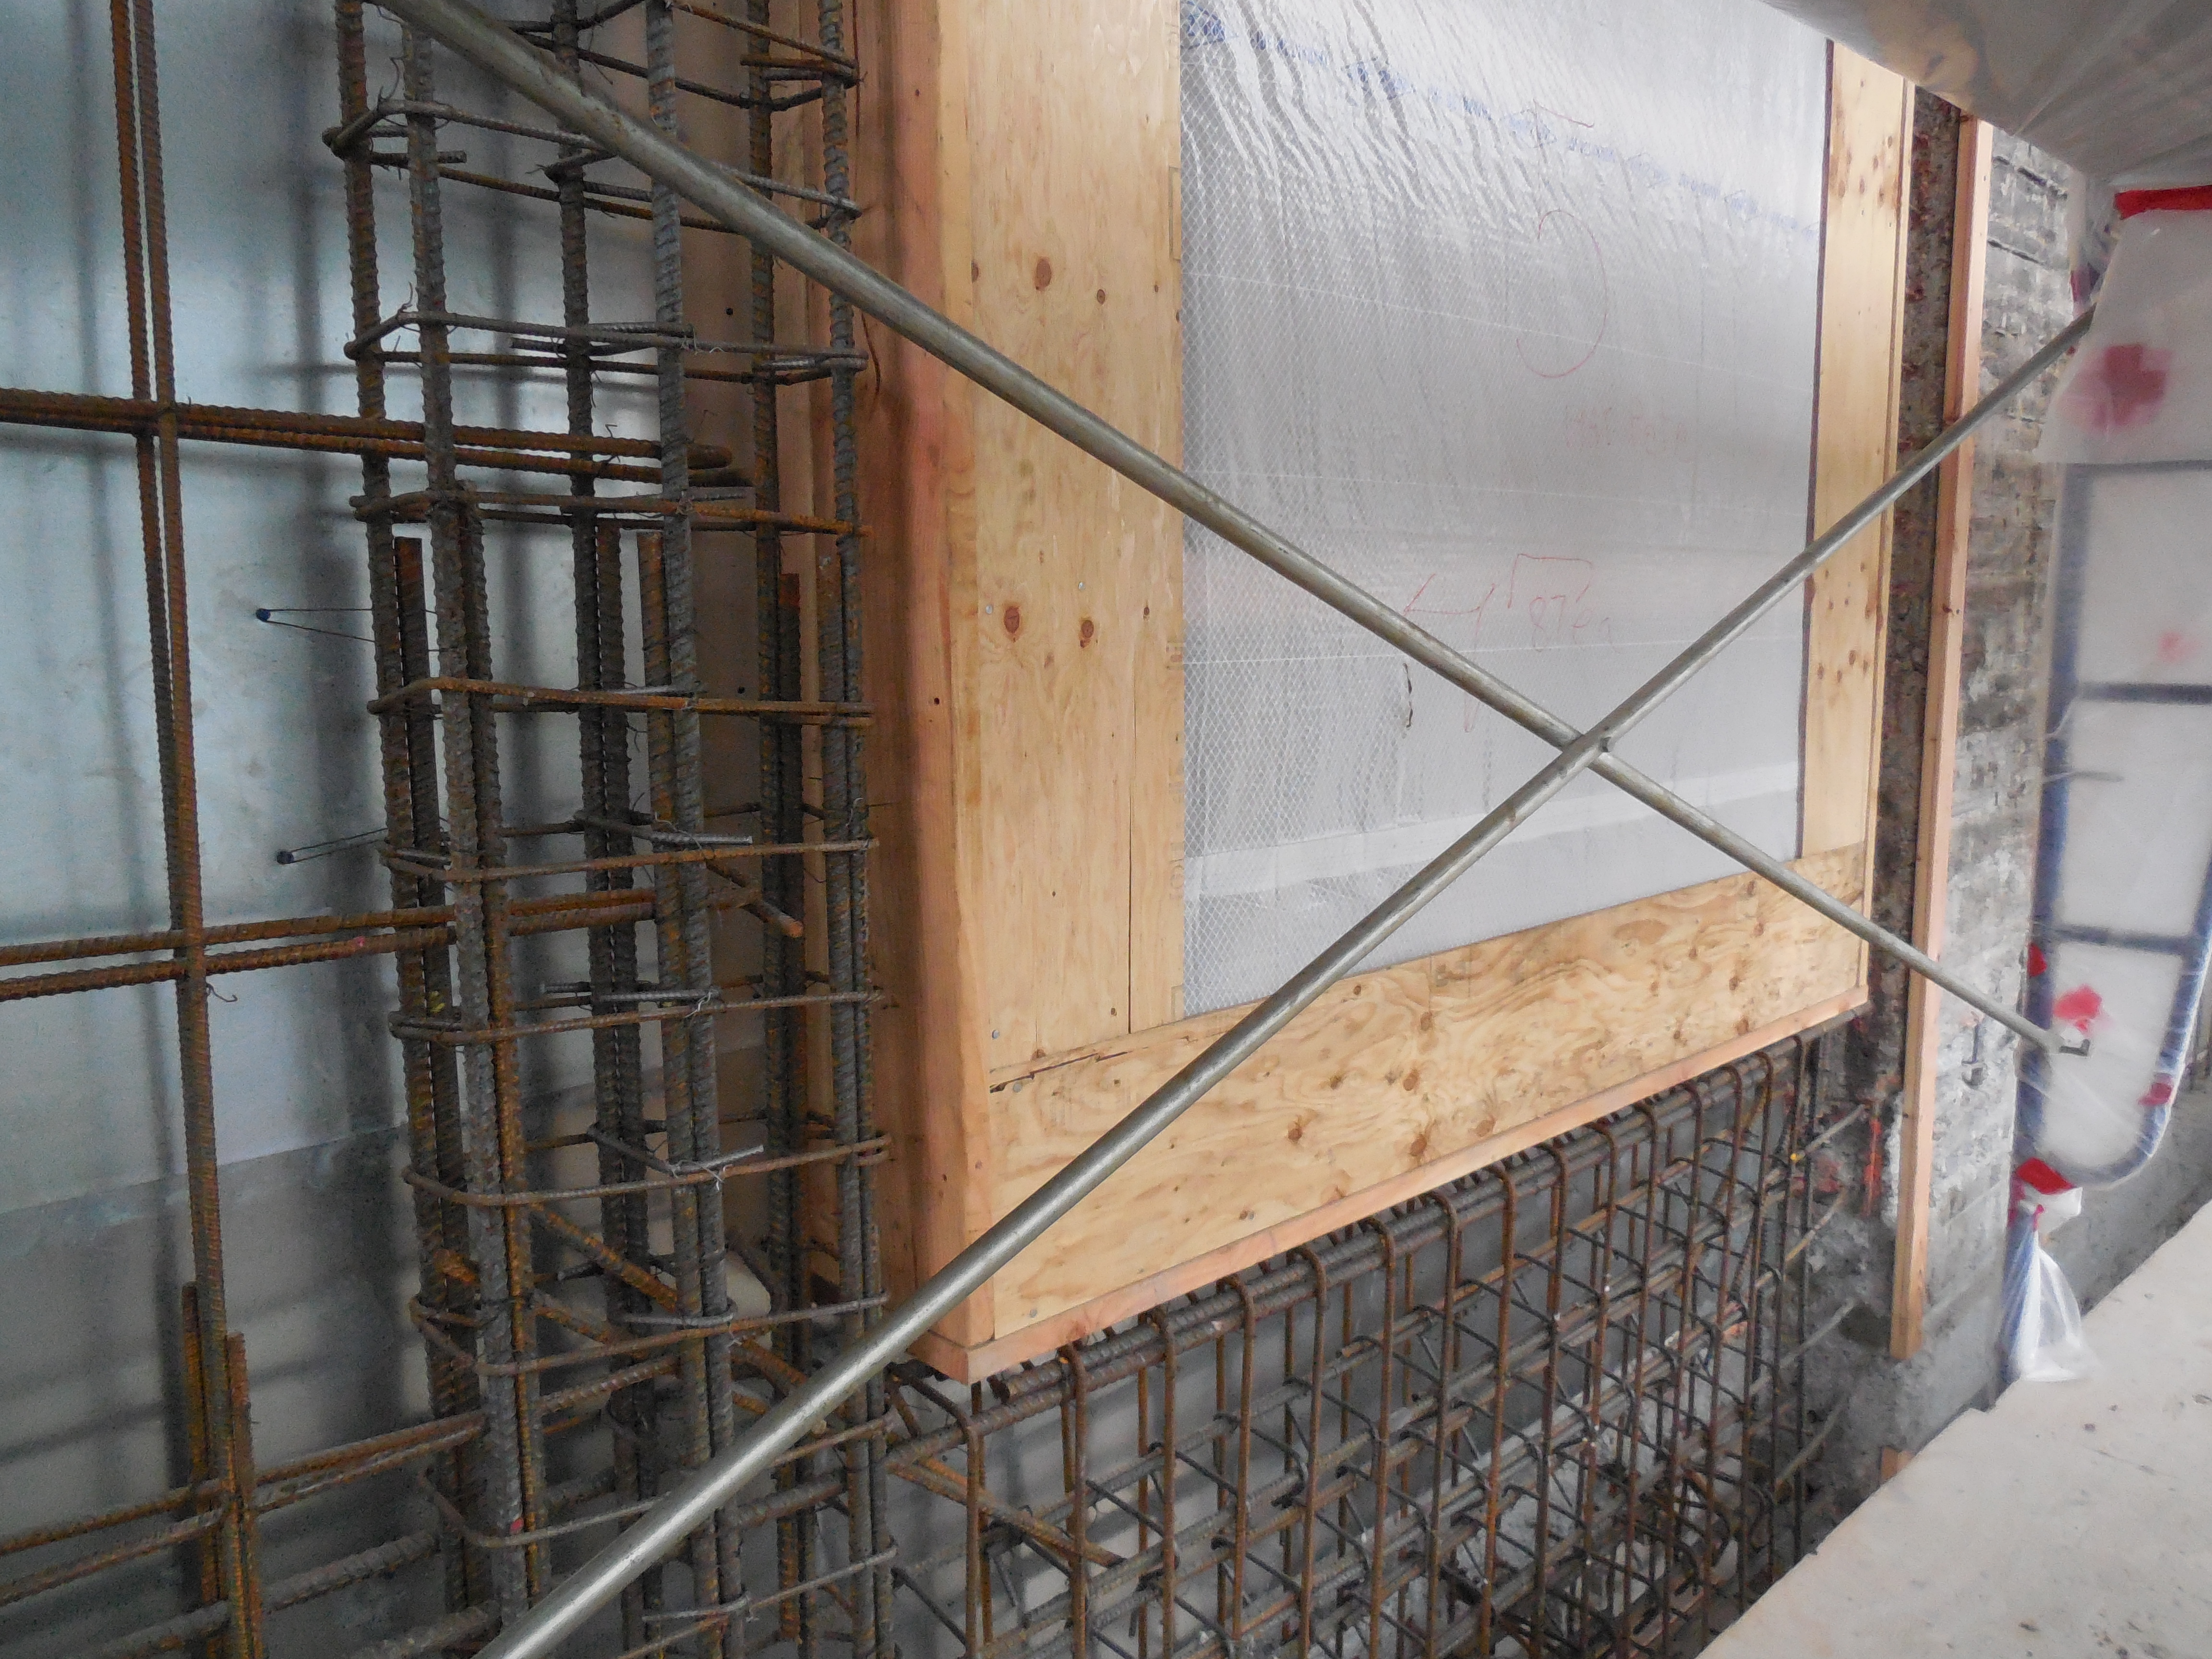
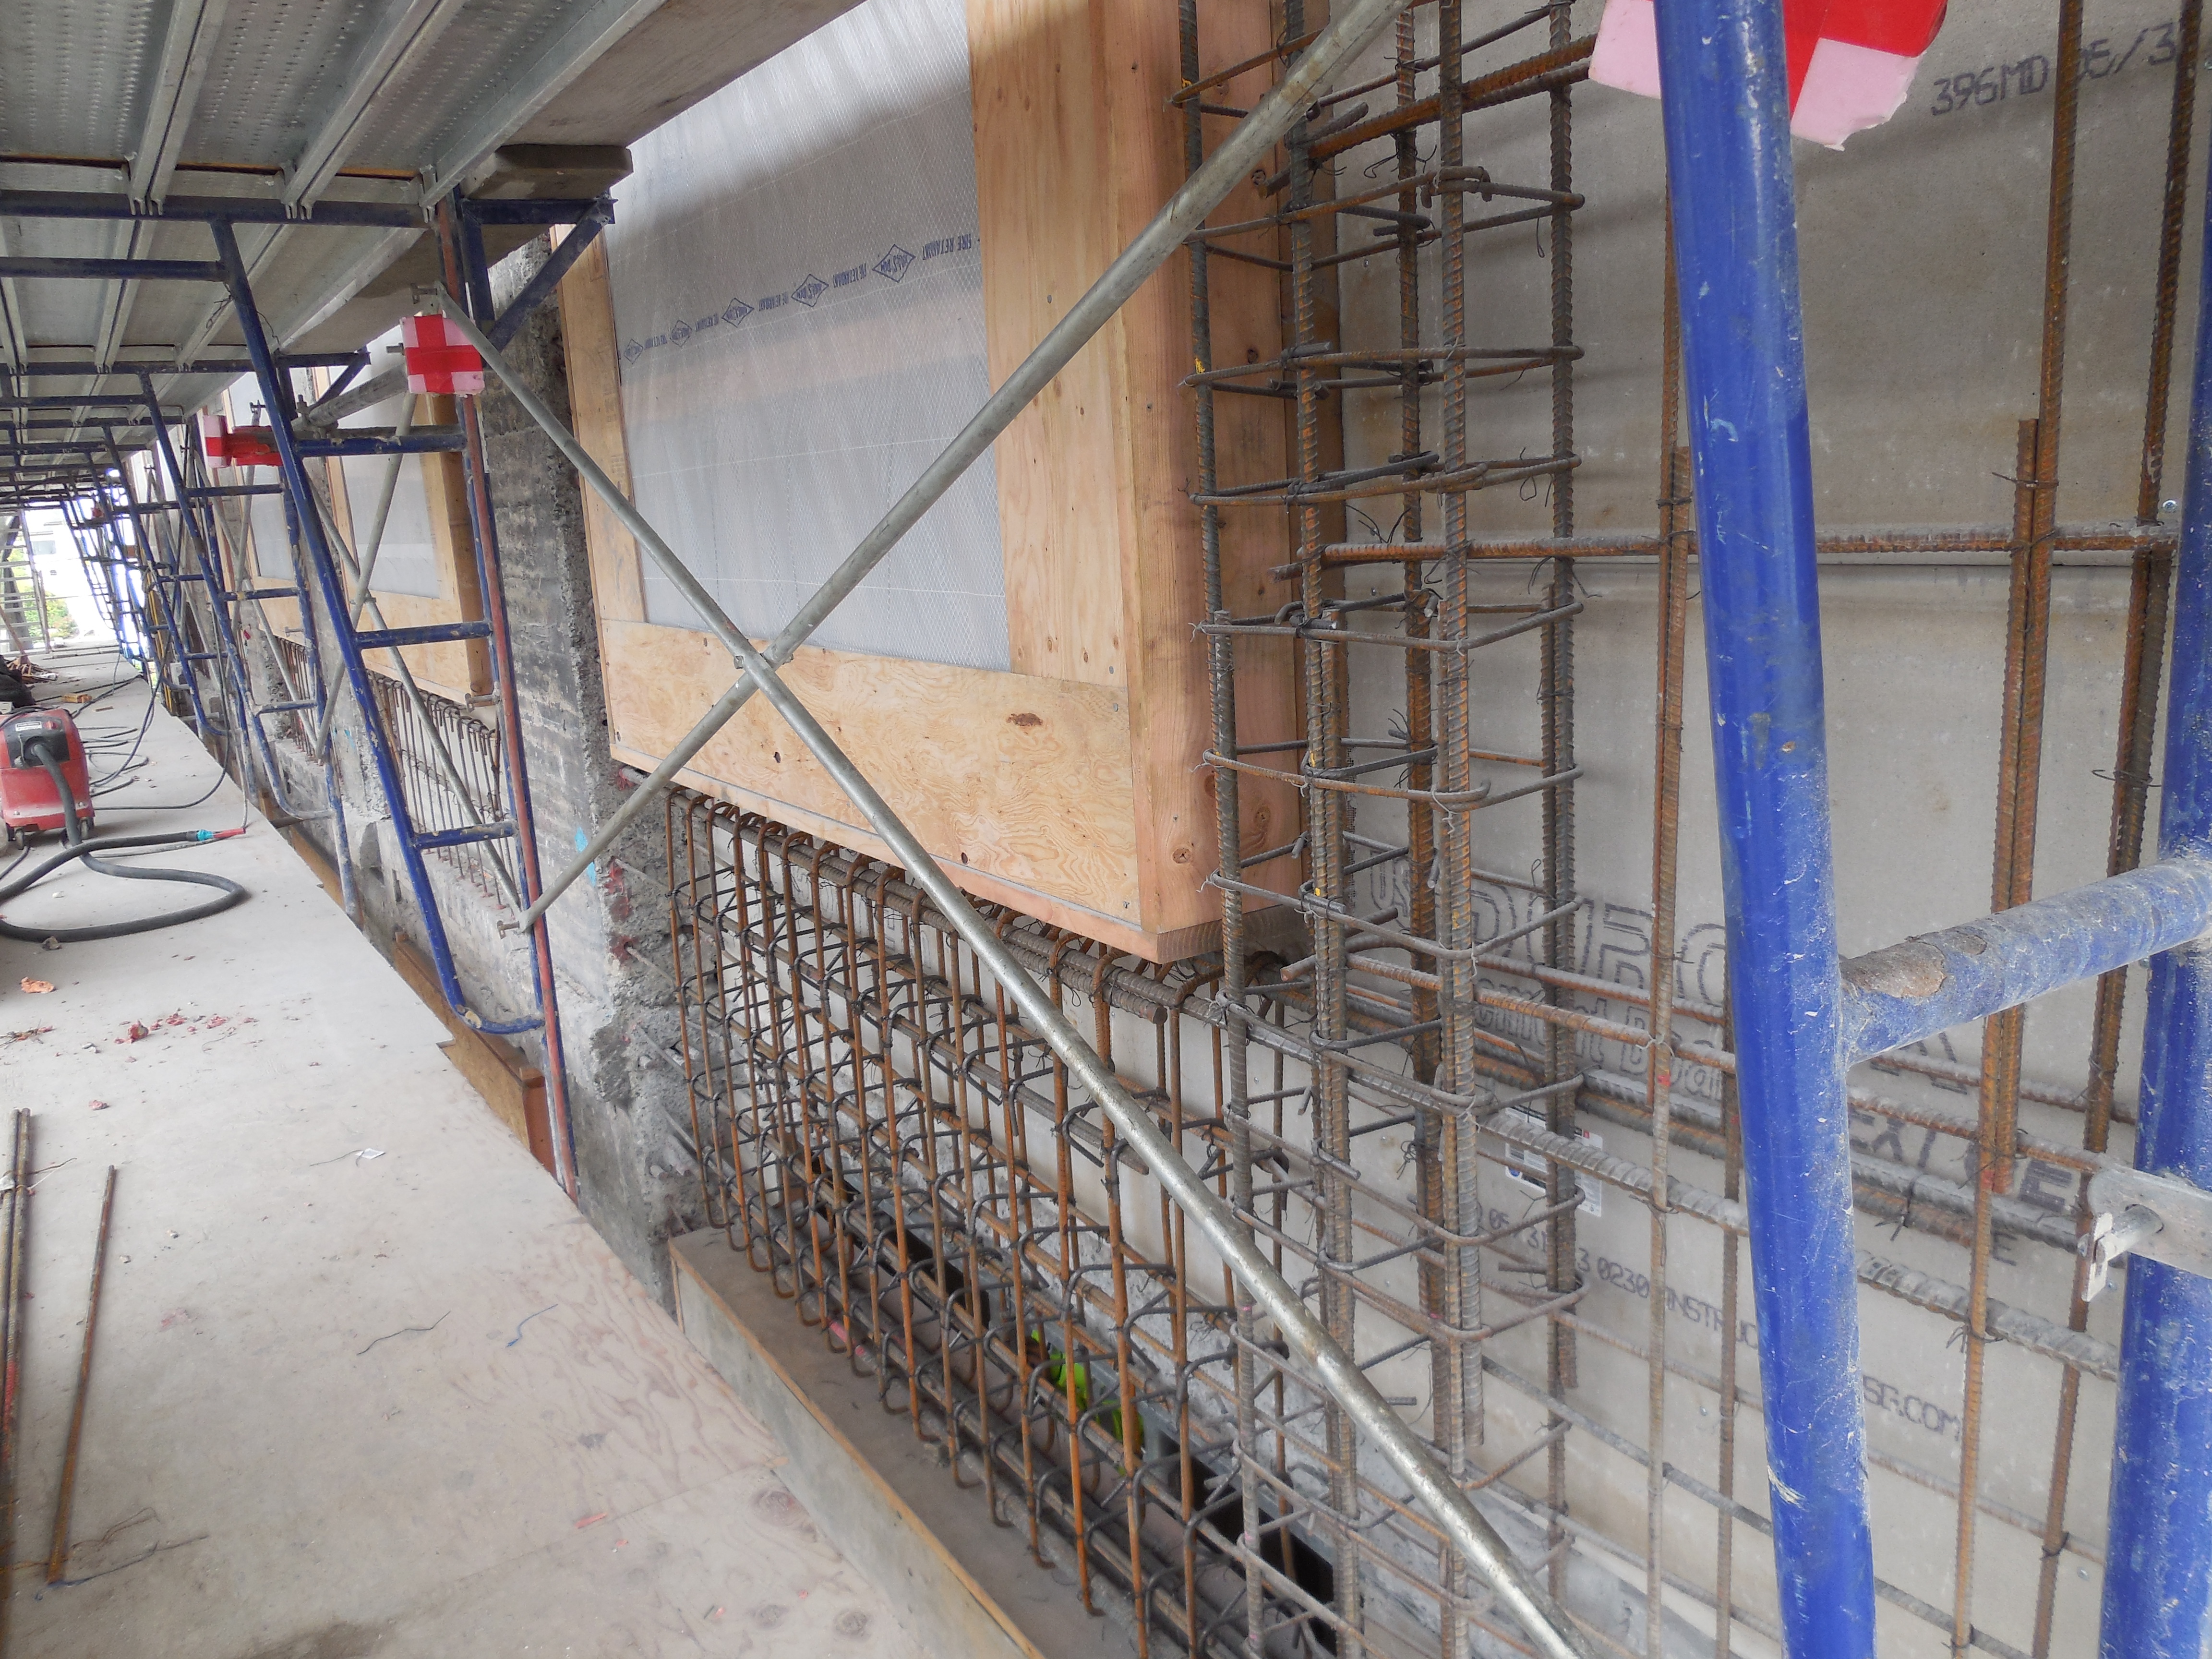
| 4" insulation behind precast | First four windows w/ precast, South Face |
 |
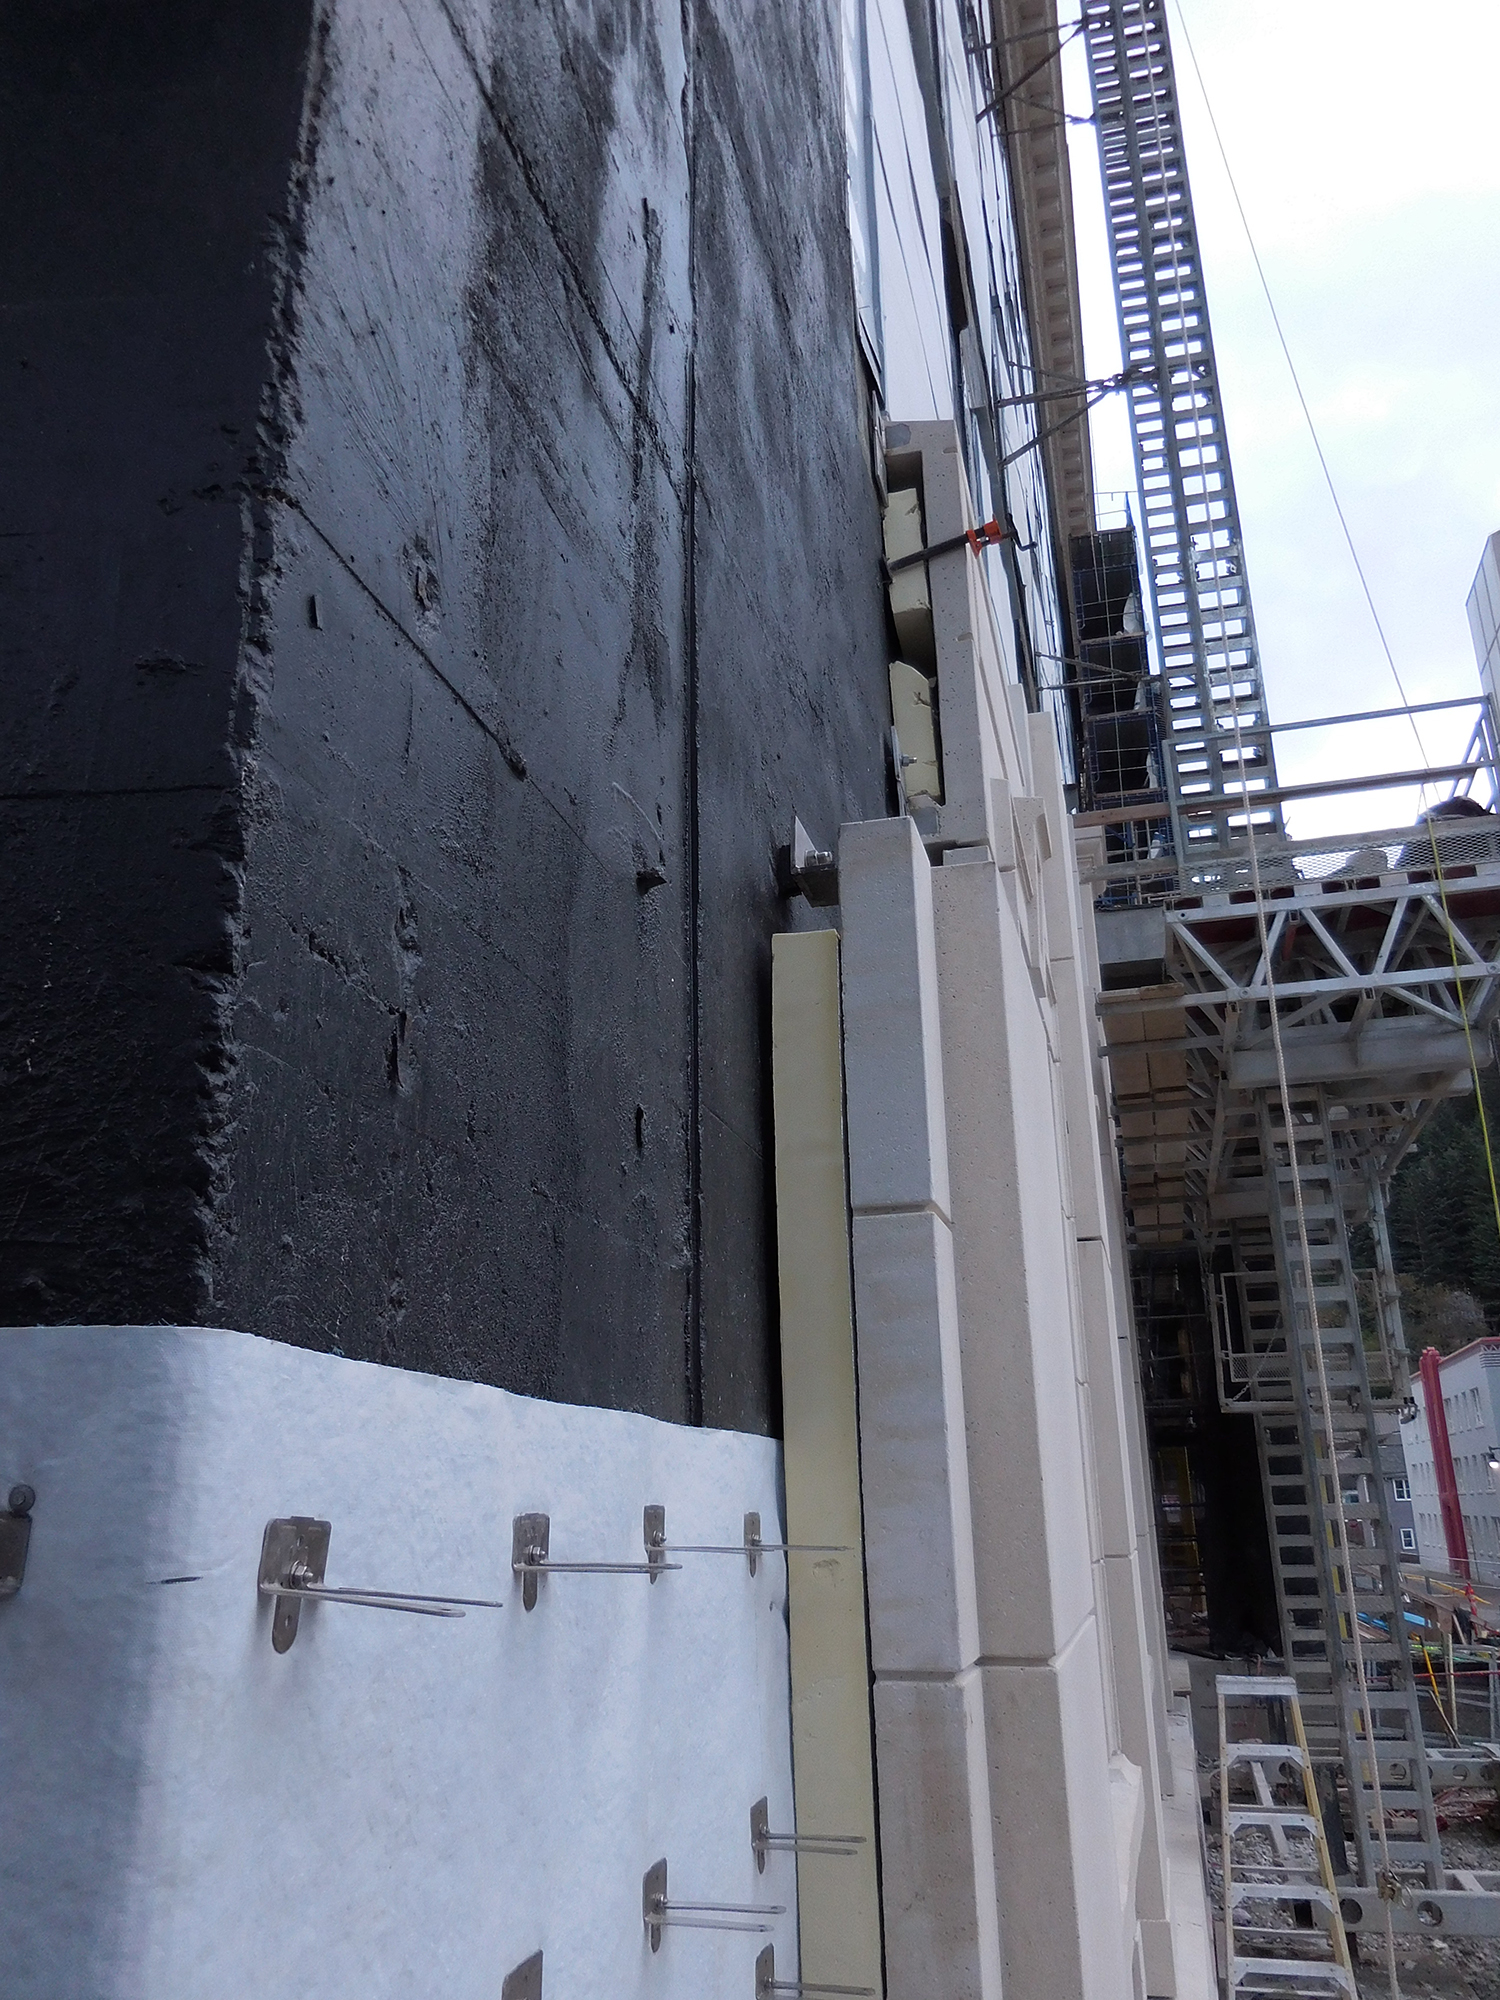 |
| Seward Street w/o all scaffold North of Skybridge | Drain mat & insulation behind precast |
 |  |
| Precast on South Face | Grouting the Precast |
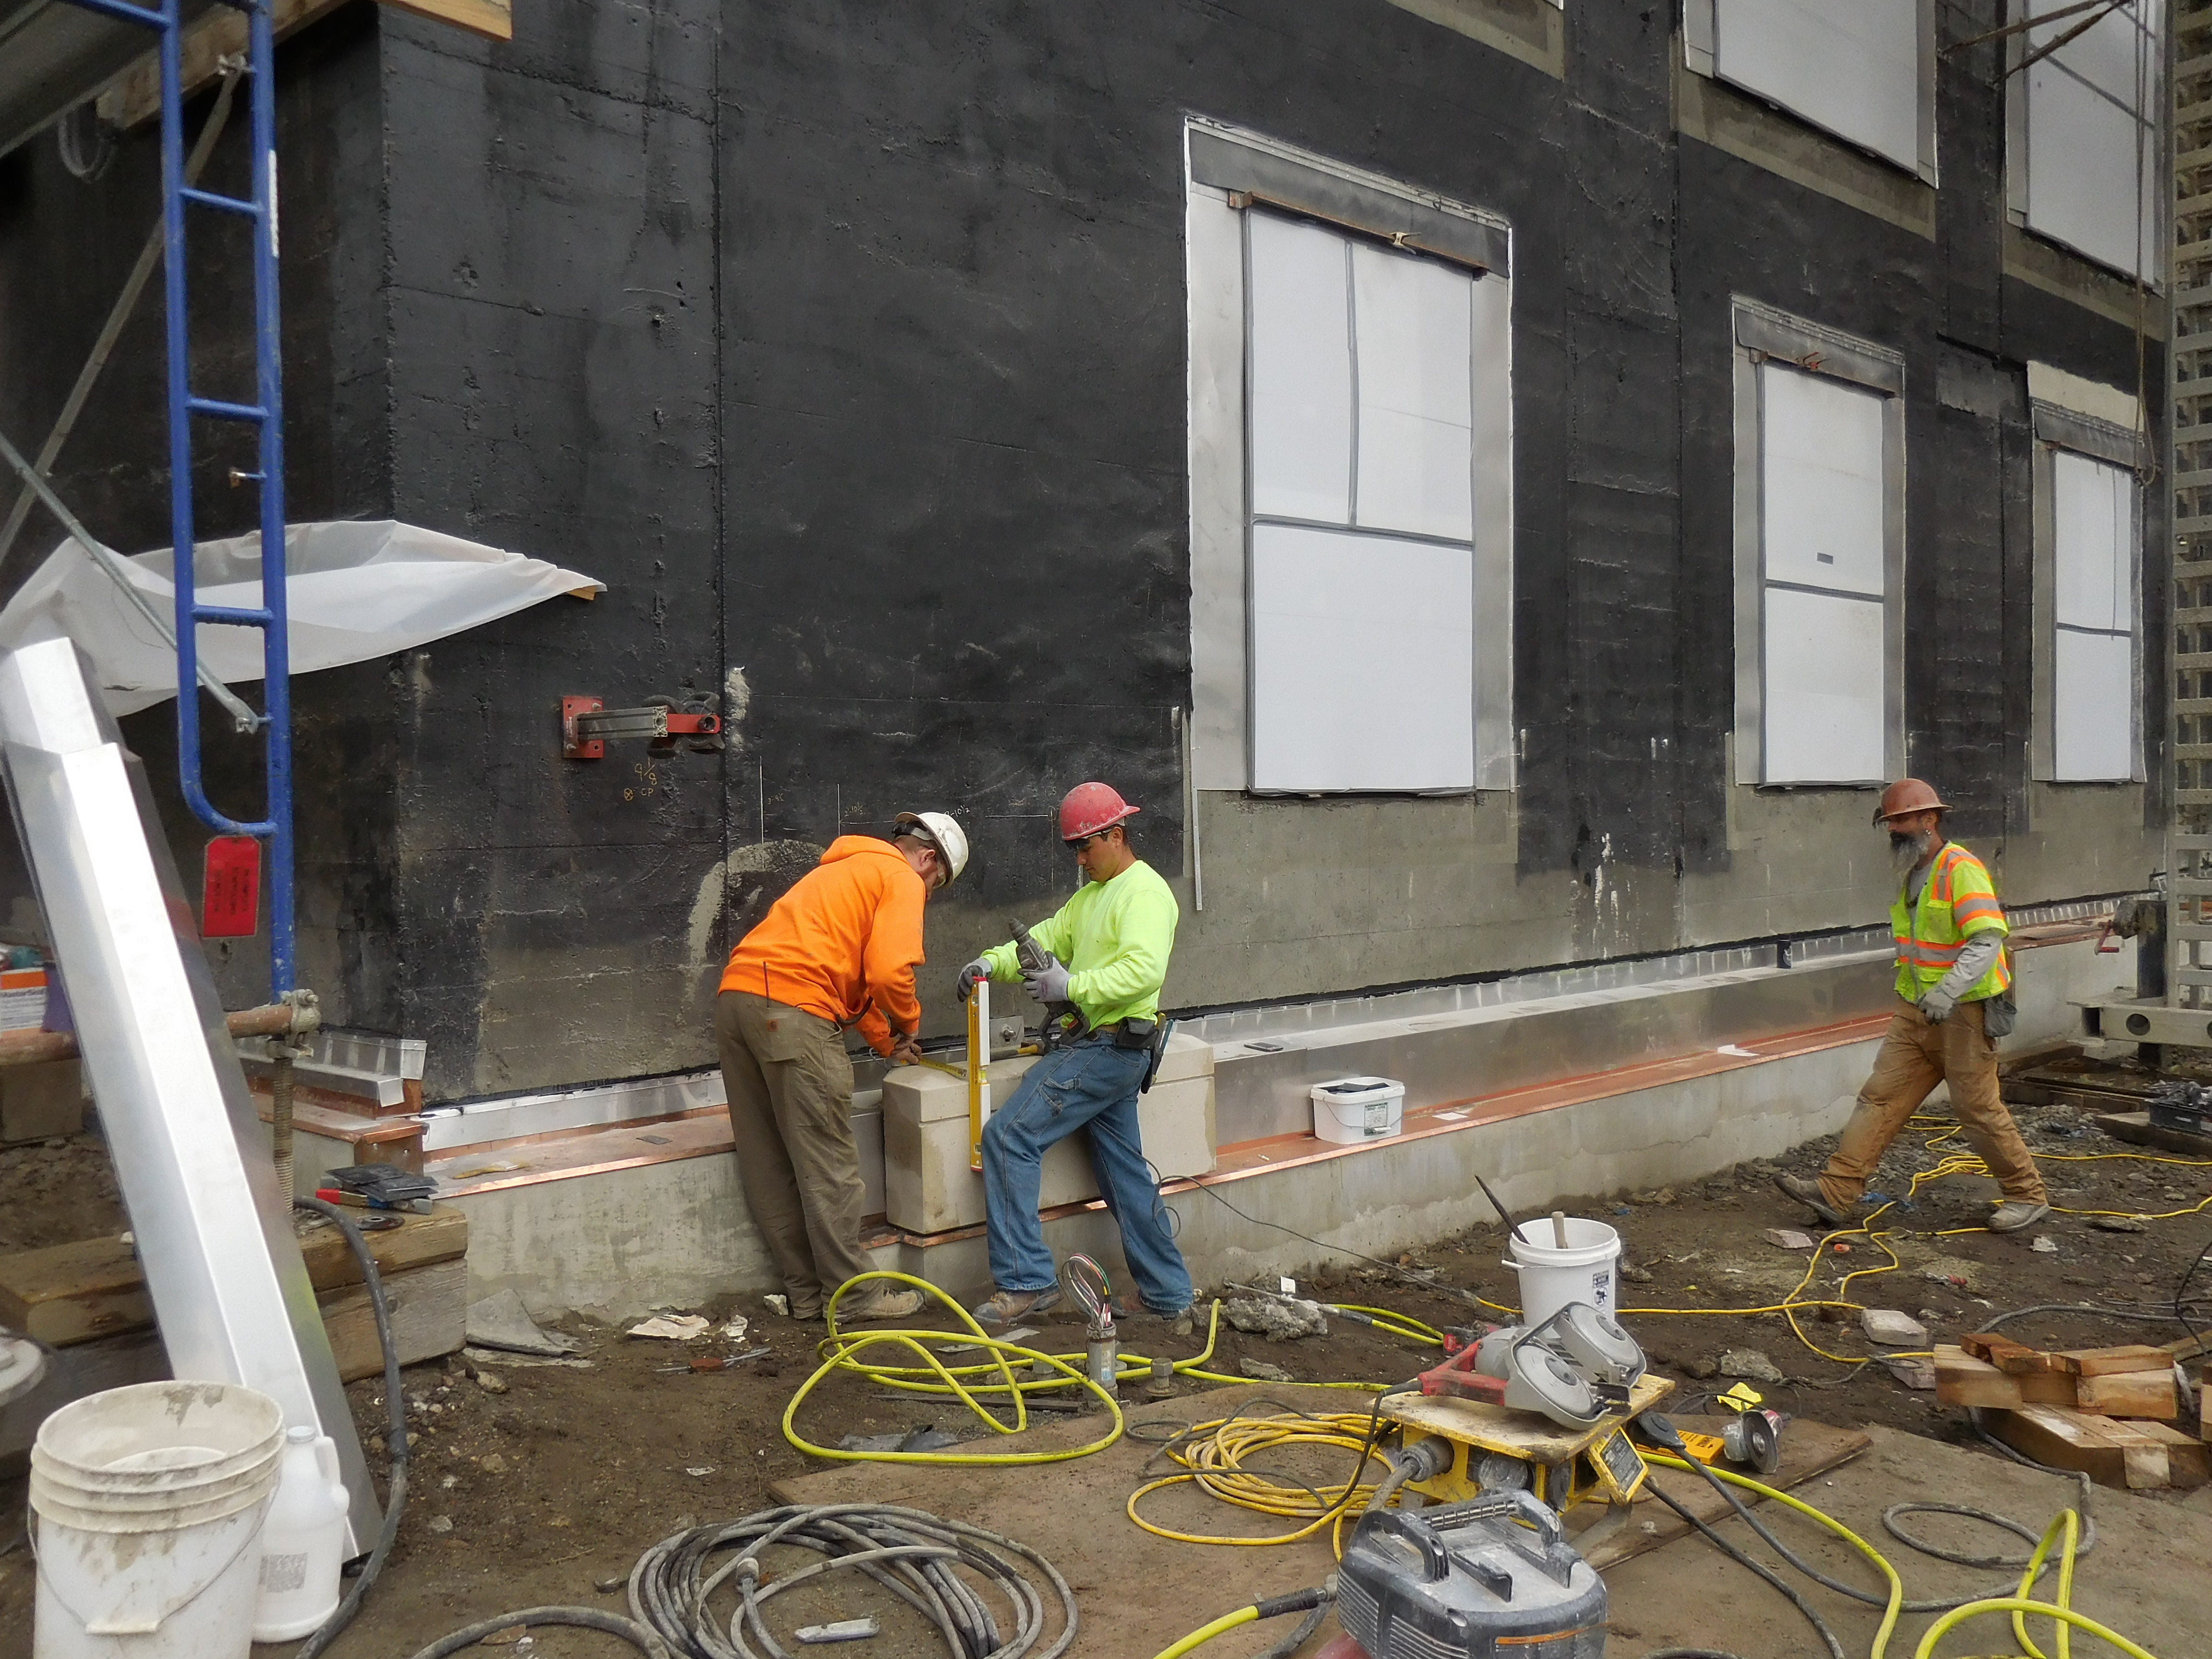
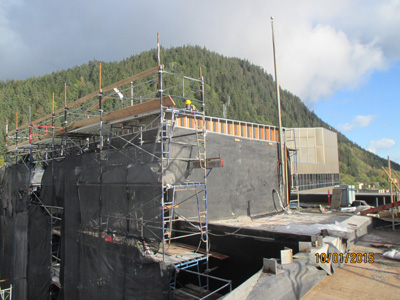
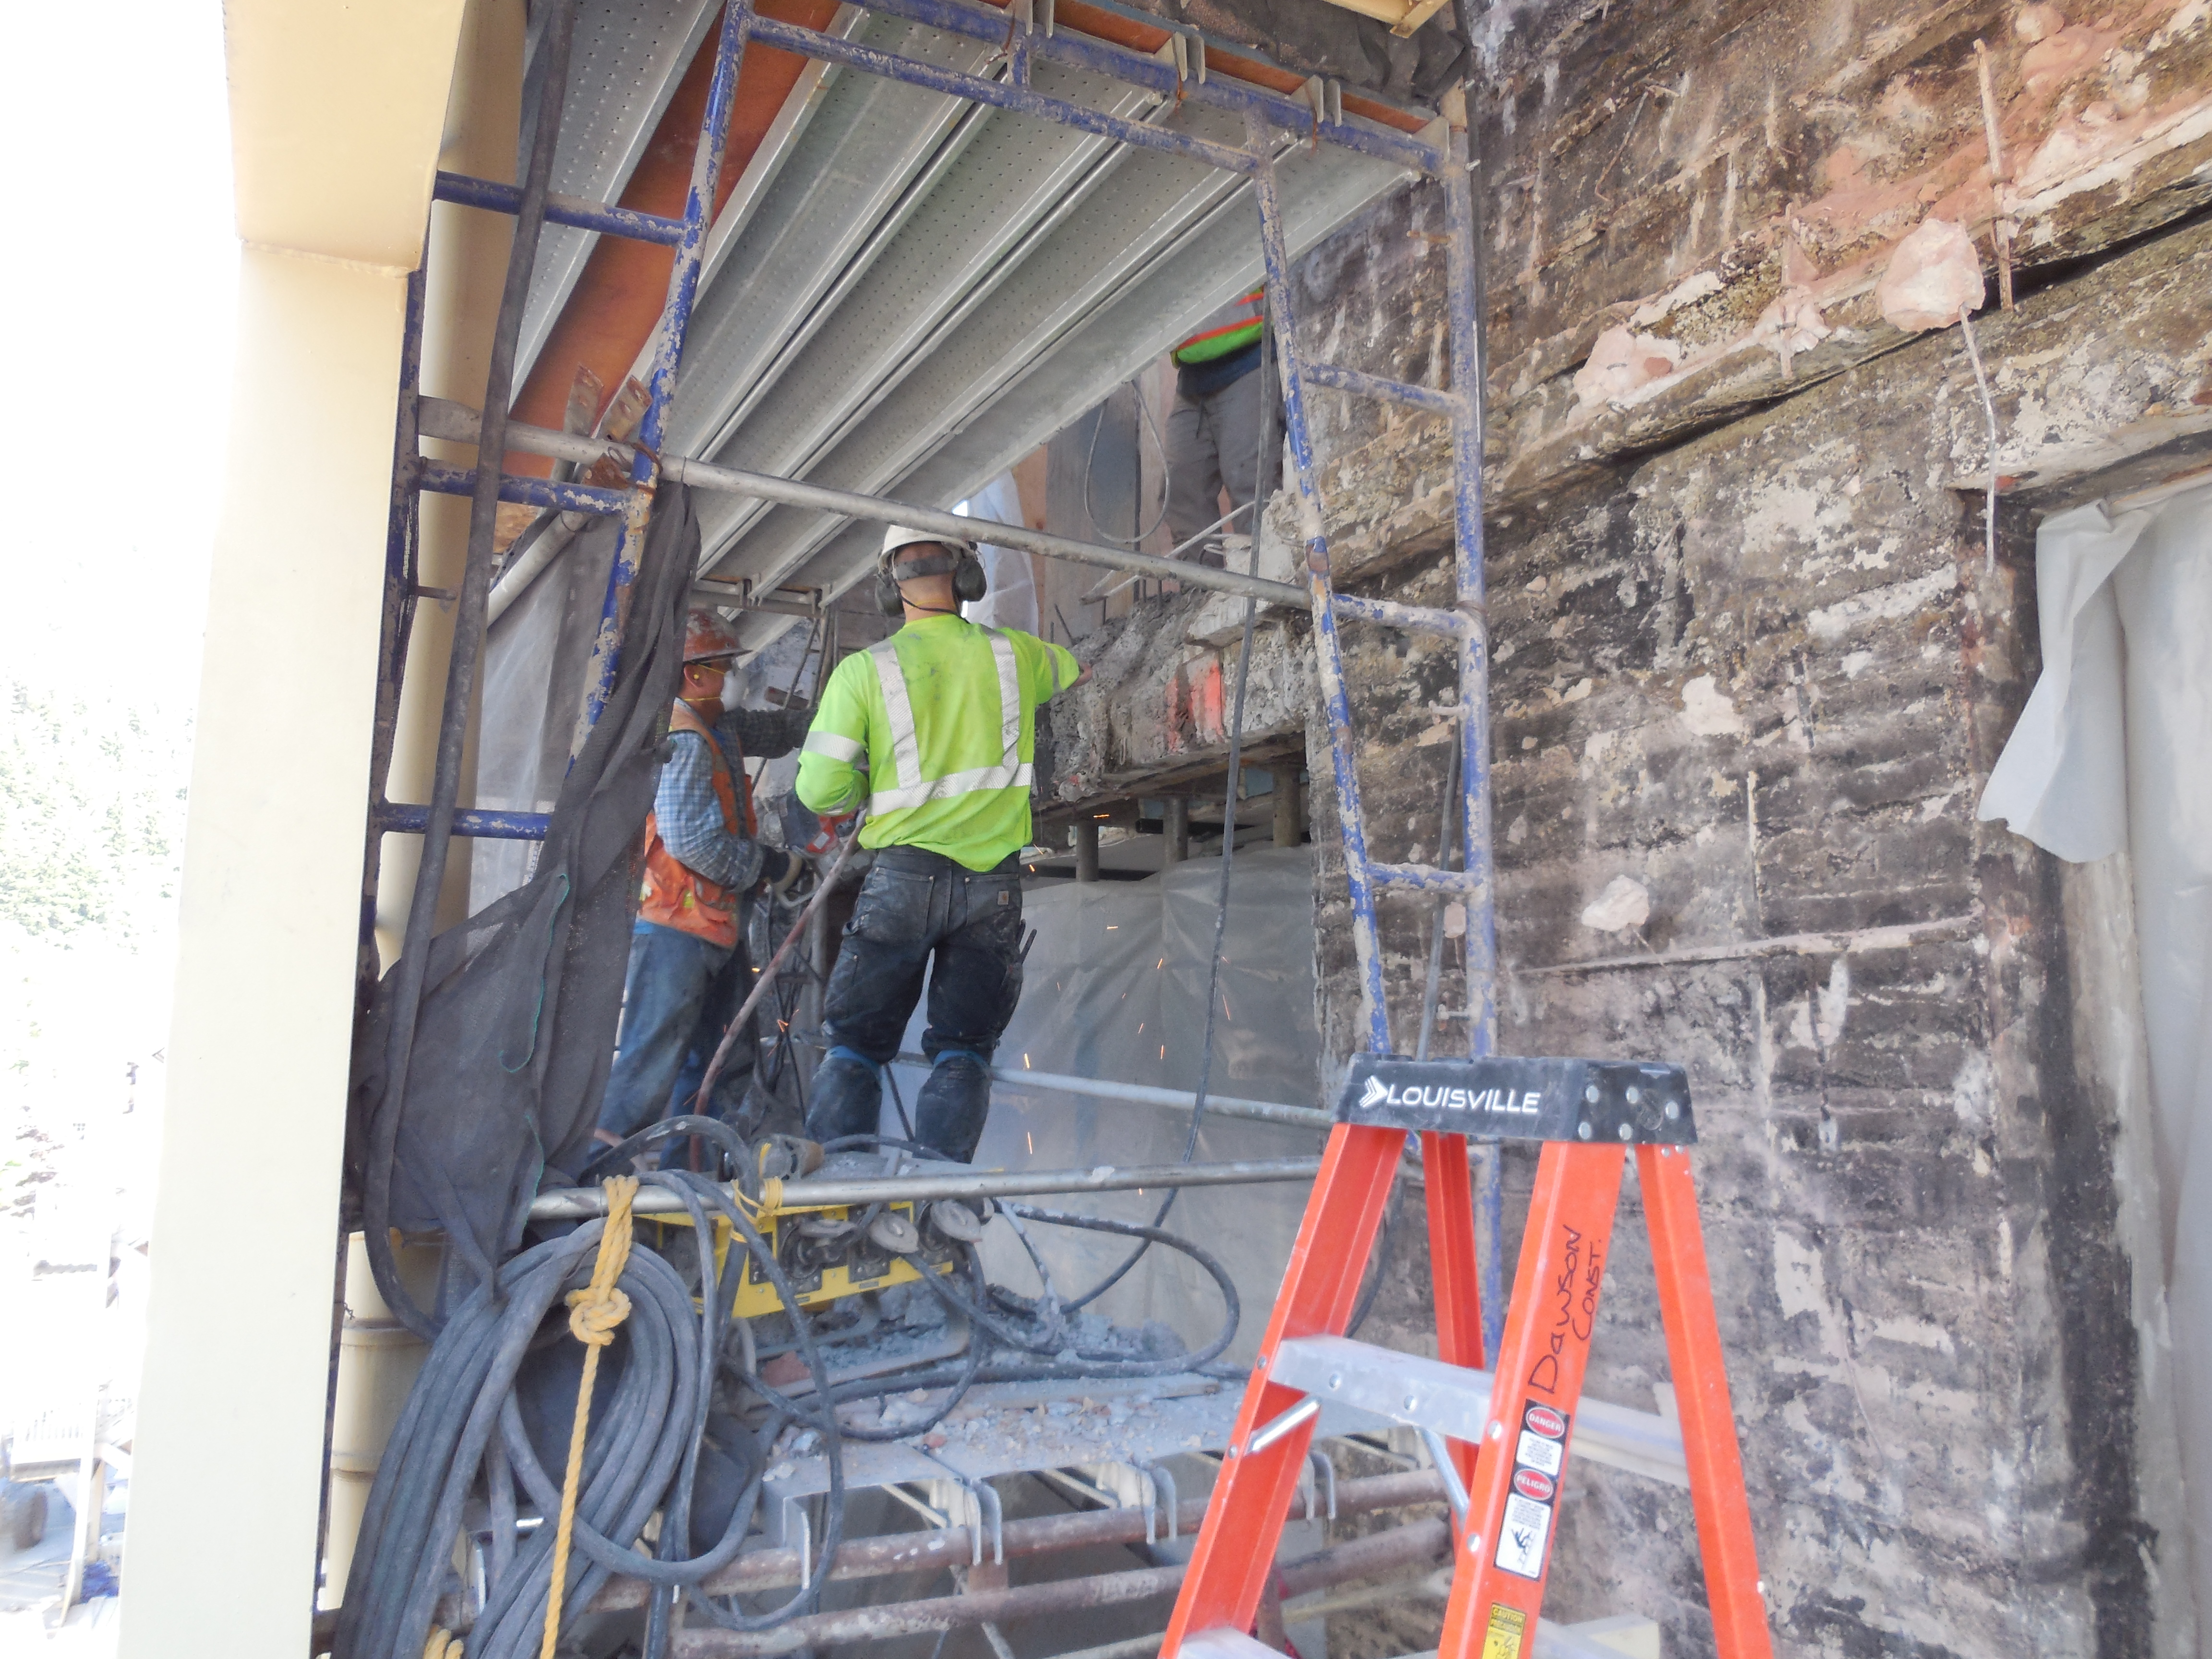
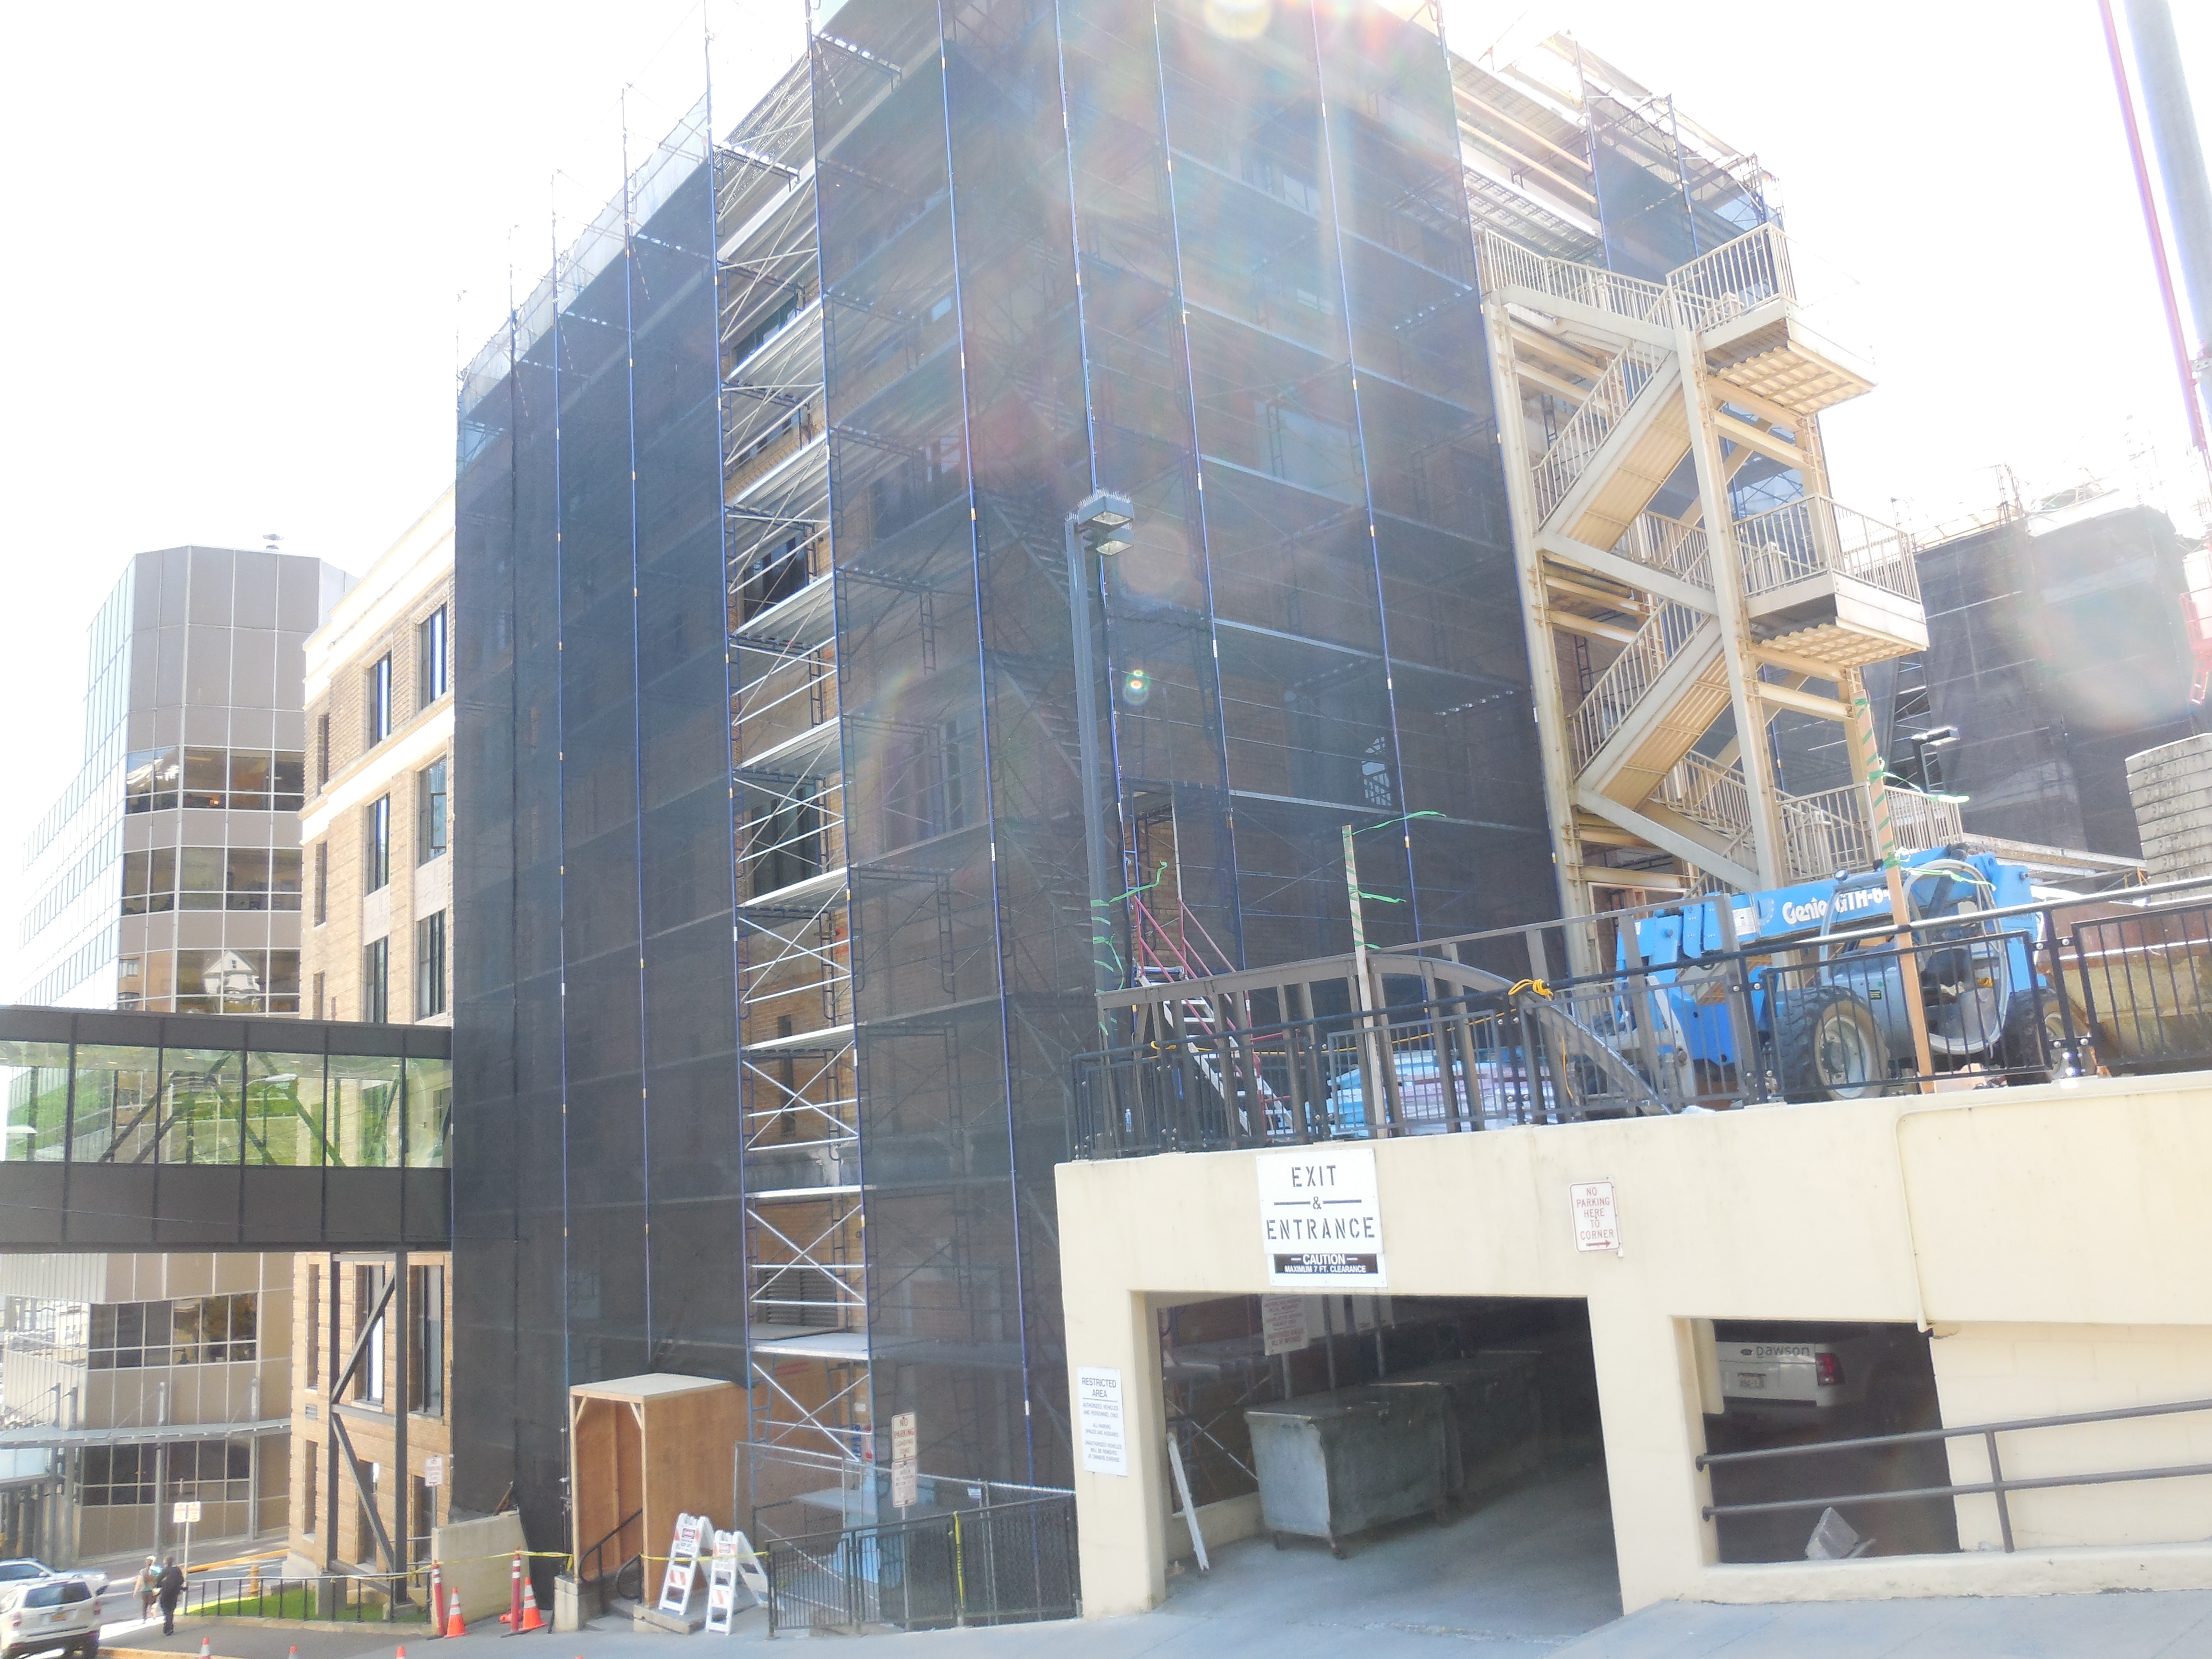
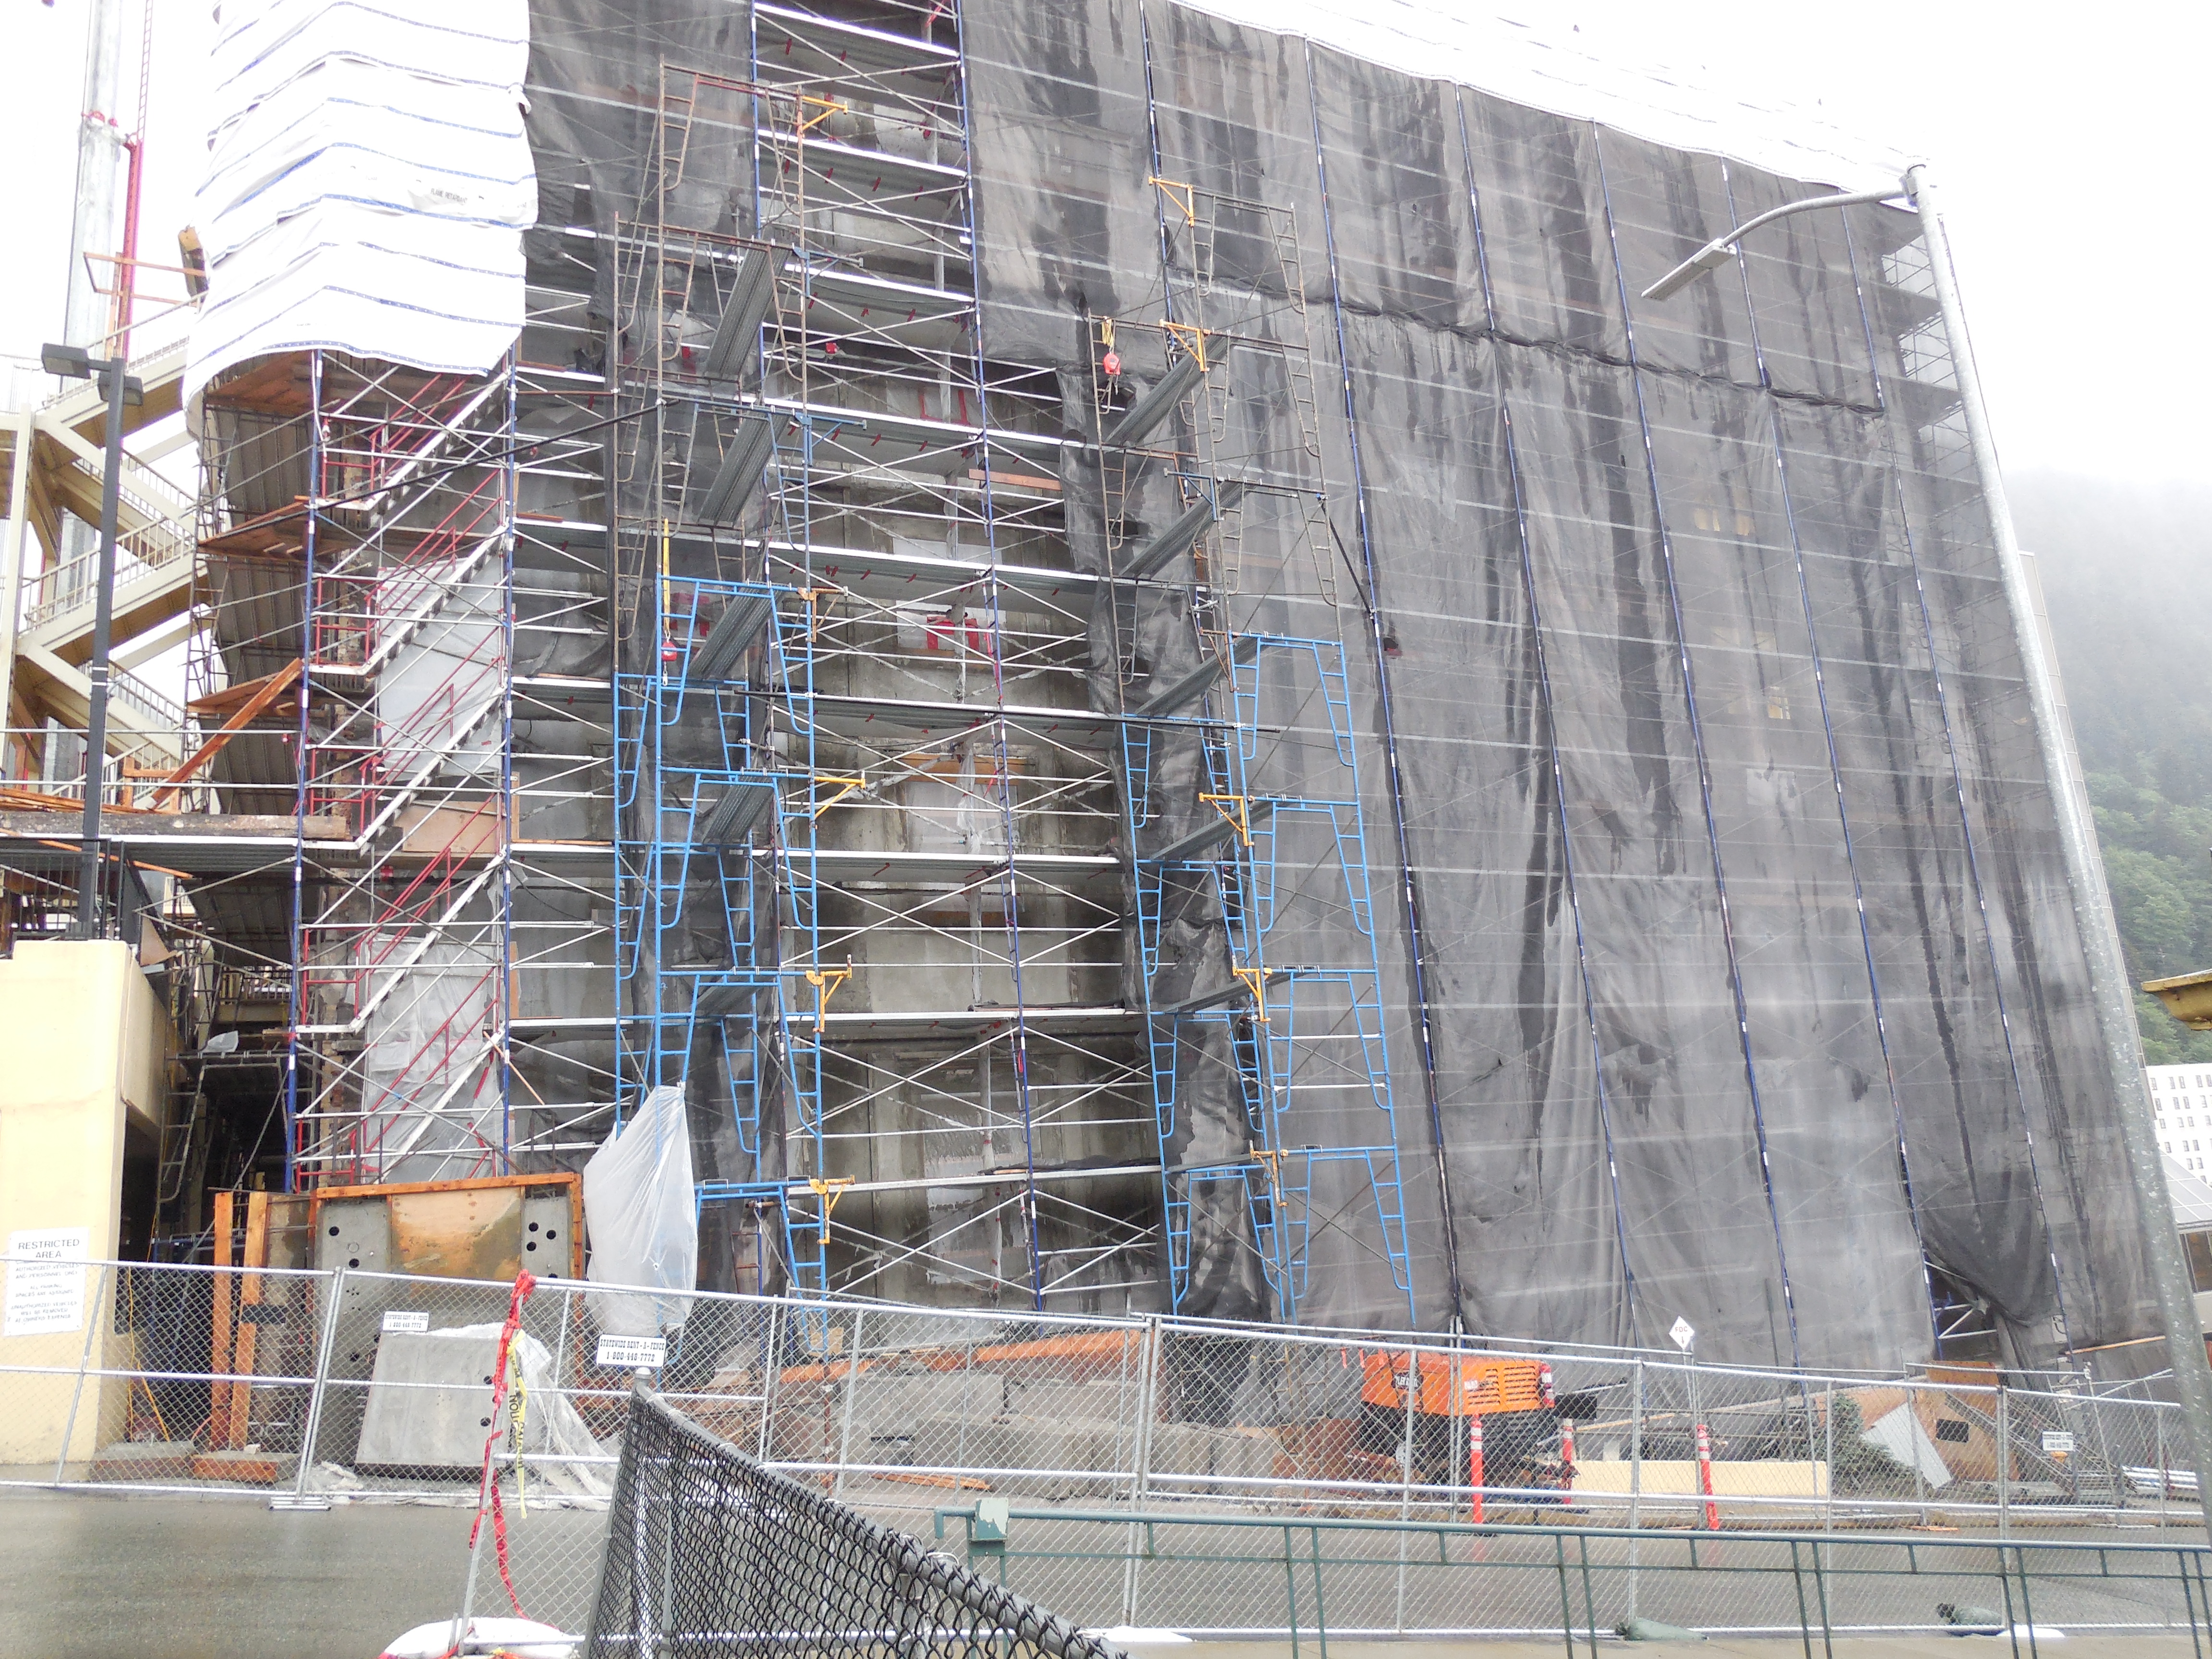
Update August 19, 2016
 |
 |
| Site prep 2016 season | Barricade for 2016 startup |
 |
 |
| Barricade for 2016 startup | Barricade for 2016 prep |
 |
 |
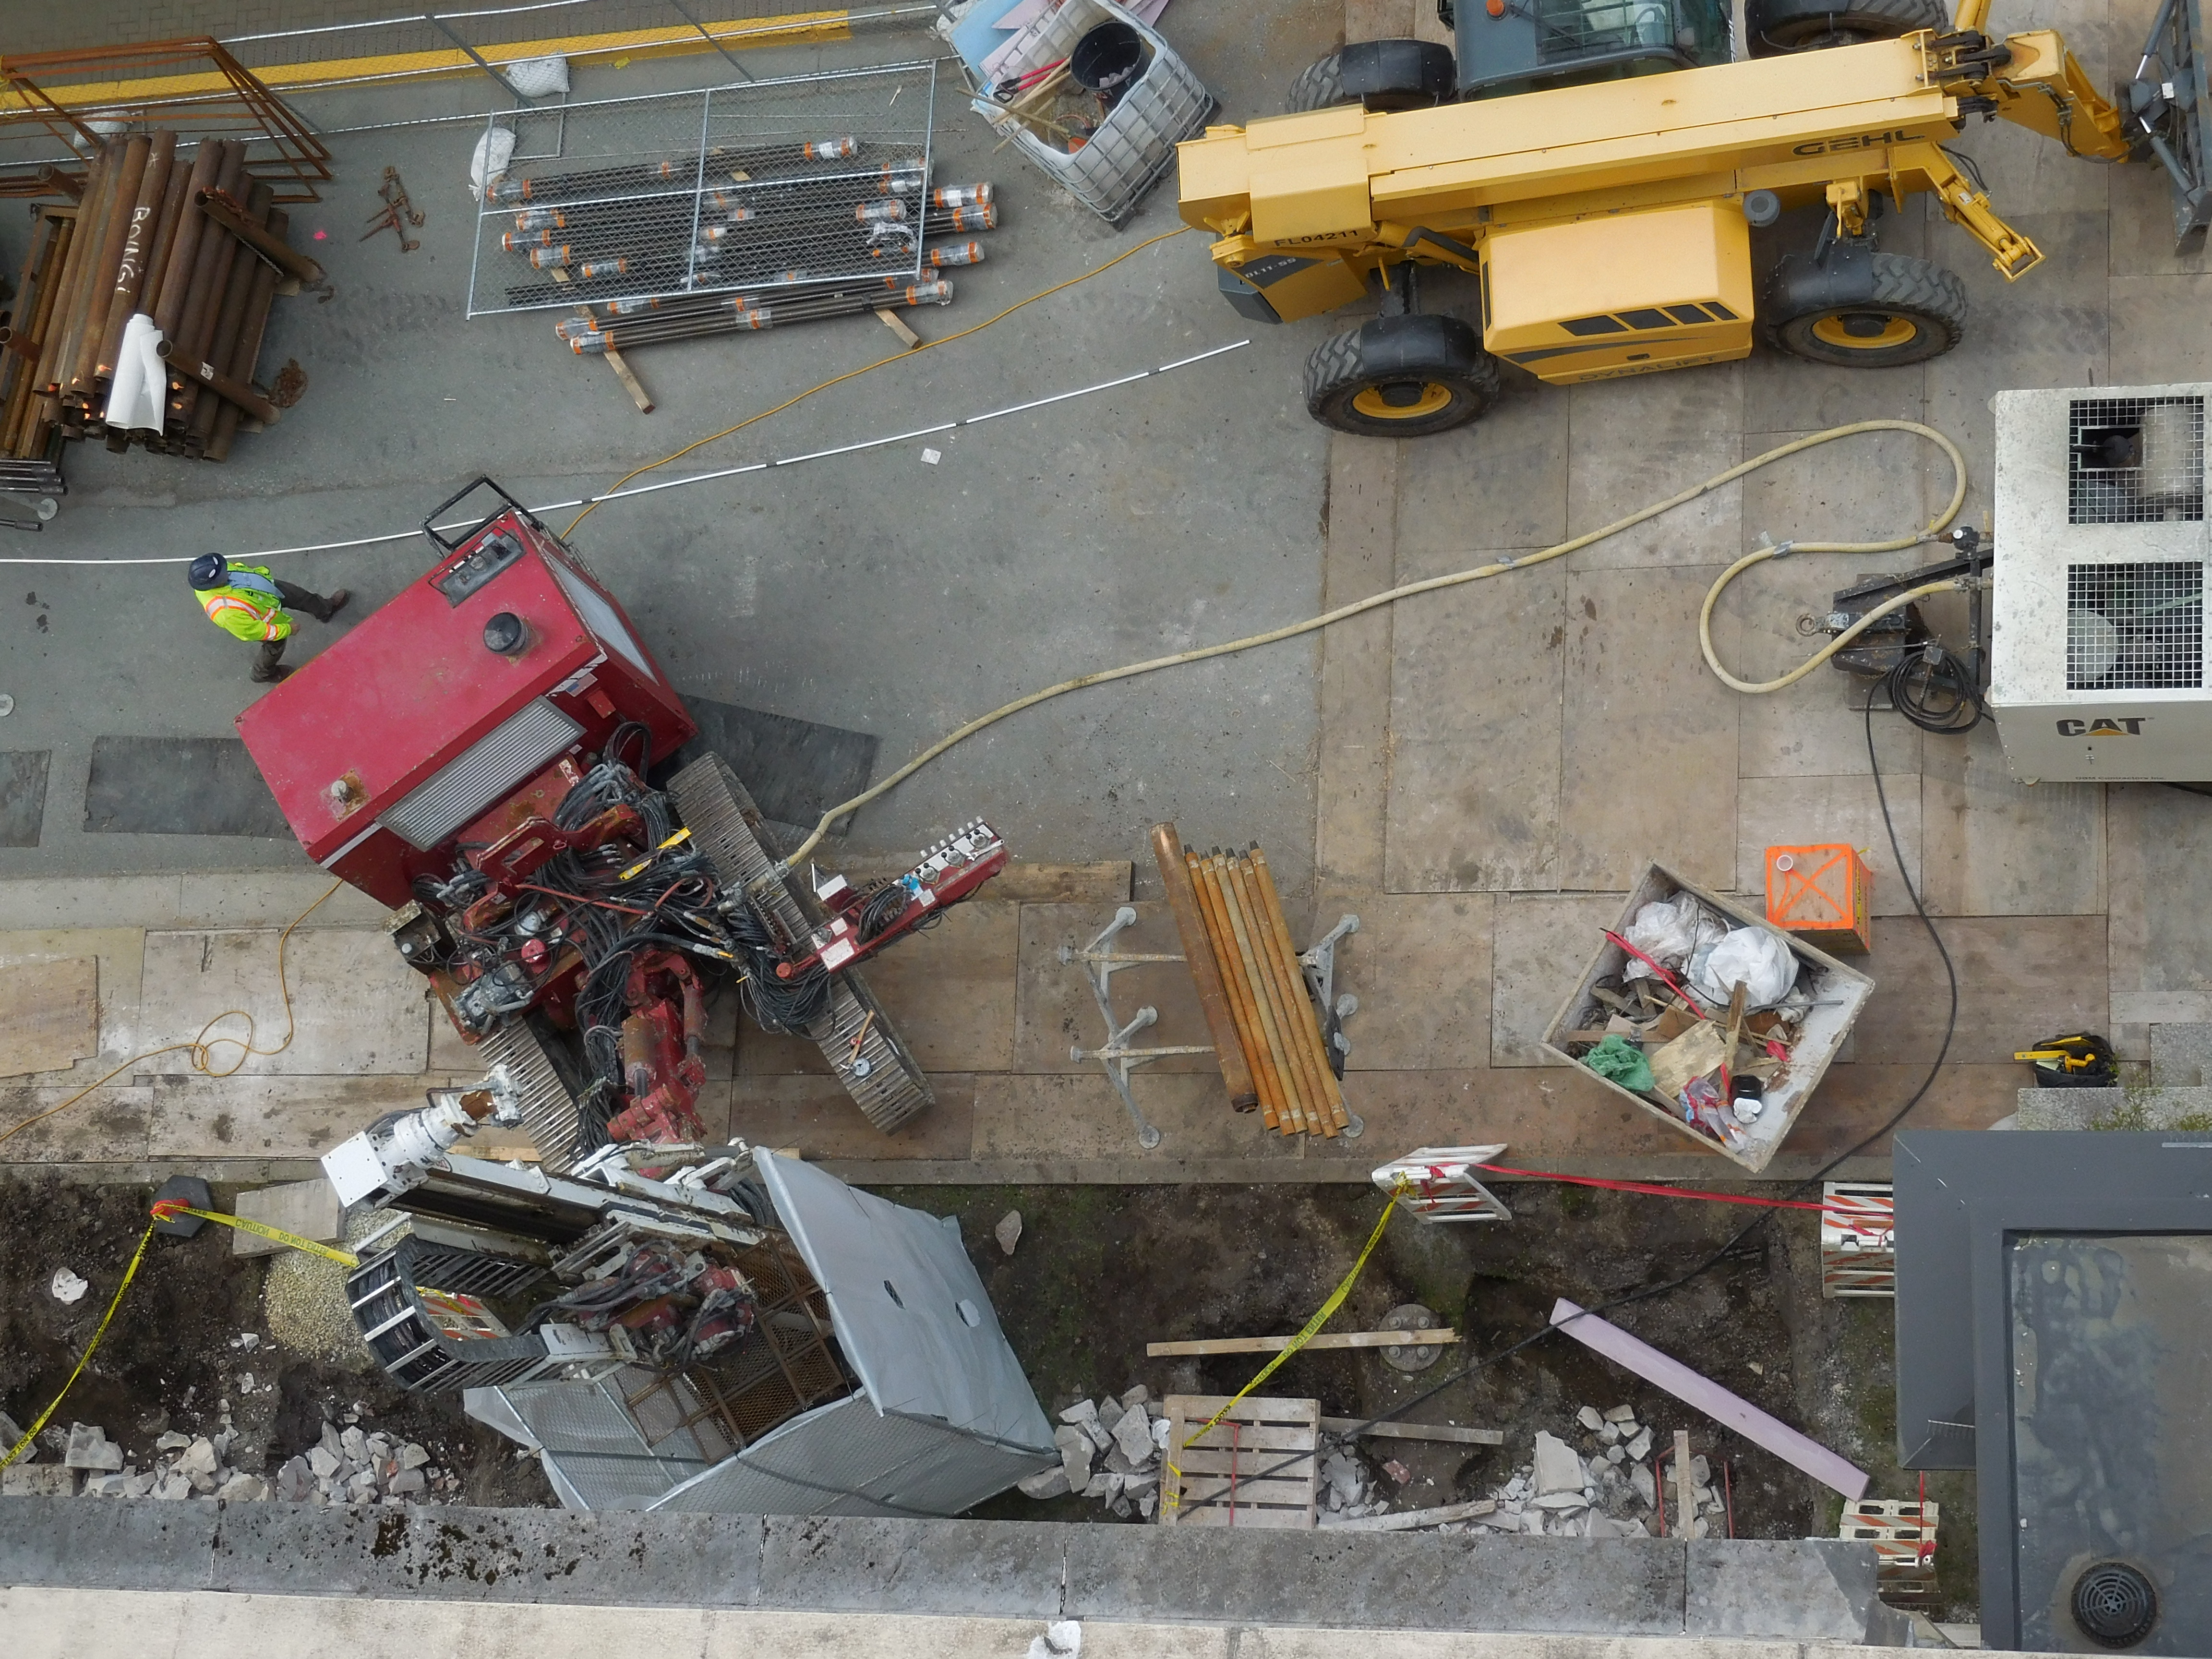
| Micro pile rig | Test micro pile |
 |
 |
| Micro pile drilling | Micro pile grouting |
 |
 |
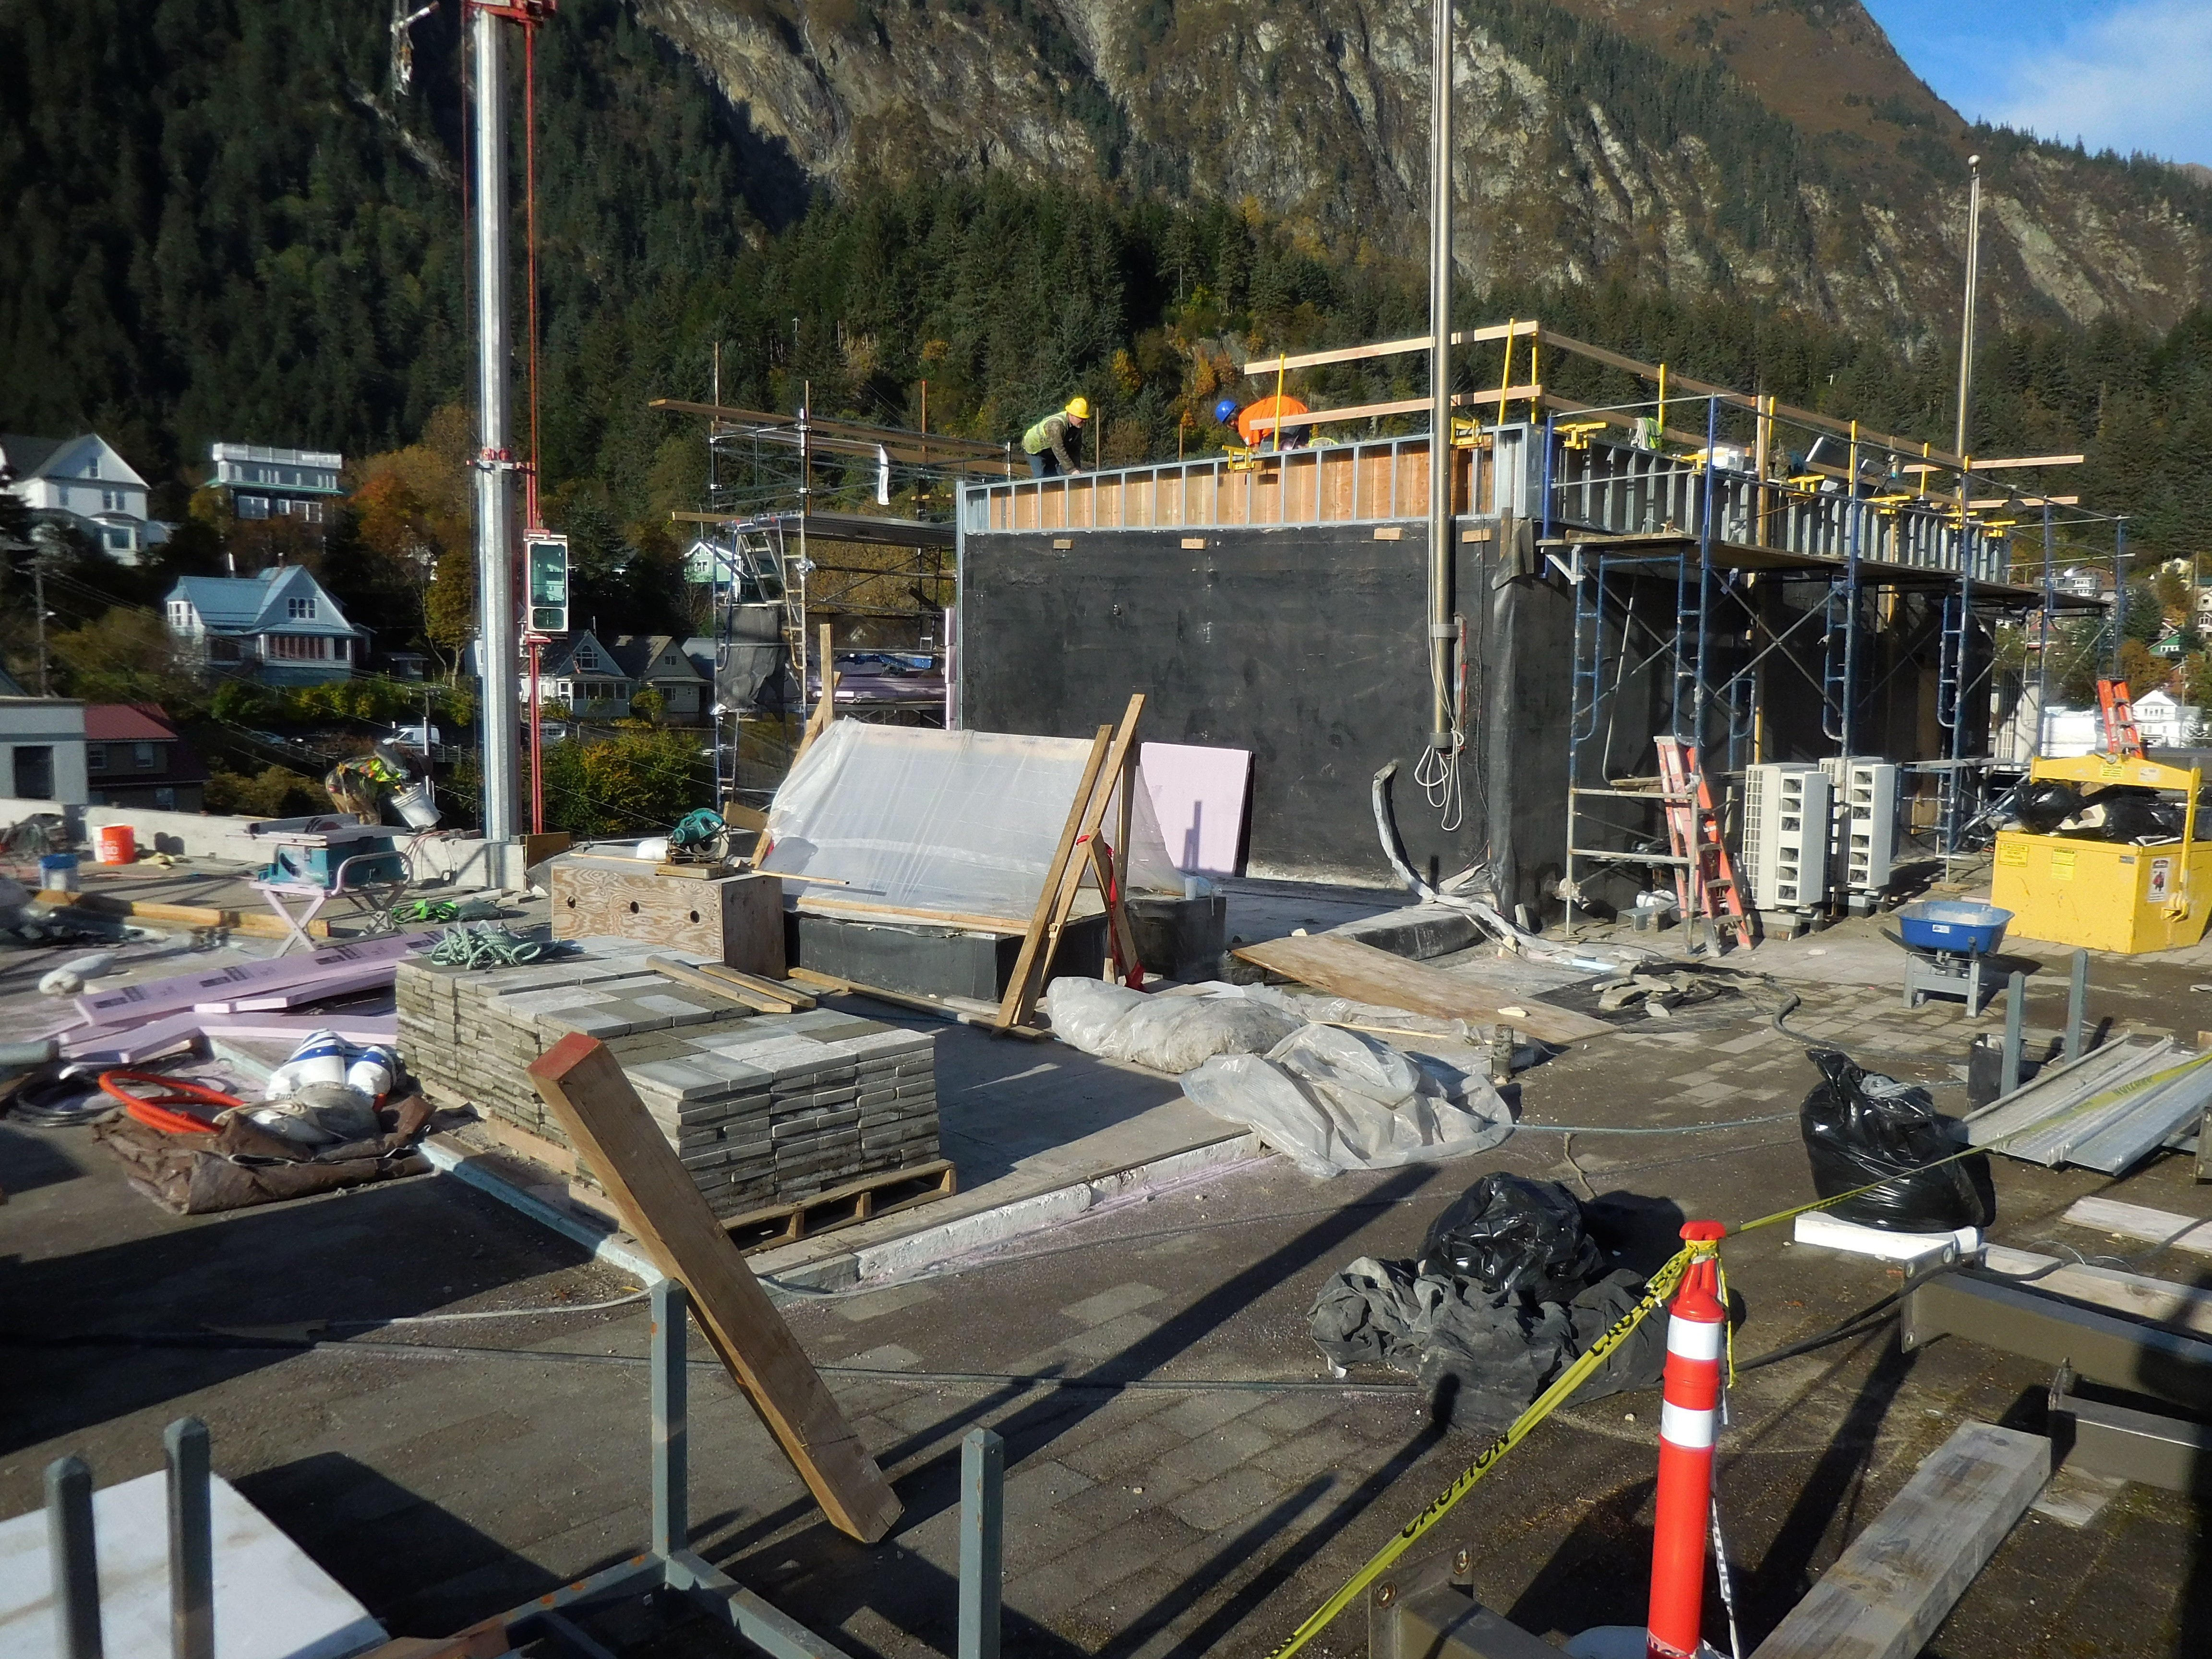
| Speaker's Caucus room | Speaker's Caucus room |
 |
 |
| Speaker's Caucus room | Parapet prep for concrete |
 |
 |
| South Face wrapped for demo | East wing demo |
 |
 |
| Southeast corner full demo mode | Concrete pour Southeast corner |
 |
 |
| Shotcrete Seward Street | Rebar Seward Street |
 |
 |
| Shotcrete Seward Street | East wing new masonry |
 |
 |
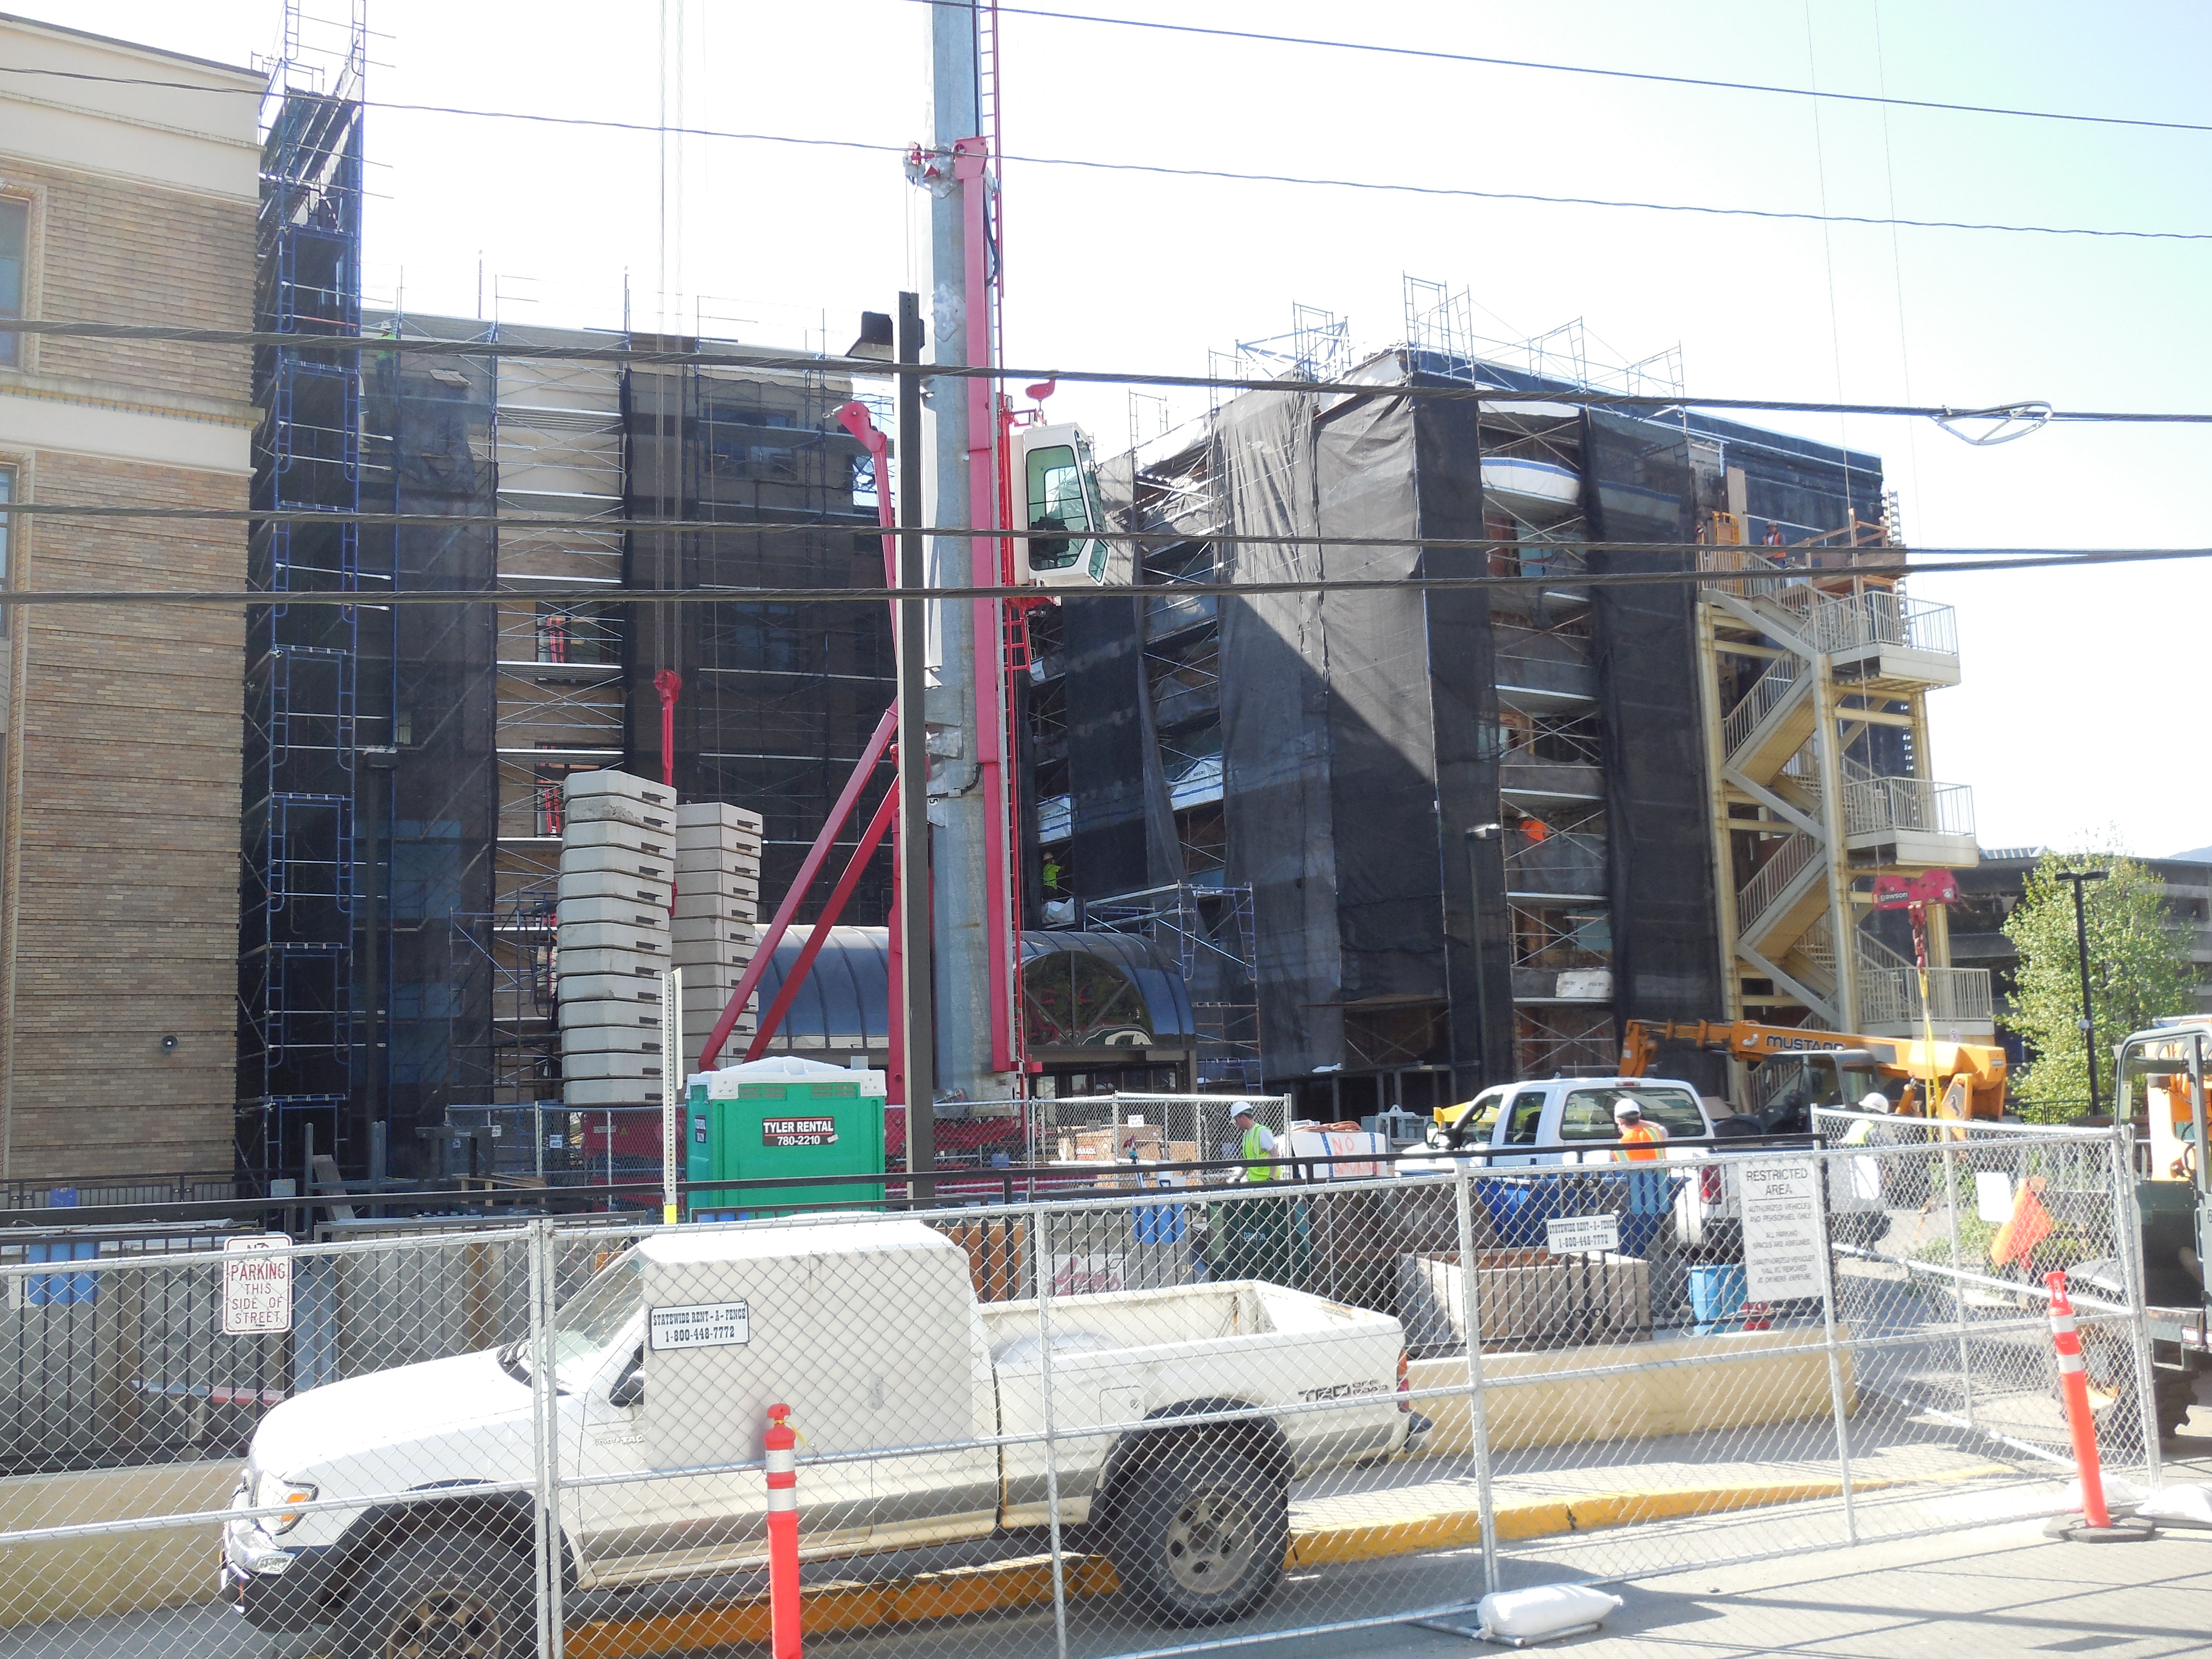
| East wing North of Skybridge | South Face fully wrapped |
 |
 |
| South Face concrete pour | Cornice install Southwest corner |
 |
 |
| Cornice installed to Southwest corner | West Facade and South Face with cornice |
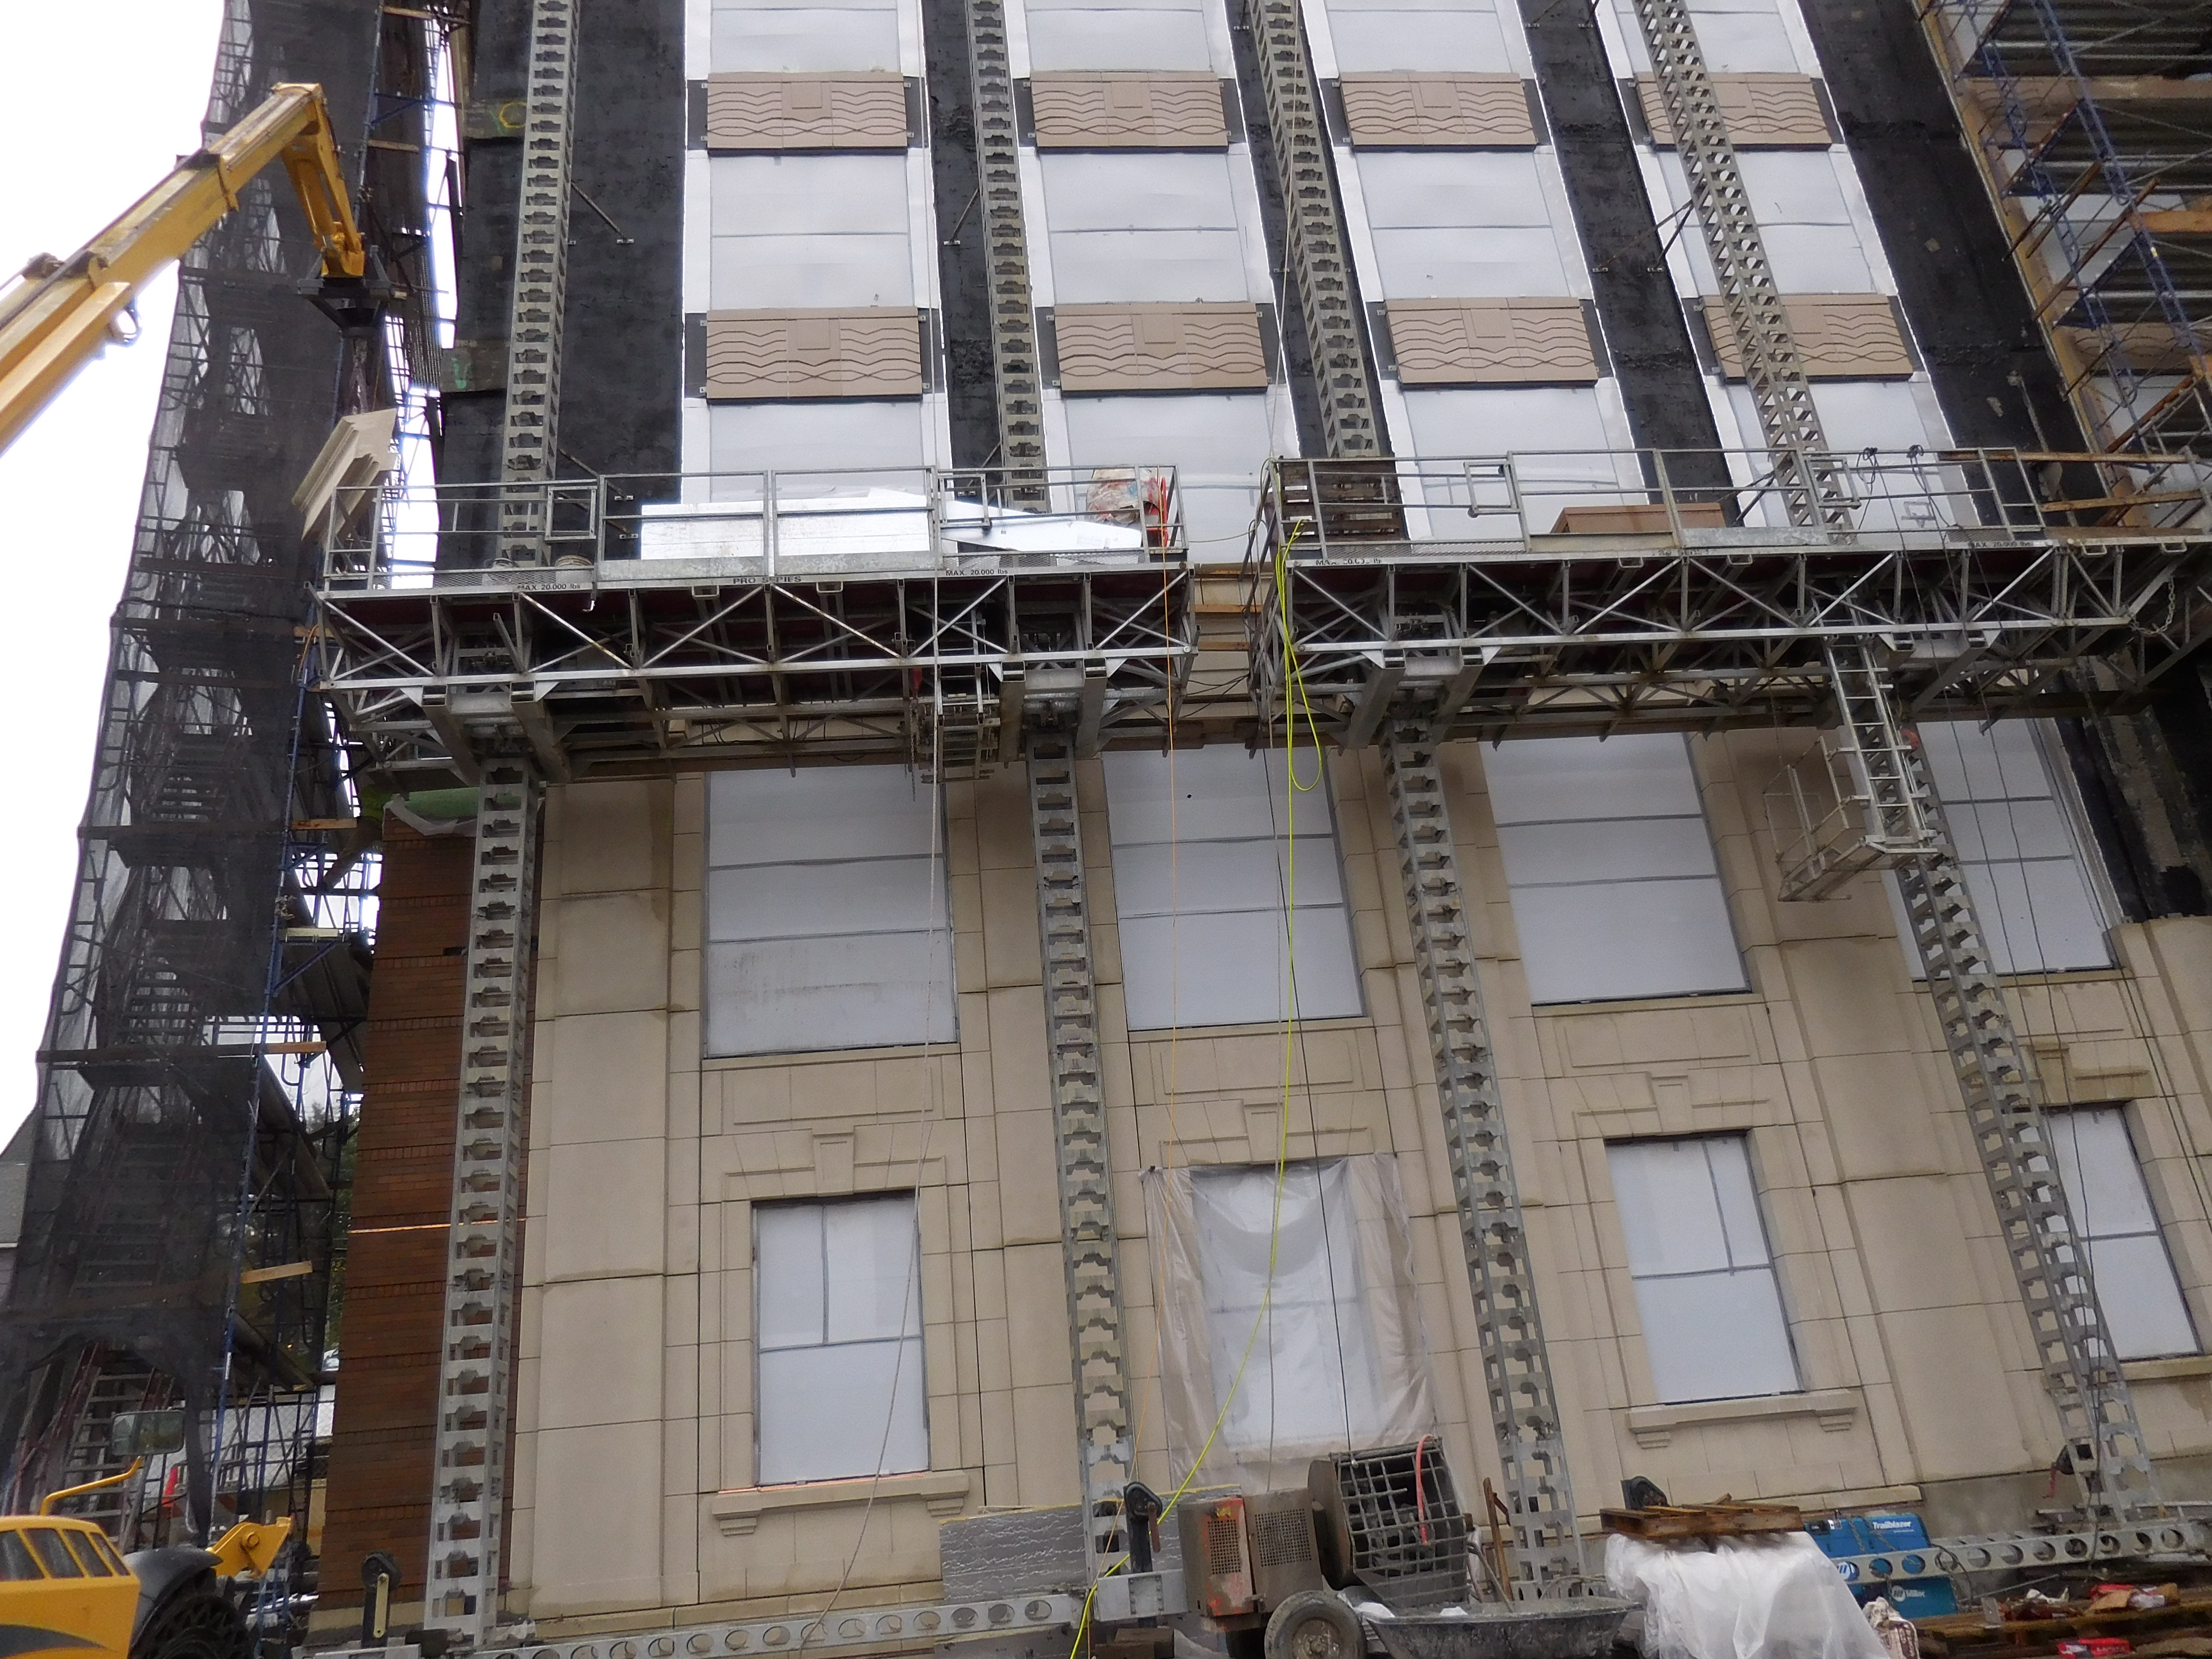
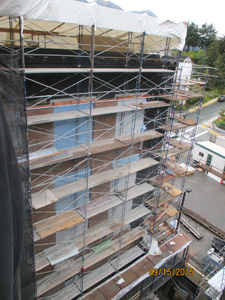
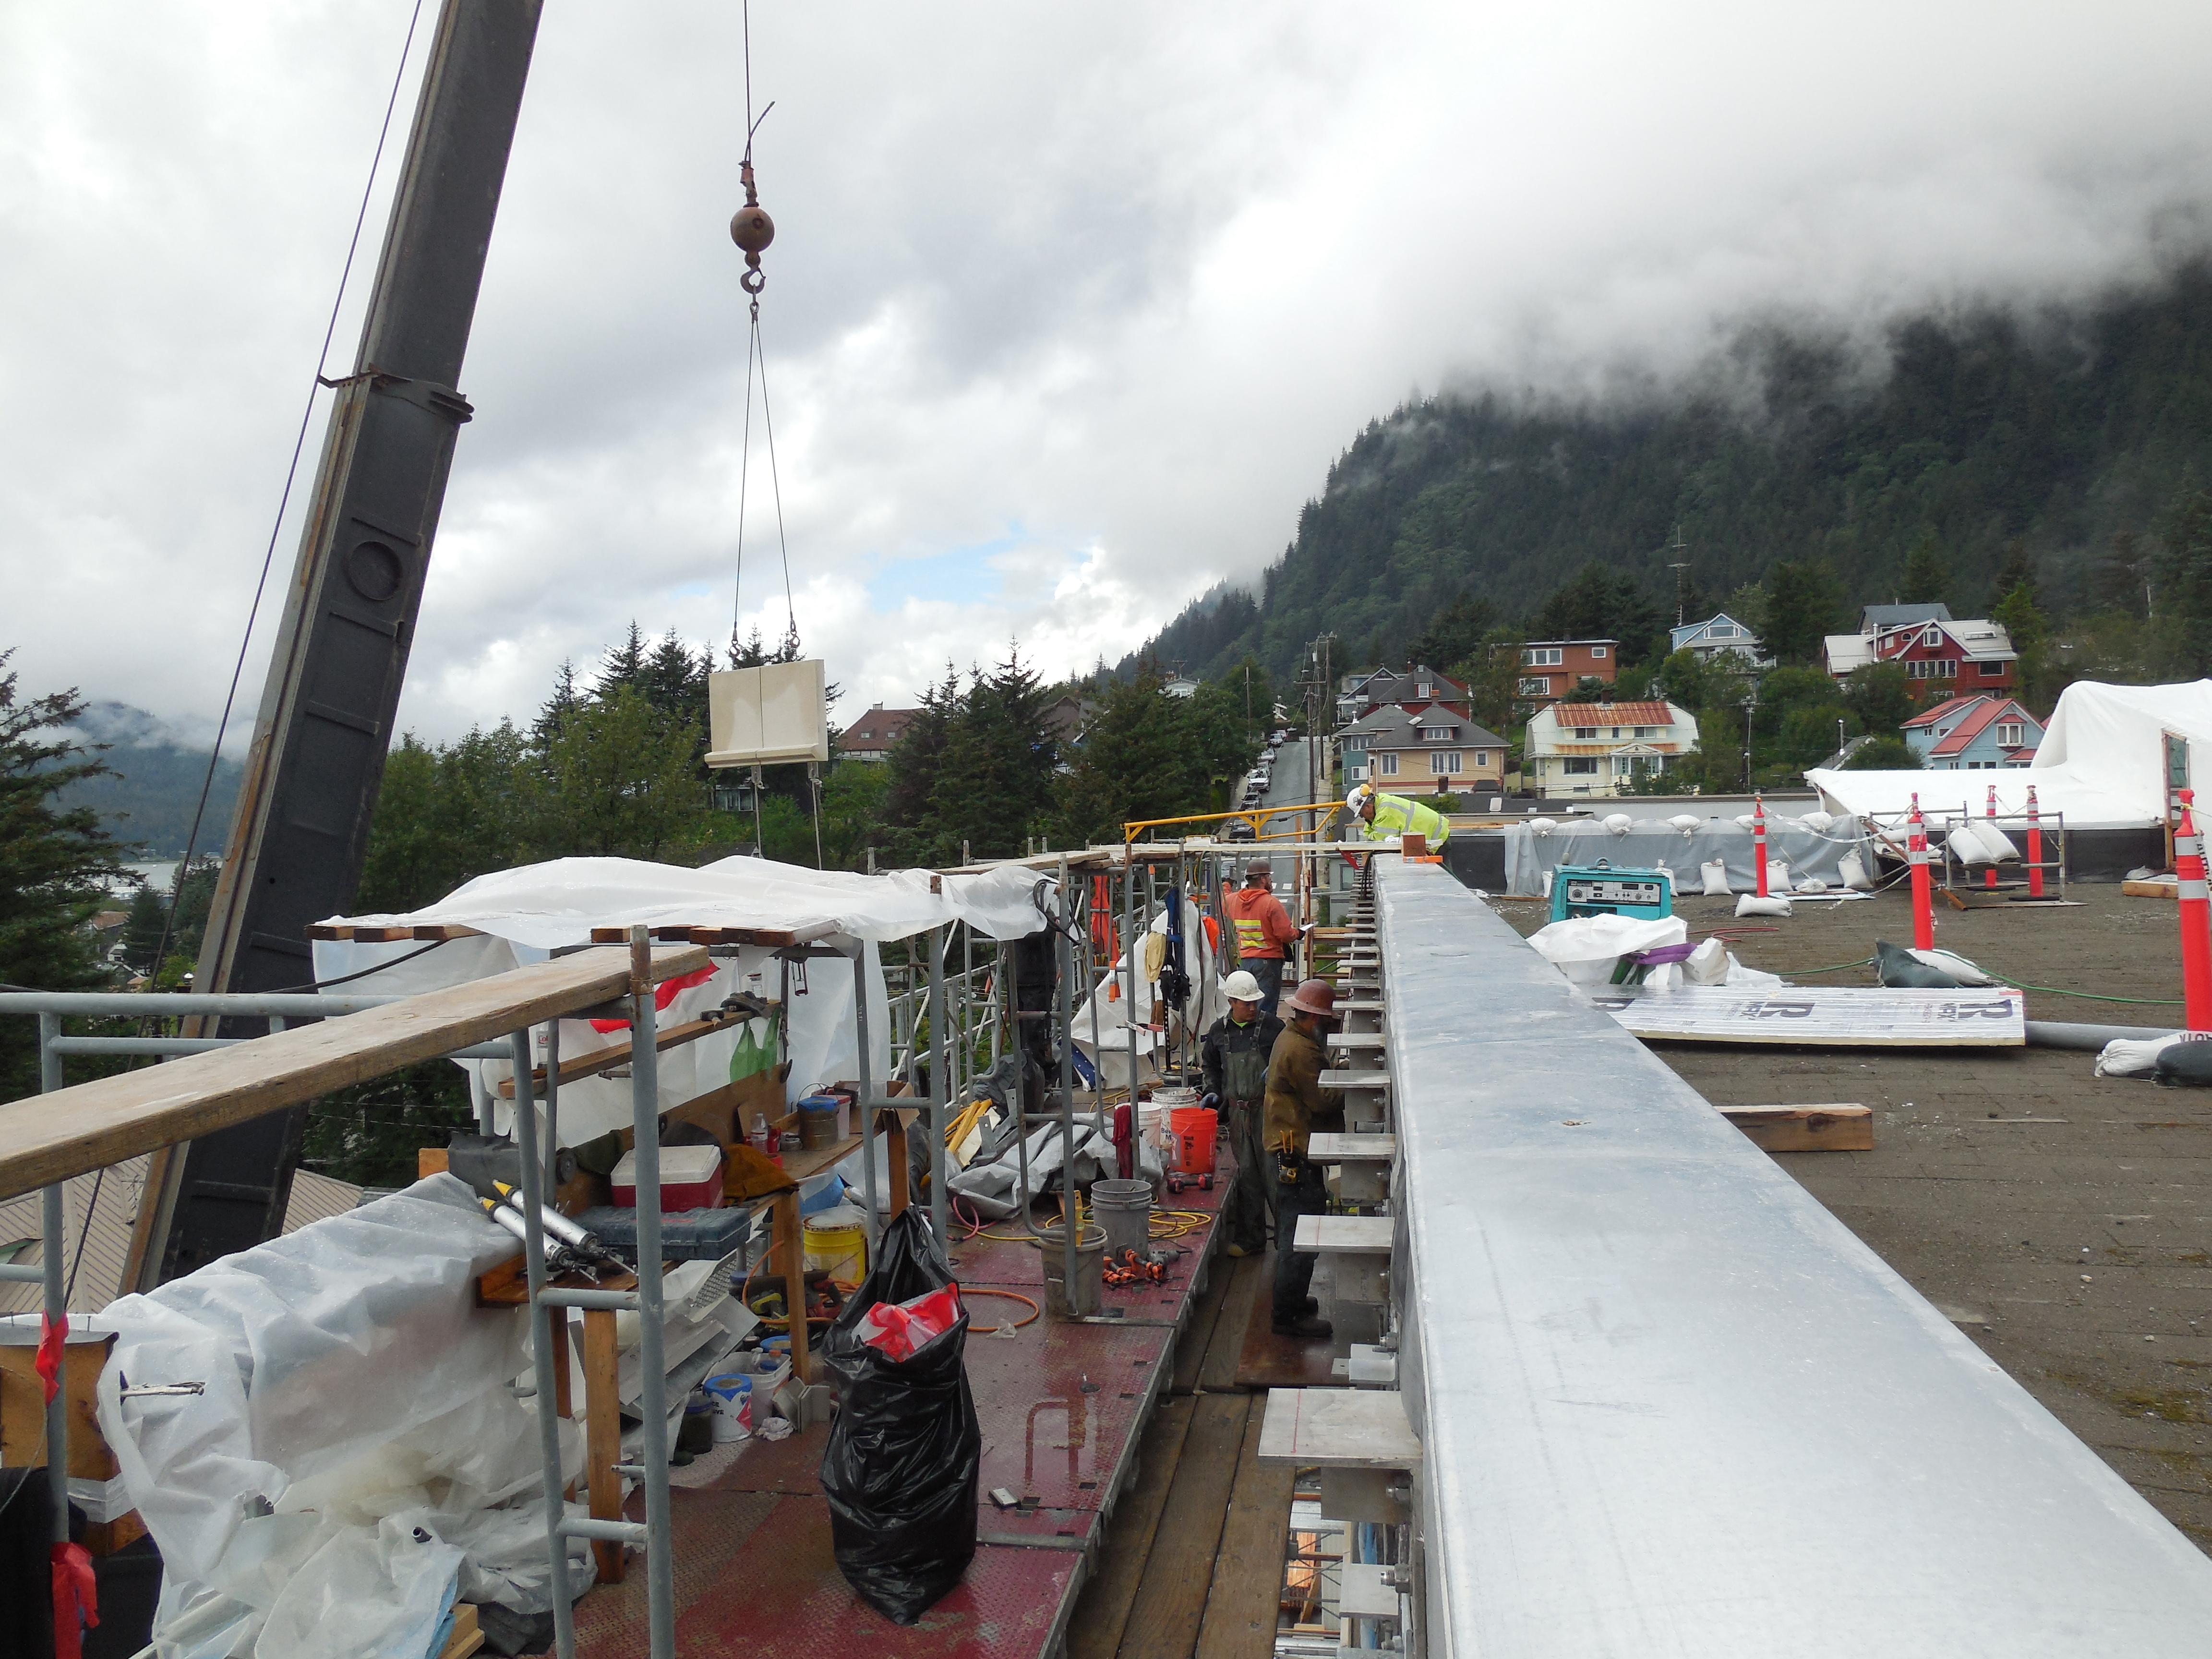
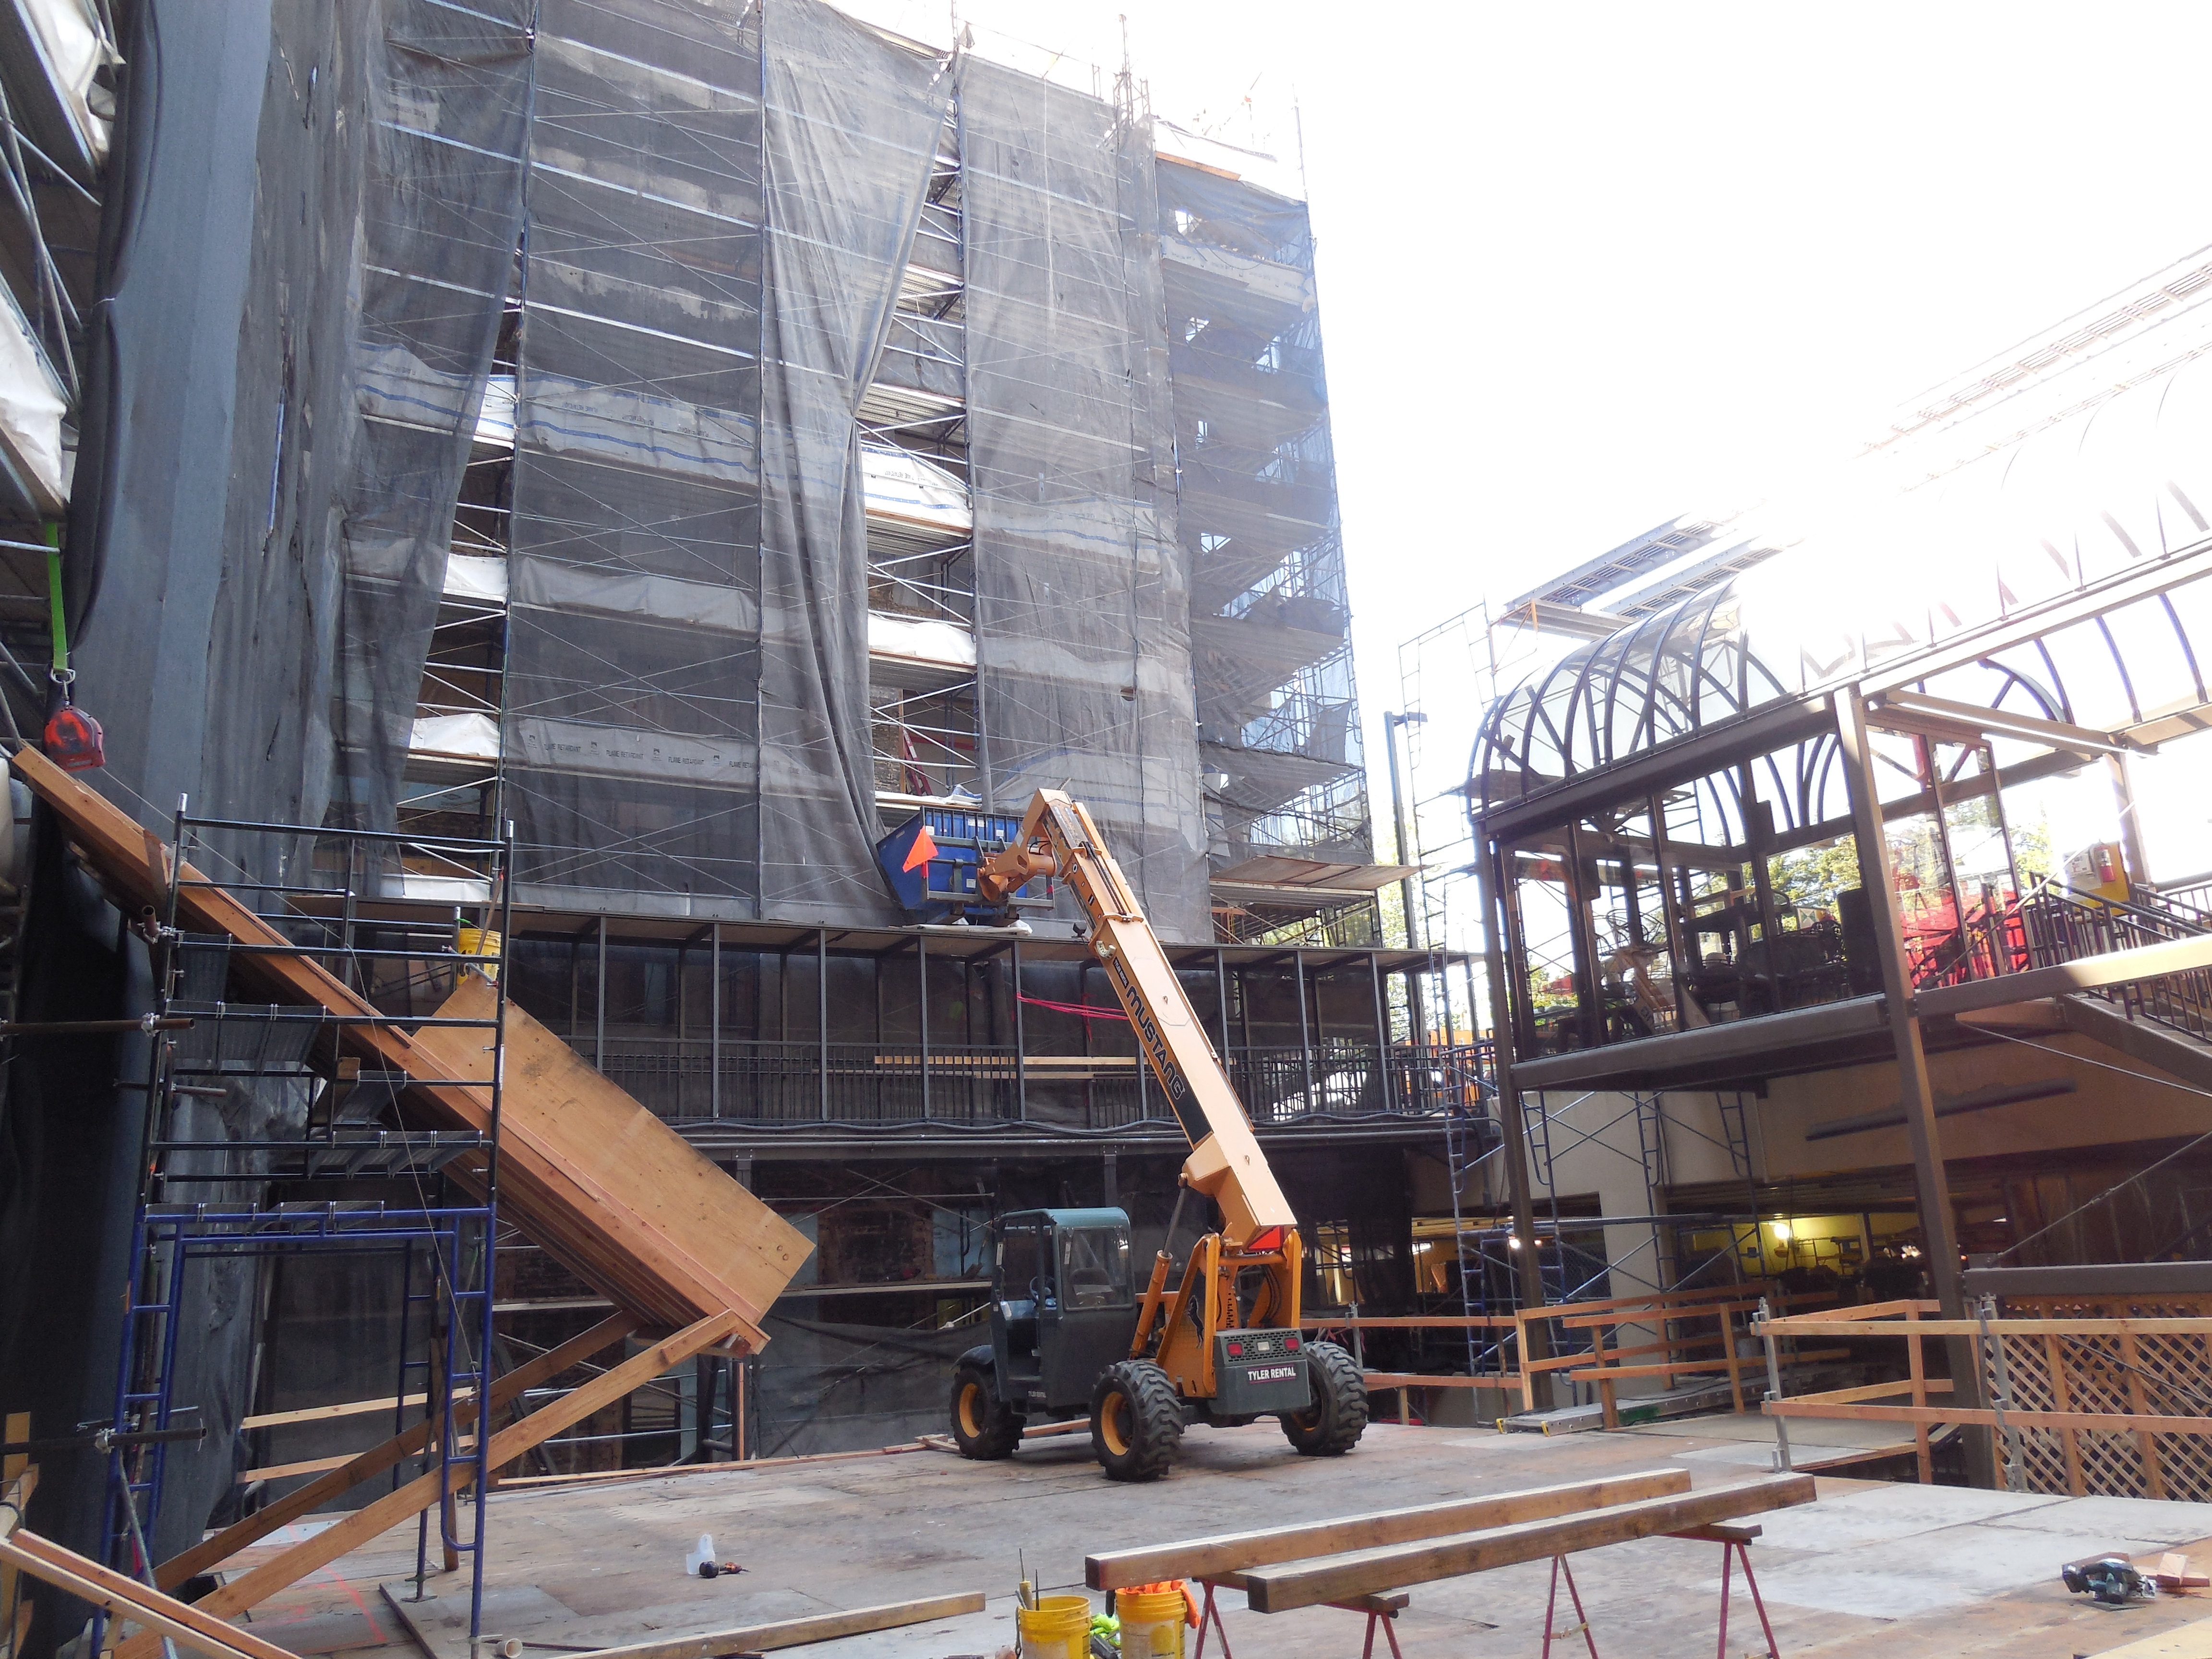
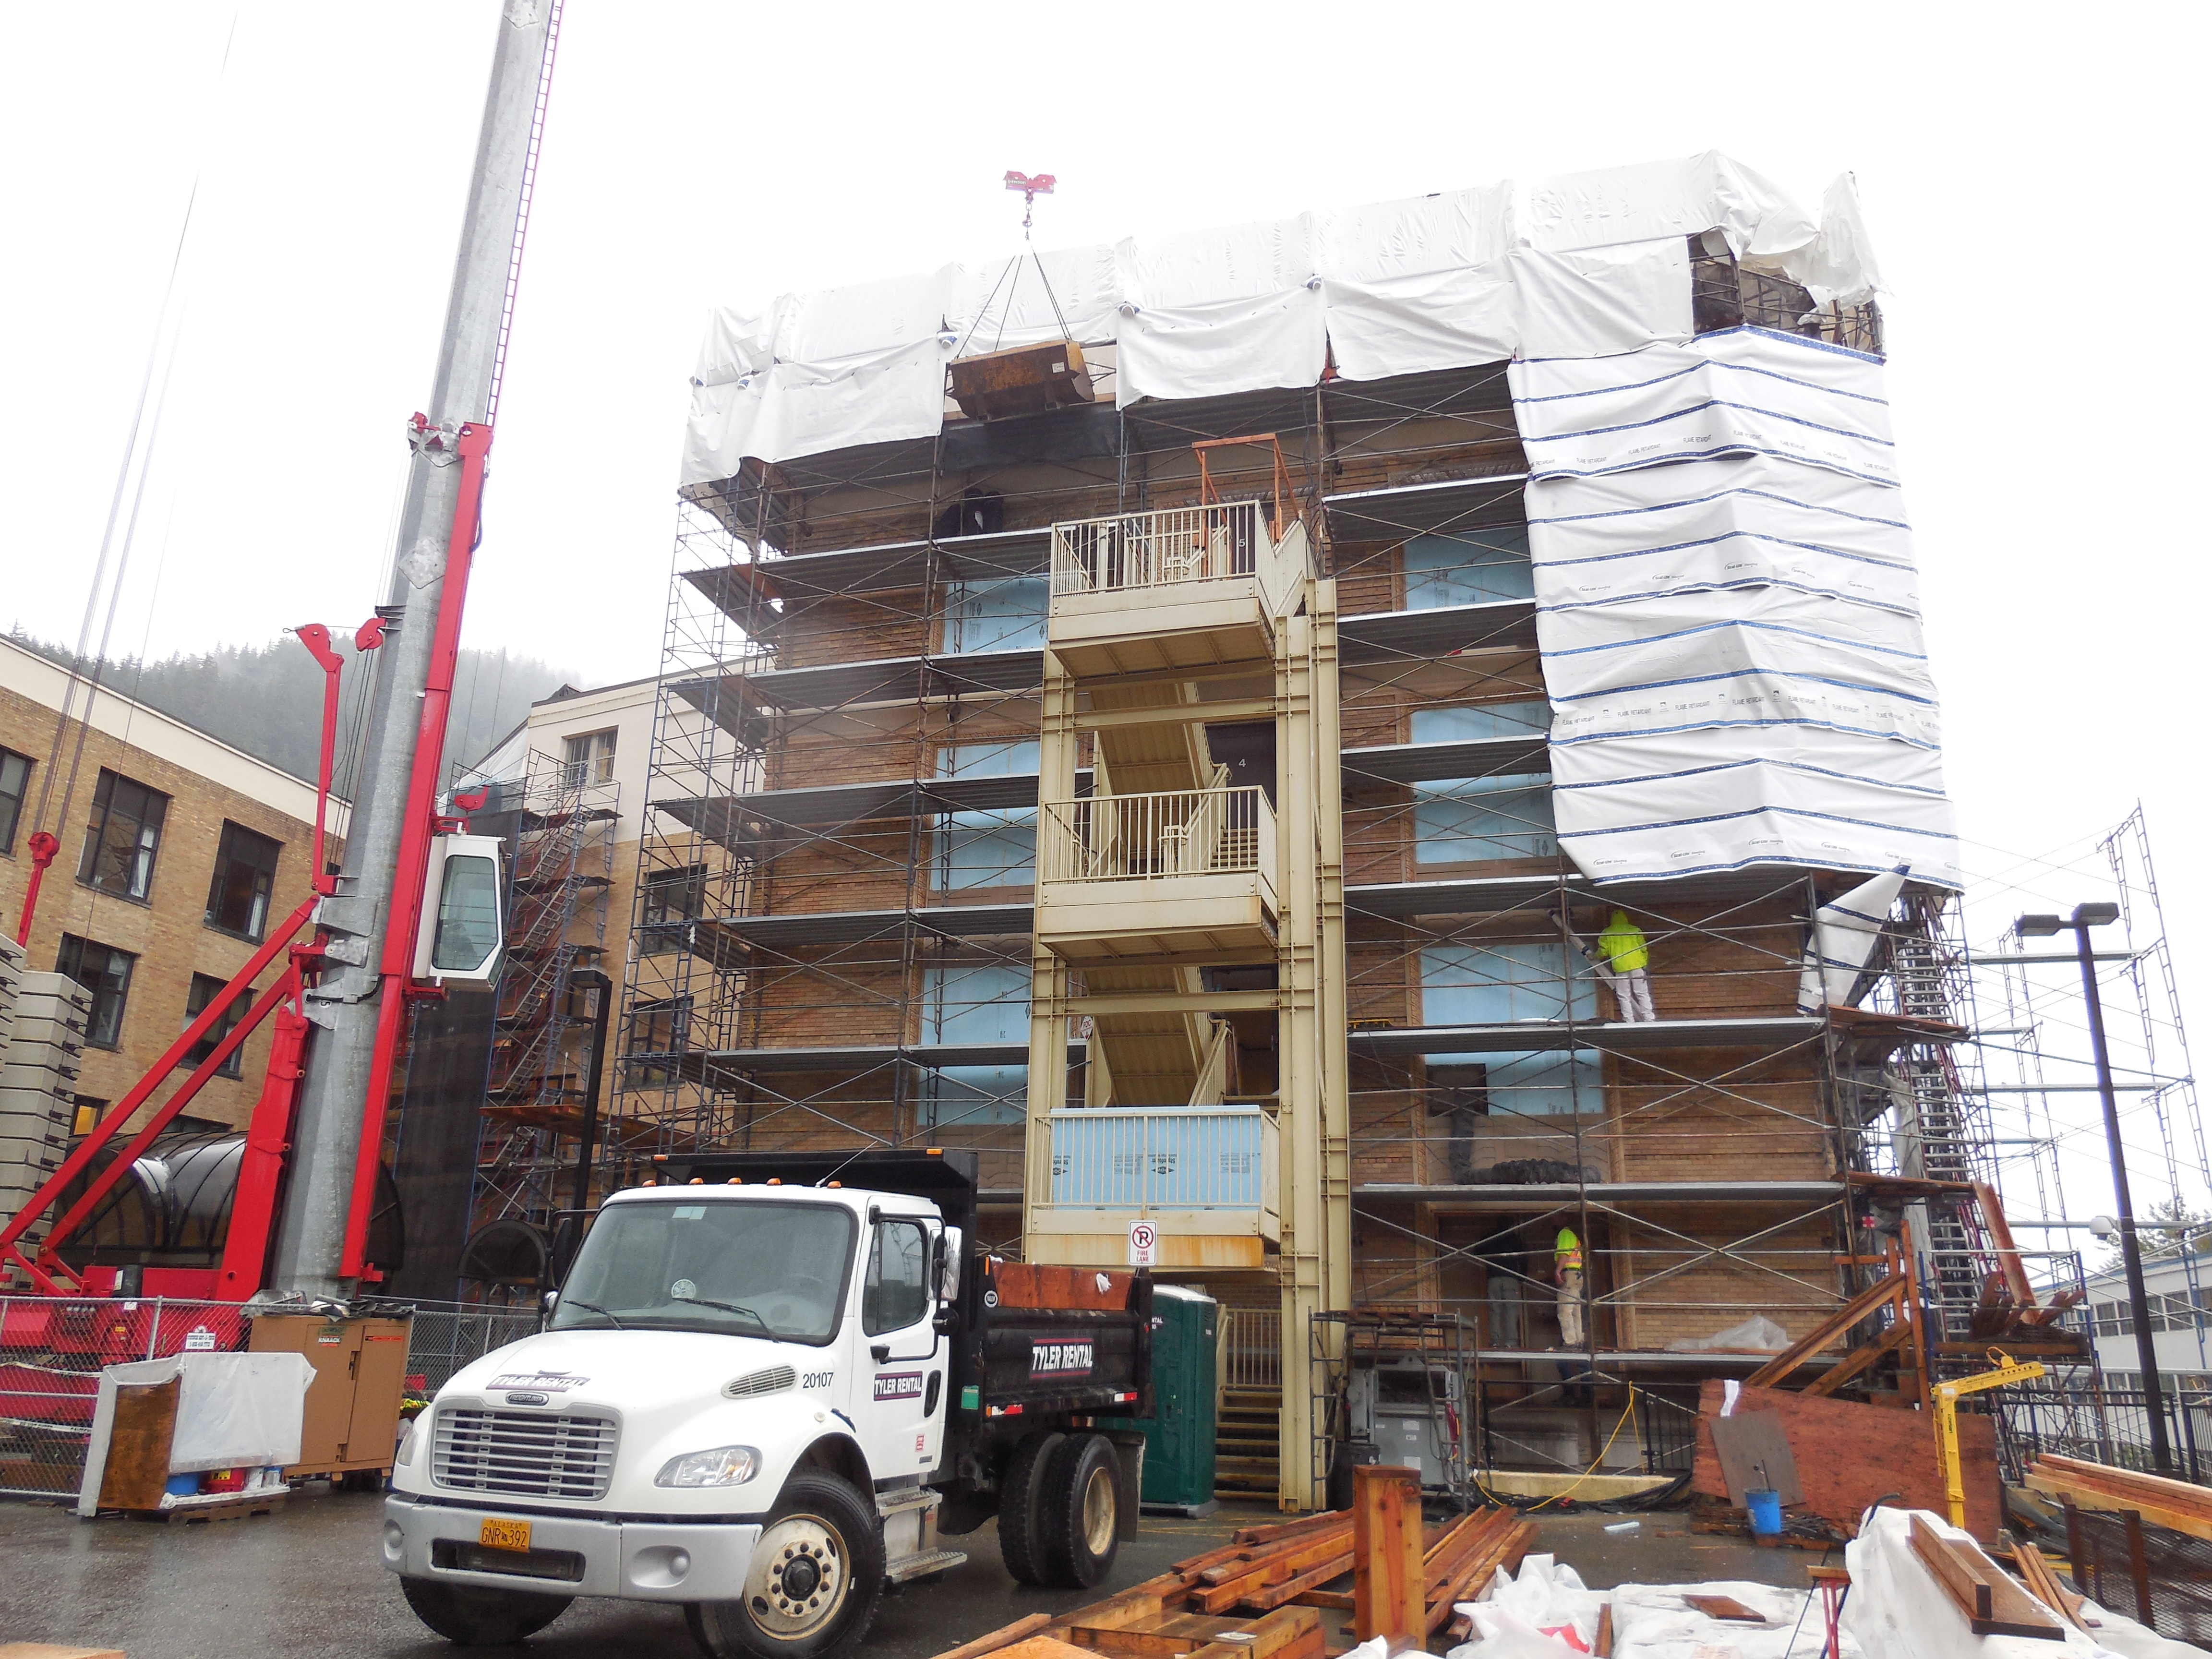
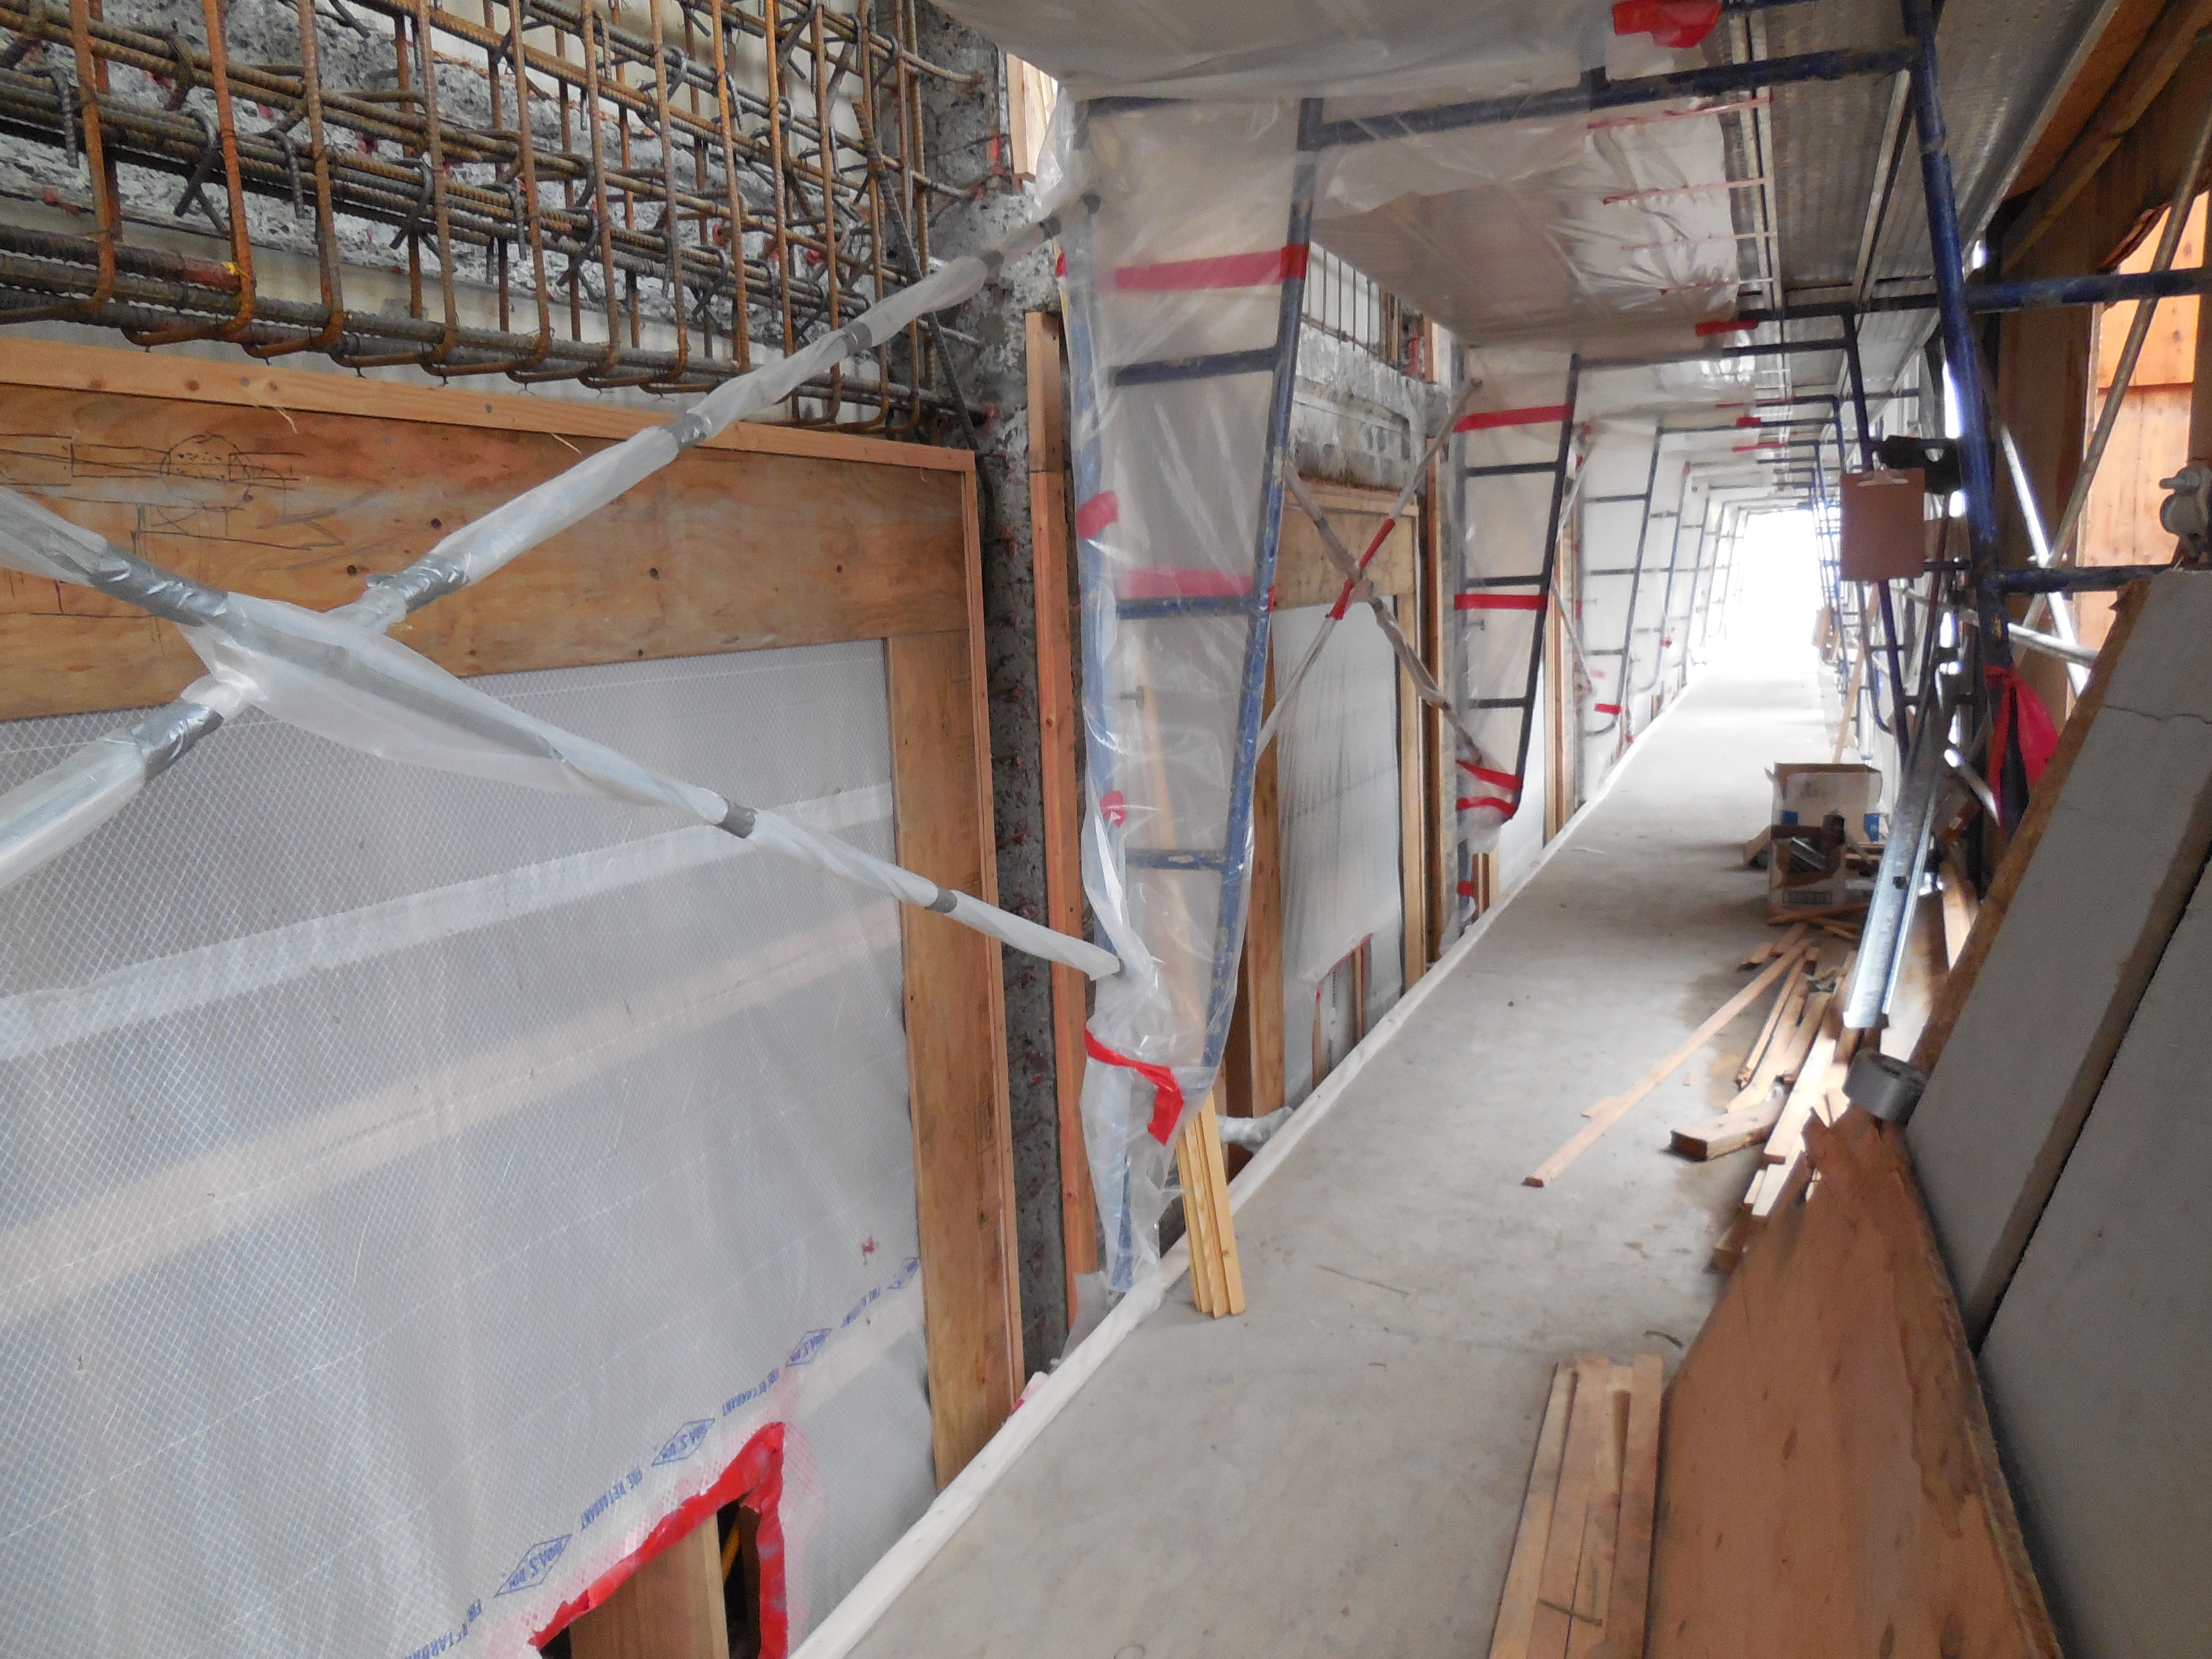
Update July, 2016
 |  |
| Full North exposure / both wings & courtyard w/ masonry near completion |
View of Capitol from 6th Street |
 |  |
| Scaffold coming down on Seward Street | Flying supplies to front of Capitol |
 |  |
| East Wing Parapet (note difference in upper installed in 2015 vs. 2016) | Gathering demolished materials, front of Capitol |
 |  |
| 3rd floor demo, Southeast Corner | Capitol from Main Street |
 |
|
| Parapat work nearing completion on Seward Street |
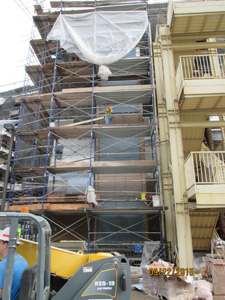
Update June, 2016
 |  |
| Cleanup of courtyard masonry | East Wing masonry work North of Skybridge, Seward Street |
 |  |
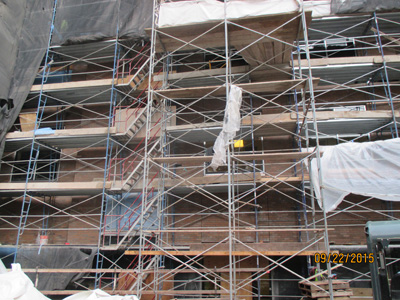
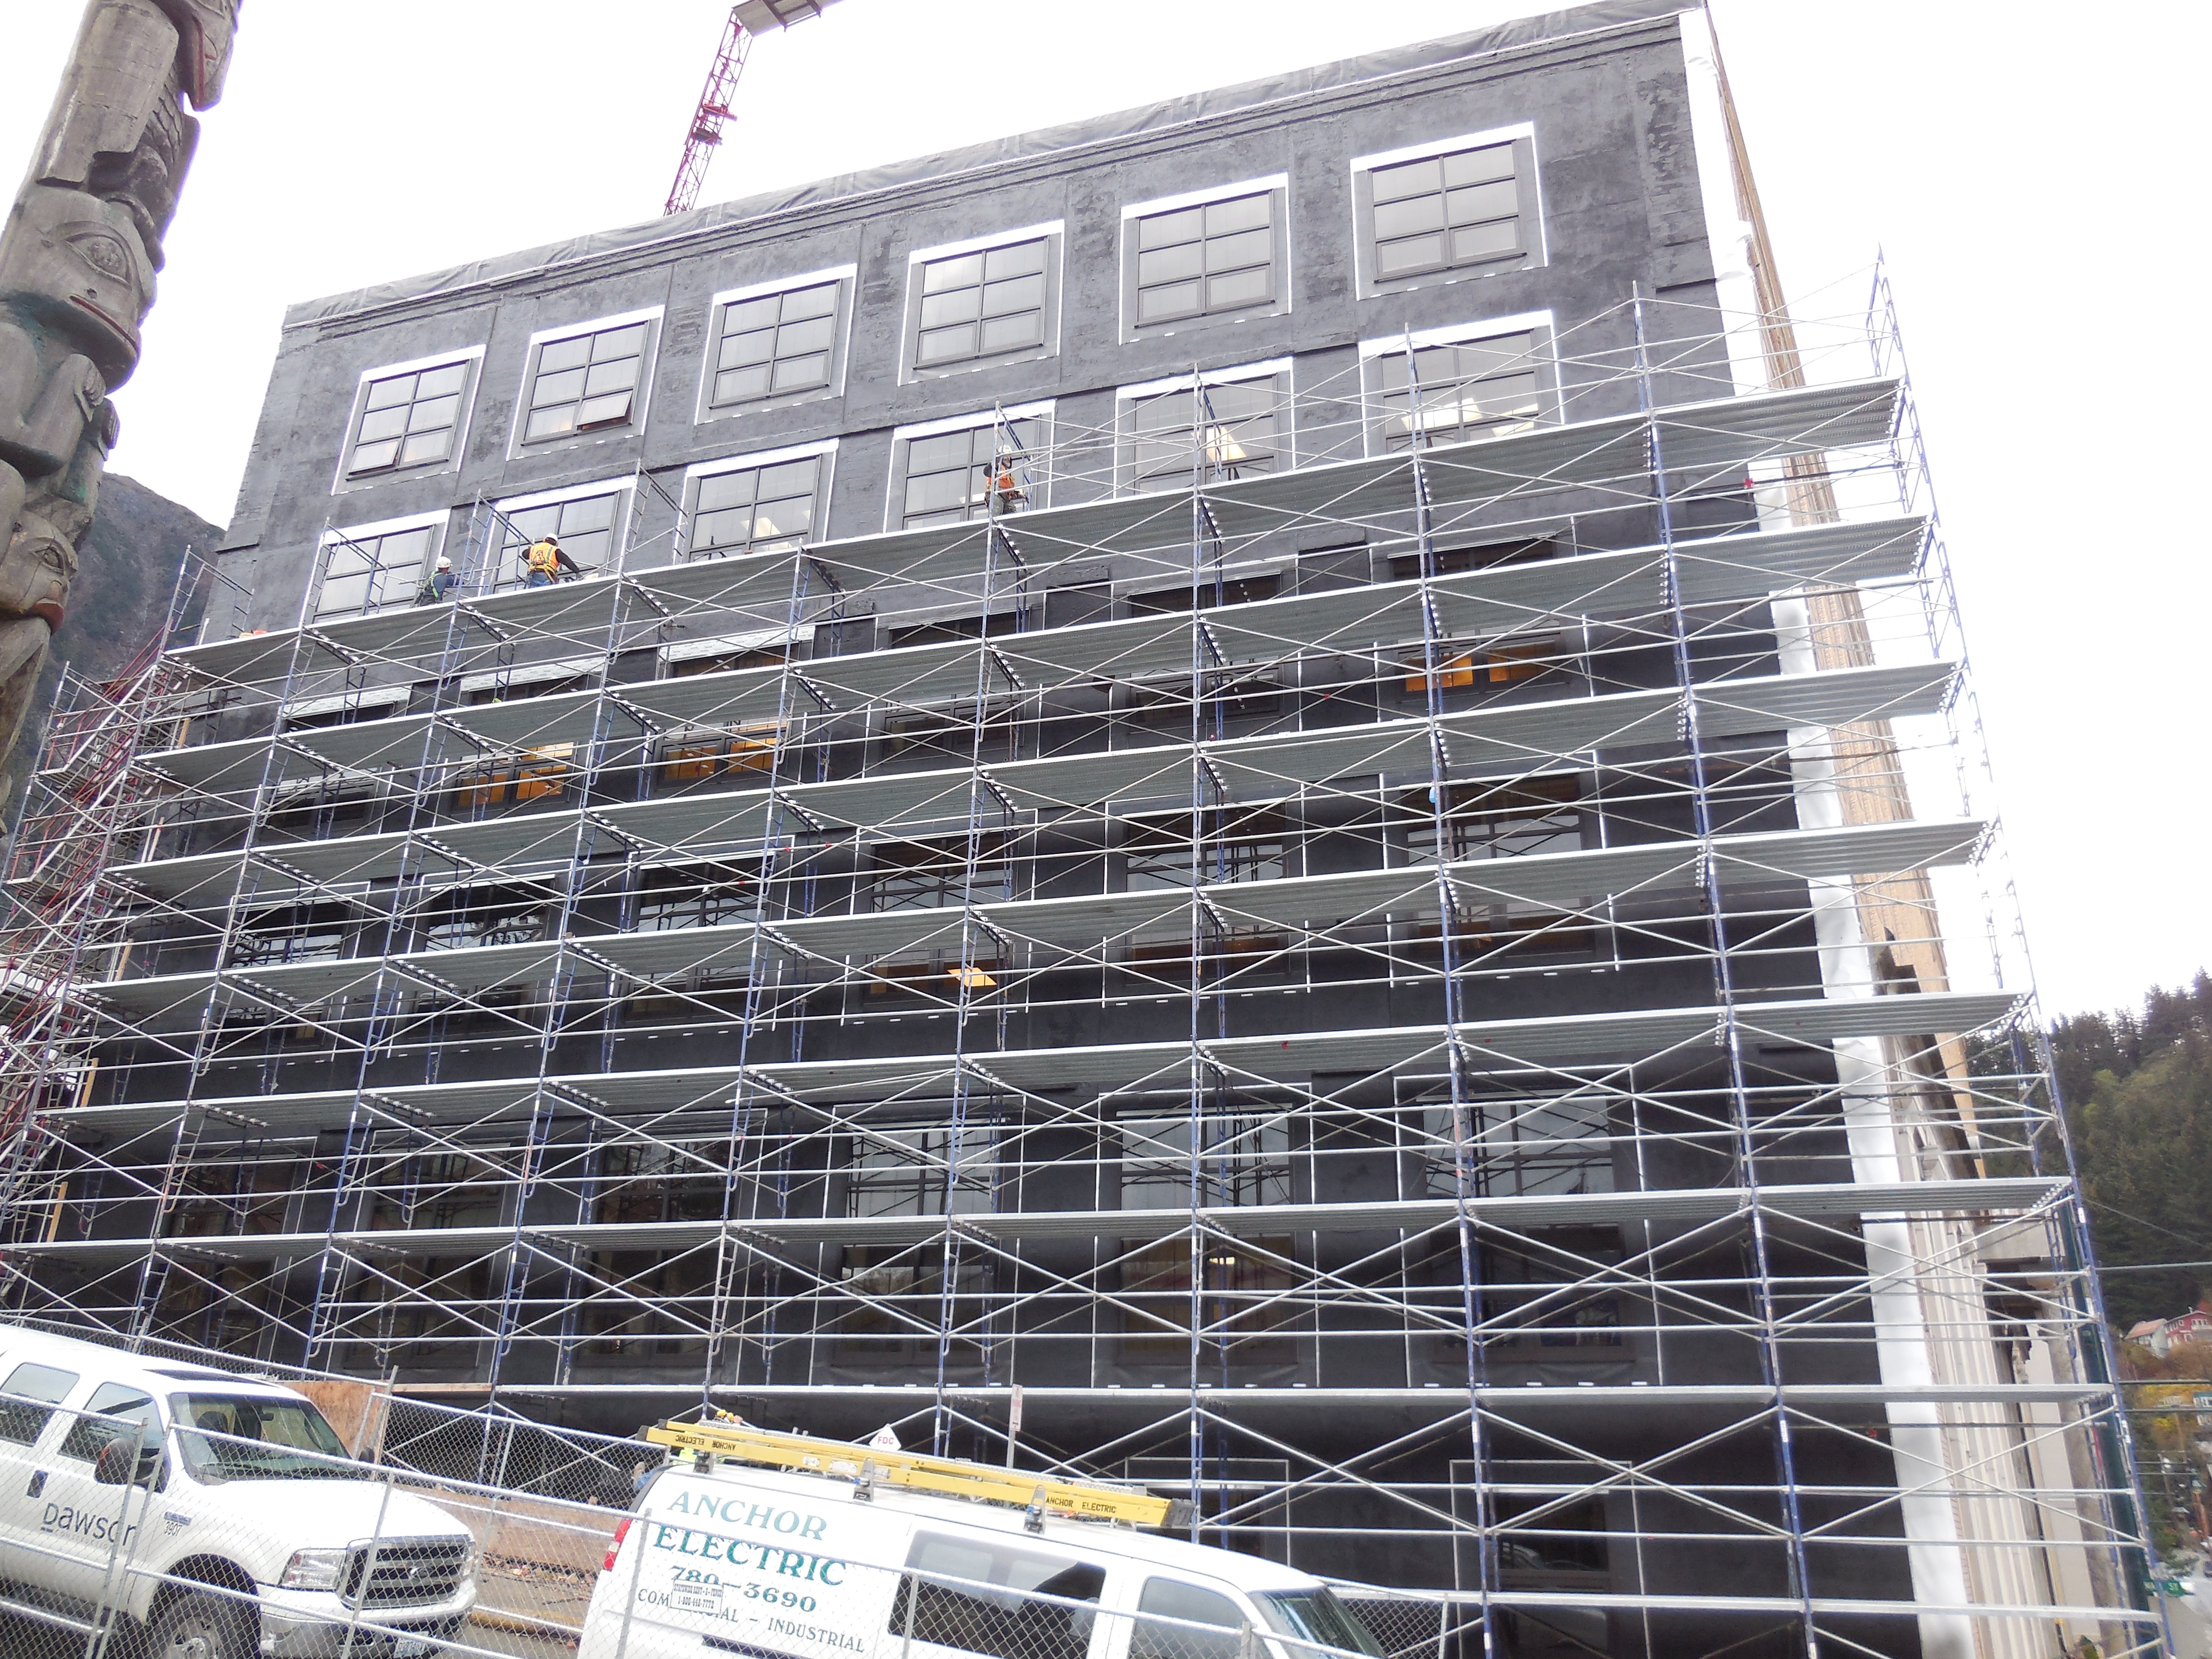
| Front of Capitol, full scaffold and dust mesh, 4th Street | East Wing demo South of Skybridge, Seward Street |
 |  |
| Newly cleaned & sealed masonry in courtyard | Parapet work on North wall of East Wing |
 | |
| Spanddrel panel work on North Face of East Wing |
Update May, 2016
 |  |
| Courtyard setup for masonry | East Wing with damp proofing & scaffold for masonry setup |
 |  |
| Demo scaffold setup for Front of Capitol | Scaffold setup after micropile work |
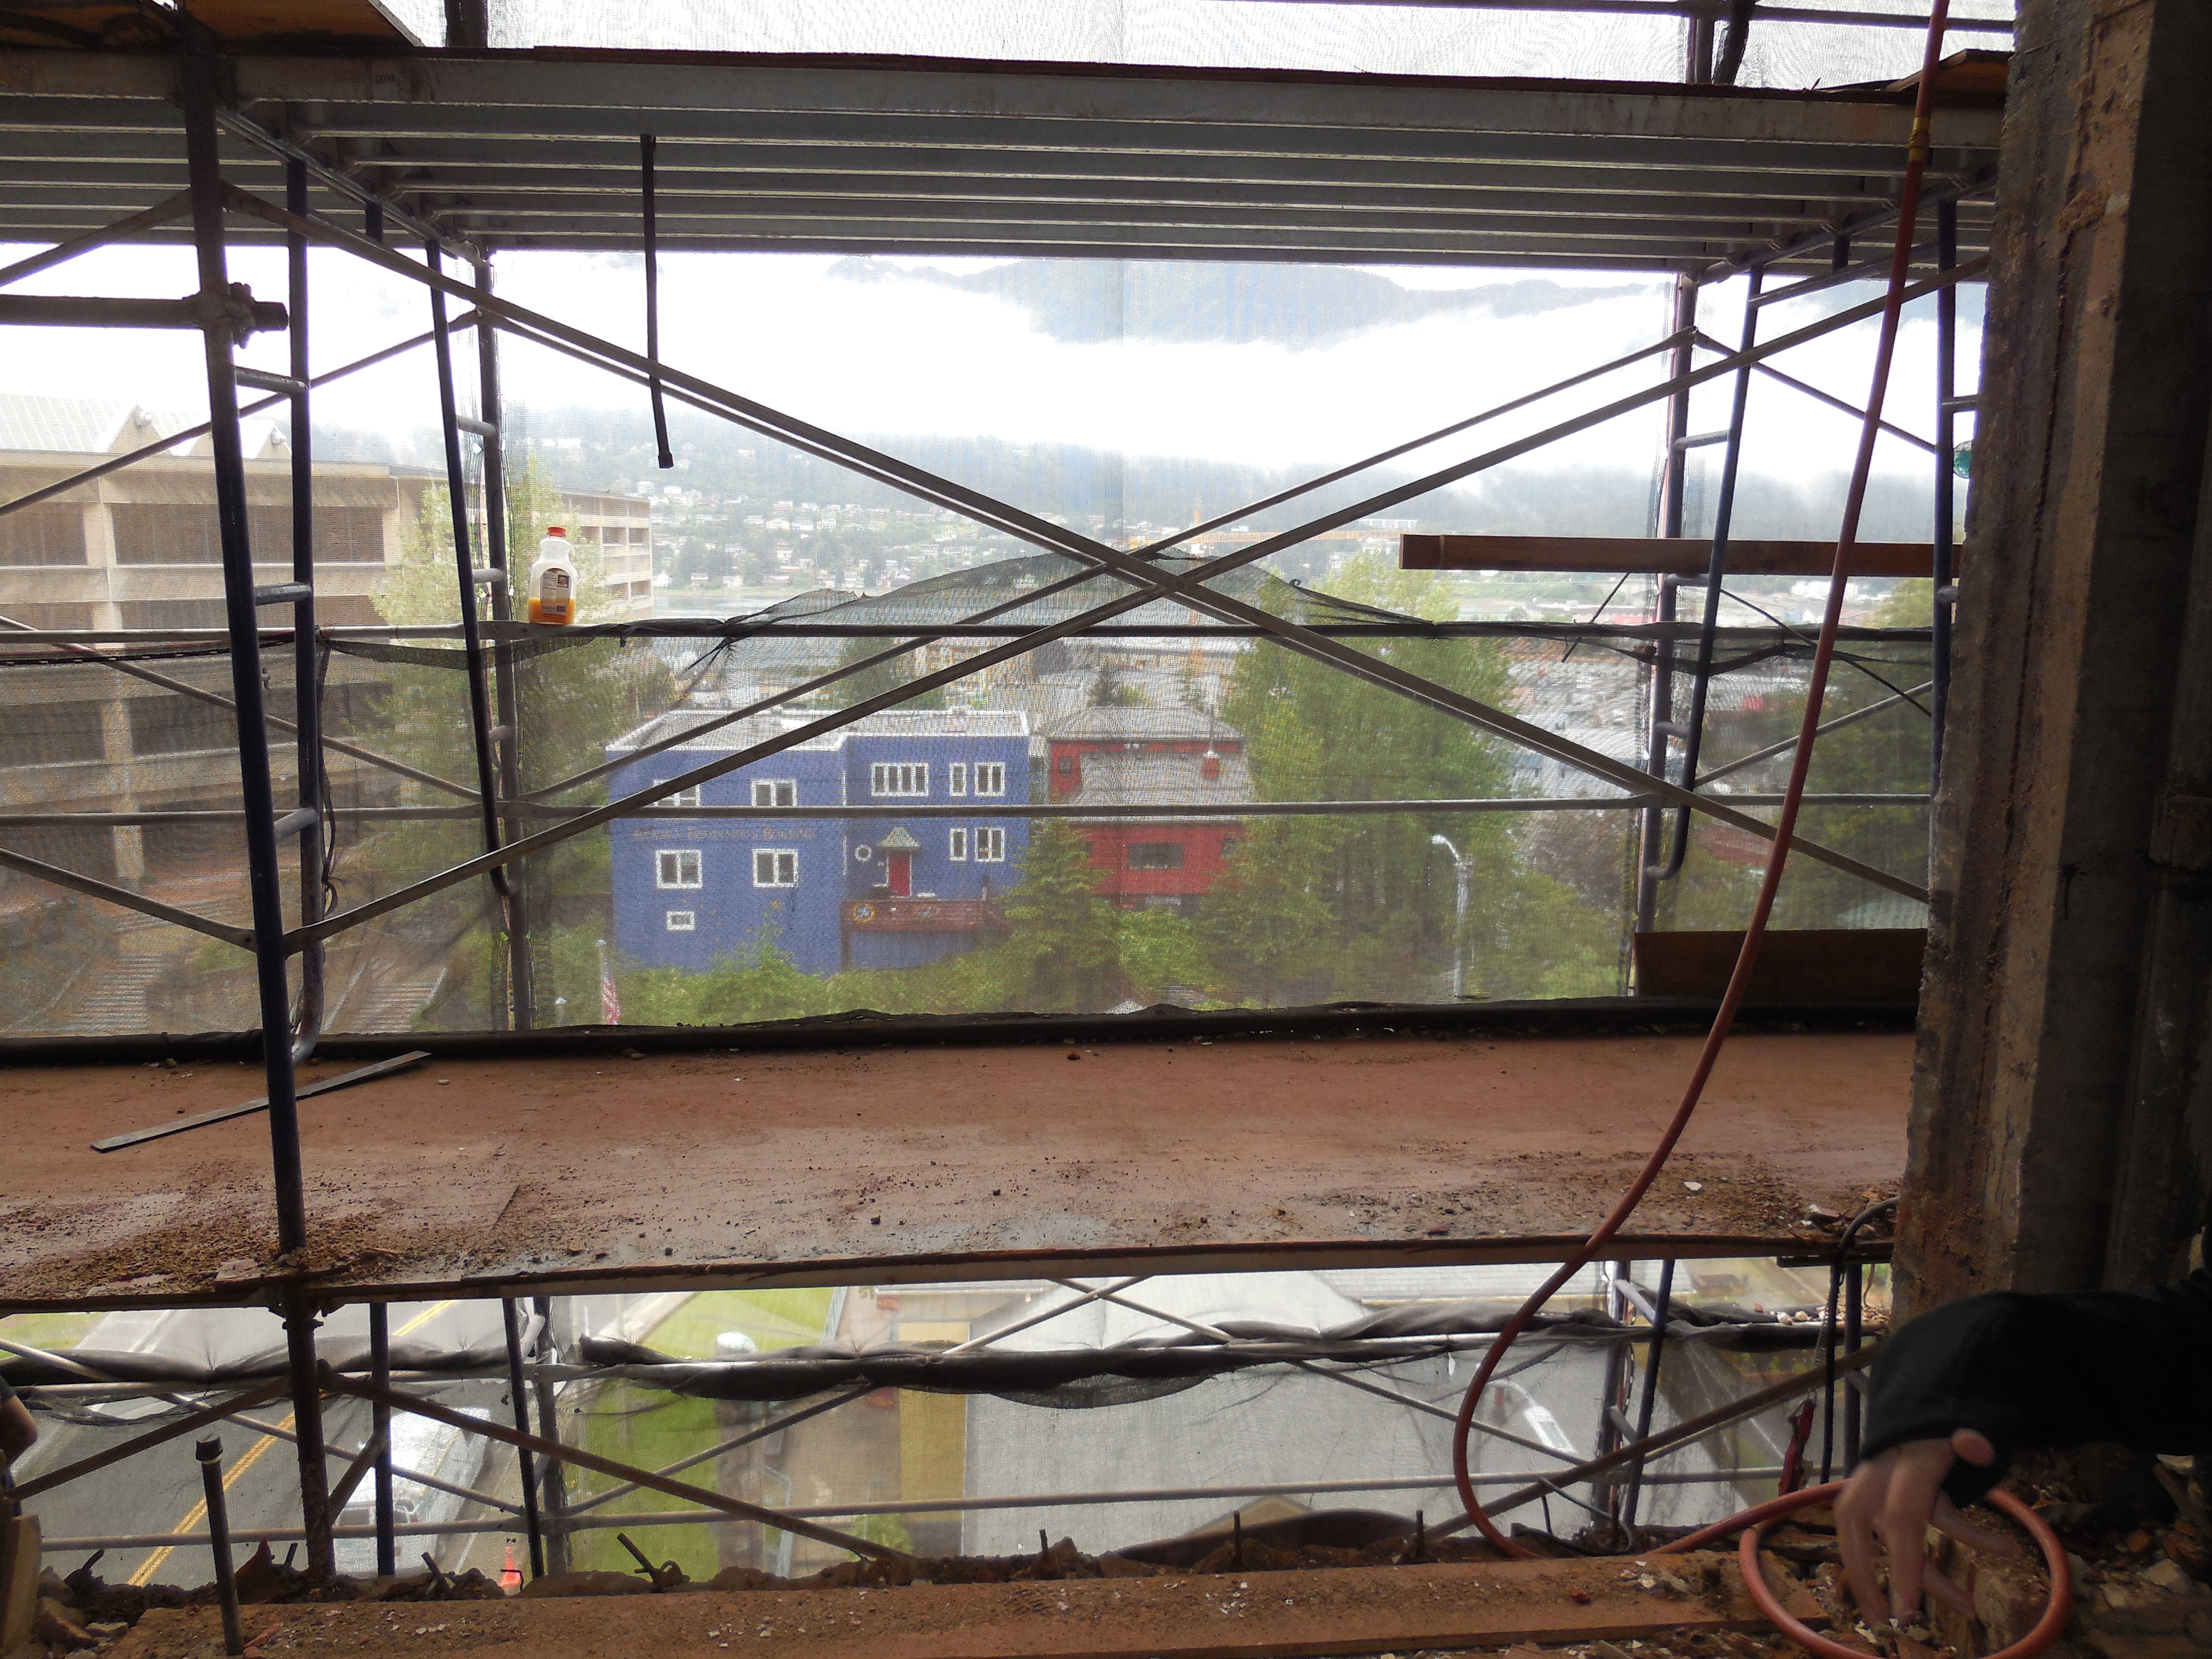
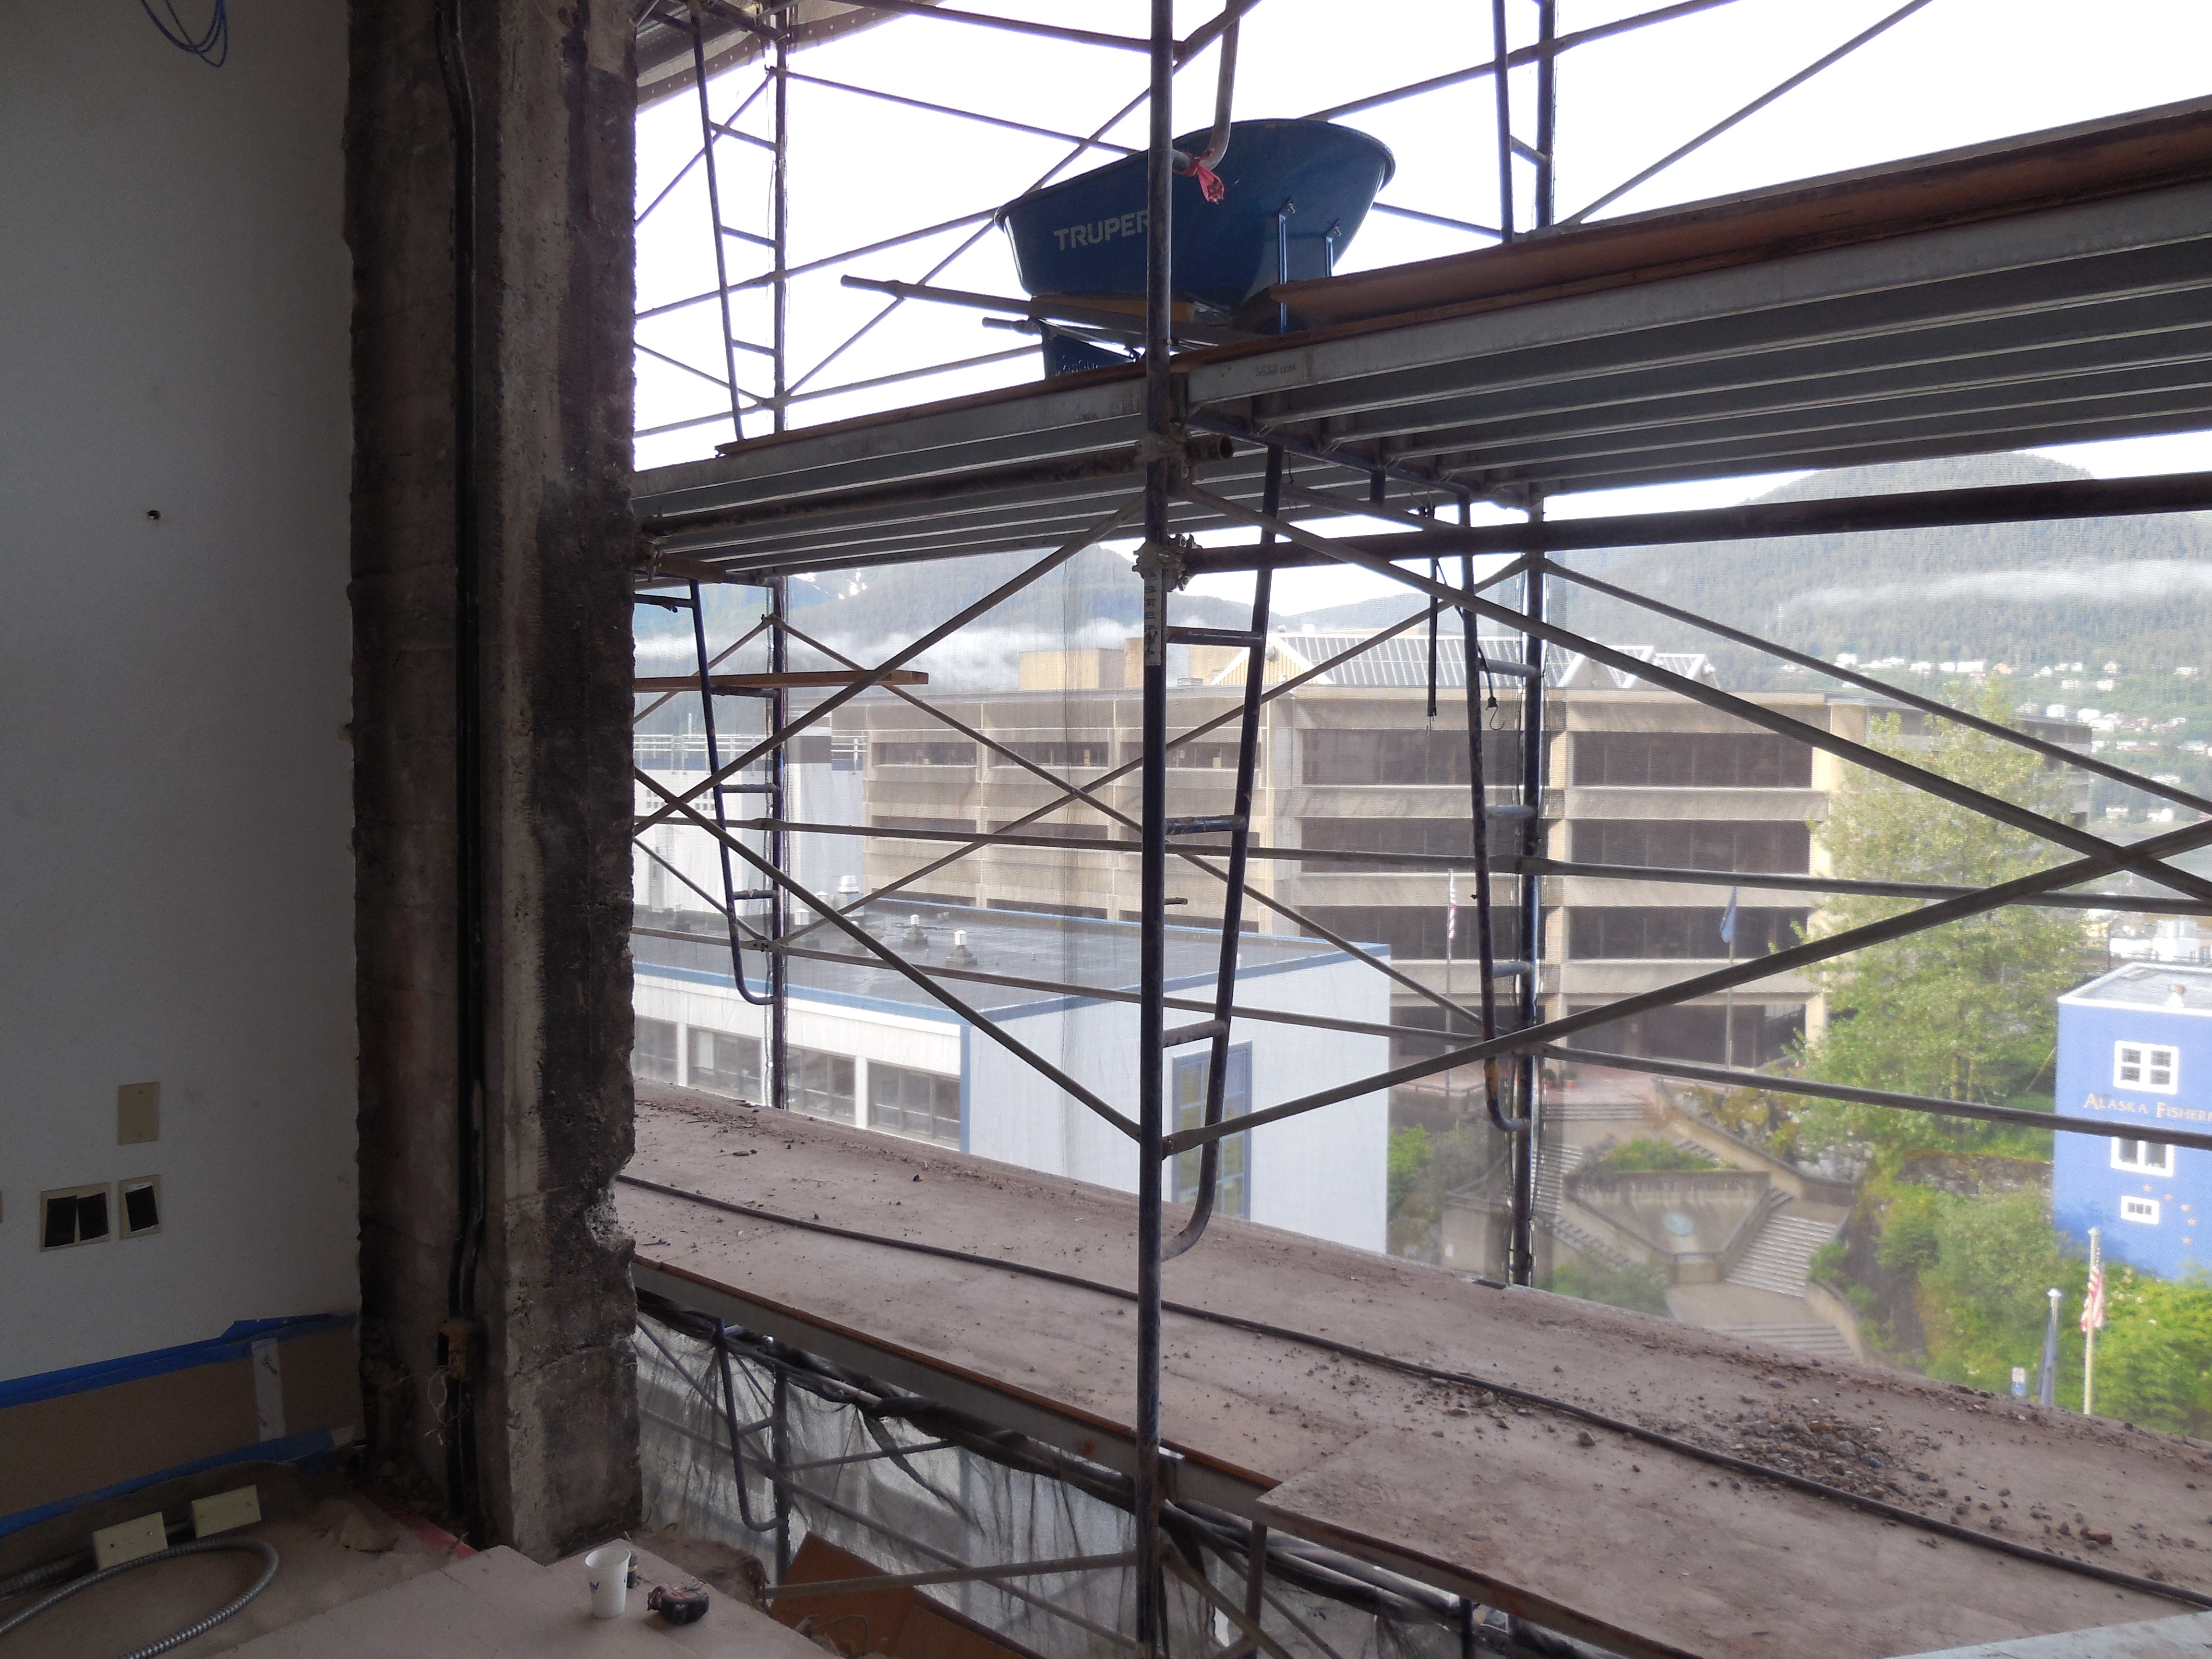
Update November 13, 2015
|
|
| Looking at West Wing | Southwest corner |
 |

|
| Roof under construction | Main Street West face |
|
|
| West Wing from North | View from Terry Miller Building |
| |
| West Wing cornice East face |
Update October, 2015
 |  |
| Masonry work North Face of West Wing | New skin on Penthouse being installed |
 |  |
| Masonry work continues on North wall of West Wing | Clean up & sealing of masonry on West Wing |
 |  |
| Nearly completed West facade on Main Street | West & South facade |
 |  |
| West face of West Wing | Masonry on North Face of East Wing |
 |  |
| Looking at East Wing from West Wing | East Face of West Wing nearly complete |
Update September, 2015
 |
 |
| Brickwork on East Face of West Wing | Demo & masonry work in courtyard |
 |
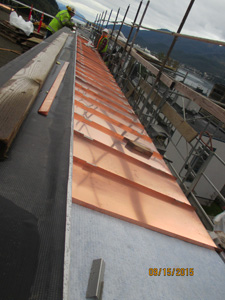 |
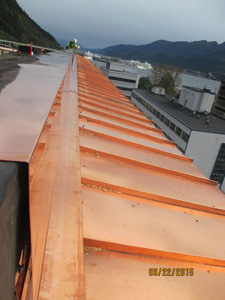
| Before Shotcrete showing new rebar in courtyard North Face | New copper pan on cornice top |
 |
 |
| Masonry work on East Face of West Wing | Demo scaffold on North Face of East Wing |
 |
 |
| Copper ban on cornice top West Wing | Masonry work in North Face courtyard |
 |
|
| Masonry work on North Face of West Wing |
Update August, 2015
 |  |
| Demo chute w/ dust mask | Cornice installation on North Face of East Wing |
 |  |
| Cornice flashing & masonry West Wing | Courtyard fully engaged in demo work w/ scaffold & dust protection in place |
 |  |
| West Wing w/ masonry scaffold at parapet for cornice installation | Flashing installation preparatory to masonry work |
 |  |
| Penthouse siding | Courtyard demolition platform w/ demo & Reconstruction simultaneously in progress |
 | |
| Courtyard fully engaged |
Update July 17, 2015
|
|
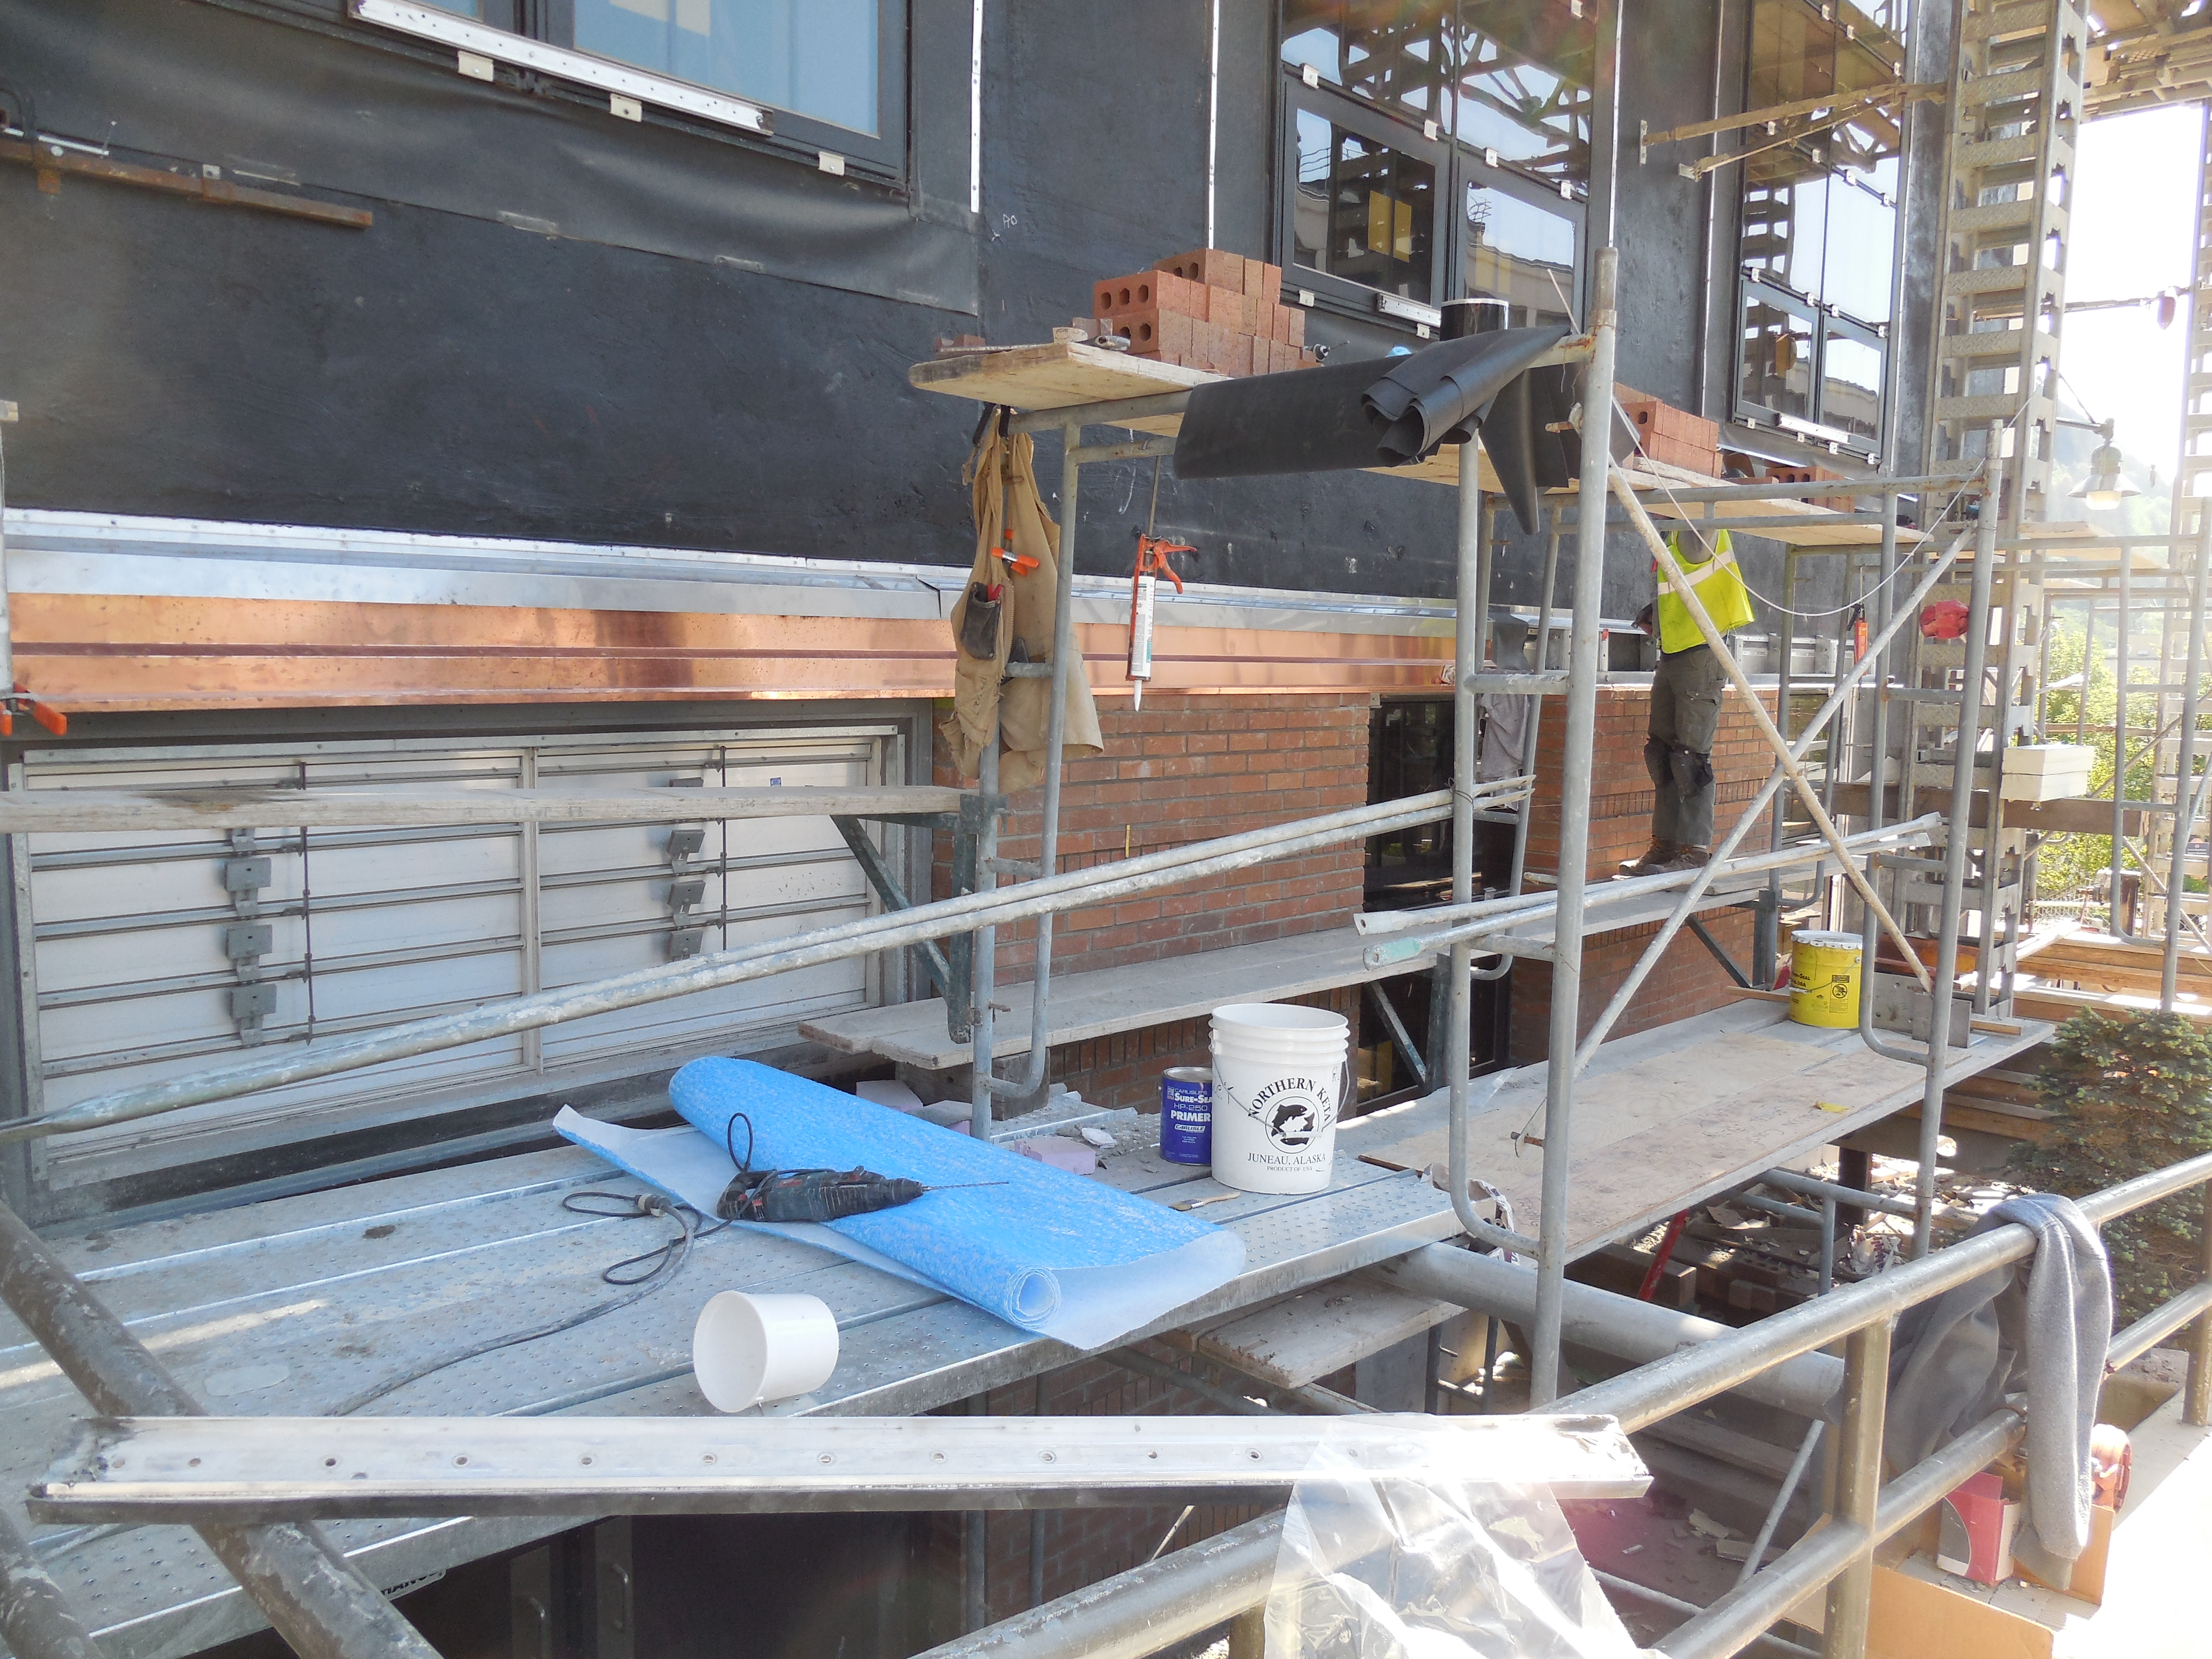
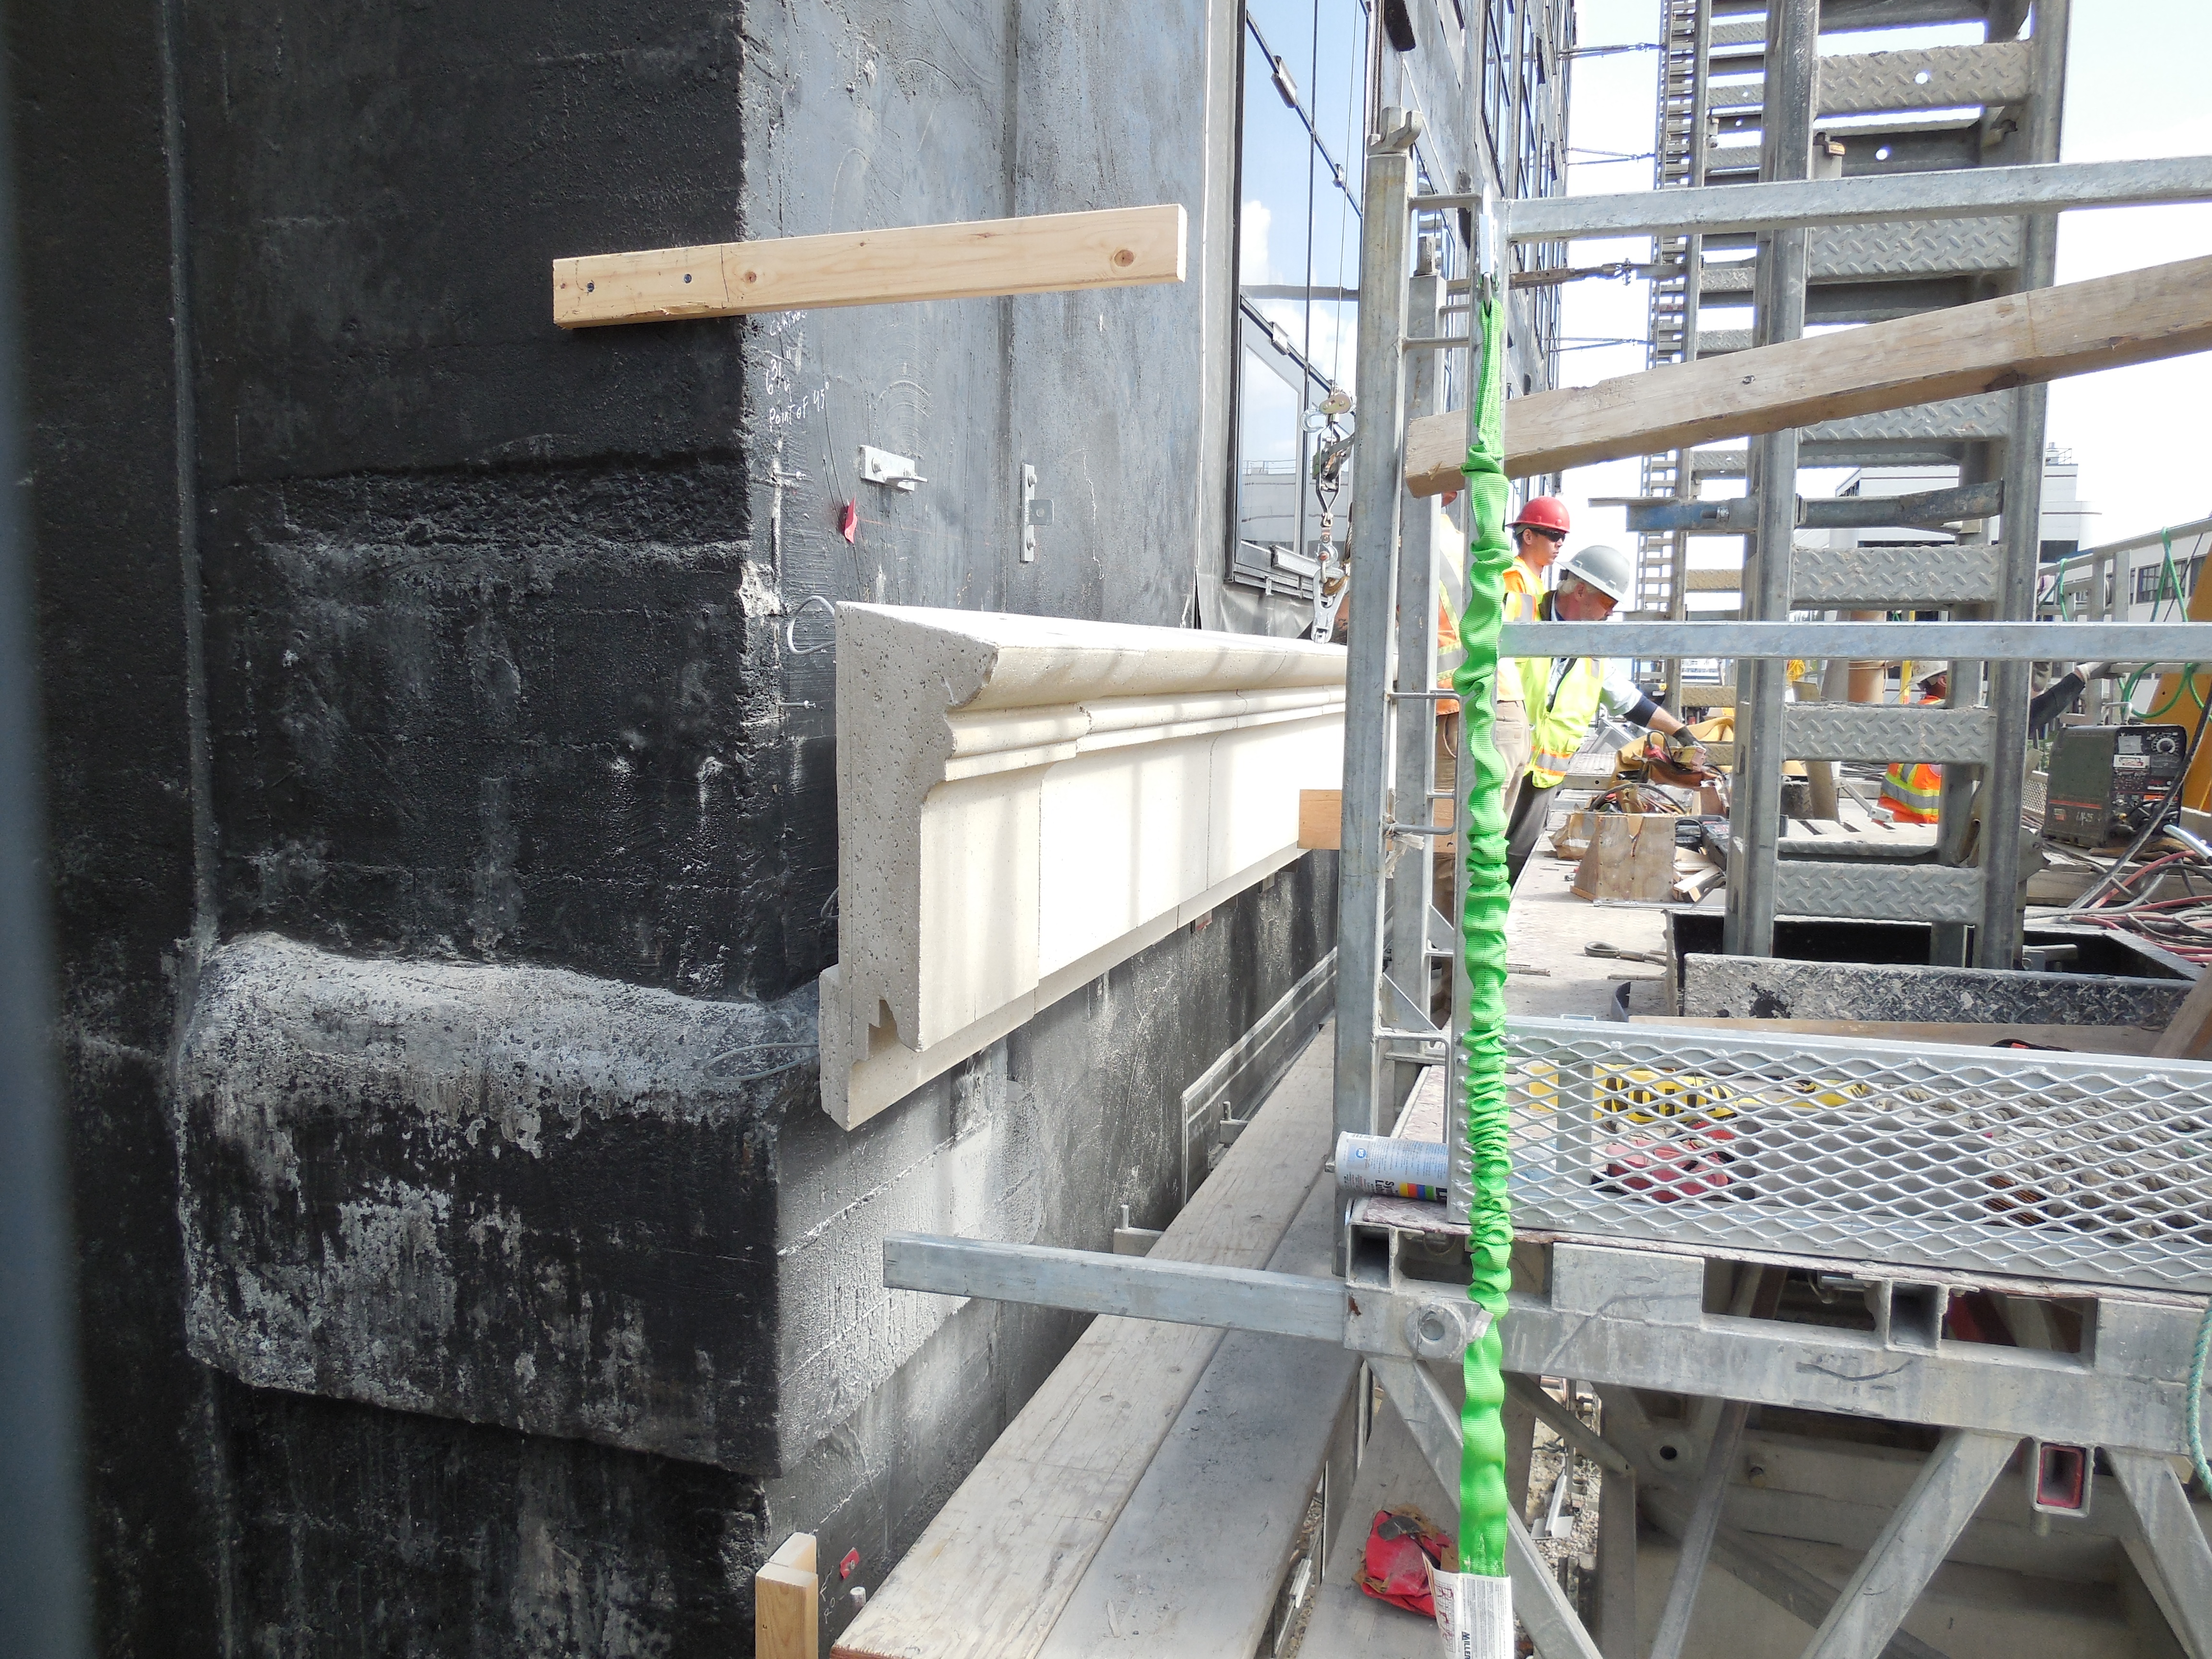
| New brick, terra cotta, spandrel, water table | Ground, 1st, 2nd floors w/ new masonry |
|
|
| Rebar North wall West wing, ready for shotcrete | From roof, cornice piece flying up to position |

|
|
| Fully engaged West wall | Old post office window, East wing |
|
|
| Into 518a from scaffolding | Out from 518a toward TMLOB |
Update June 26, 2015
|
|
| New spandrel panels West facade | New spandrel panel with new terra cotta |
|
|
| View from Main Street | Room 520 after masonry and window demolition |
|
|
| Above windows Senate Finance | Above windows House Finance |
|

|
| Inside penthouse after demo with new framing | Parapet at East face West wing |
Update June 12, 2015
|

|
| Water table & copper flashing | New terra cotta window surround |
|
|
| New terra cotta & copper flashing on Main Street | New terra cotta & copper flashing on Main Street |
|
|
| Senate Chamber exit | Northeast corner of West wing on 5th Floor |
|
|
| Northeast Corner of West wing on 5th Floor | North wall of West wing on 5th Floor |
Update May 29, 2015
|

|
| New brick with copper flashing | New brick at West wall over boiler room |
|

|
| Roof looking West | Roof looking Northeast |

|

|
| Paul Lukes building envelope consultant | Rylem tests being conducted |
|
|
| Concrete beam demolition North and West wing | East wing with scaffold and wrapped for demolition |
| |
| Courtyard platform looking West |
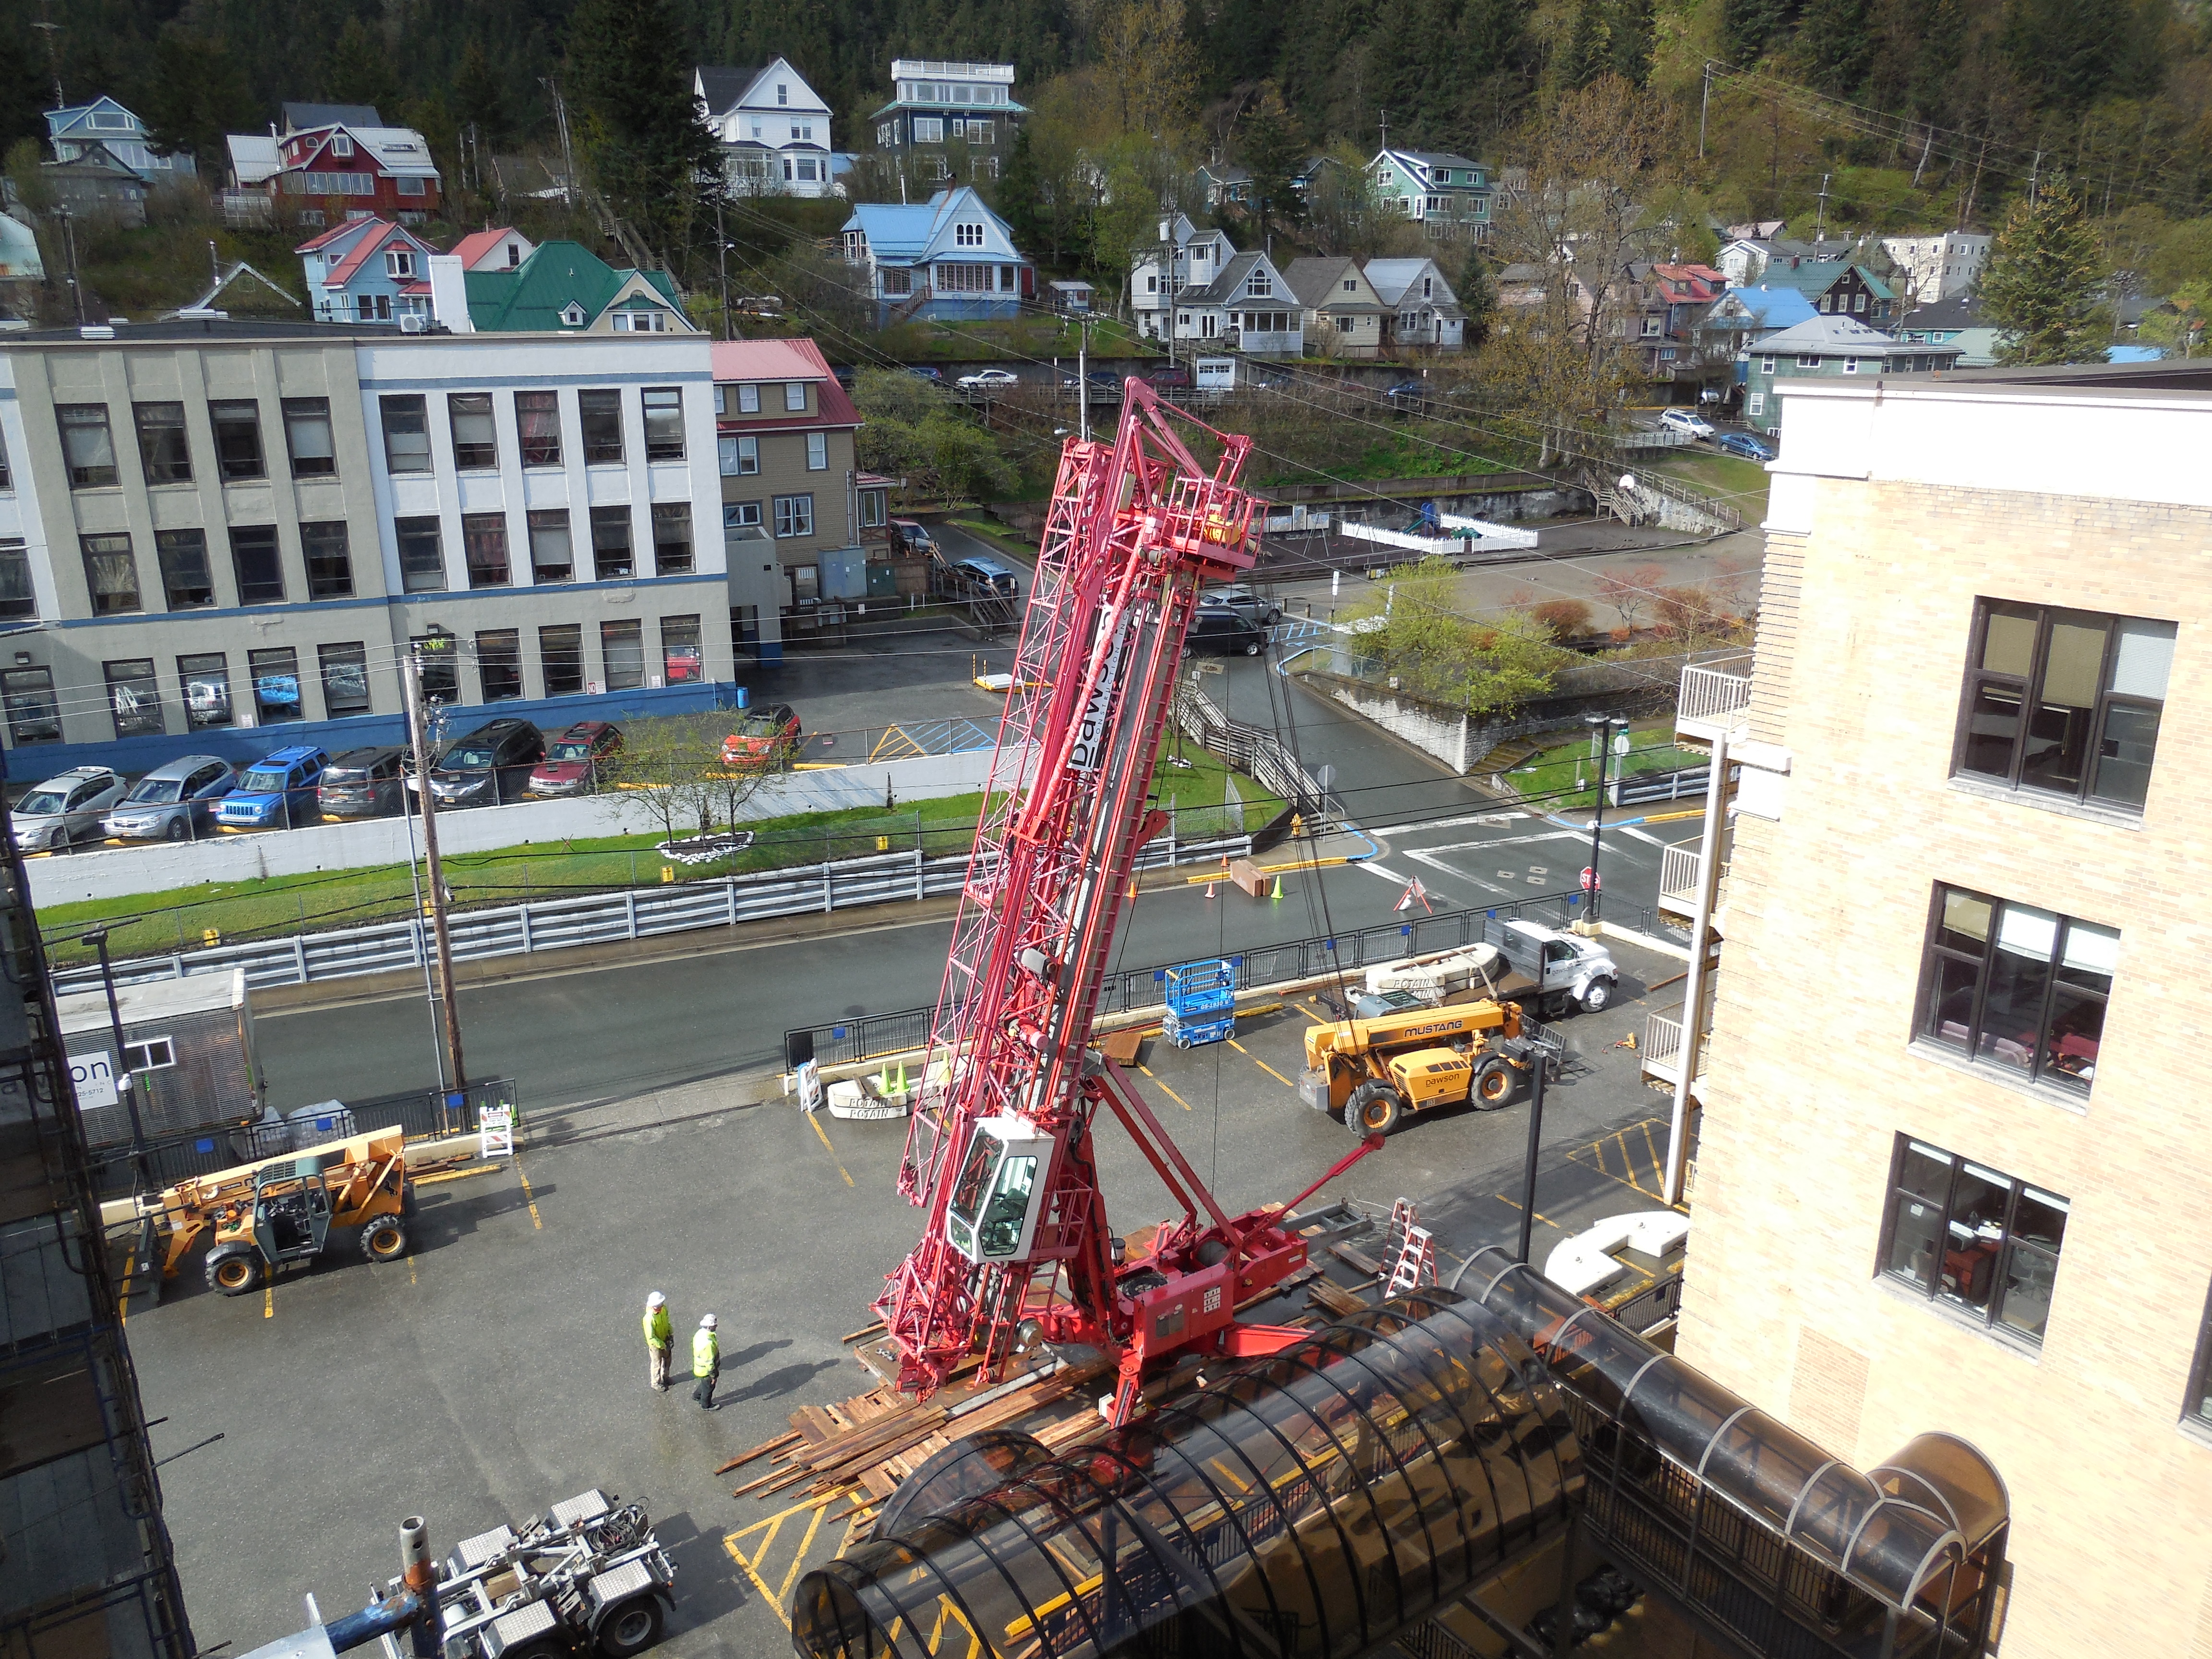
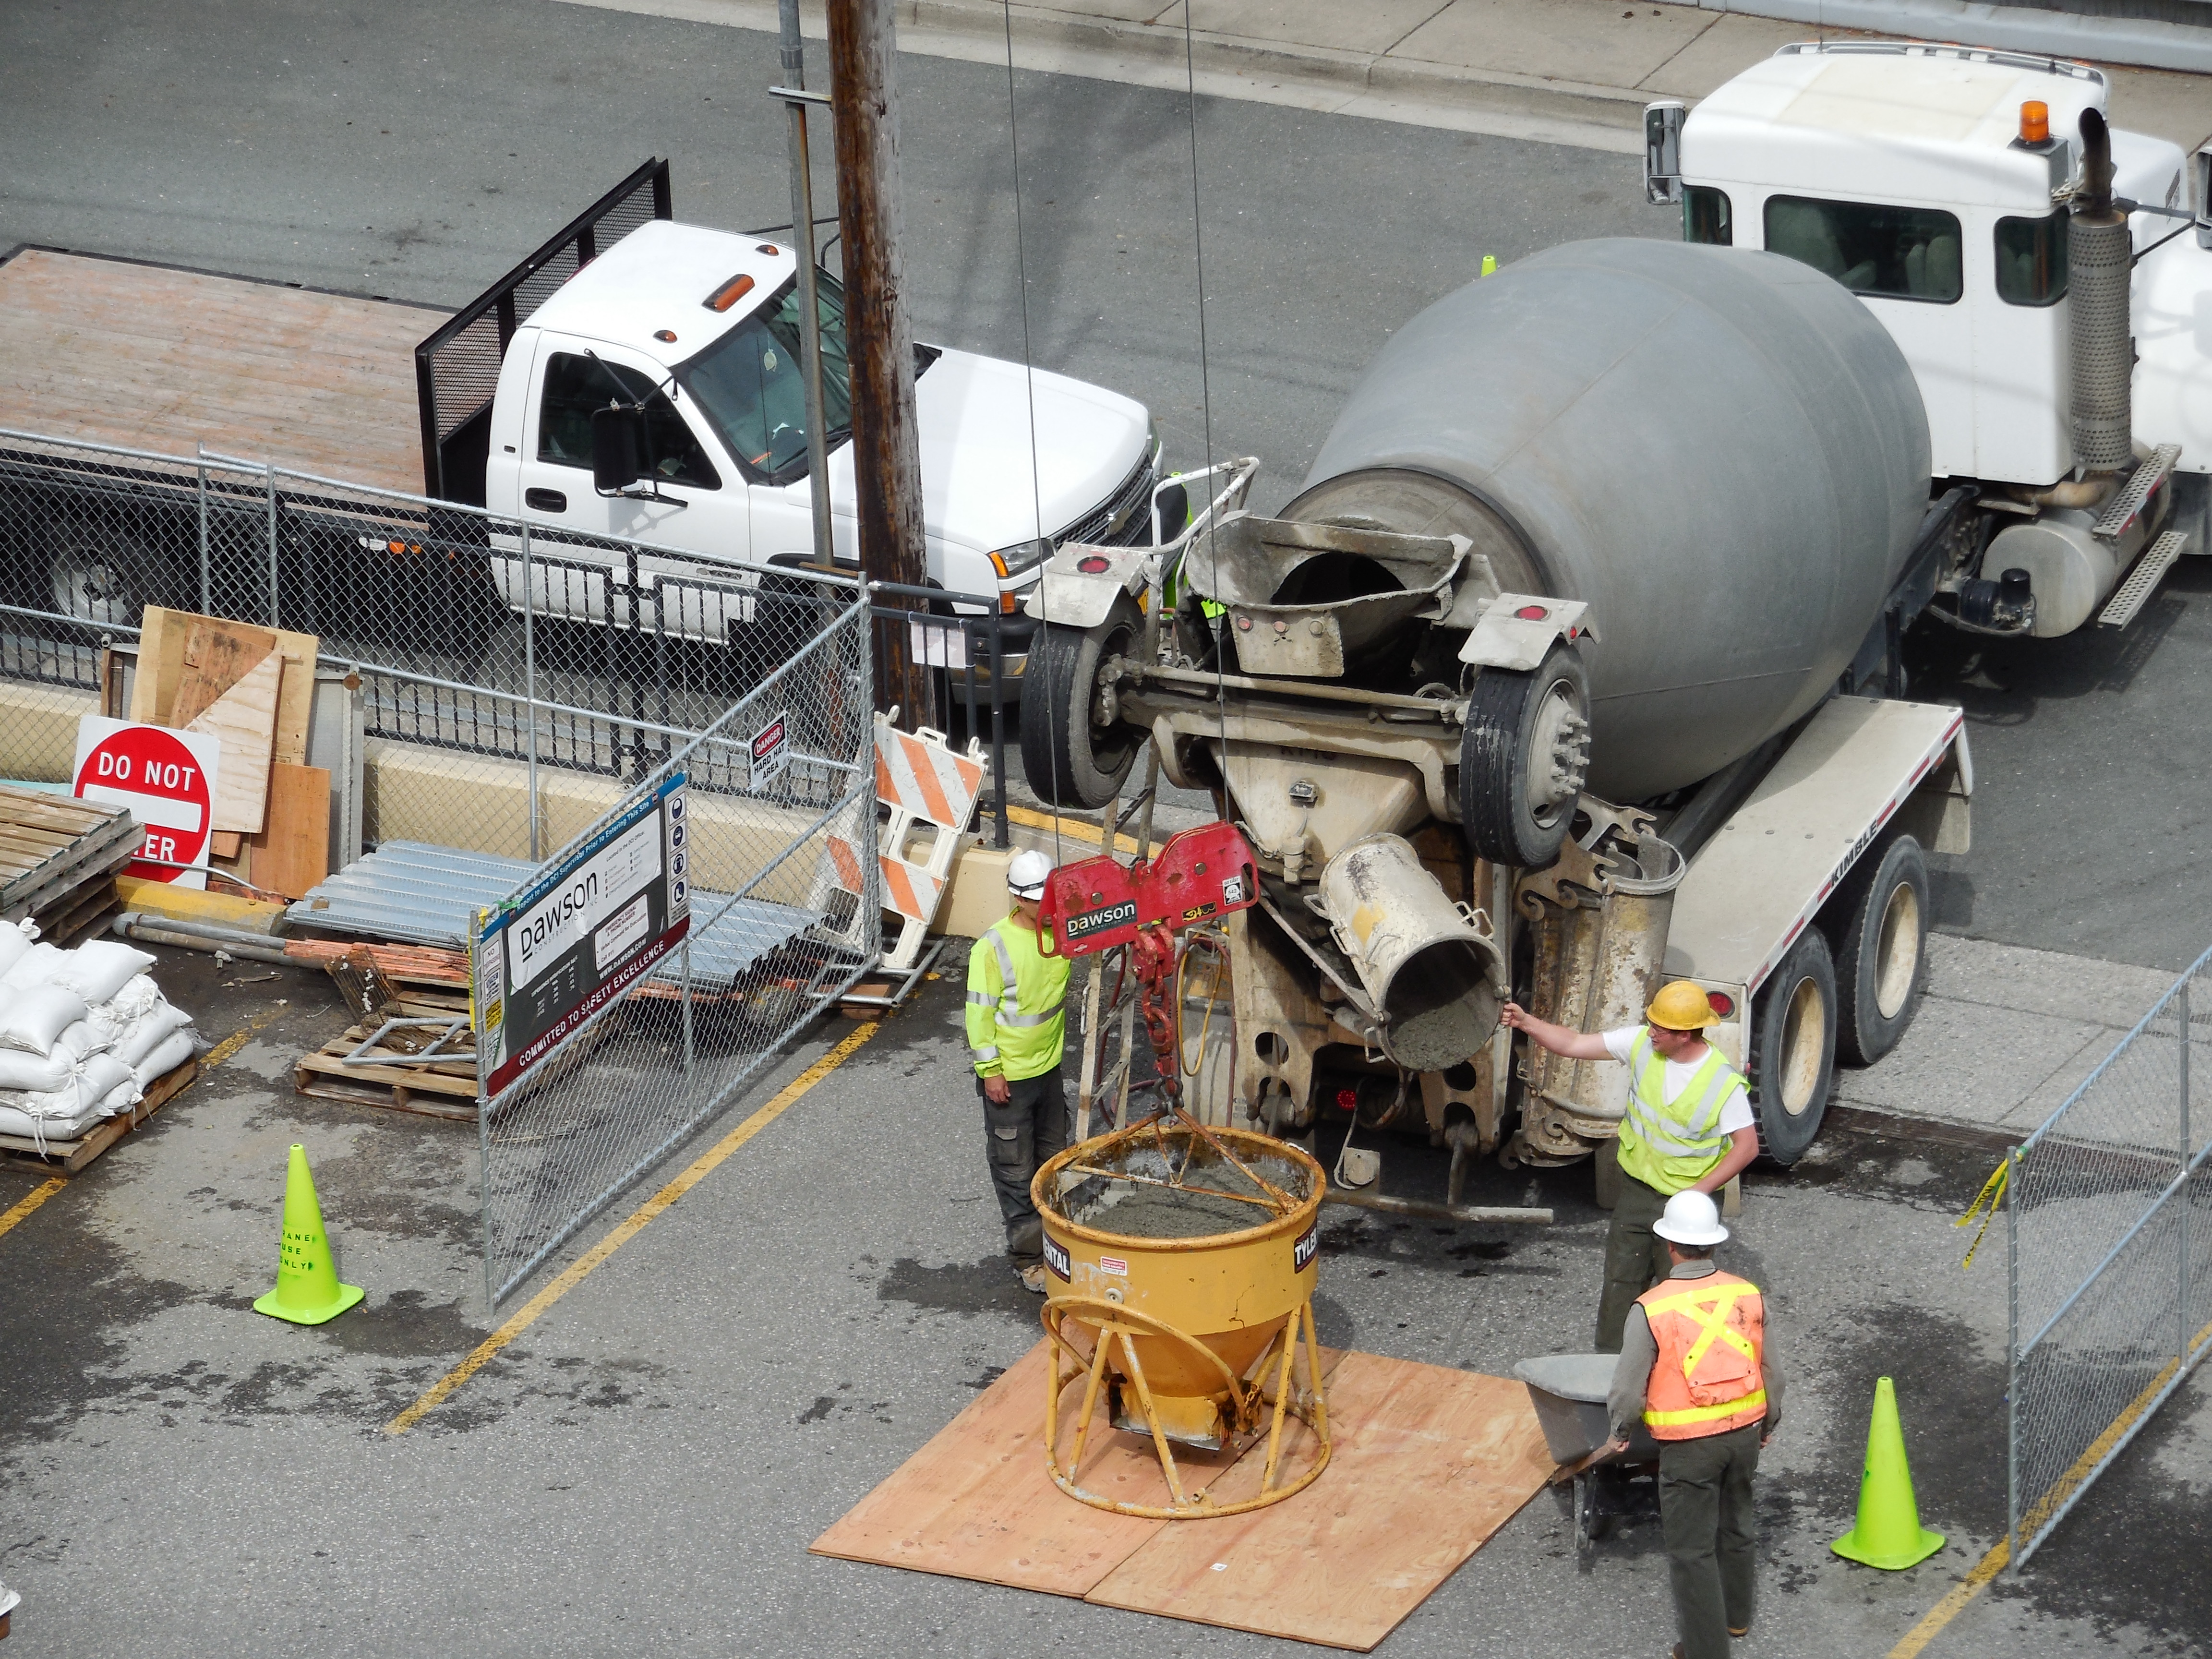
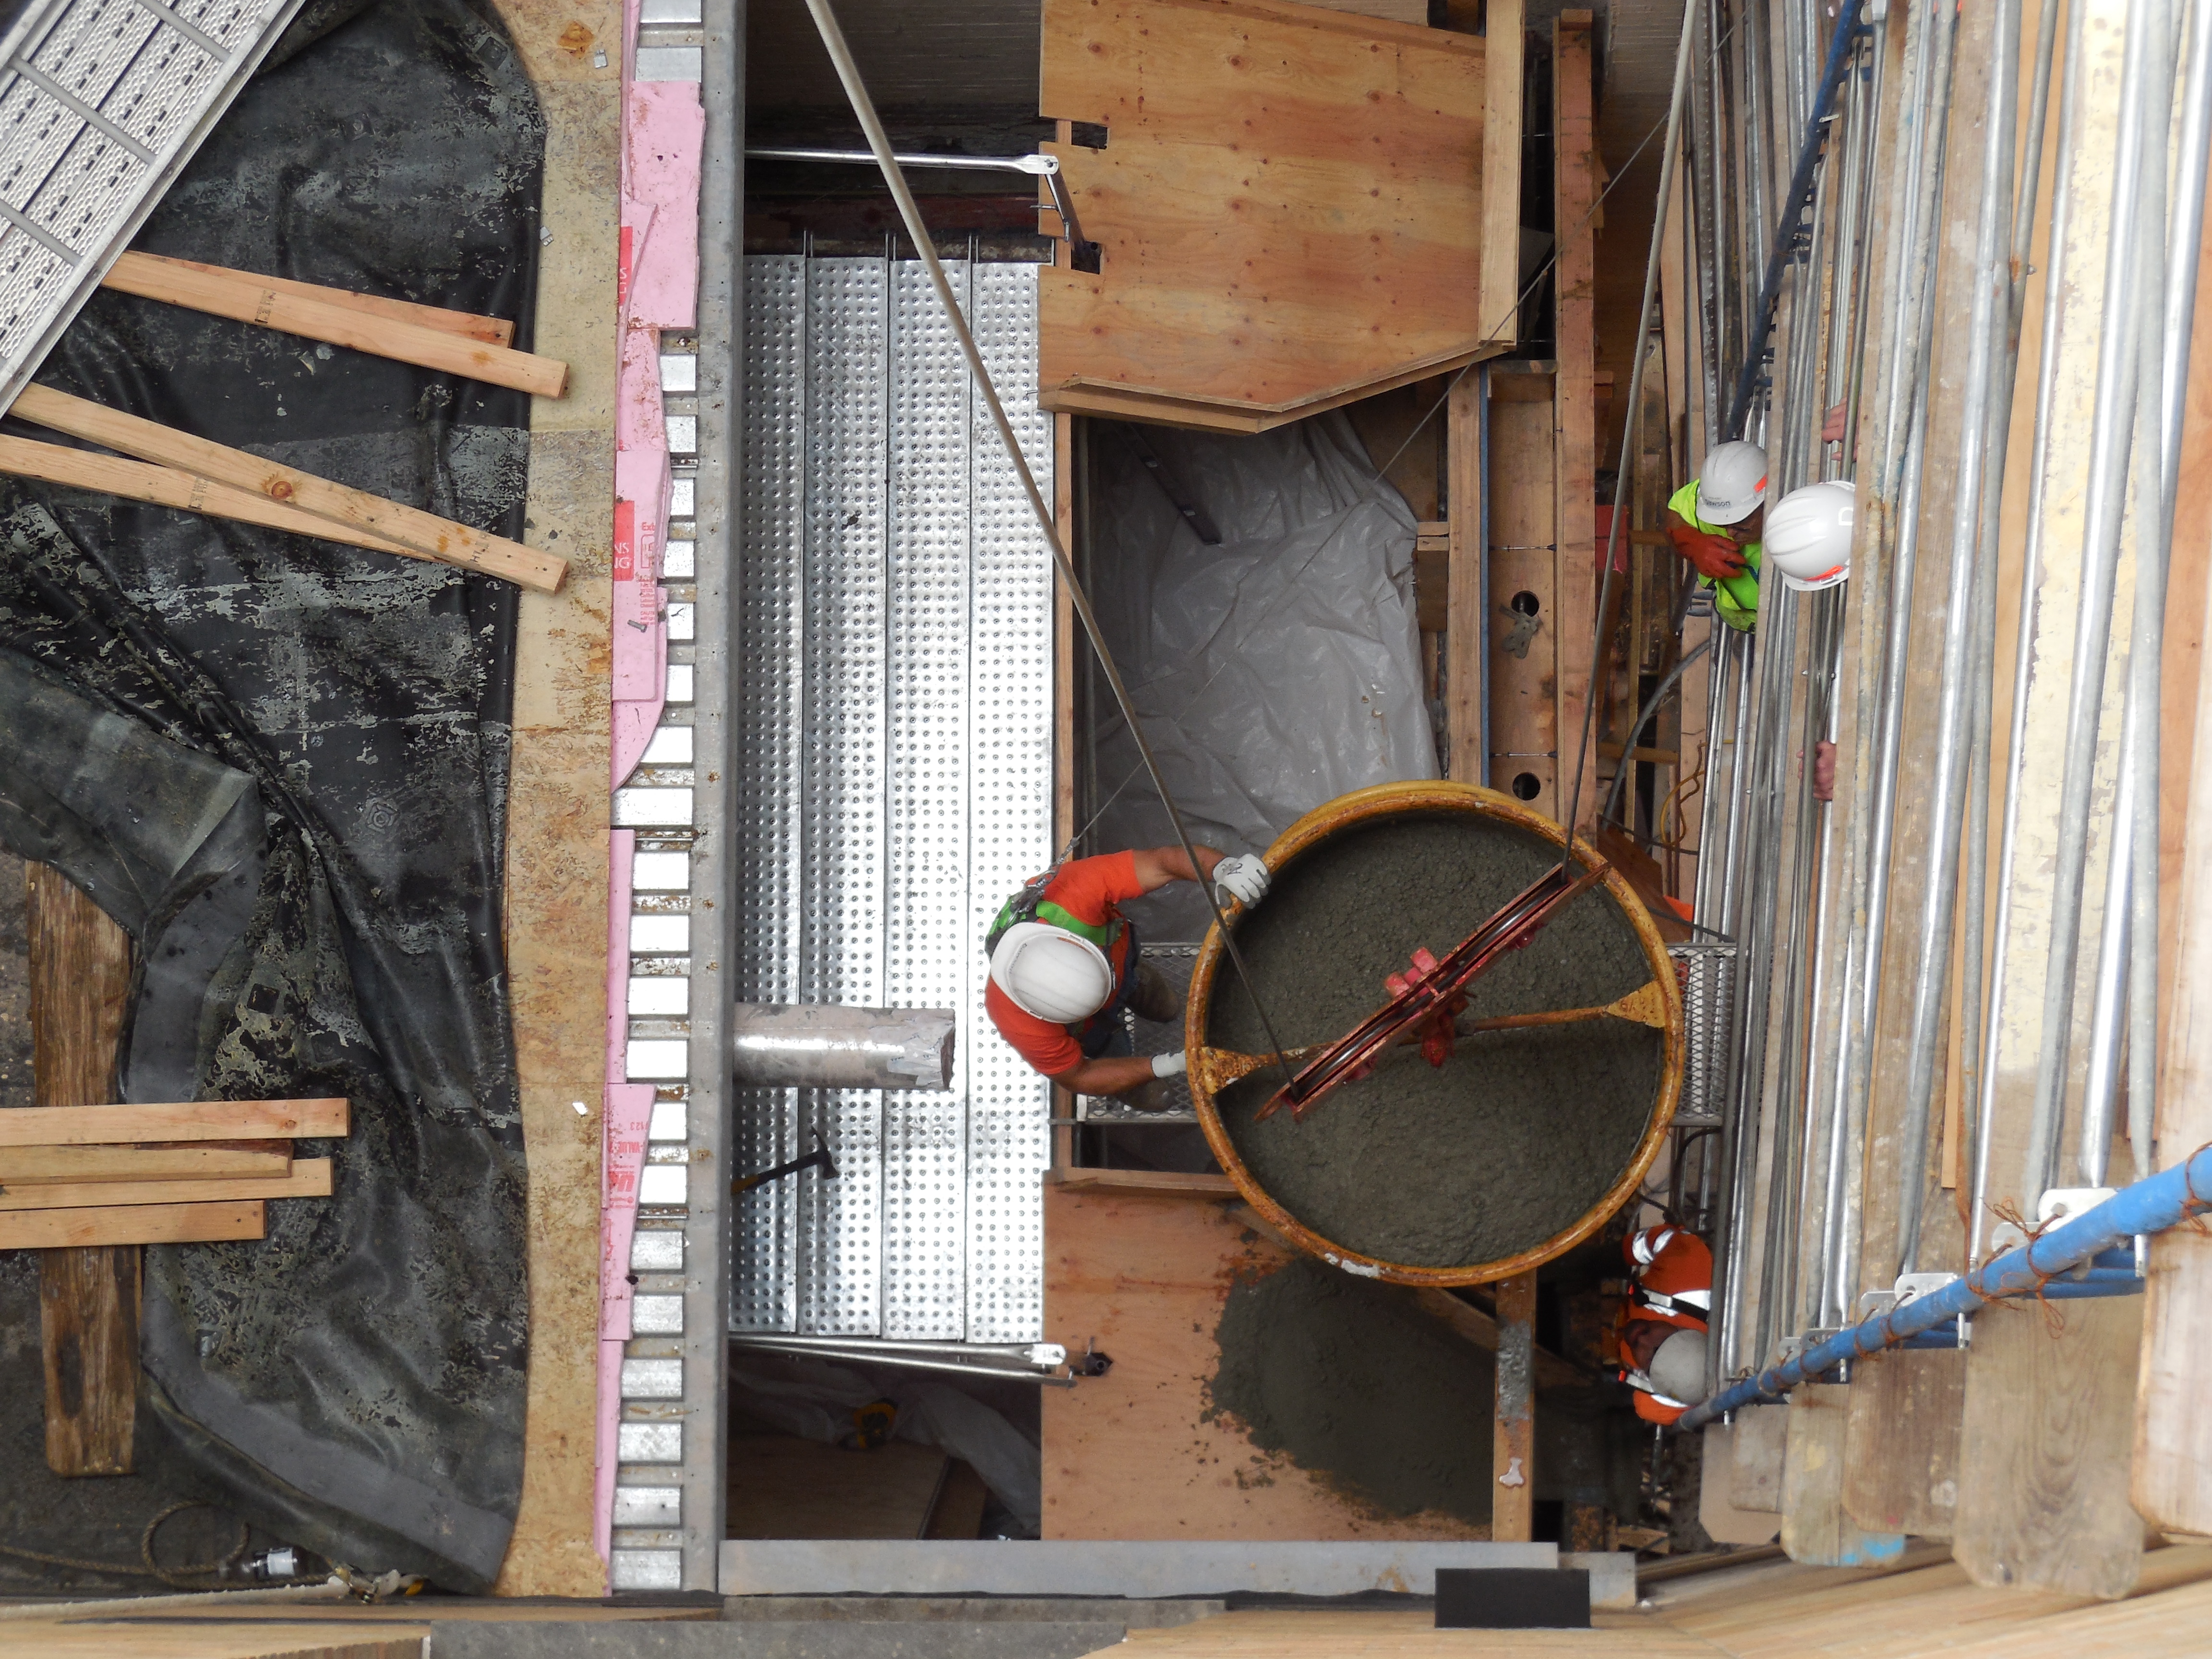
Update May 15, 2015
|
|
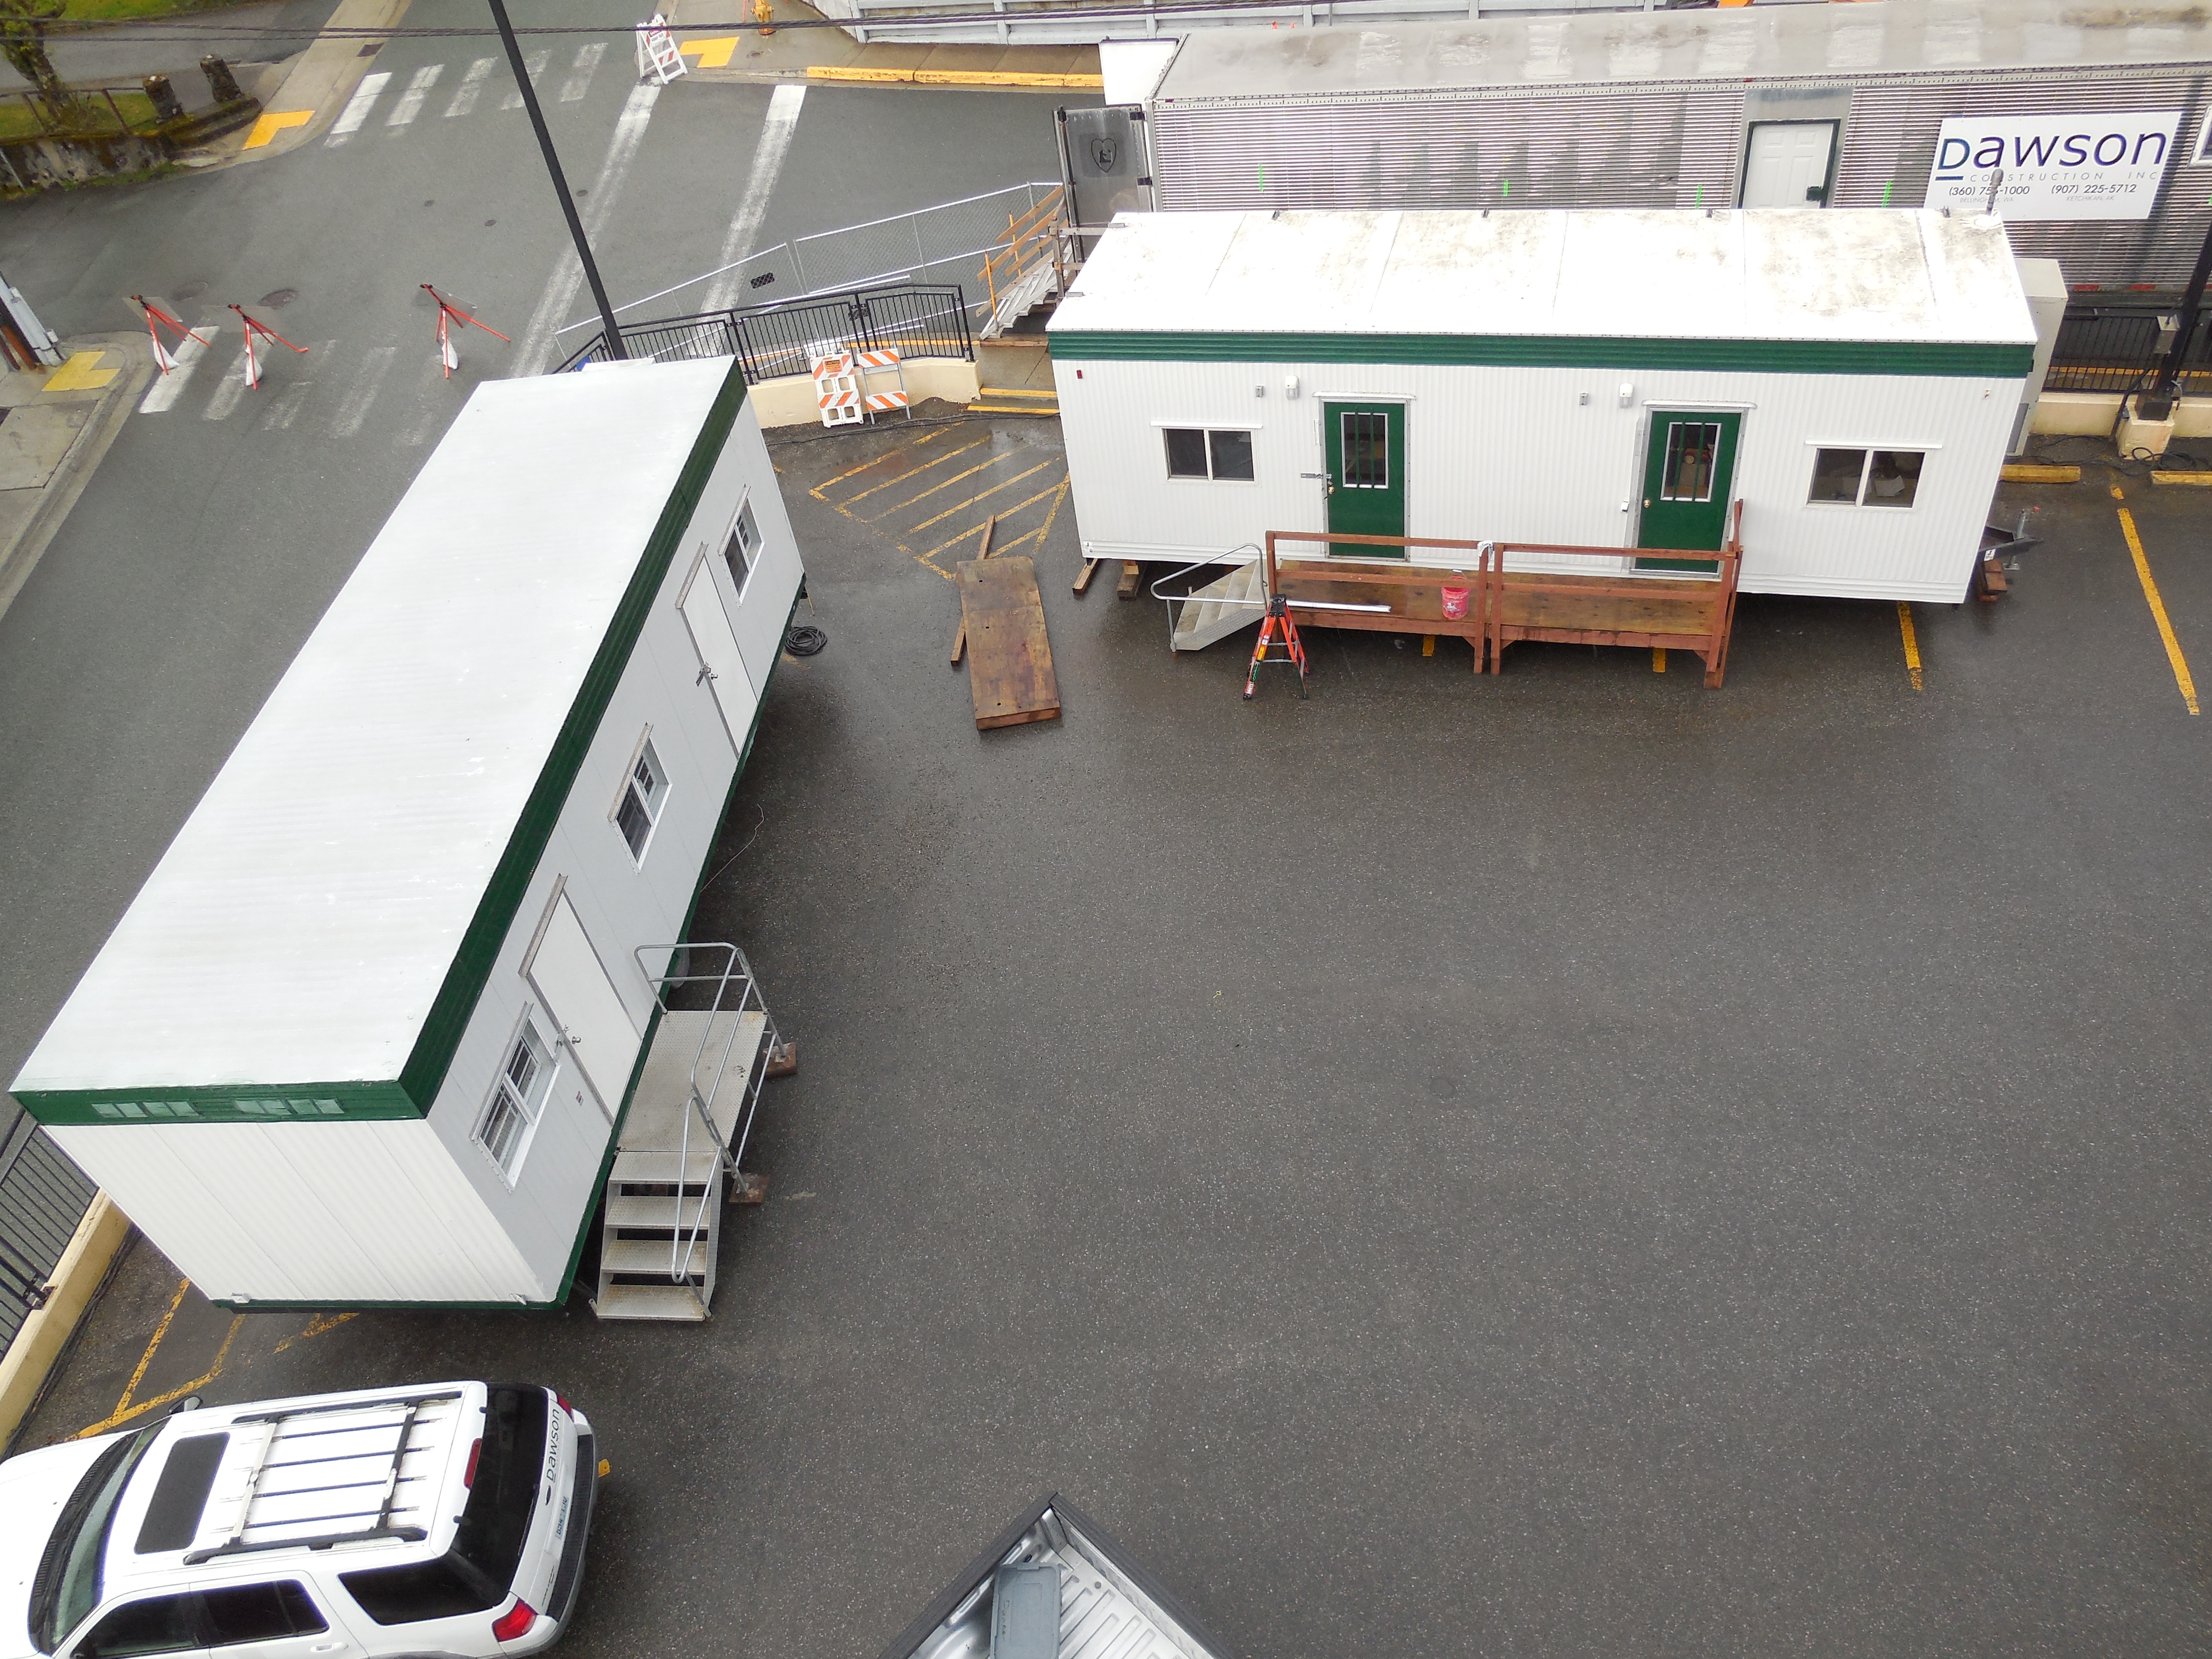
| 2015 crane setup | 2015 Dawson offices upper lot |
|
|
| Mason's scaffold west side | New precast water table |
|

|
| North face fully involved demo | 2nd floor precast water table |

|
|
| Courtyard work platform from roof | Courtyard work platform from 2nd floor |
| |
| New brickwork Main Street |
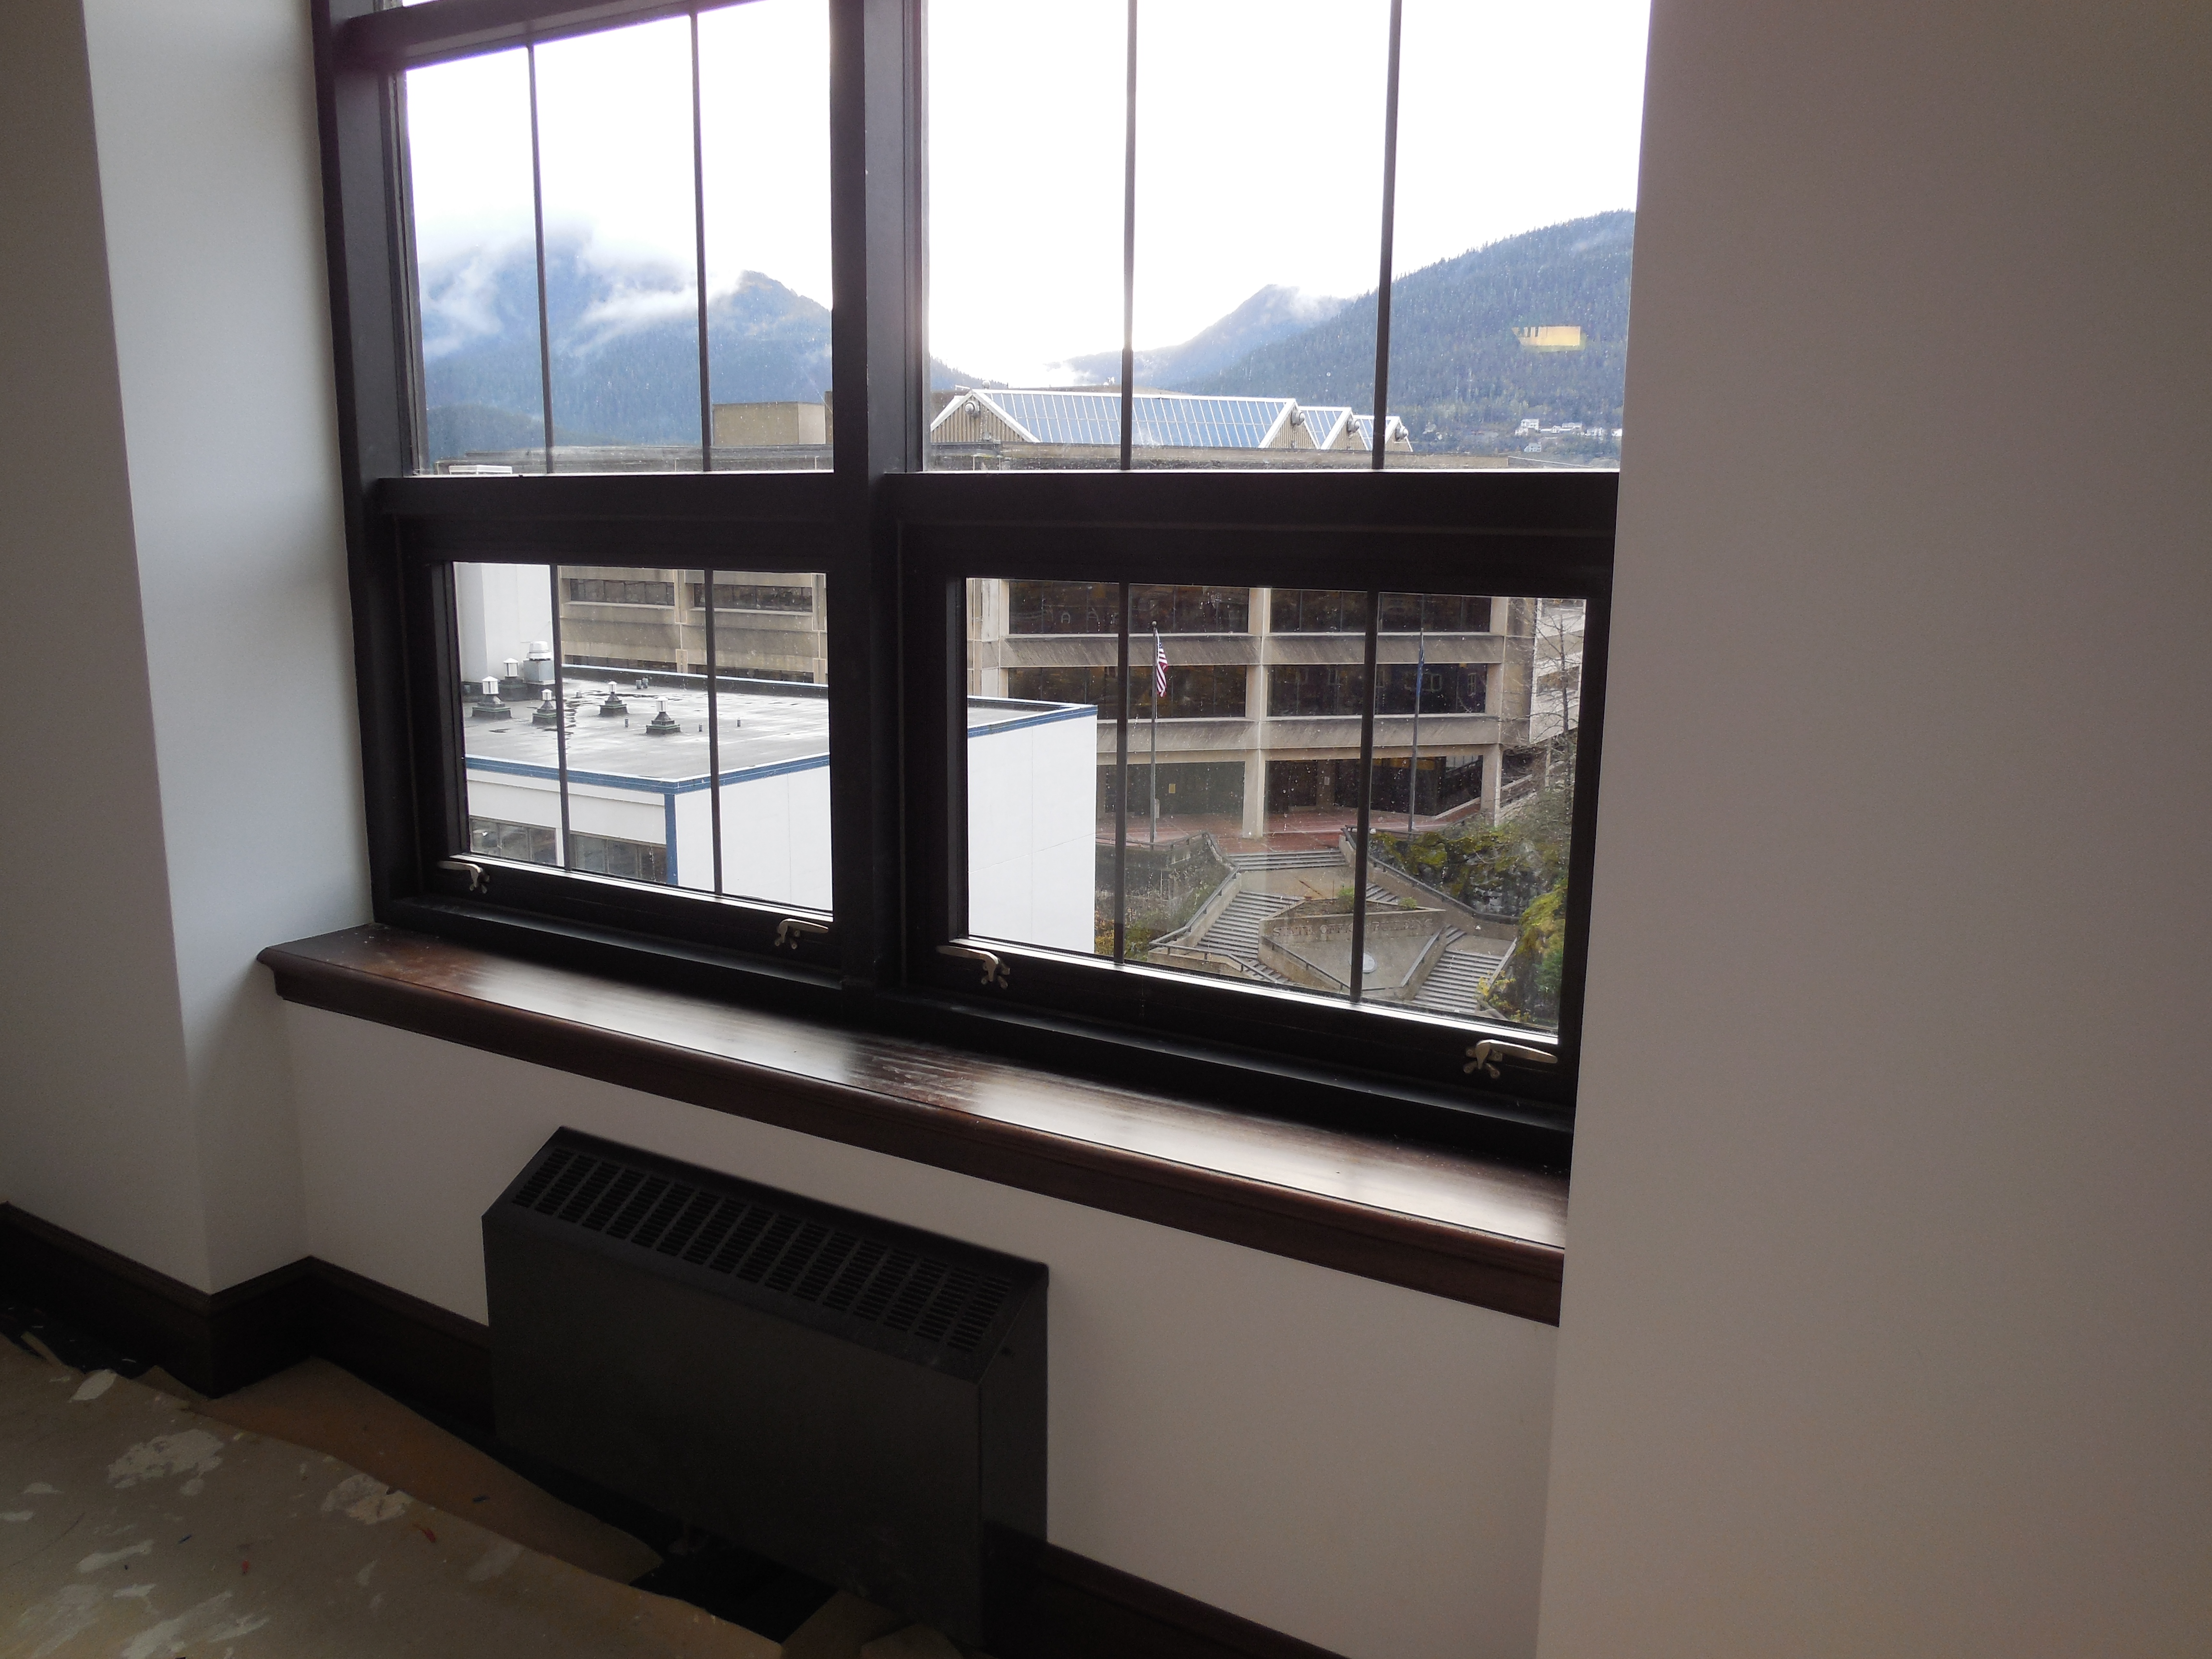
Update November 11, 2014

|
|
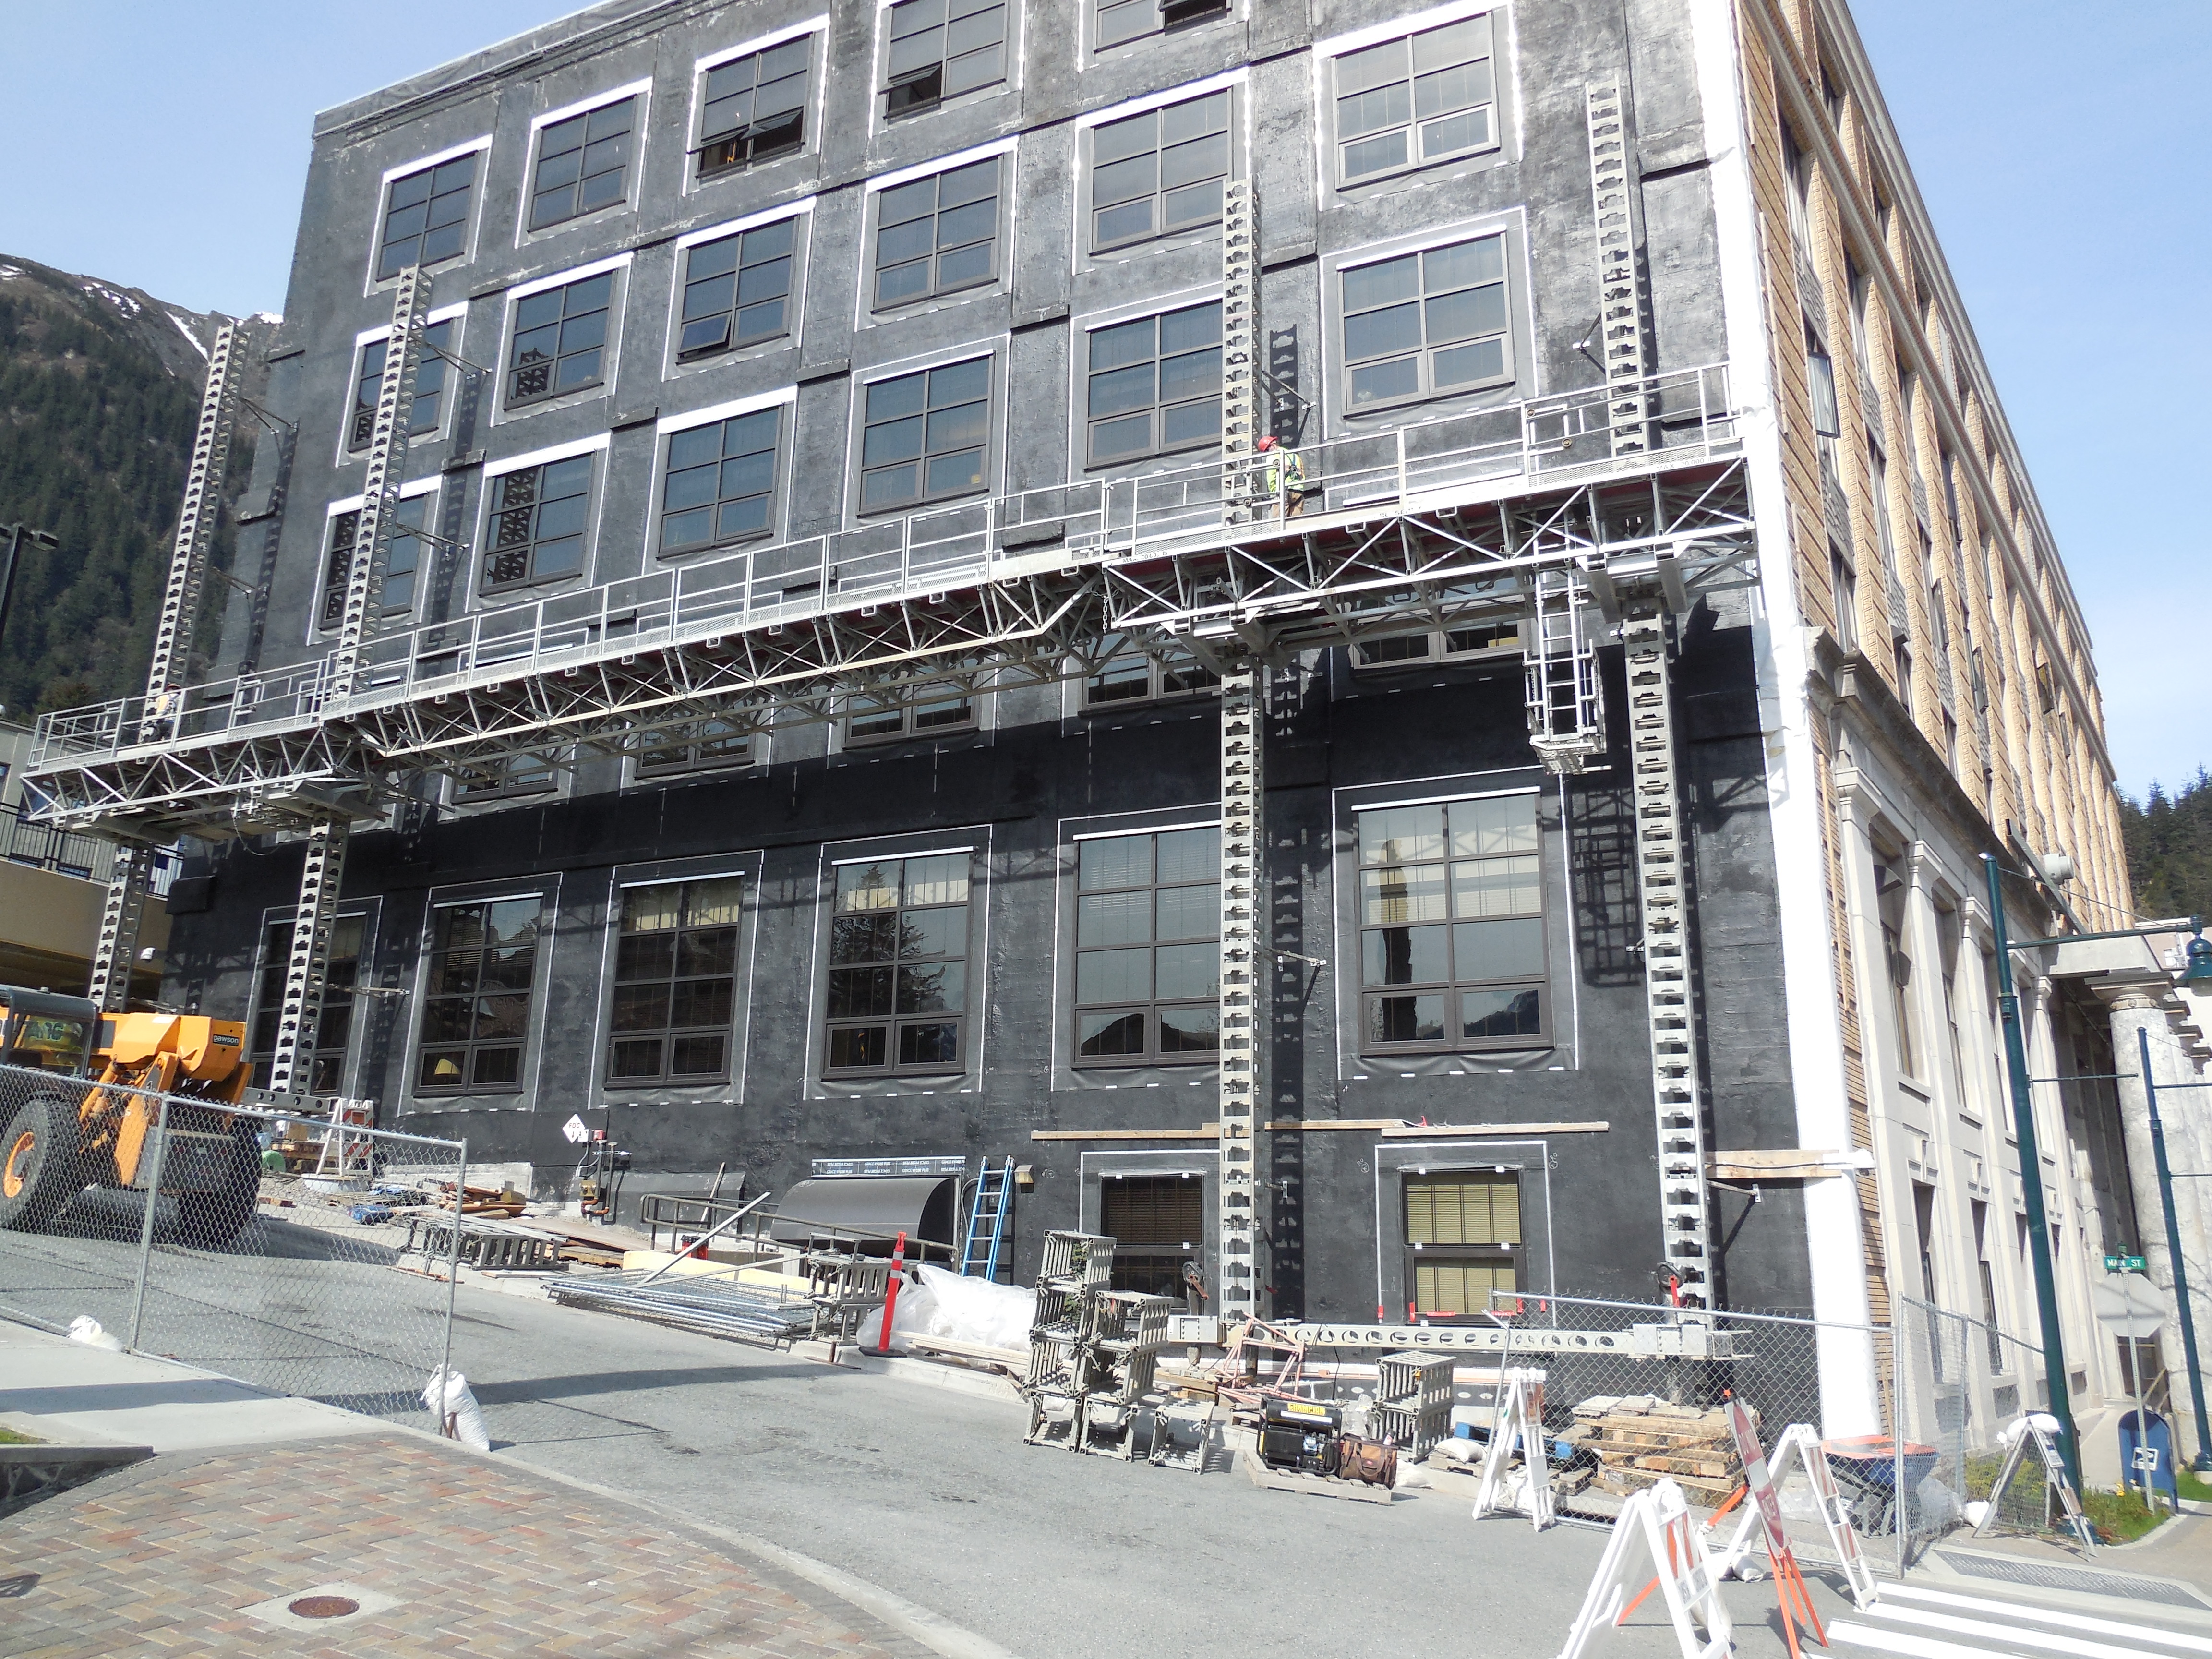
| Newly finished window, trim, and heater | West elevation without scaffolding after damp proofing |

|
|
| New windows and damp proofing finished | Main street, West wing, and North elevation |

|
|
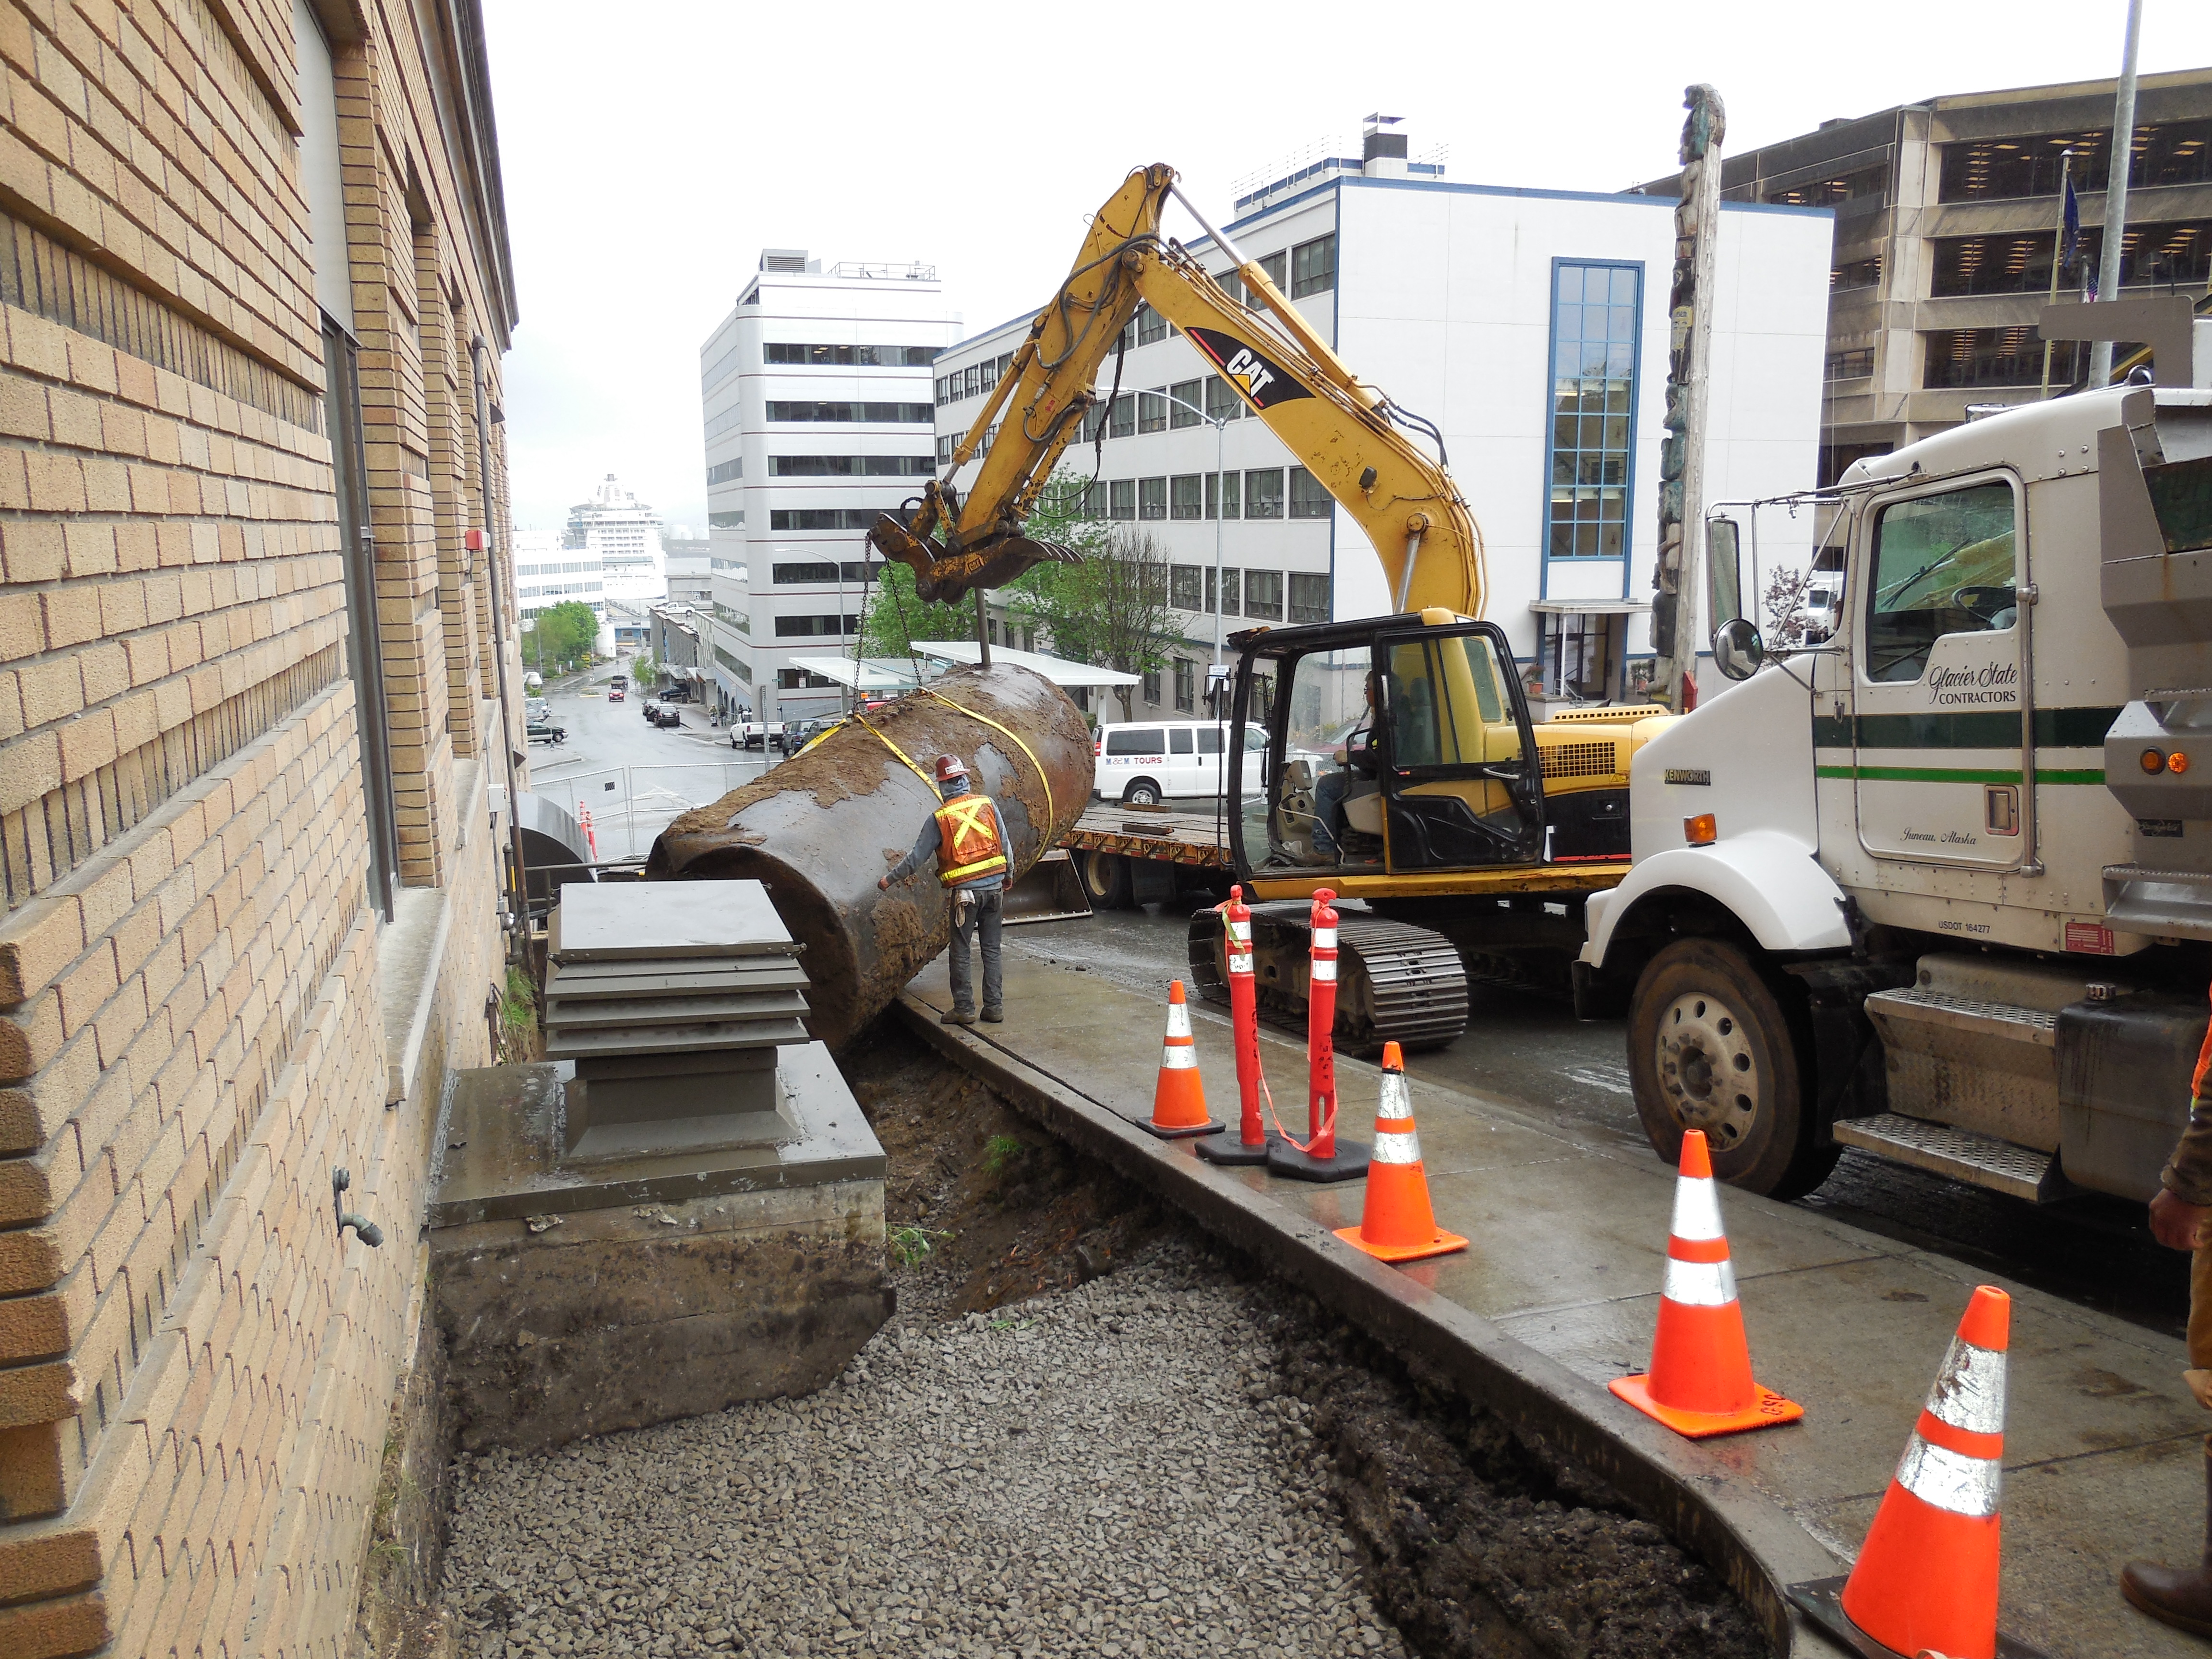
| New fuel tank installation | Parking lot after crane demobilization |
|

|
| Dawson HQ toward end of 2014 season | New windows |
| |
| New windows |
Update October 22, 2014
|
|
| East alcove with temporary roof | West alcove with temporary roof |
|
|
| Northwest parapet capped for weather | Looking down from Southwest roof corner |
|  |
| Scaffold teardown West face after damp proofing | 517 new windows, wall finishes, trim |
|
|
| Scaffold coming down | Southwest corner damp proofing |
|
|
| Demobilization in progress | 511A new windows, wall finishes, trim |
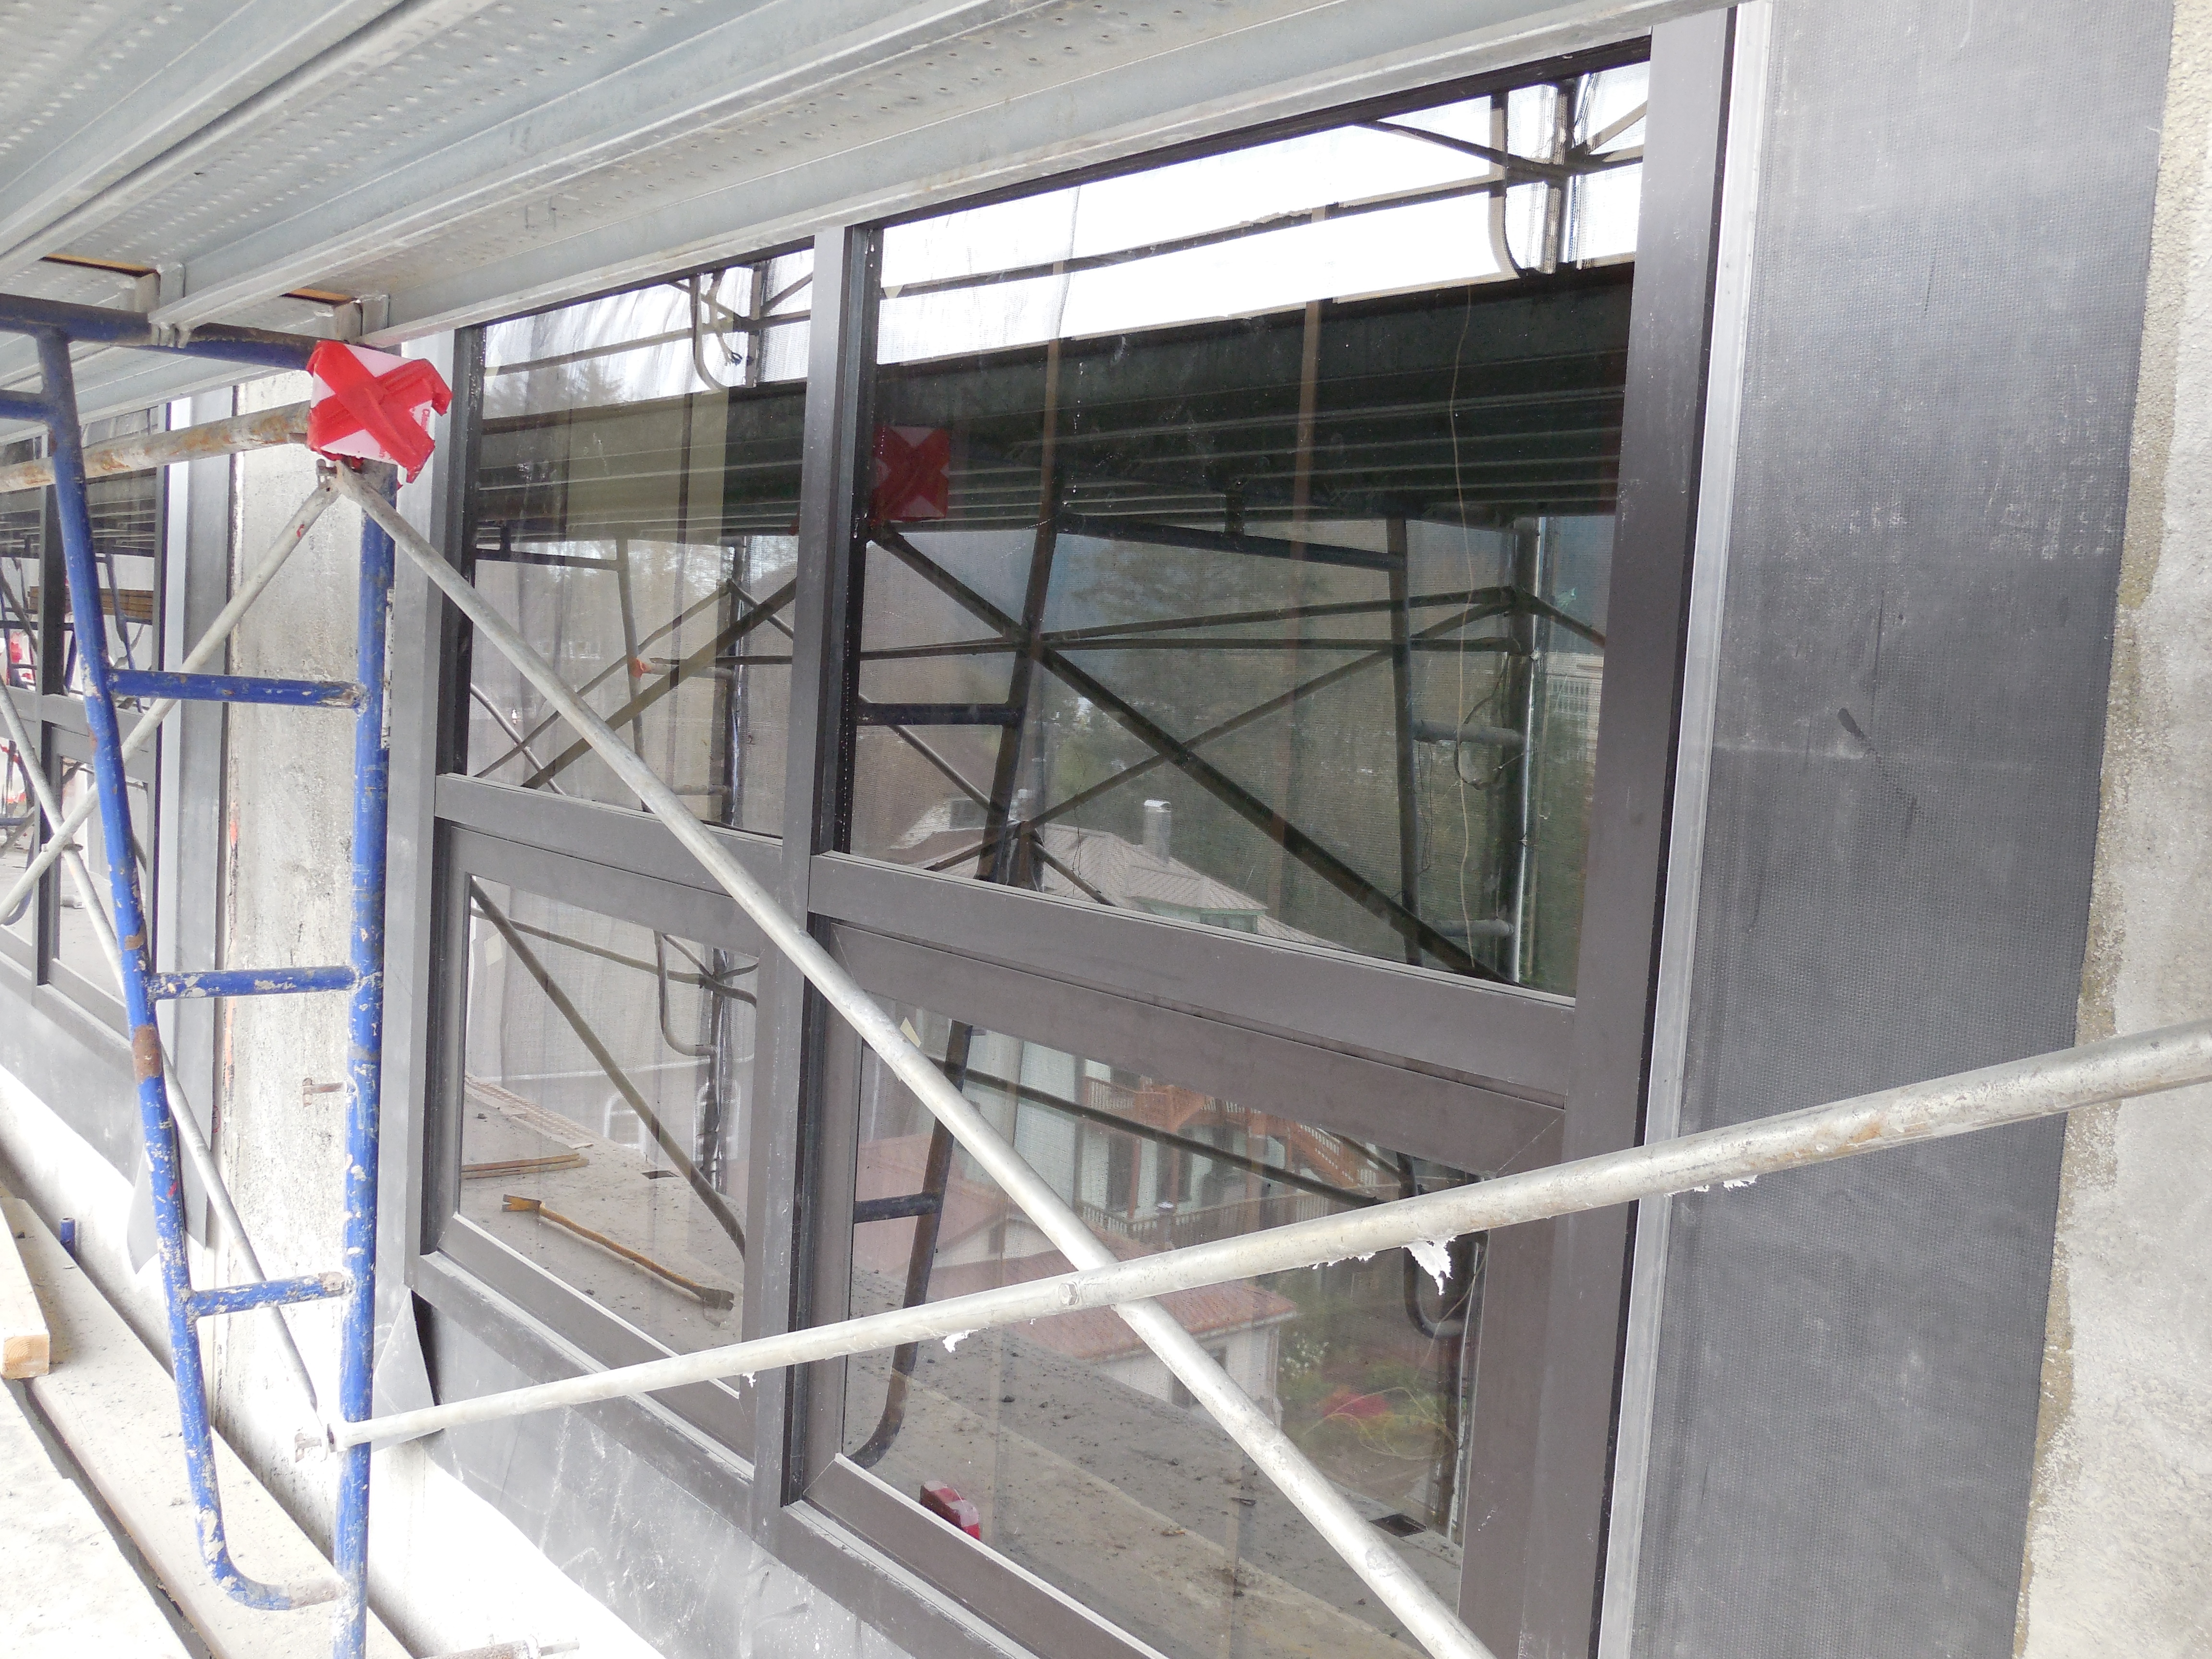
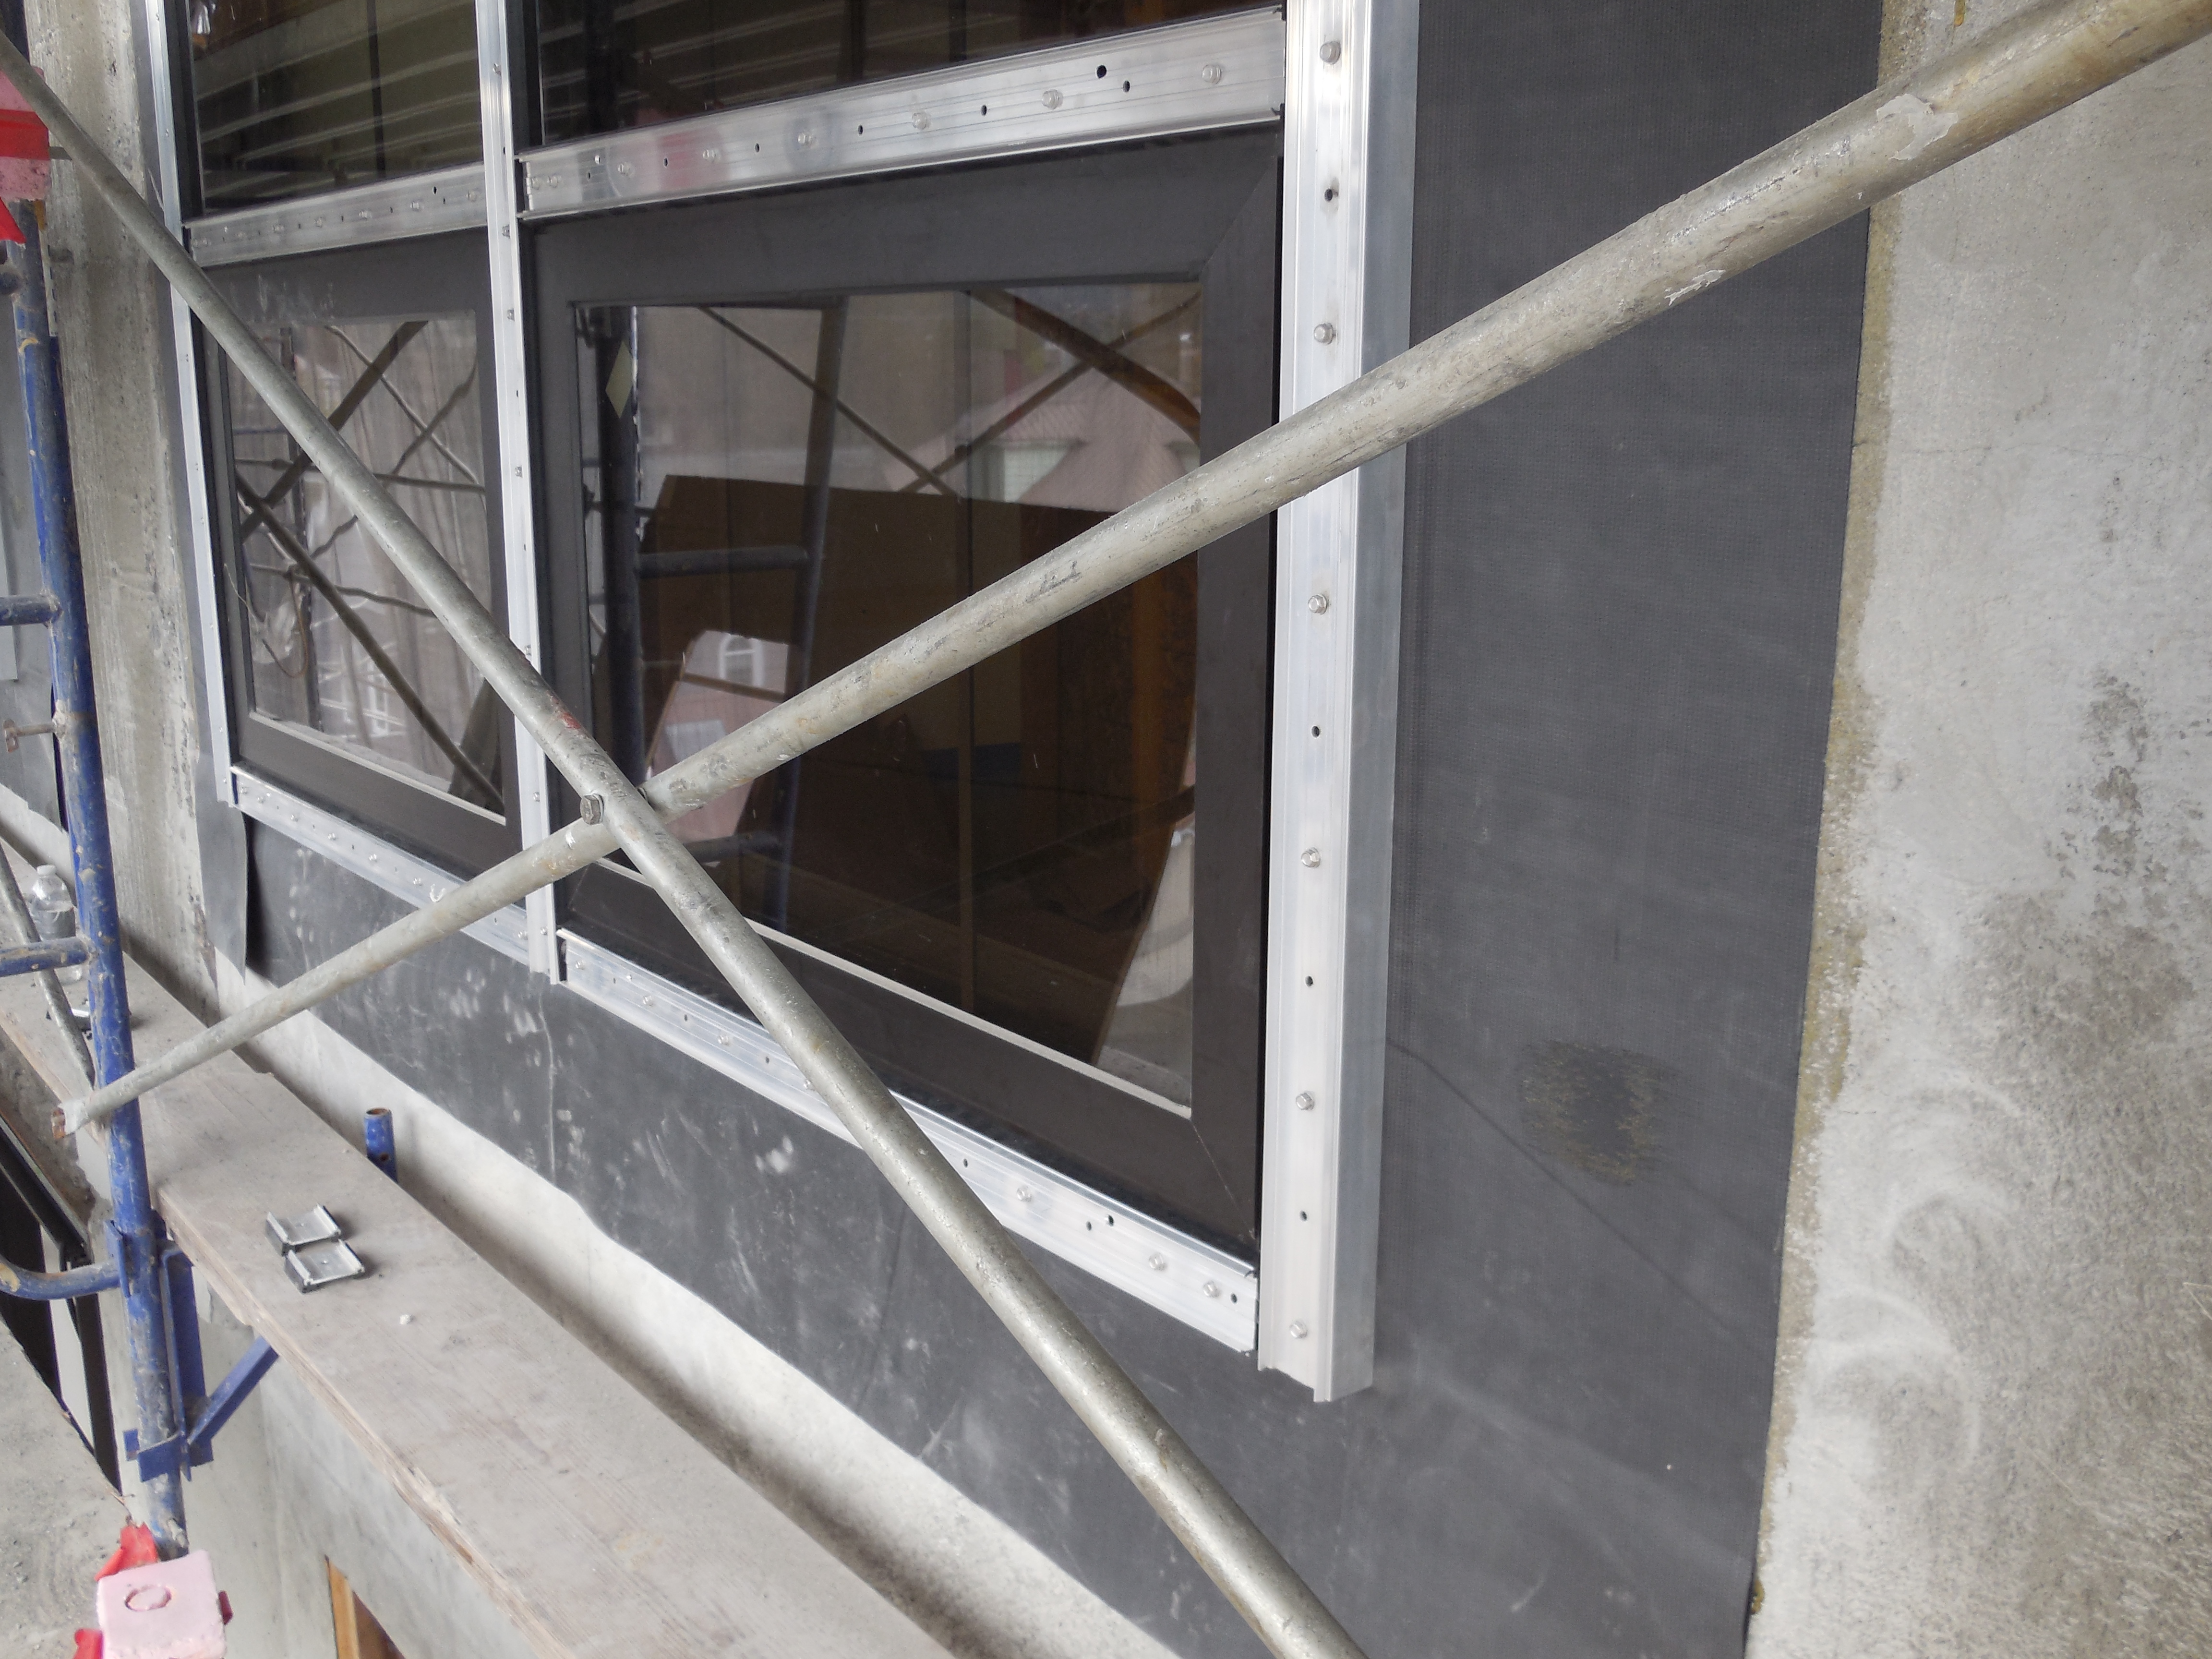
Update October 3, 2014
|
|
| New windows West face | Newly glazed windows West face |
|
|
| Shoring Northwest corner 5th Floor | East alcove 4th floor concrete pour "new room" |
| |
| Shotcrete pour in carpentry shop, ground floor boiler room. |
Update September 19, 2014
|
|
| Pouring West alcove wall to roof | Form and bar for West parapet |
|

|
| Demo at North face of West wing 5th floor | Demo at fire escape 5th floor |

|

|
| Forms stripped, new concrete wall West alcove | New concrete wall West alcove |

|
|
| Heat pipes being insulated 2nd floor | Demo and reconstruction in full swing West and North |
|
|
| New window frames 5th floor West face | New window frames w/damp proofing |
Update September 5, 2014
|
|
| West parapet demo | North parapet demo |
|
|
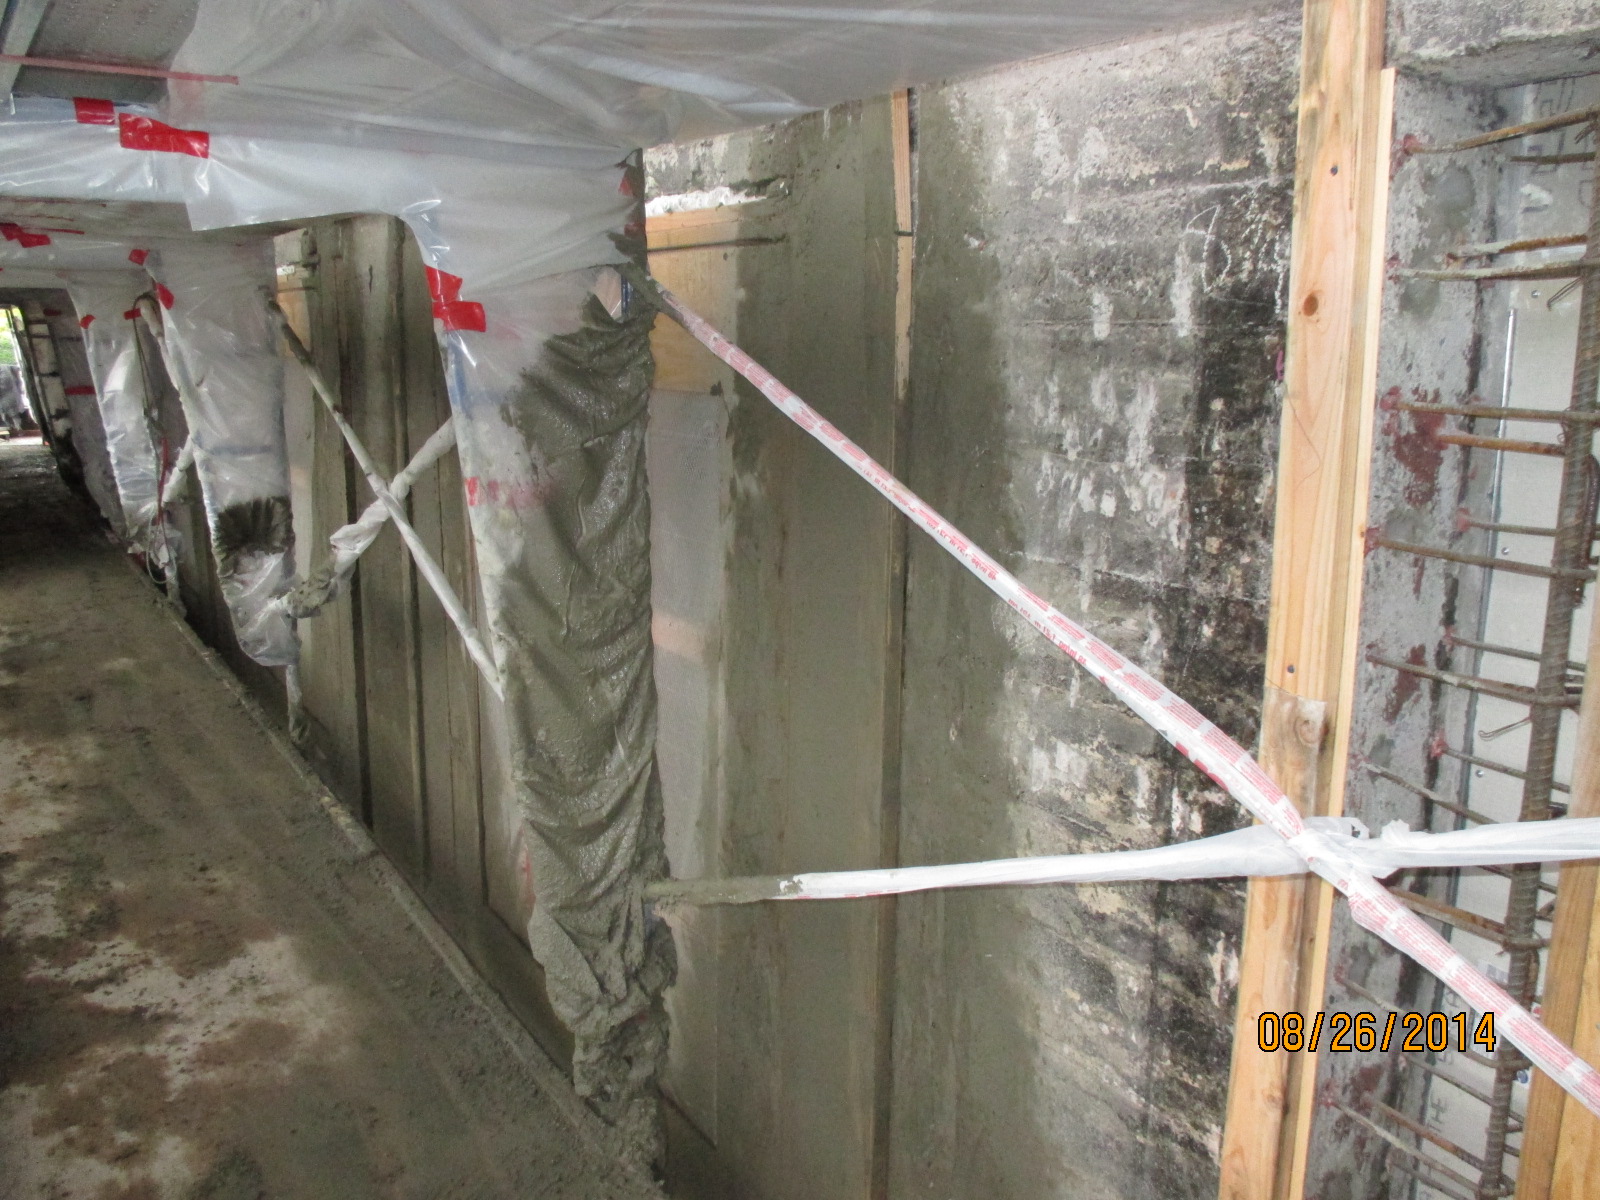
| North face West wing scaffolding | West wing without debris chute, after shotcrete application |
|
|
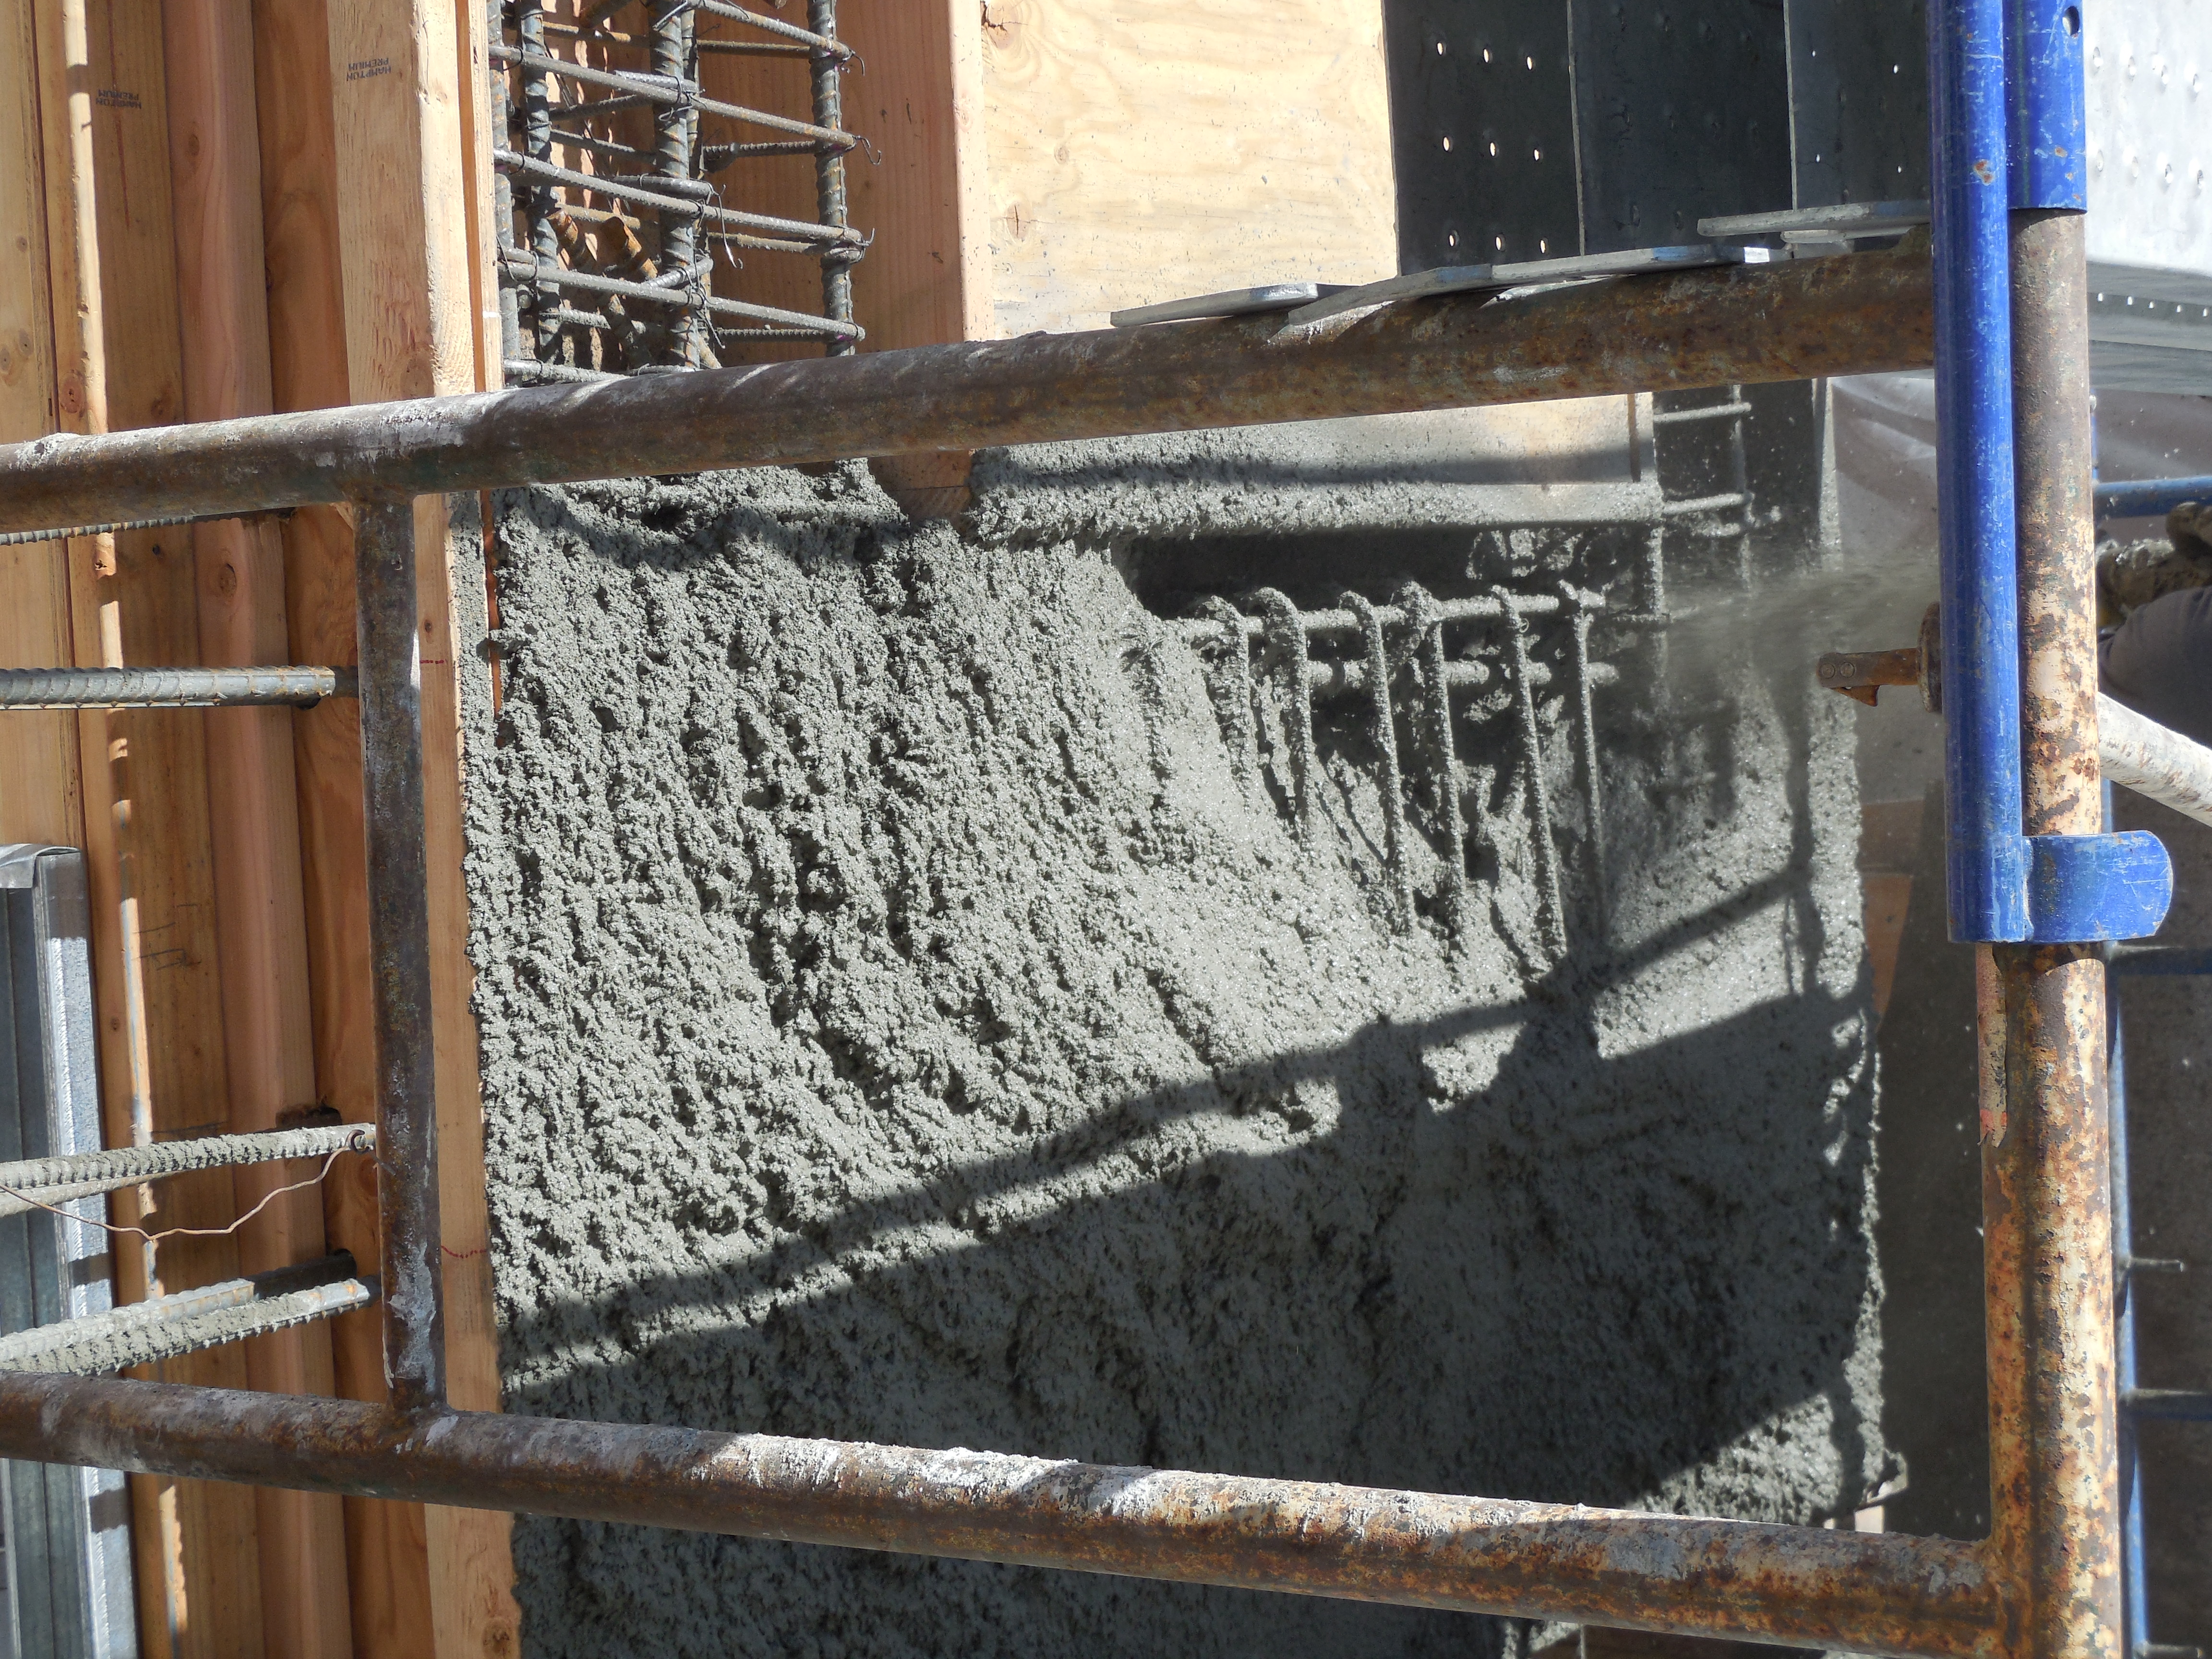
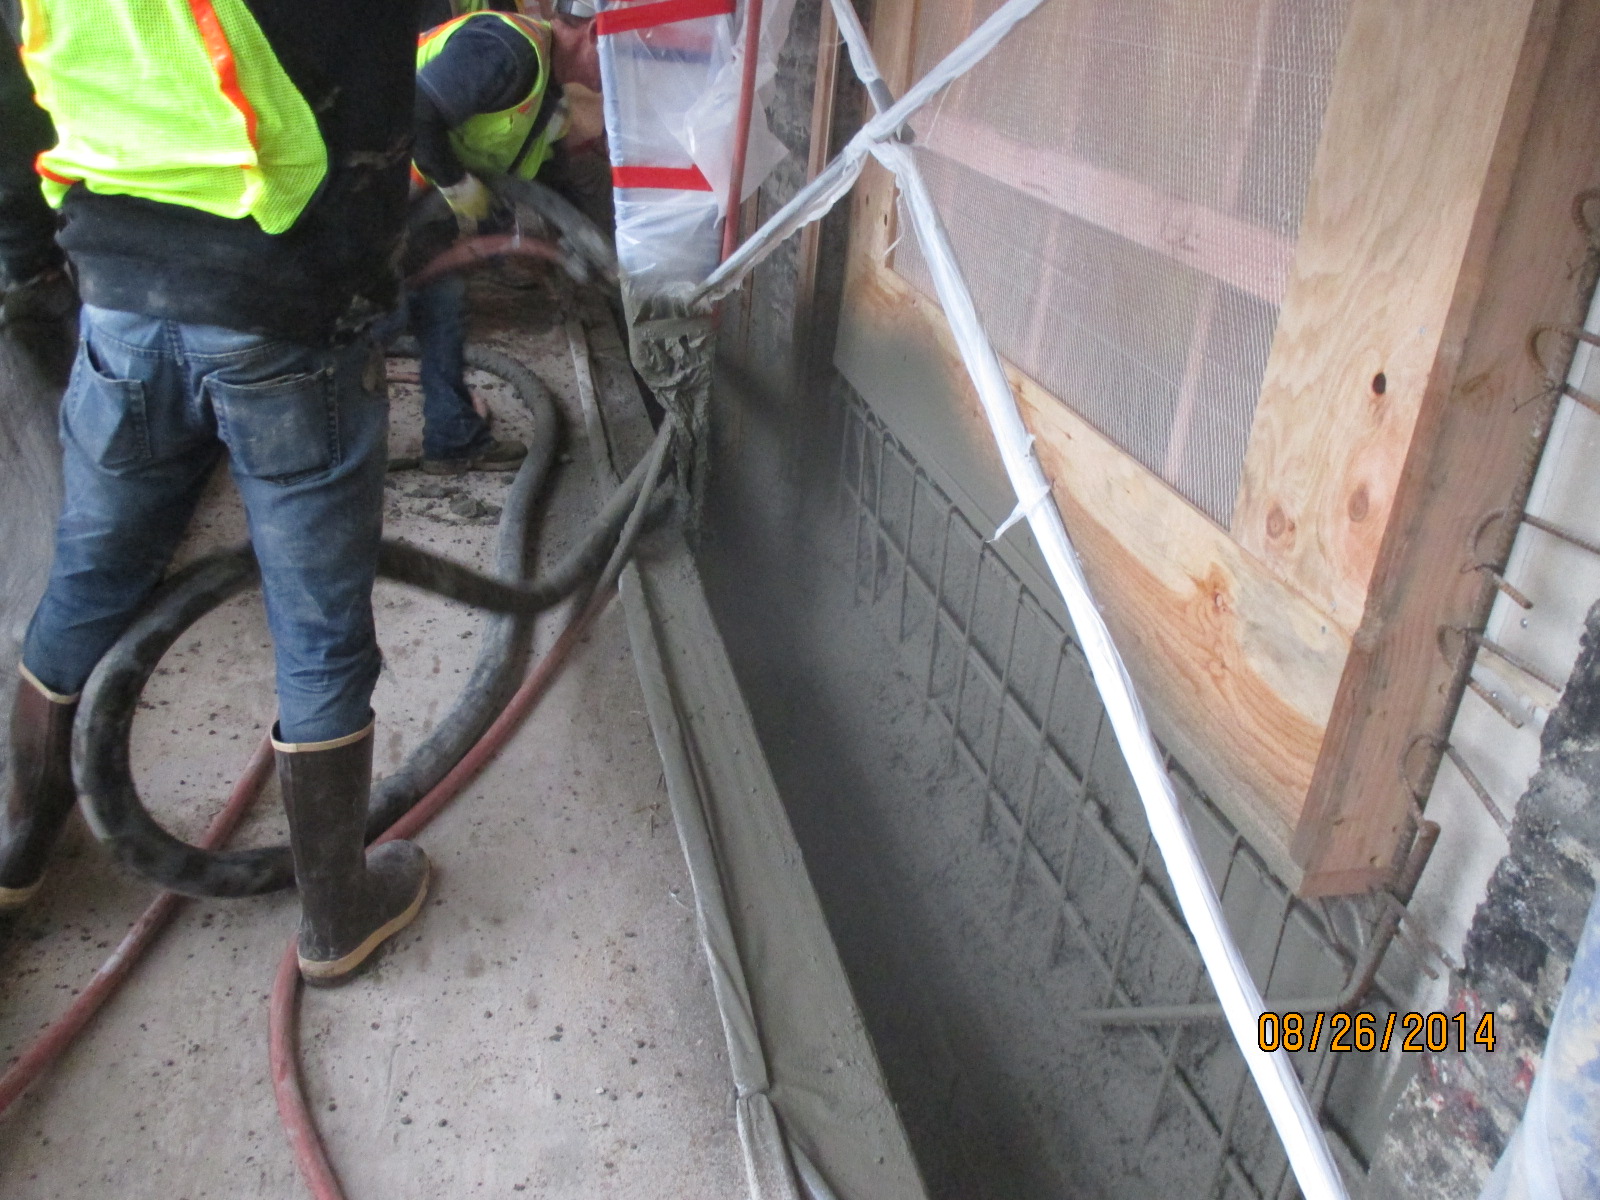
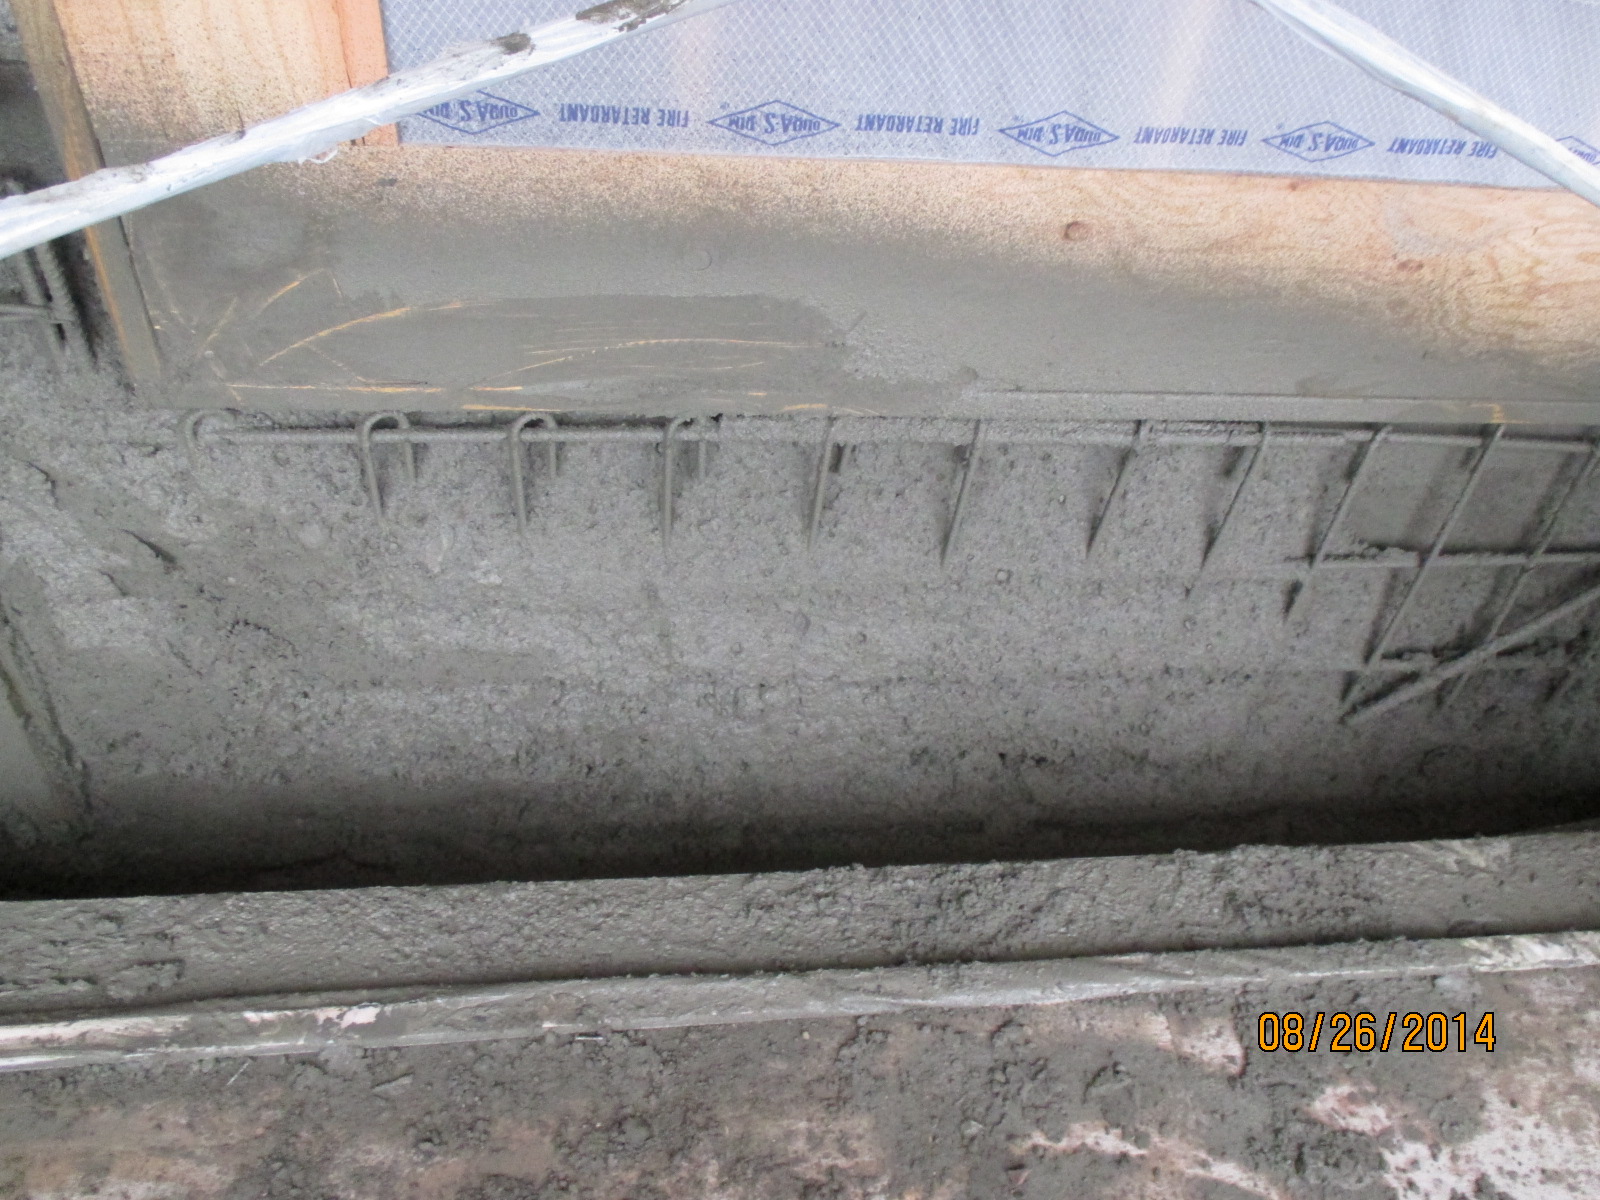
| Shotcrete application | Shotcrete applied at window block out |
|
|
| Shotcrete hopper | Shotcrete with mixer West wing |
|
|
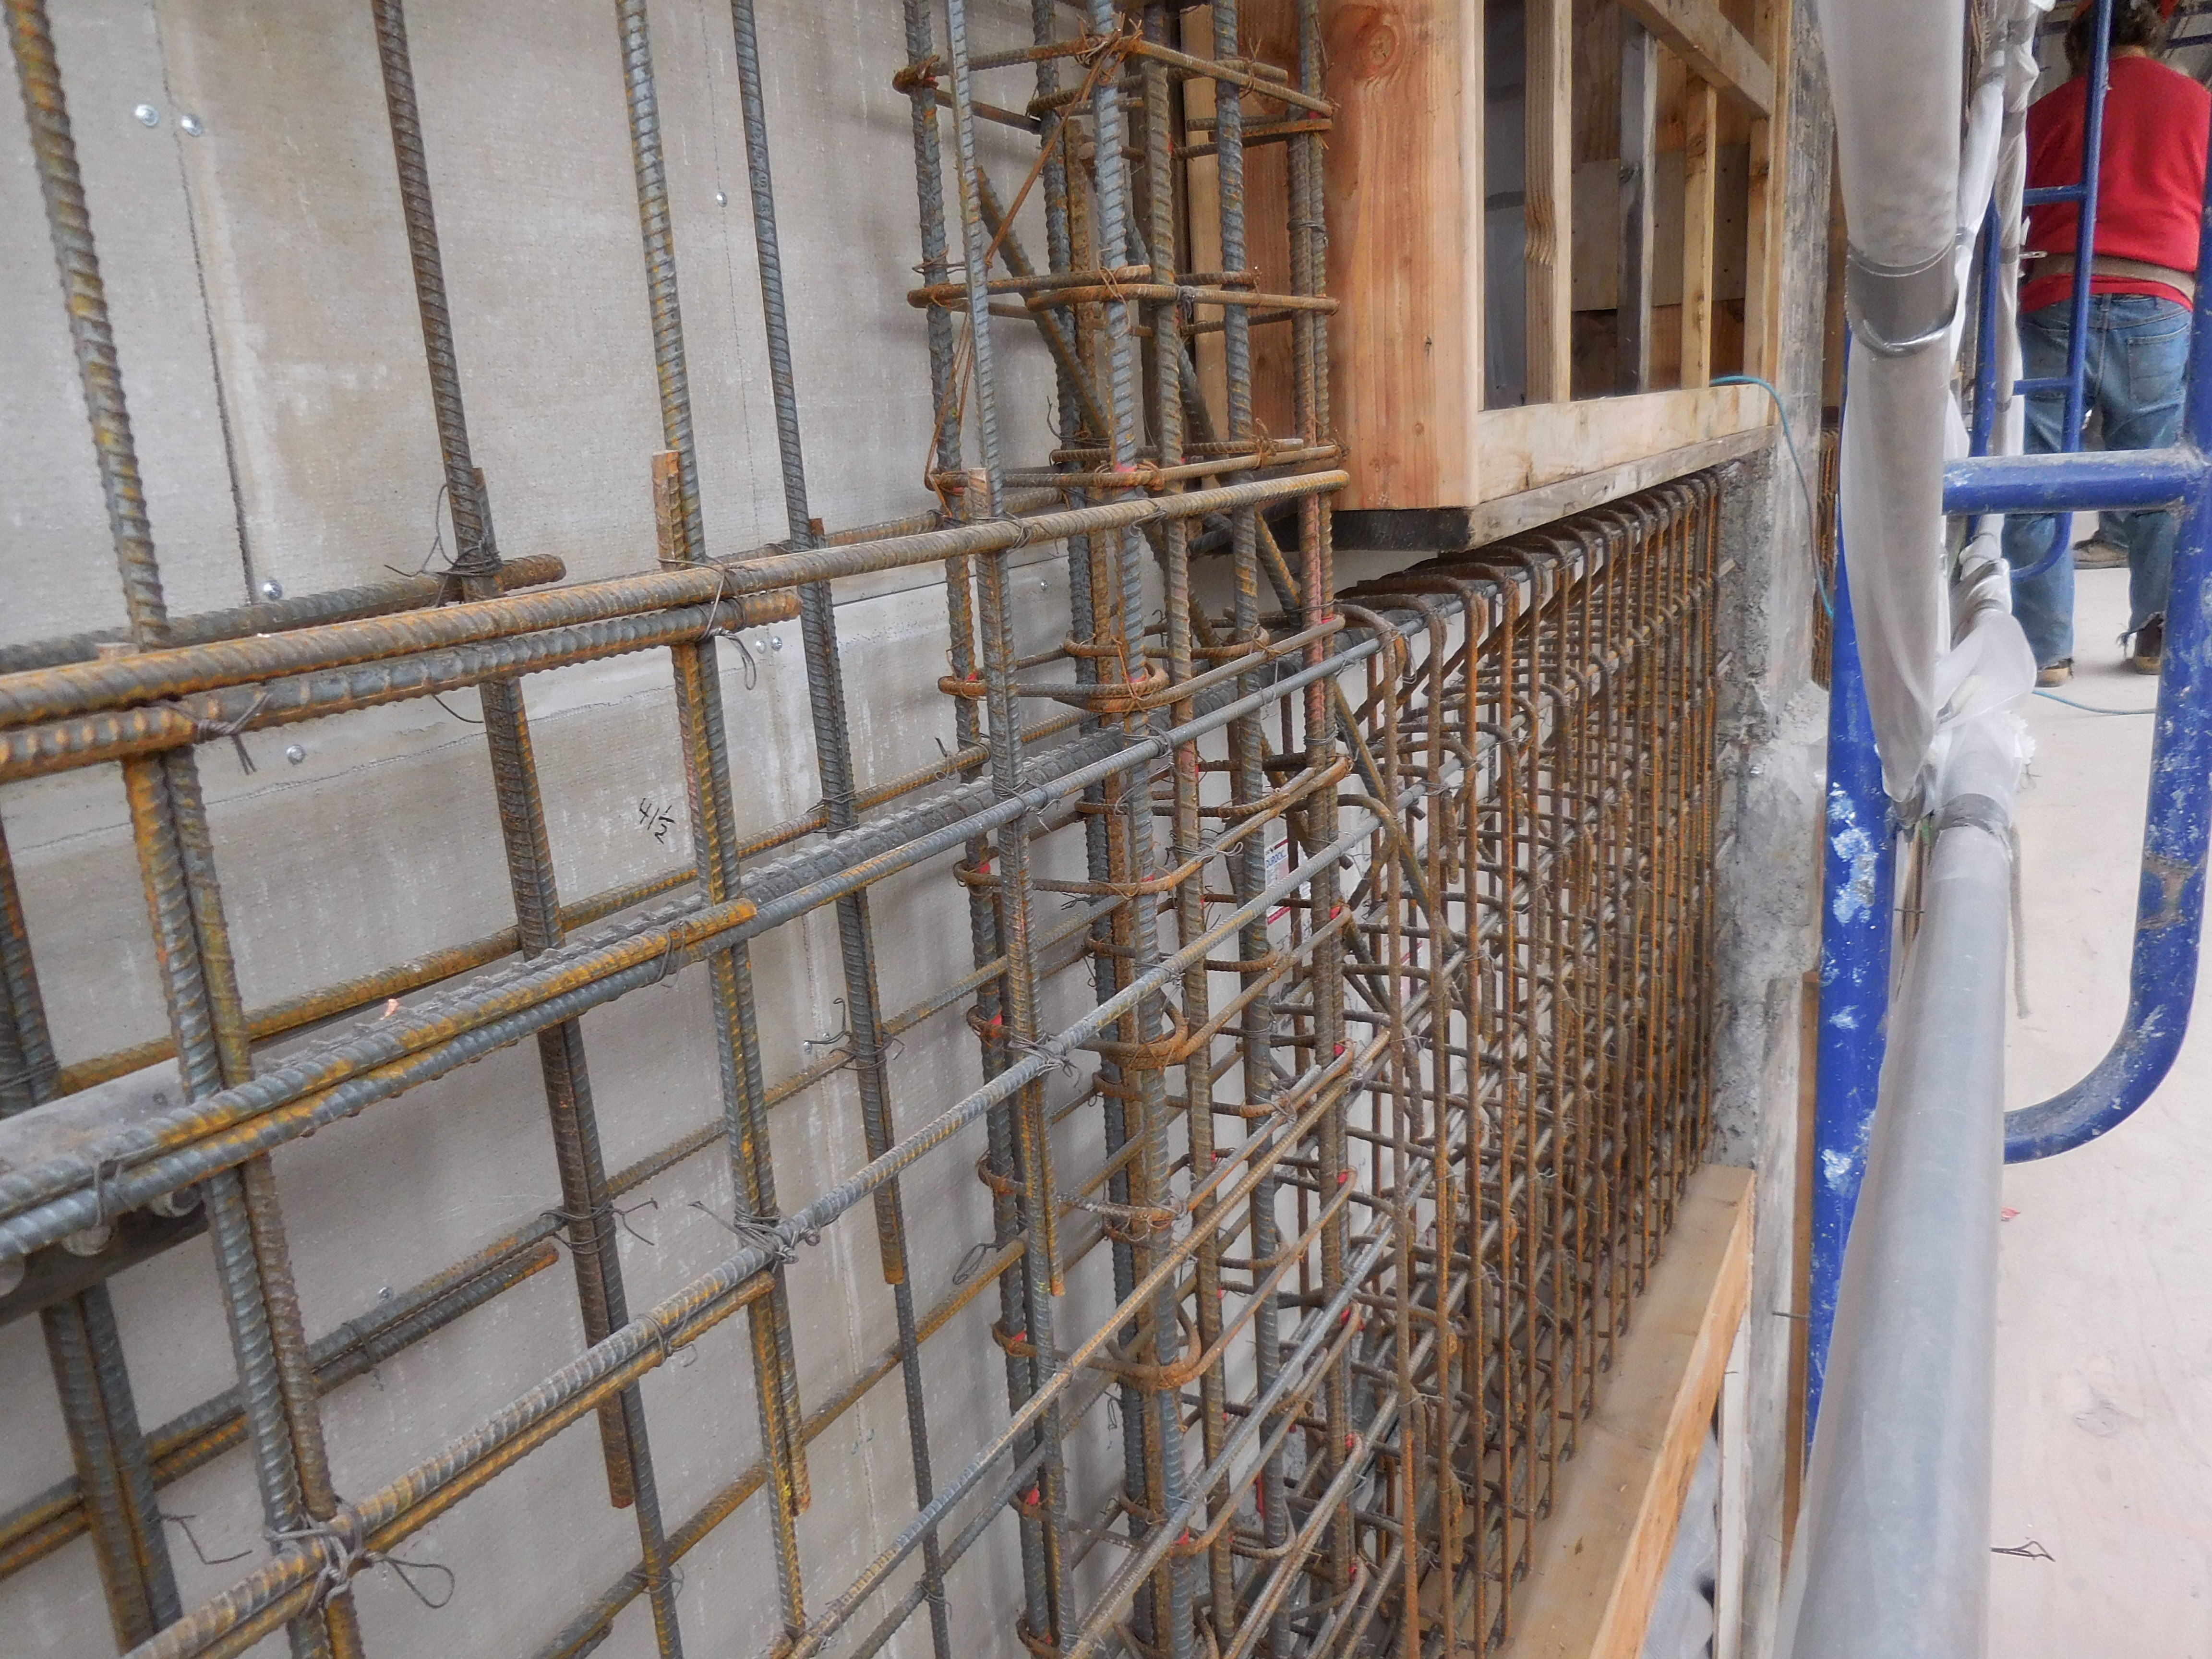
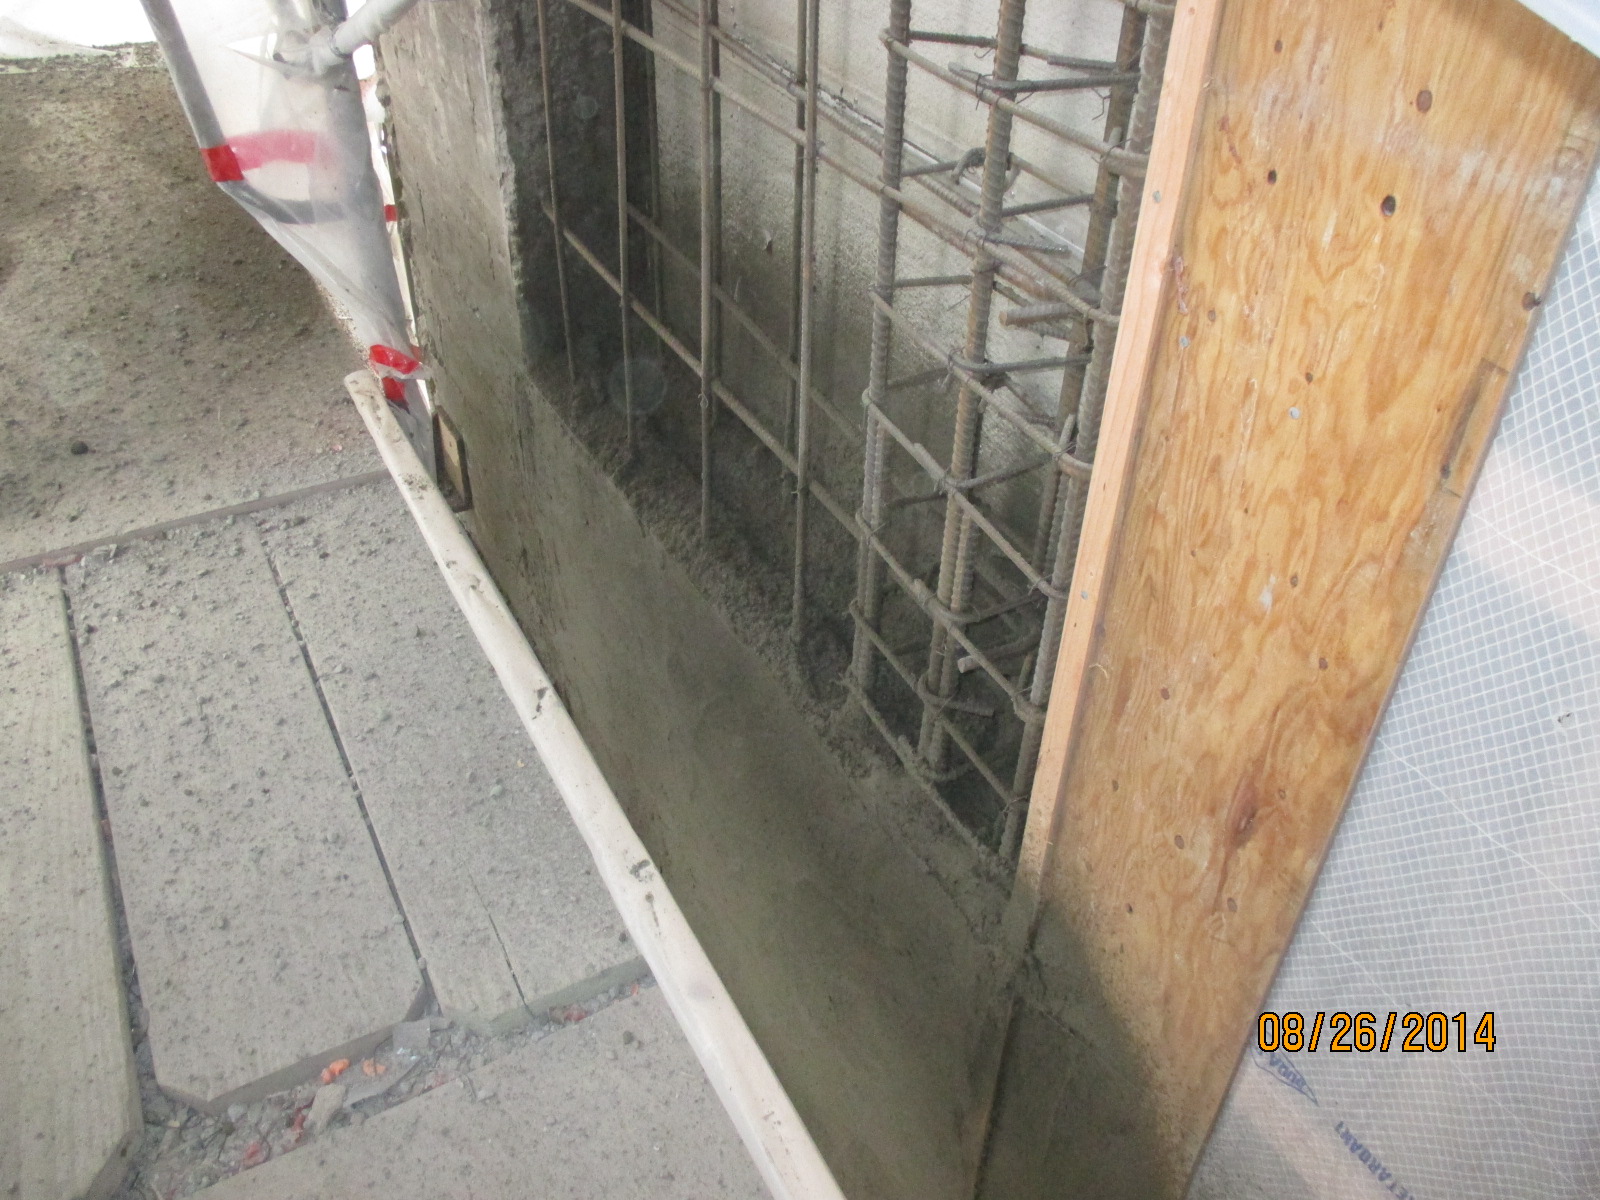
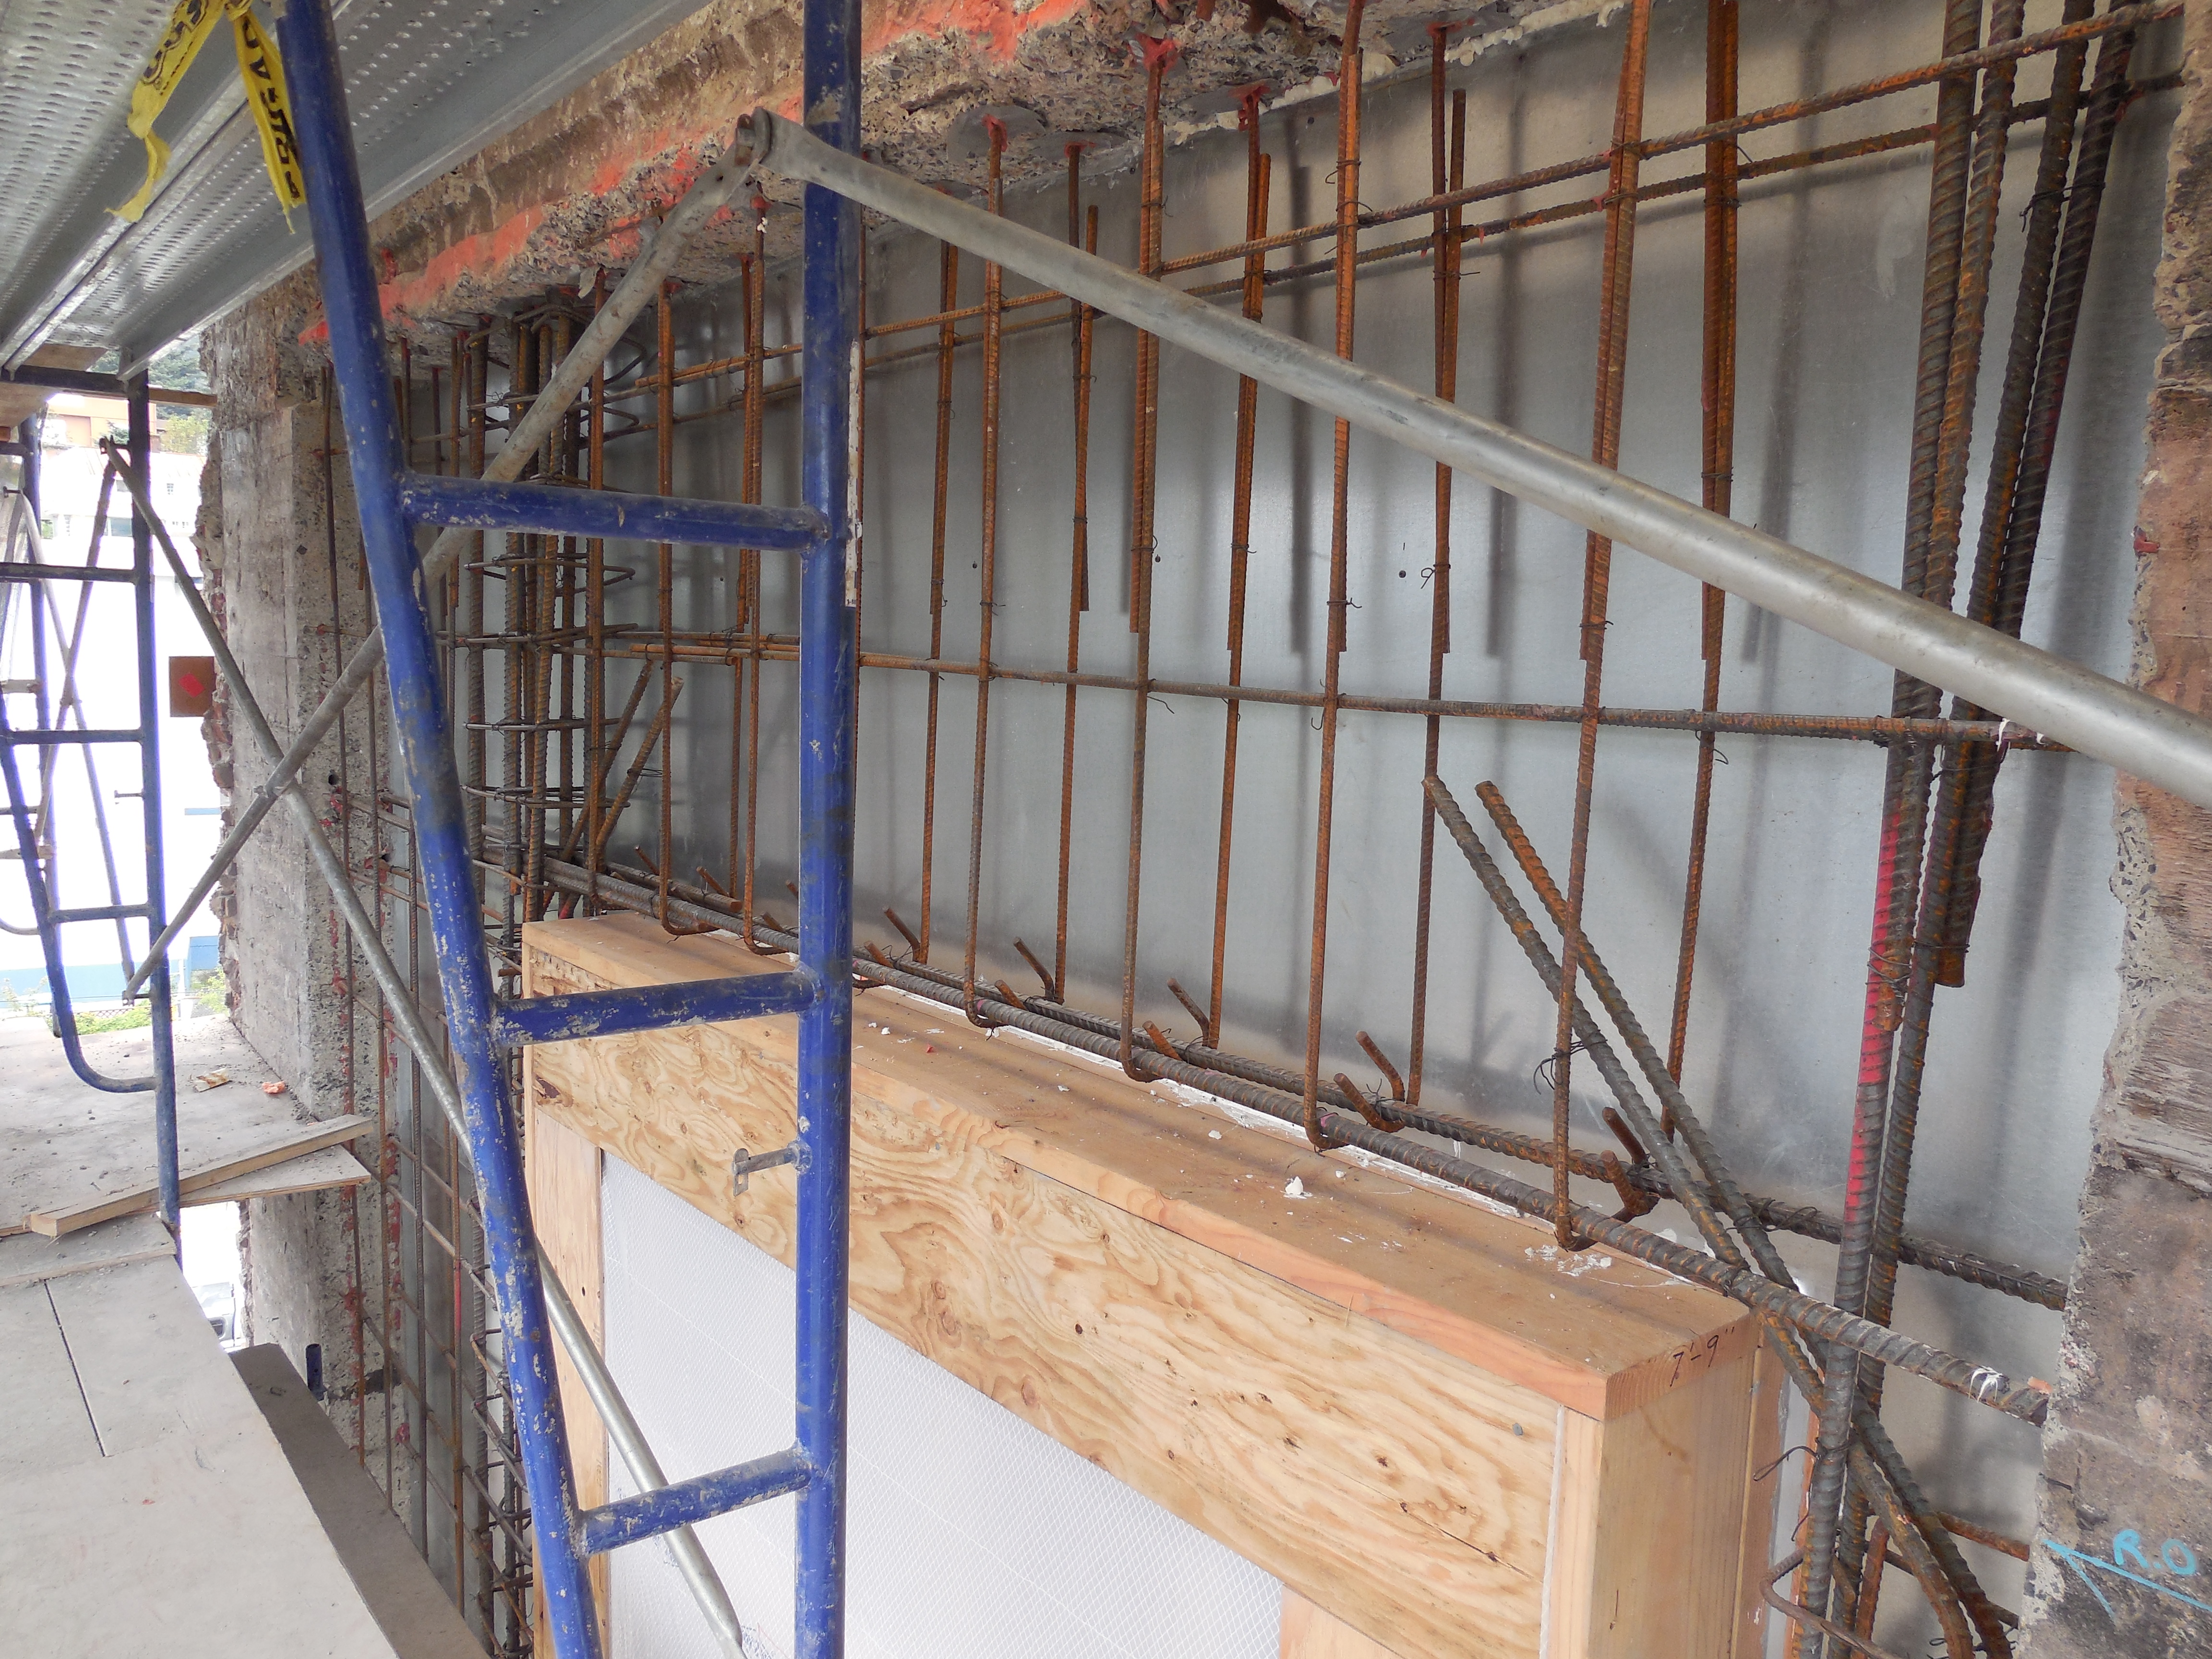
| Window block out & rebar installed for shotcrete | Rebar around window block out set for shotcrete; column to column and beam to beam |

|
|
| Floor after floor looking down continous reinforcing | Room to room set up for shotcrete |
|
|
| Shotcrete application | Shotcrete application |
|
|
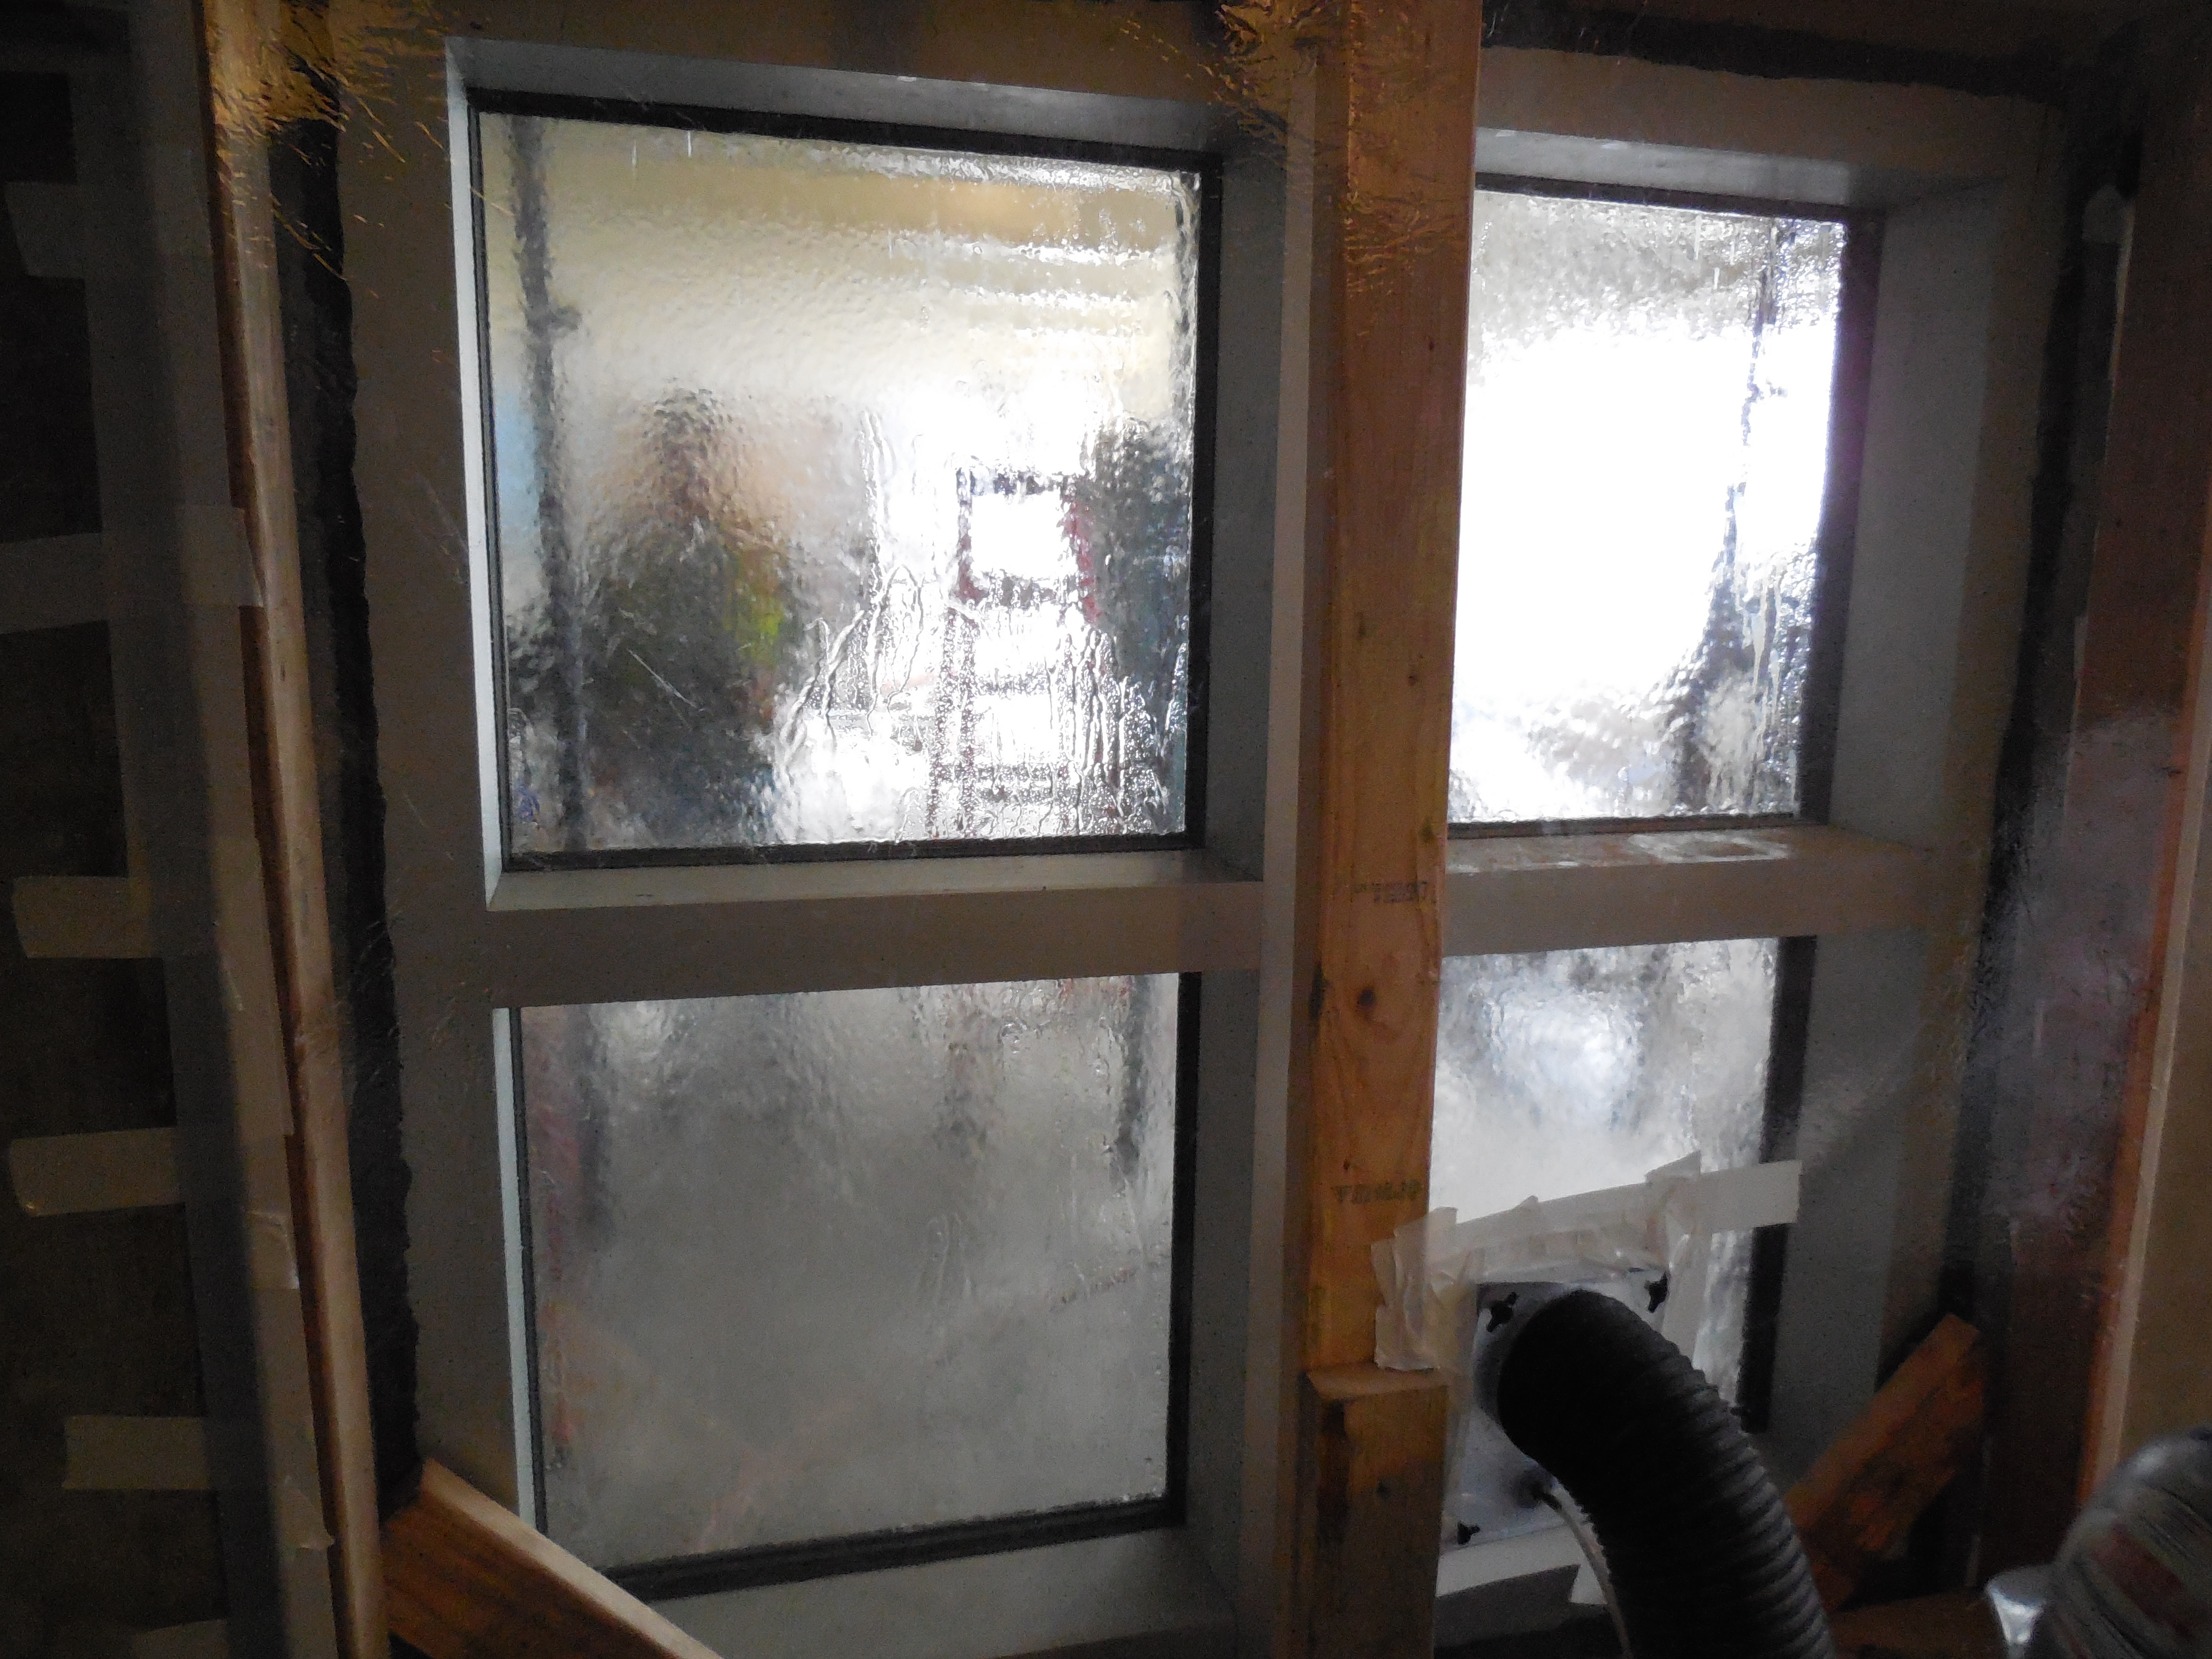
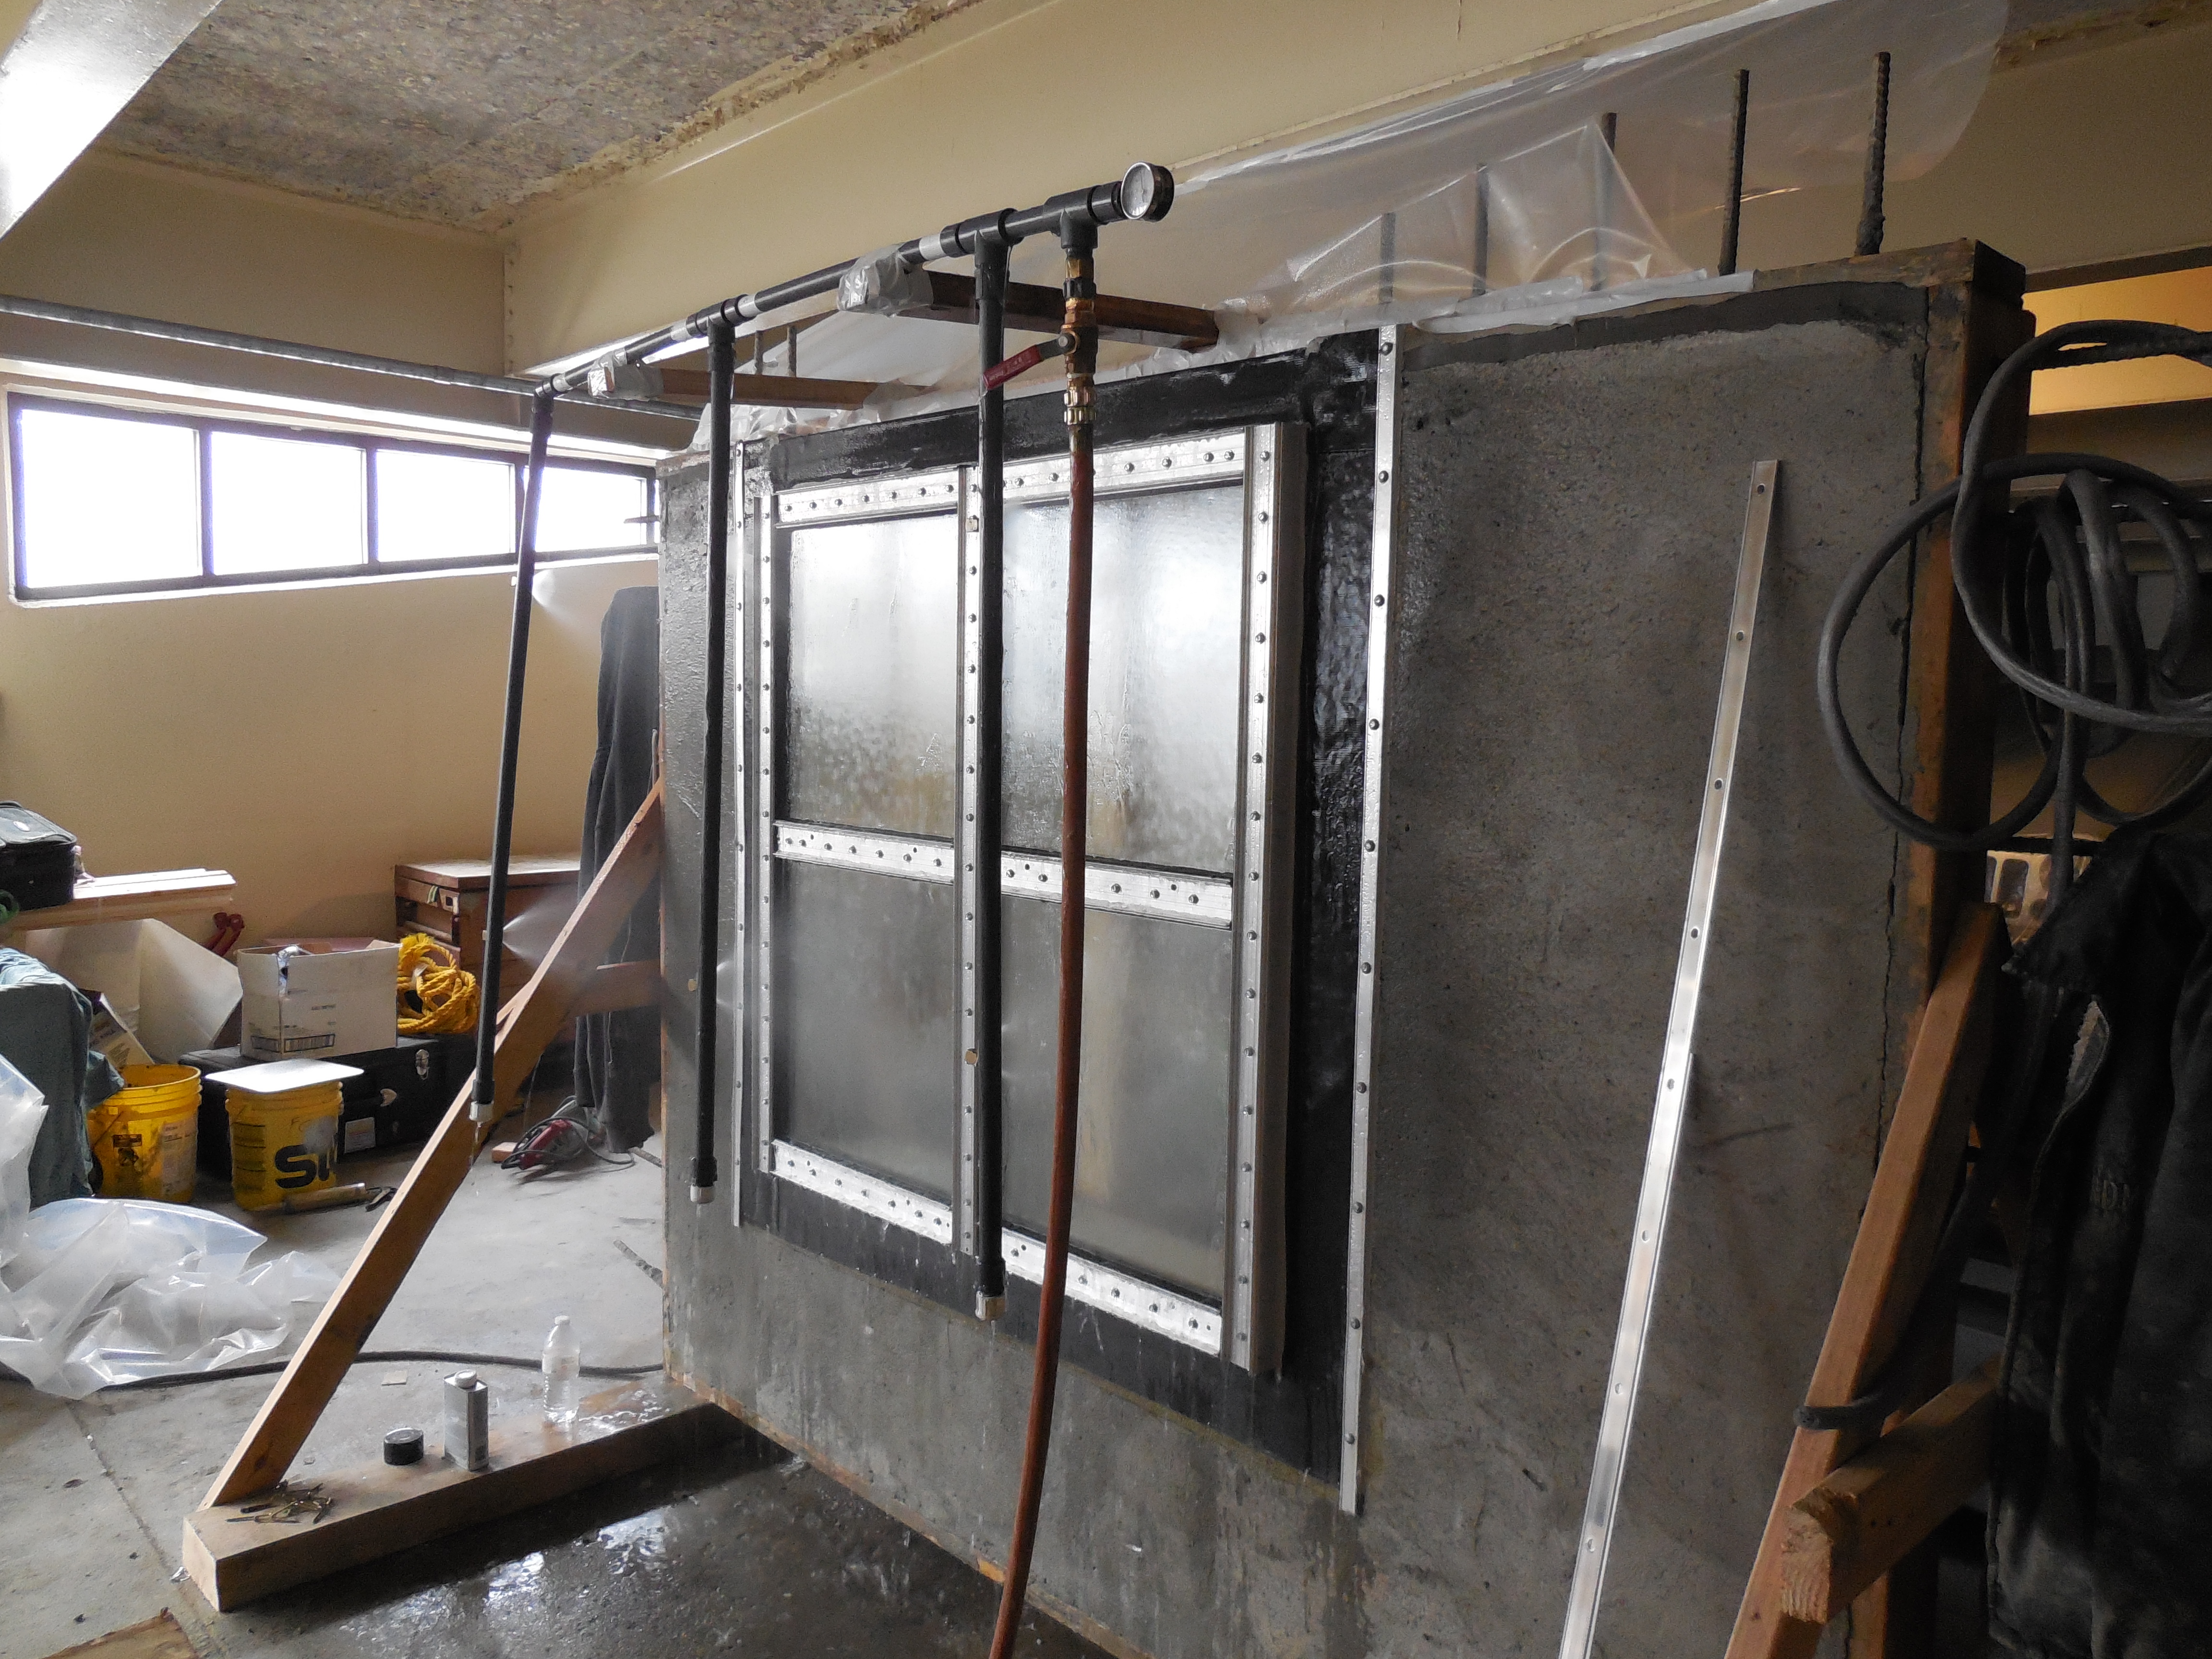
| Window mock up water test | Window mock up water test |
Update August 29, 2014
|
|
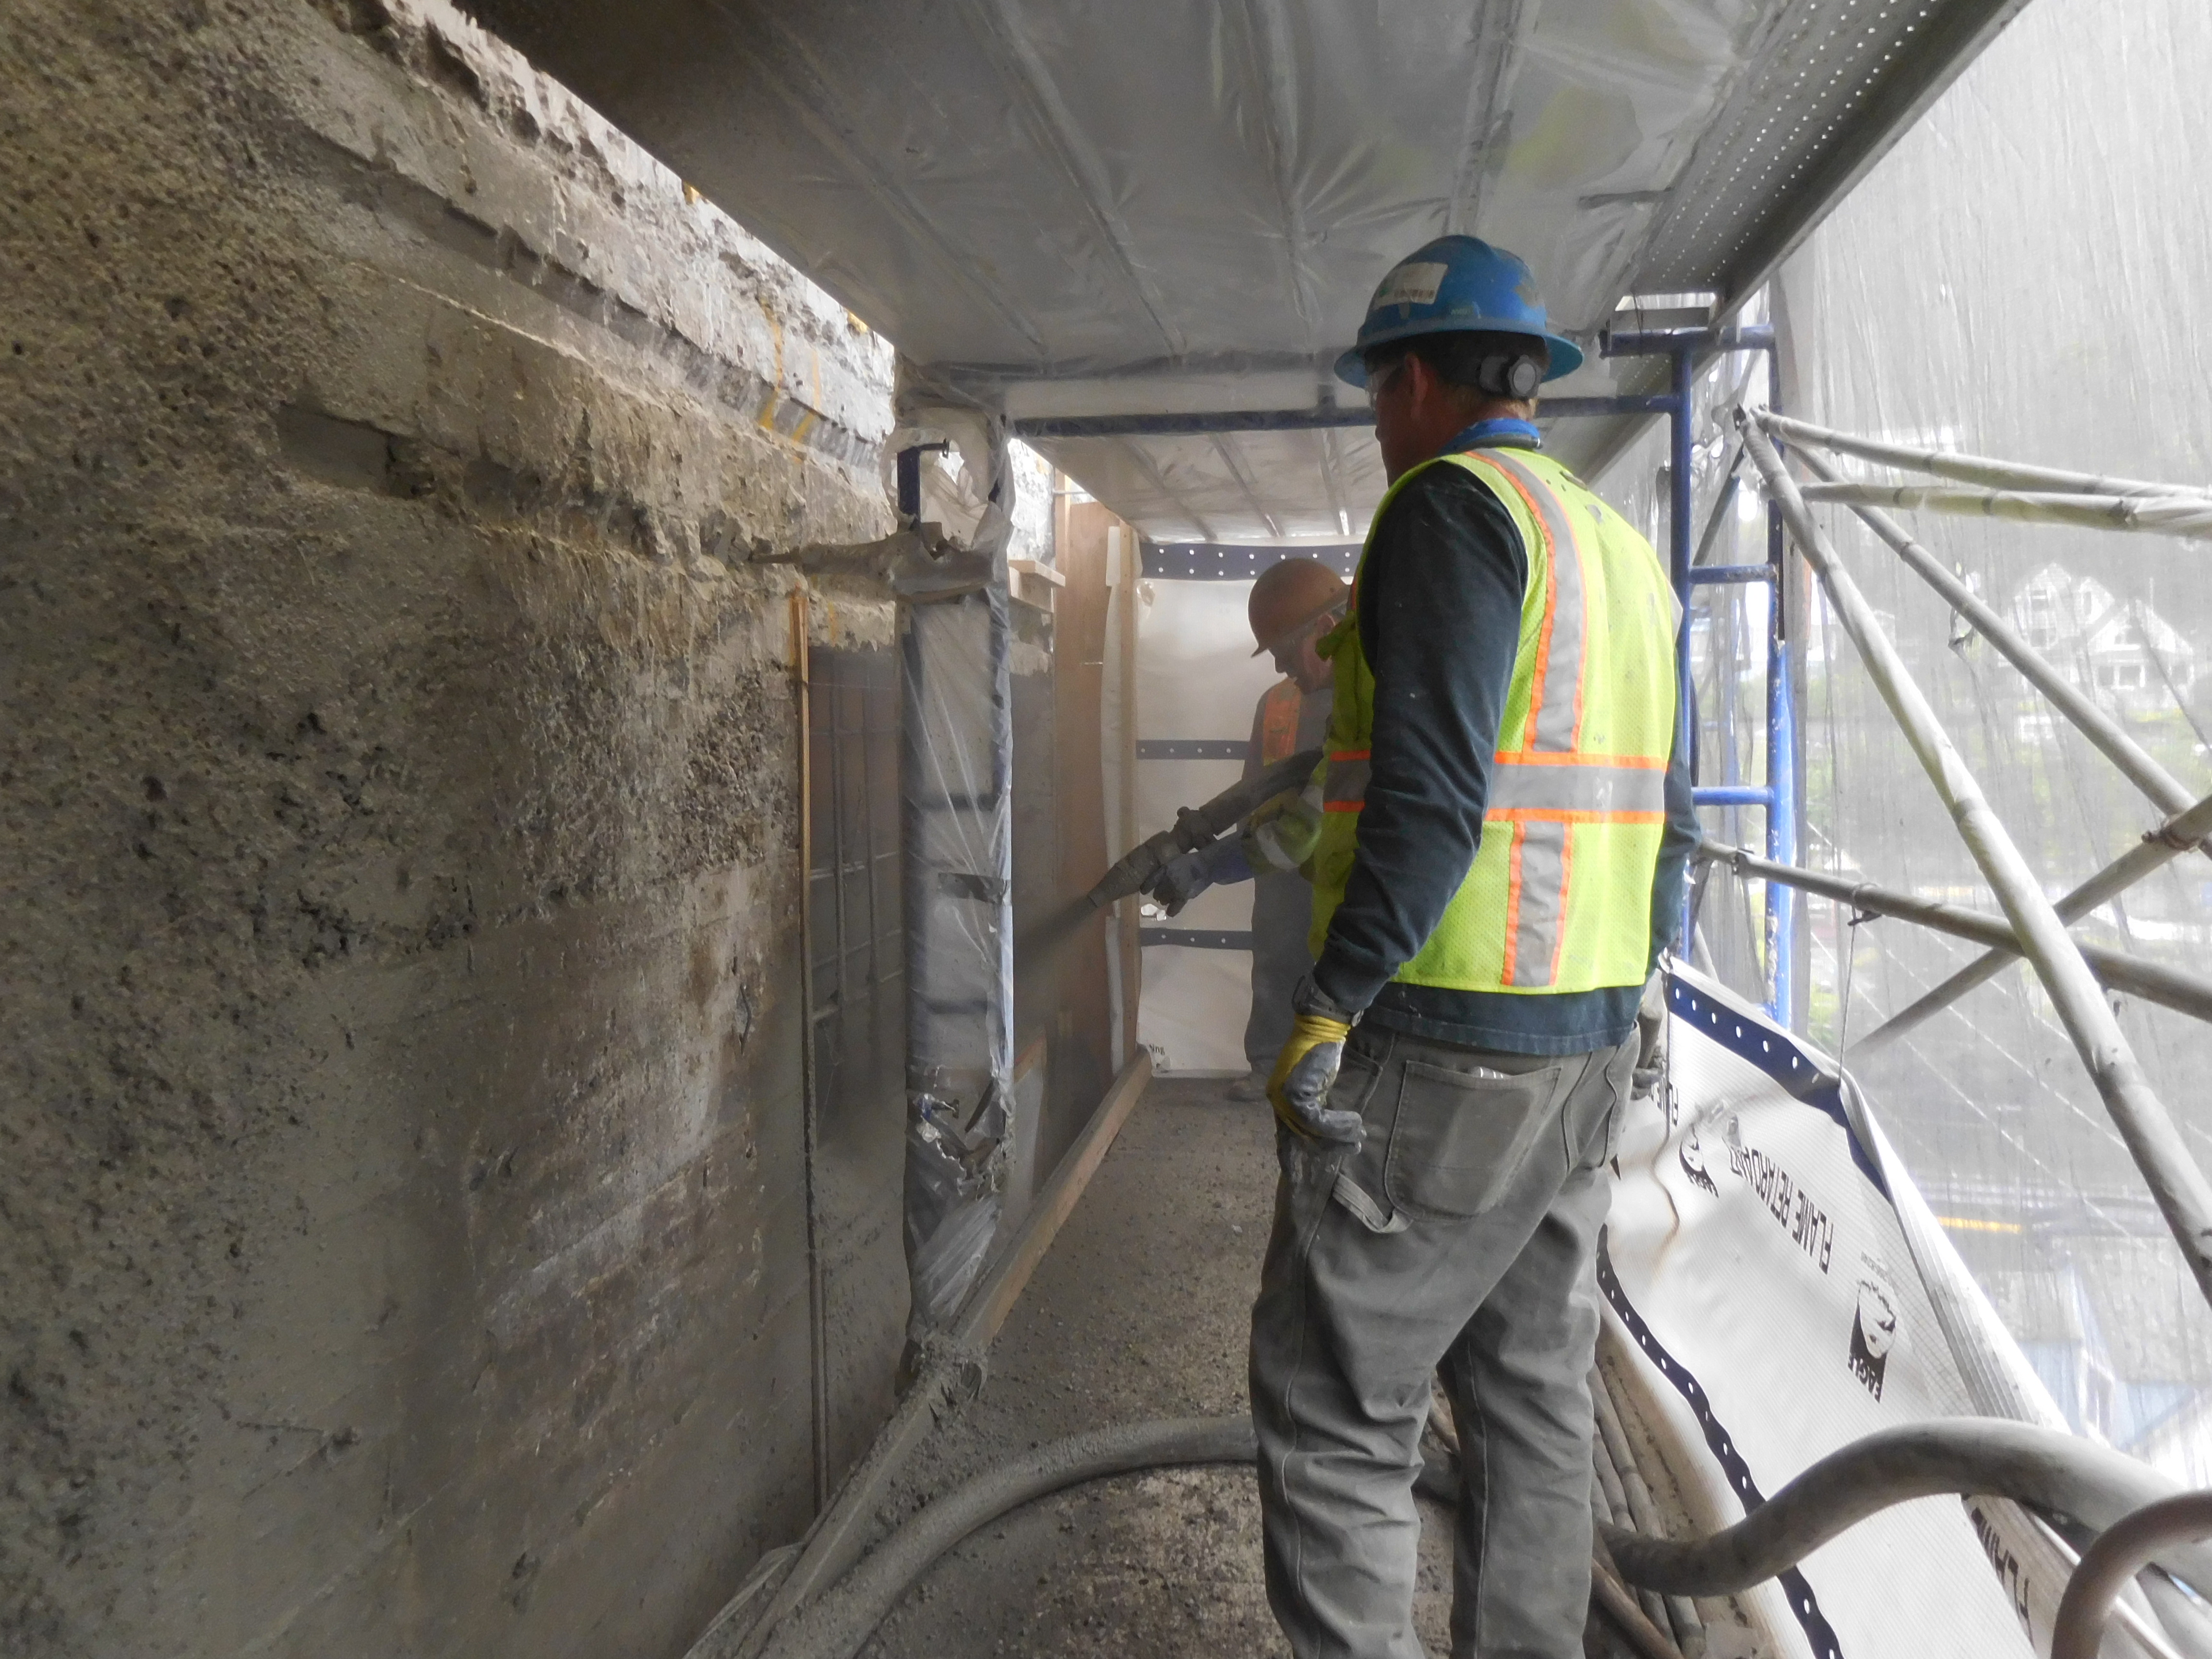
| Shotcrete | Shotcrete application around window block out |
|
|
| Shotcrete under window | Shotcrete cold joint at 4th floor form and block out |
| |
| Shotcrete adjoining existing column 4th floor |
Update August 15, 2014
|
|
| West alcove concrete pour | West alcove concrete pour |
|
|
| West alcove concrete pour | West alcove concrete pour |
Update August 4, 2014
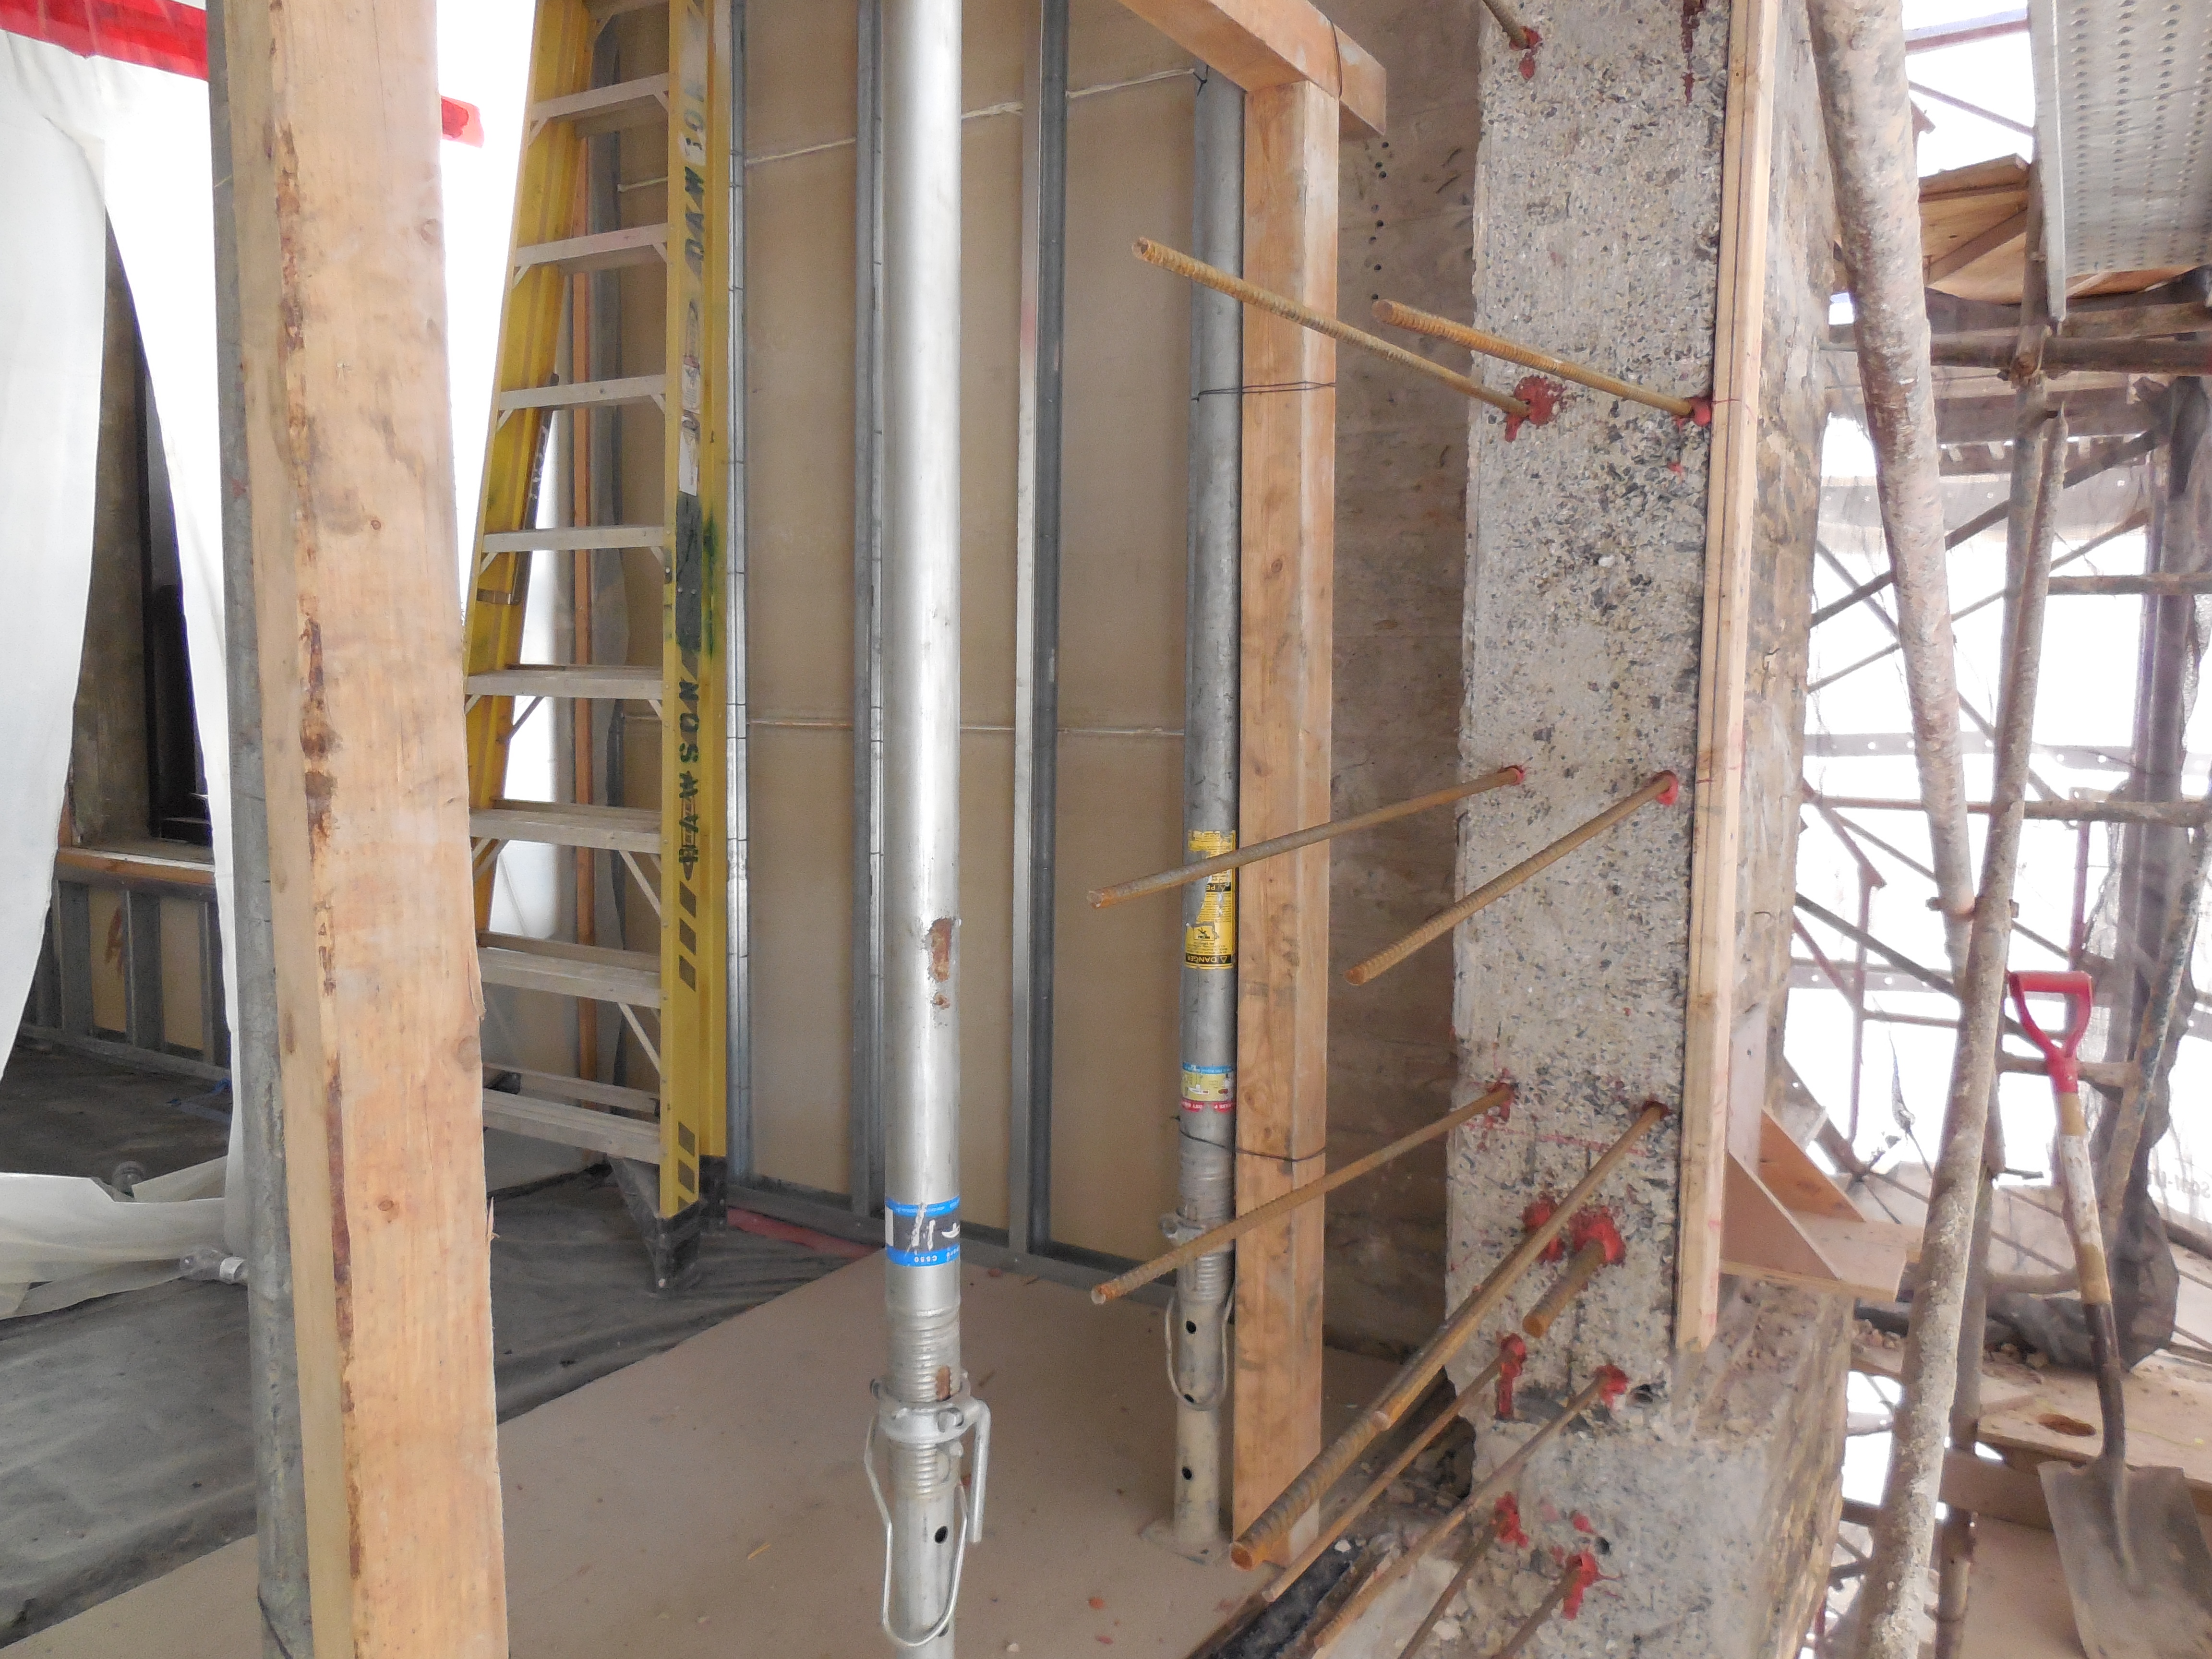
|
|
| Rebar setting West wall | Northwest corner rebar and window block out |
|
|
| Rebar ready for shotcrete | Rebar tying West wall |
Update July 21, 2014
|
|
| First concrete pour | First pour from roof infill wall |
|
|
| View from 5th floor office | View from 5th floor corner office |
|
|
| Southwest corner at 5th floor | Debris loadout |
Update June 13, 2014
|
|
| Reconfiguring 1st floor courtyard outer wall | Courtyard view |
|
|
| View from the Northwest | Rooftop scaffolding |
| |
| Courtyard from the roof |
Update June 6, 2014
|
|
| Main Street scaffolding completed | 1st & 2nd floor East courtyard in fill demolition |
|
|
| Main Street scaffolding with safety netting and debris chute | Removing Main Street parapet wall |

|
|
| Main Street with parapet wall removed | 5th floor inner demolition Main Street side |
Update May 30, 2014
|
|
| 2nd floor East scaffold complete | 2nd floor West courtyard scaffold complete |

|
|
| Start of Main Street scaffolding | Start of Main Street scaffolding |
|
|
| 2nd floor East courtyard exterior removal | Main Street scaffolding near completion |

|
|
| 2nd floor entry w/canopy removed | 2nd floor courtyard entry w/canopy removed |
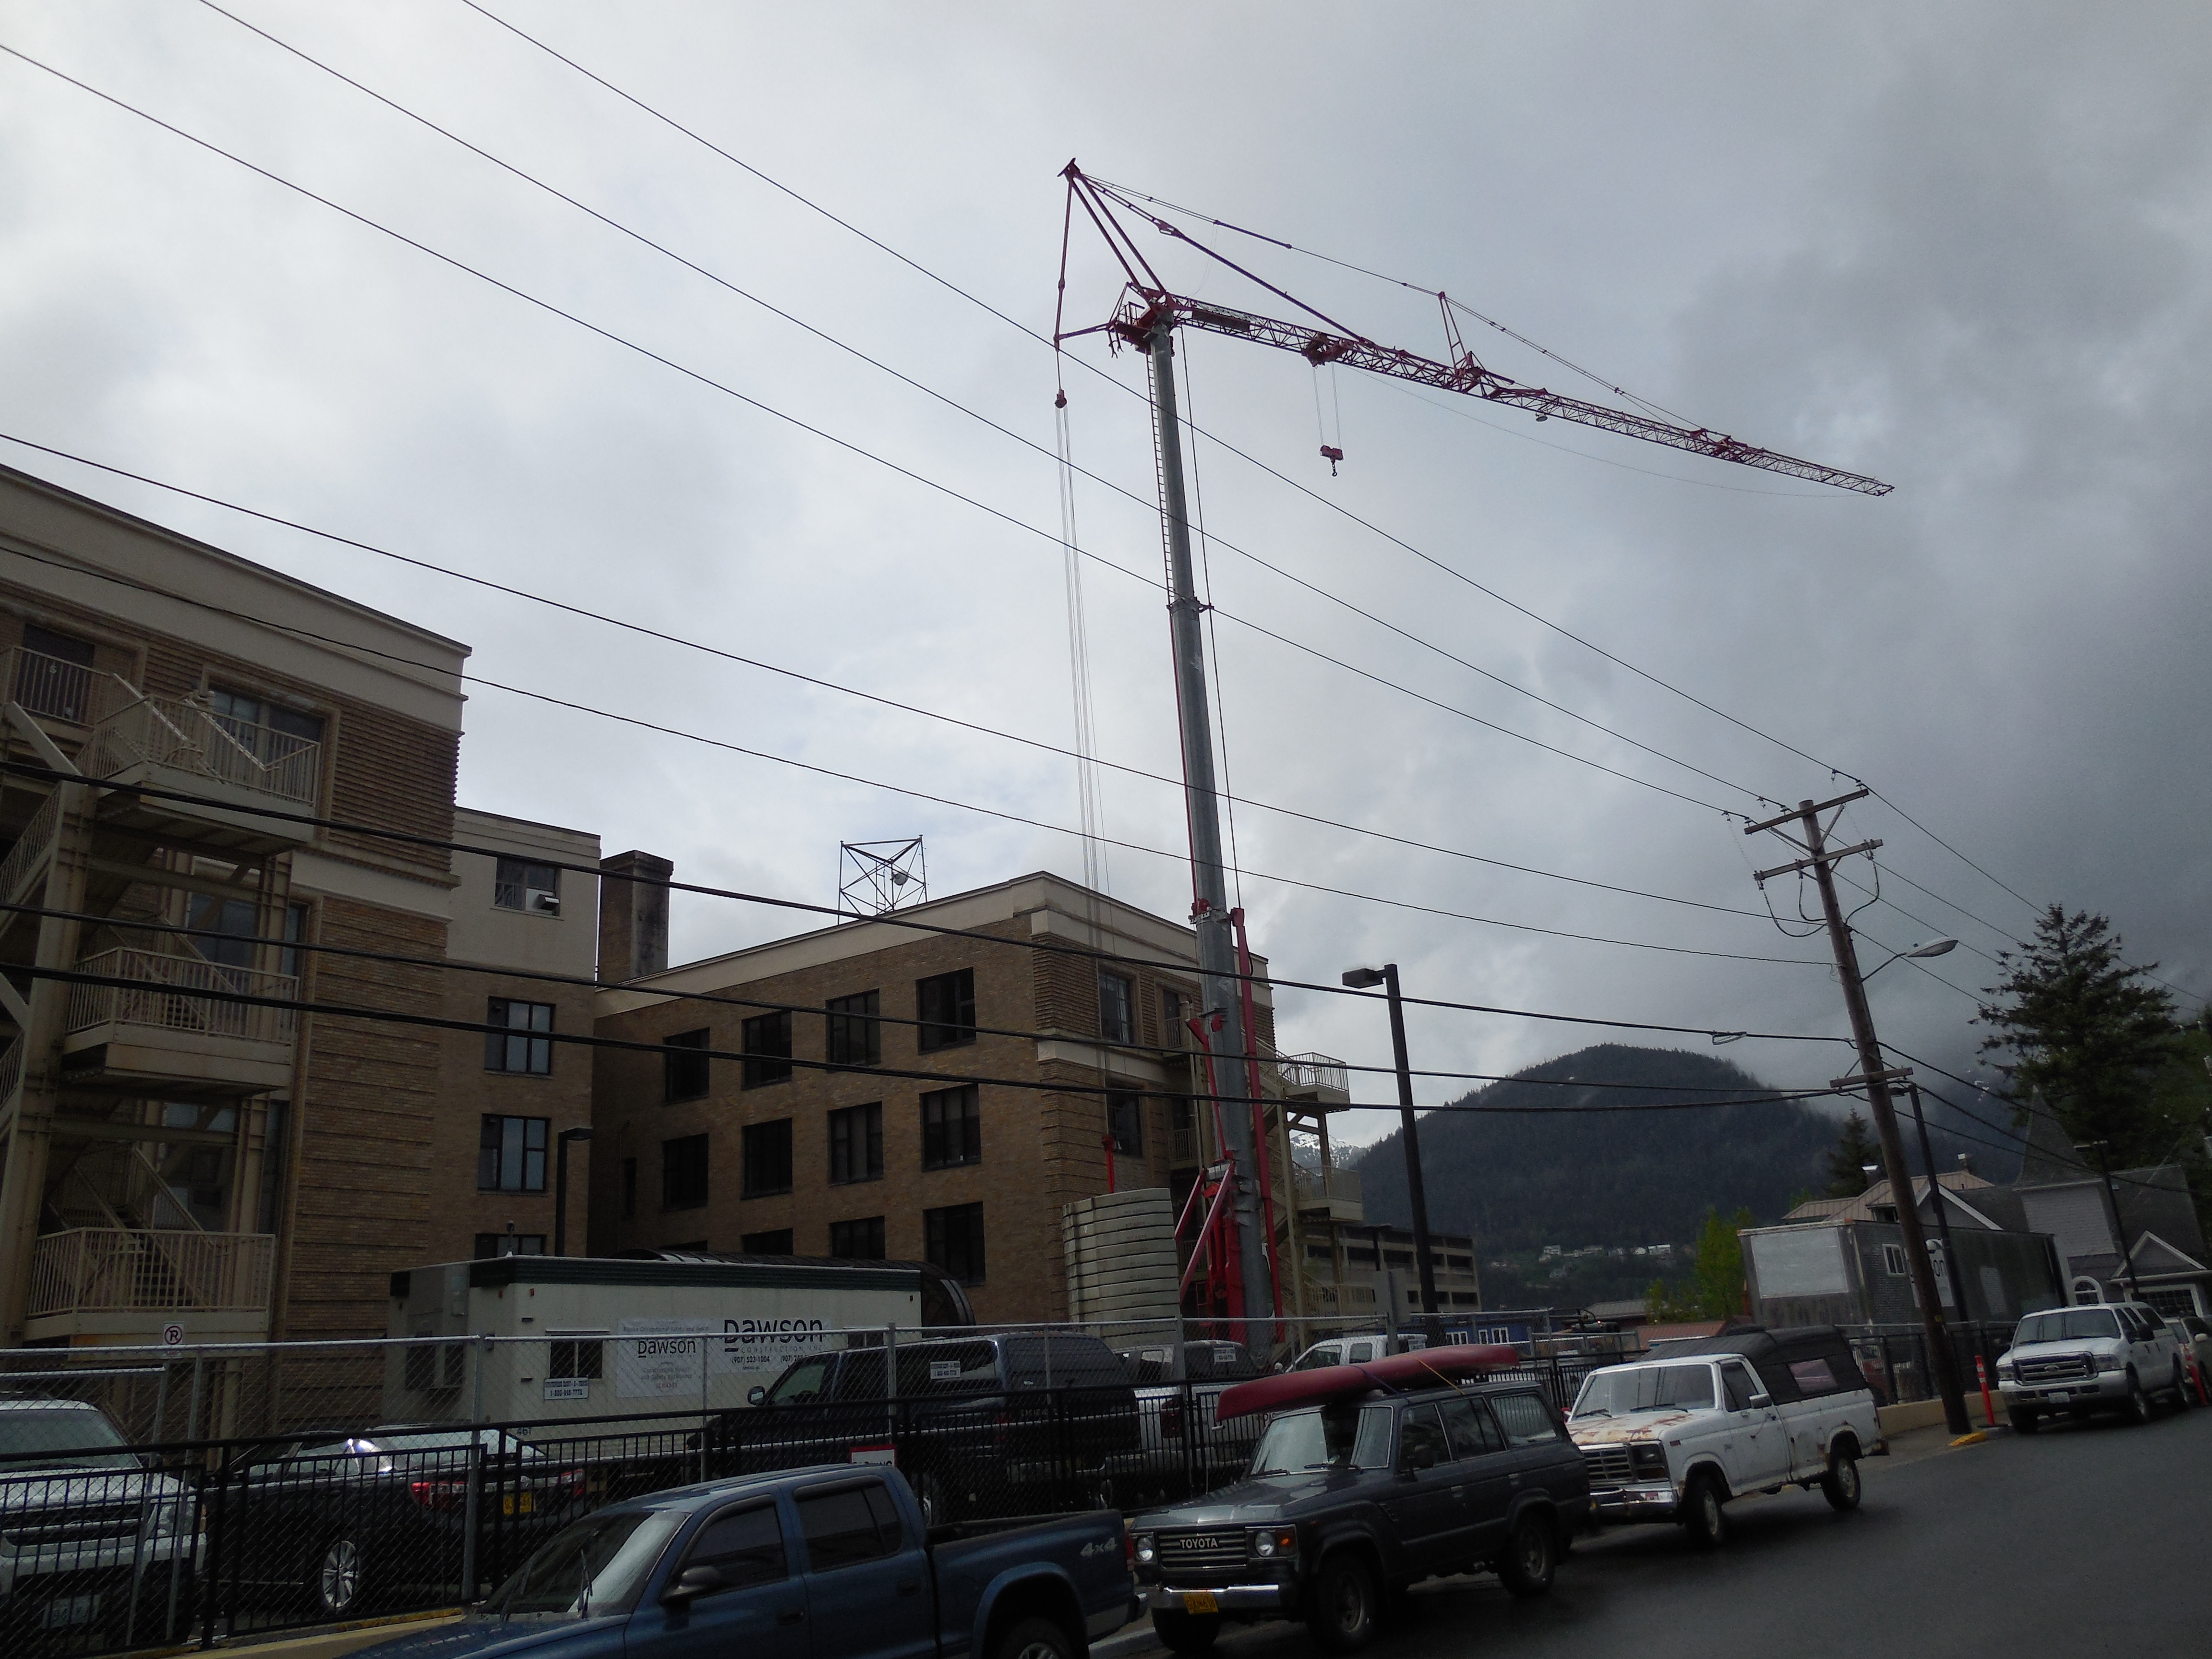
Update May 23, 2014
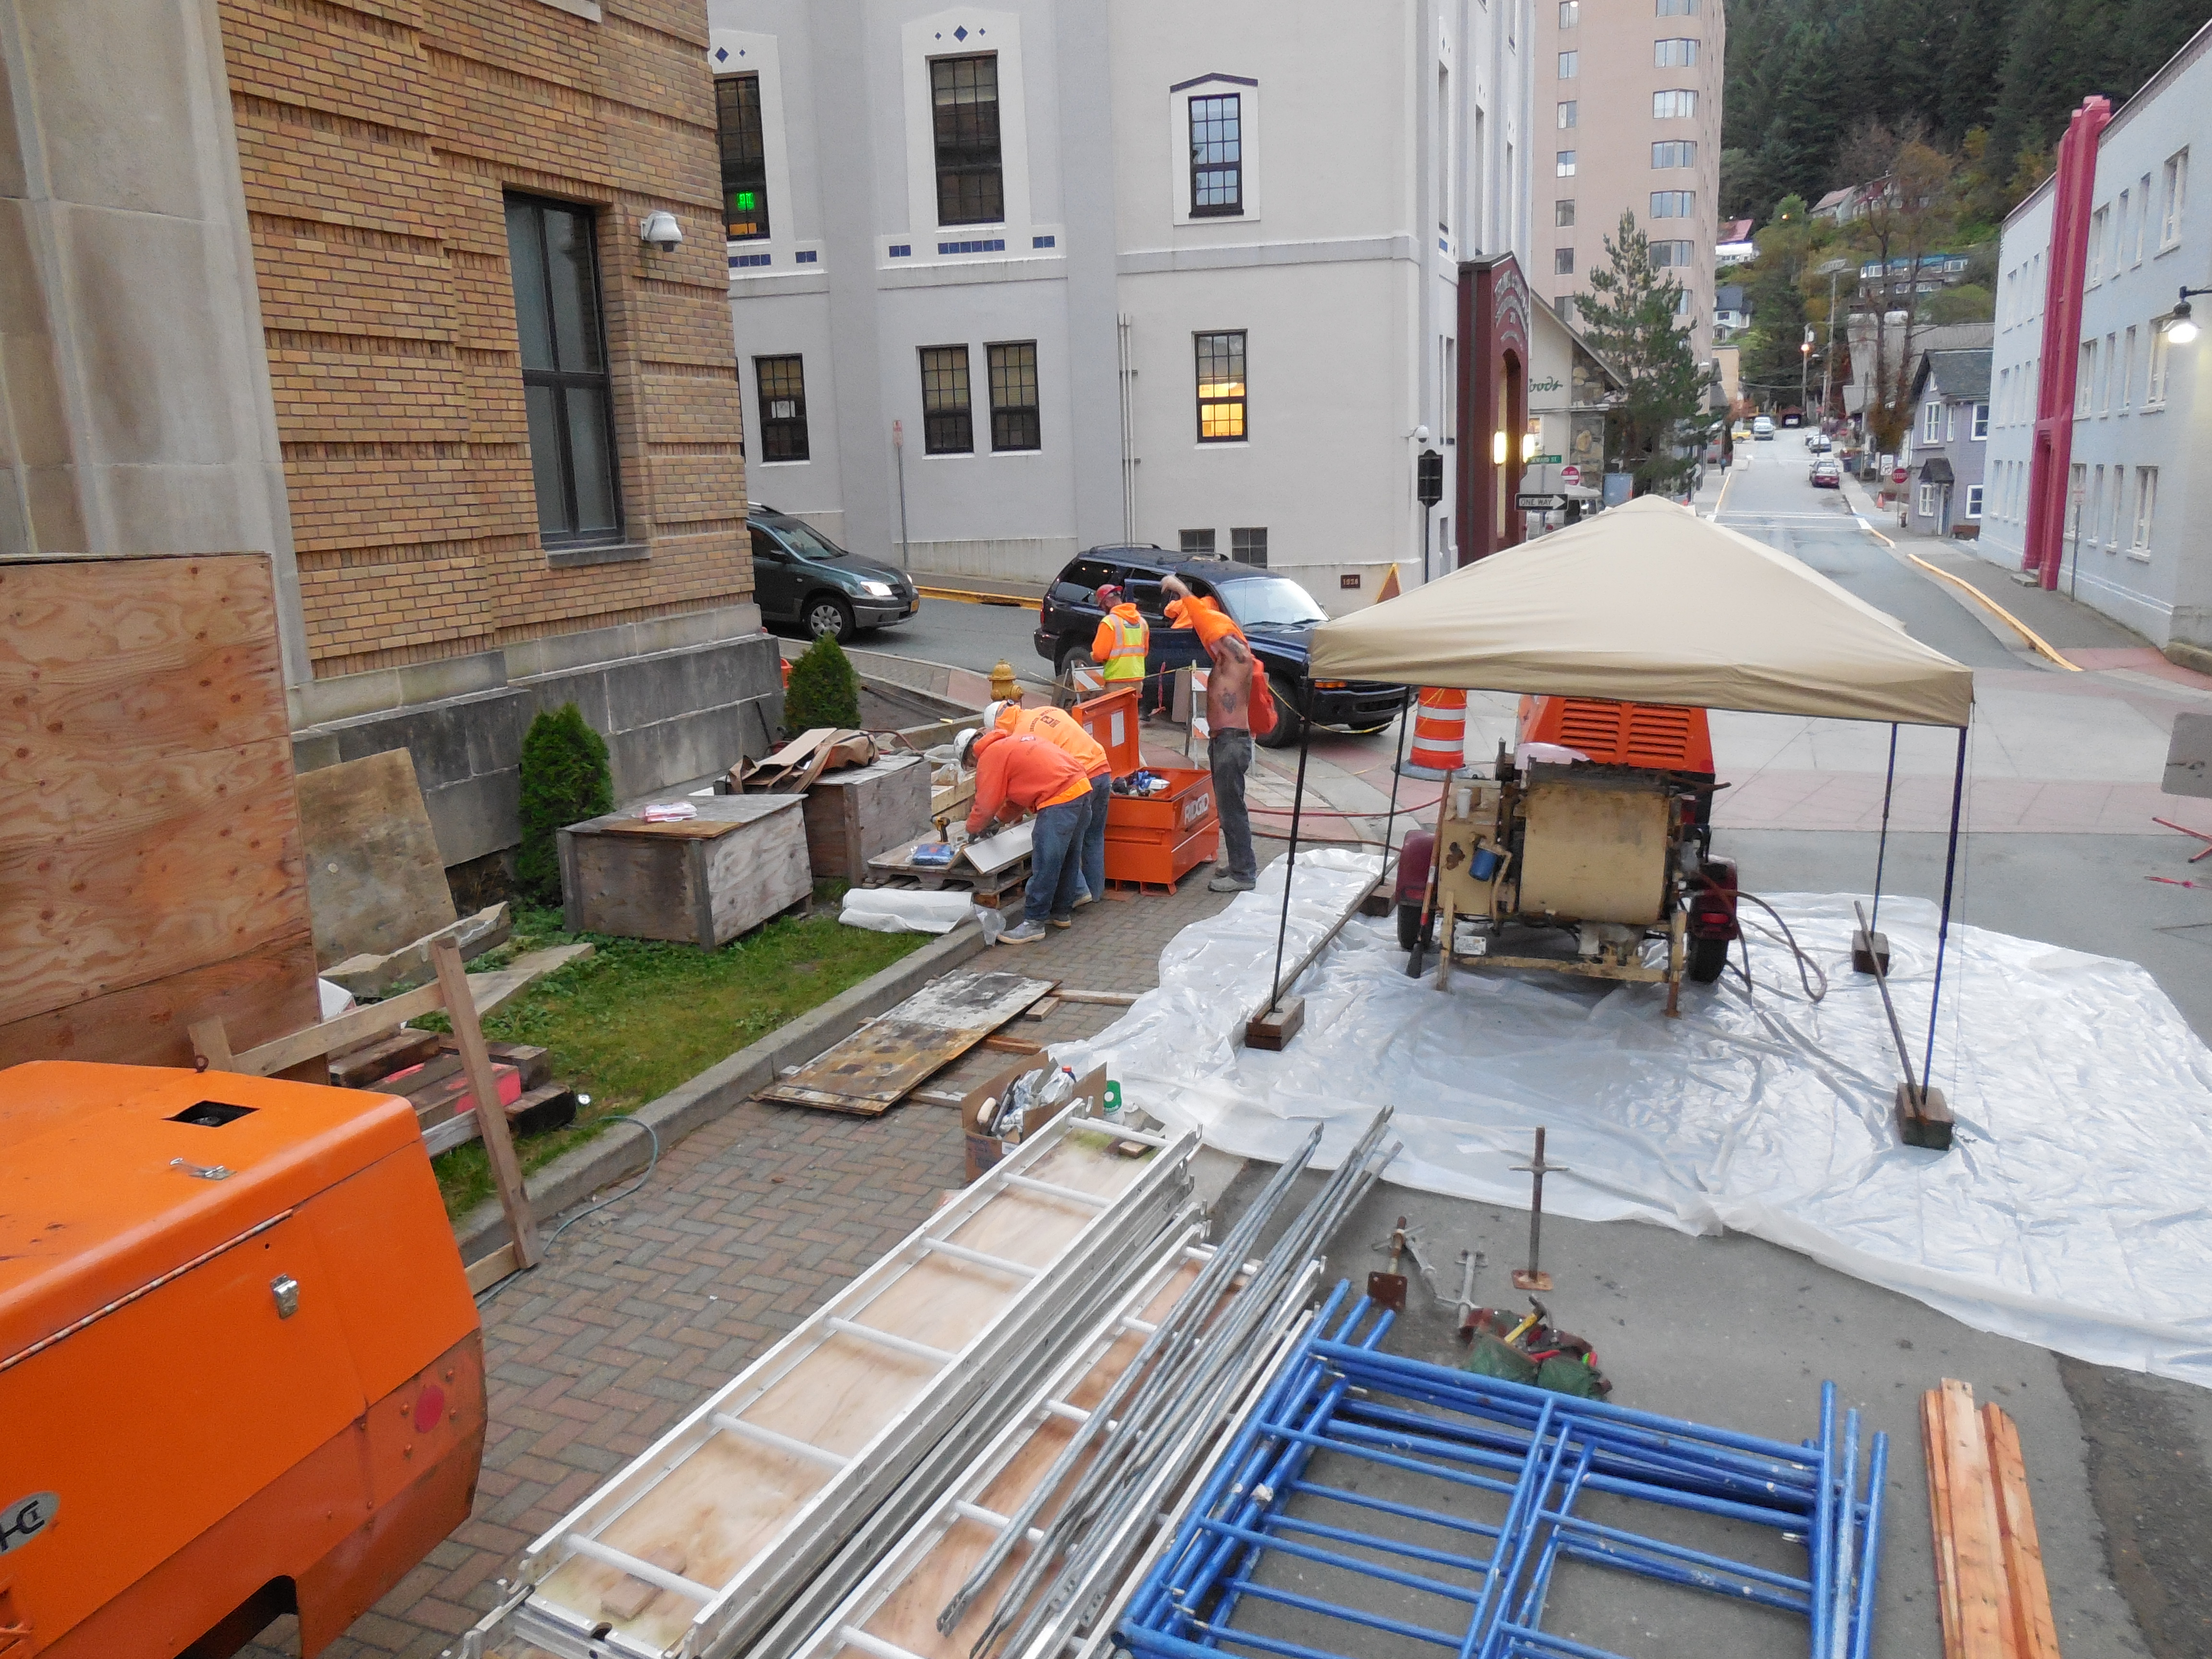
|
|
| Dawson mobilized on site | Shoring in place in lower parking deck |

|
|
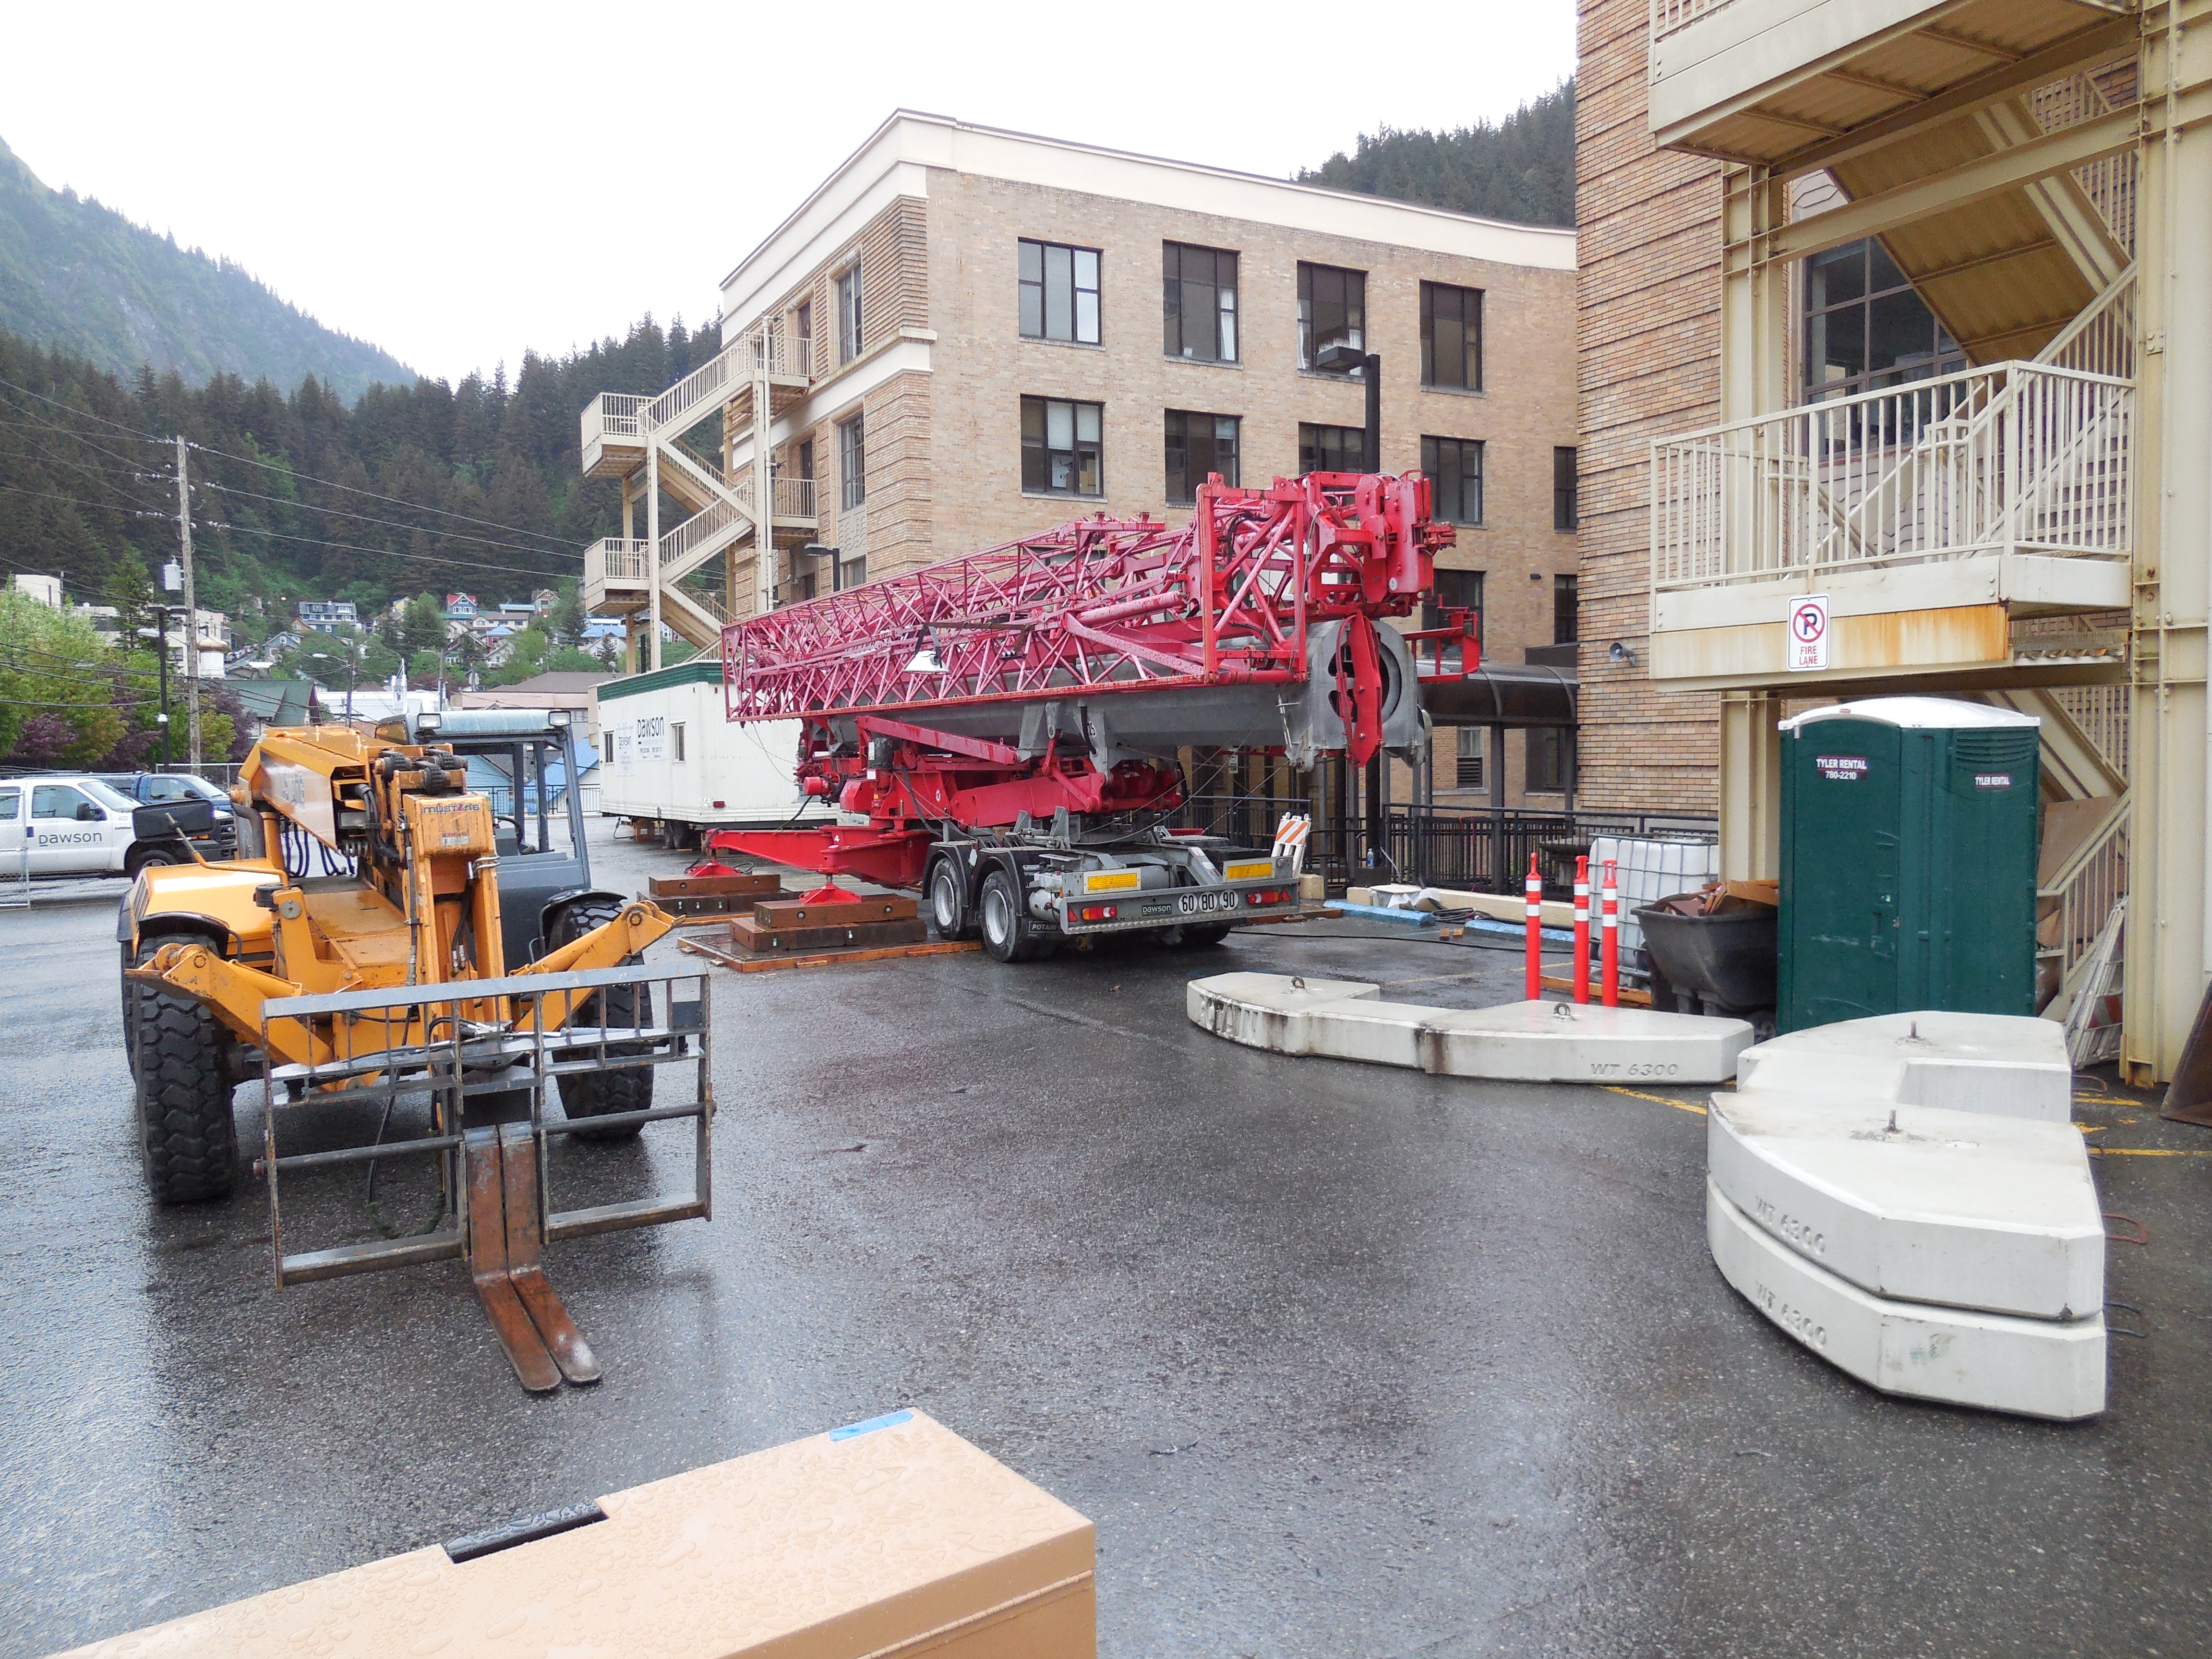
| Tower crane setup | Tower crane fully setup and in motion |
| |
| West side fuel tank removed |
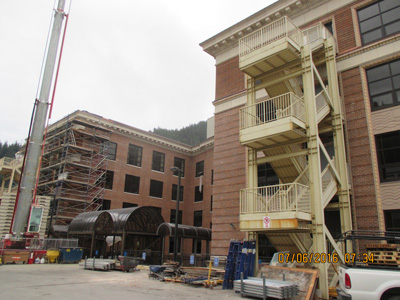
Update November 1, 2013

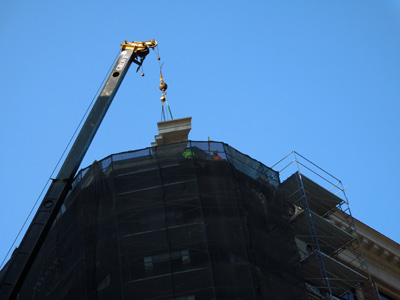
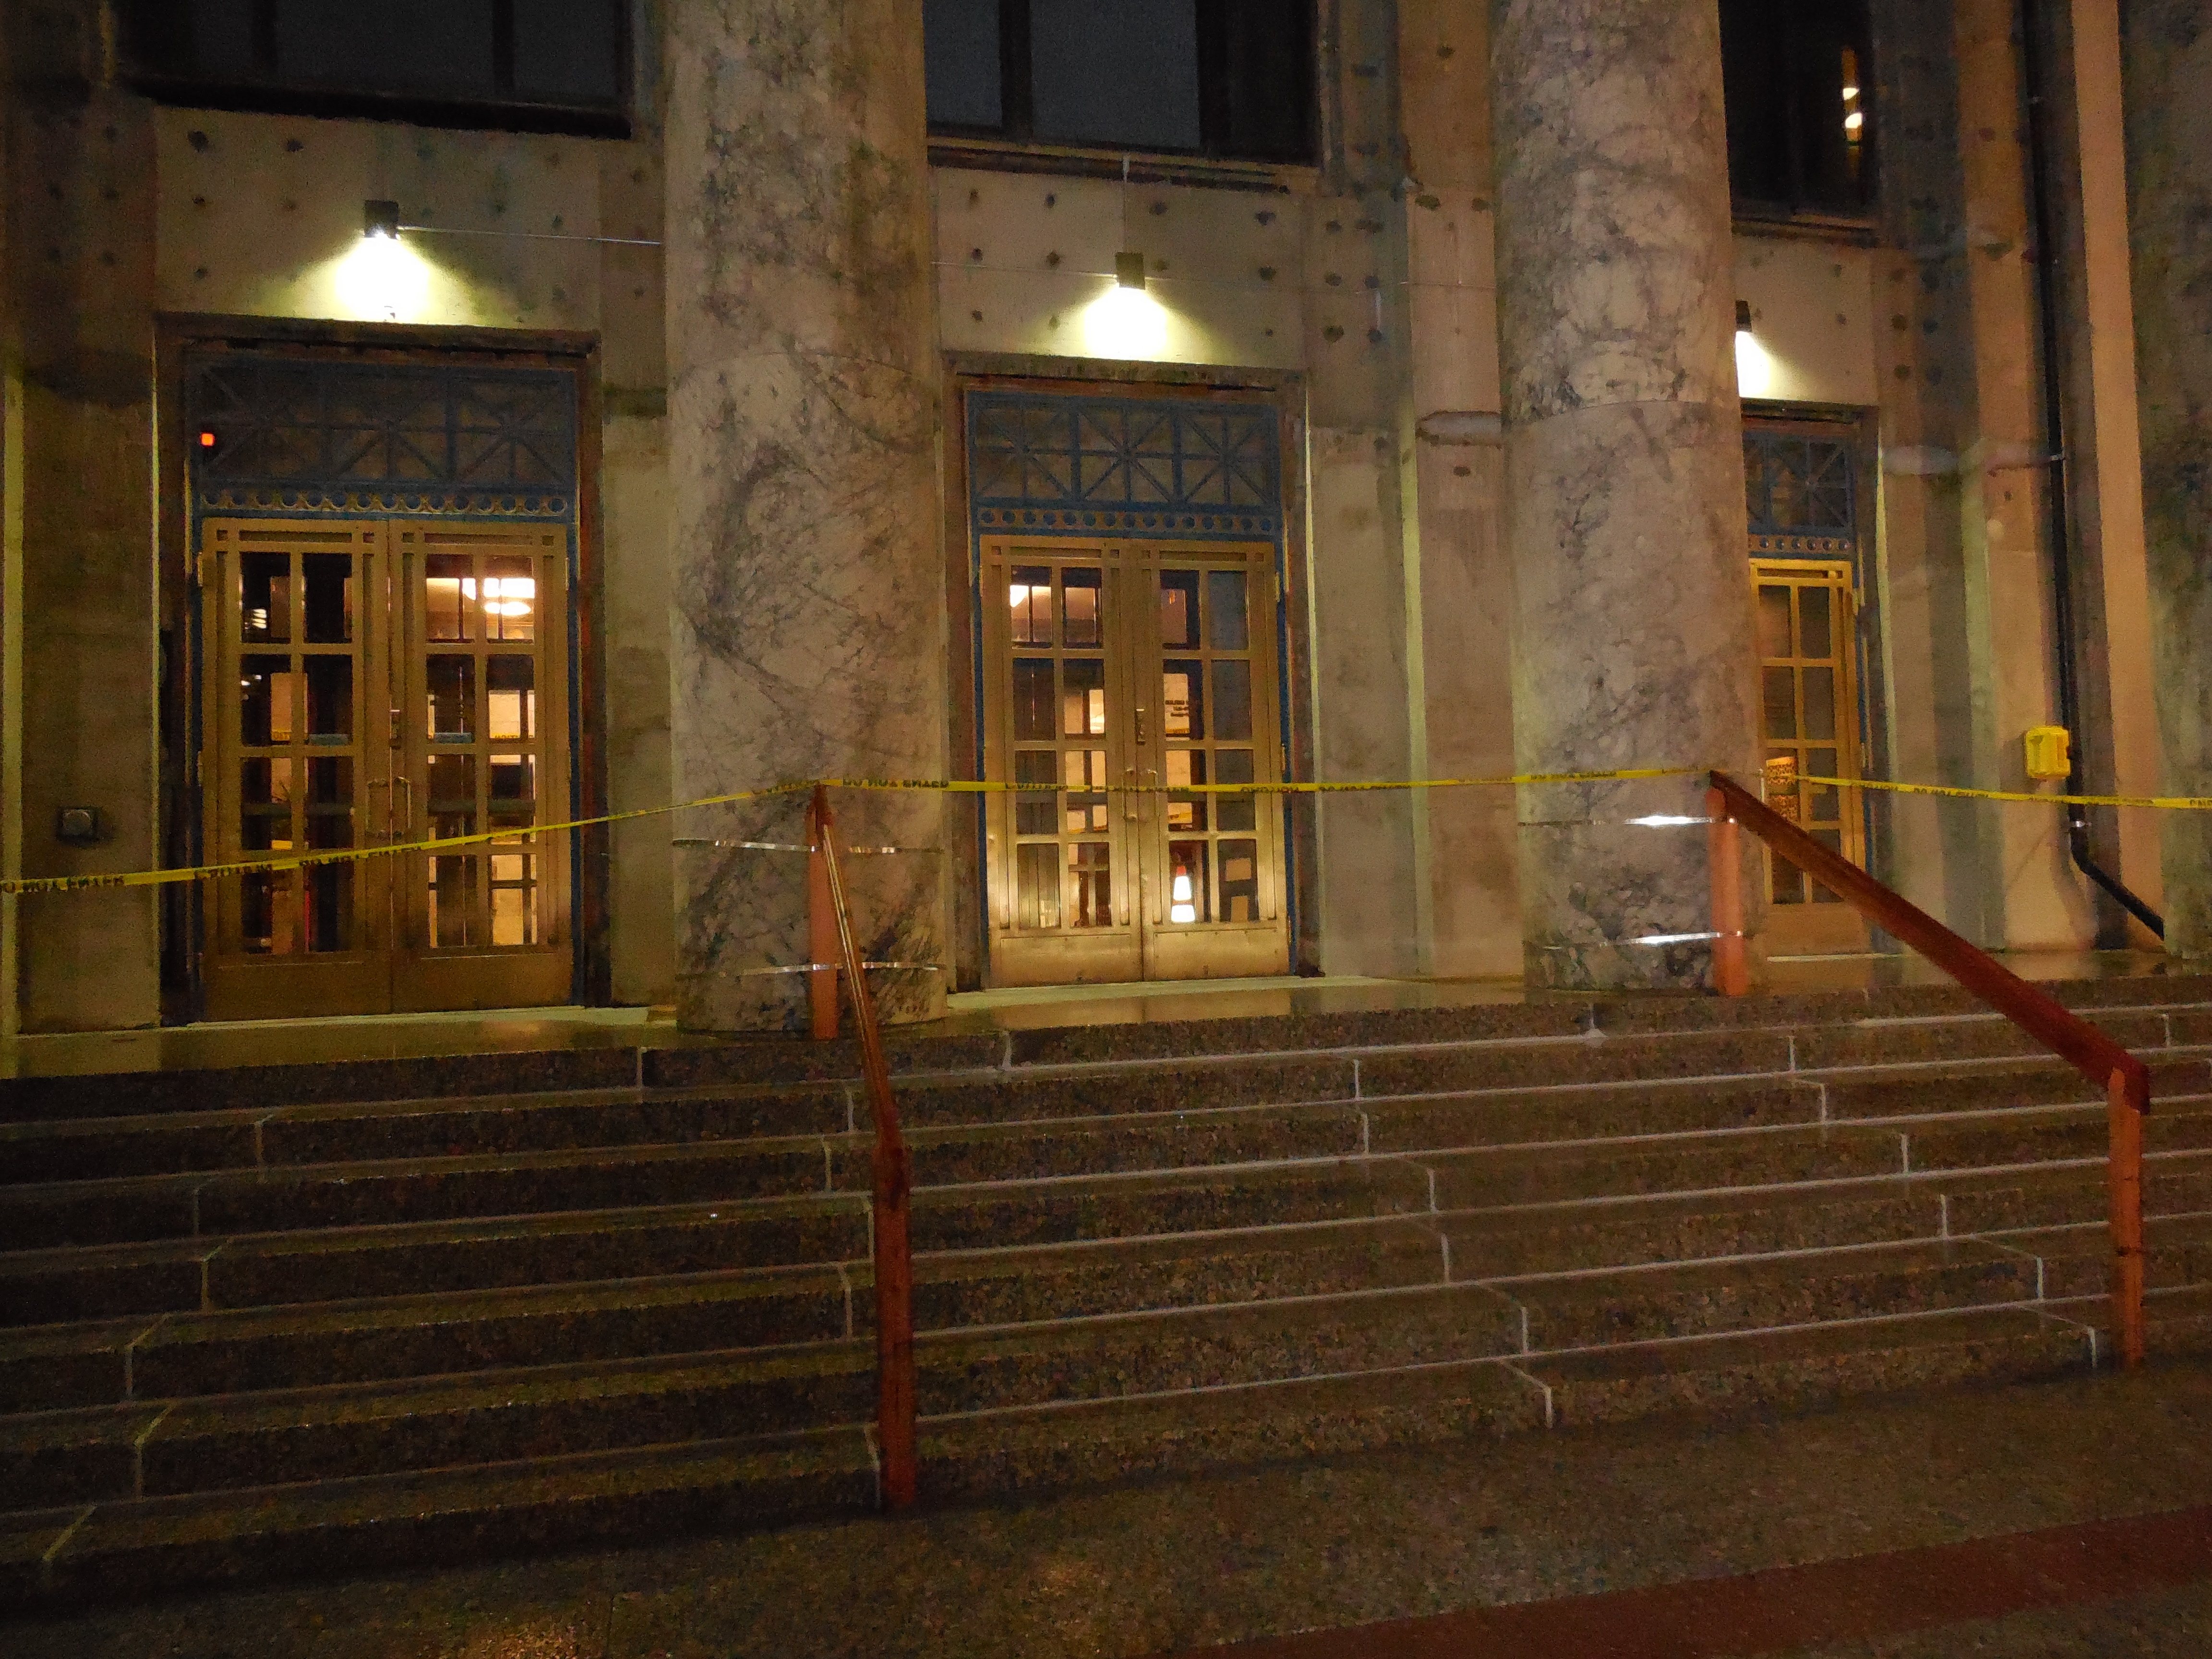
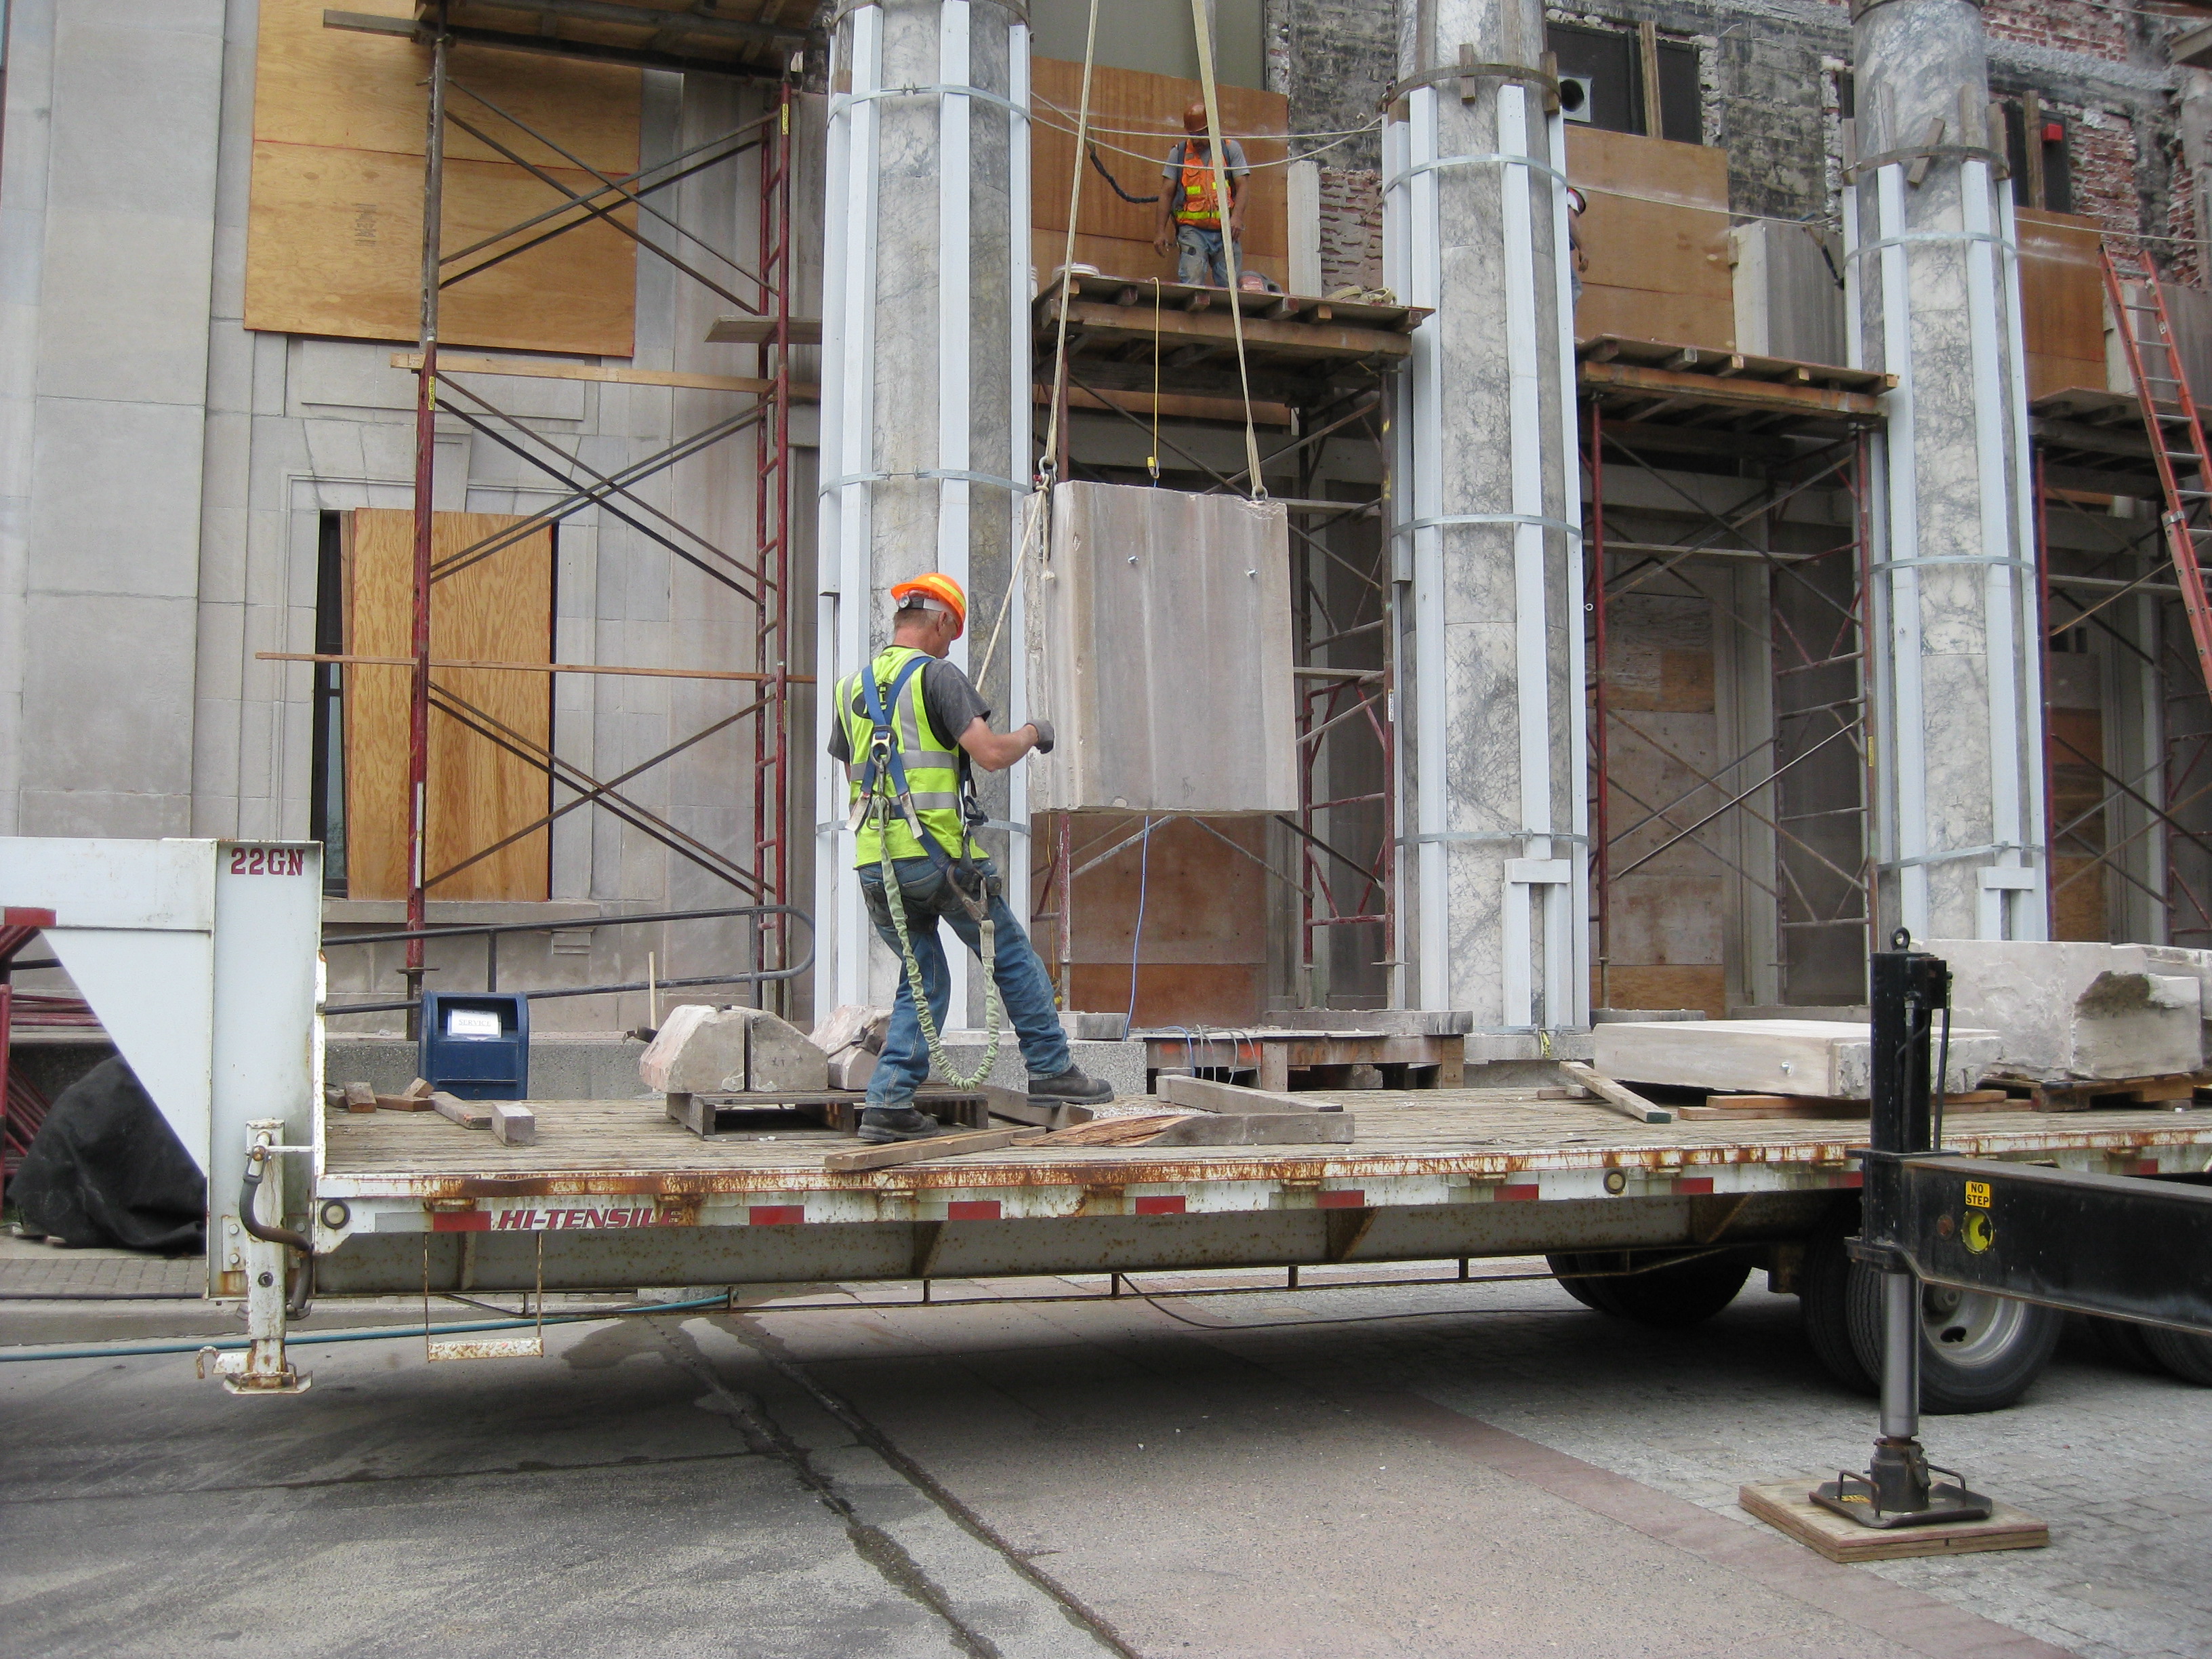
|
|
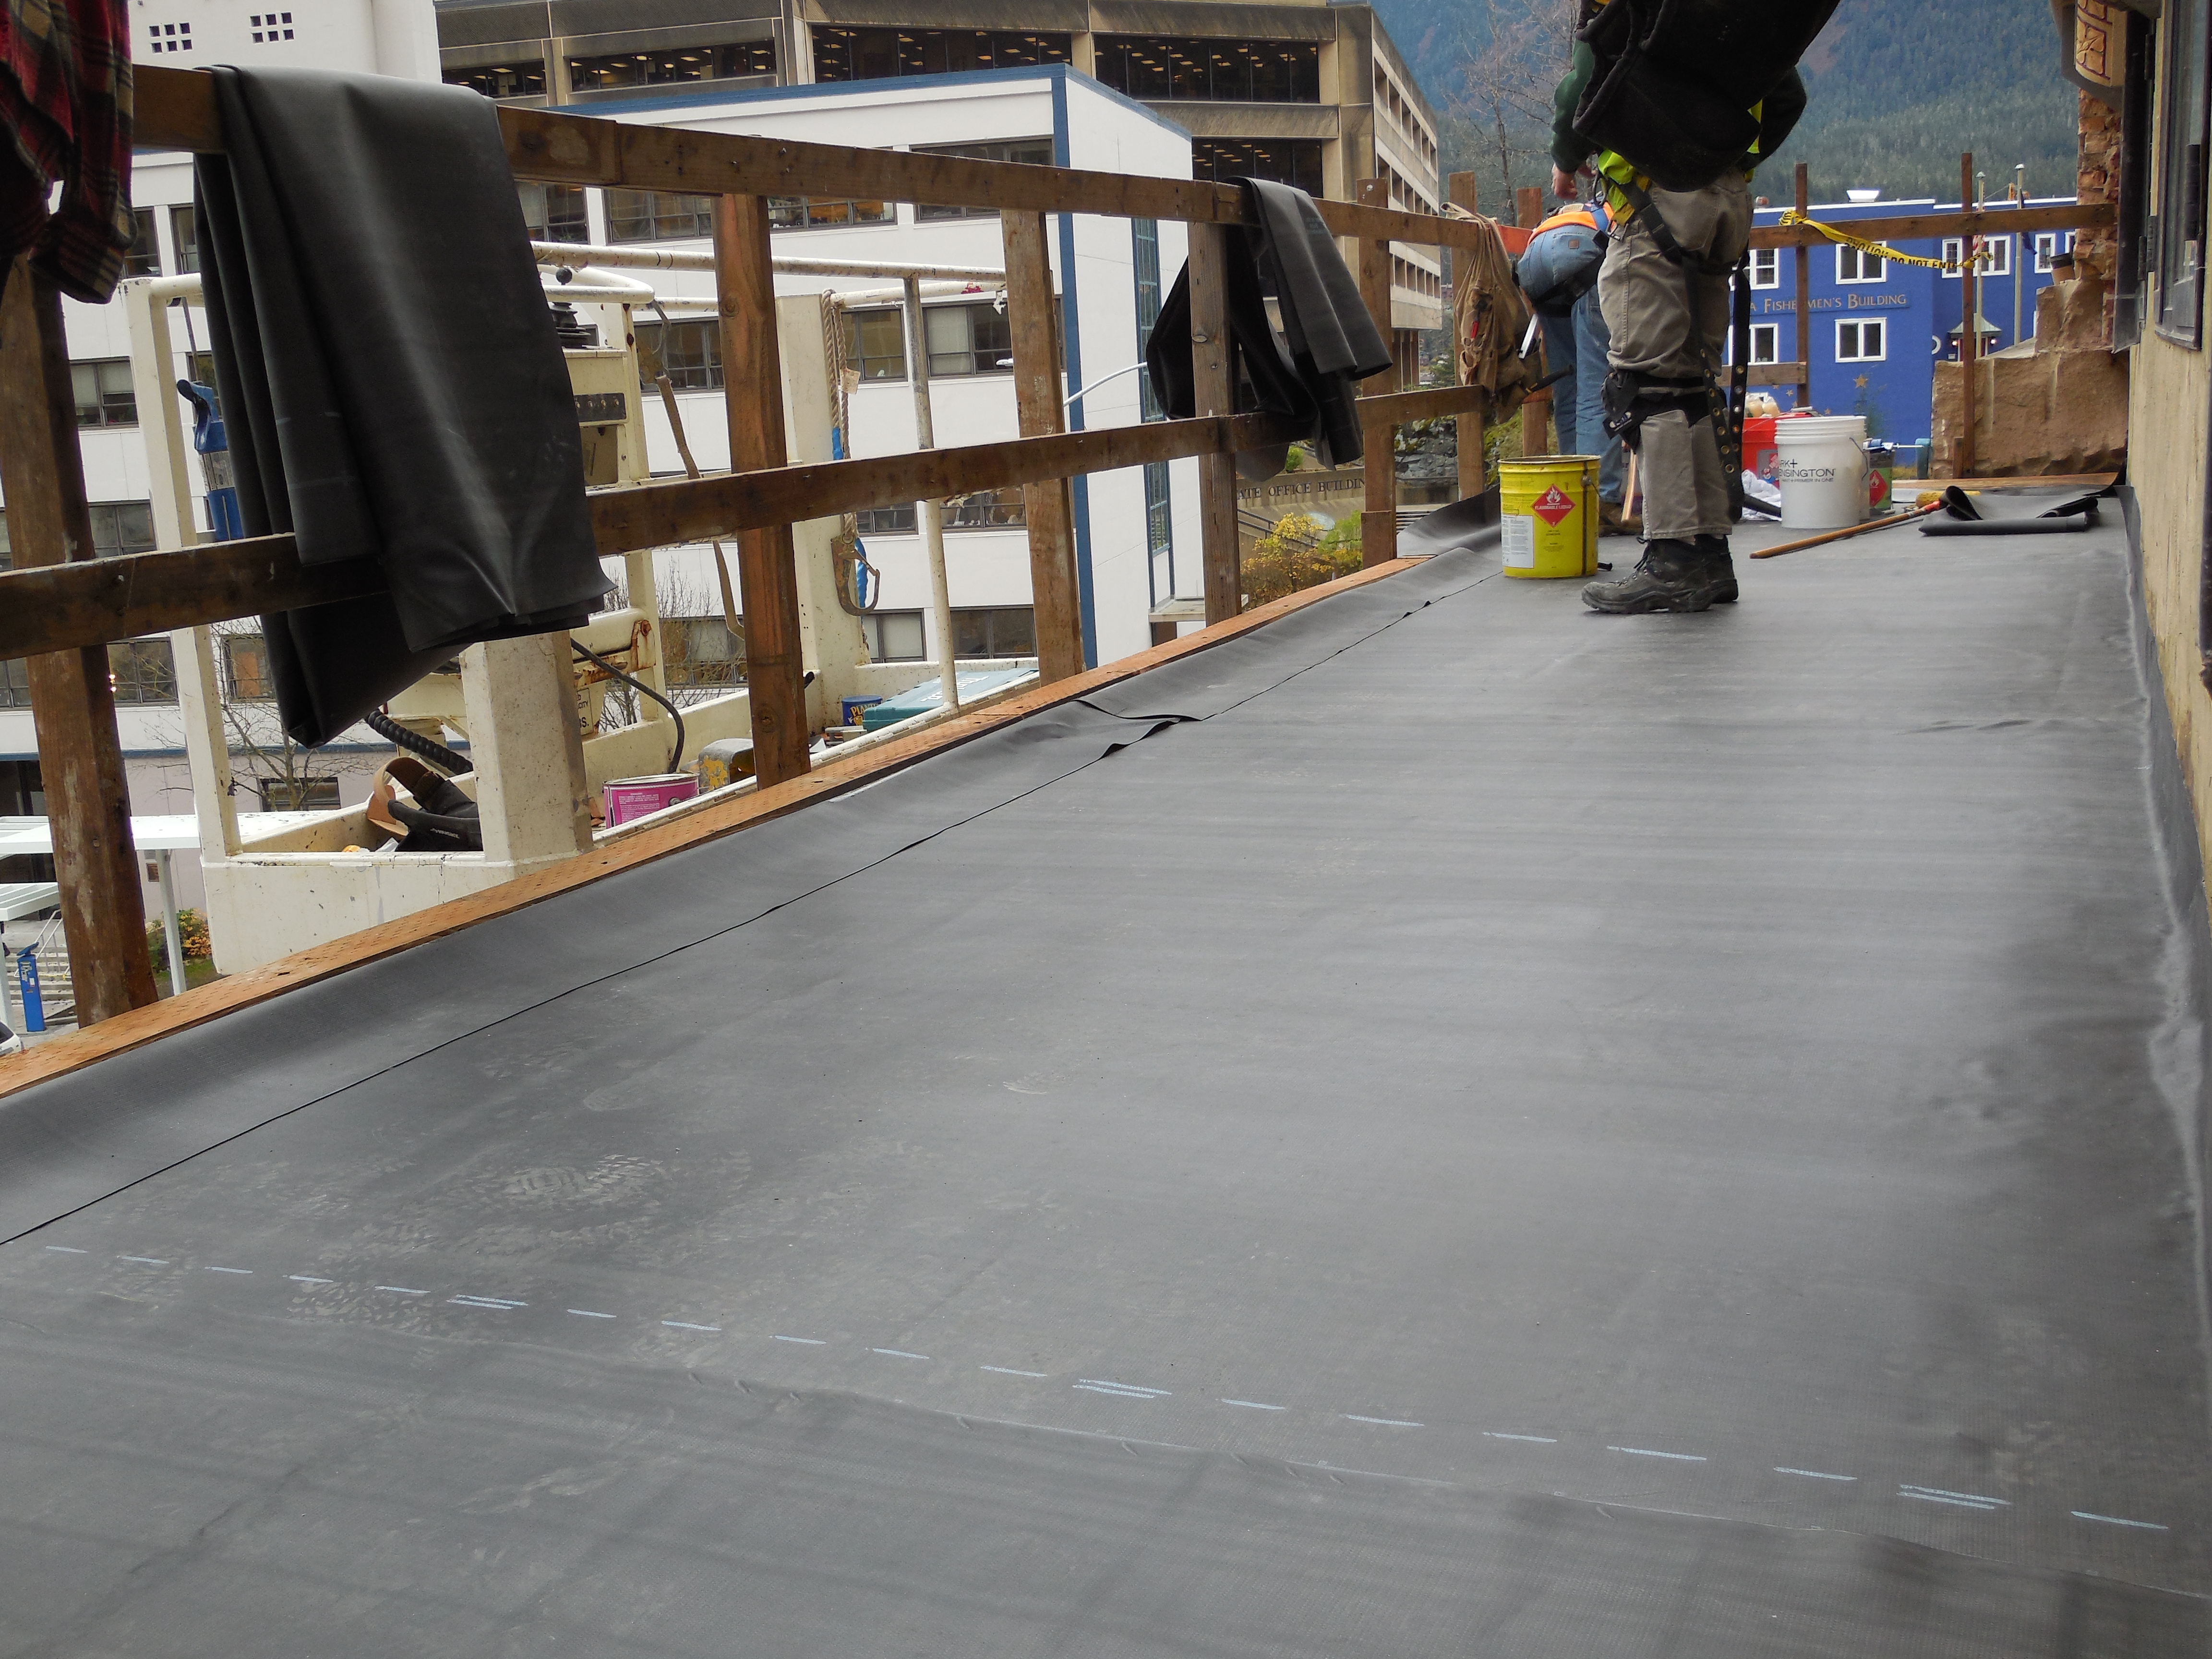
| All granite set in place, grouted and caulked and workers are resetting the sidewalk pavers | Temporary membrane installation on portico roof for the next two construction seasons; permanent roofing will be installed in last phase of construction in 2016 |
|
|
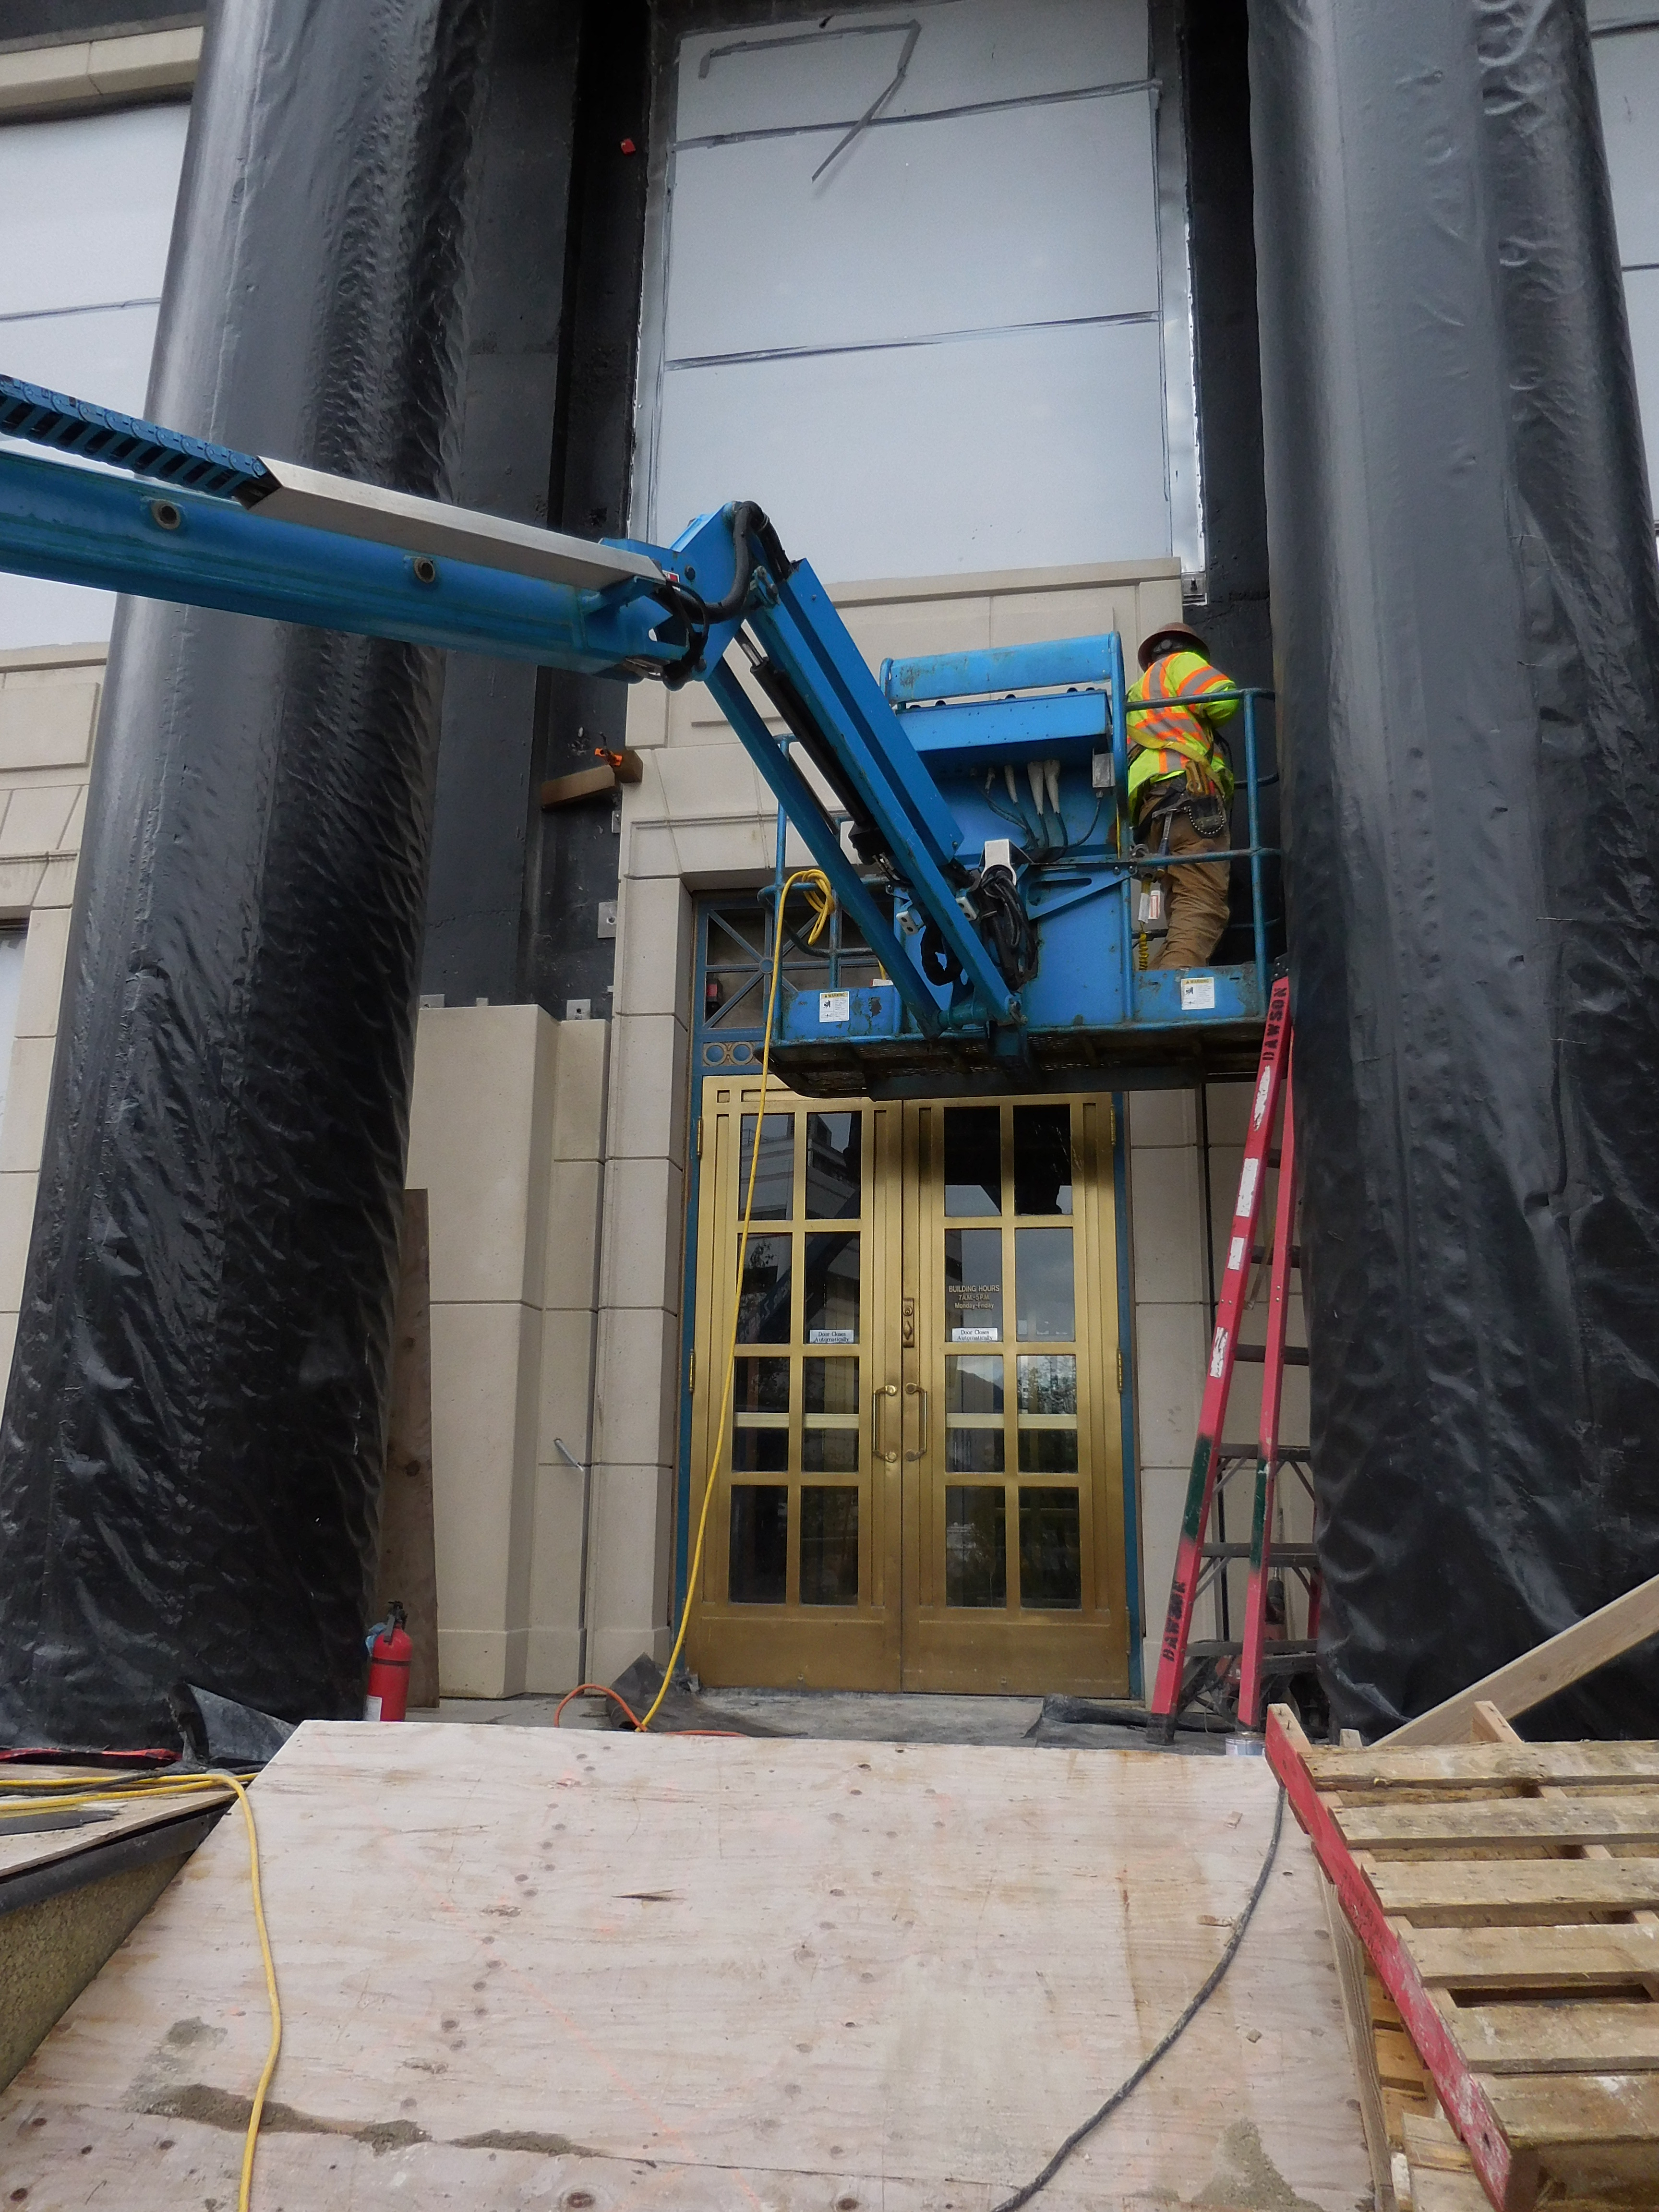
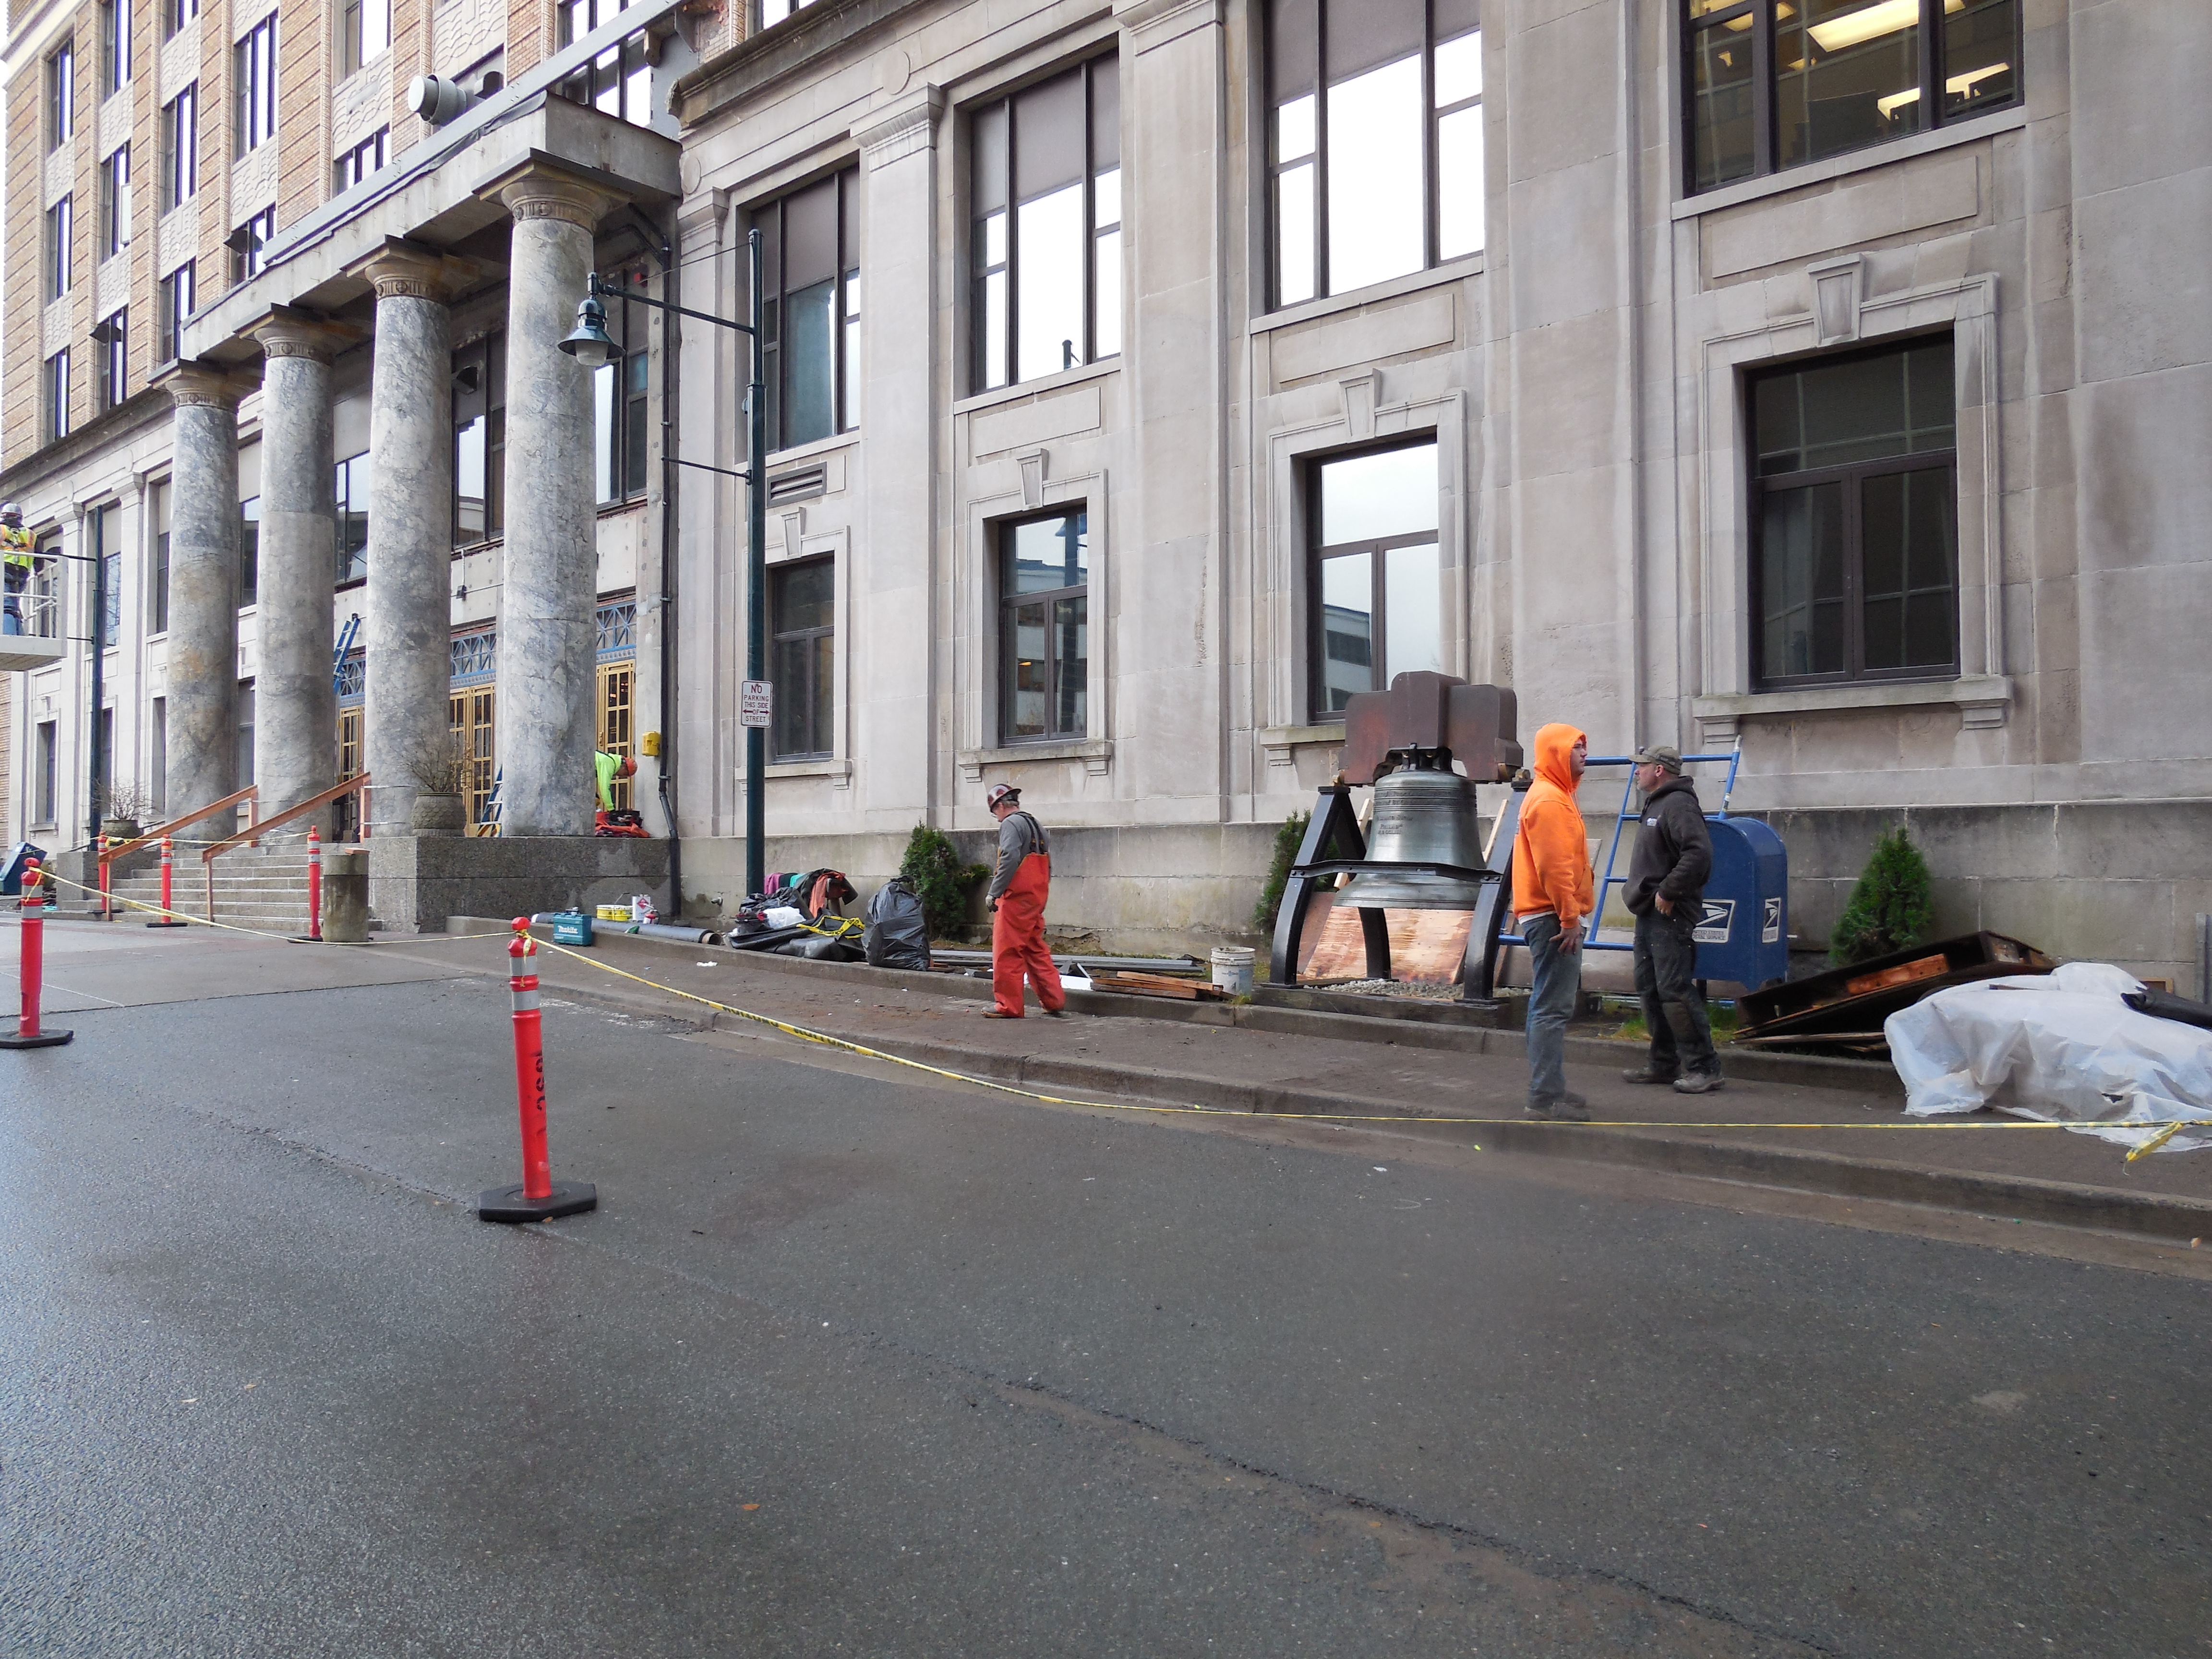
| Contractor begins demobilization and final cleanup of project site | Main entrance completed with temporary handrails and lighting |
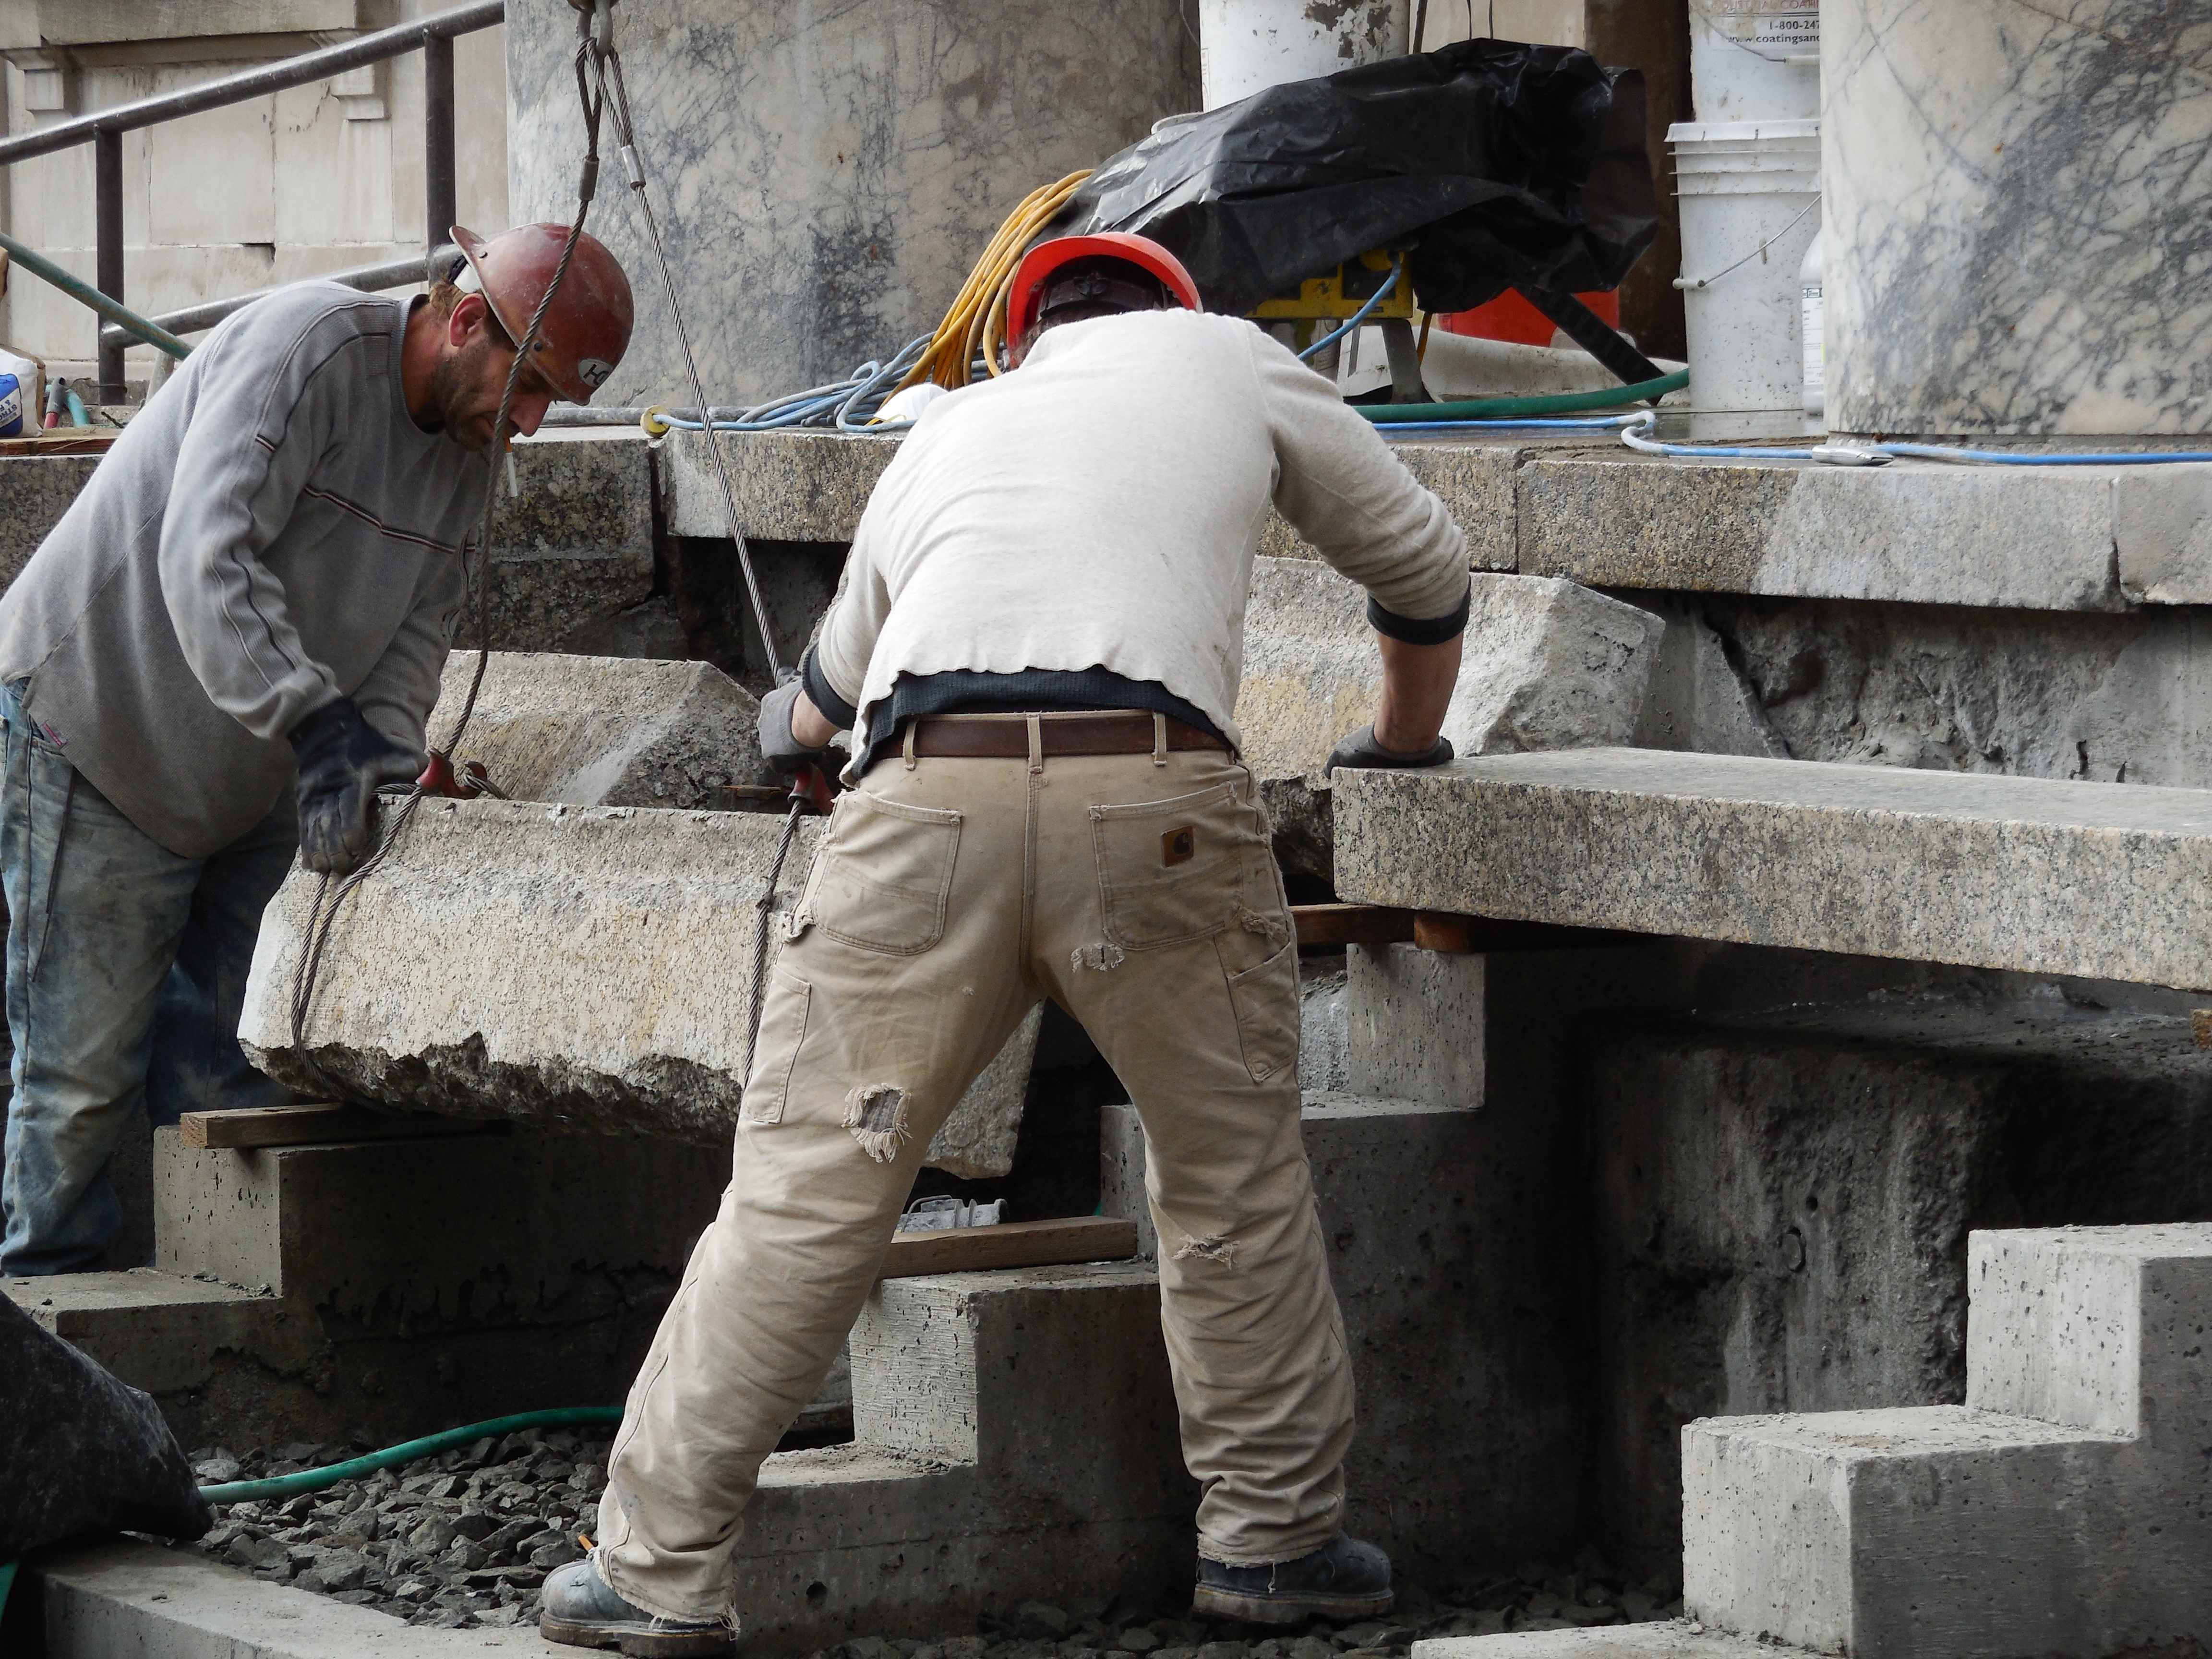
Update October 25, 2013
|
|
| Workers reinstall granite blocks at main entrance | Granite steps are set in place for reinstallation and grouting |
|
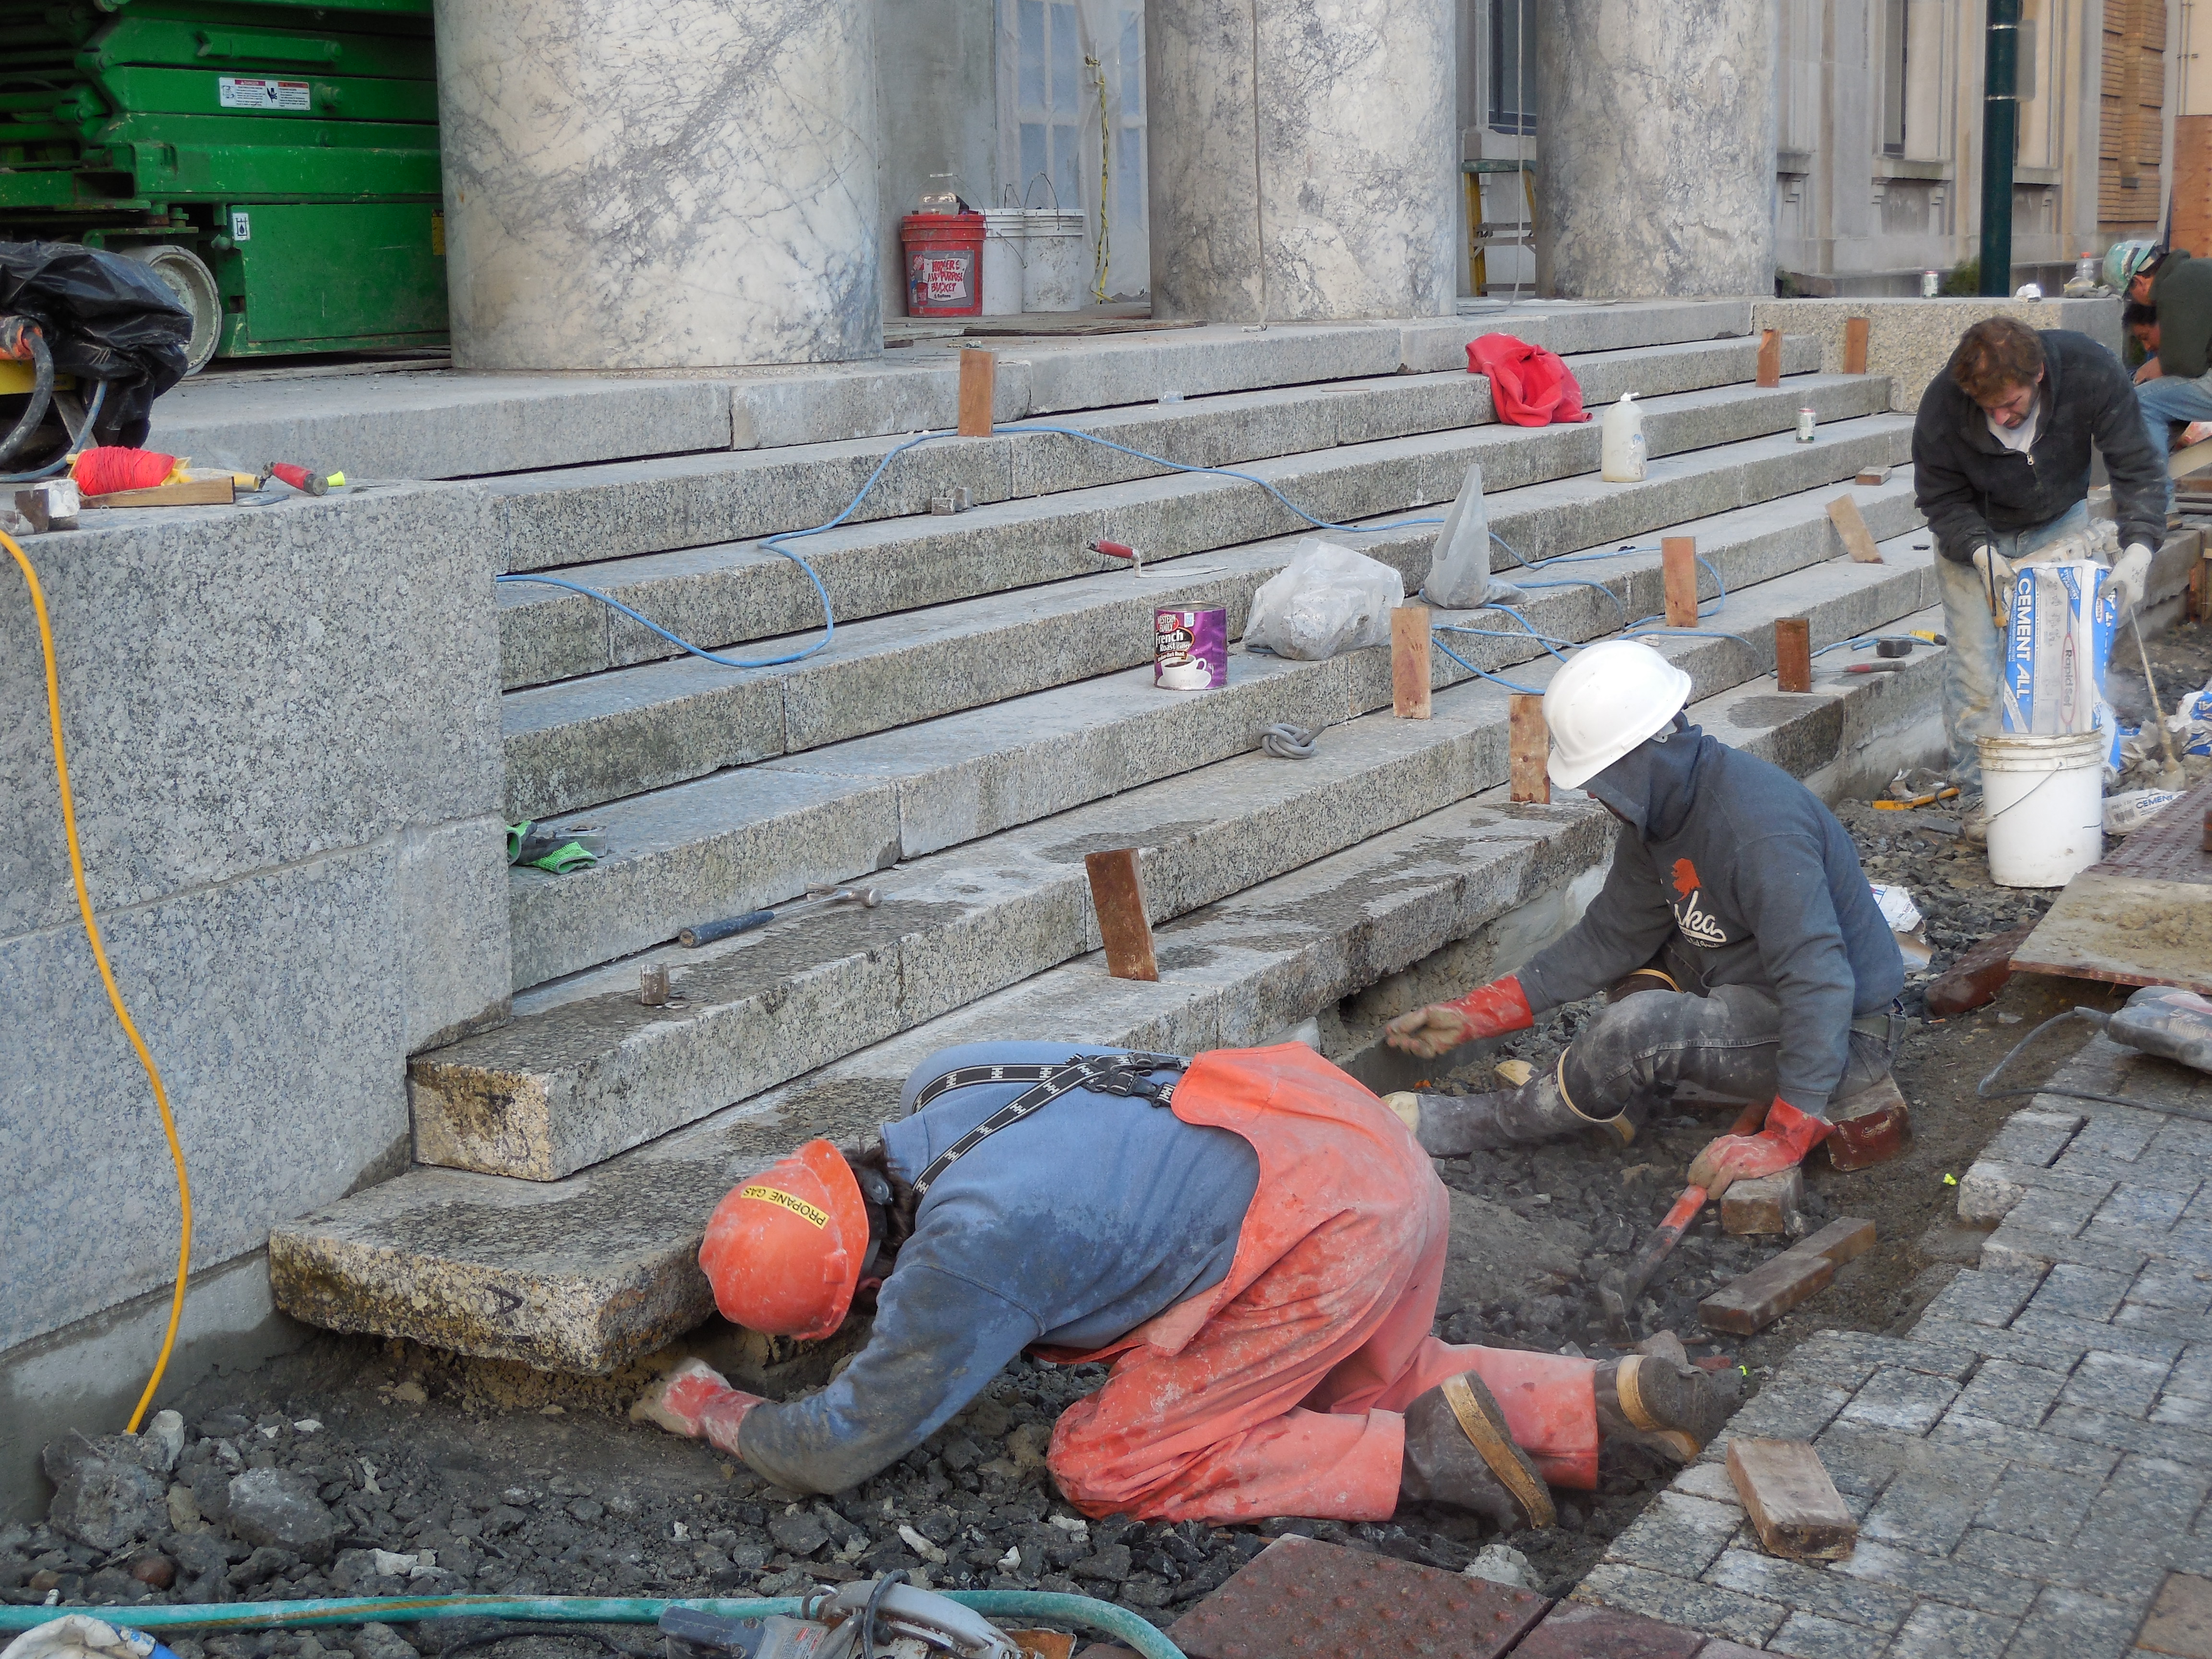
|
| Workers begin reinstallation of granite steps | Granite blocks and steps are set in place ready for grouting |
Update October 18, 2013

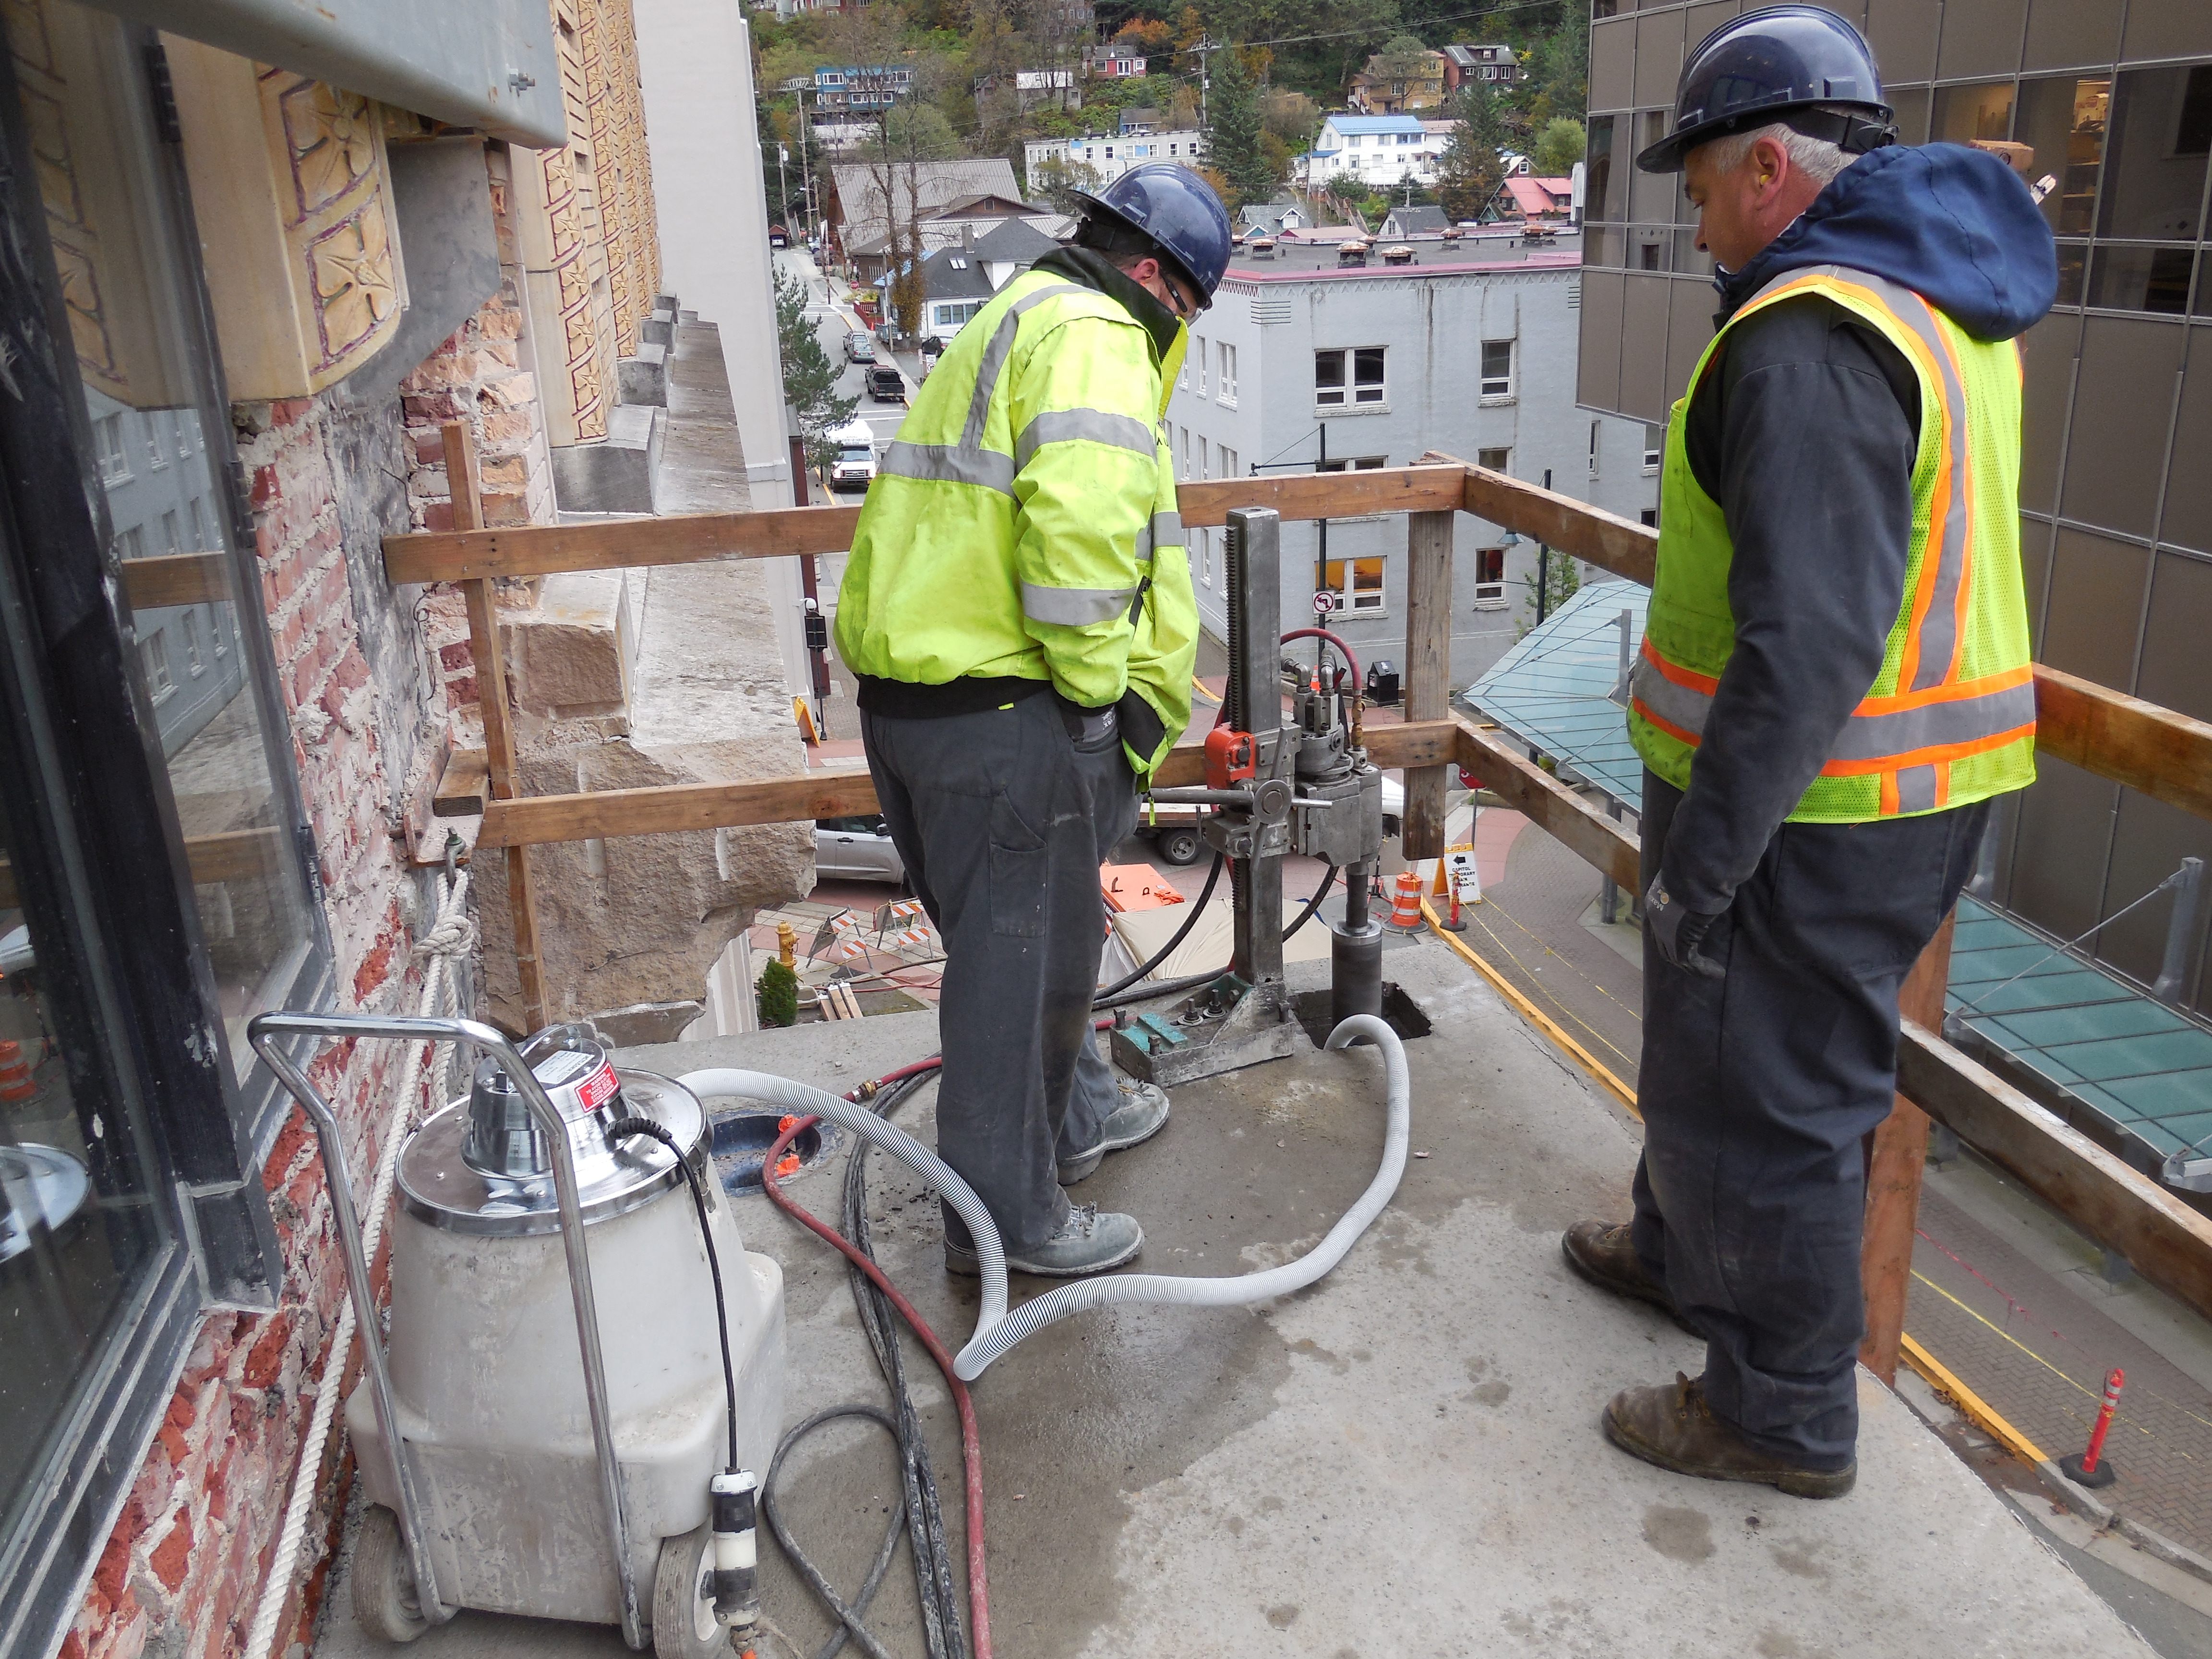
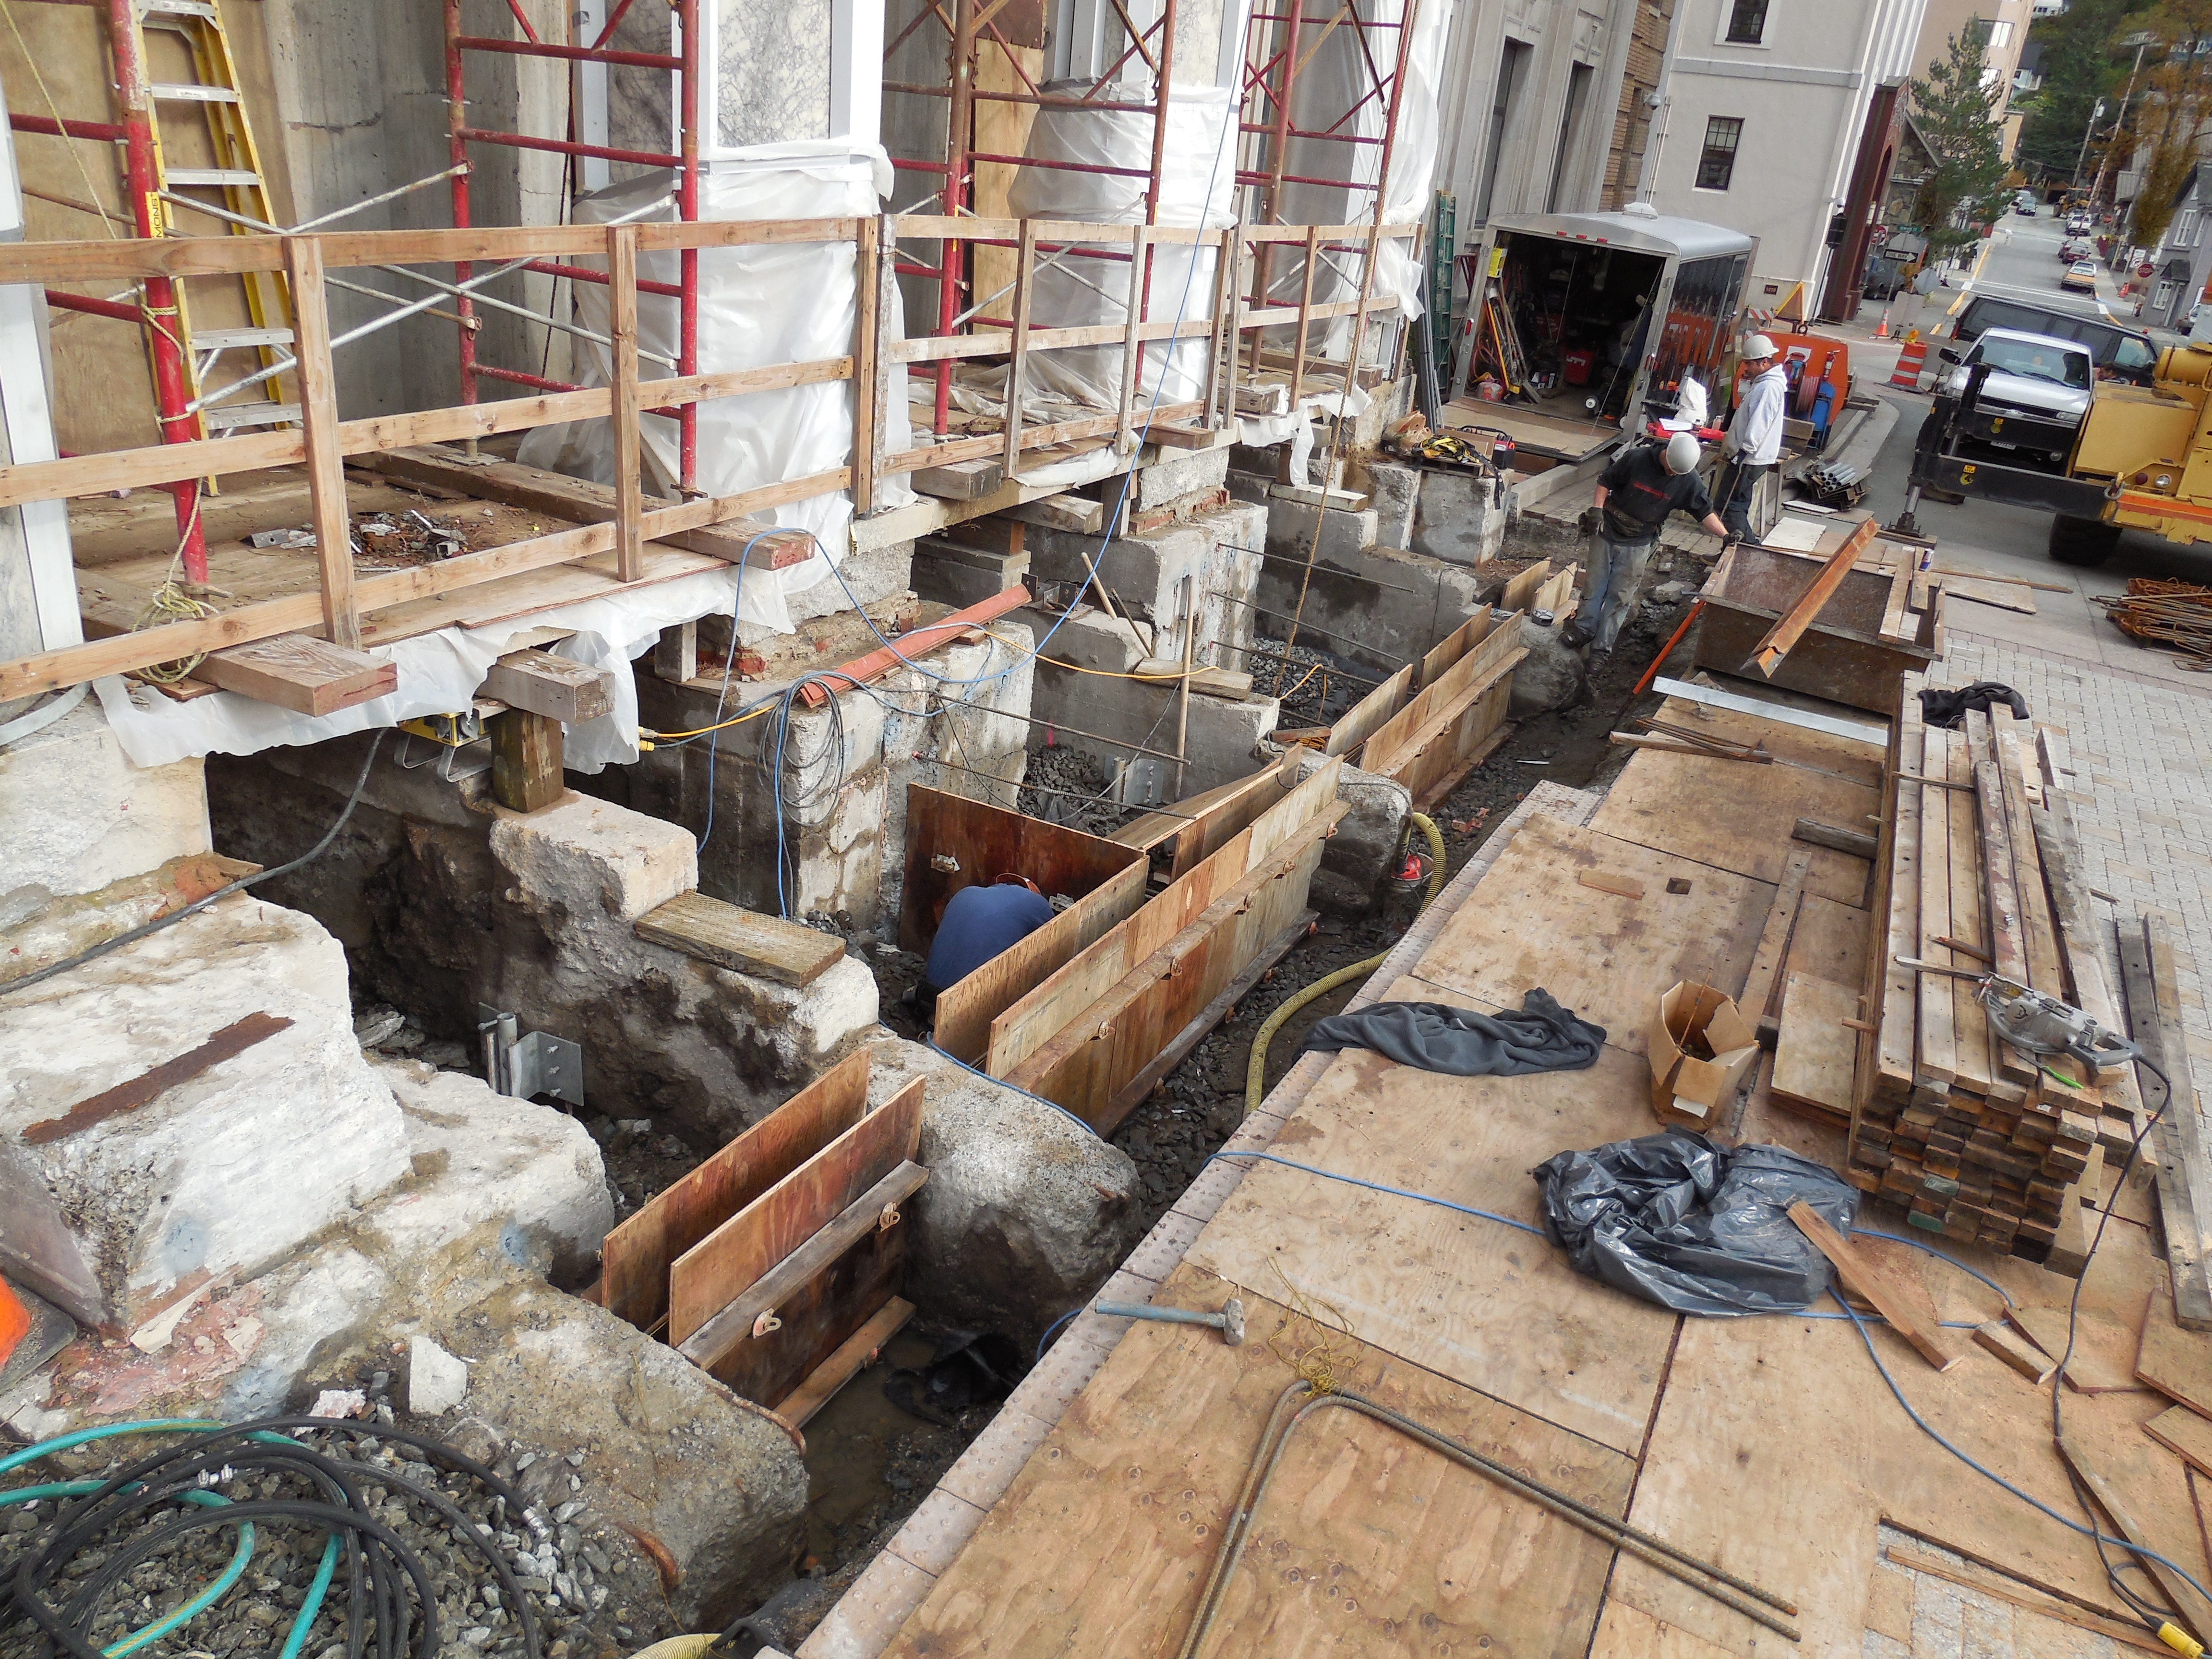
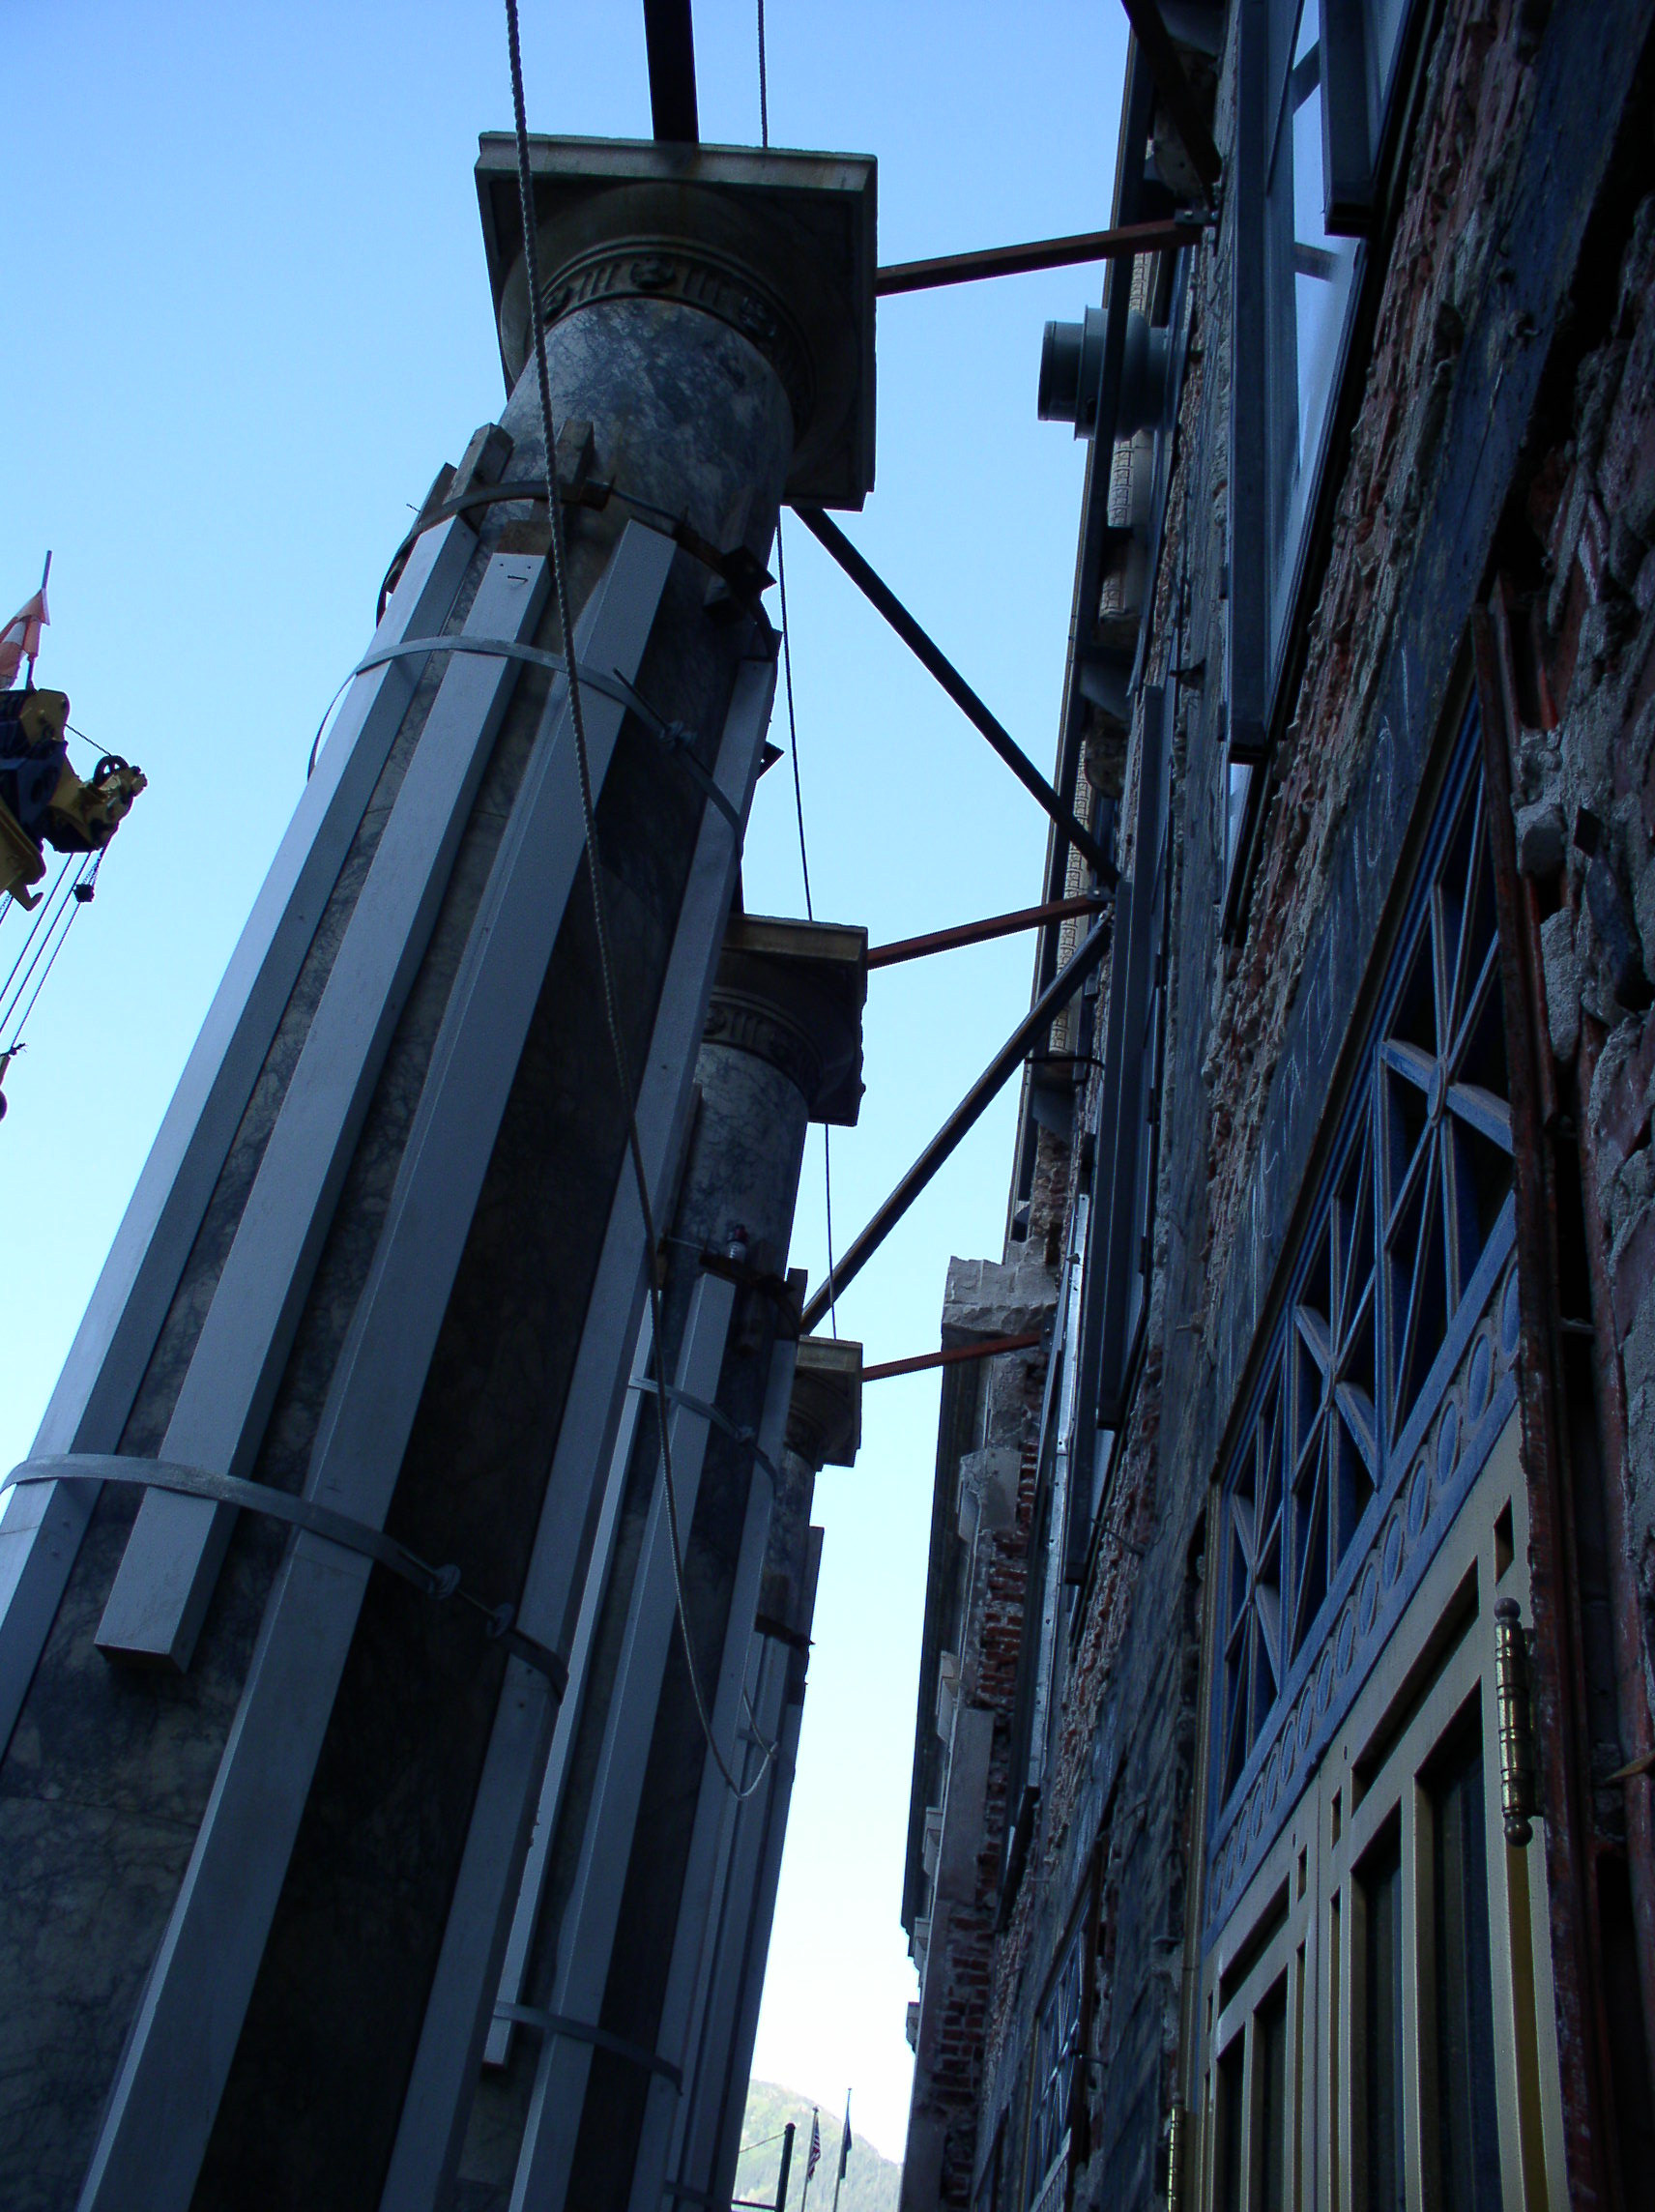
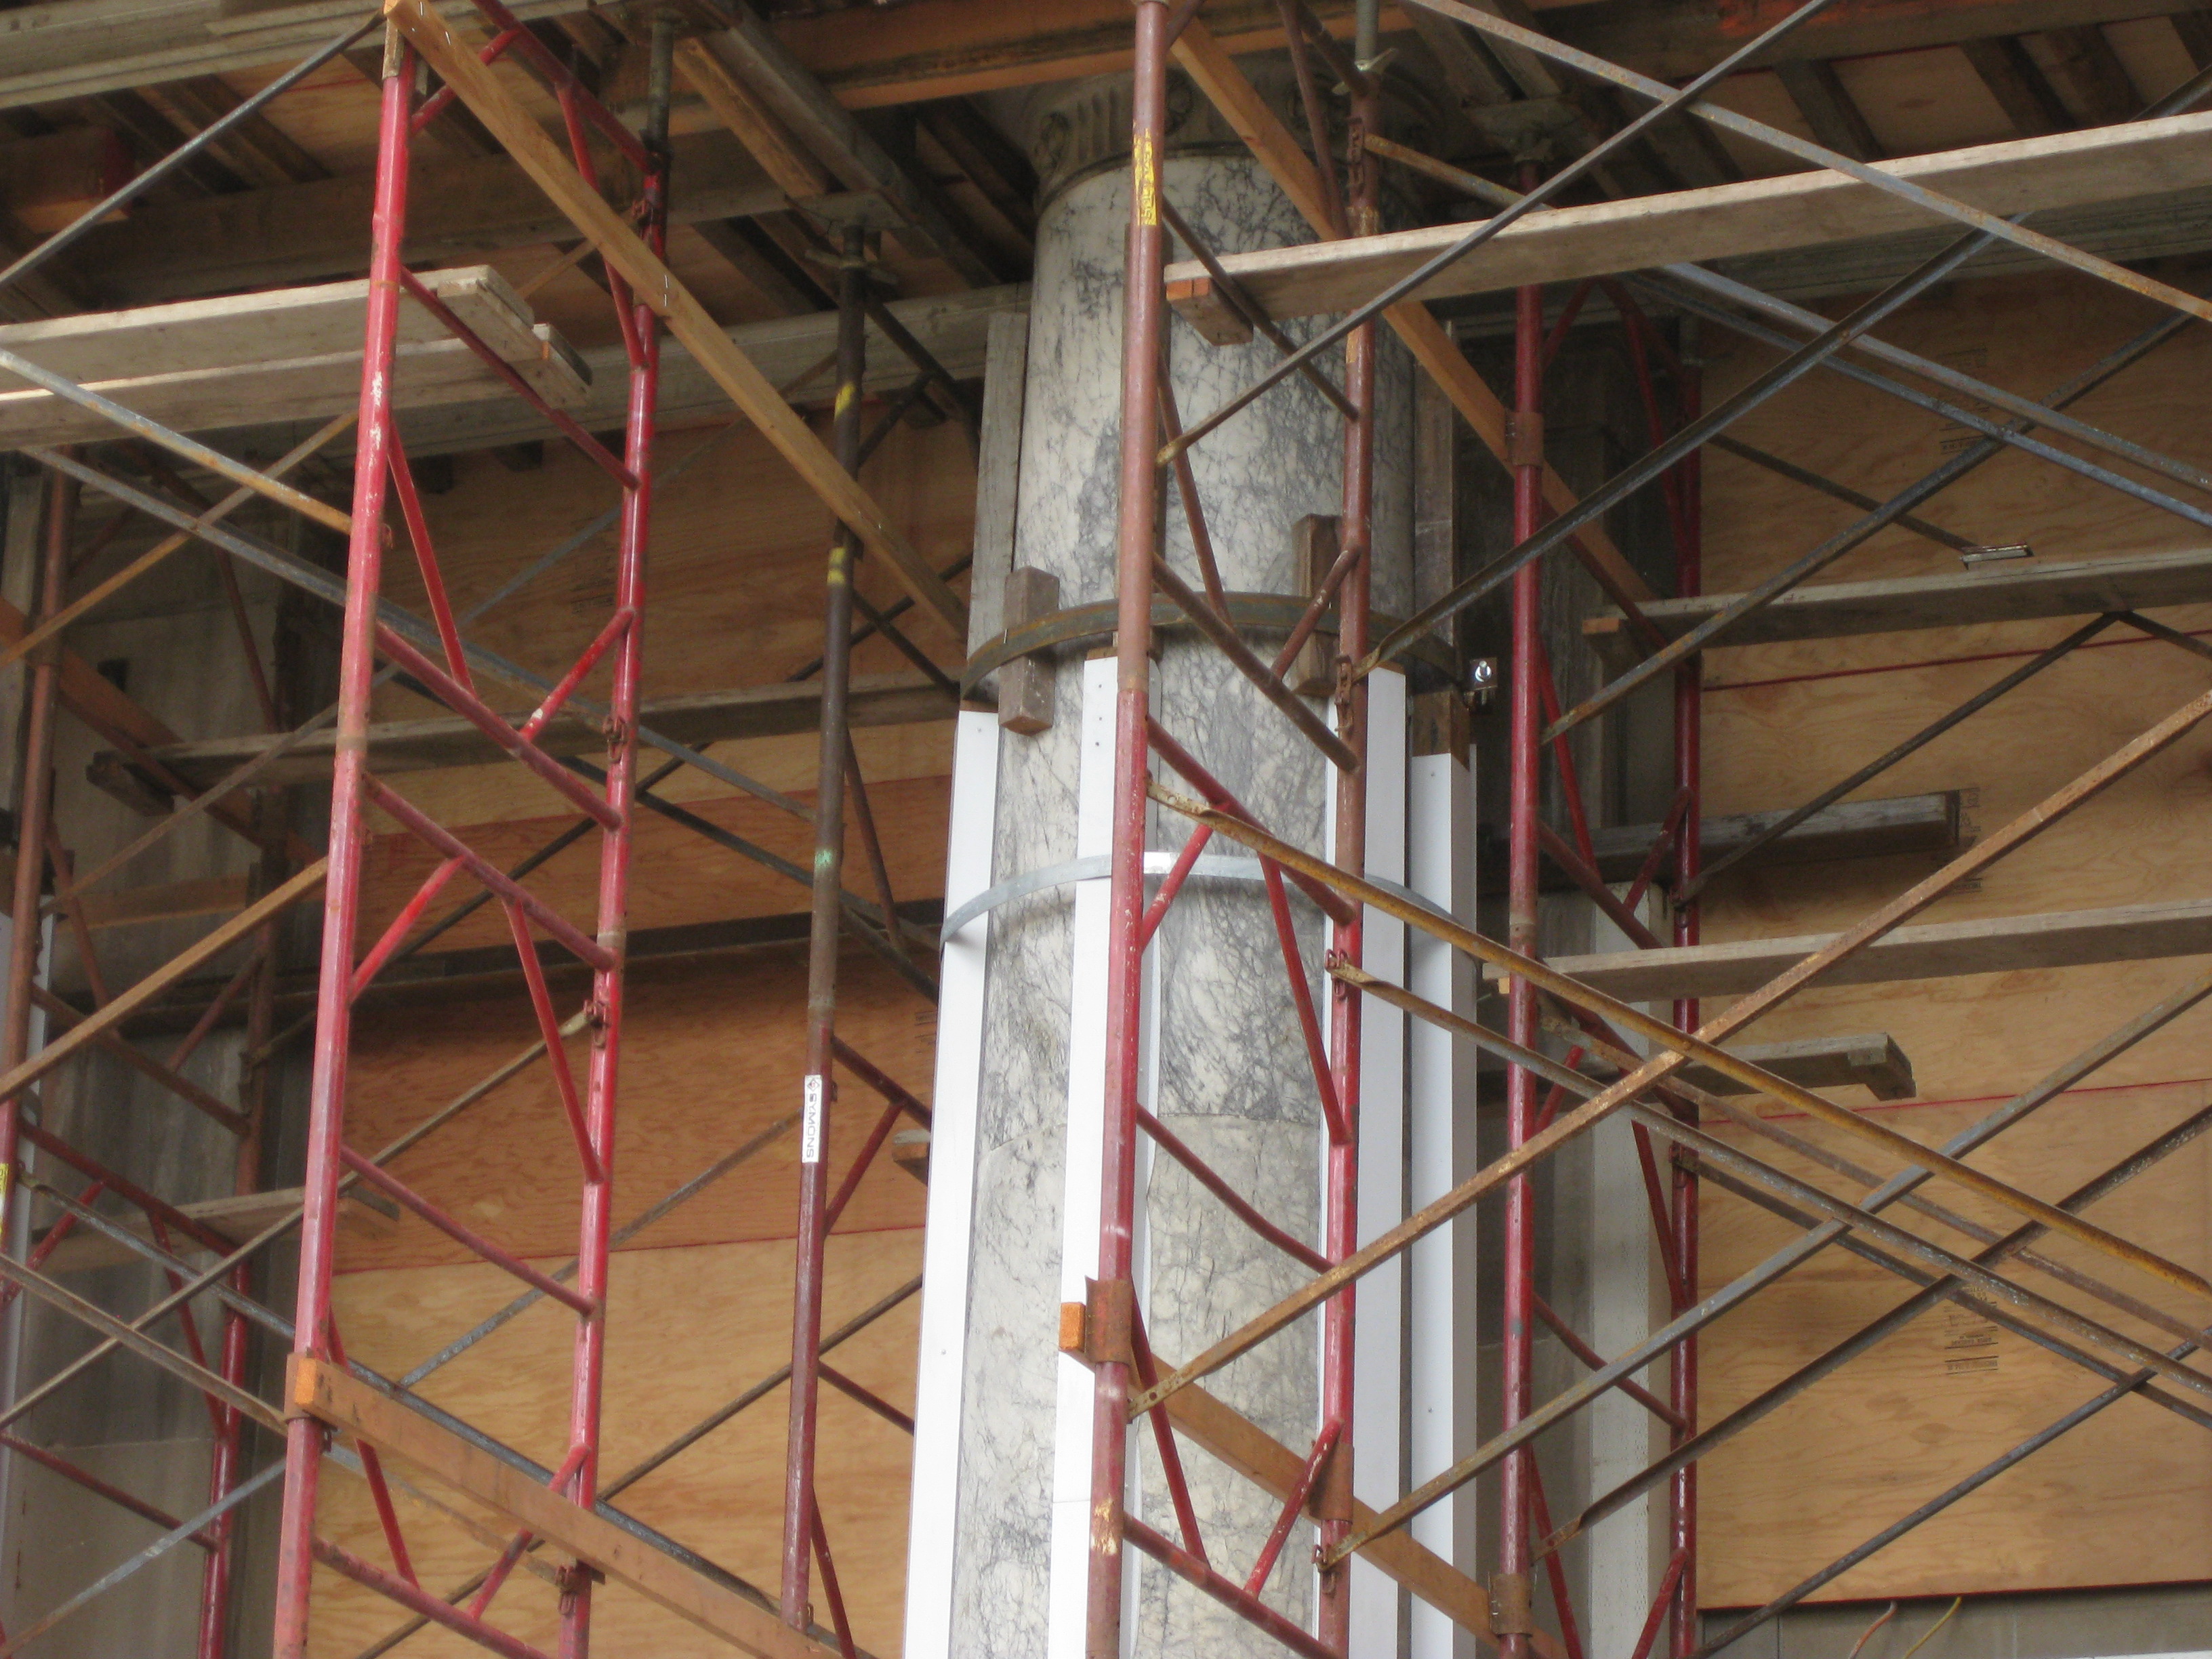
|
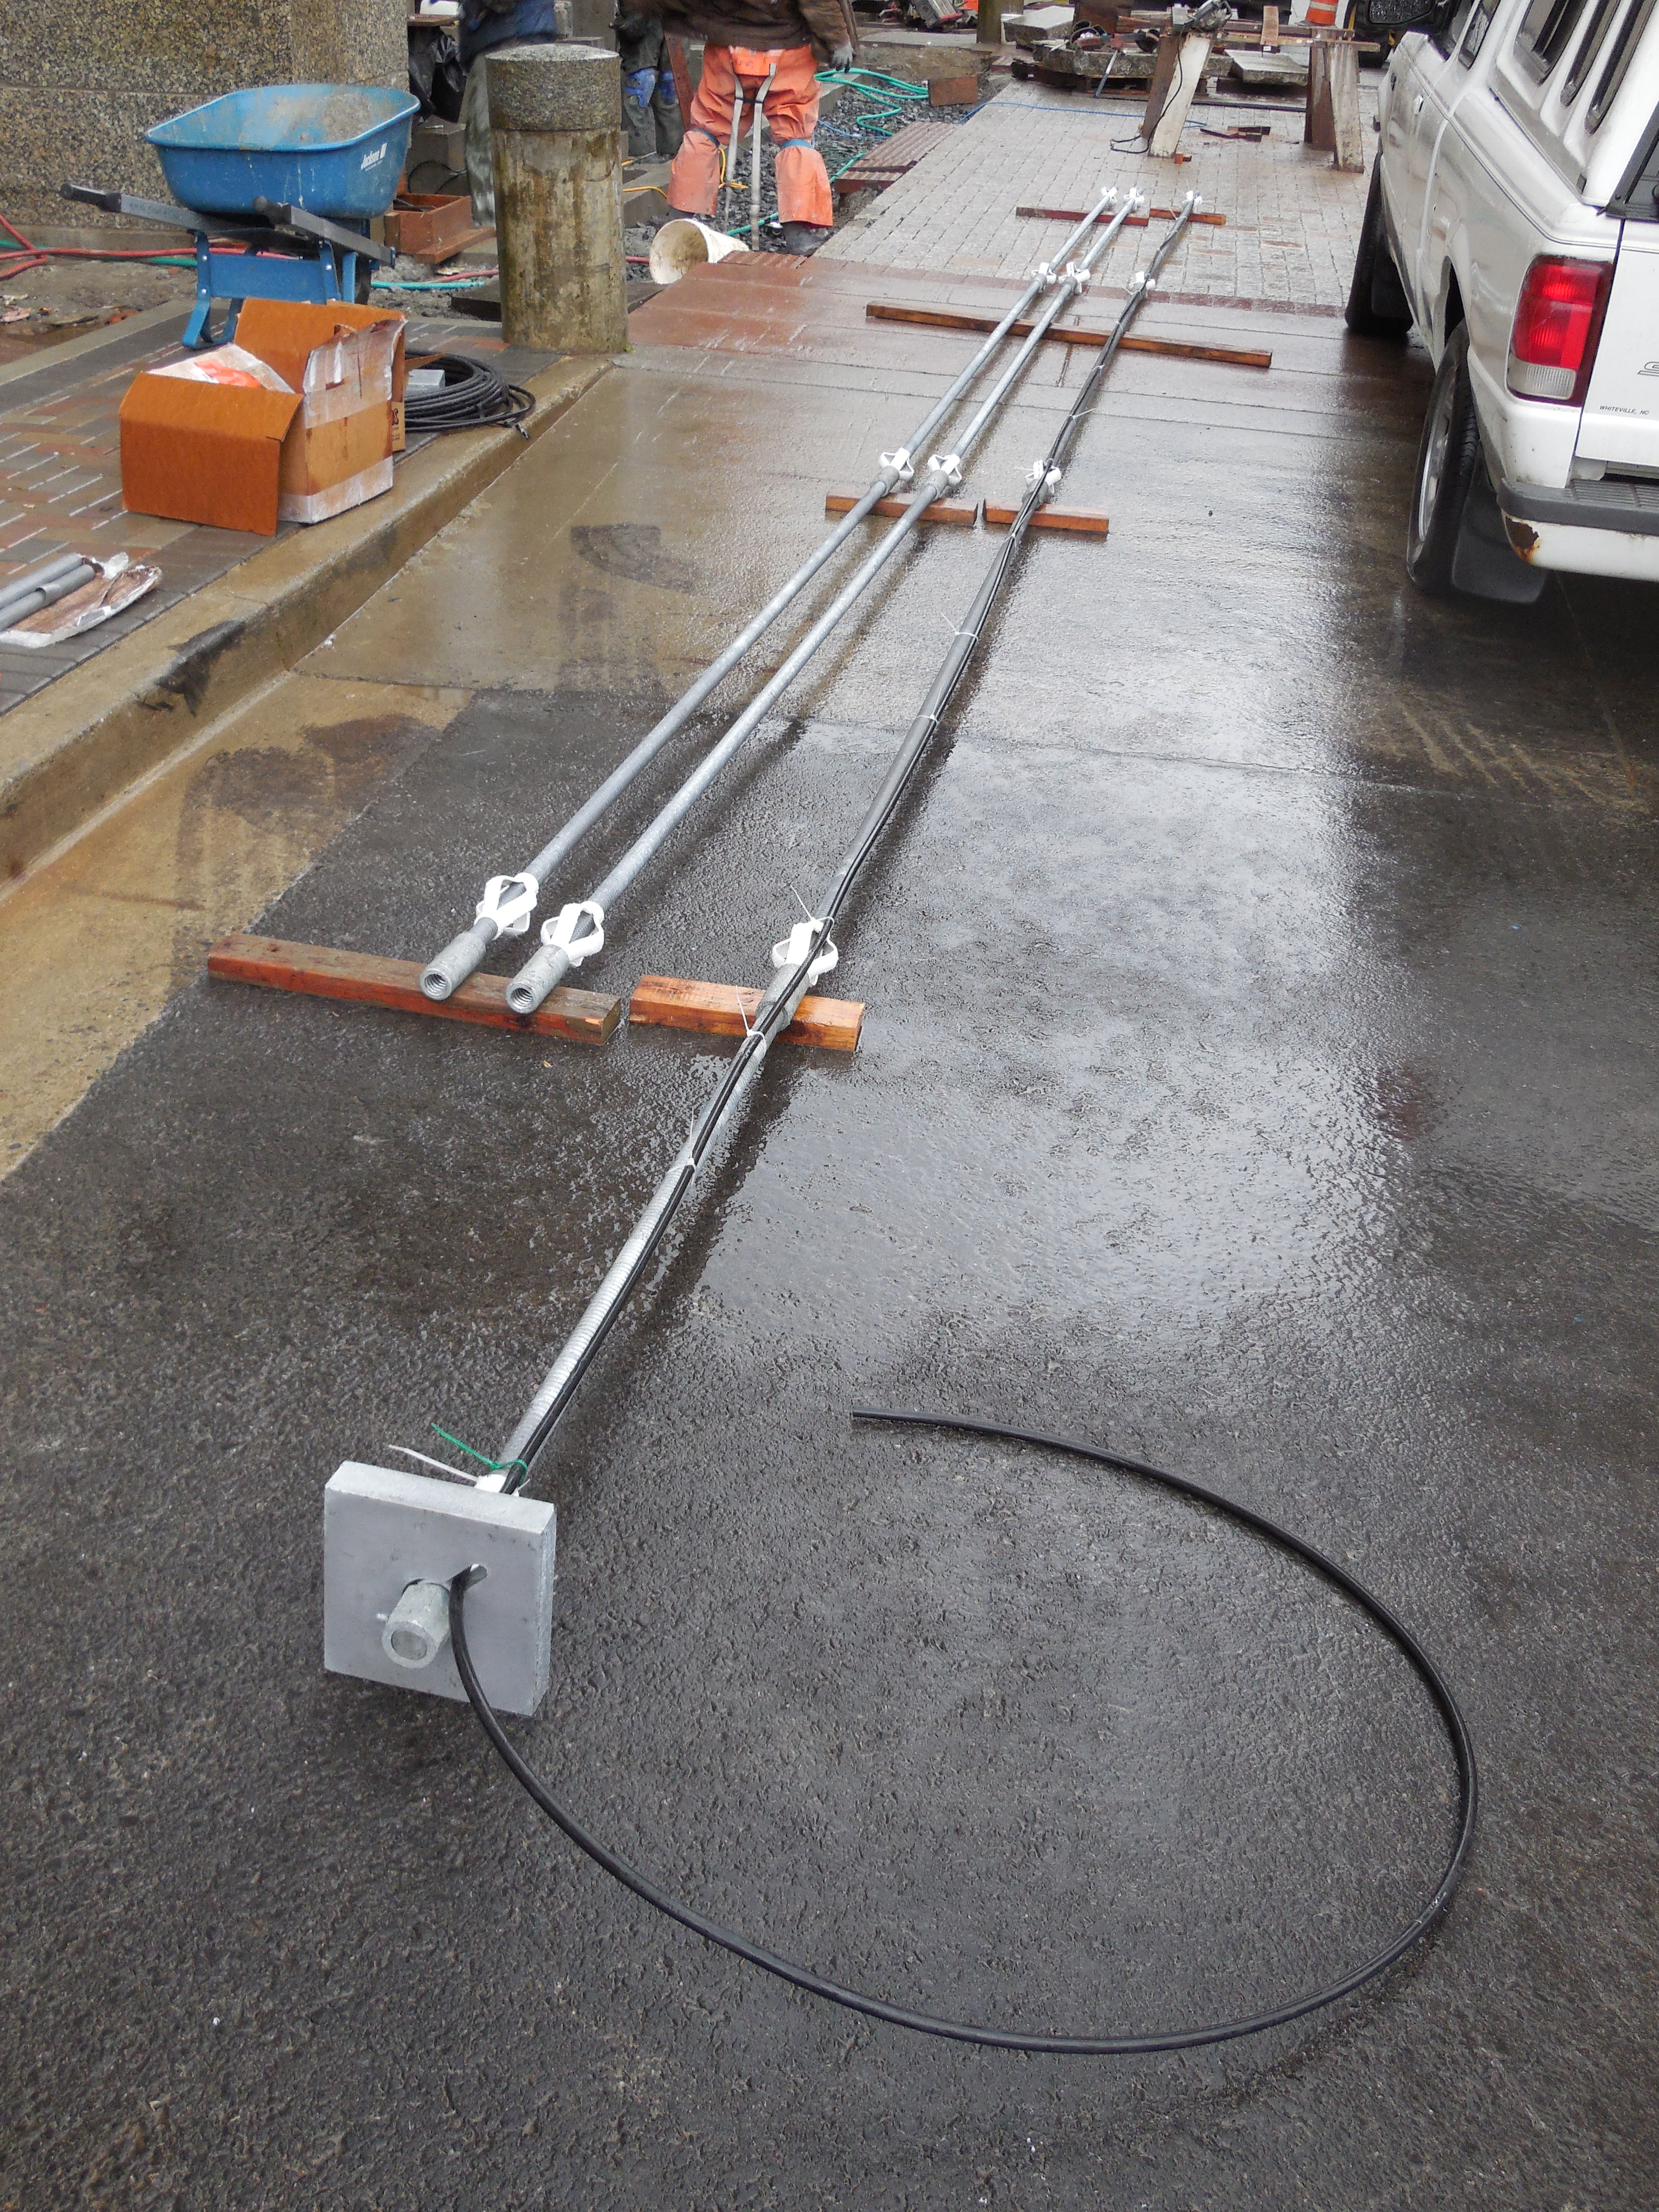
|
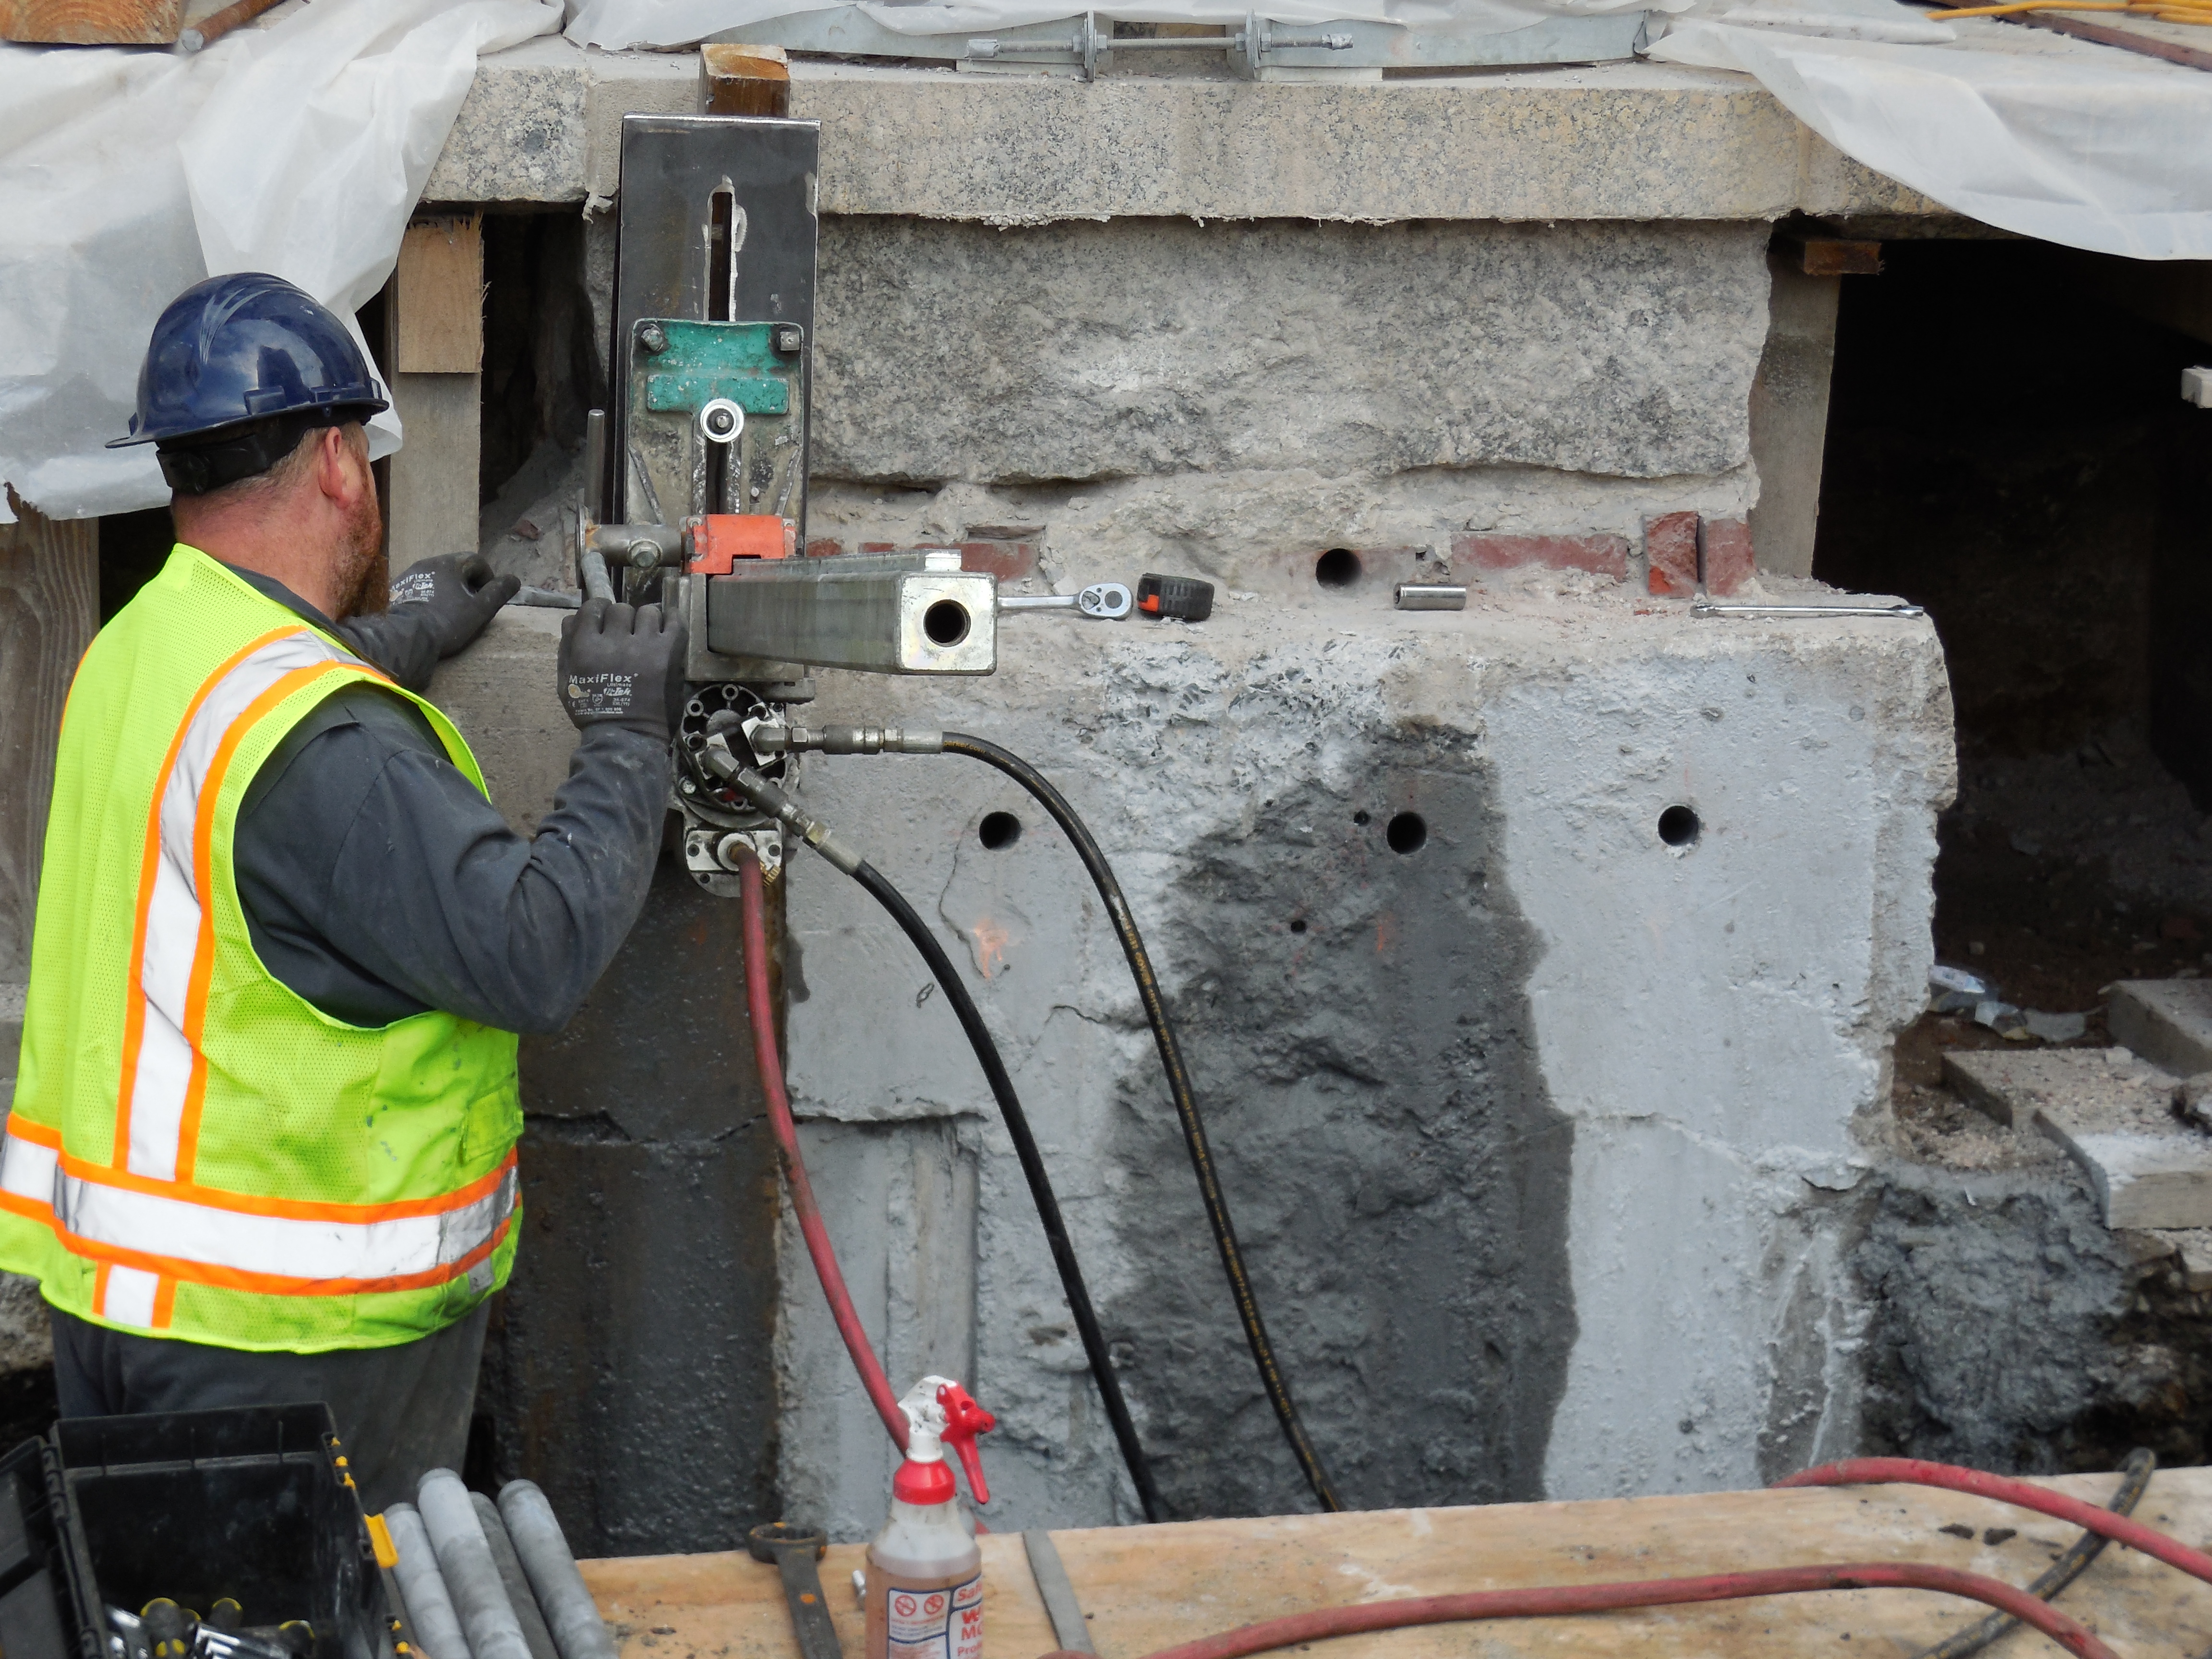
| Drillers remove cores while drilling down through marble columns | 1 1/4"diameter steel rod that will be inserted into the 4" hole and grout will then be pumped into holes from the bottom up through an attached plastic tube |
|
|
| Grout is pumped through attached plastic tube | Grouting of all four columns, overhead view |
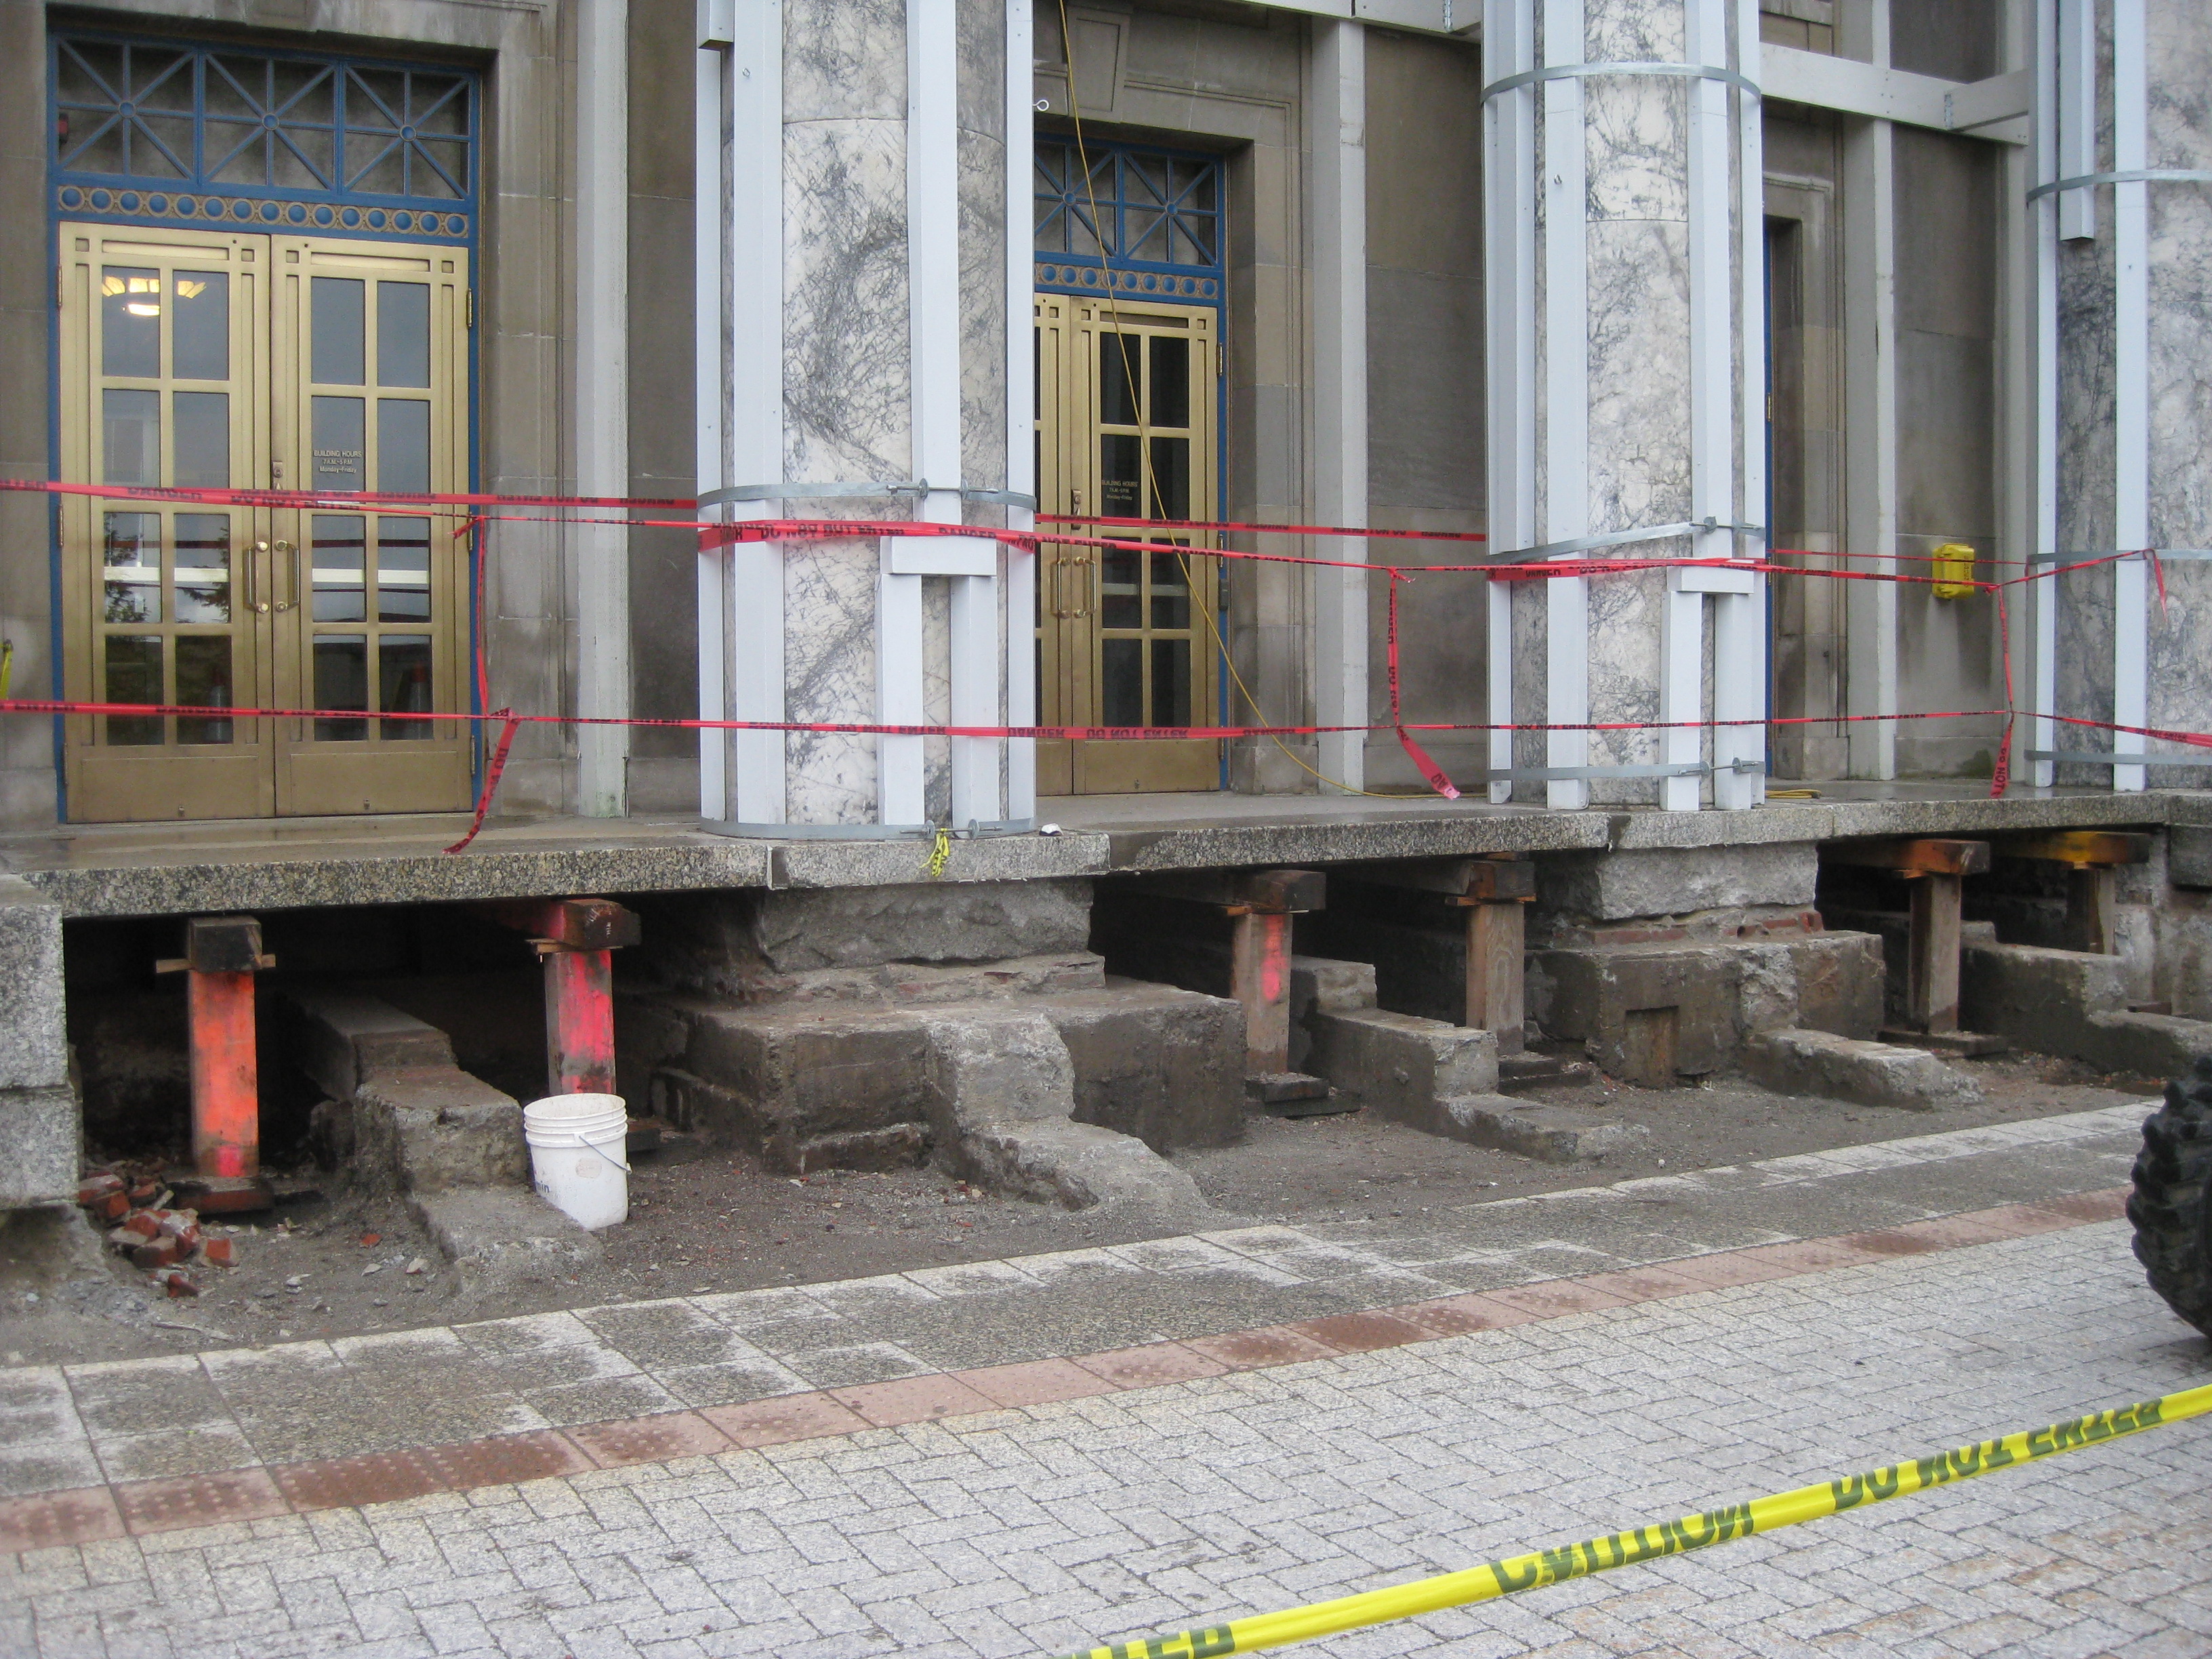
Update October 11, 2013
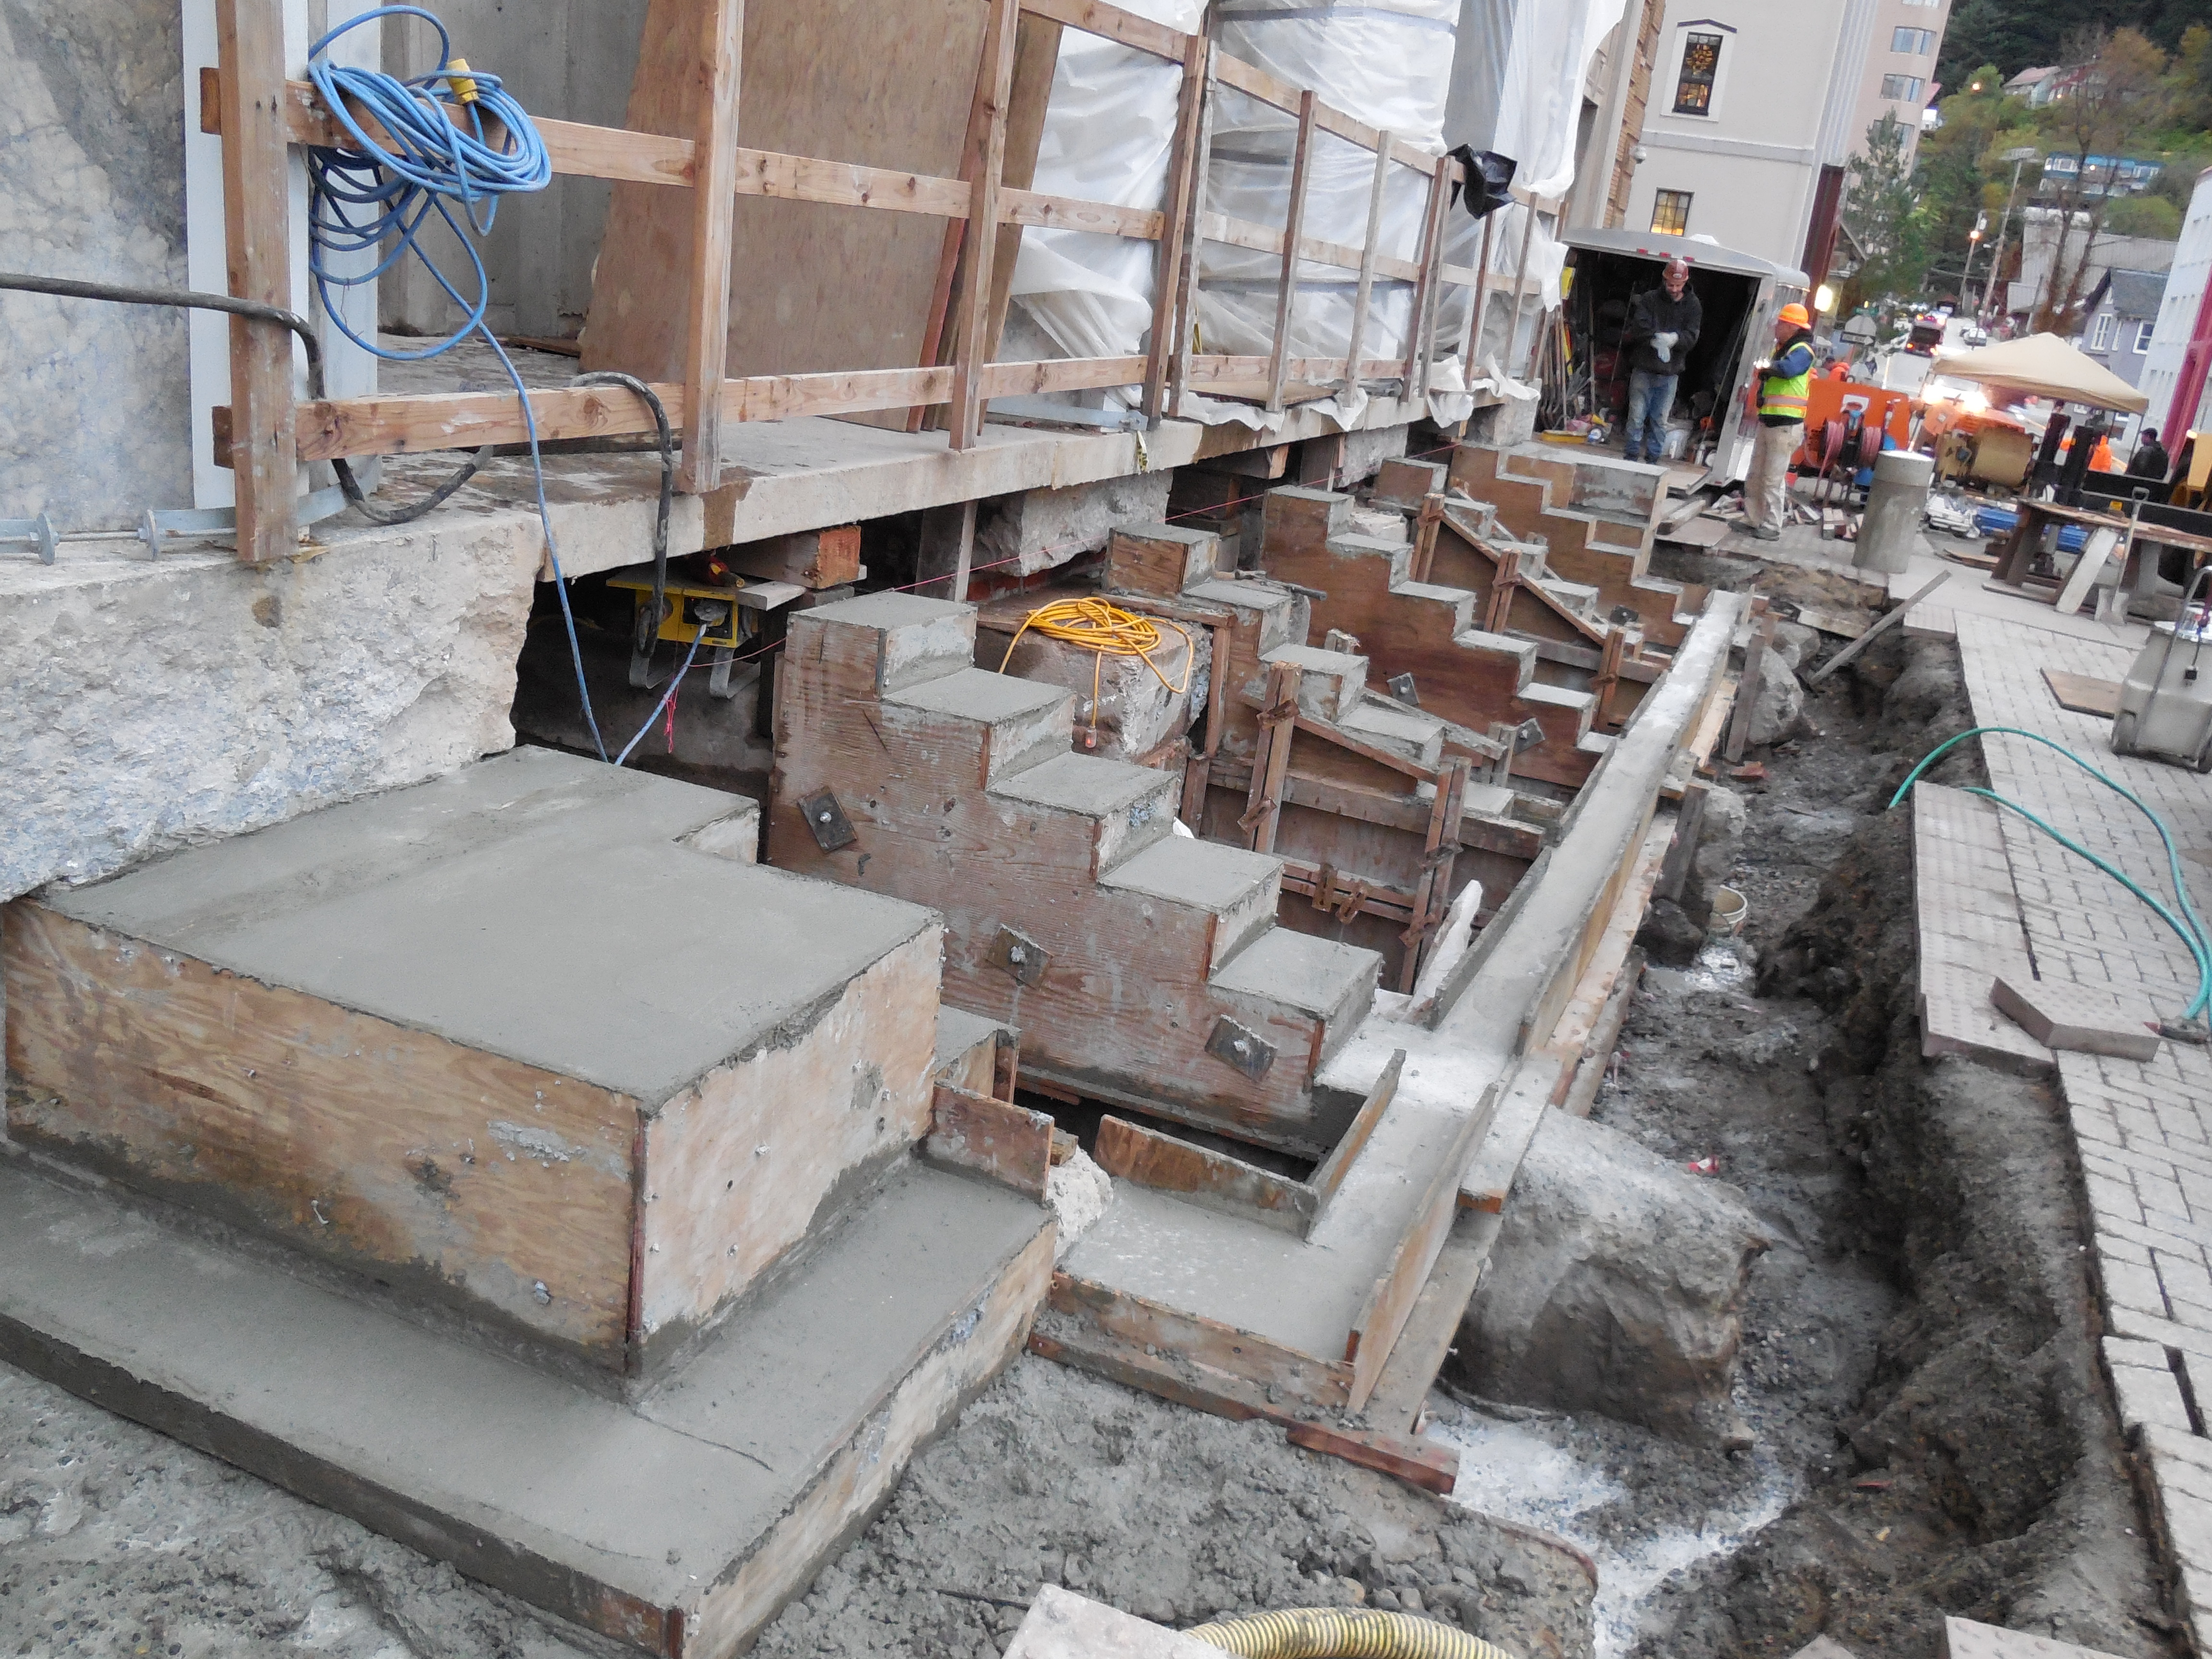
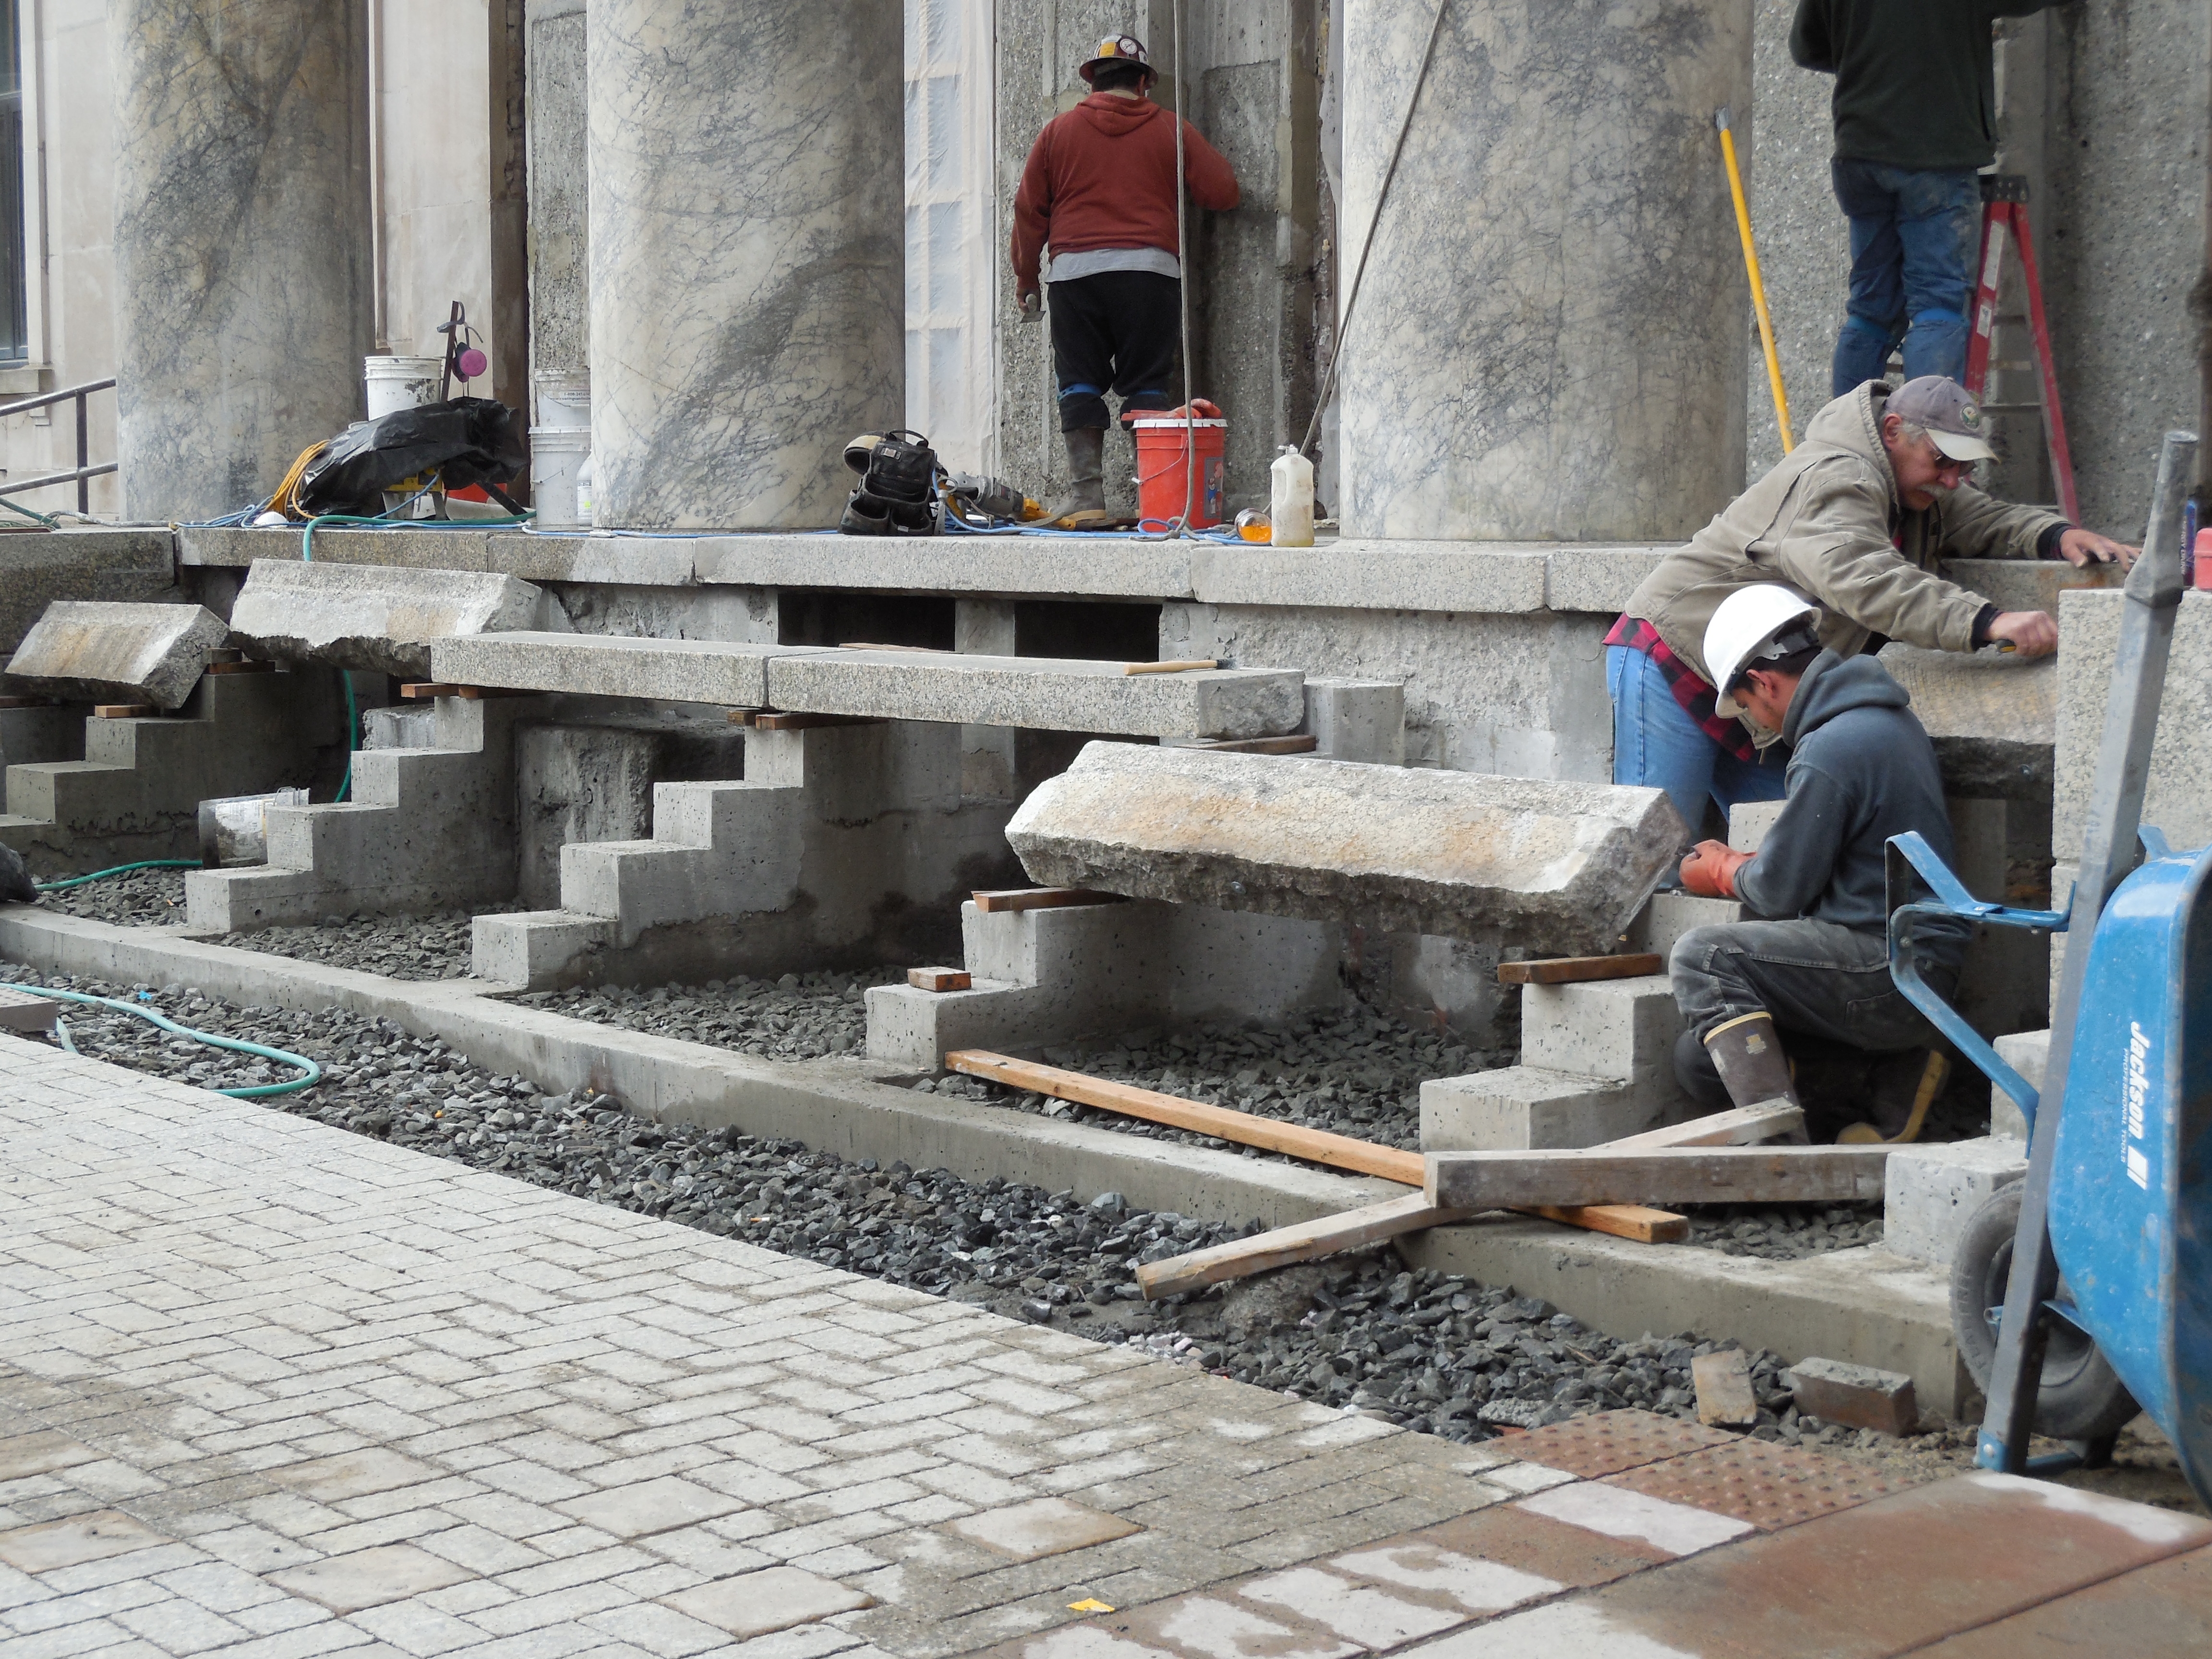
|
|
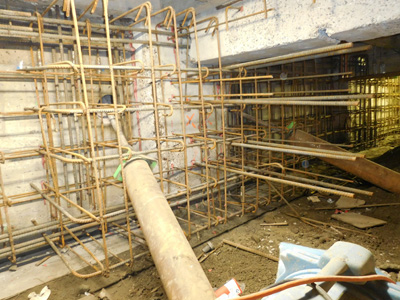
| Concrete pour for stair stringers and grade beam completed | Contractor mobilizes to spray shotcrete in crawl space for concrete column & joist repairs |
|
|
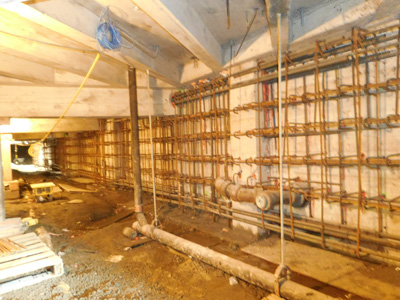
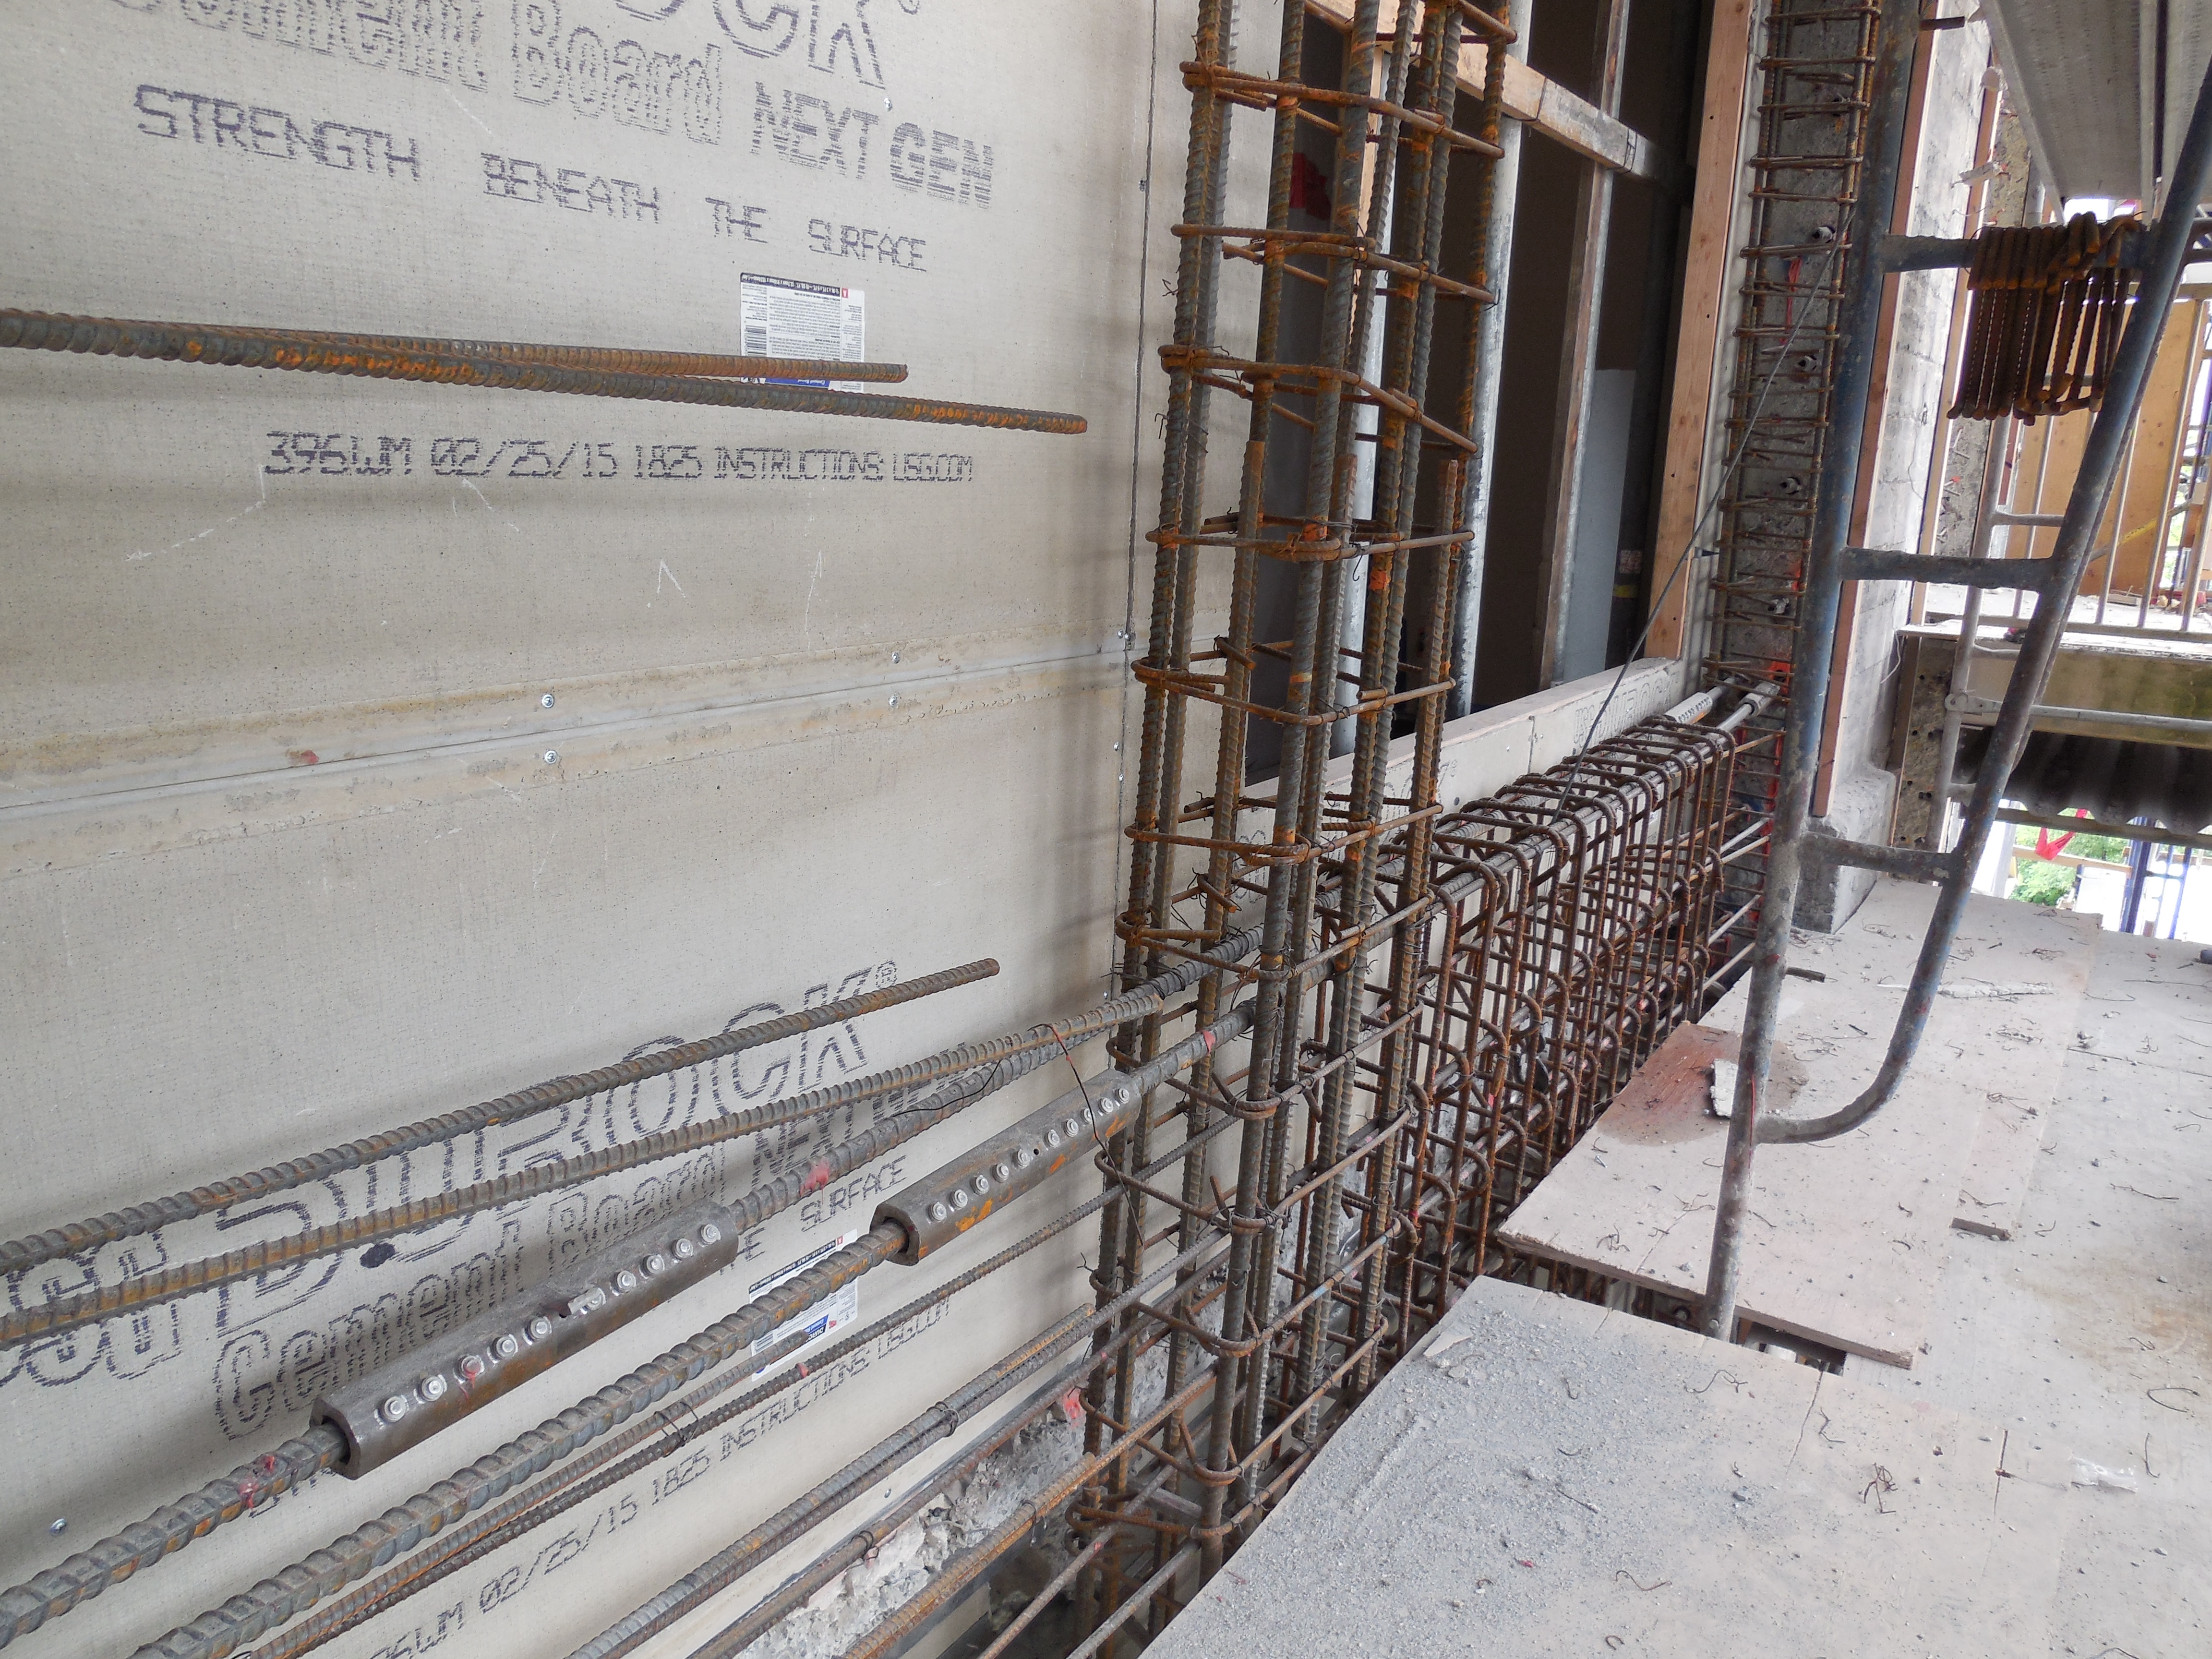
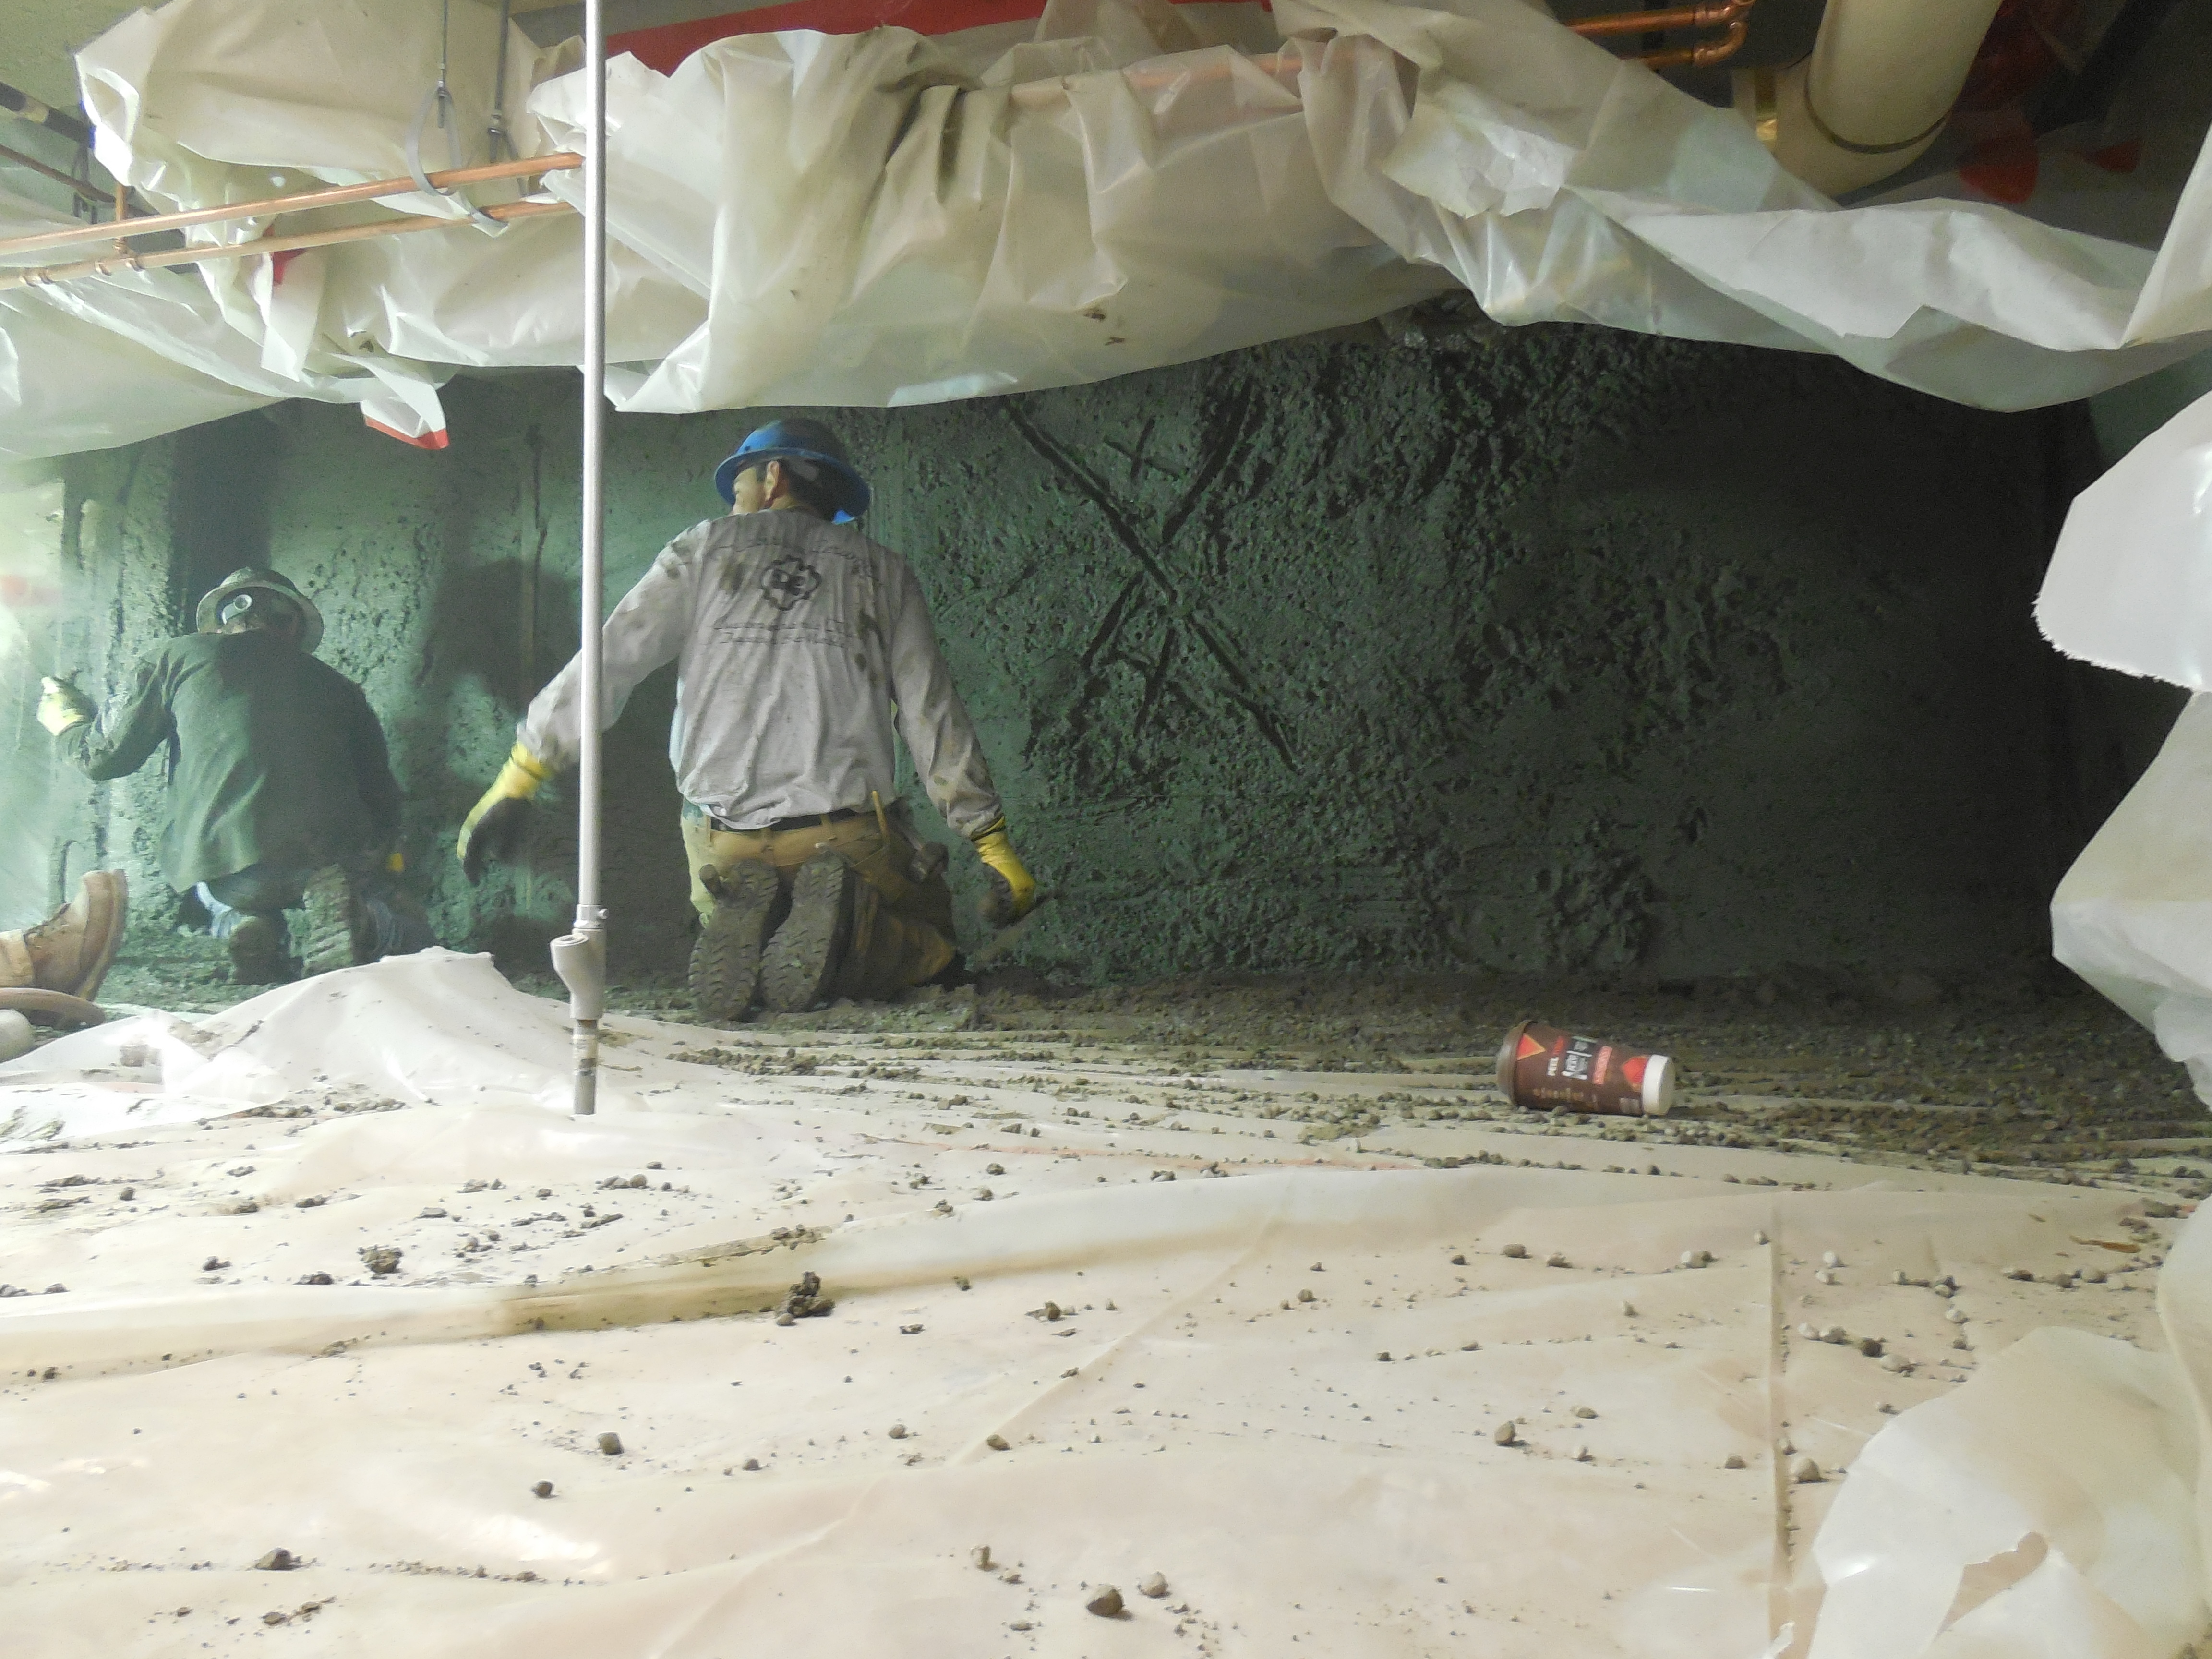
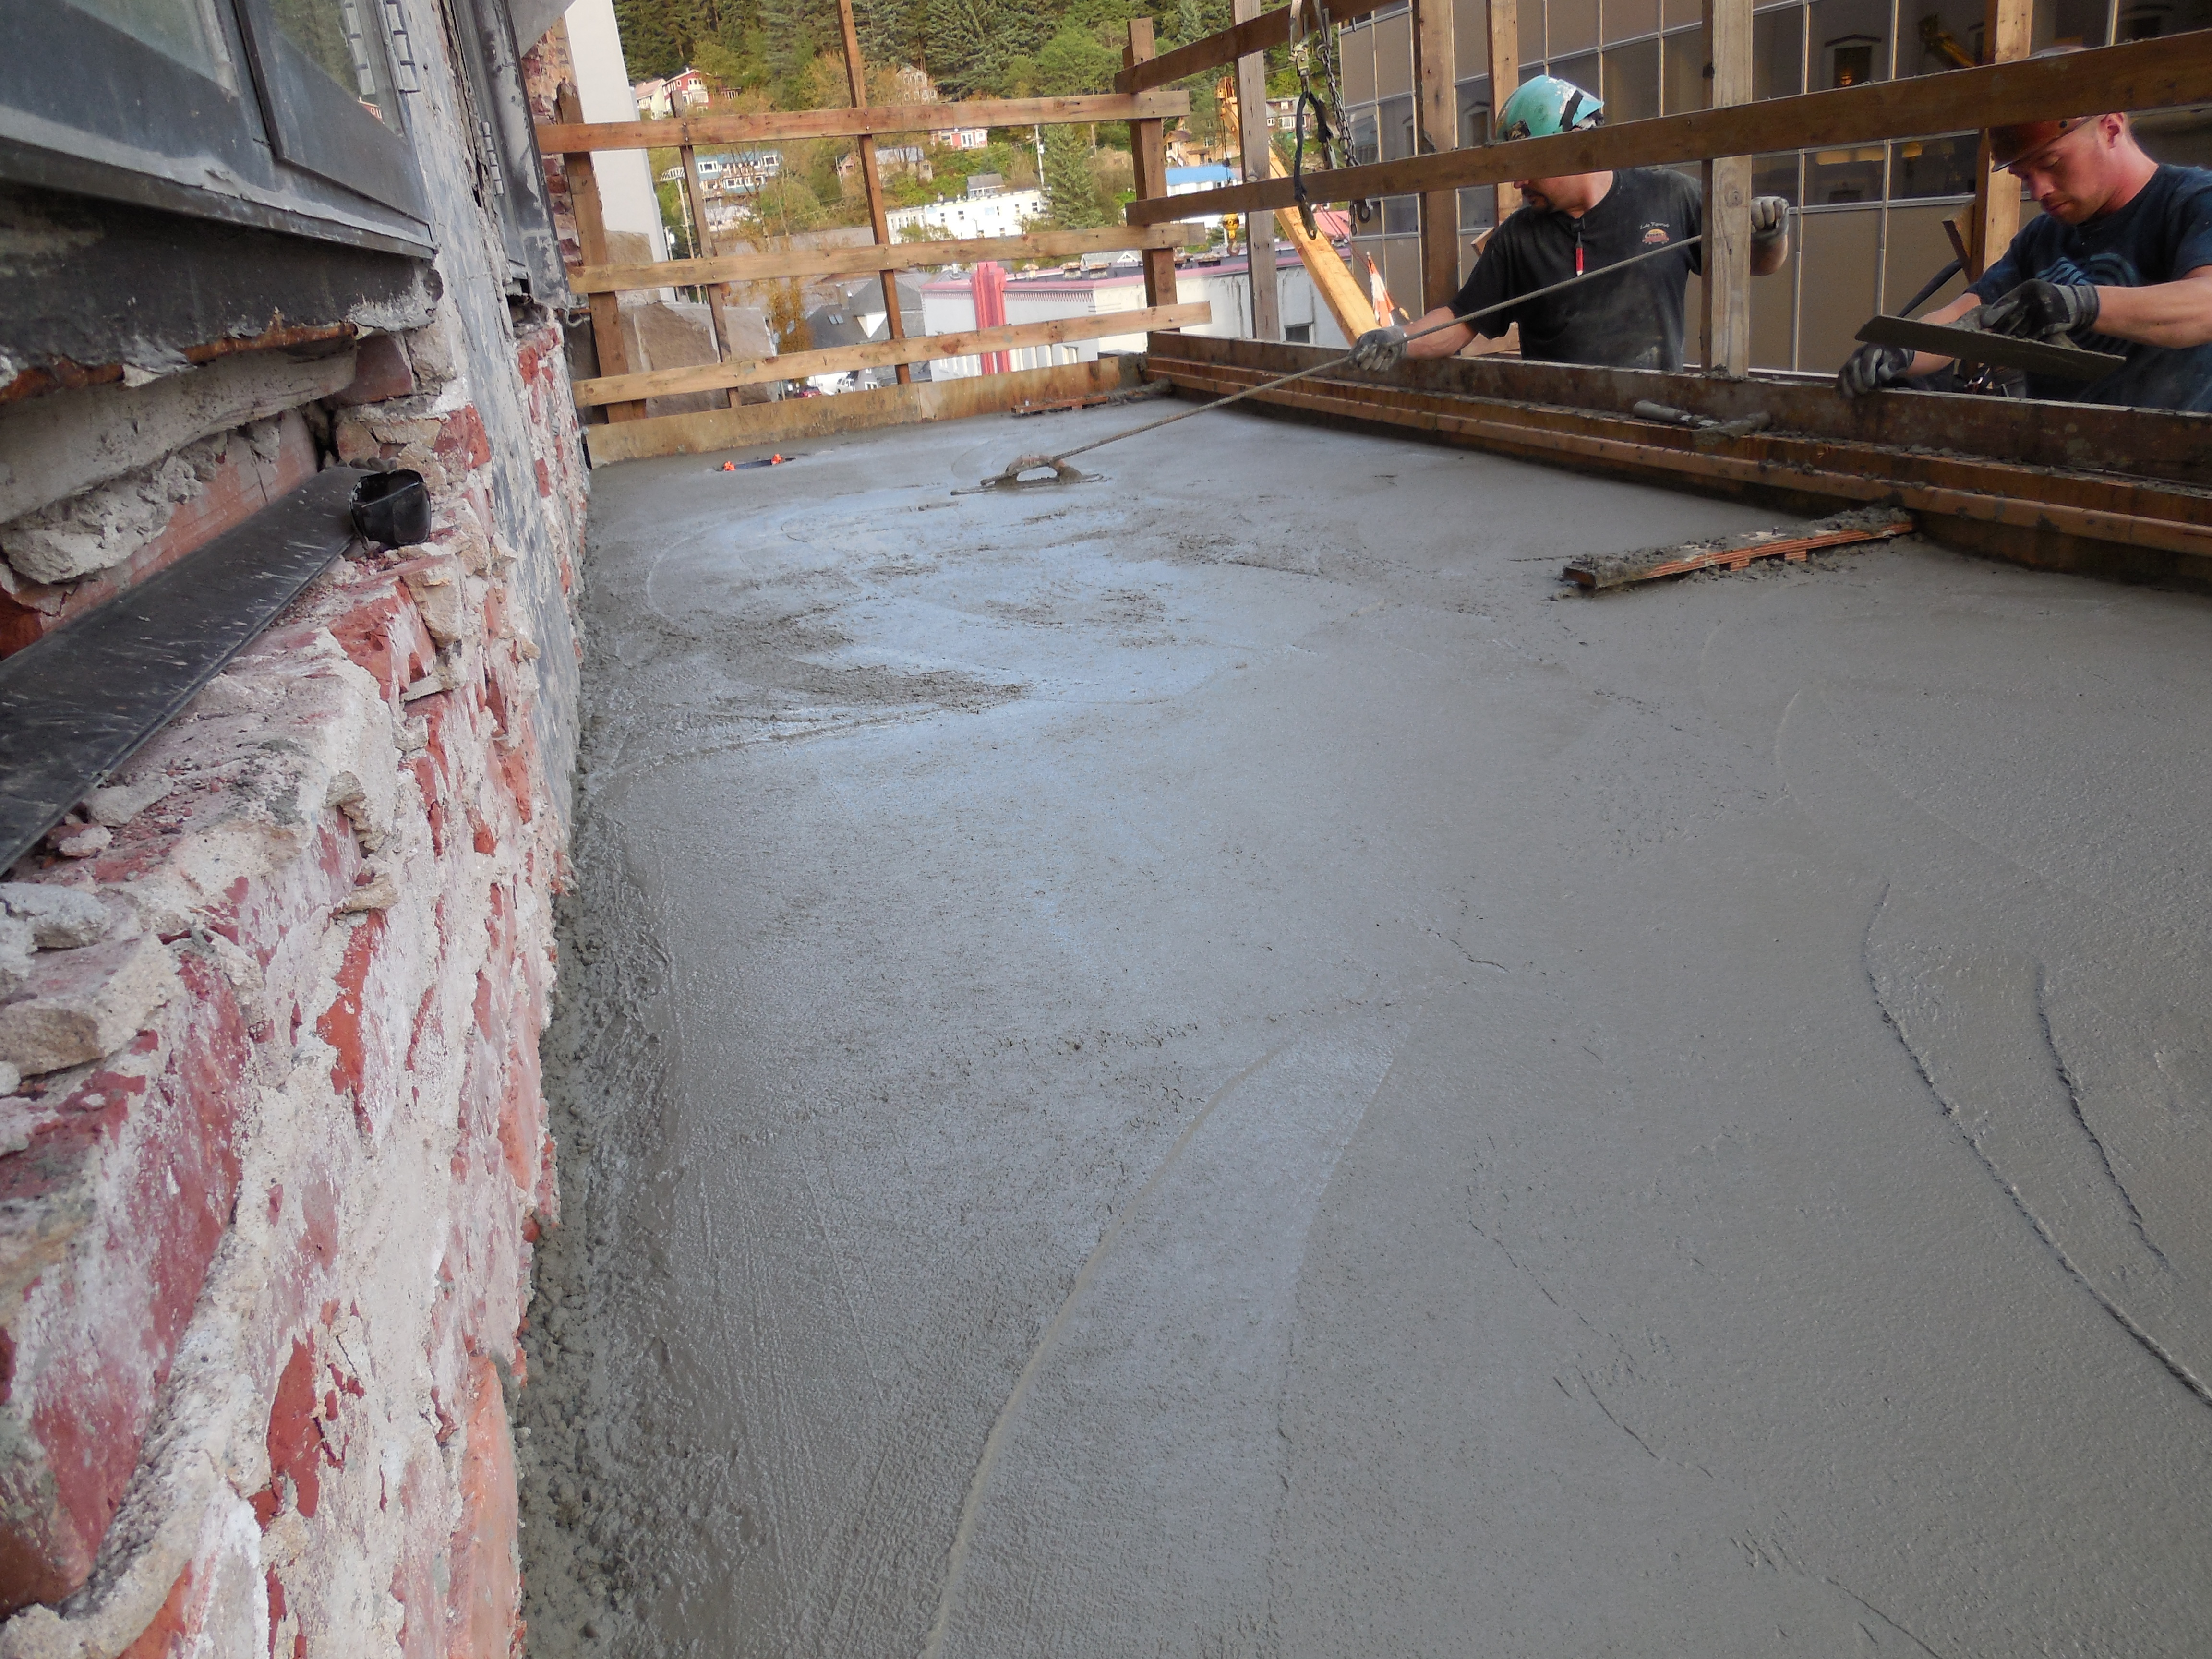
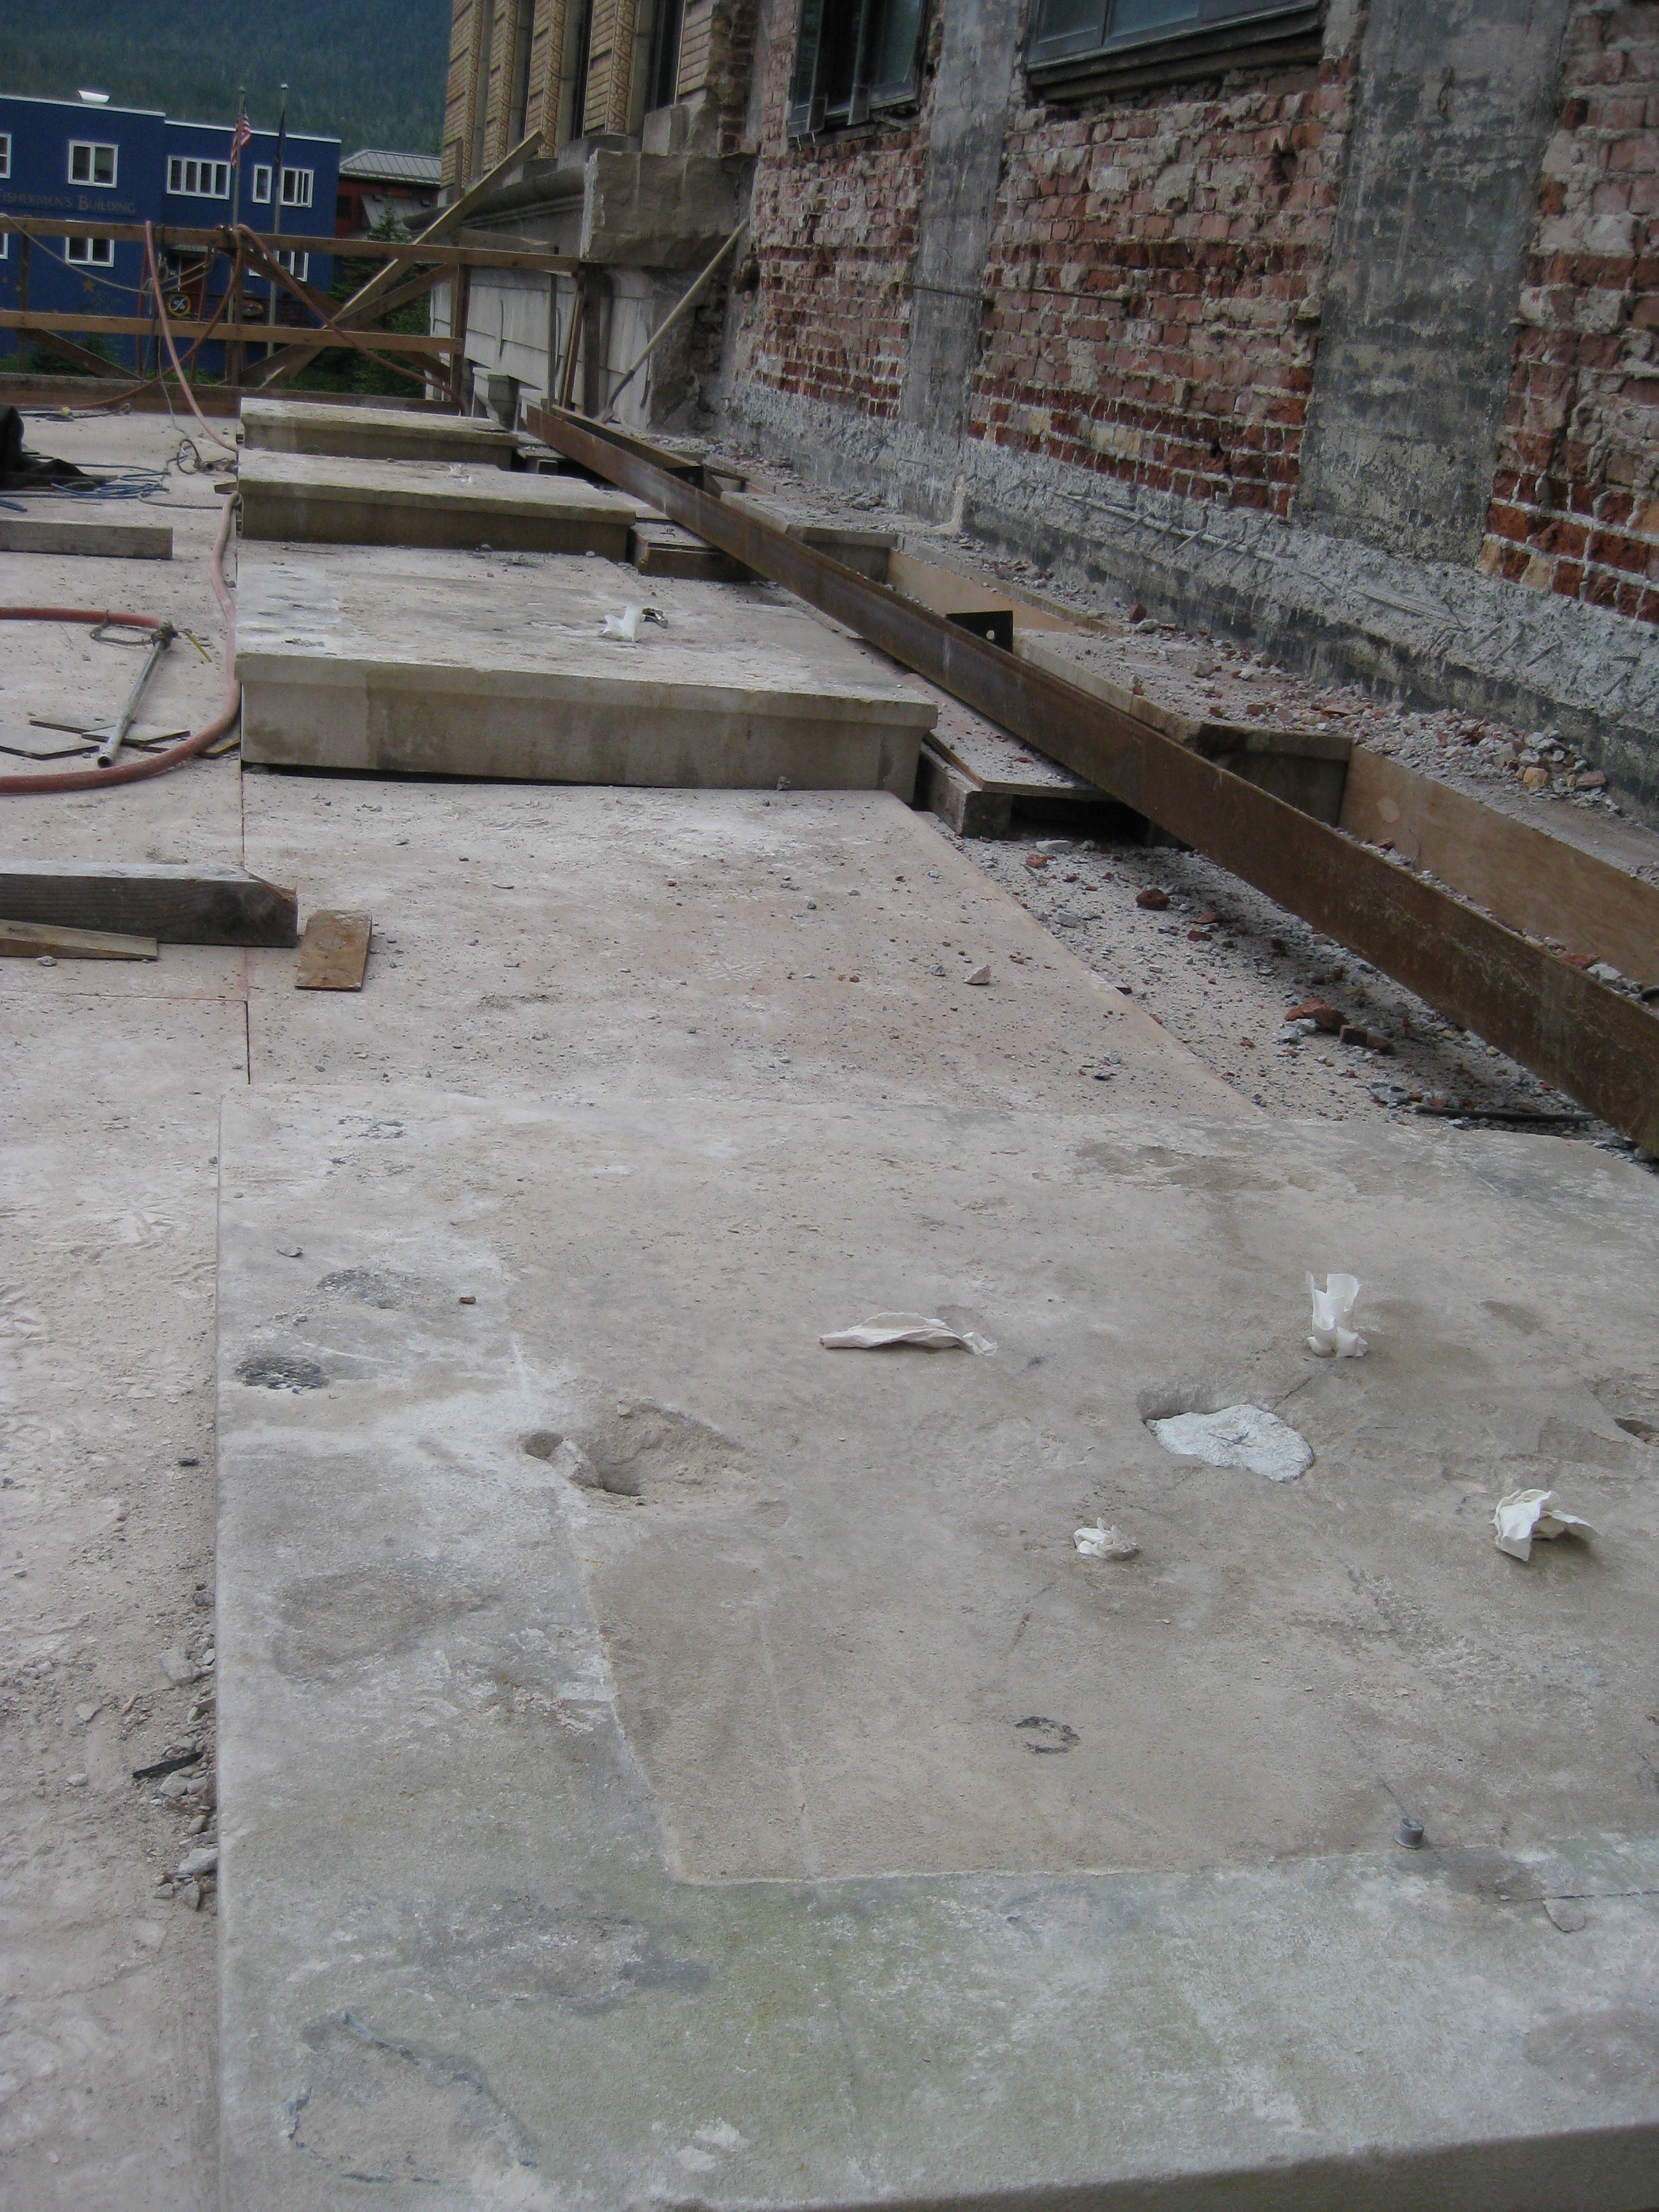
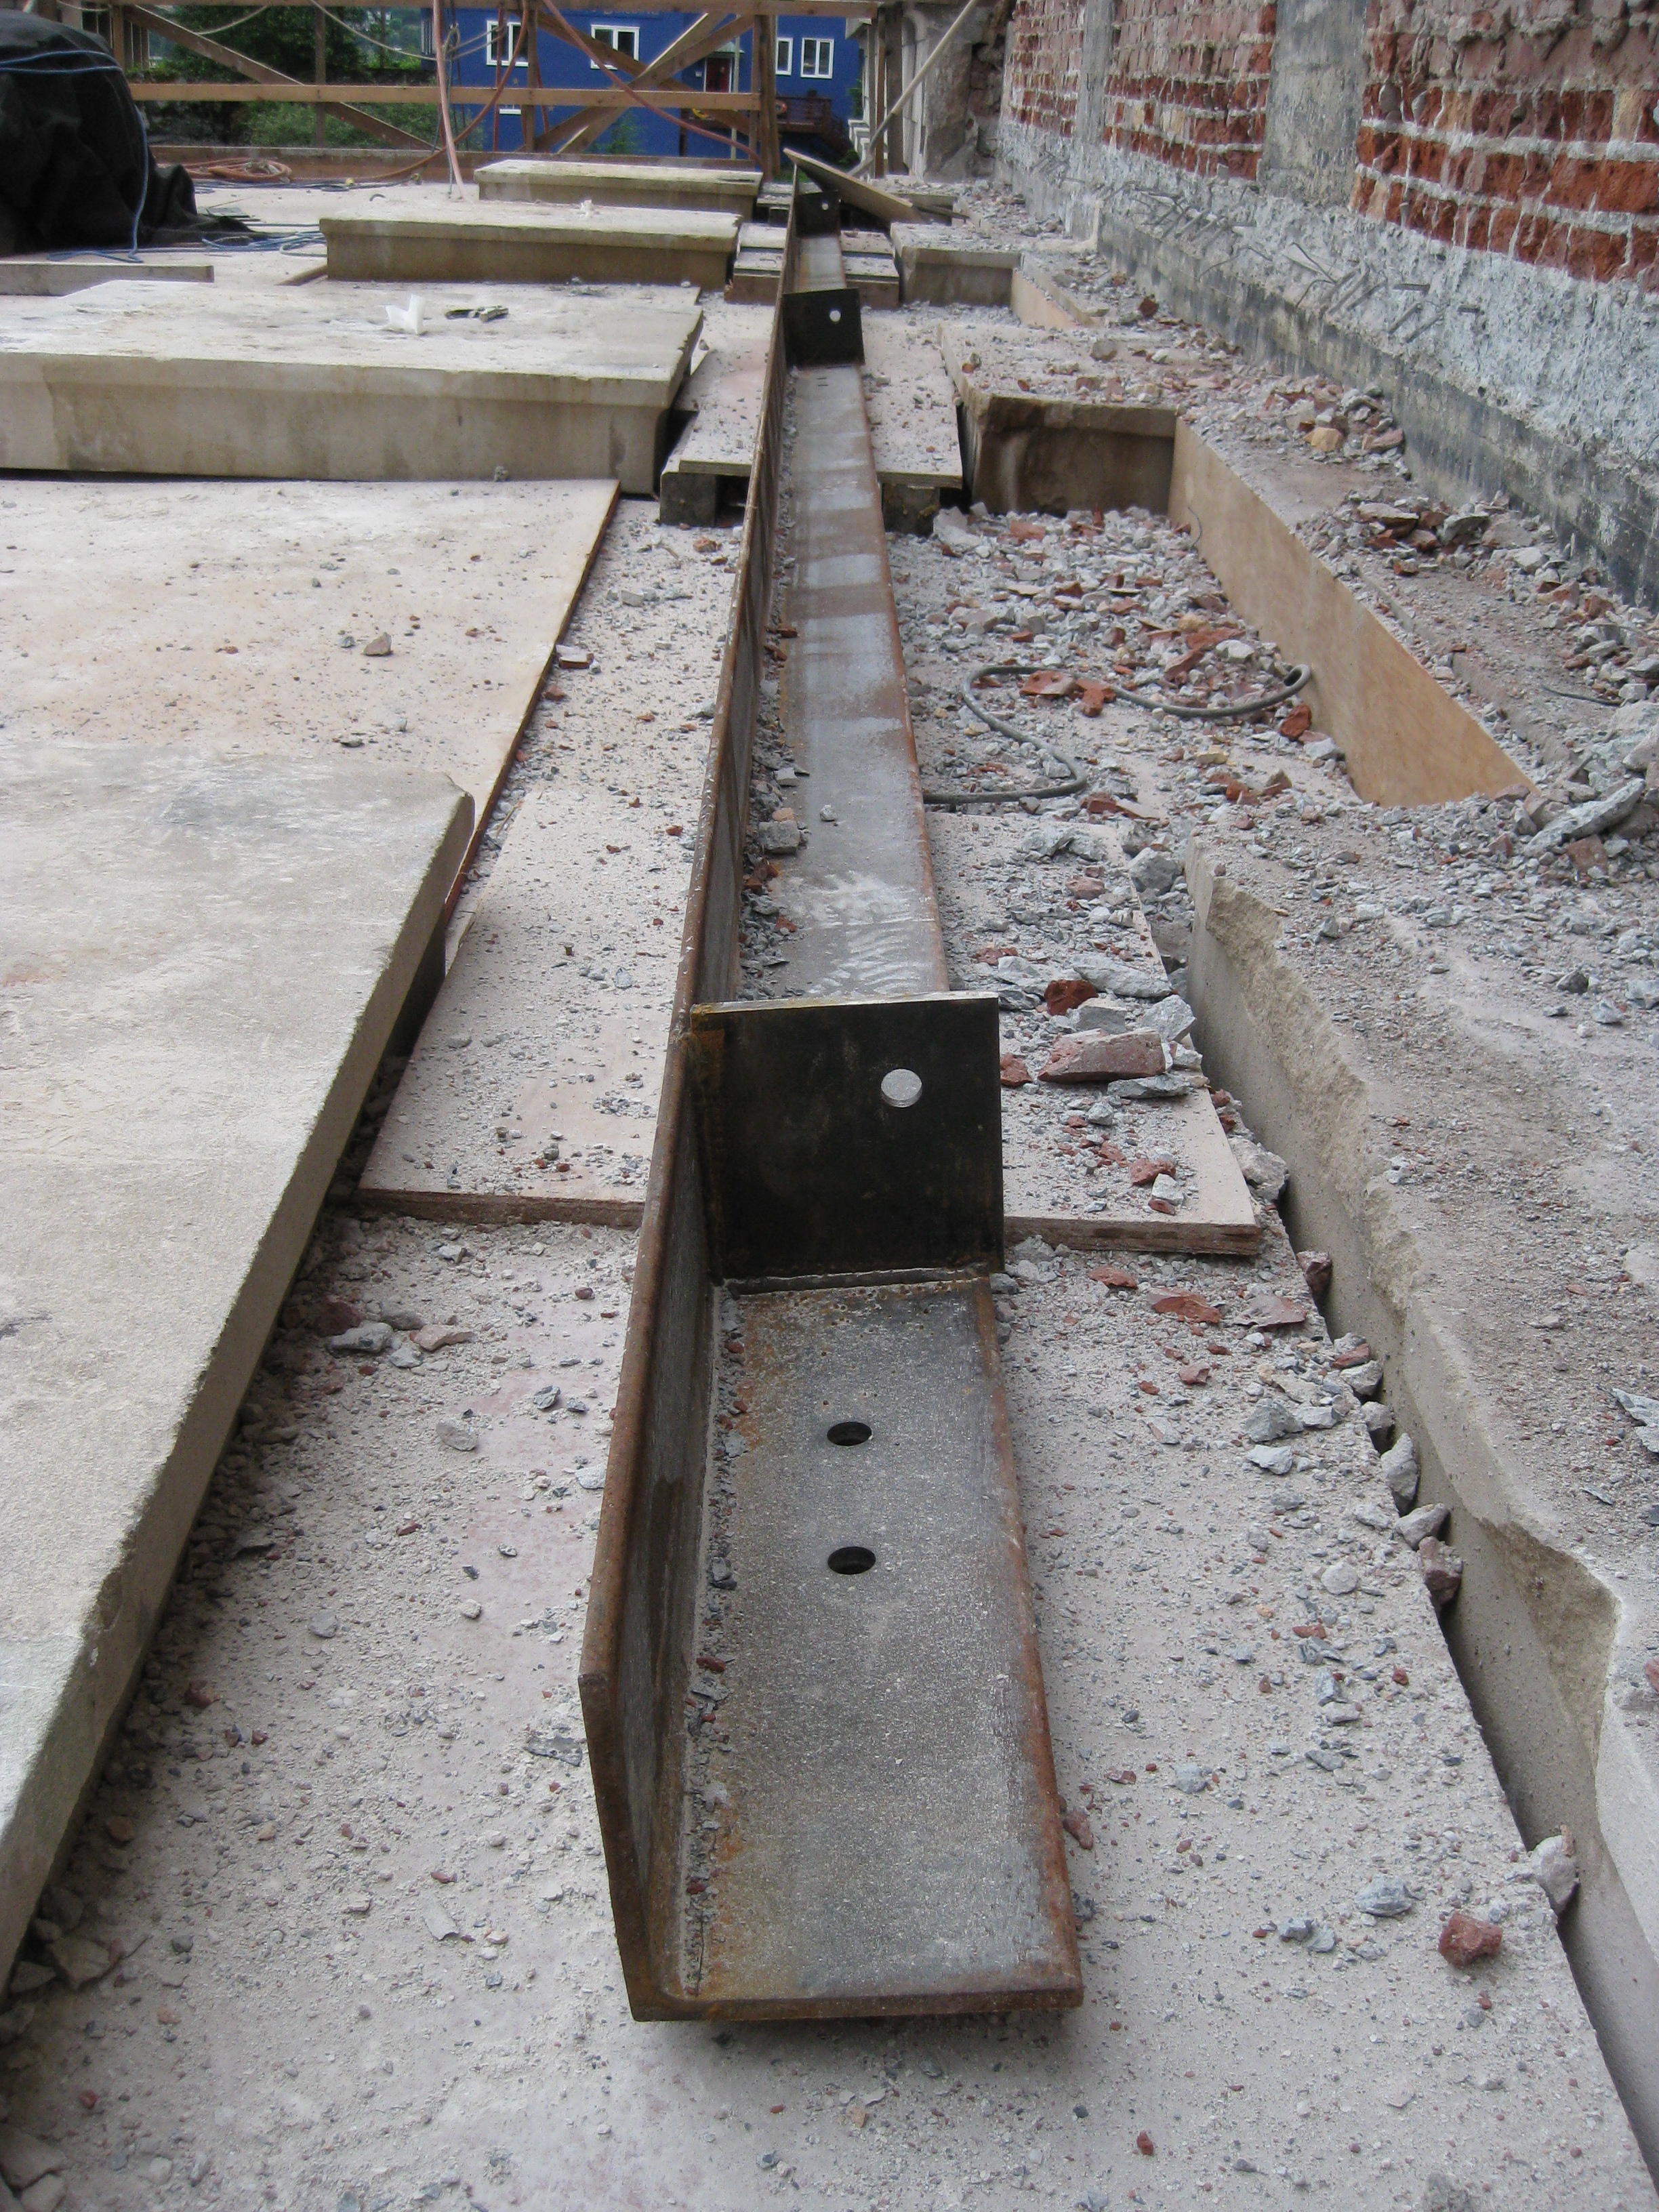
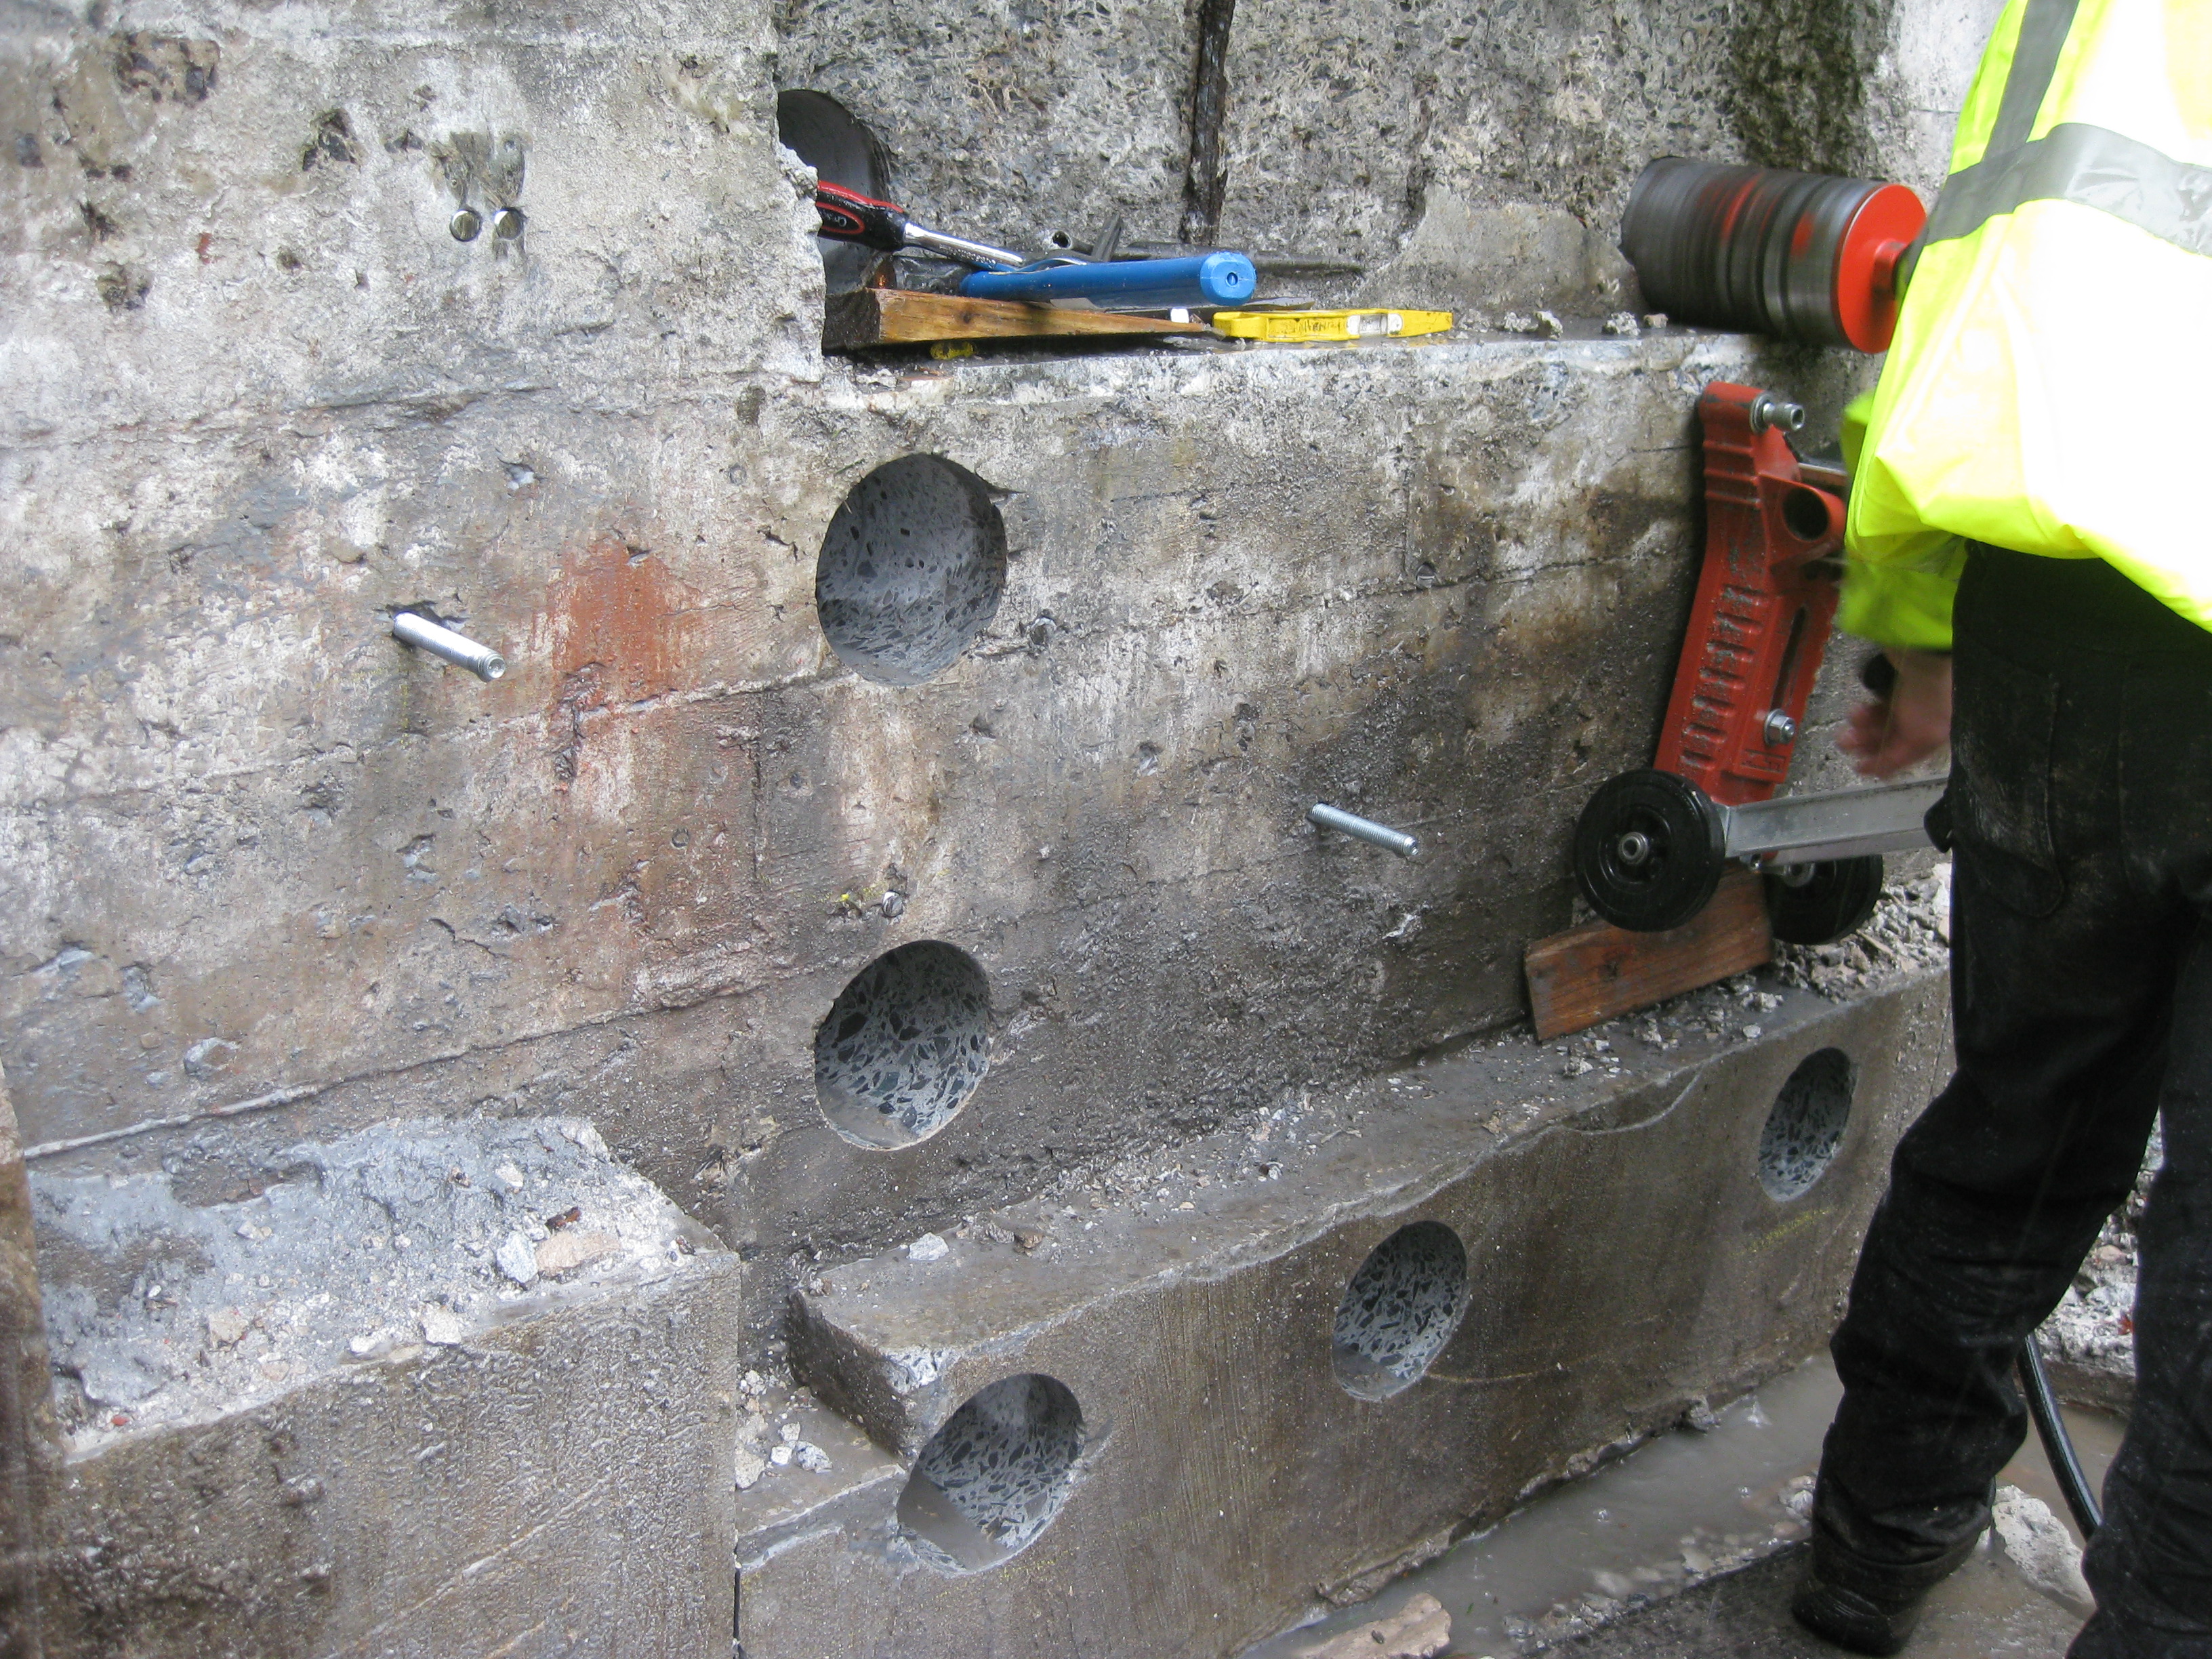
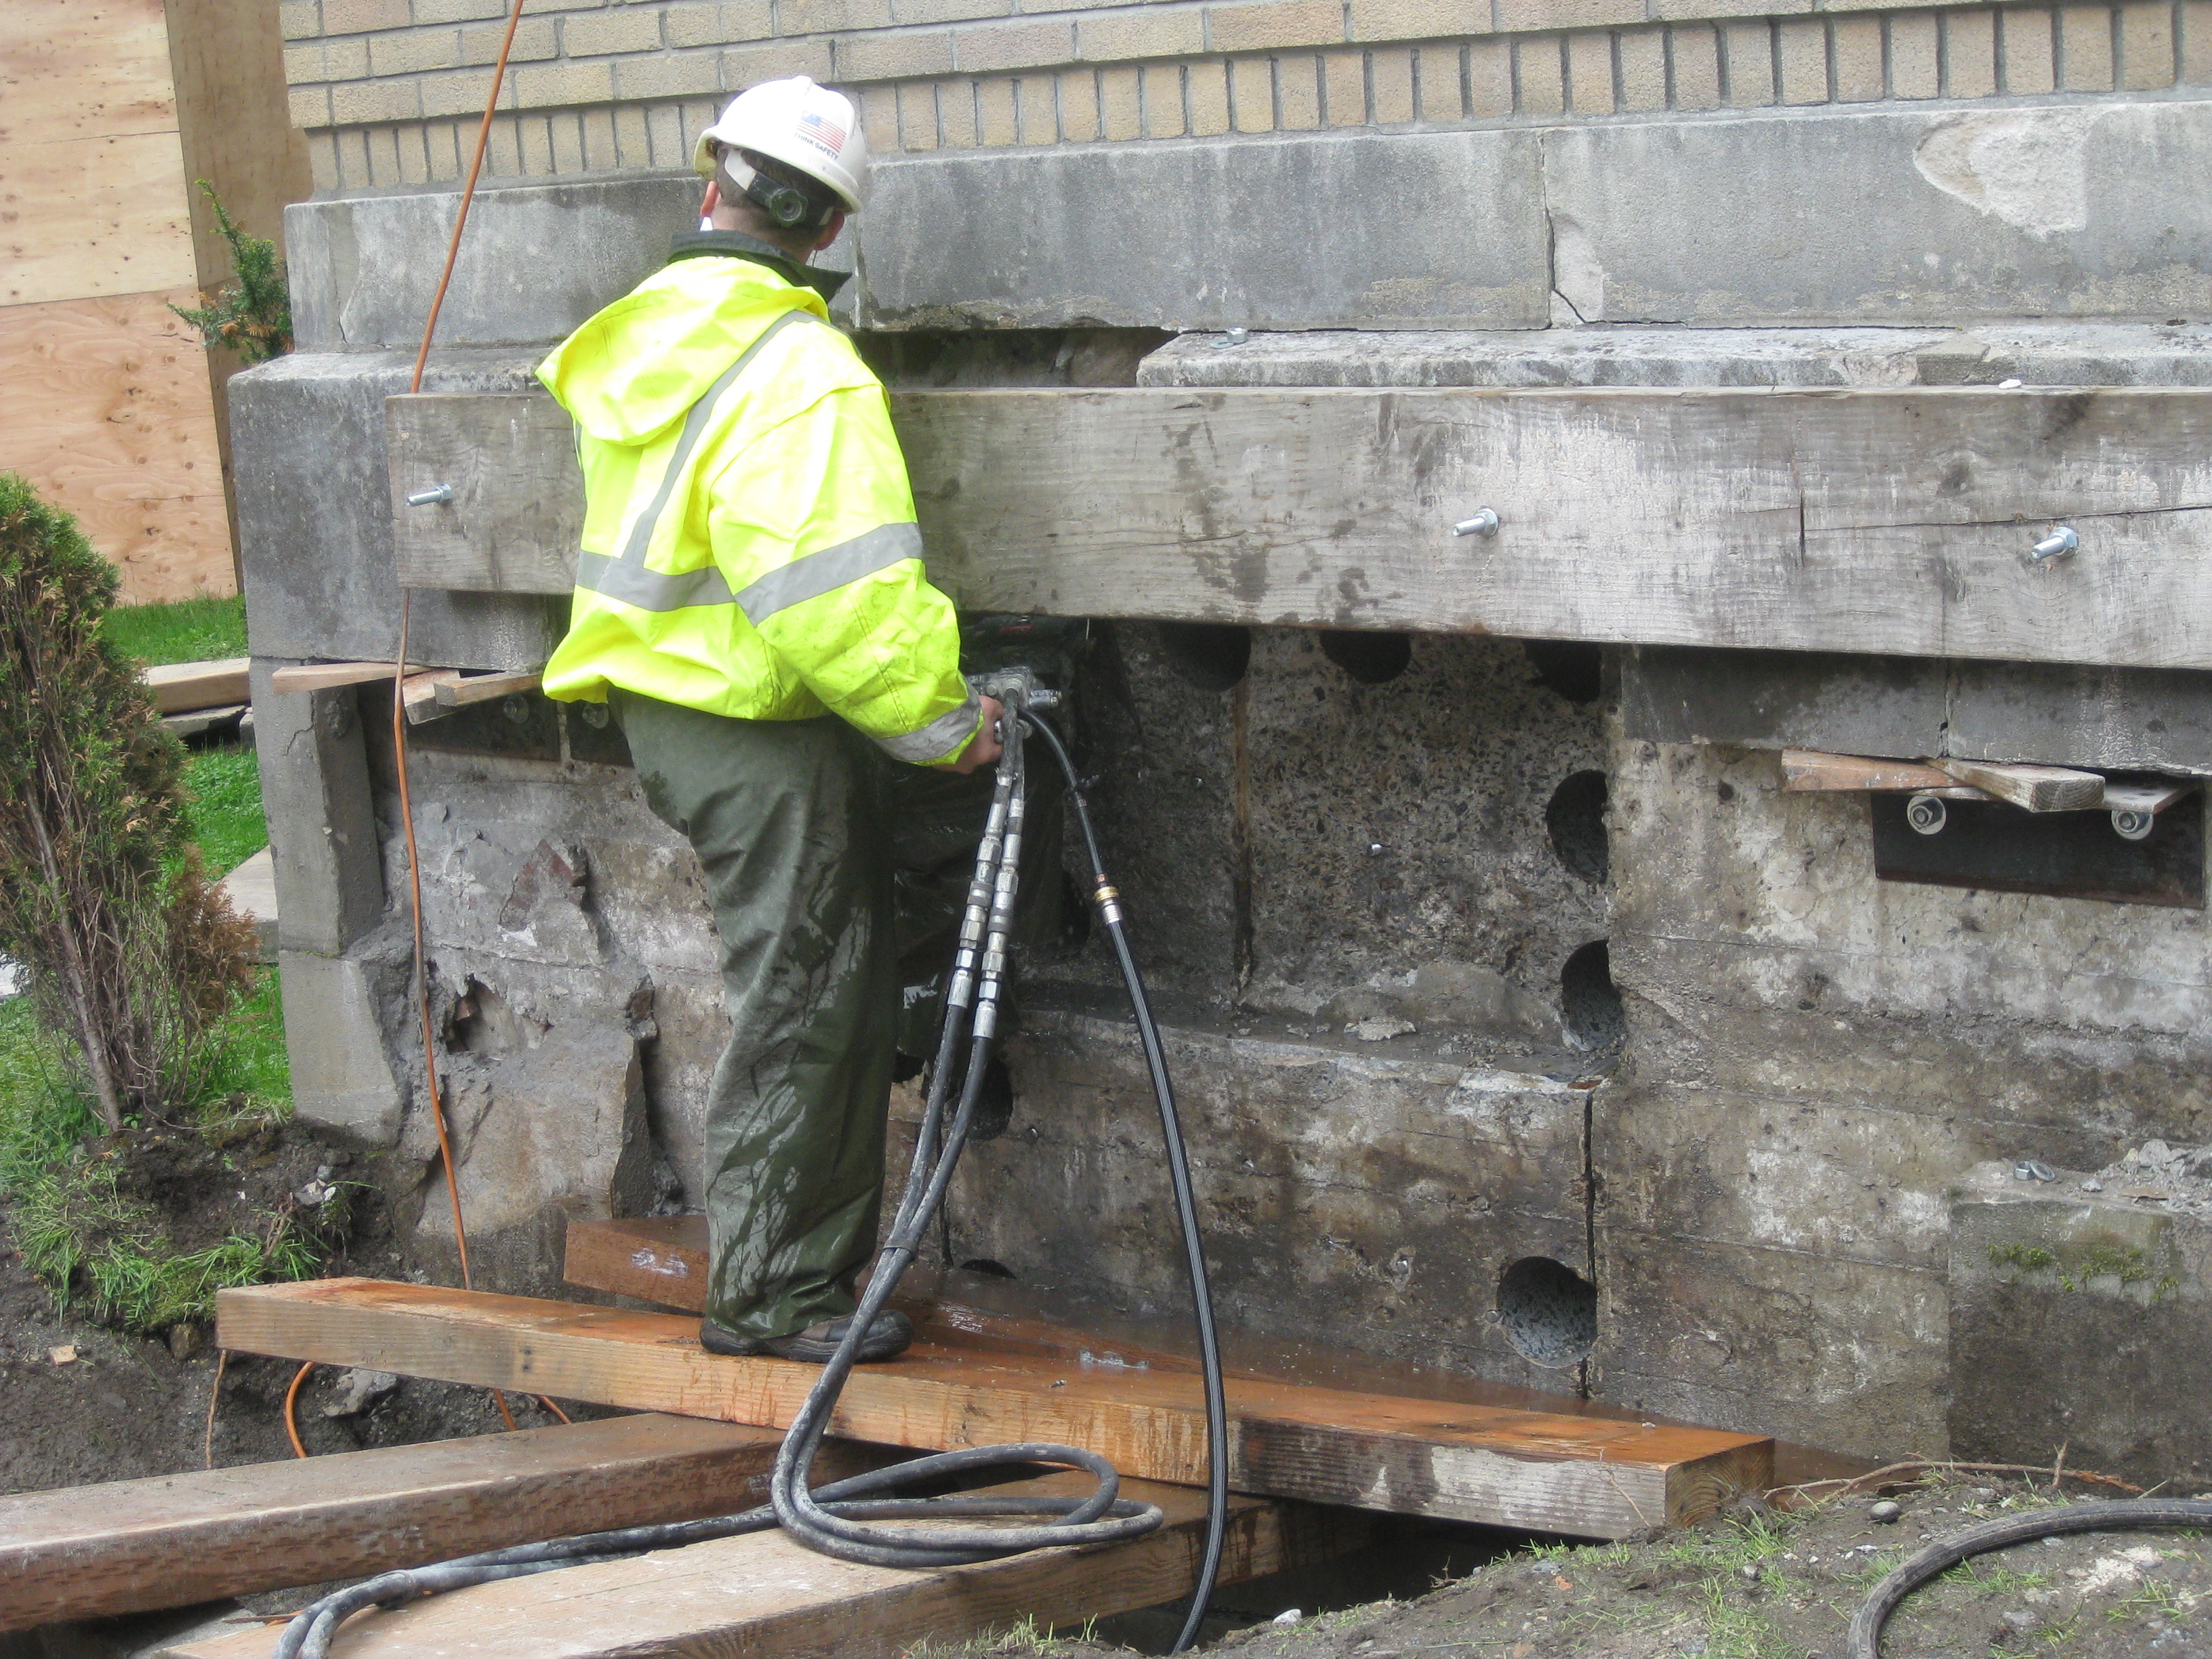
| Shotcrete has been applied to column. Shotcrete is concrete (or sometimes mortar) conveyed through a hose and pneumatically projected at high velocity onto a surface, as a construction or repair technique. | Workers core drill a 4" diameter hole 36 feet down through the sandstone capitals, marble columns, granite stone base and into concrete foundation. The 4" hole is drilled to insert and center a 1.25" diameter steel rod. With steel rod in place grout will be pumped into holes from the bottom tying the concrete portico, sandstone capitals, marble columns, granite stone base and concrete foundation all together. |
Update October 4, 2013
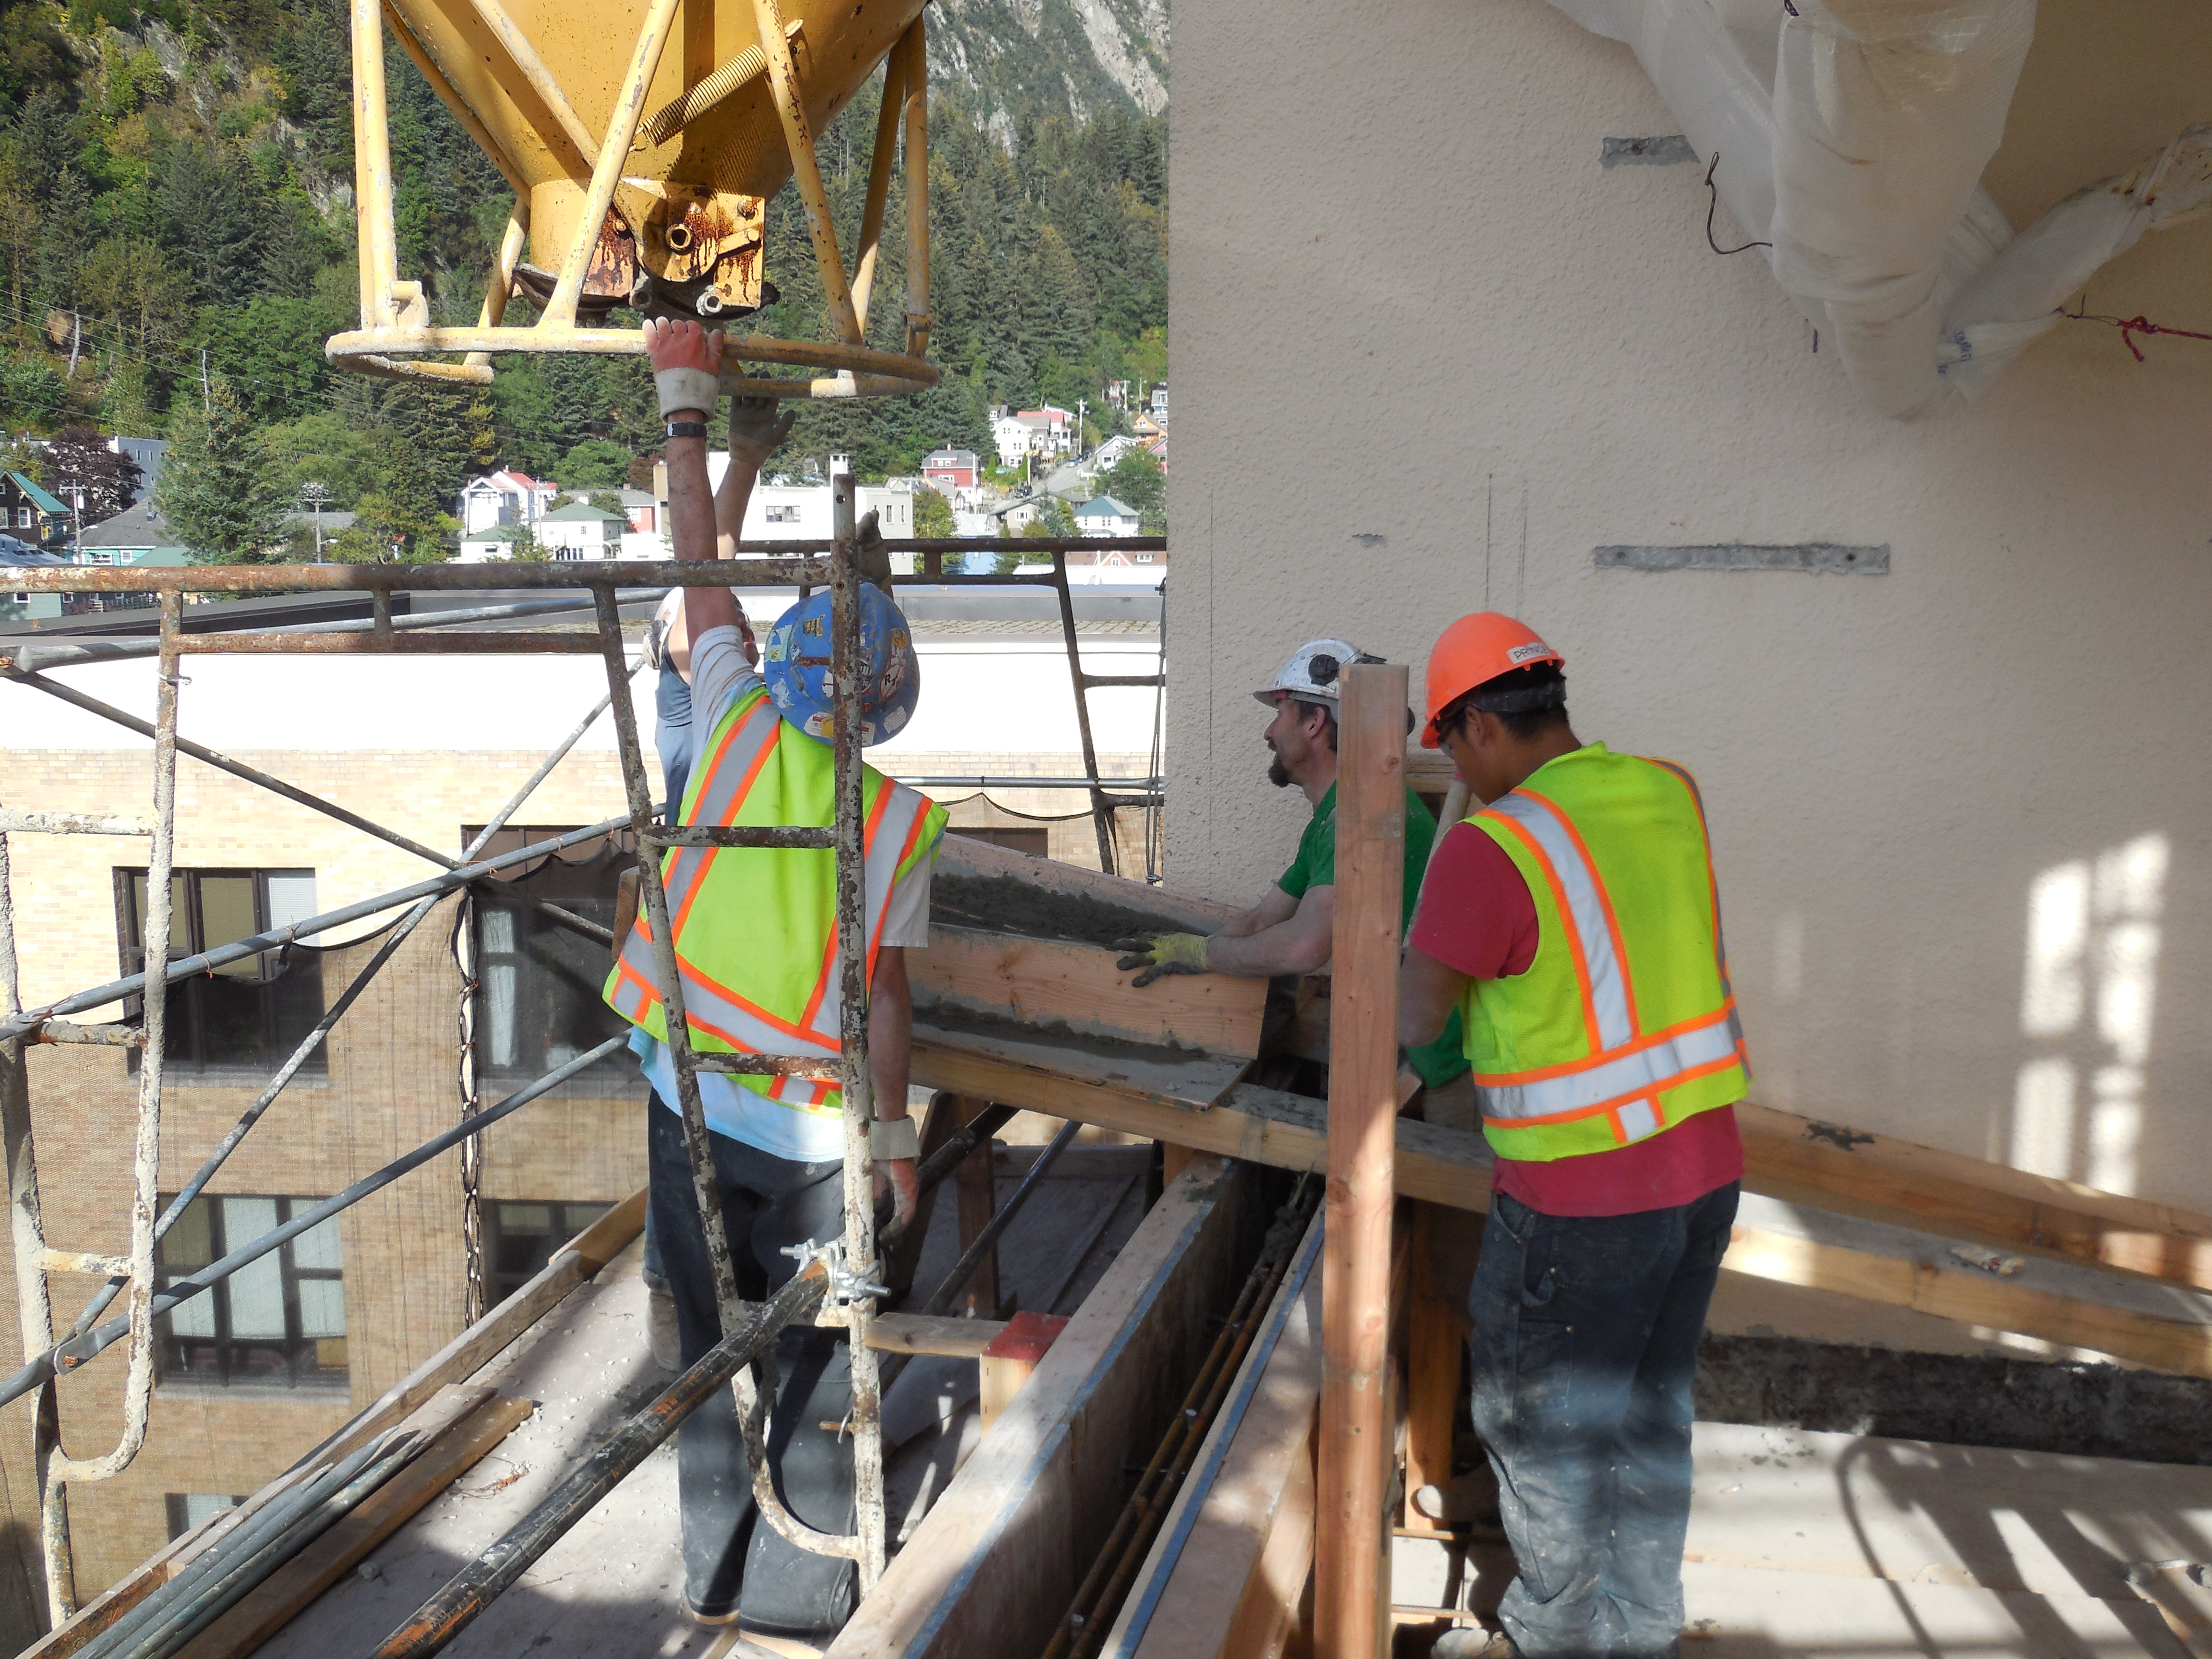
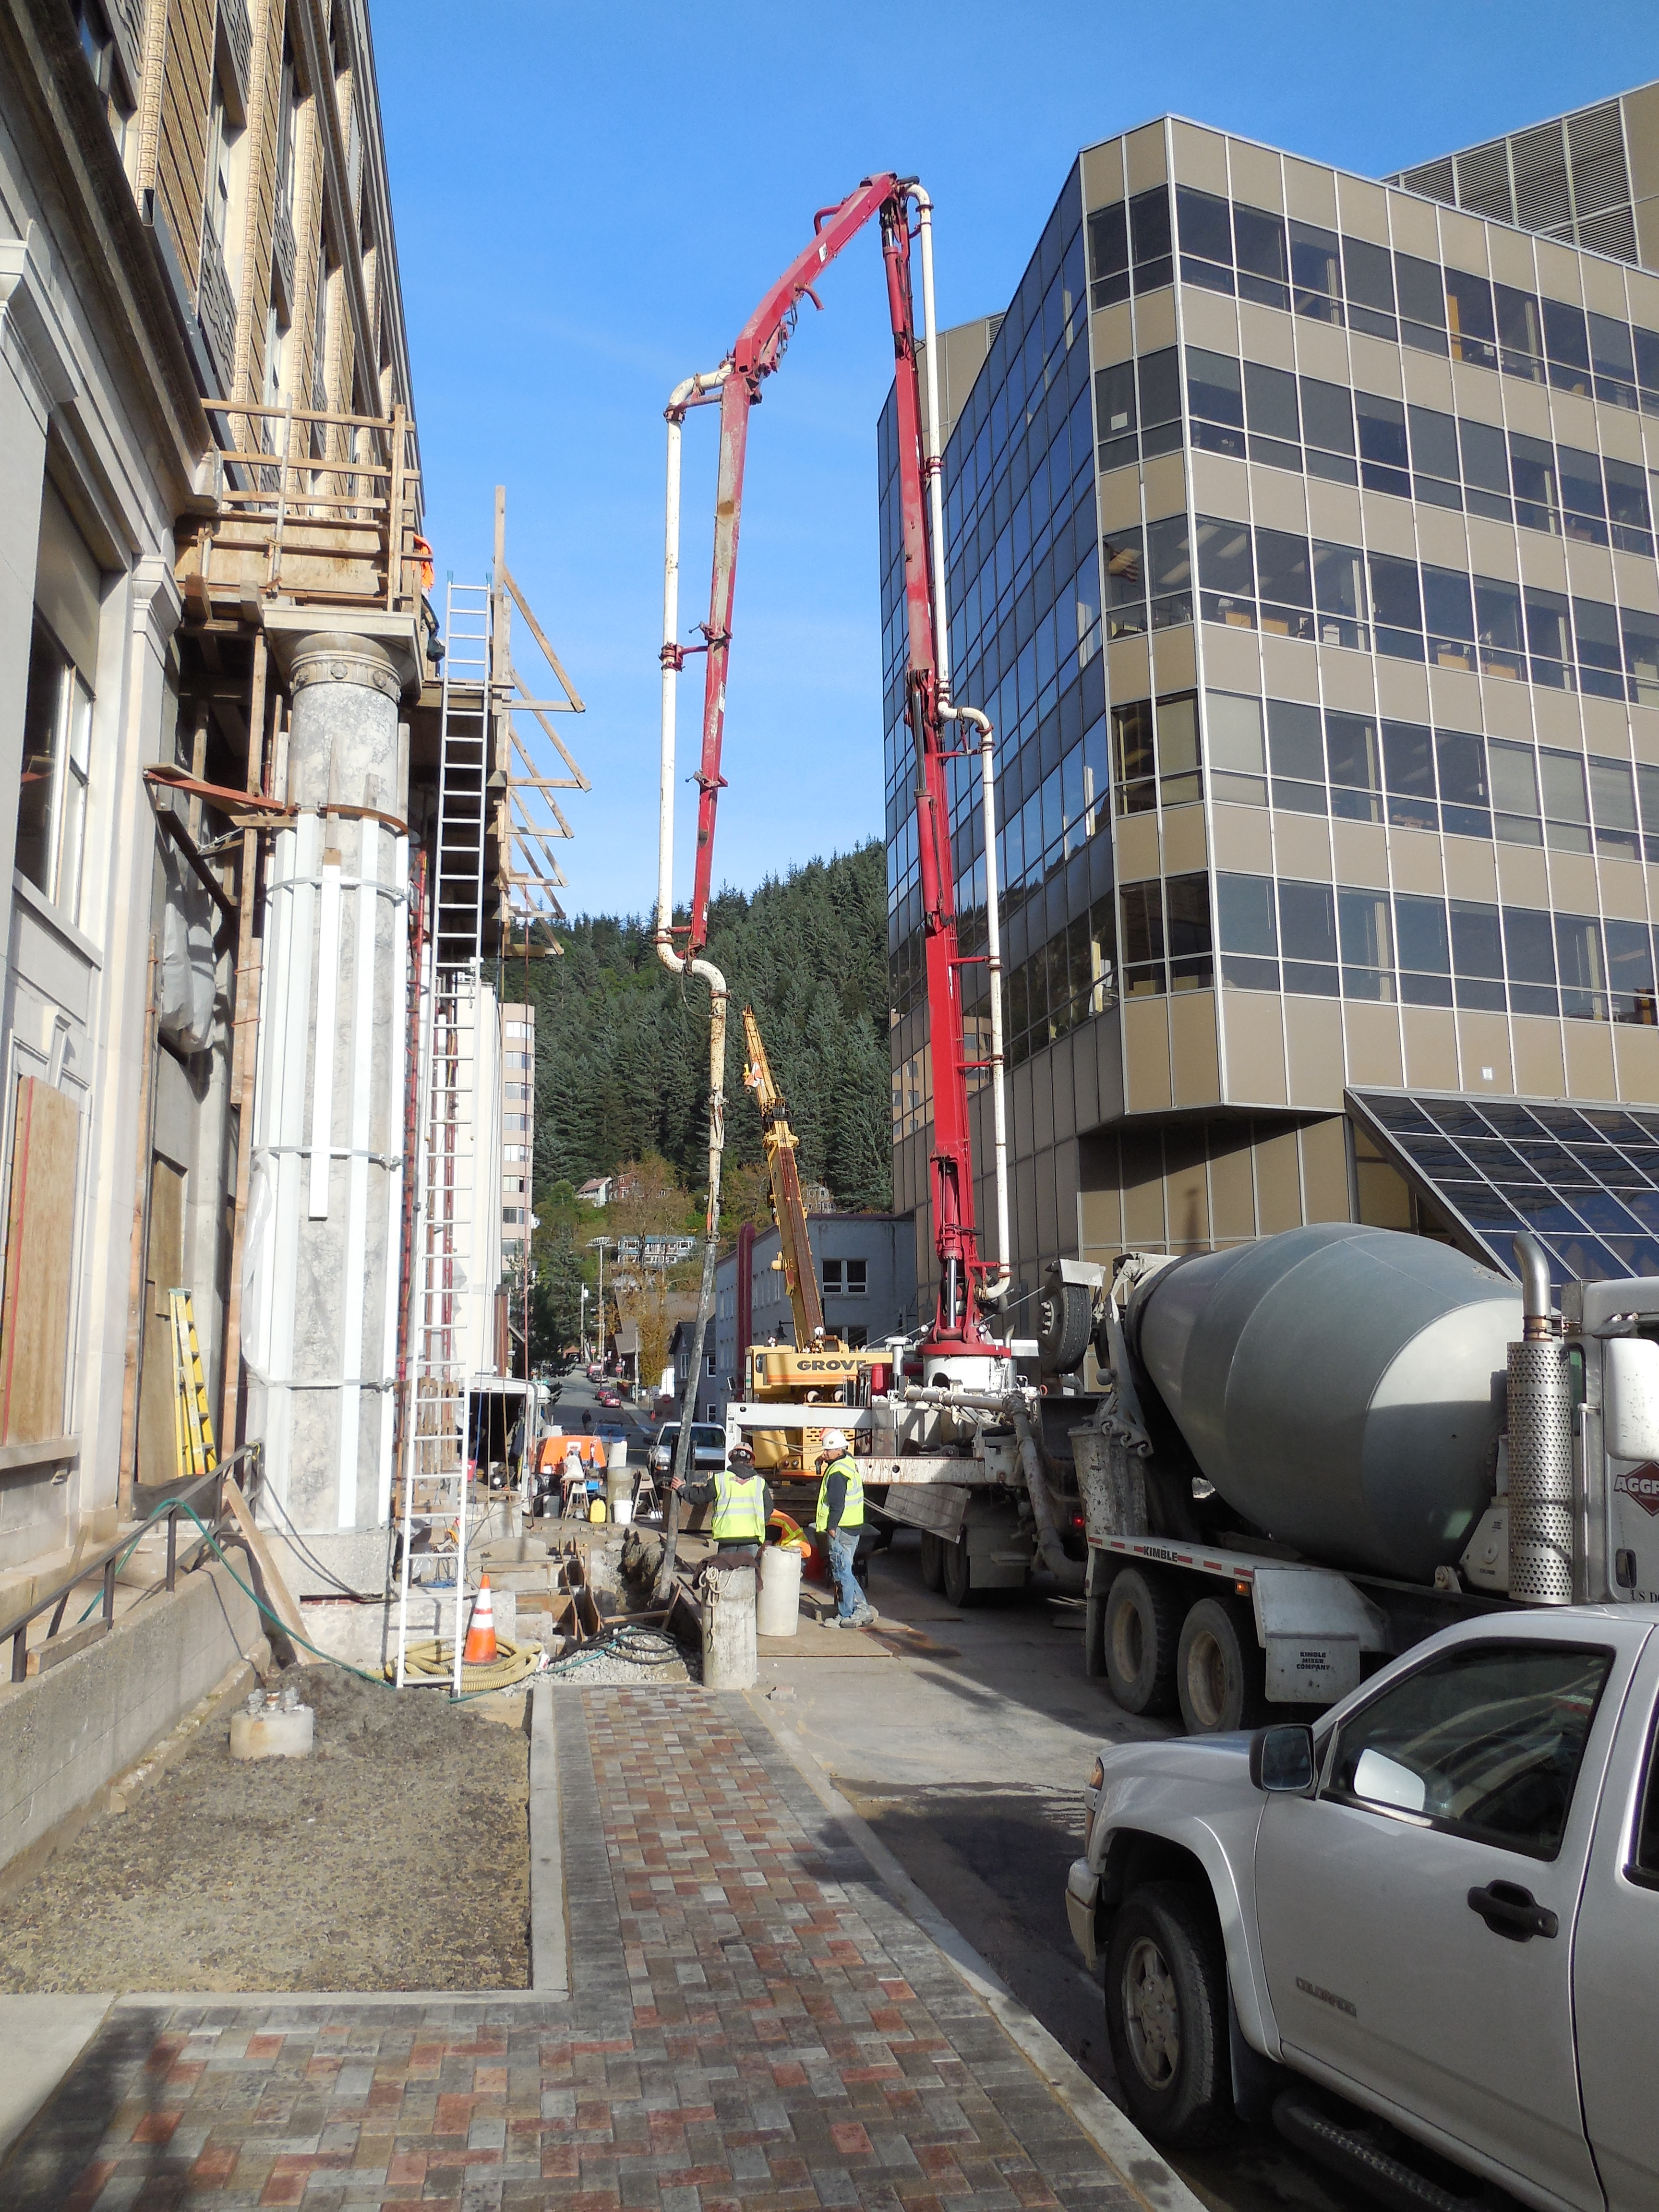
|
|
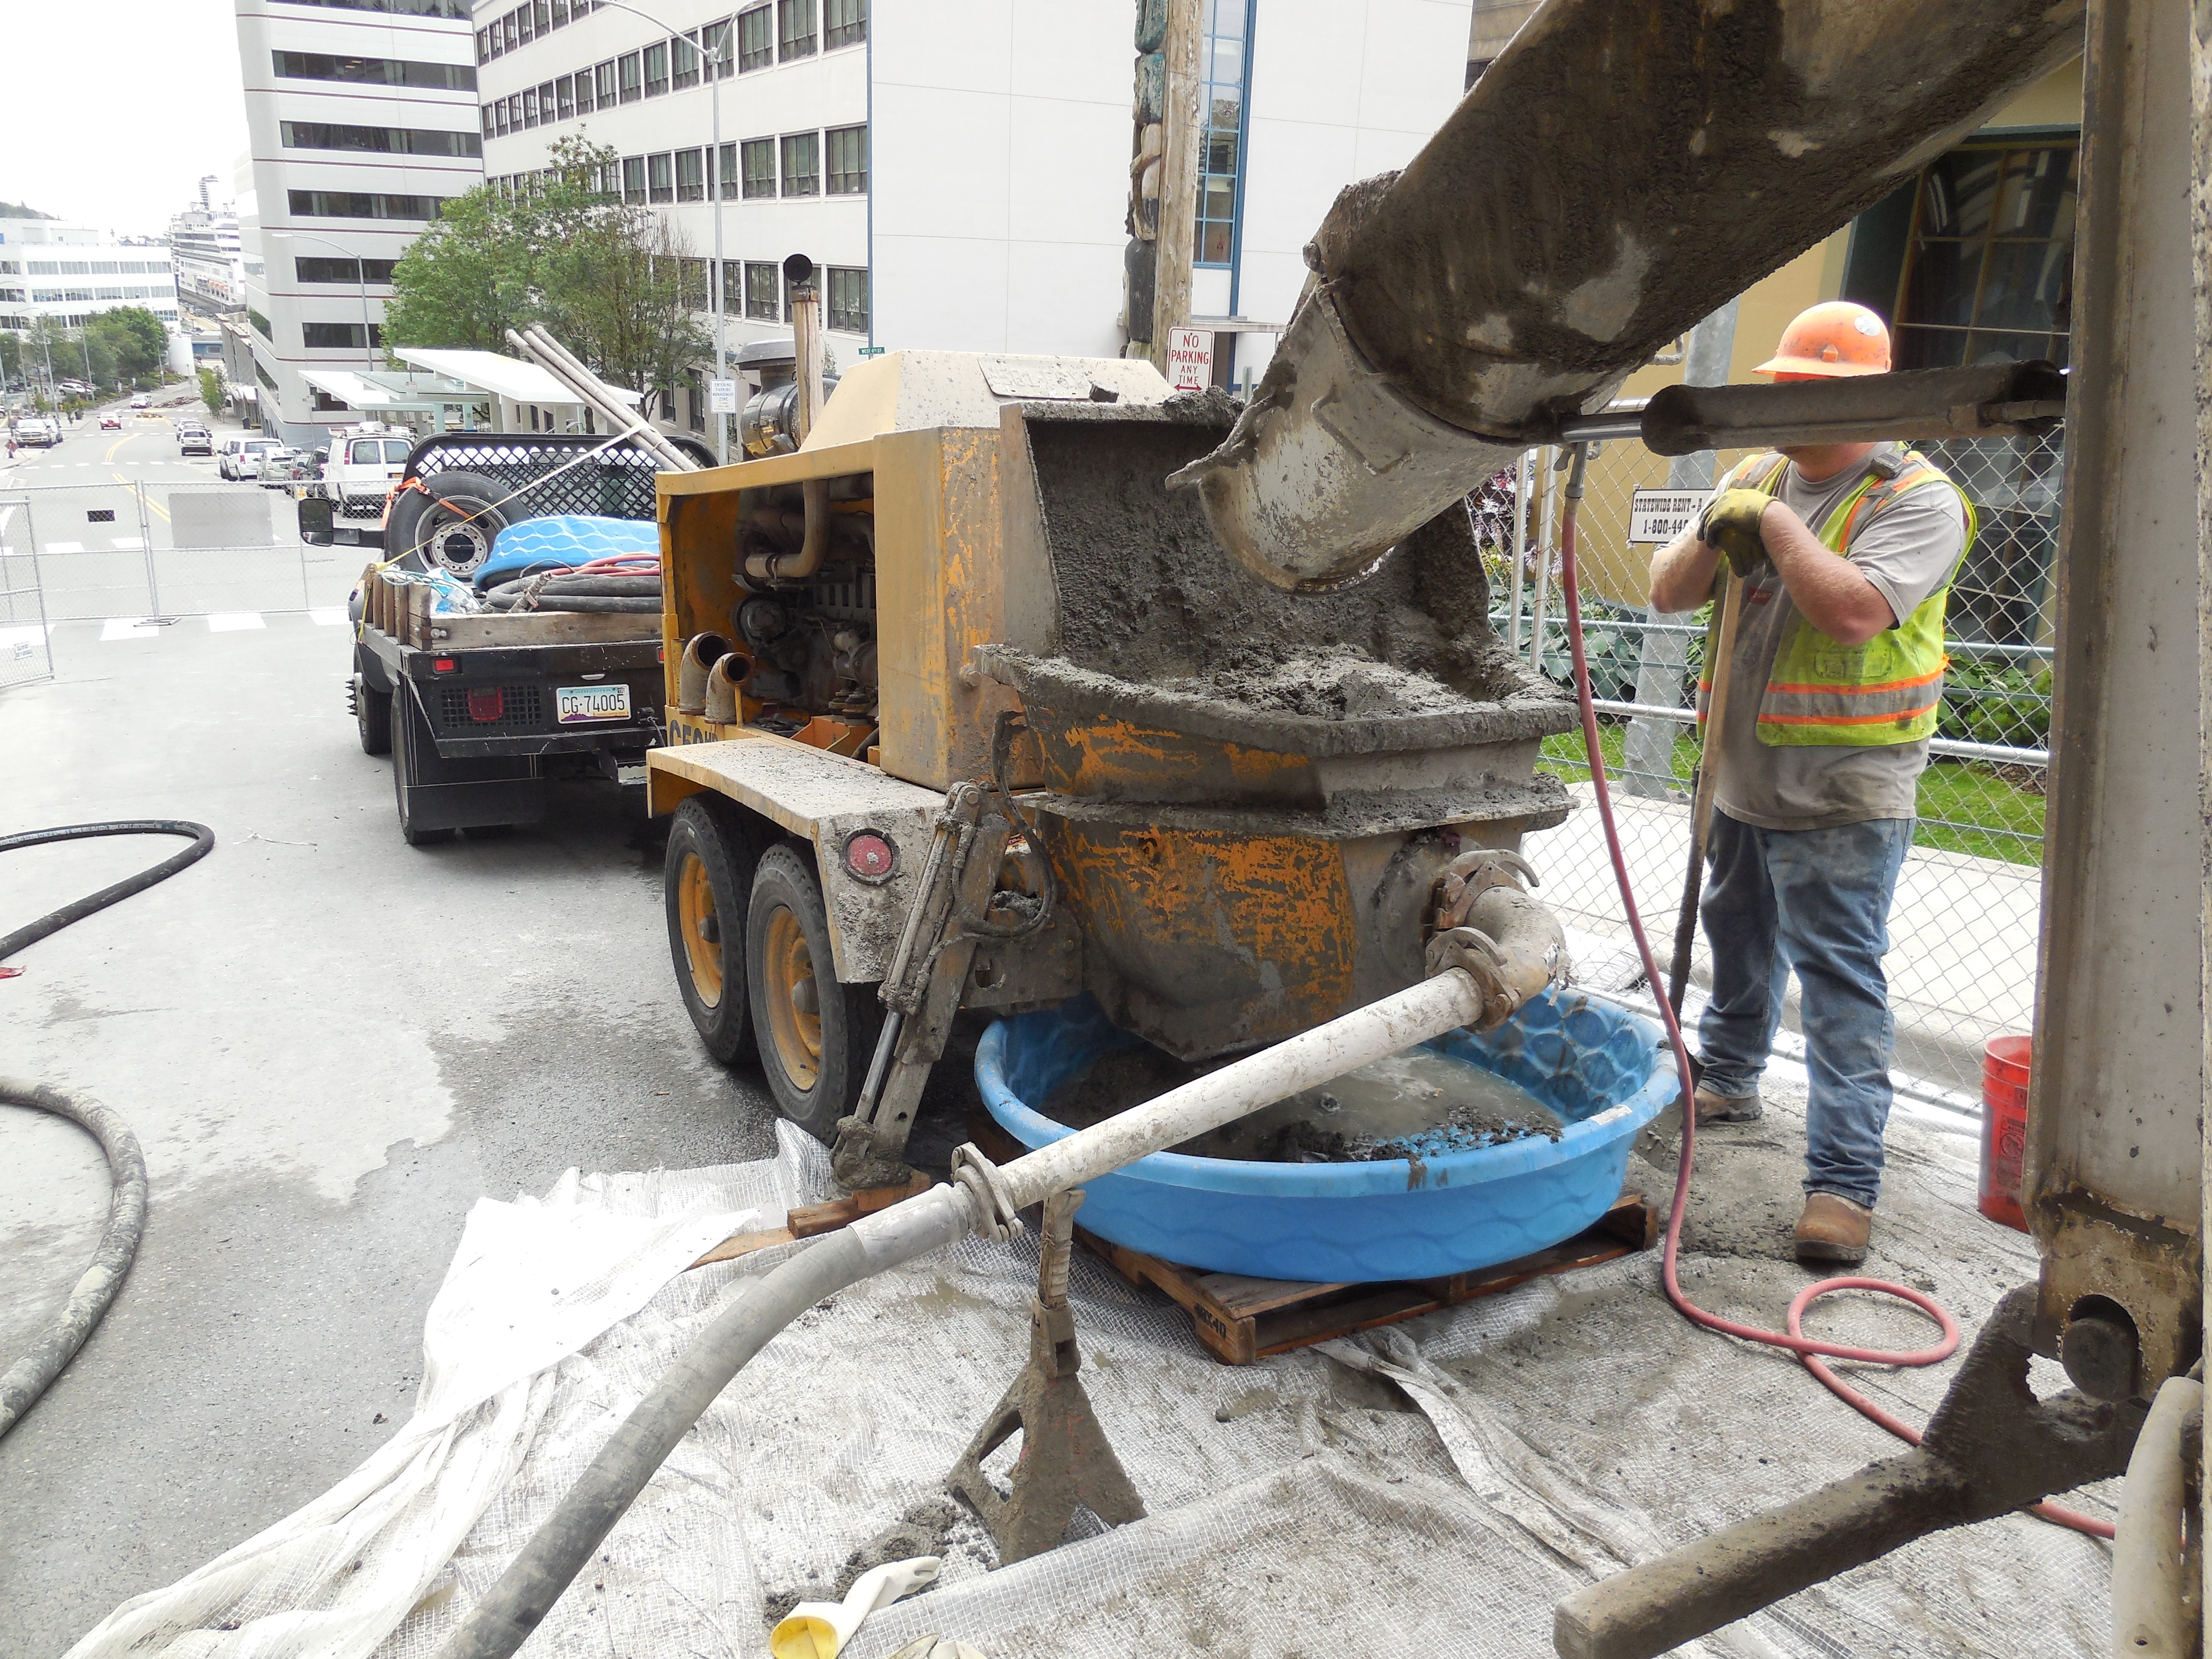
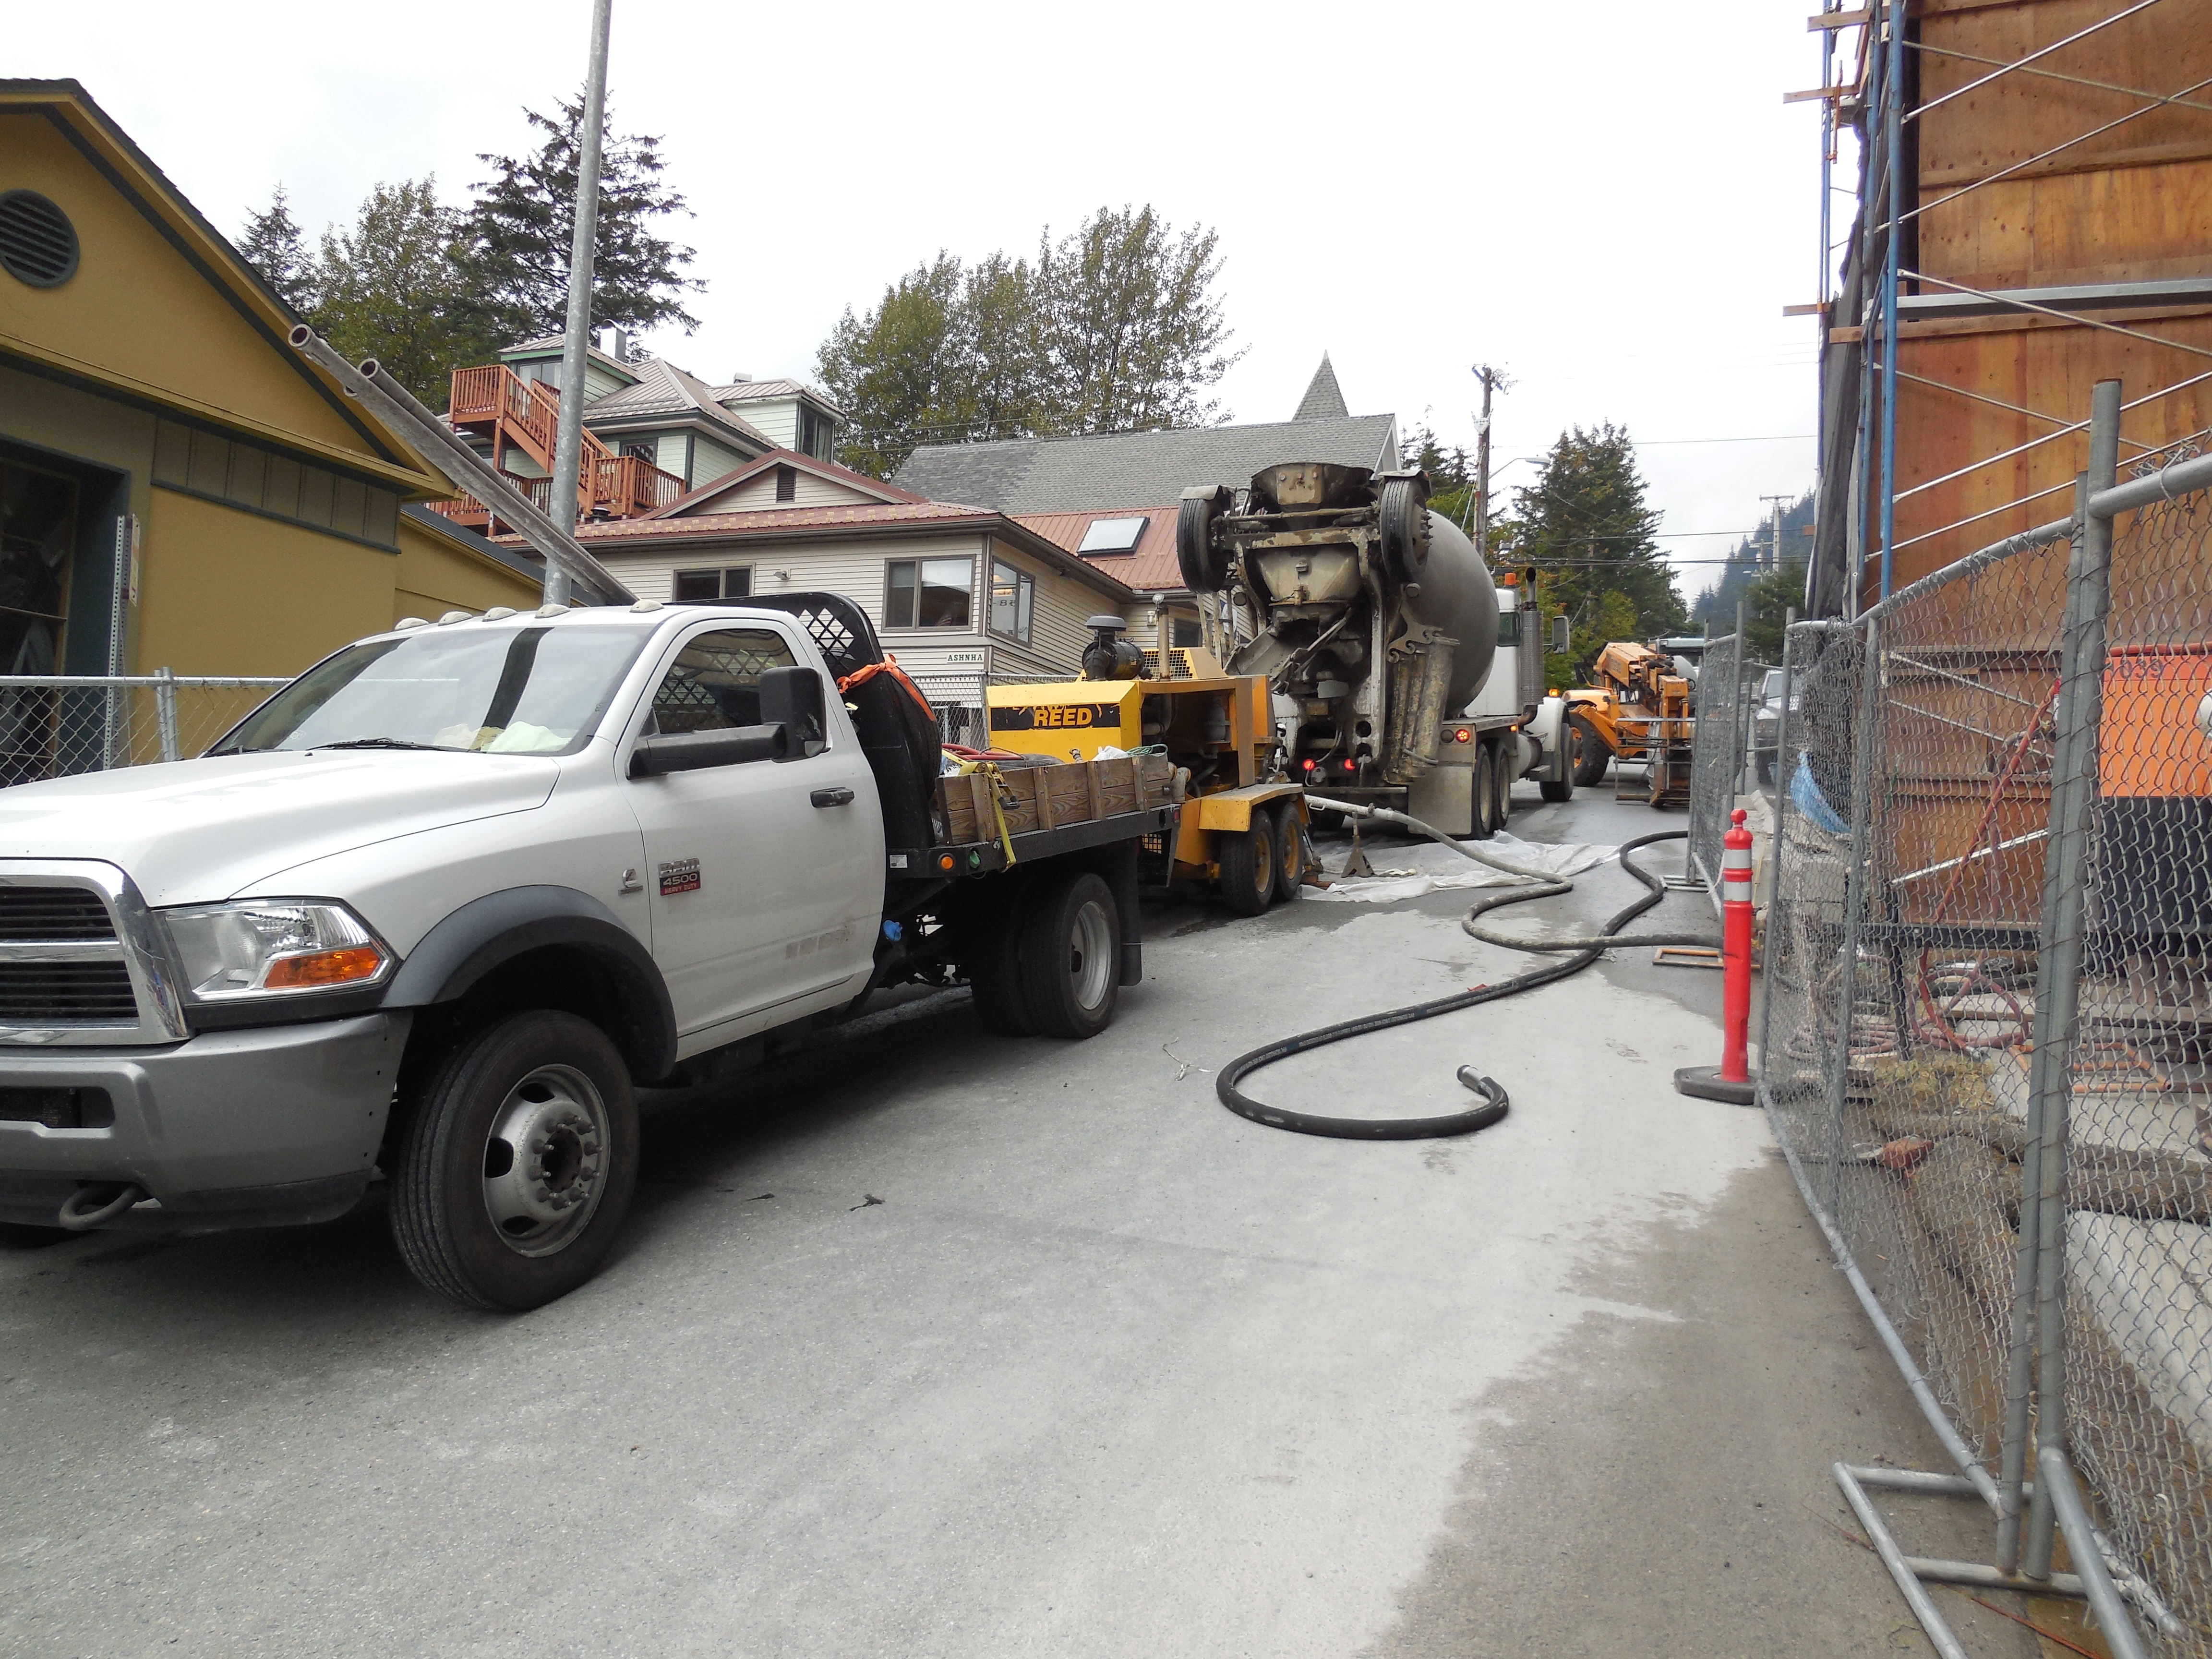
| Overhead view of forms and steel for portico concrete roof slab and beams | Pump truck and mixer set up for delivery of concrete for portico roof slab and beams |
|
|
| Workers finish concrete roof slab | Forms are constructed at main entrance for grade beam and stair stringers |
Update September 27, 2013
|
|
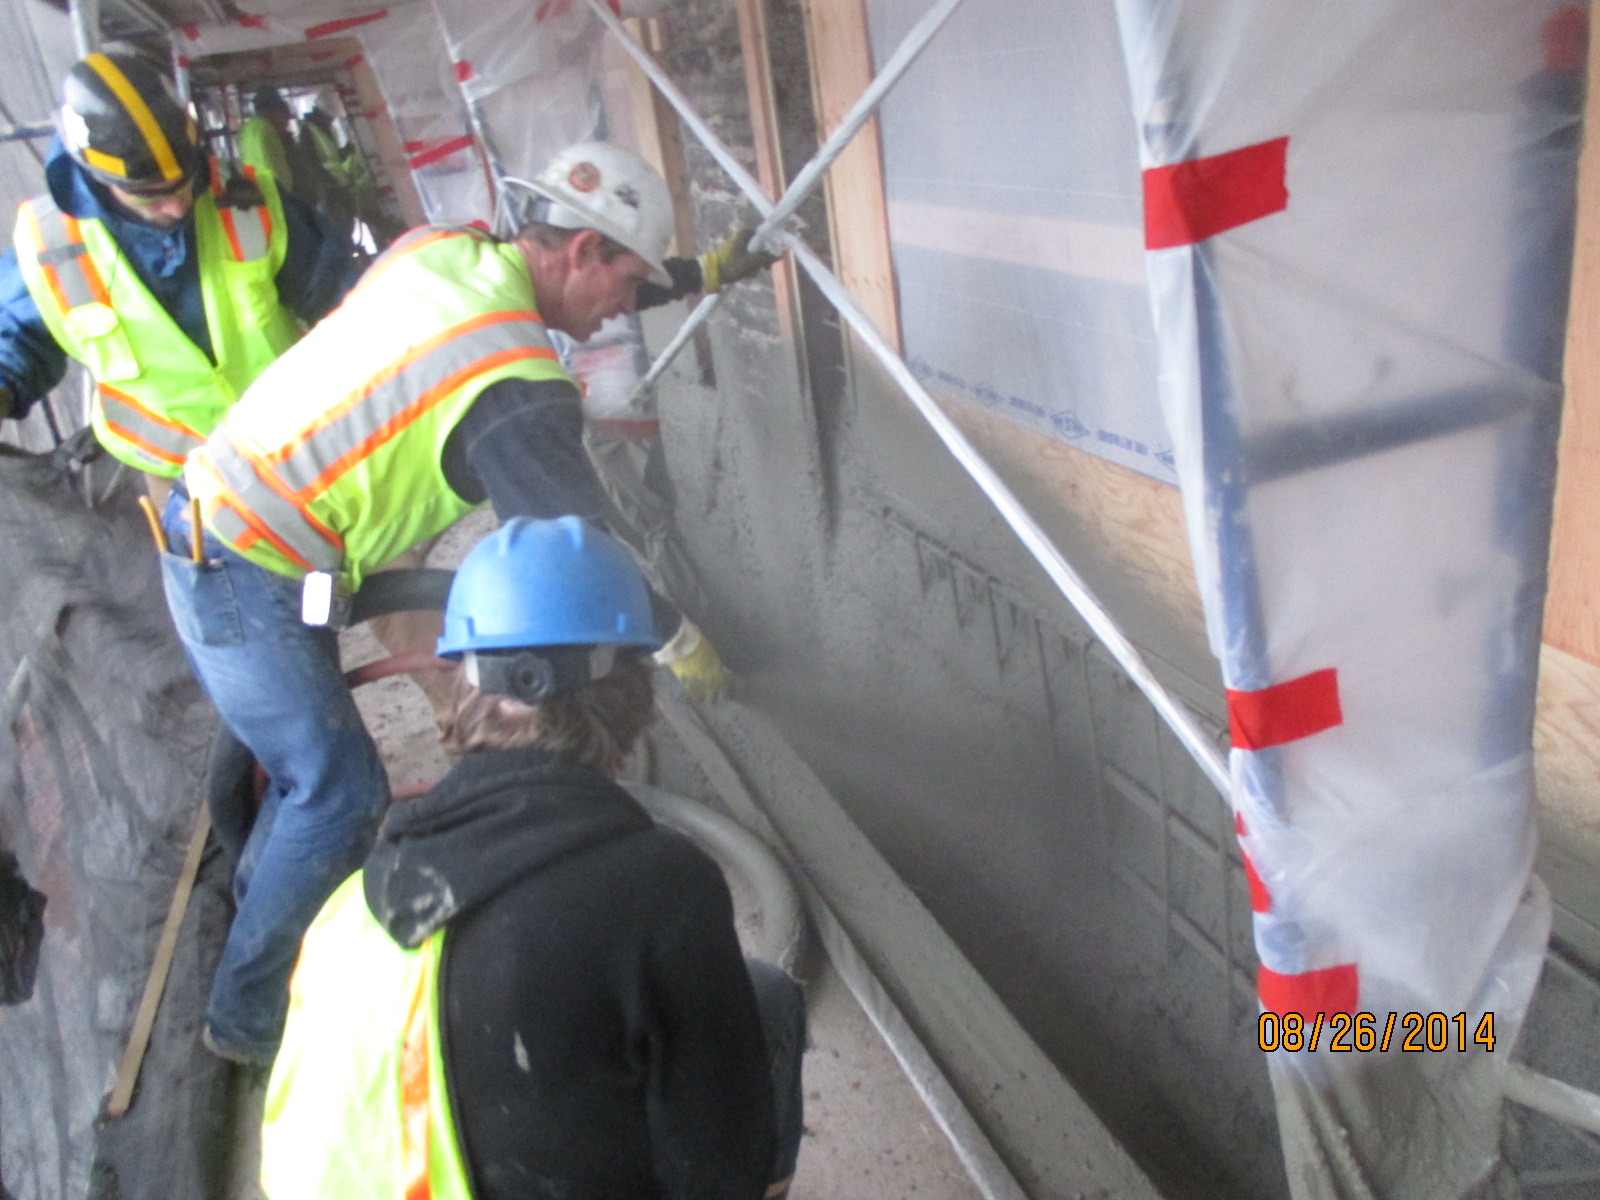
| Workers construct forms for lintel beam against building on top of concrete pilasters | Workers tie rebar in forms for lintel concrete beam pour |
|
|
| Workers finish concrete for new lintel beam | Overhead view of concrete lintel beam pour |
Update September 20, 2013
|
|
| Forms are completed and ready to pour 4th lift of concrete pilasters | Concrete is pumped from mixer into pilaster forms to complete 4th lift |
|
|
| Prior to pouring concrete stair stringers and grade beam, vertical pin piles are driven into ground to stabilize the new concrete stair stringers and grade beam | New sidewalk completed and landscaping complete |
Update September 13, 2013
|
|
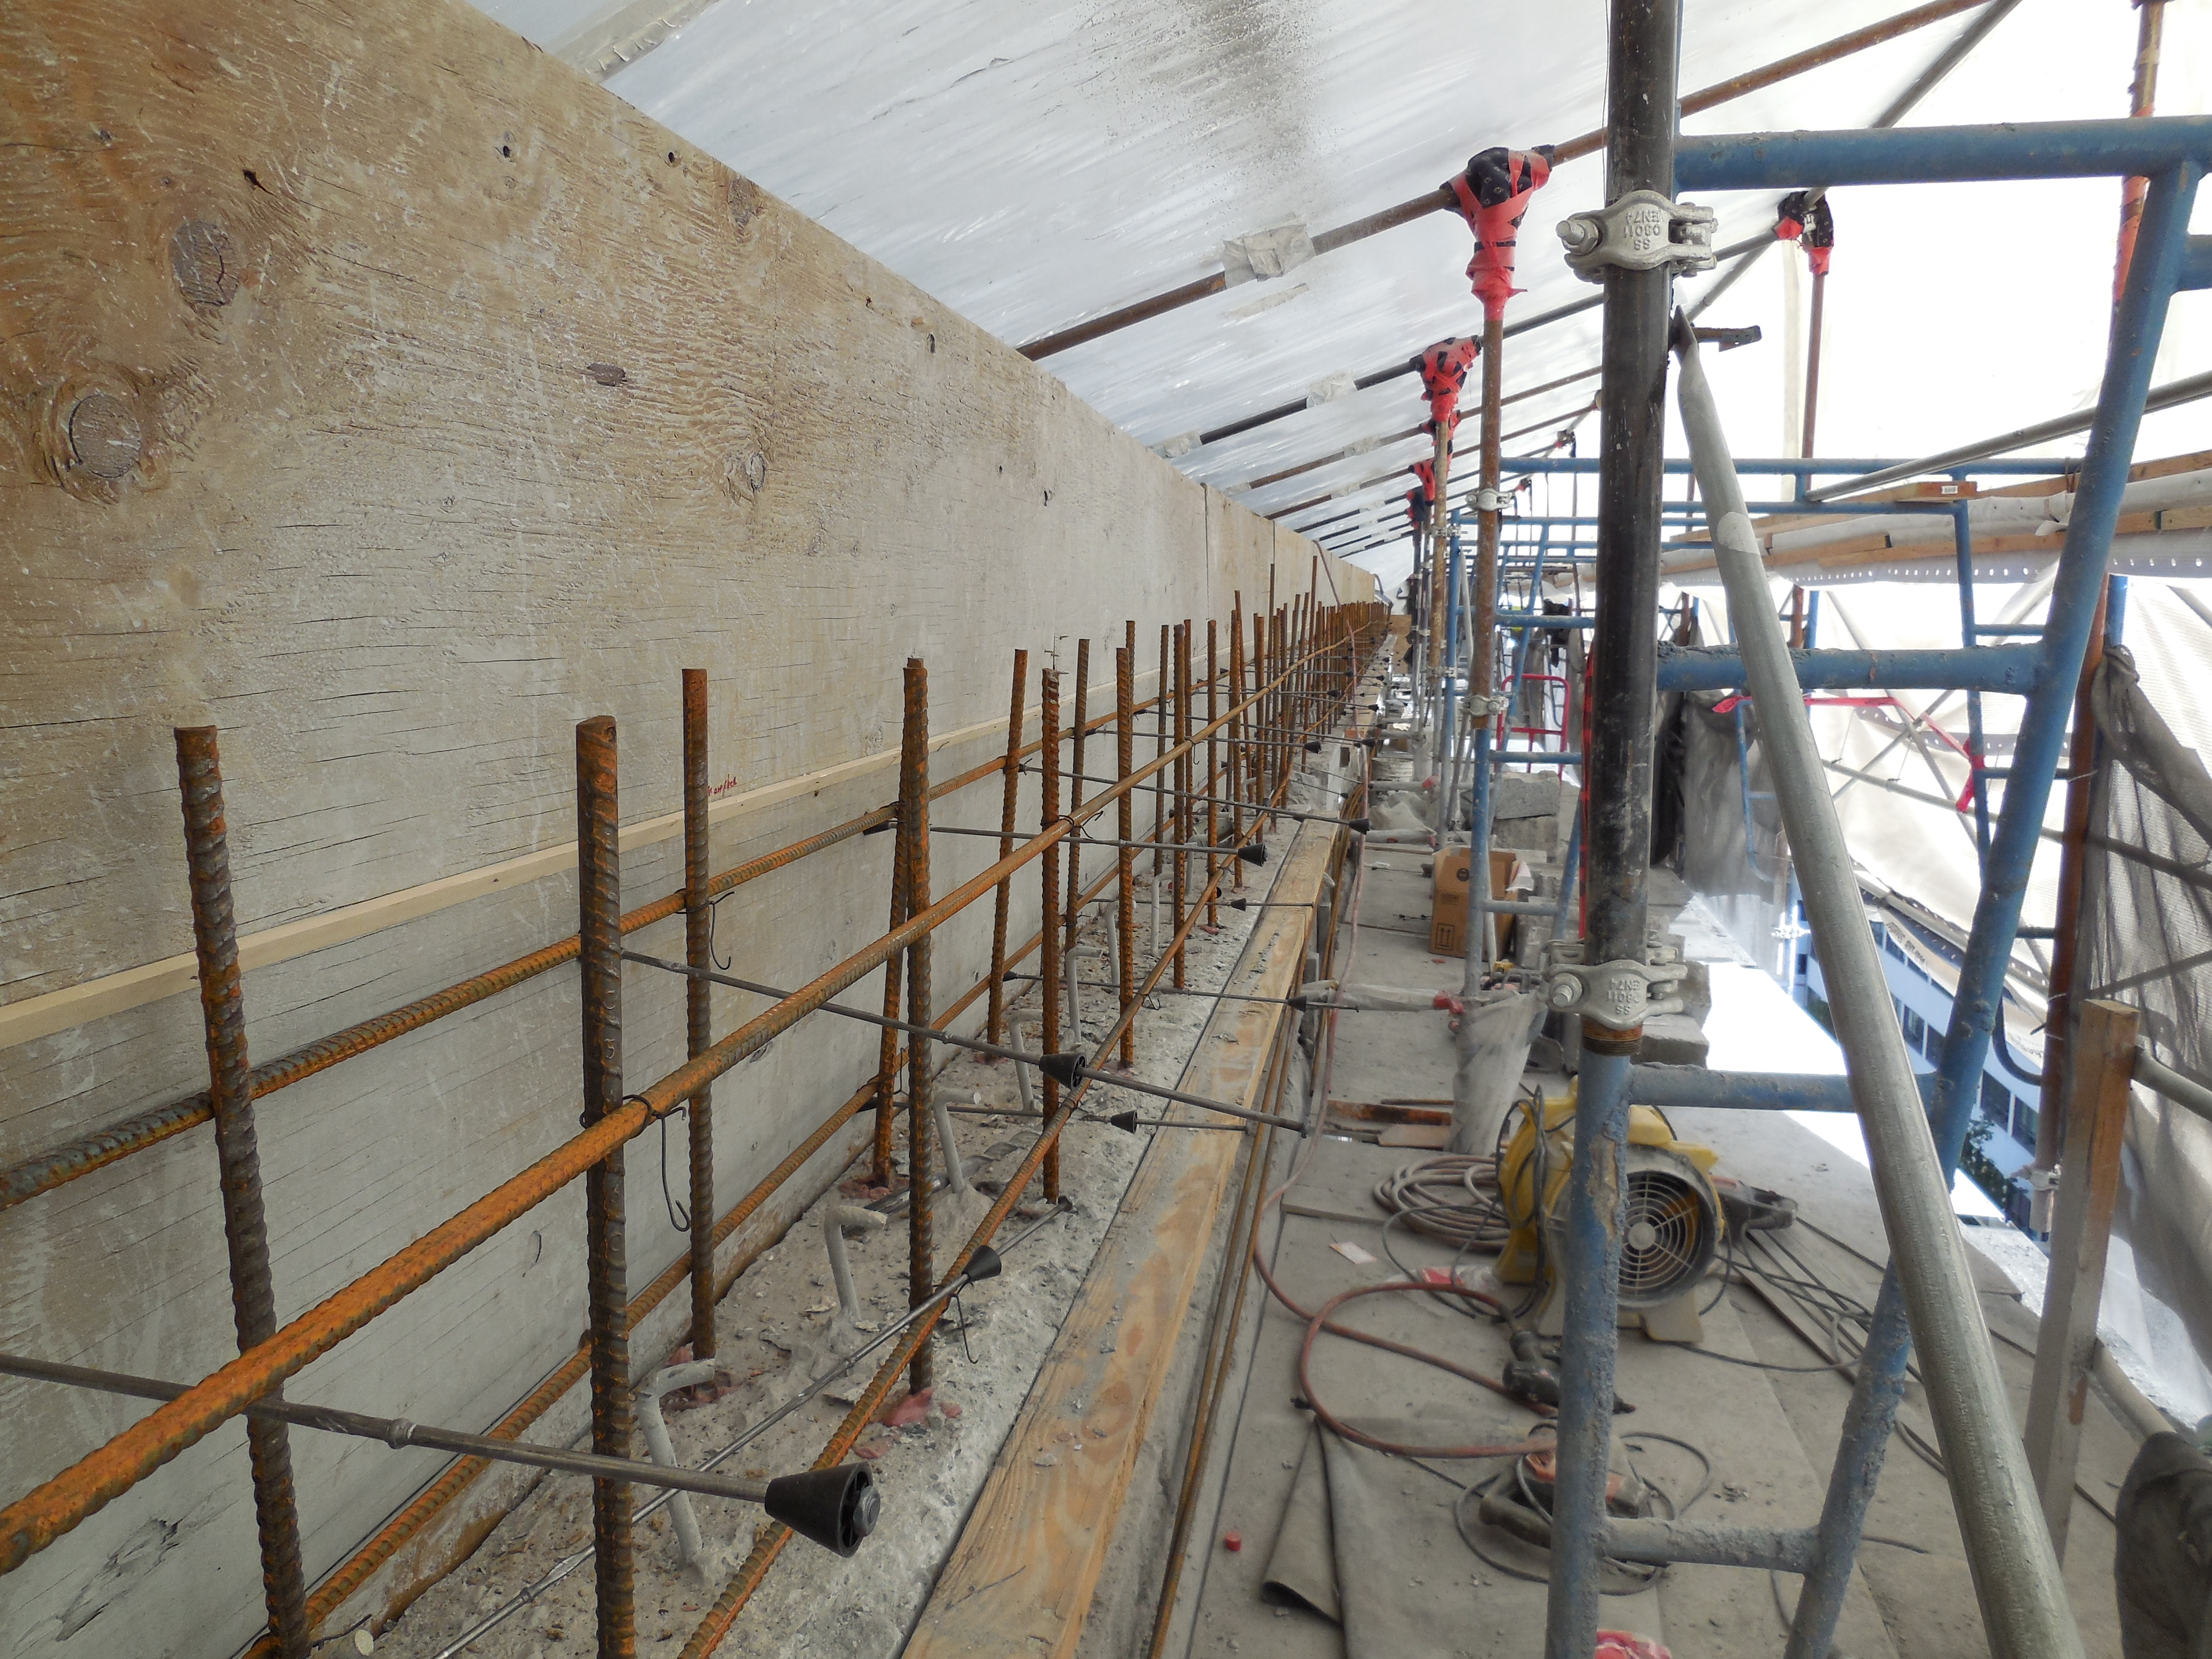
| Workers remove forms from 2nd lift pour of the pilasters | Workers tying steel for concrete beams prior to forms |

|

|
| Workers pump concrete into forms for 3rd lift which includes the lower horizontal beam with the 4 pilasters | Forms are removed from the 3rd lift concrete pour |
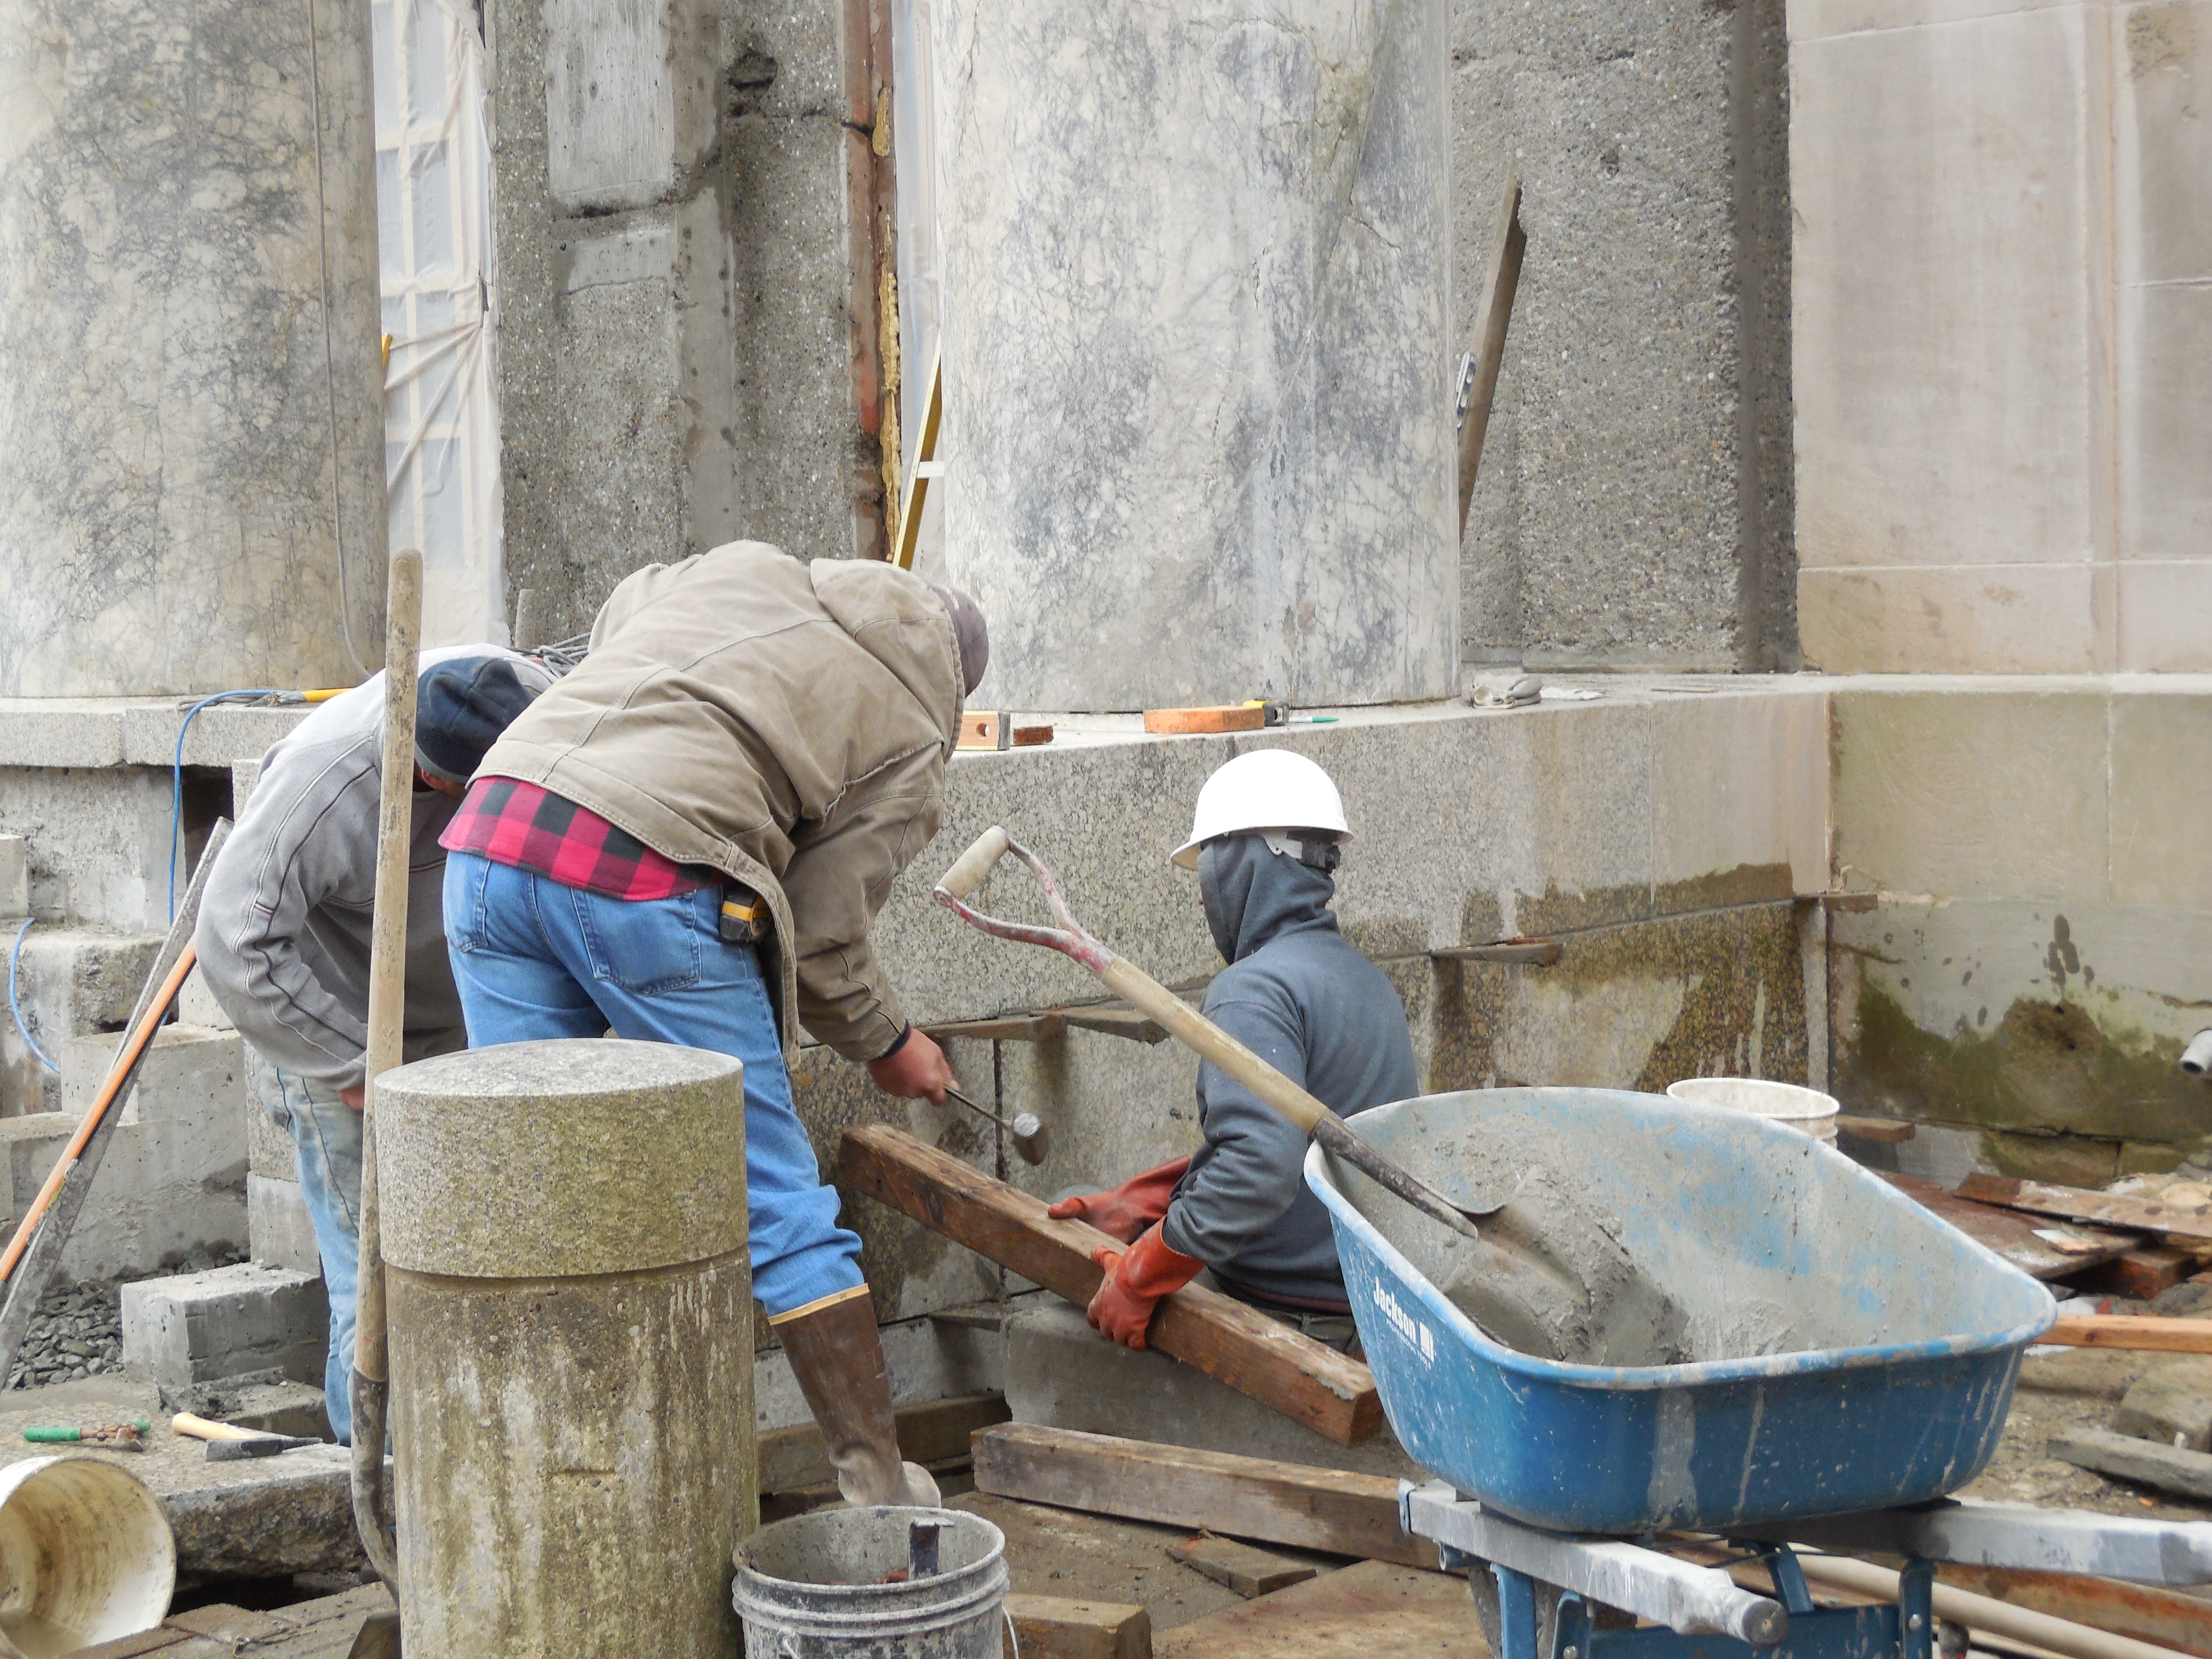
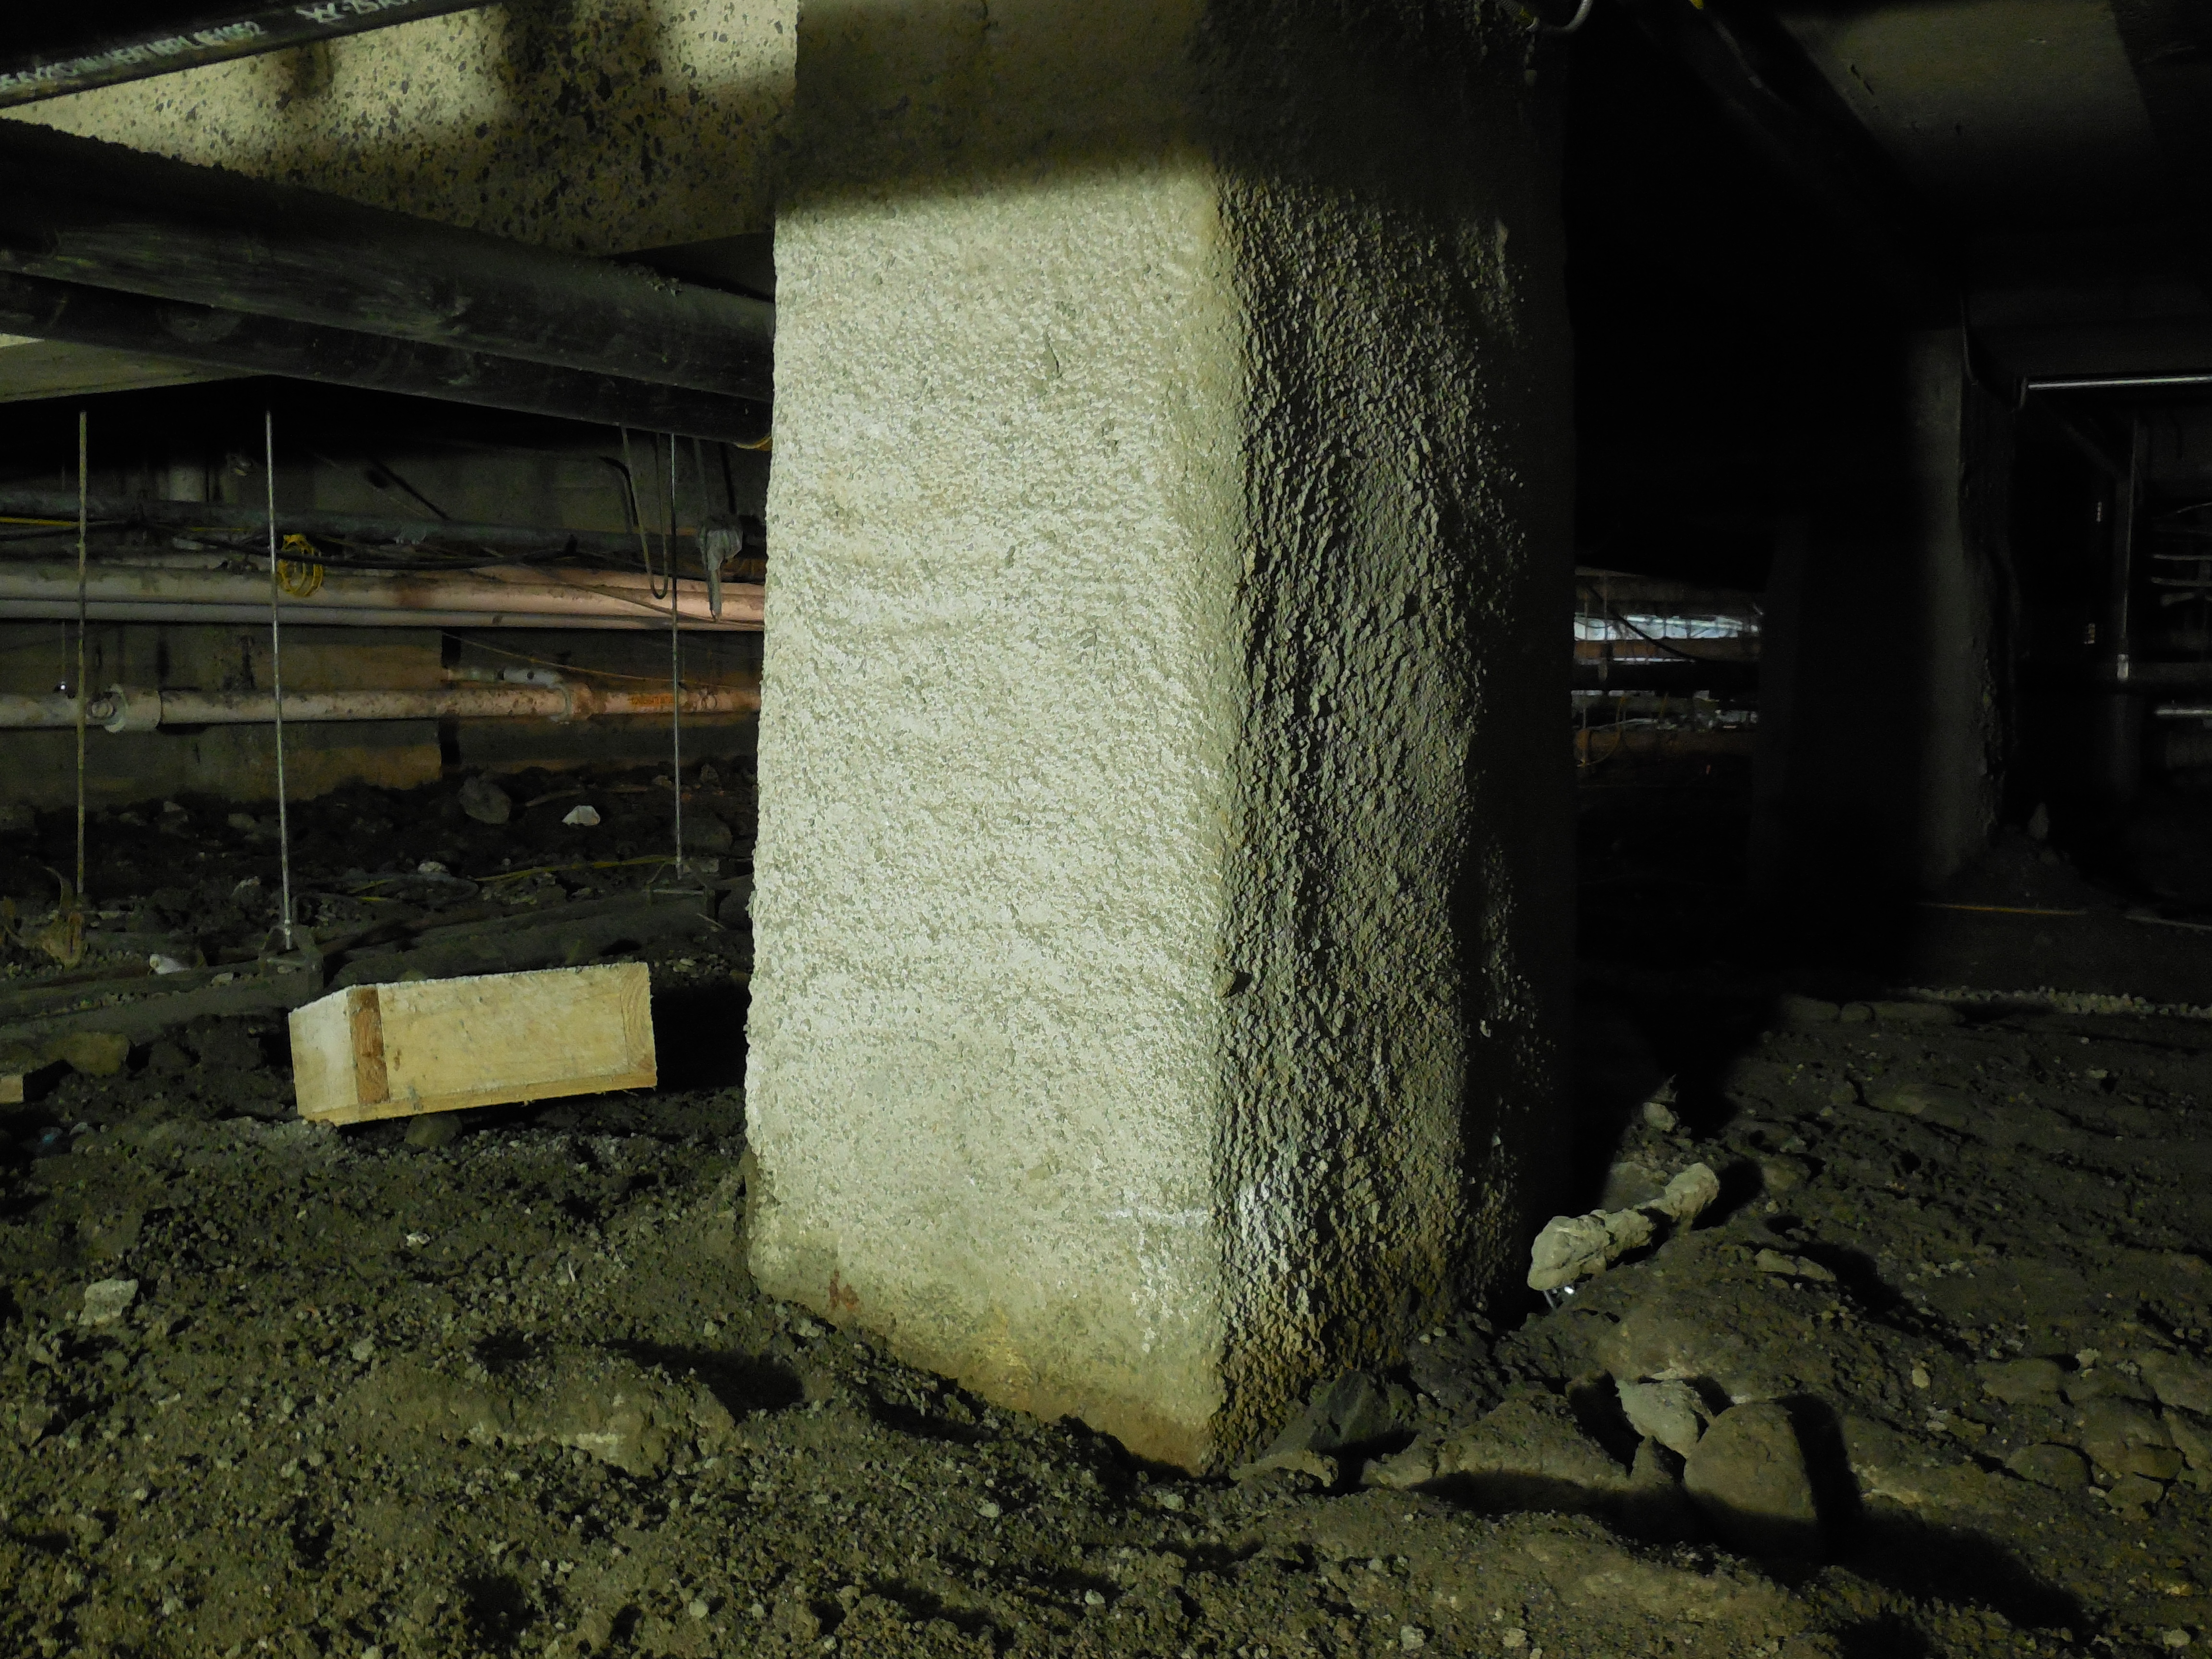
Update September 6, 2013
|
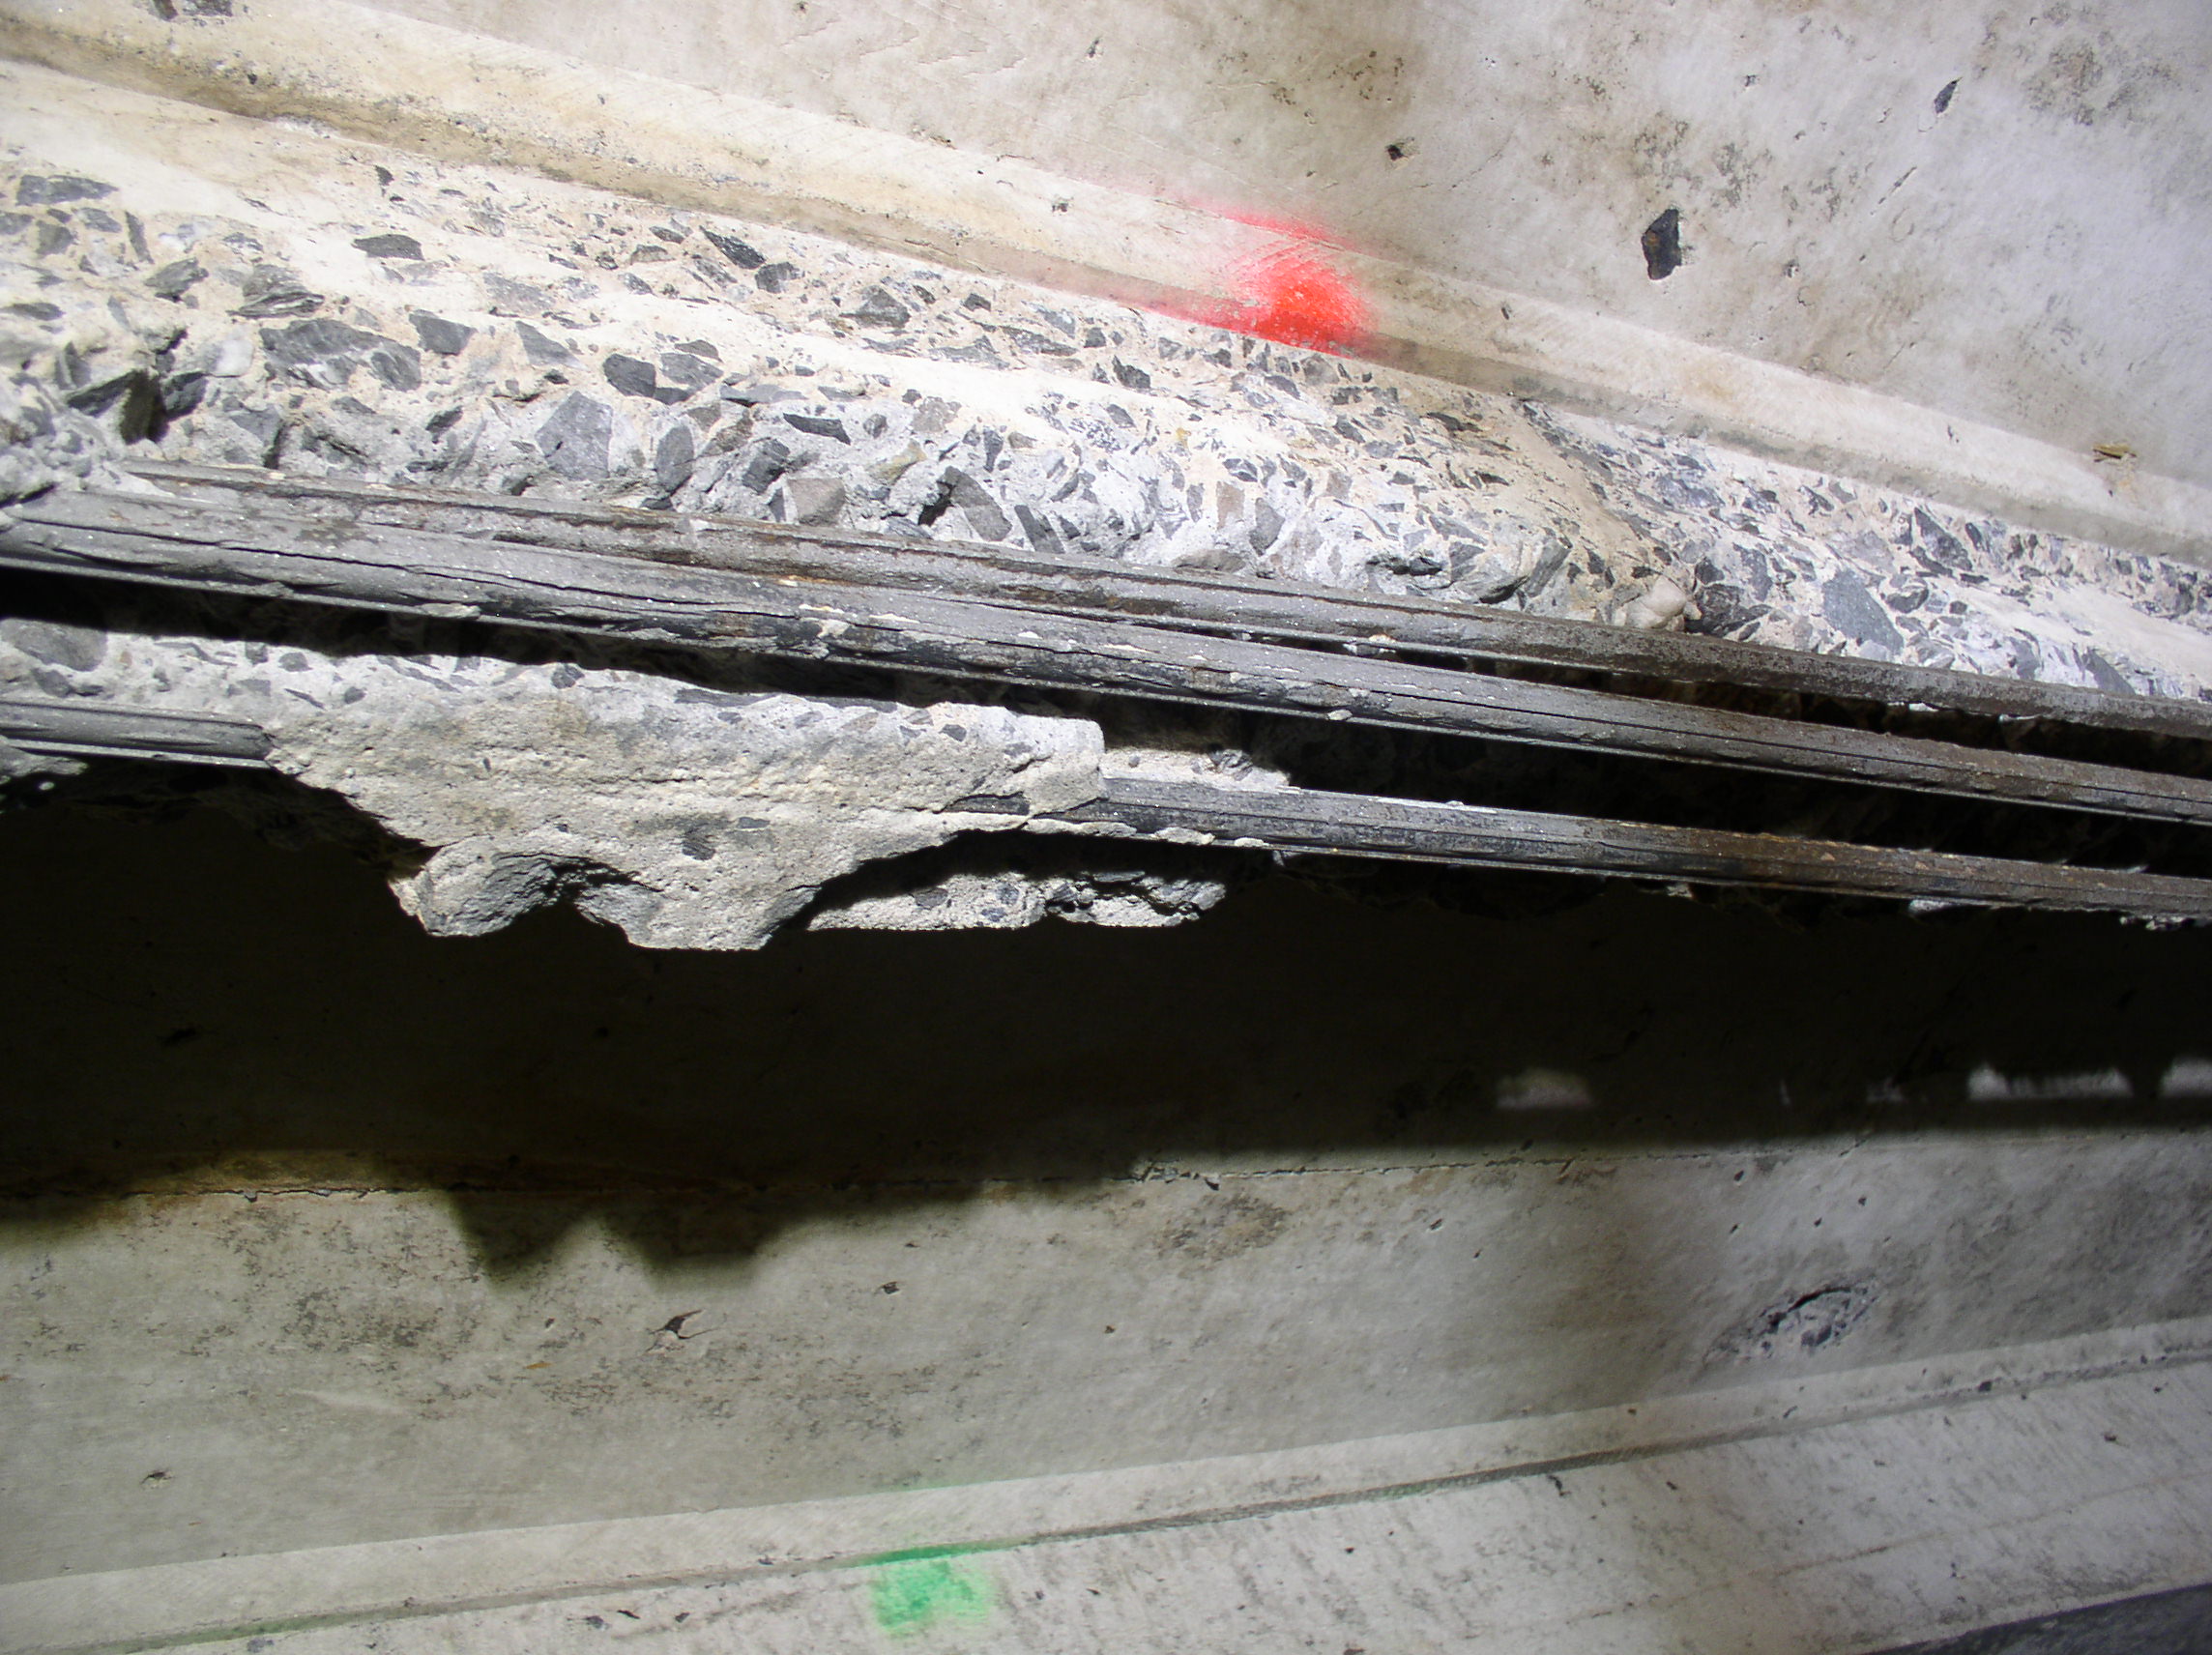
|
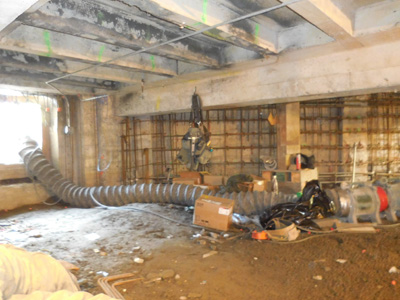
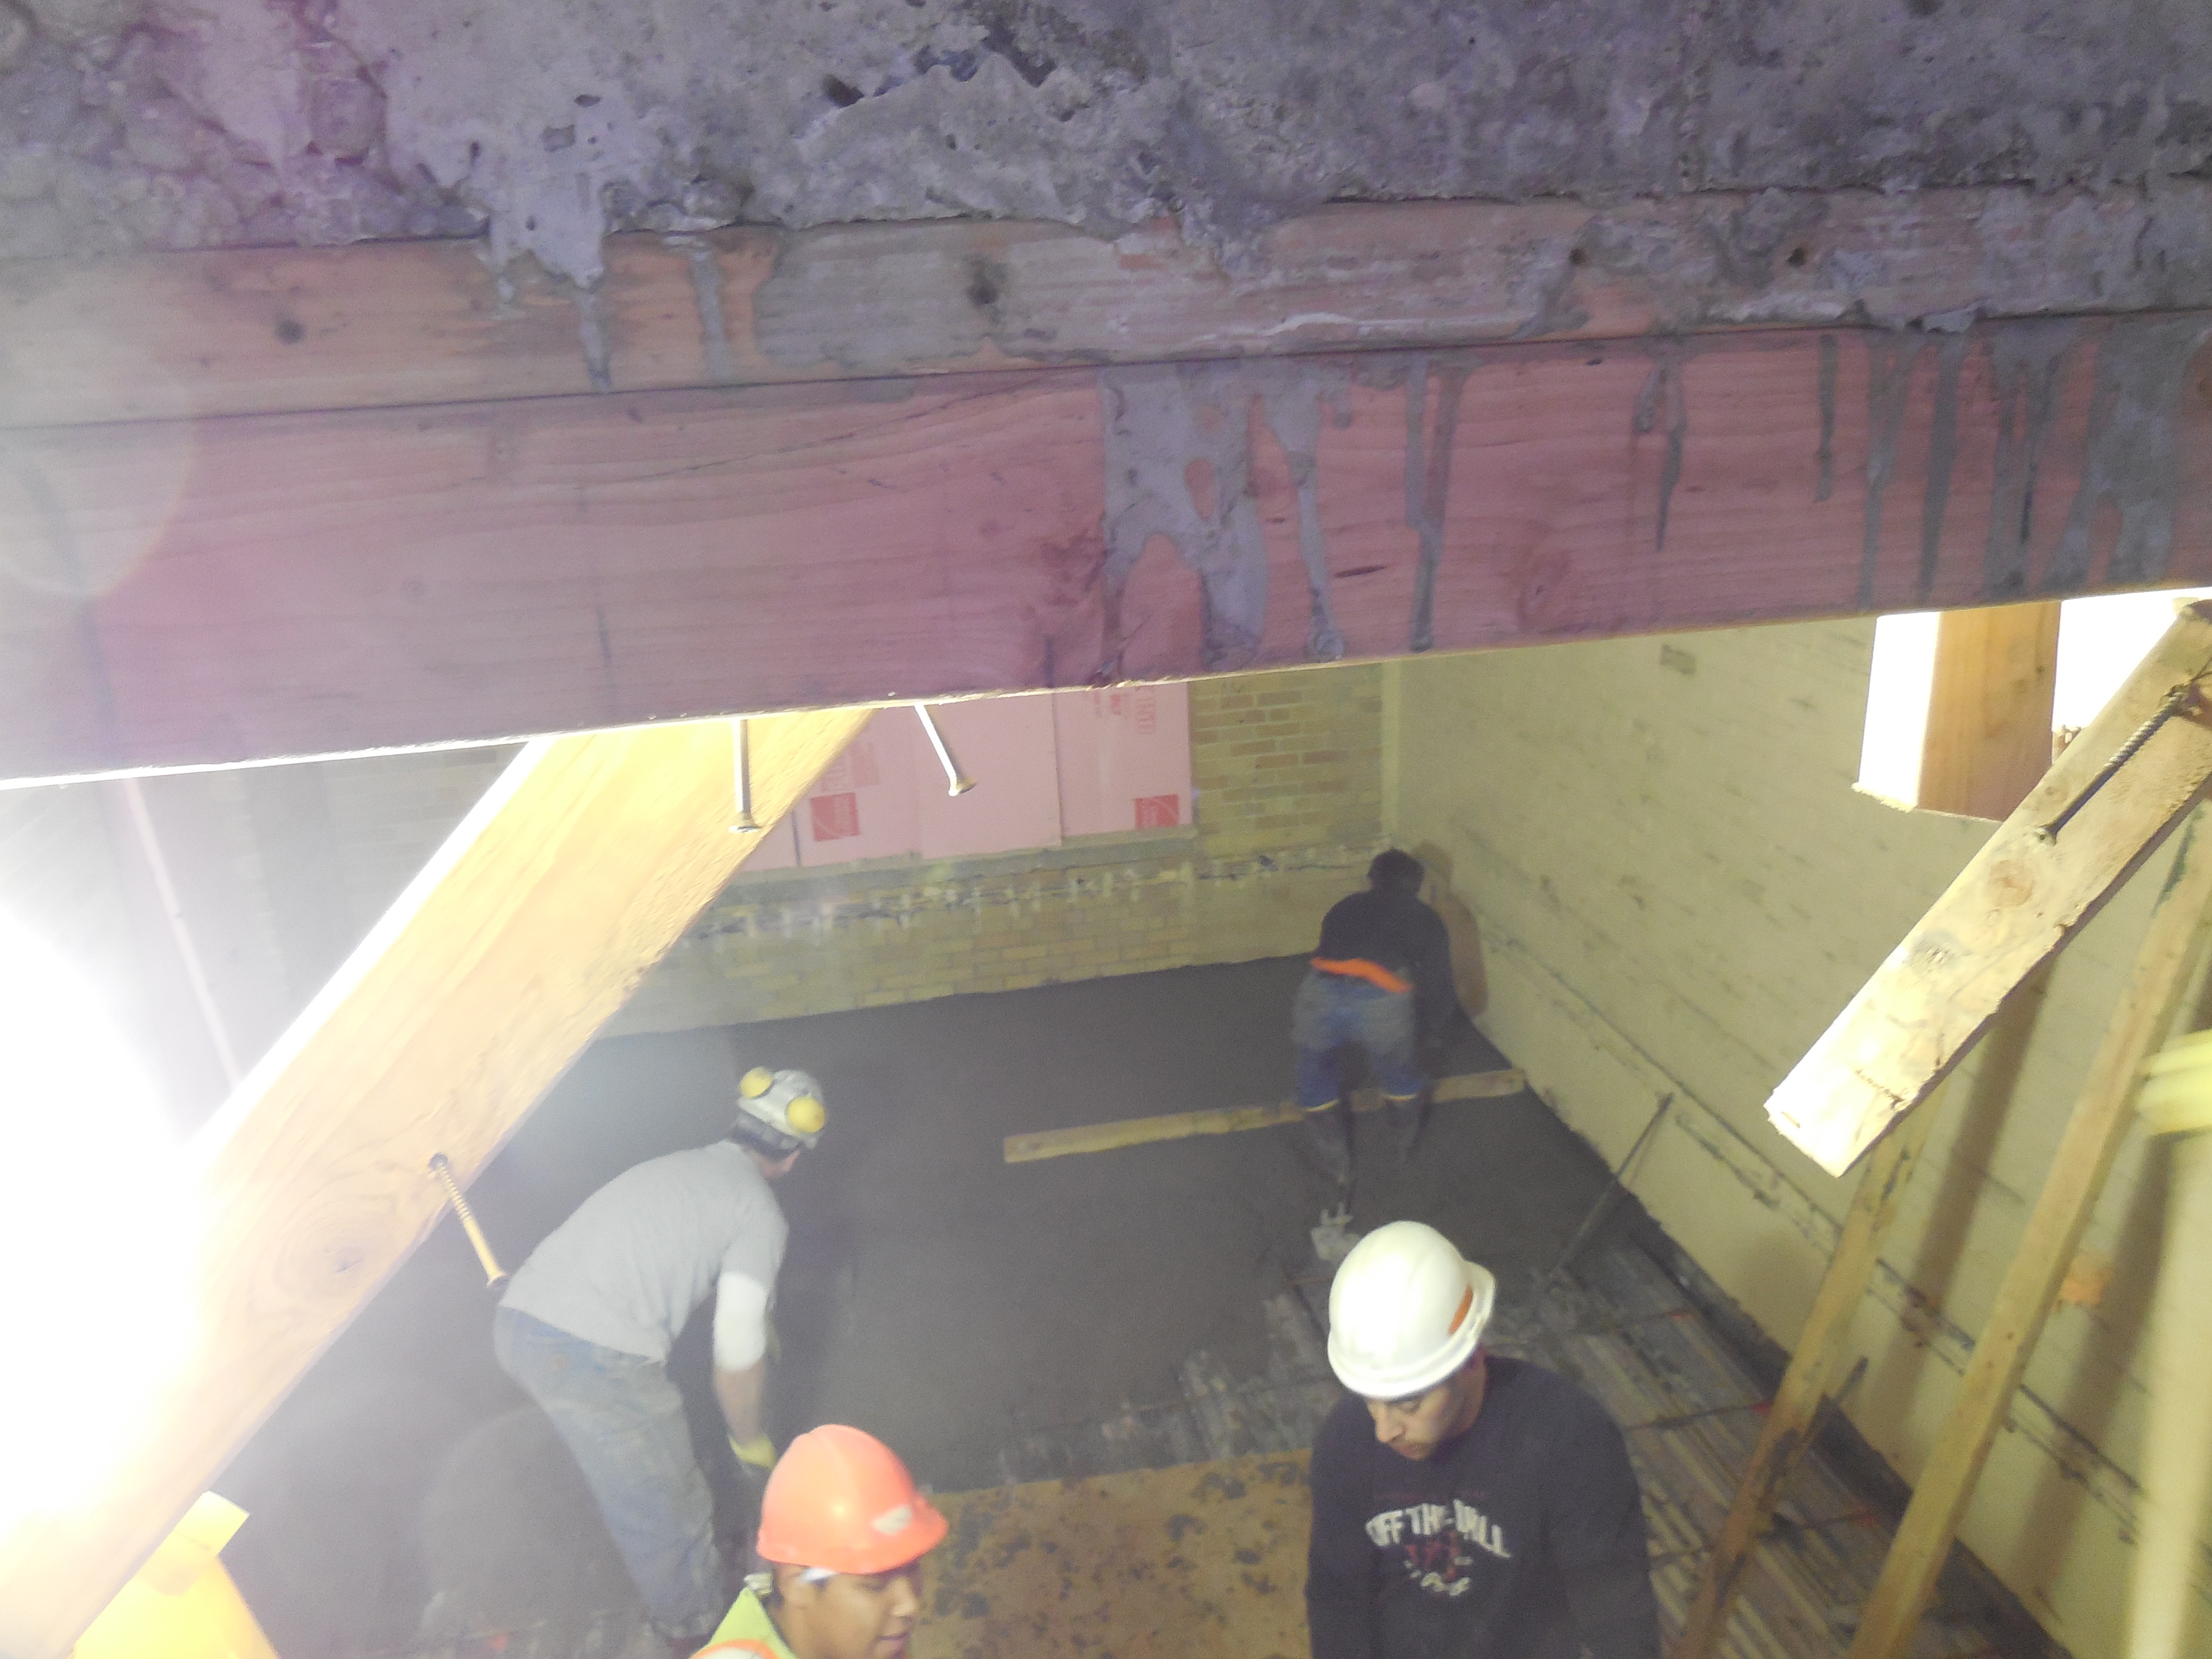
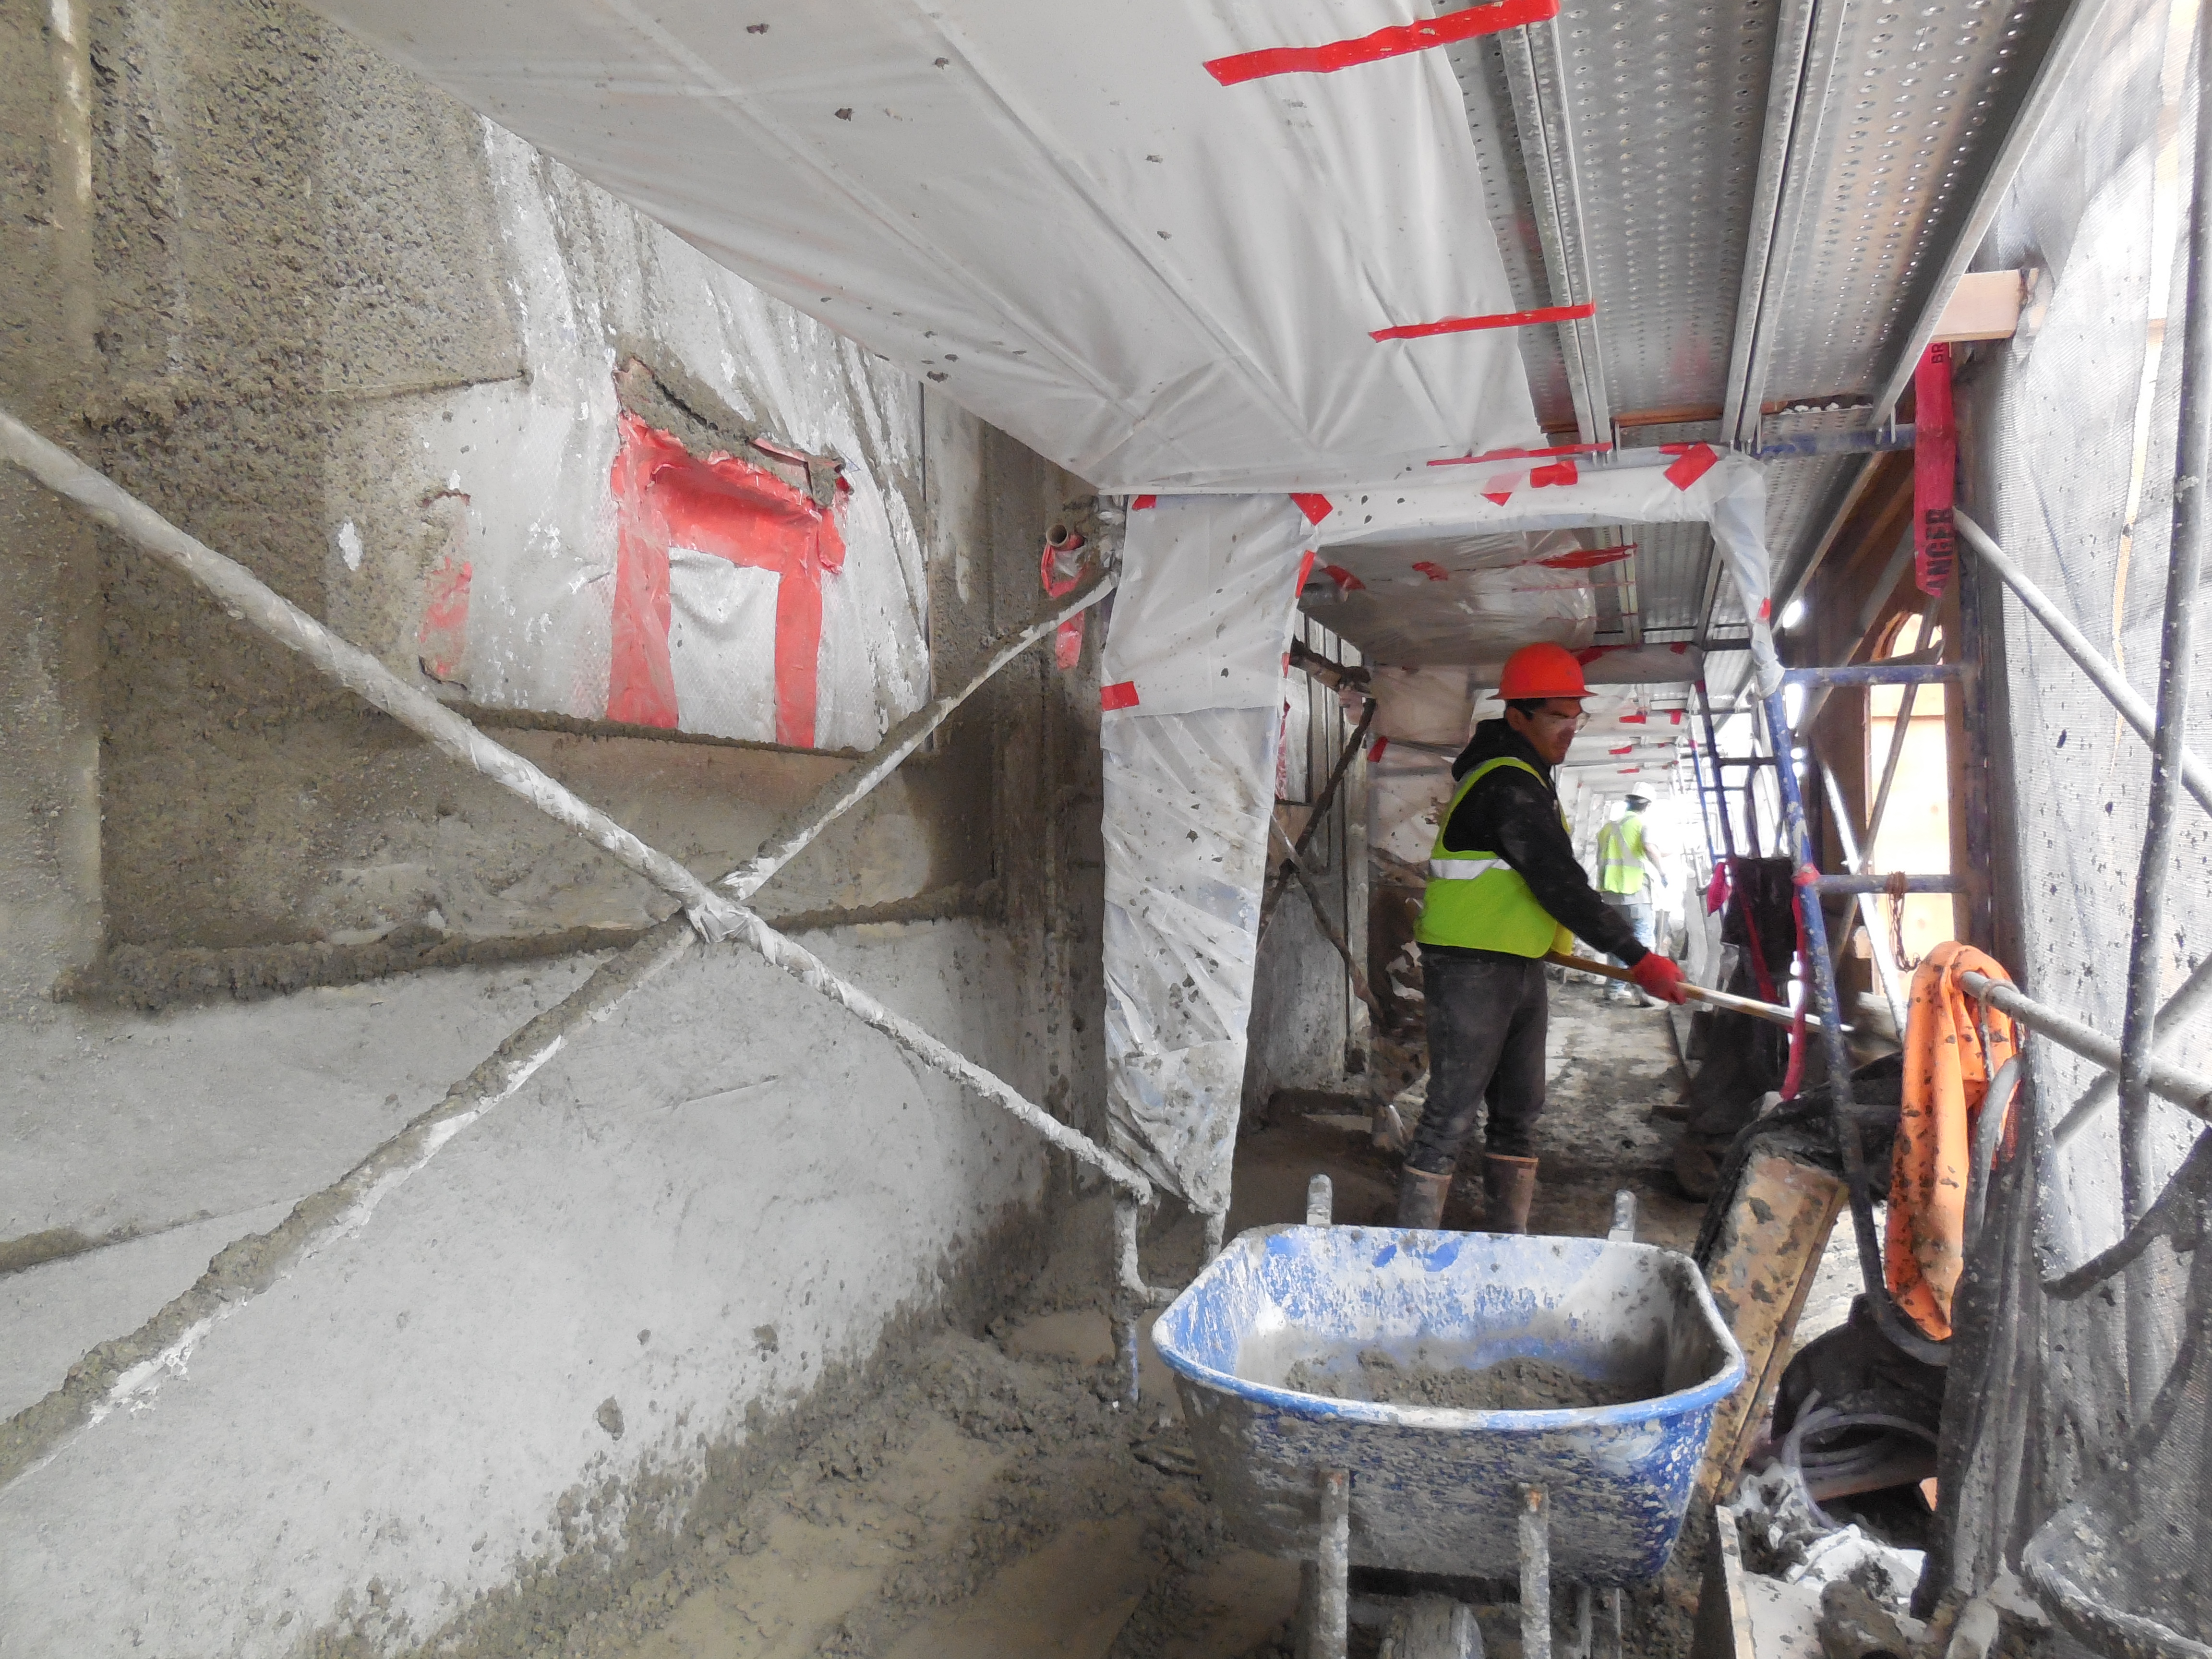
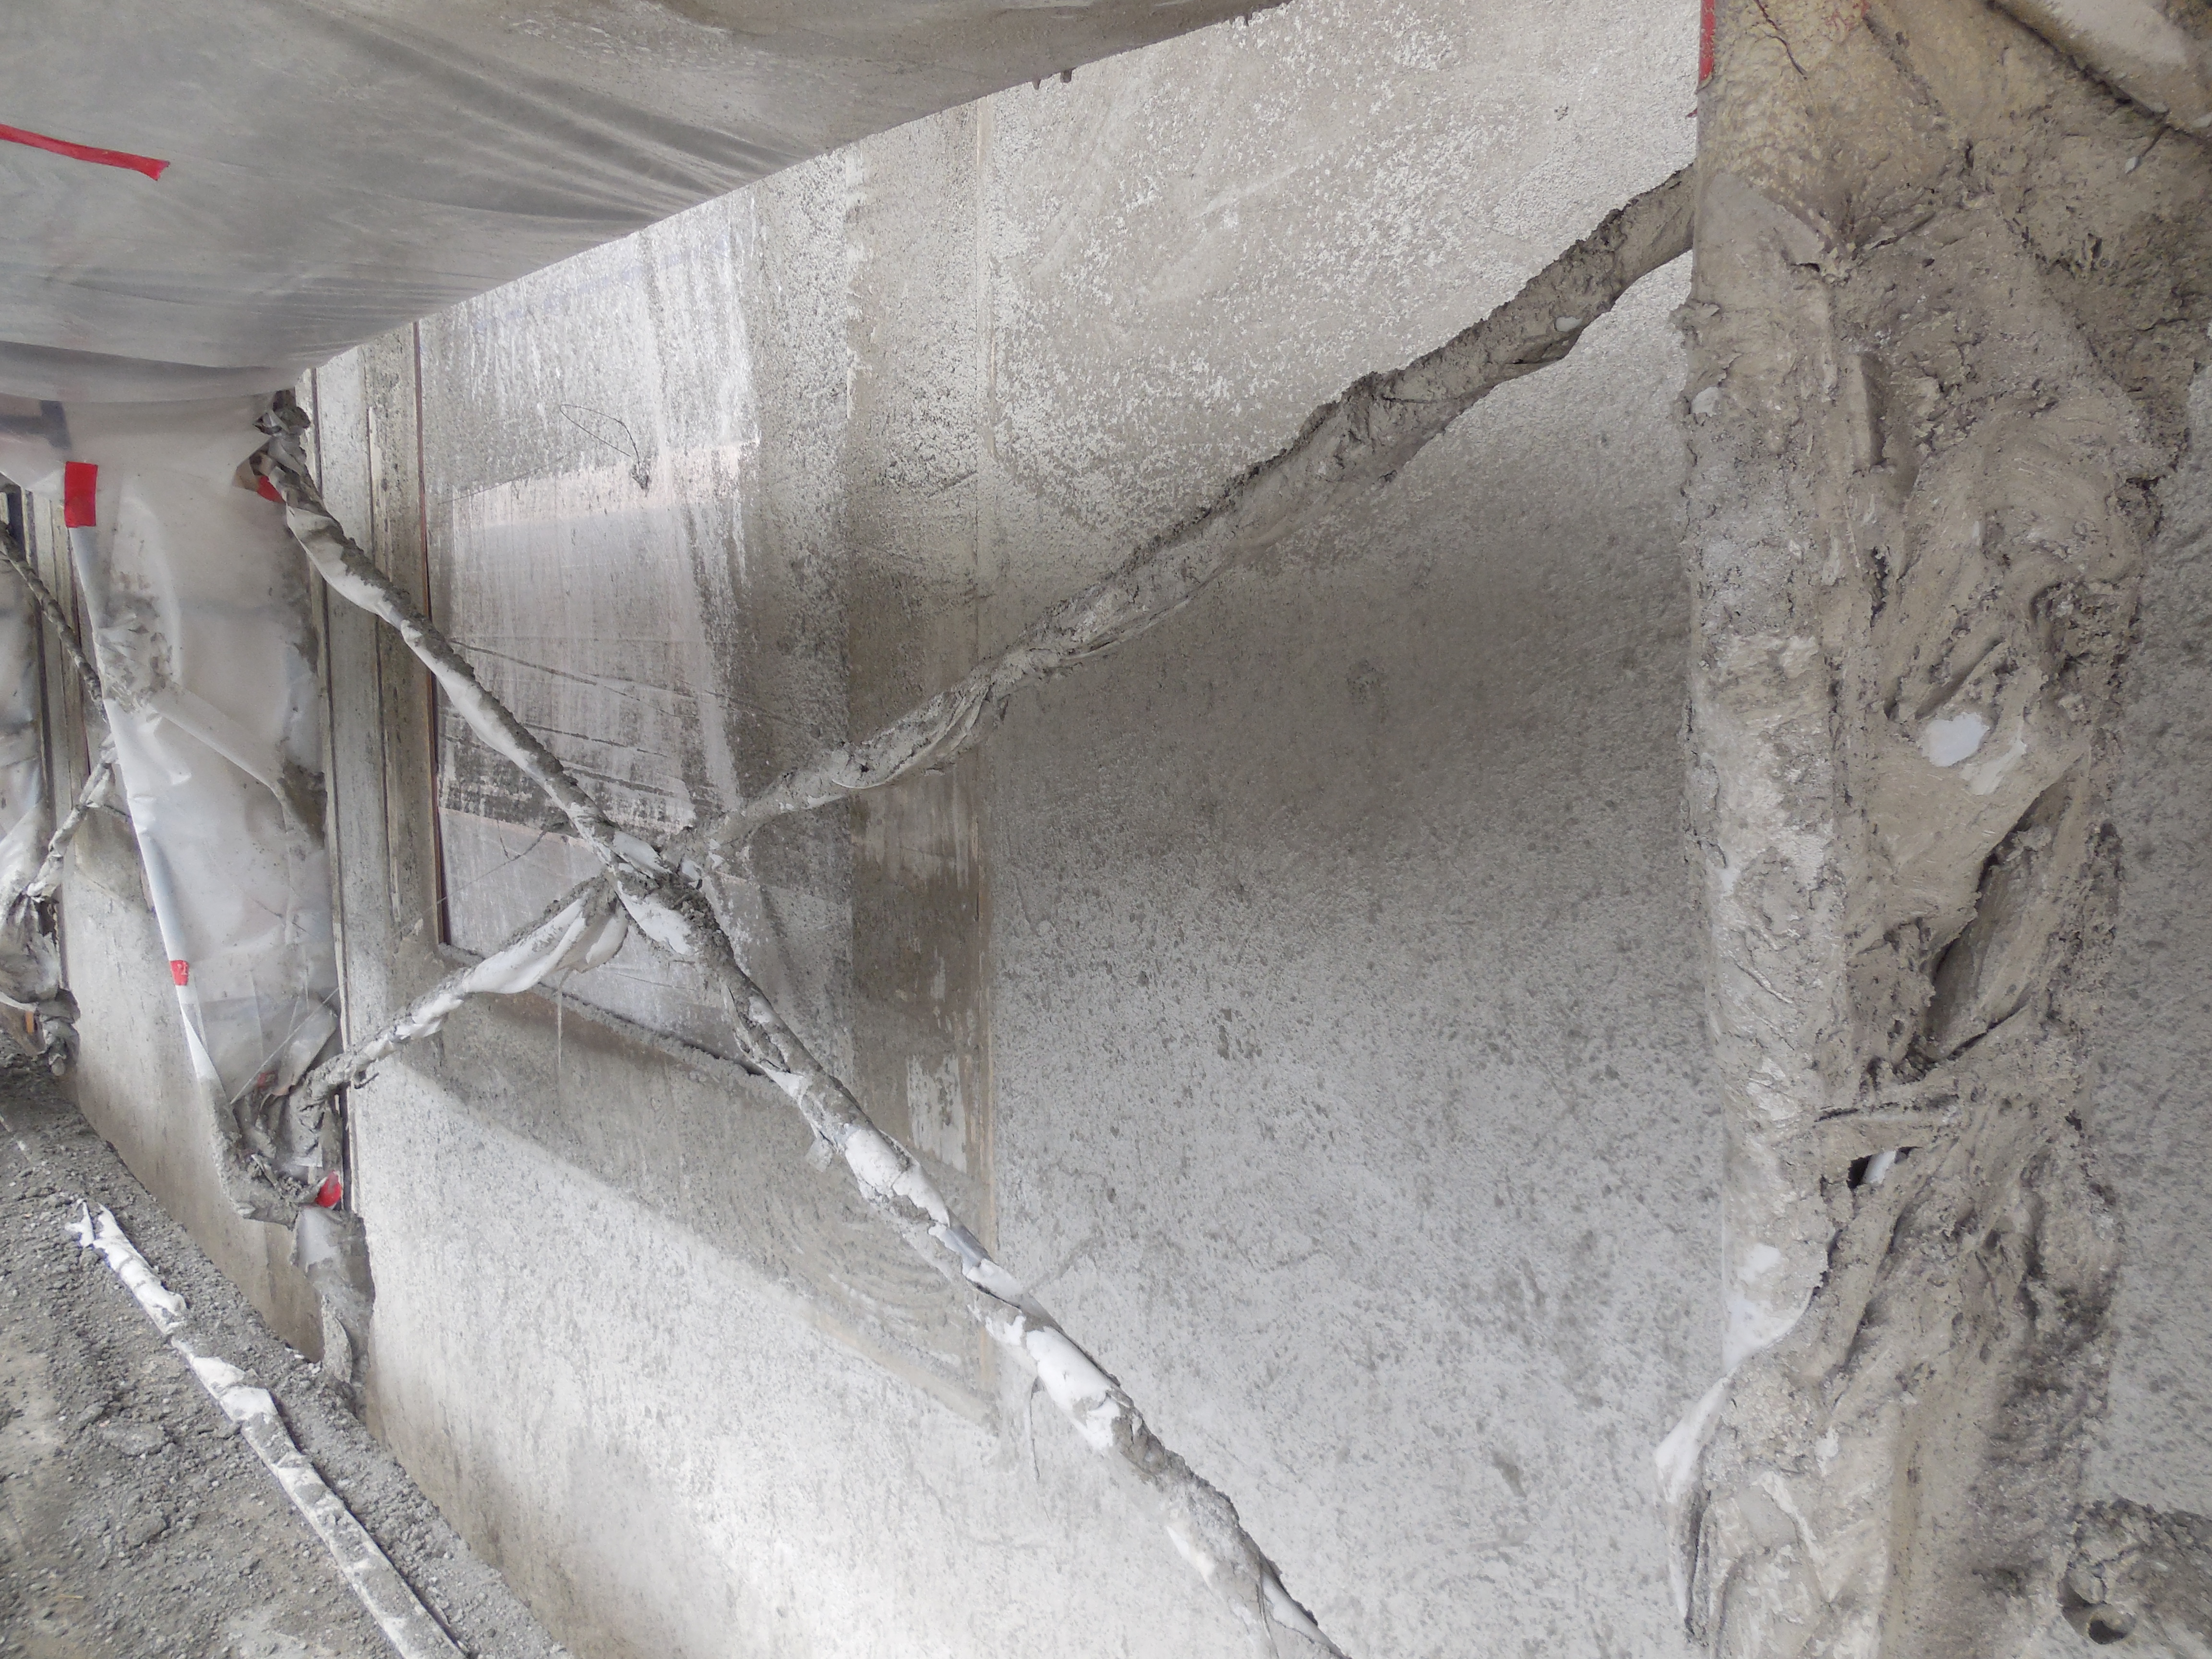
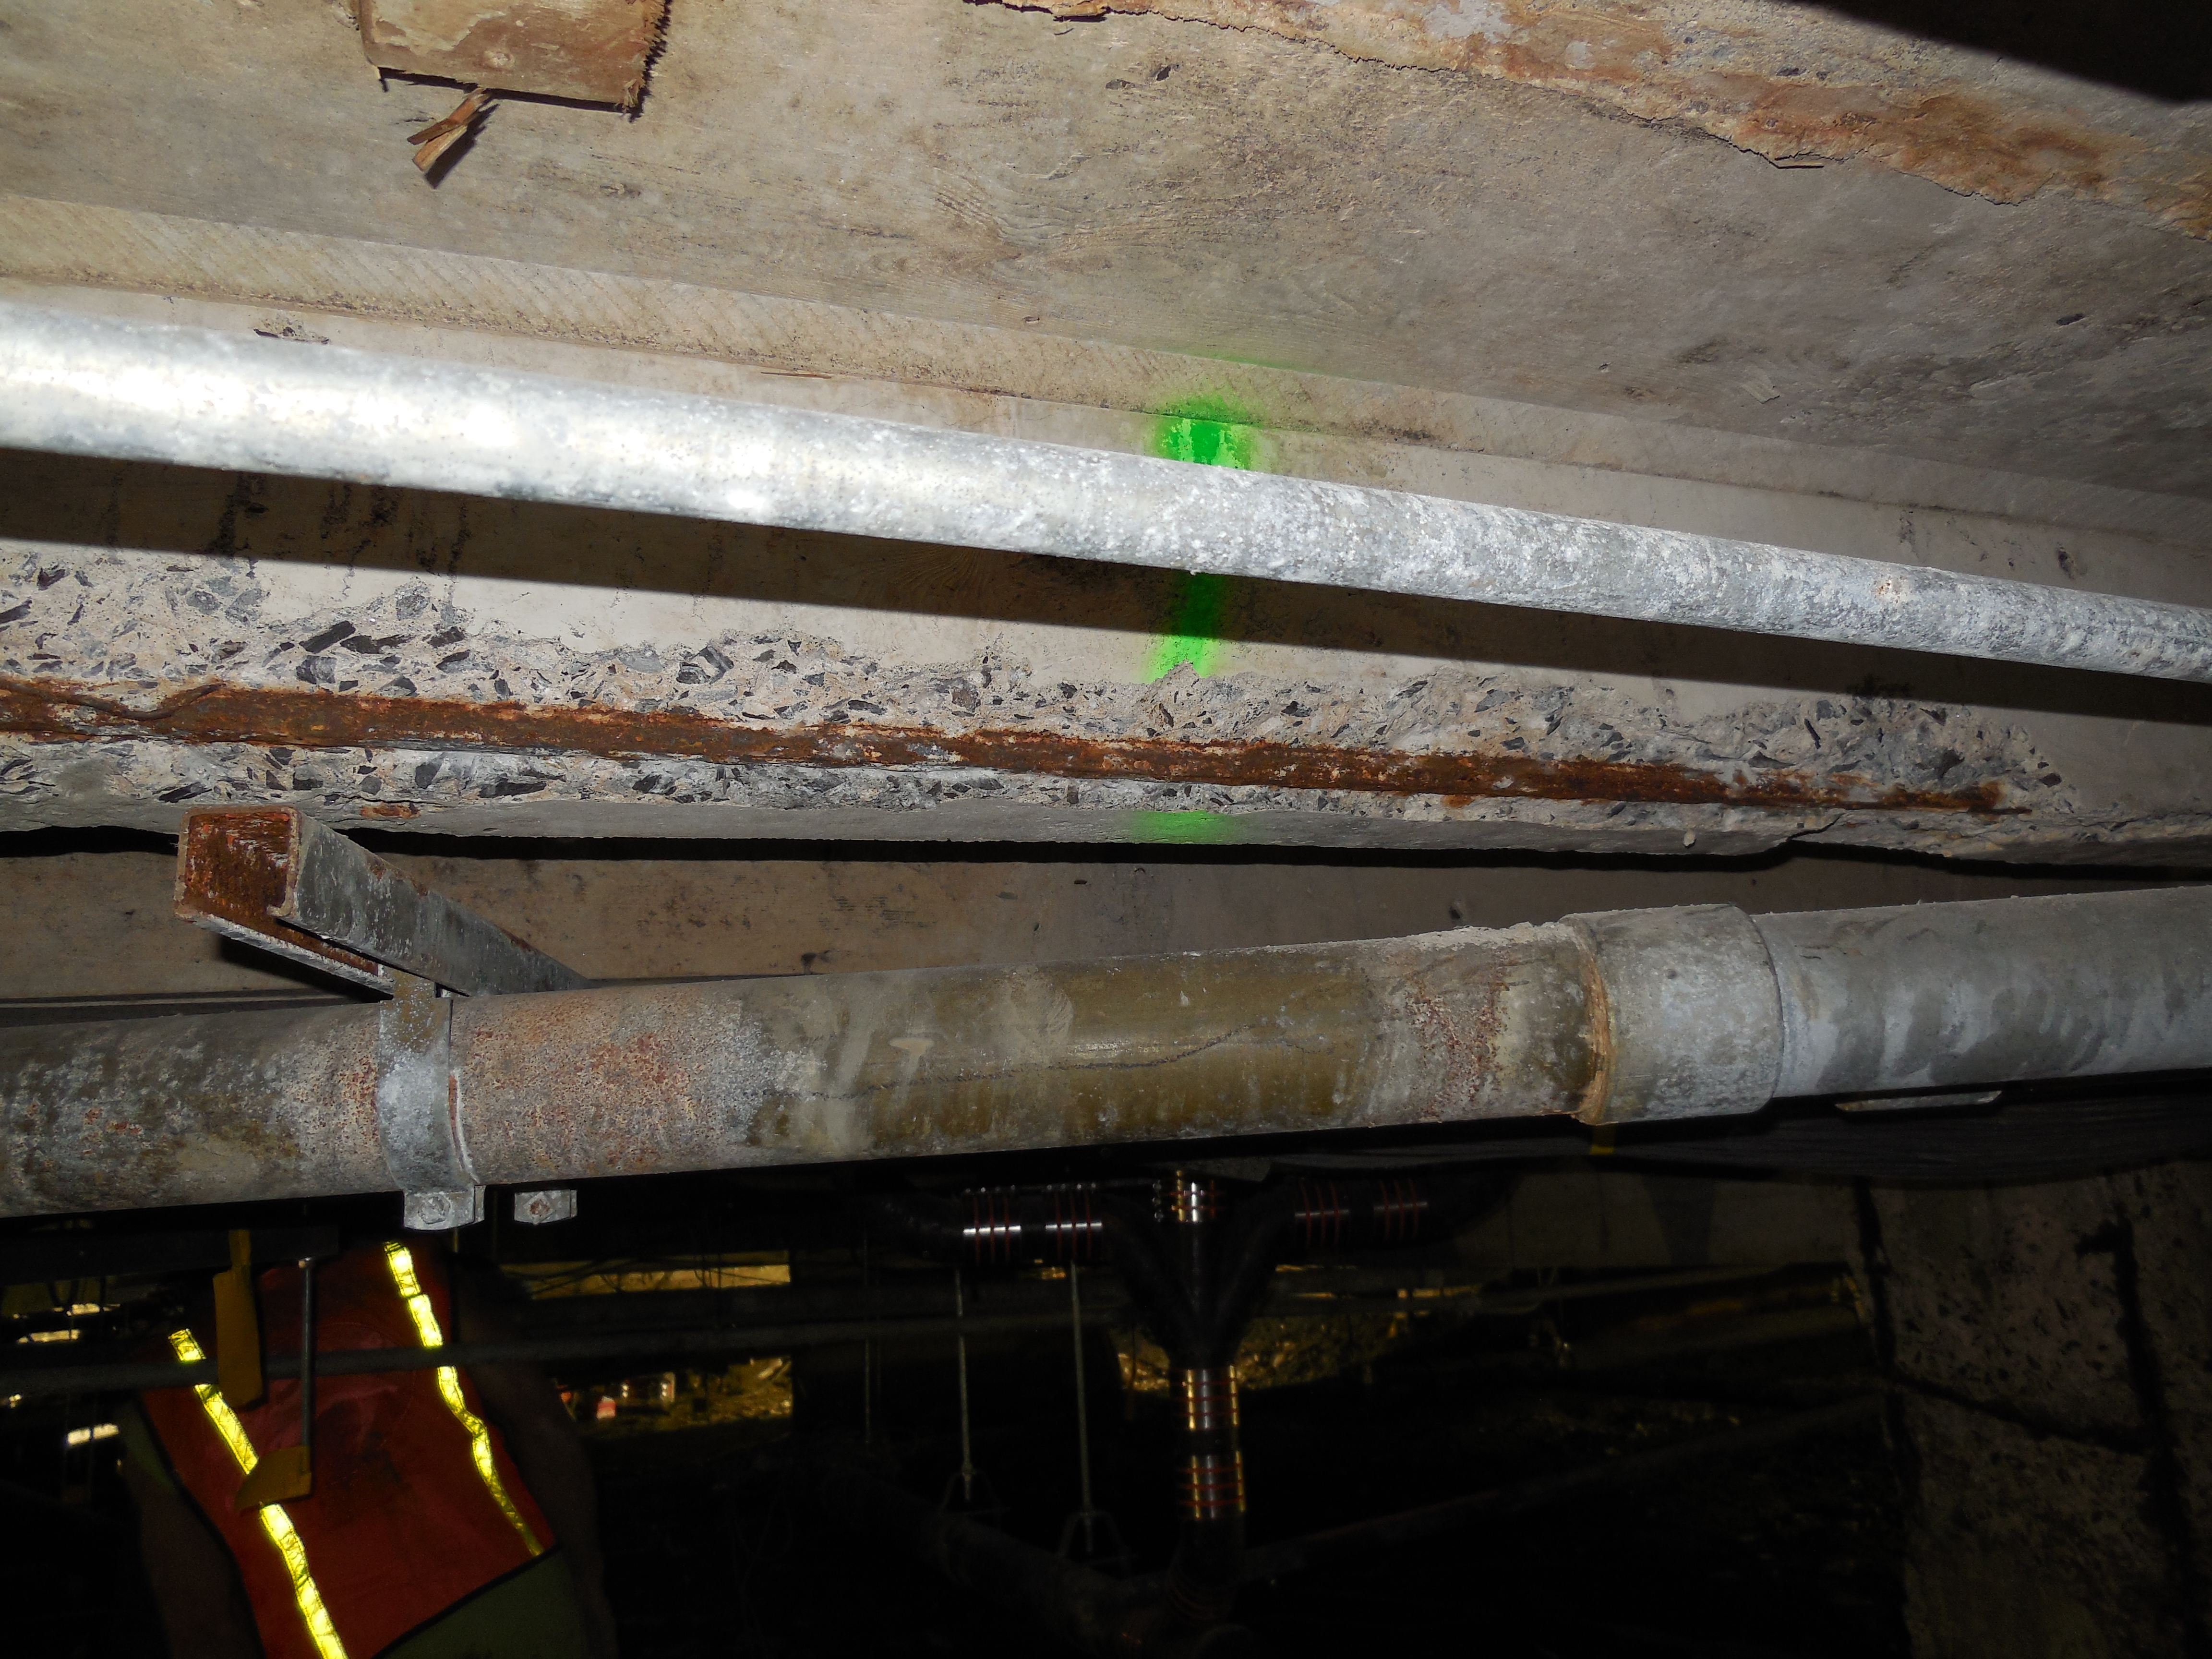
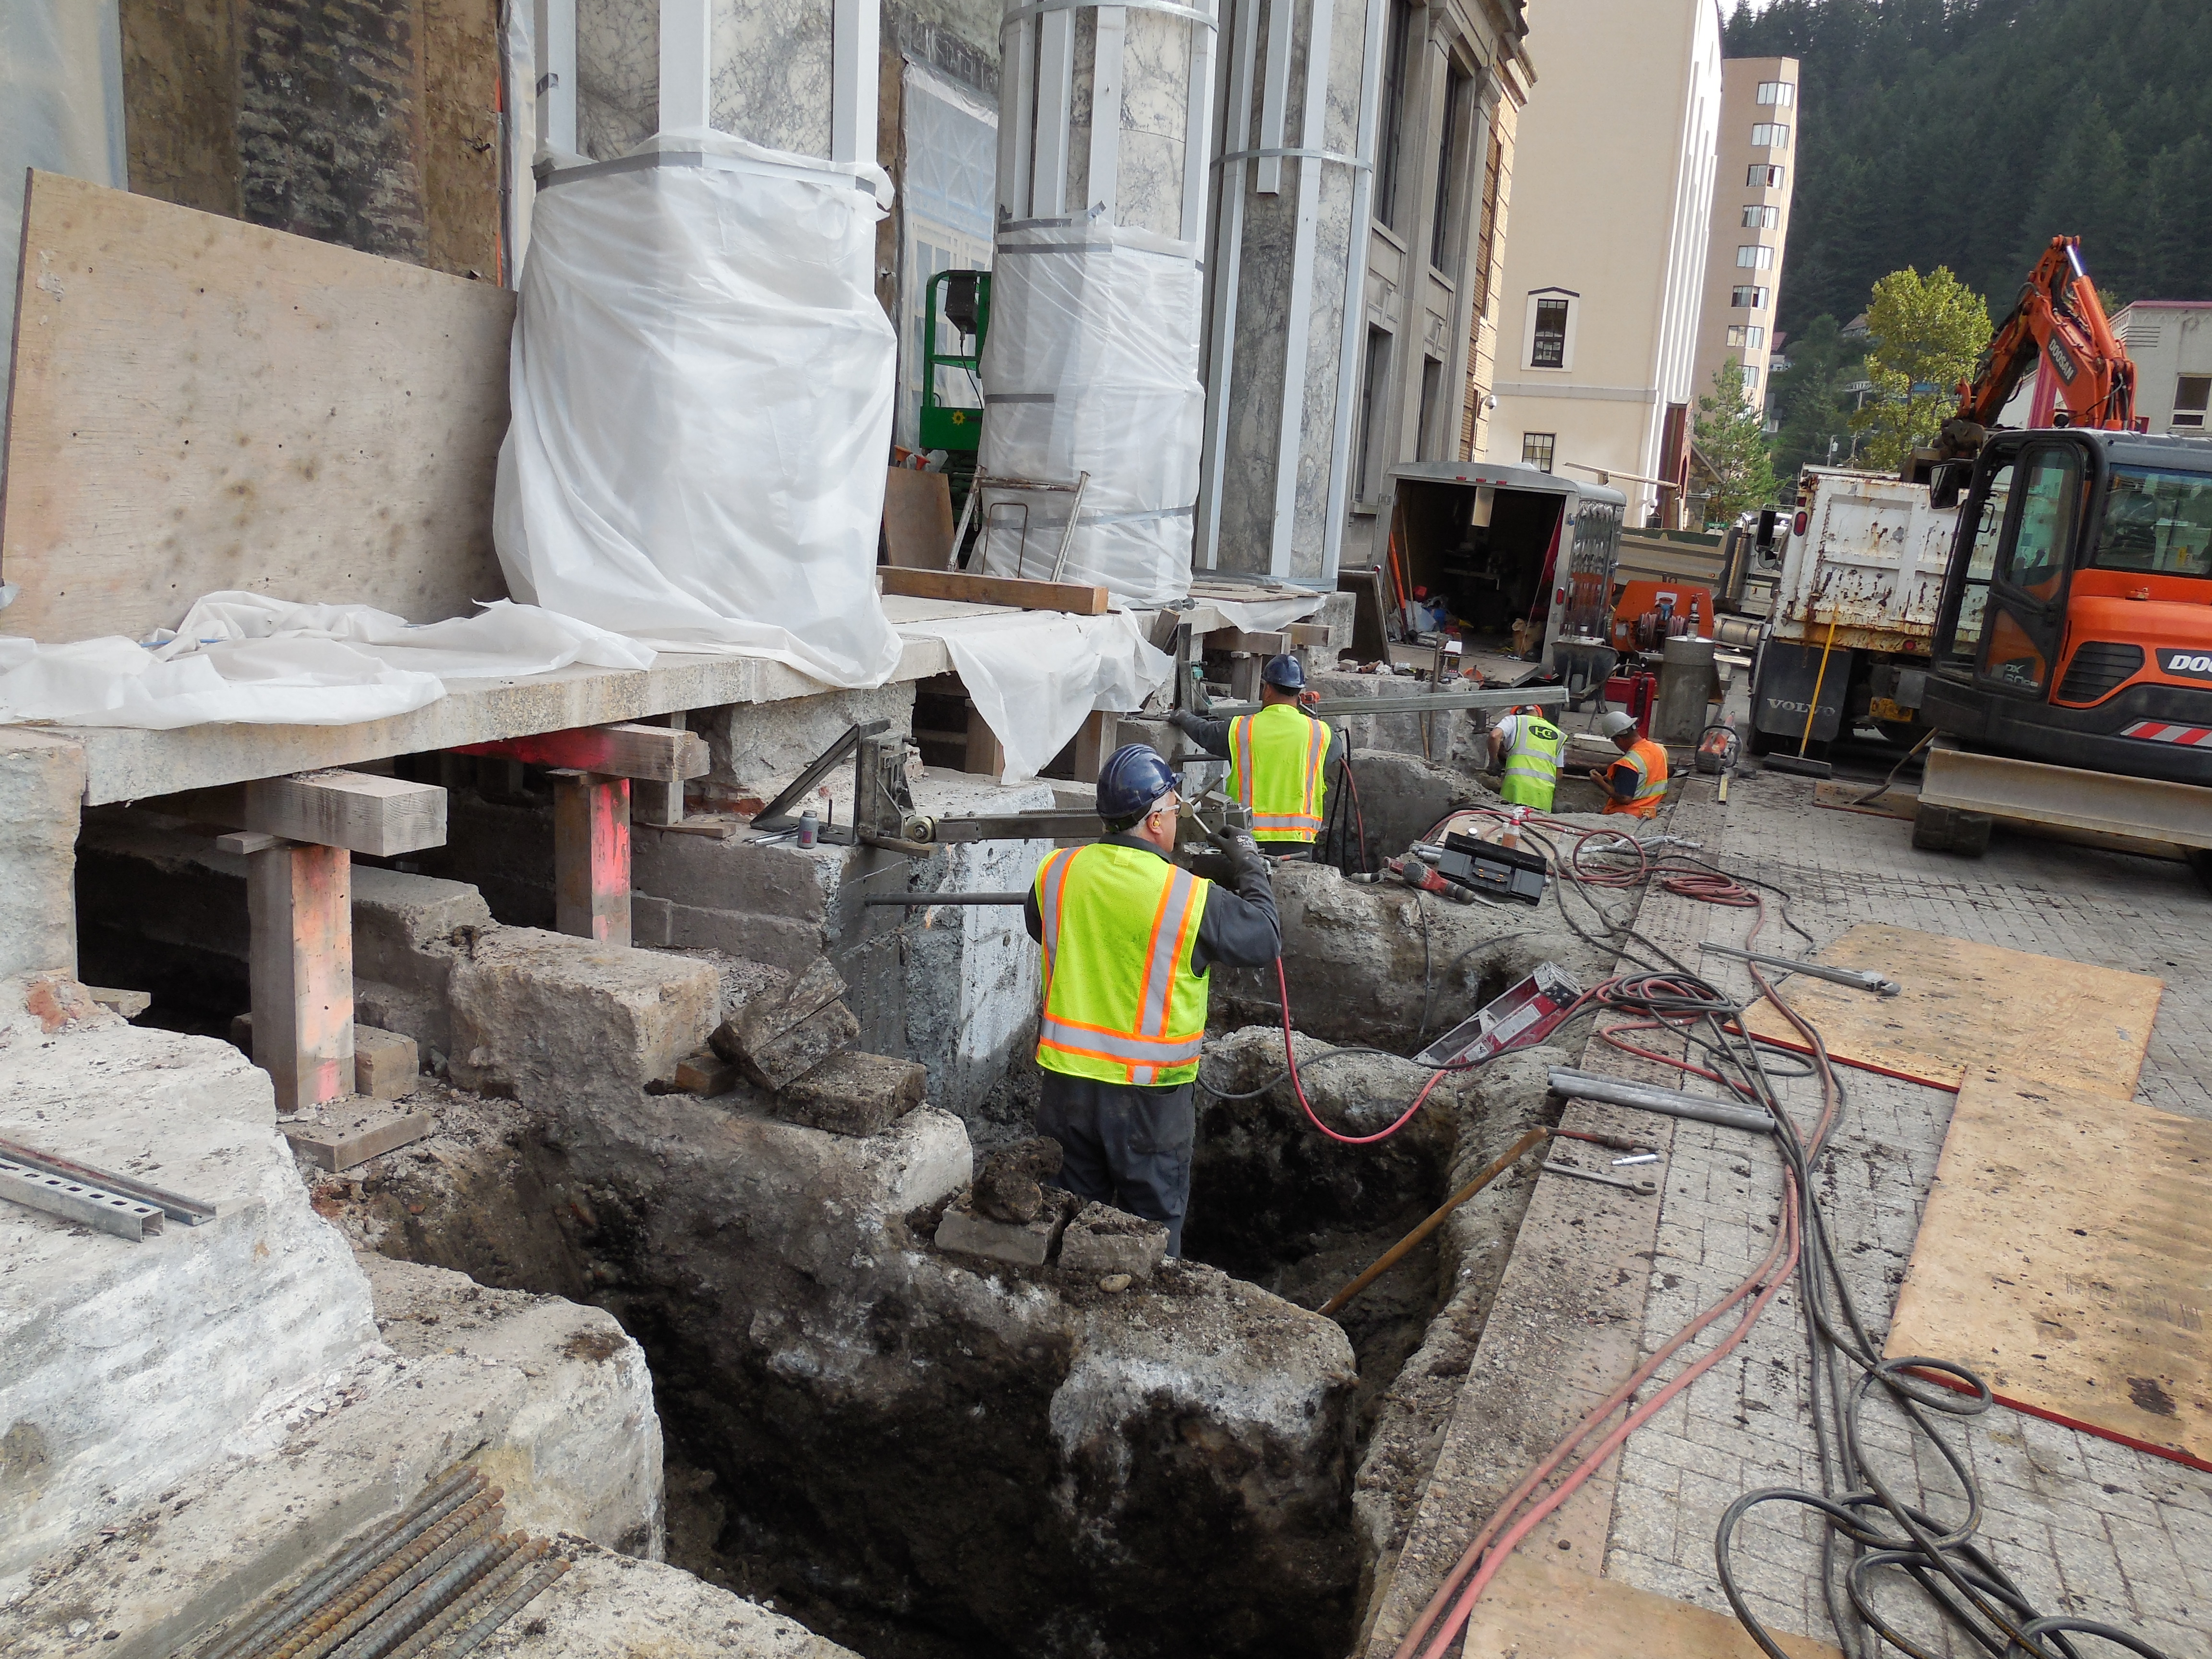
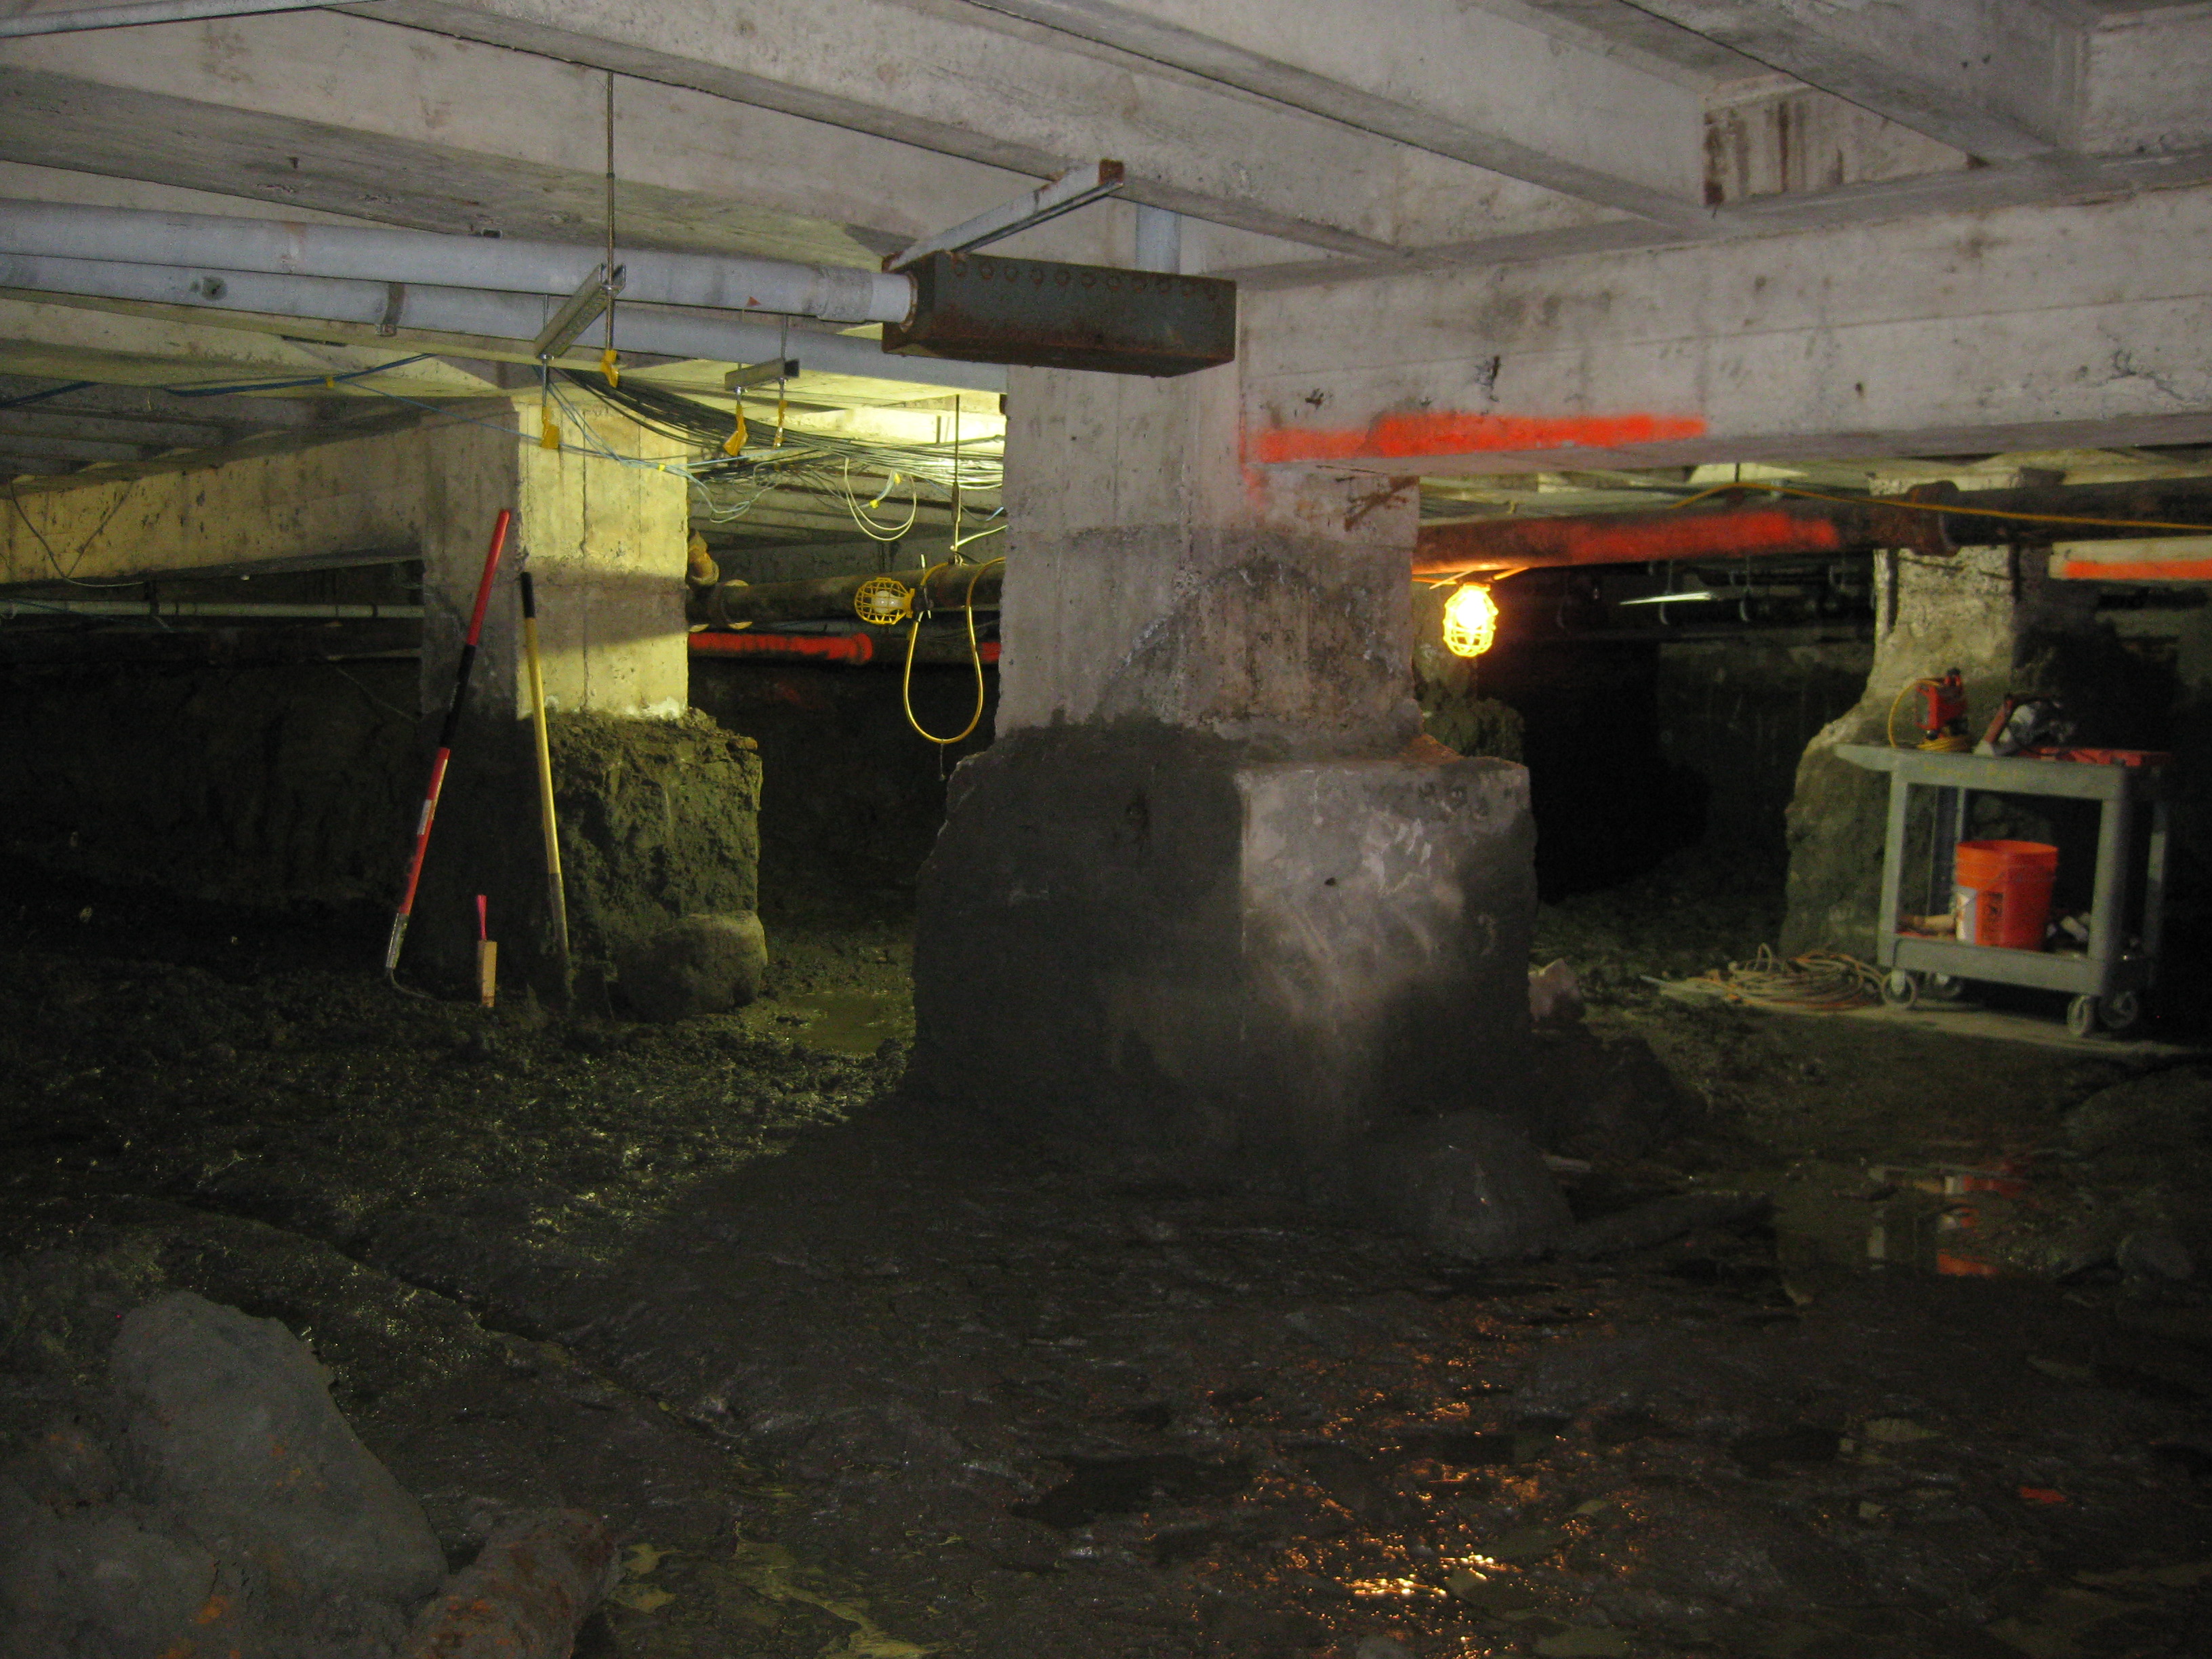
| Crawlspace excavation, electrical and mechanical has been completed. Concrete joist and column repair is next. Loose concrete will be removed and exposed rusted steel (as seen in photo) will be sandblasted prior to joist and column repair | Loose concrete has been removed from joist and steel has been sandblasted in preparation for repairs |

|
|
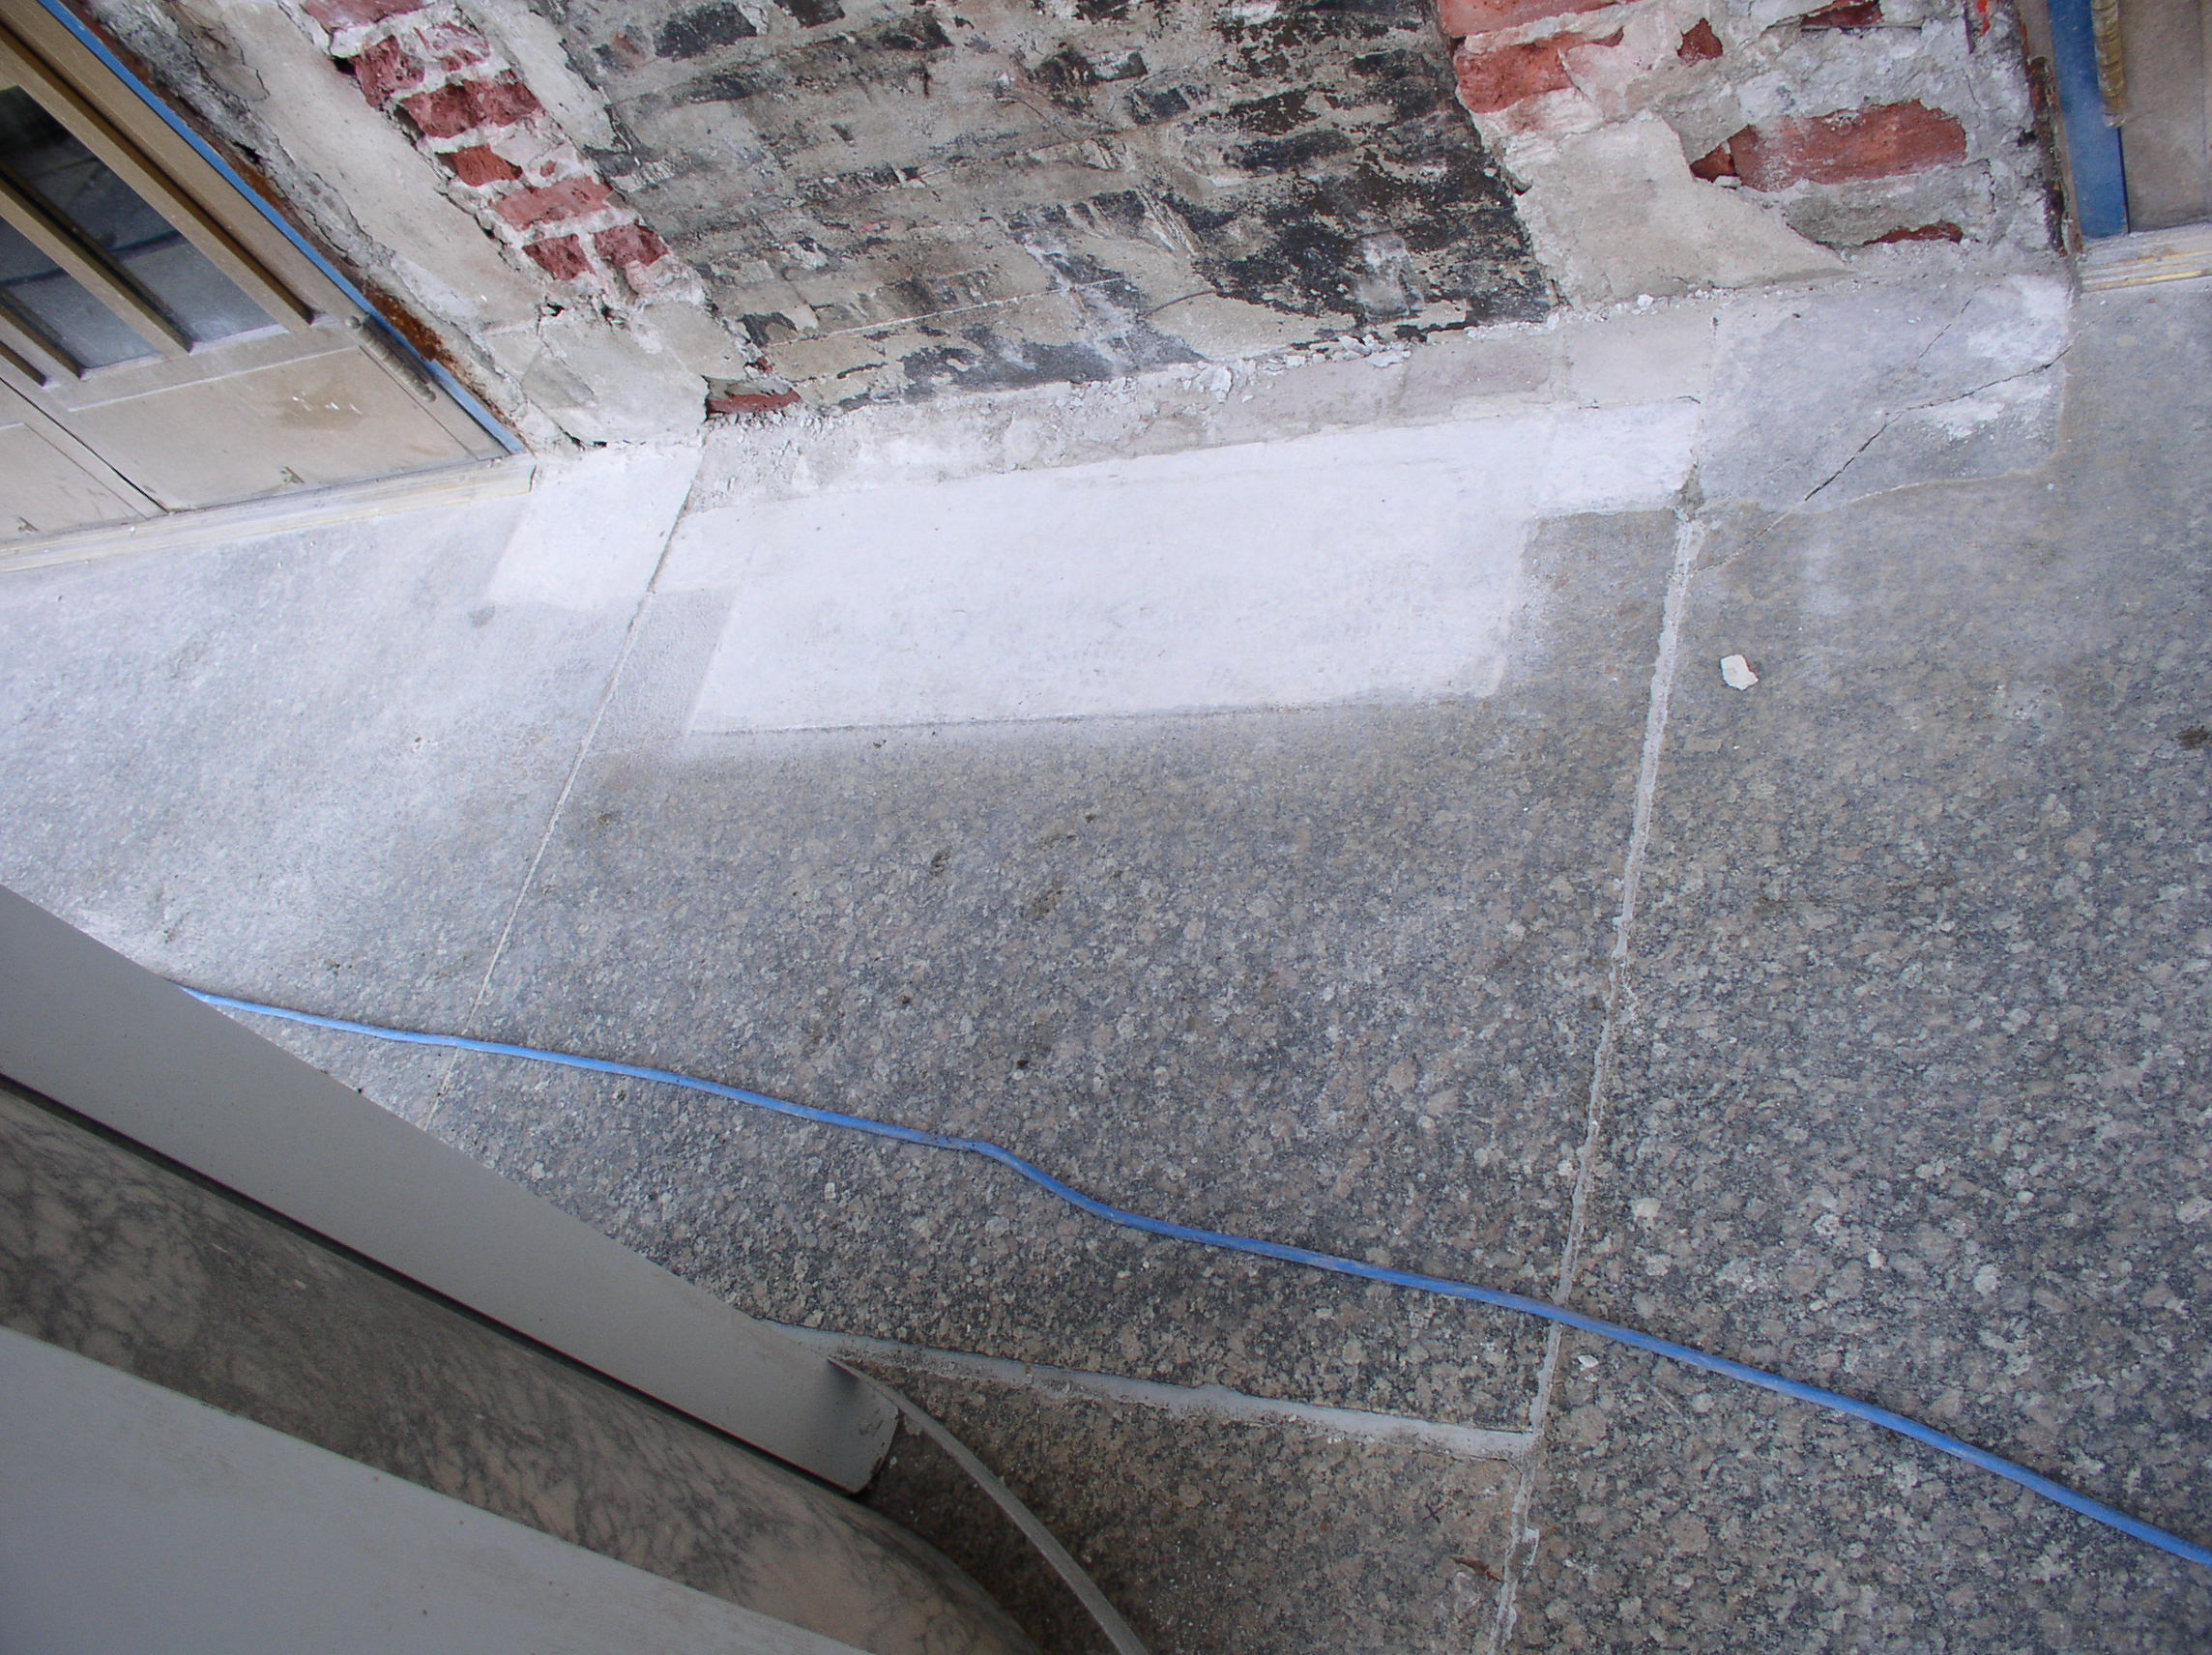
| Workers pump concrete into pilaster forms | Front of building is prepped for new granite and paver stonework to form sidewalks that will match existing downtown sidewalks |
Update August 30, 2013
|
|
| Rebar in place and fastened to building ready to form. Once forms are in place, concrete will be poured in approximately 4 to 5 lifts to create concrete pilasters for portico roof beam. | Workers verifying dimensions and prepping the building to accept and fasten the pilaster forms |
|
|
| Worker fastens pilaster form in place | Pilaster forms installed to pour first lift of concrete |
Update August 23, 2013
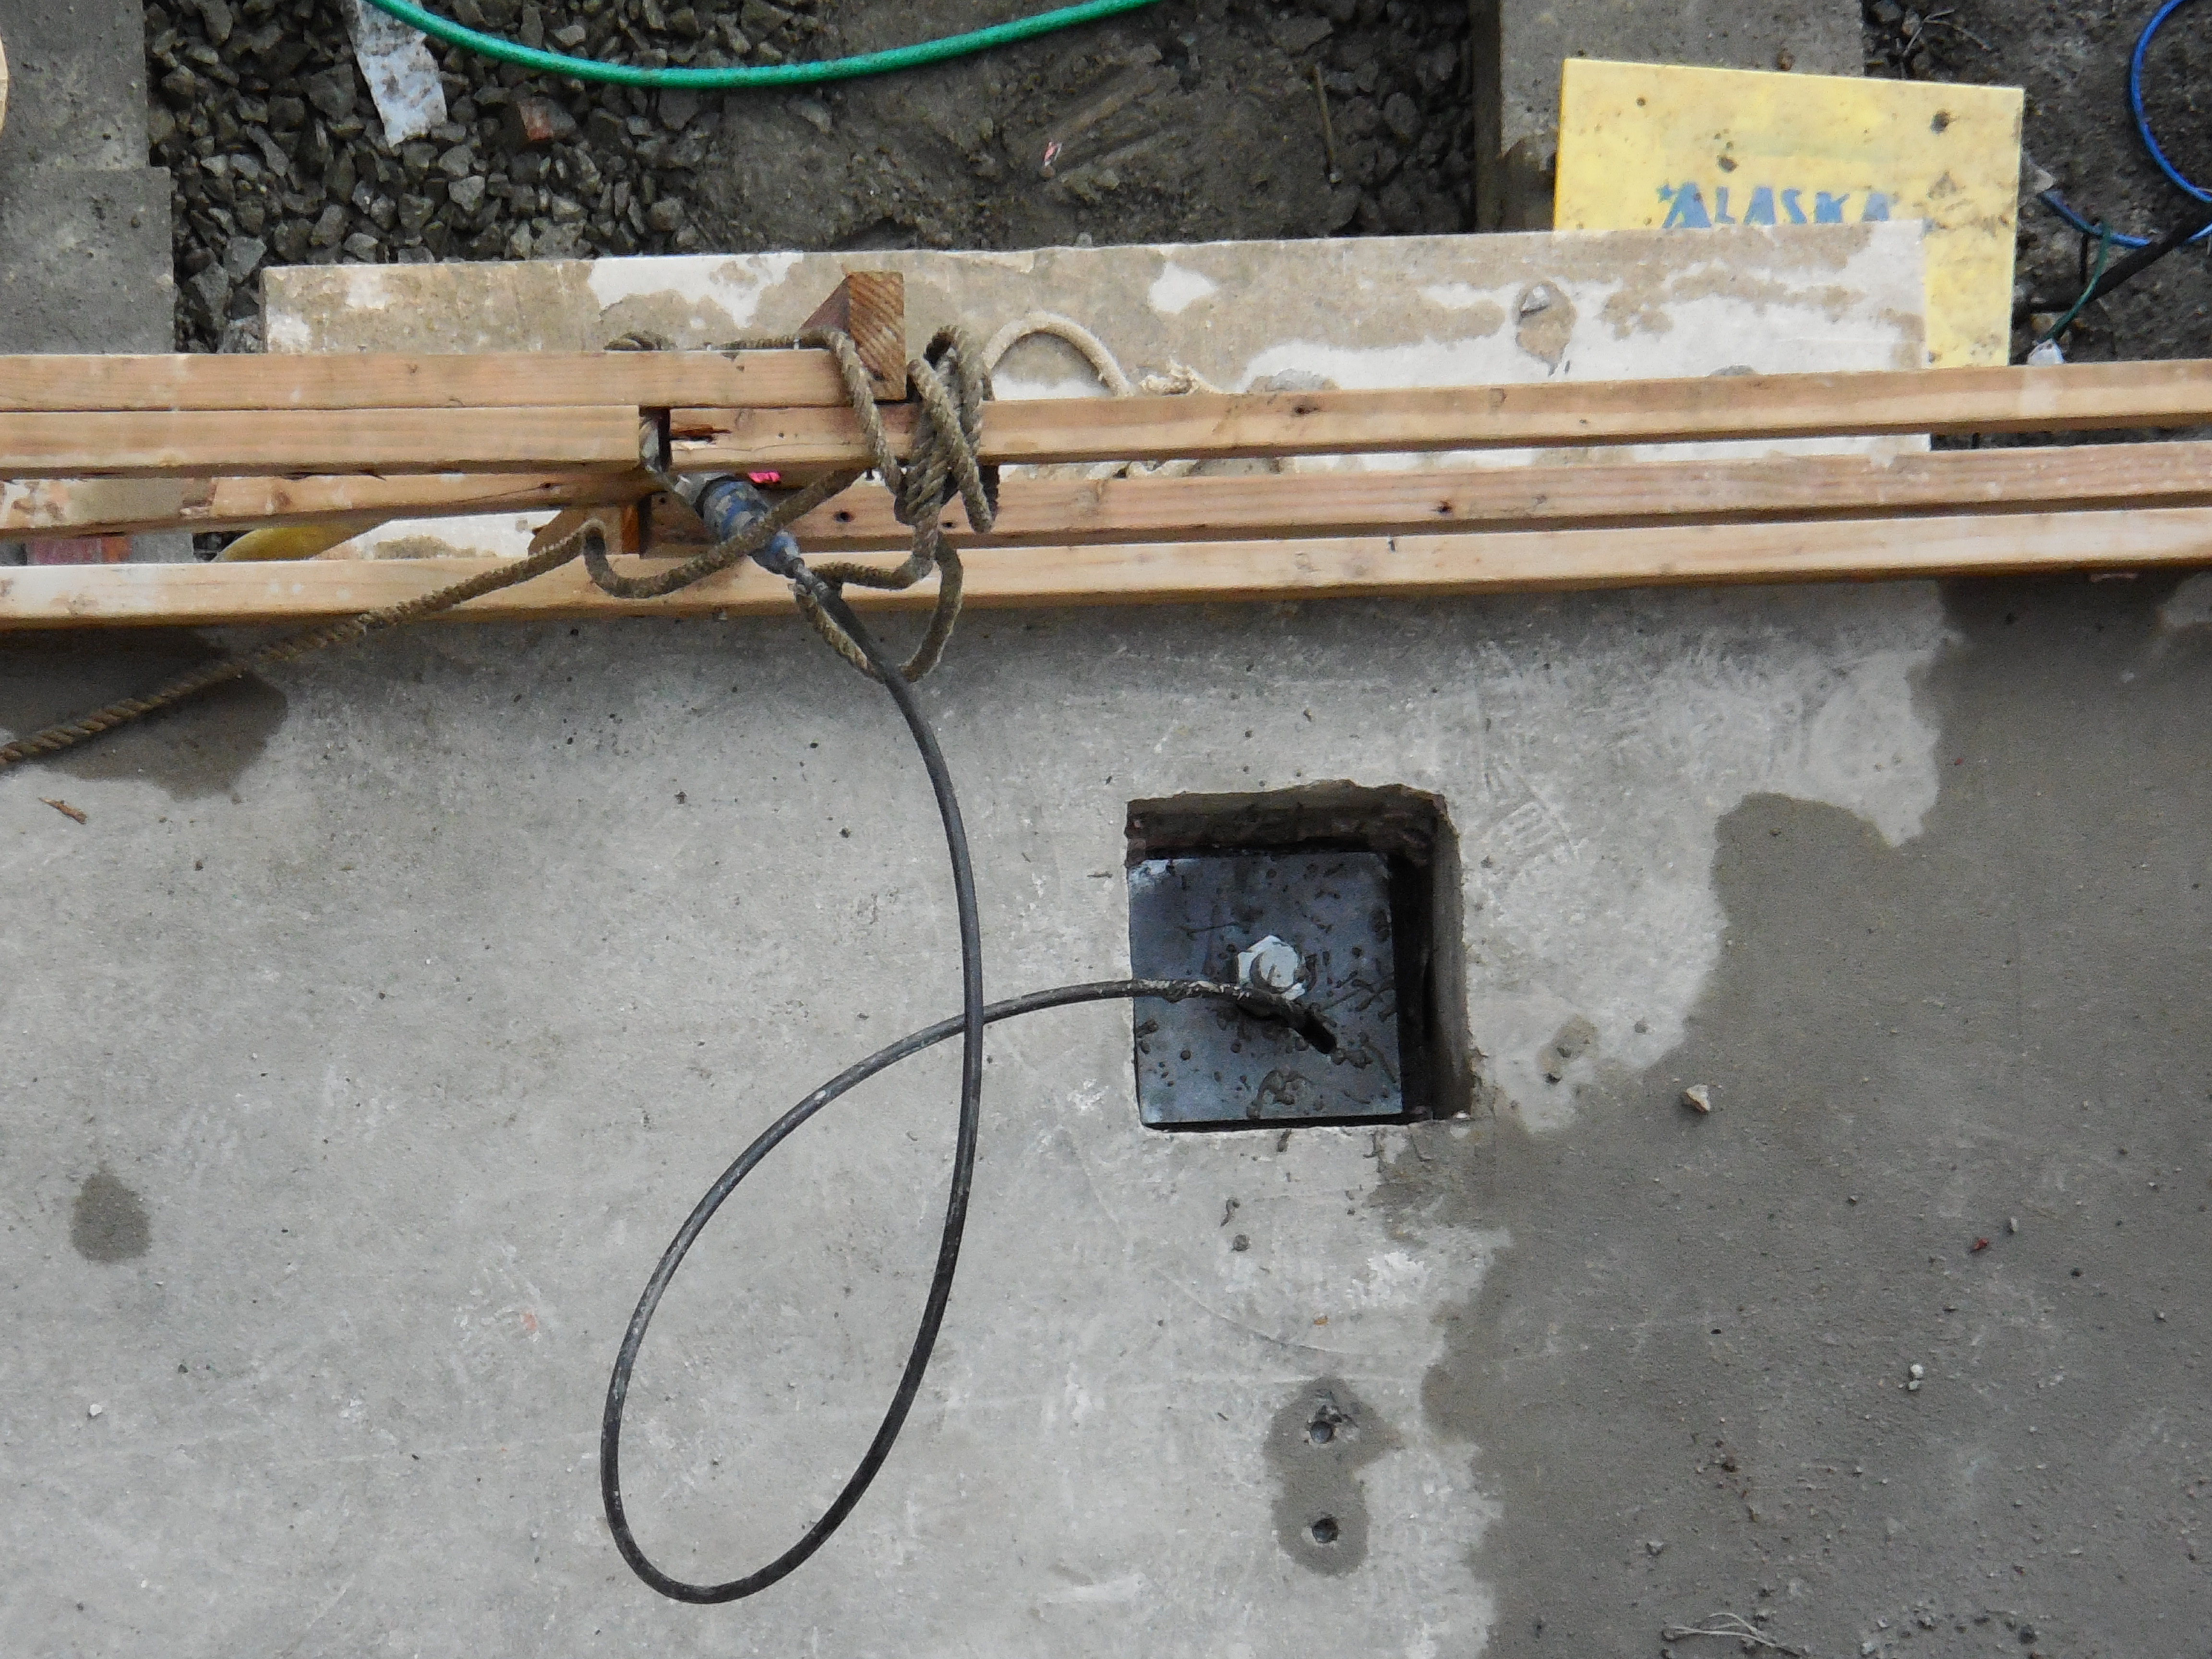
|
|
| Drilling through column foundations completed, ready for epoxy and rebar | Workers install fabric in preparation for backfill |
|

|
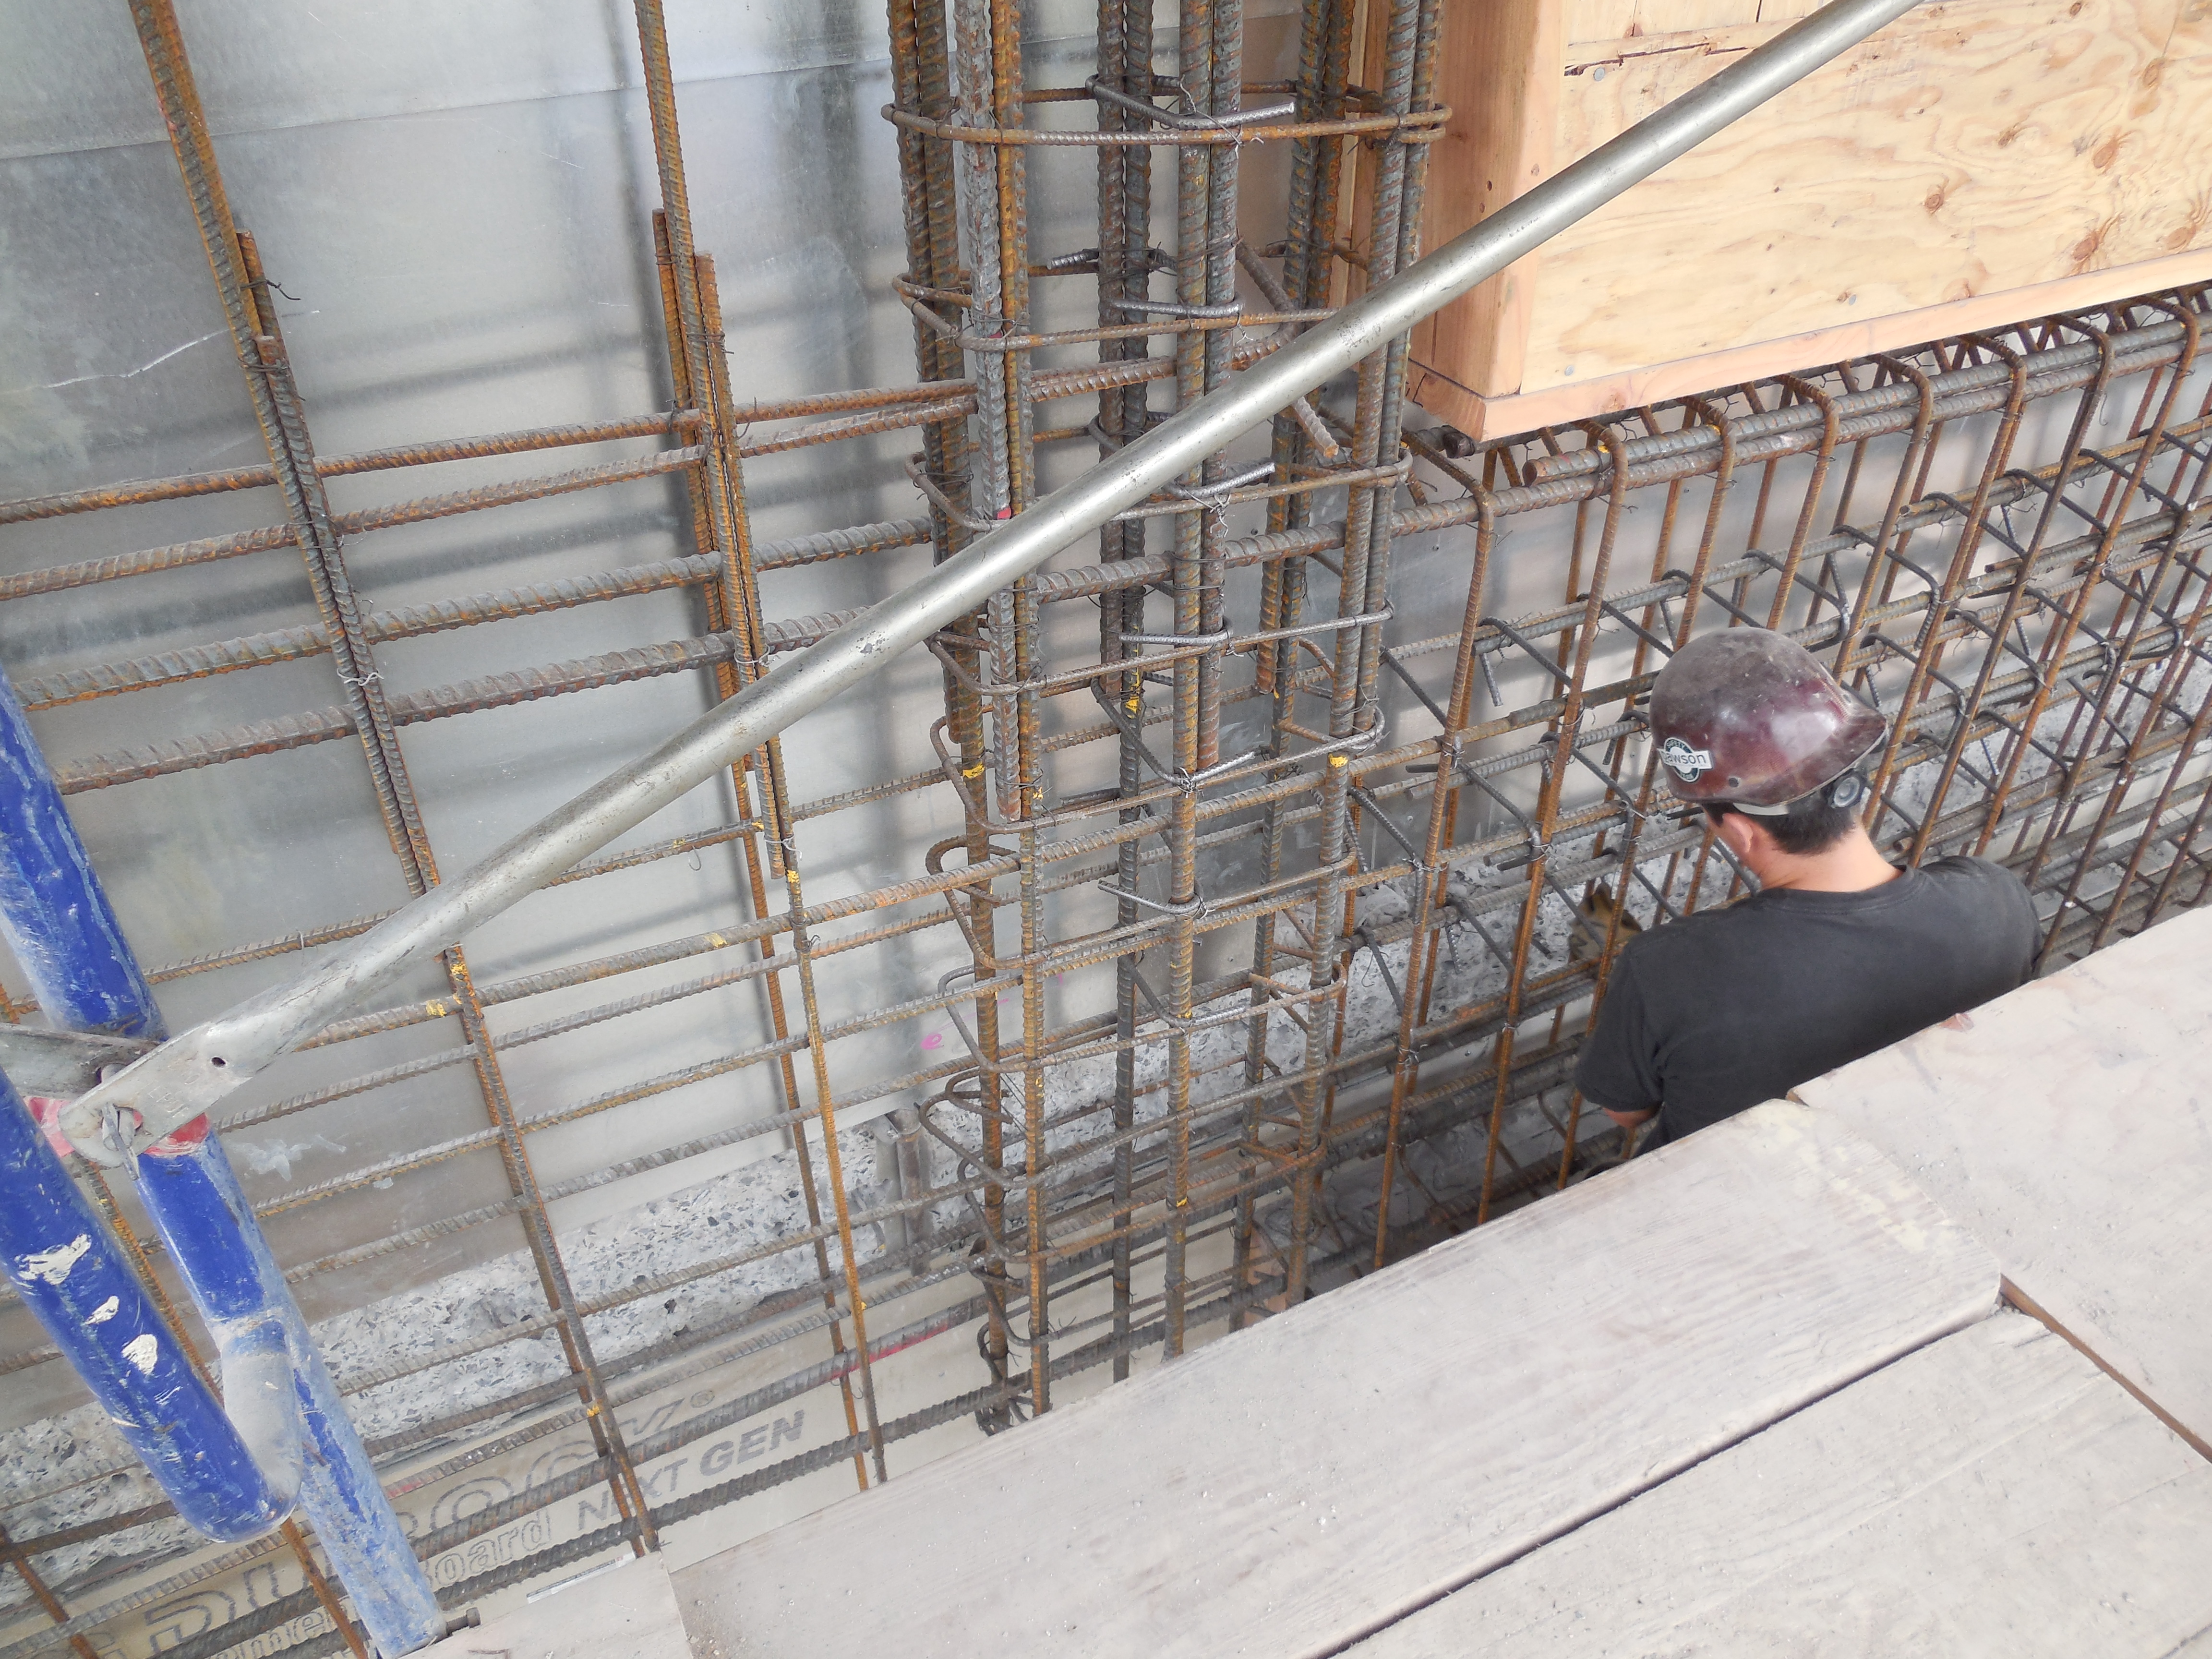
| Workers install epoxy and rebar through column foundations into building foundation | Workers tie steel baskets for concrete pilasters that will be set in place by crane |
|
|
| Steel basket being hoisted by crane | Crane, man lift, scissor lift (not seen) and workers on the ground are required to set baskets in place |
|
|
| Crane lowers steel basket into place against building | Workers set third basket into place using crane, scissor lift and man lift |
Update August 16, 2013
|
|
| Excavation/soil removal was performed around the column foundations to allow horizontal drilling into the building foundation. | Horizontal drilling through column foundations into building foundation. Steel will be installed in holes and epoxied to tie column foundations to the building foundation. |
|
|
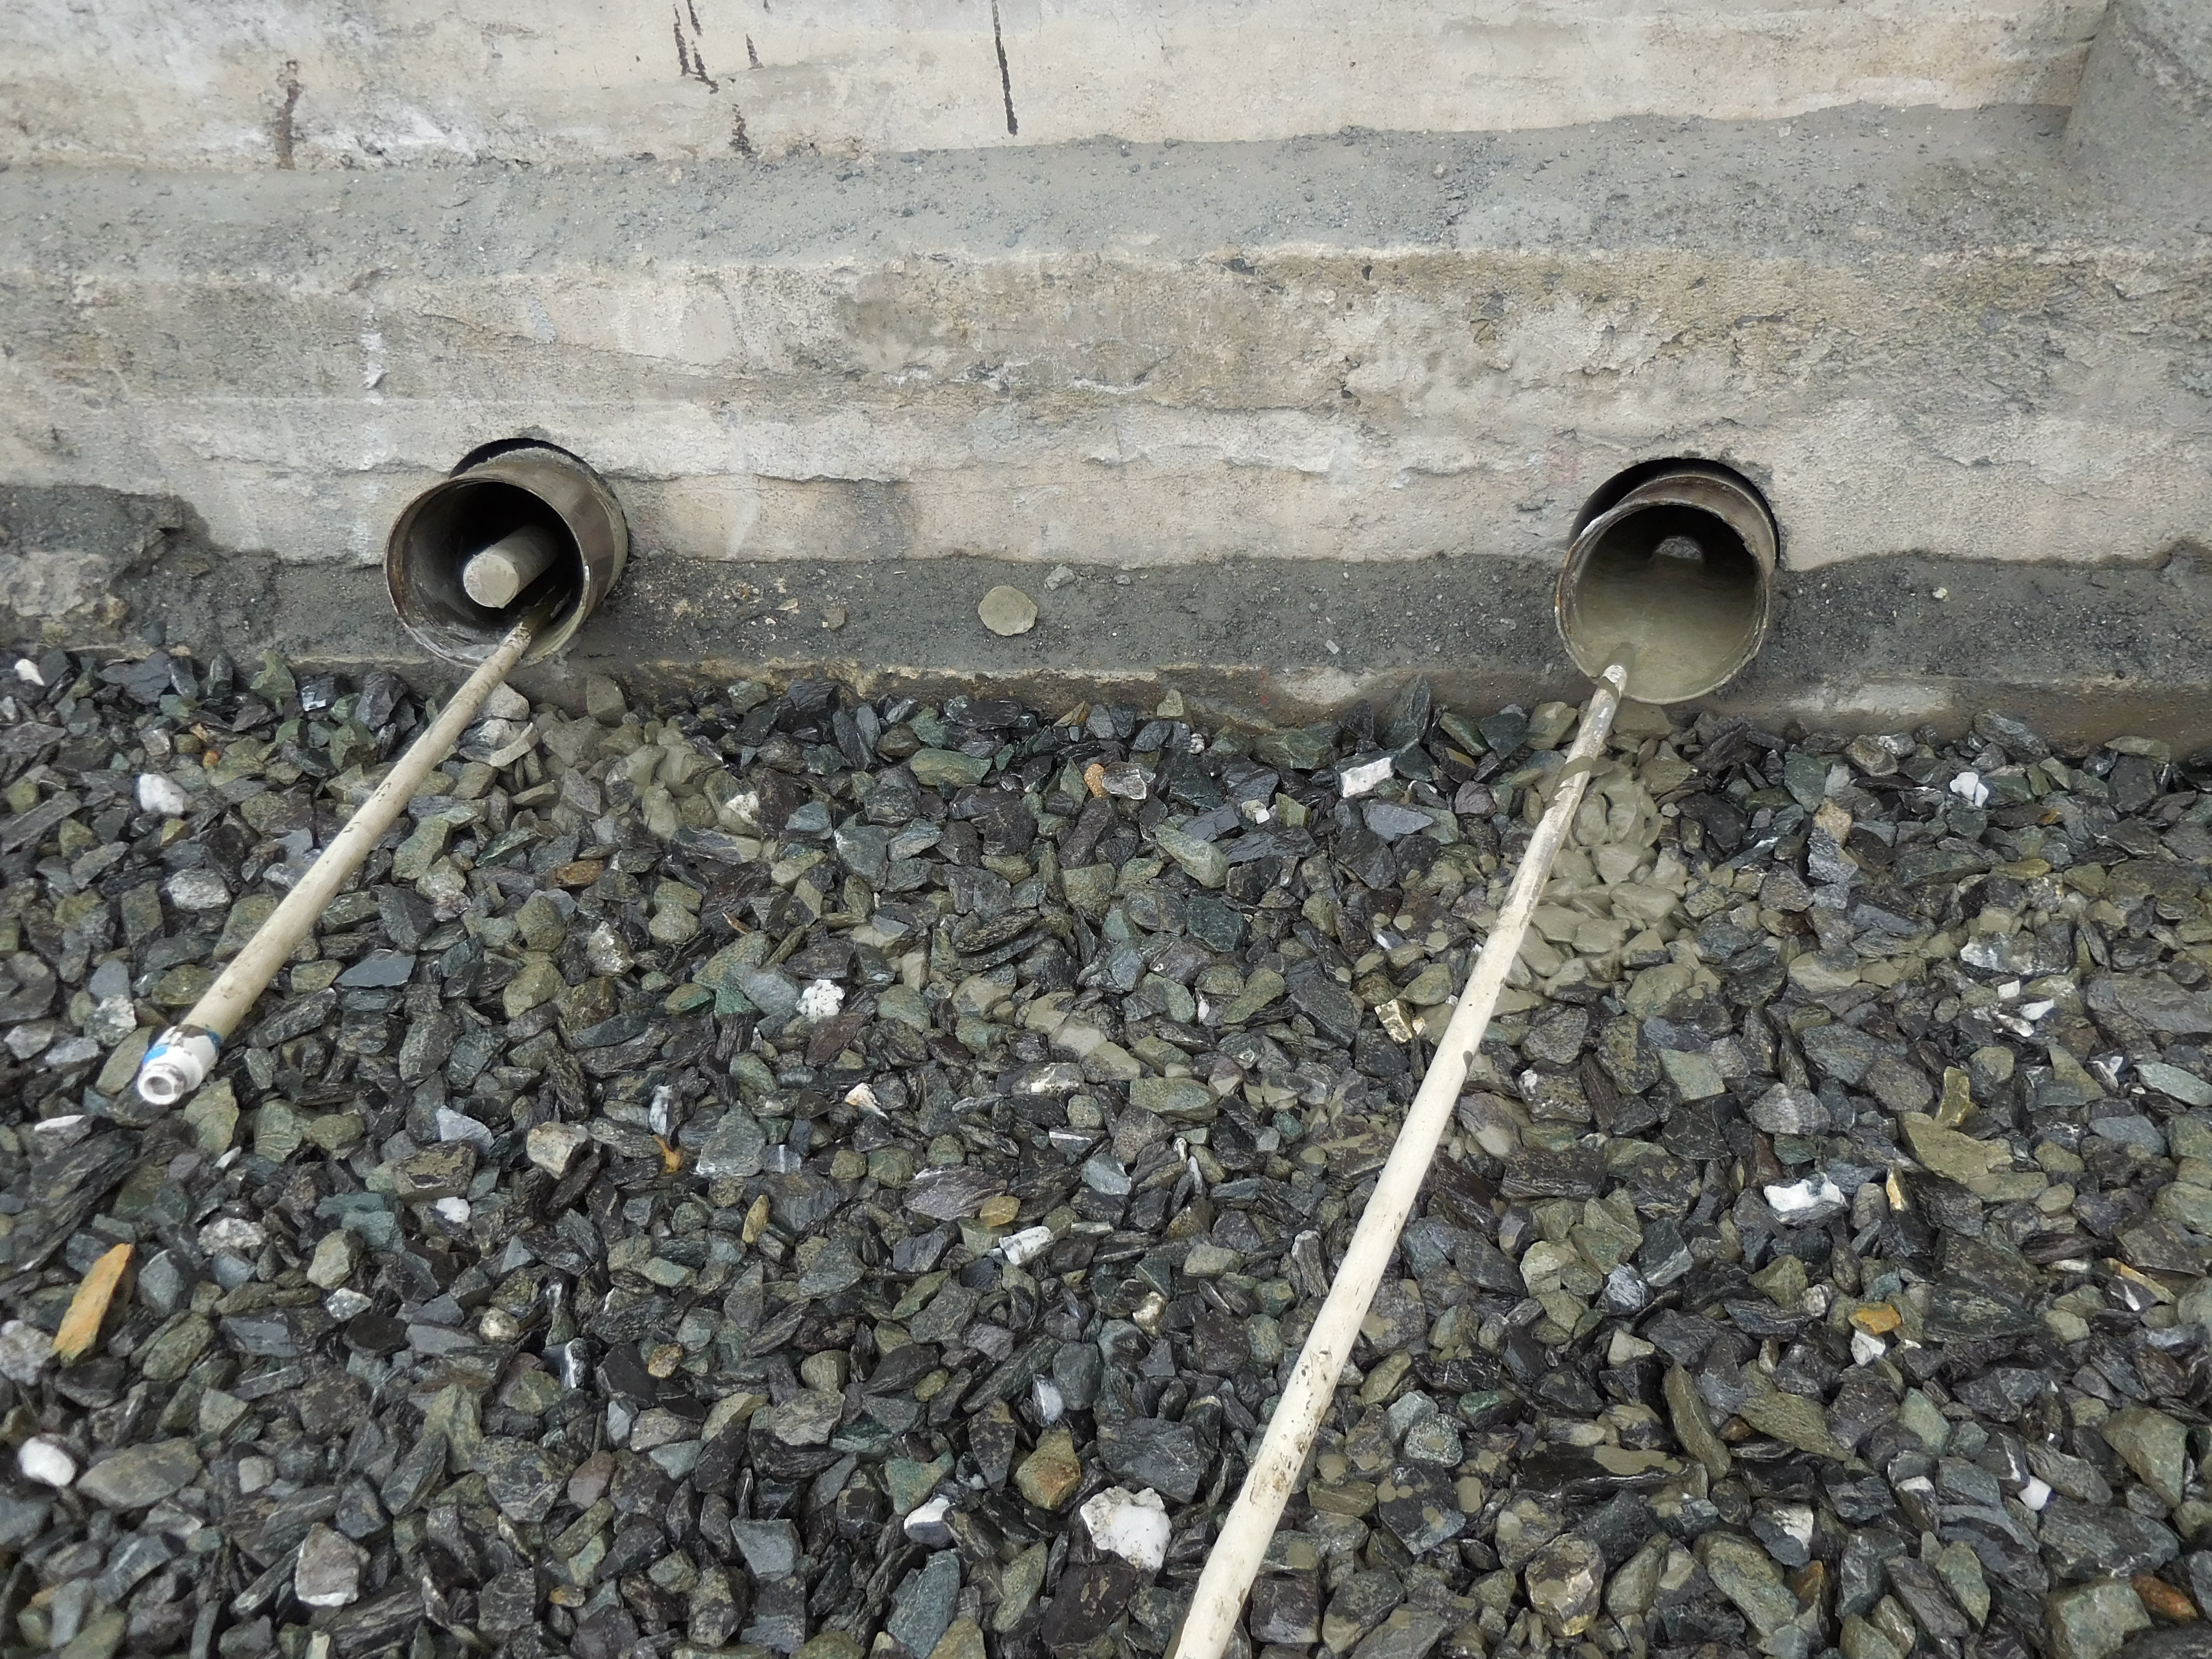
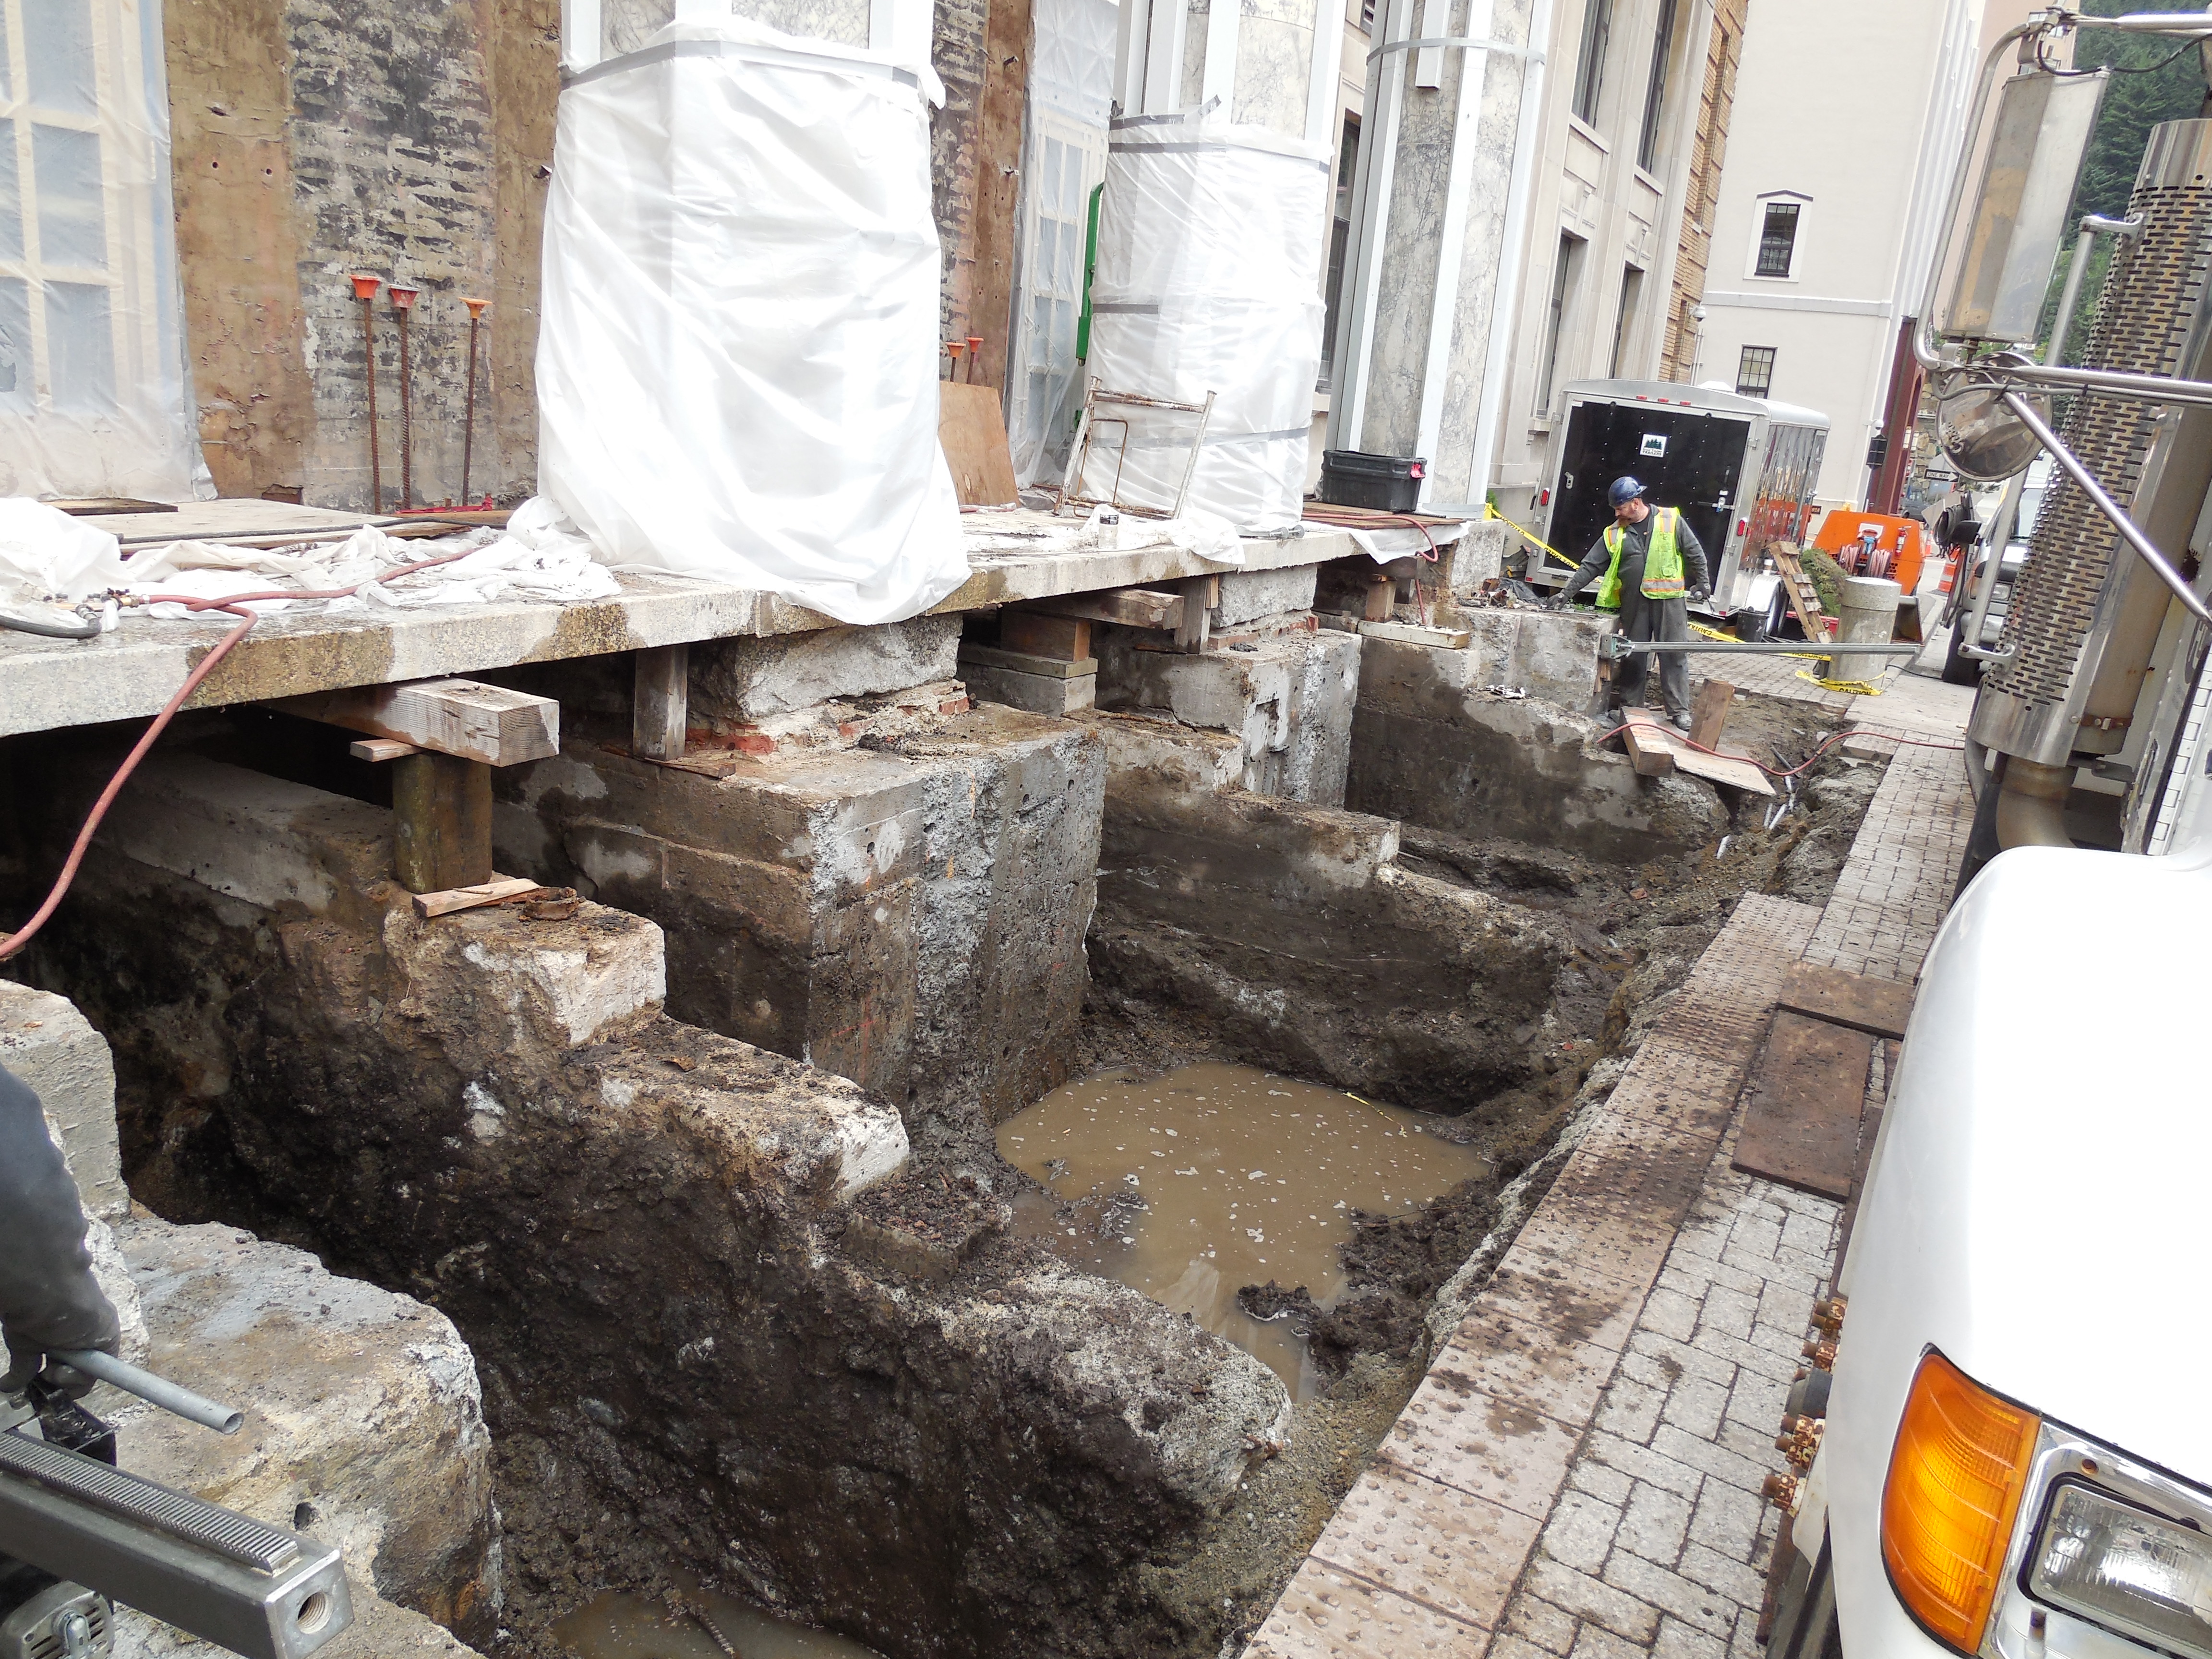
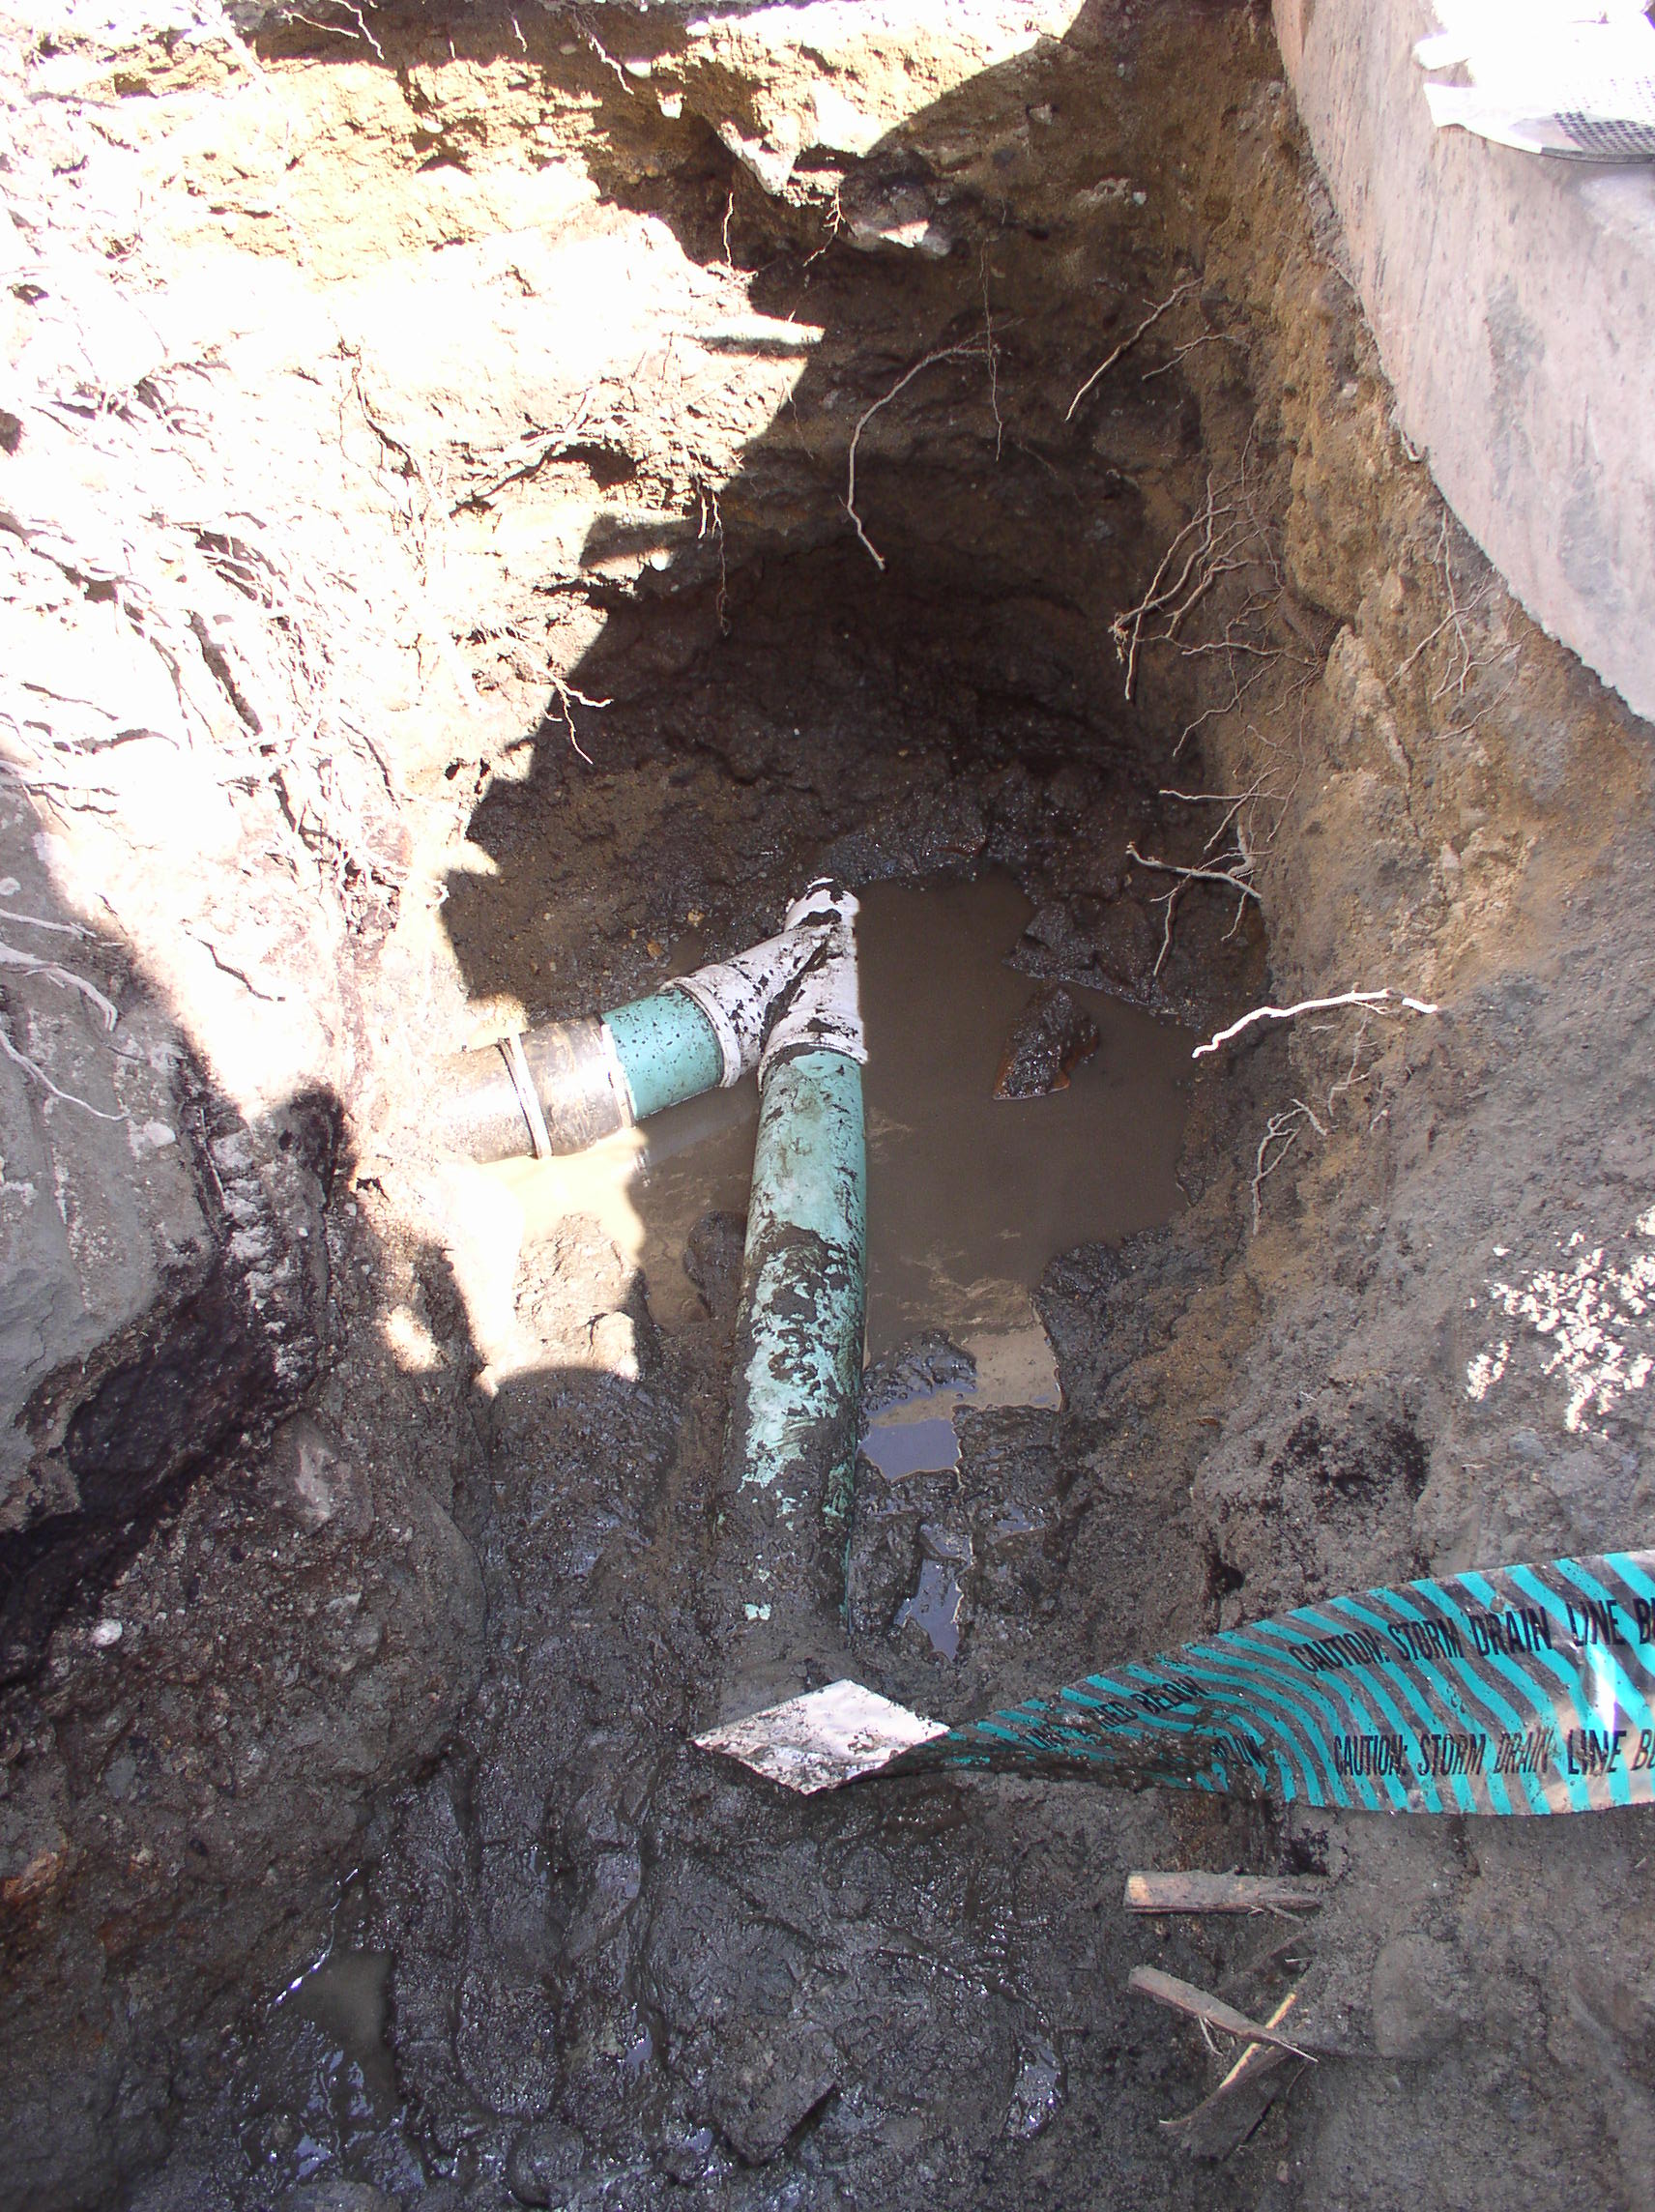
| Worker drills into column foundation. Outer column foundations were drilled 11' deep, inner foundations were drilled 8' deep. | Installation of new storm drains in crawl space complete and connected to city storm drain. |
Update August 9, 2013
|
|
| Existing concrete columns and beams are drilled to accept steel/mechanical fasteners which will tie the new concrete pilasters to the building | A cementitious mix is applied to face of red brick infill in preparation for new pilaster forms, steel and concrete |
|
|
| Soil removal in crawl space is complete, installation of fabric, 4" perforated storm line and washed rock in progress | New storm line trench with washed rock and new waste lines |

| |
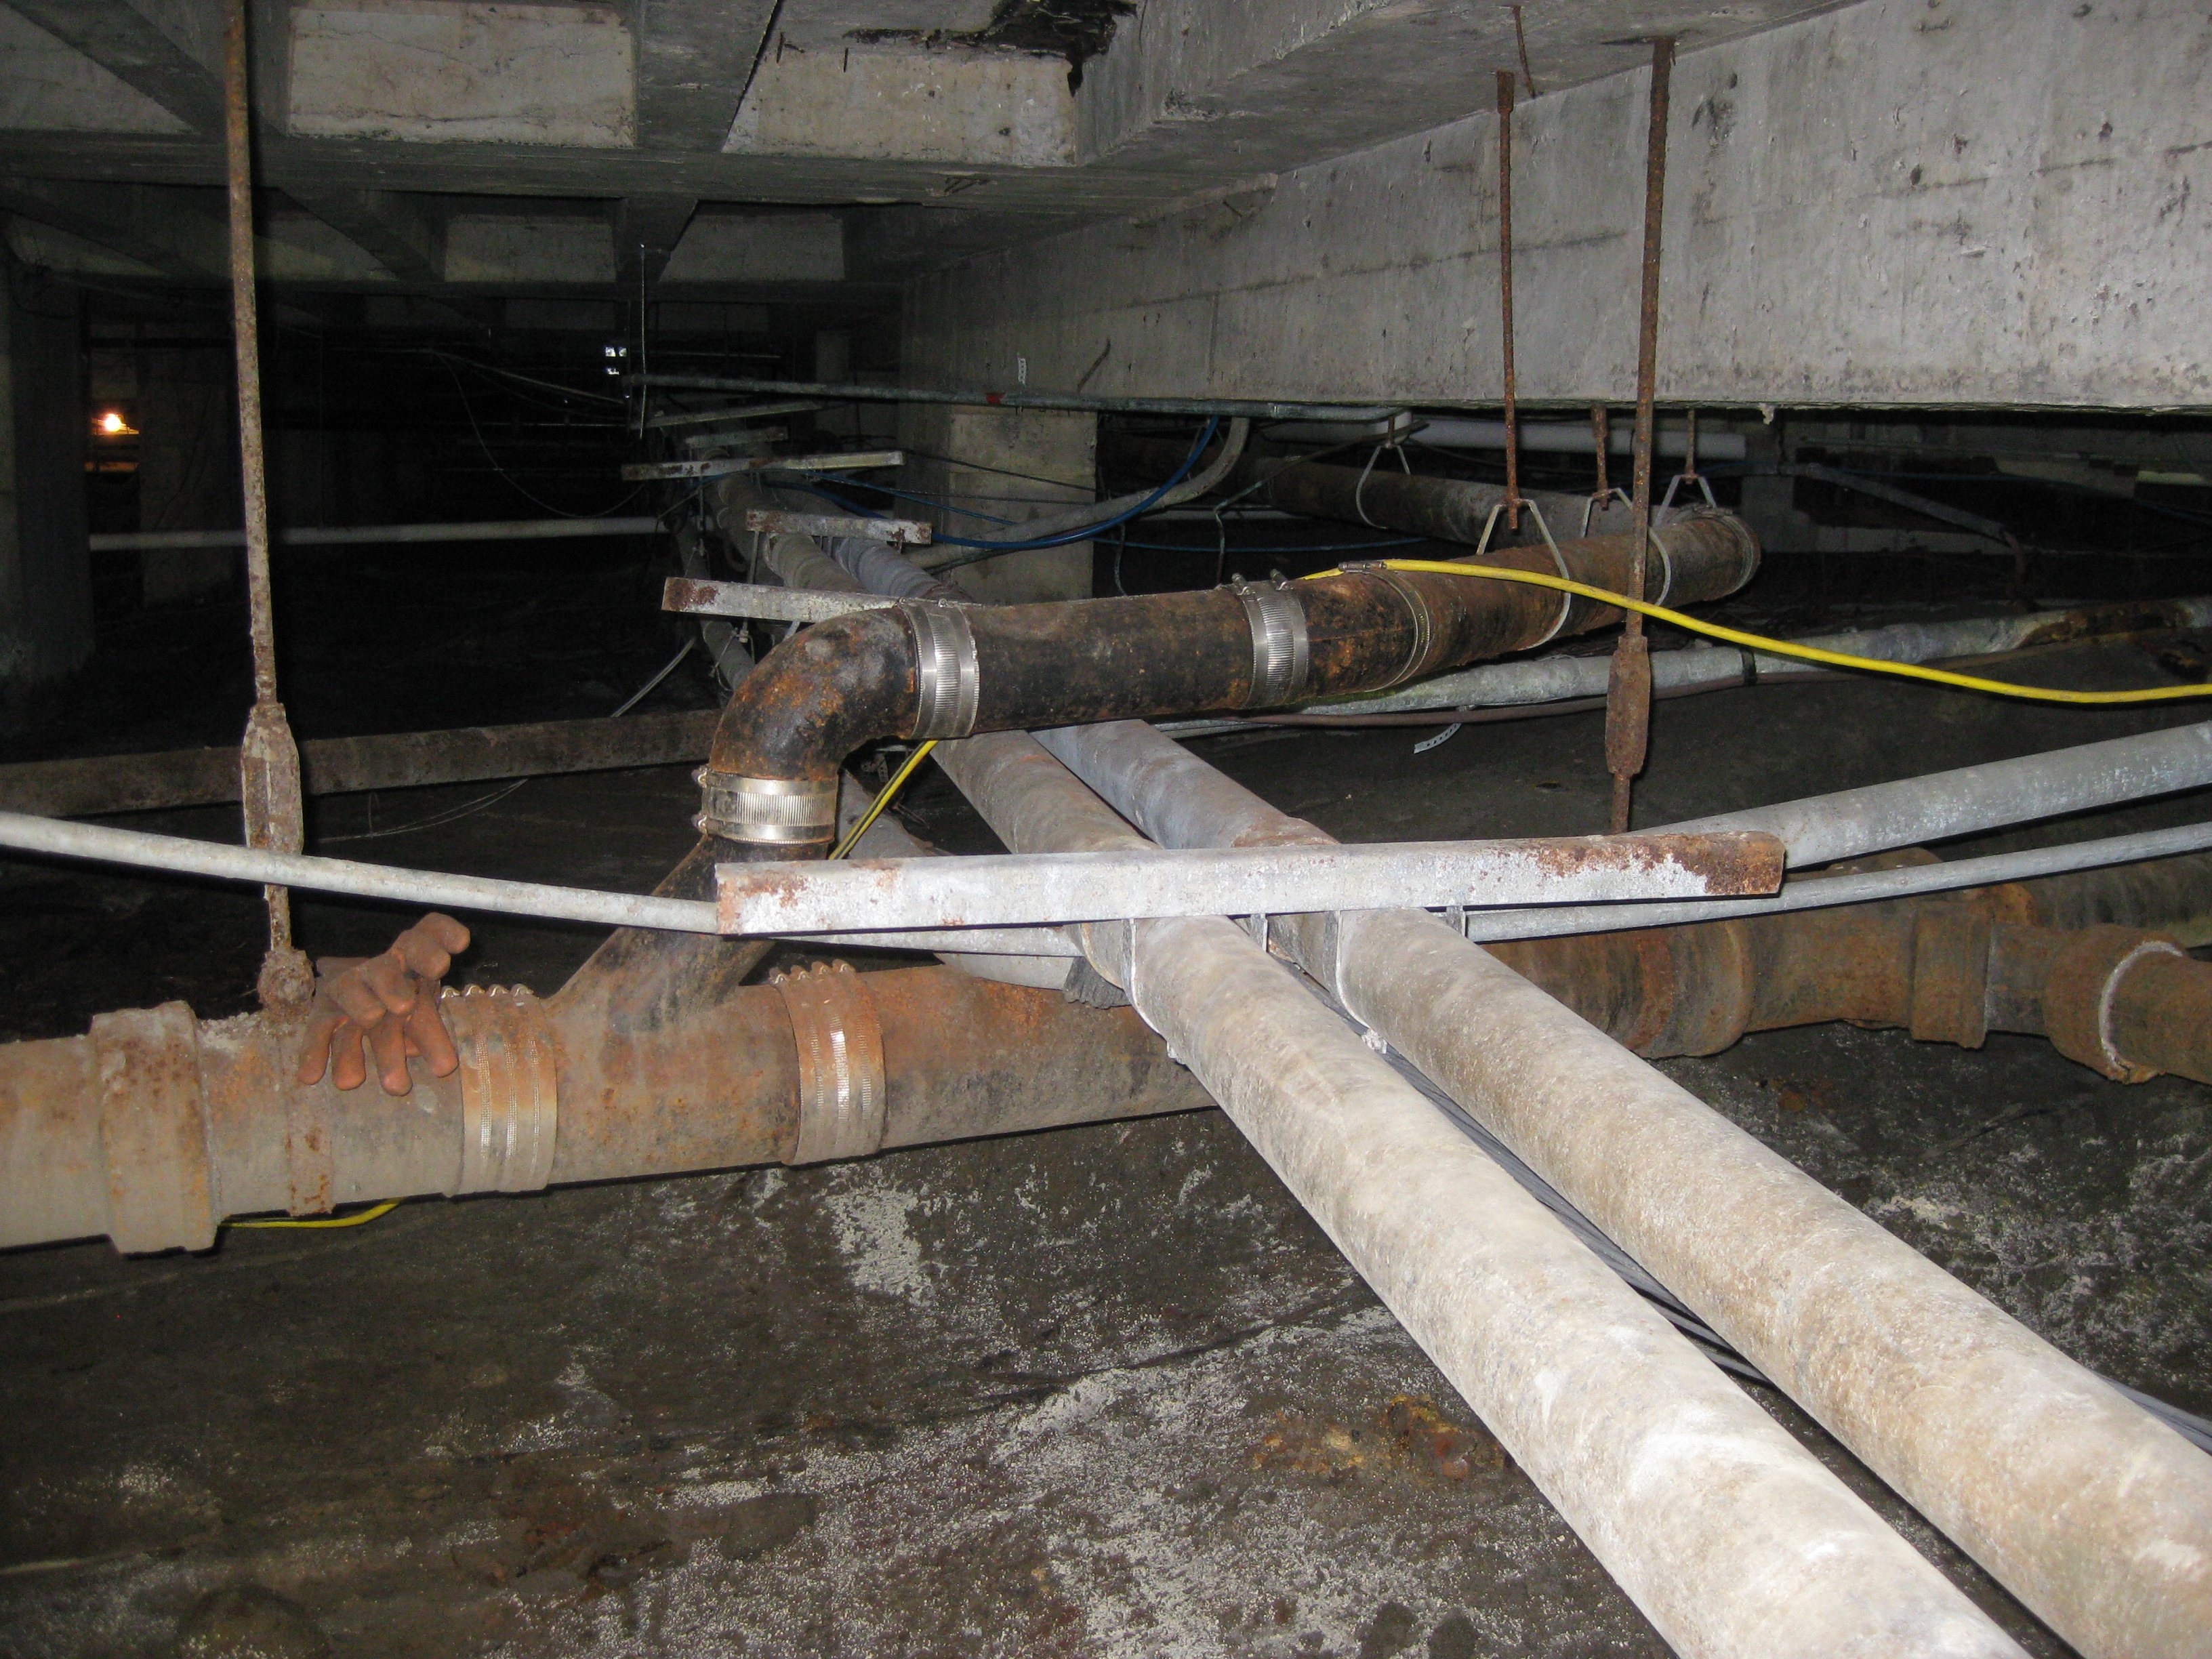
| New waste lines and cable management. Also shown is a good example of an existing concrete footing with exposed steel. Repair of concrete footings, beams and joists in this condition will be next. |
Update August 2, 2013
|

|
| Gray area on granite slab shows foot print where stone cladding was removed from face of building. Penetrations through granite slab to concrete footing below will be drilled for new concrete pilasters to be poured in place to support new concrete portico roof slab | Existing cracked granite slab removal for access to footing below for new concrete pilasters |
|
|
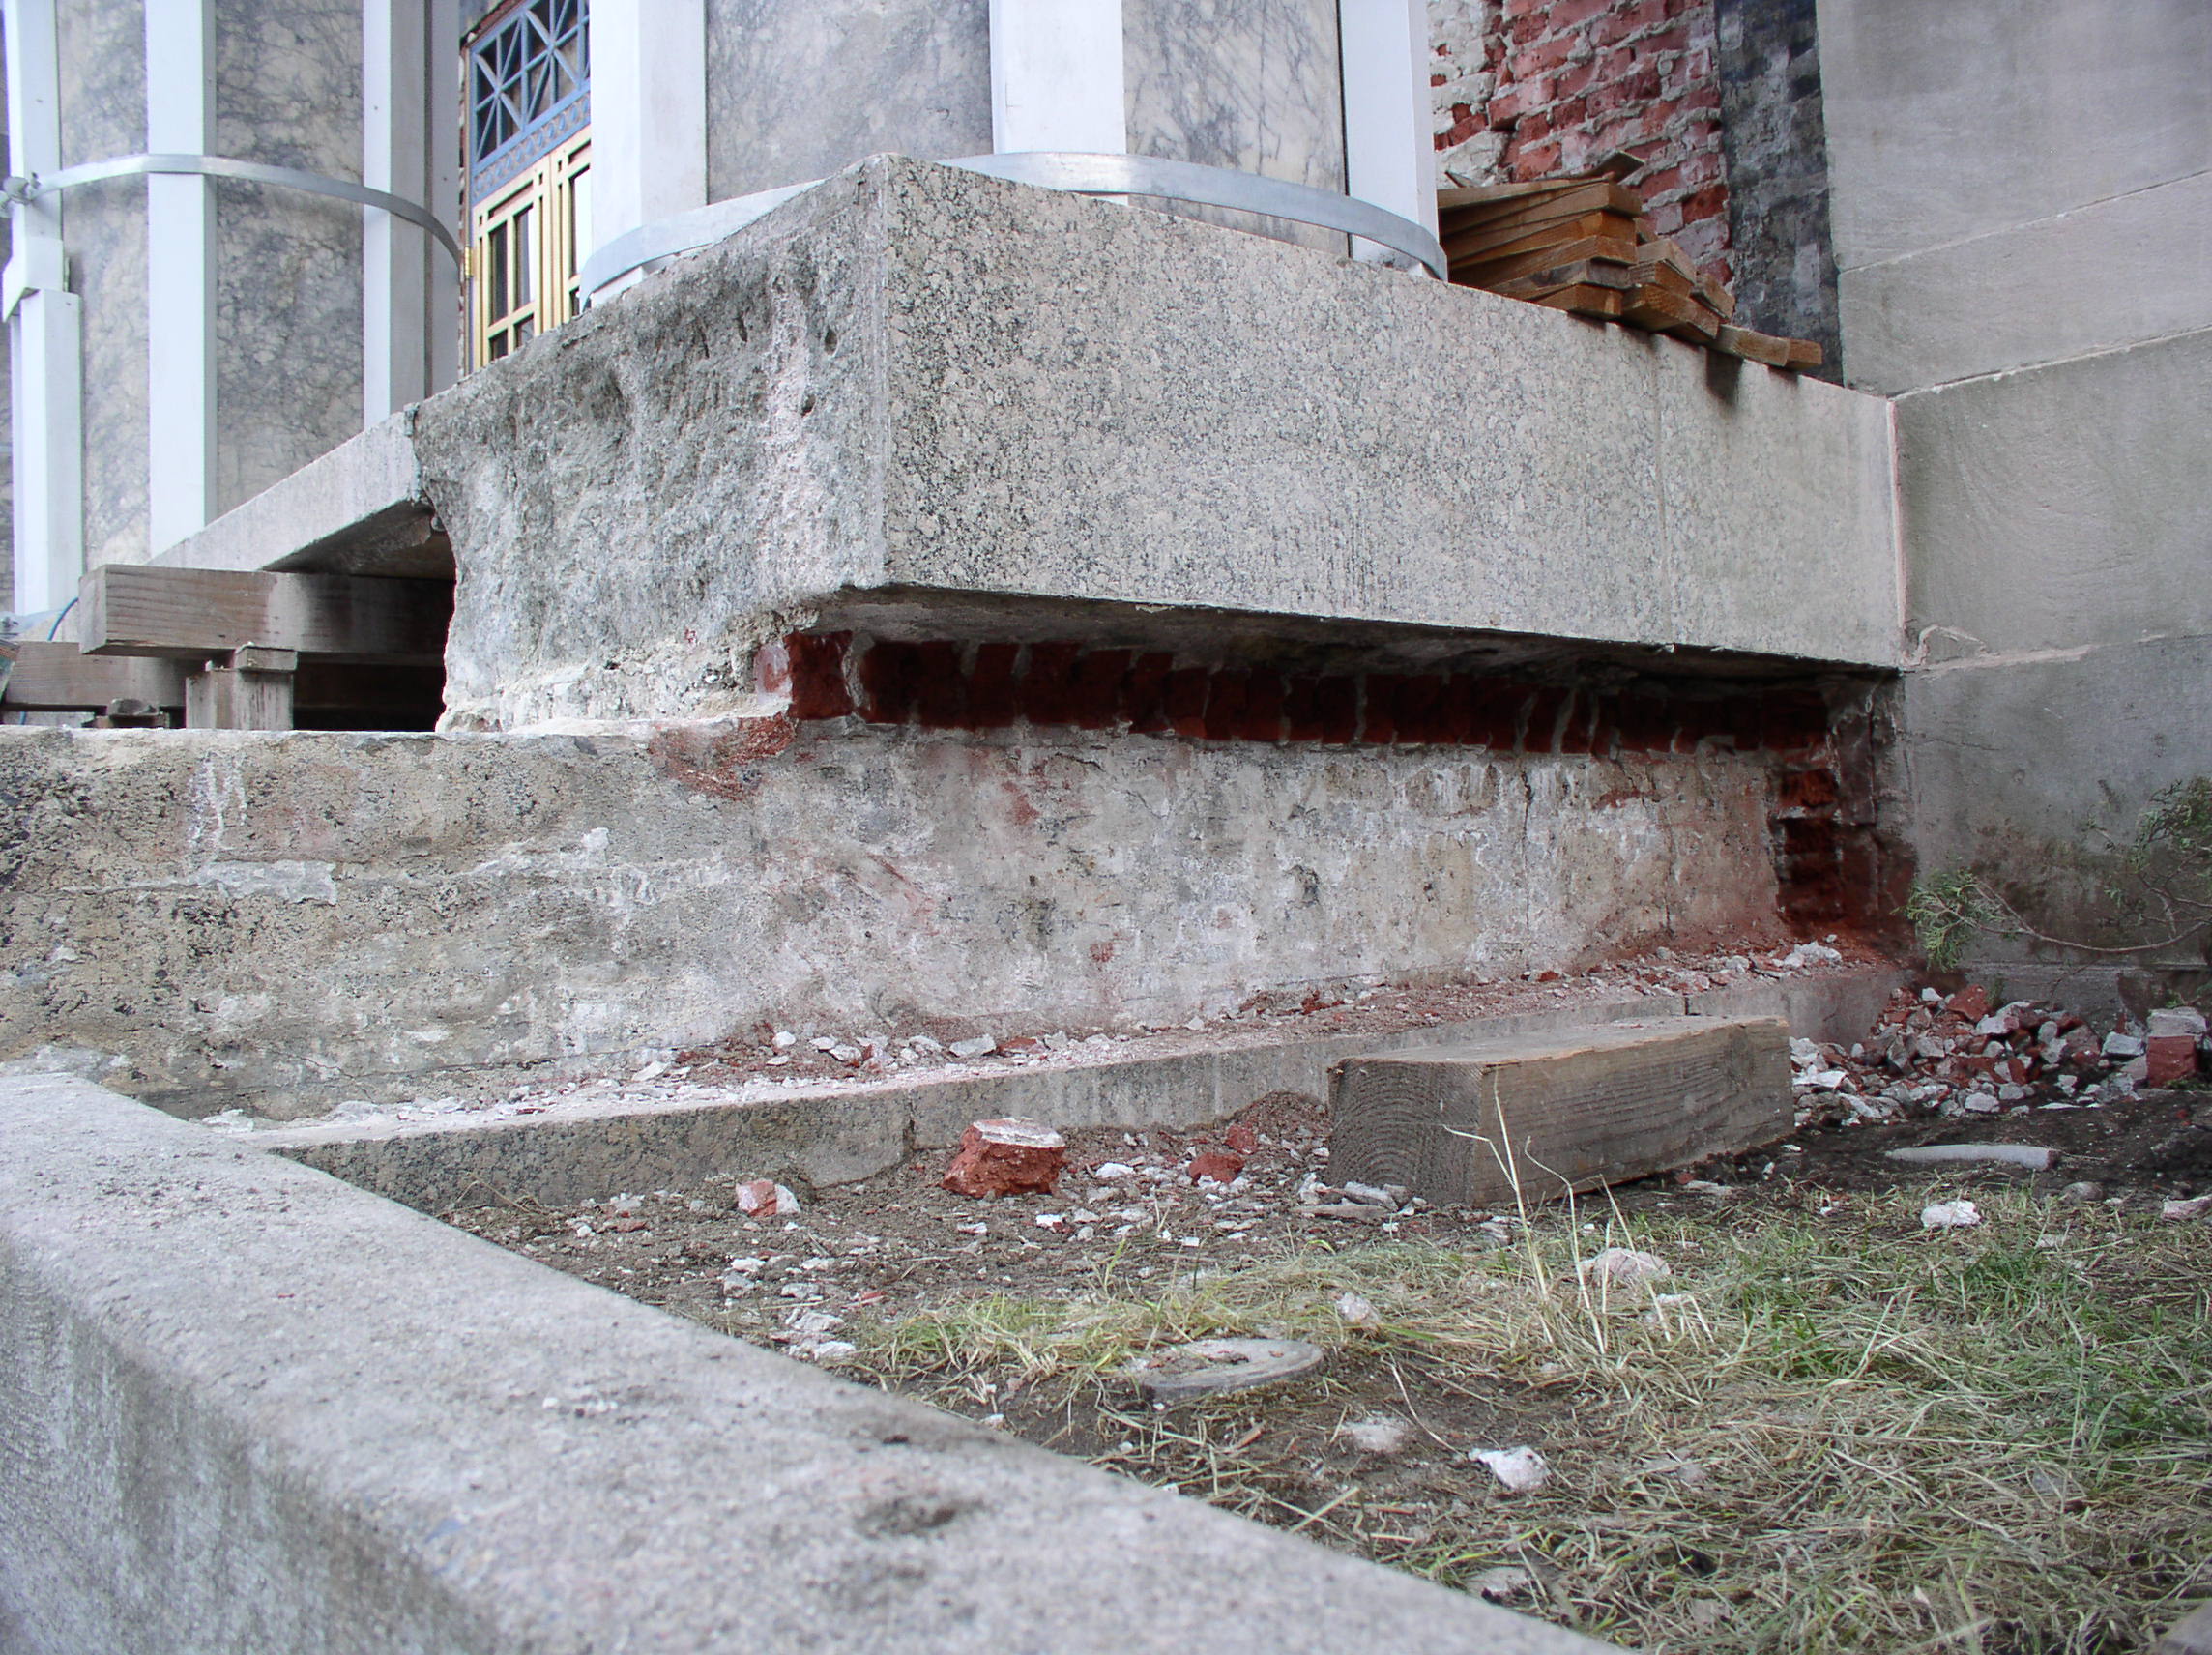
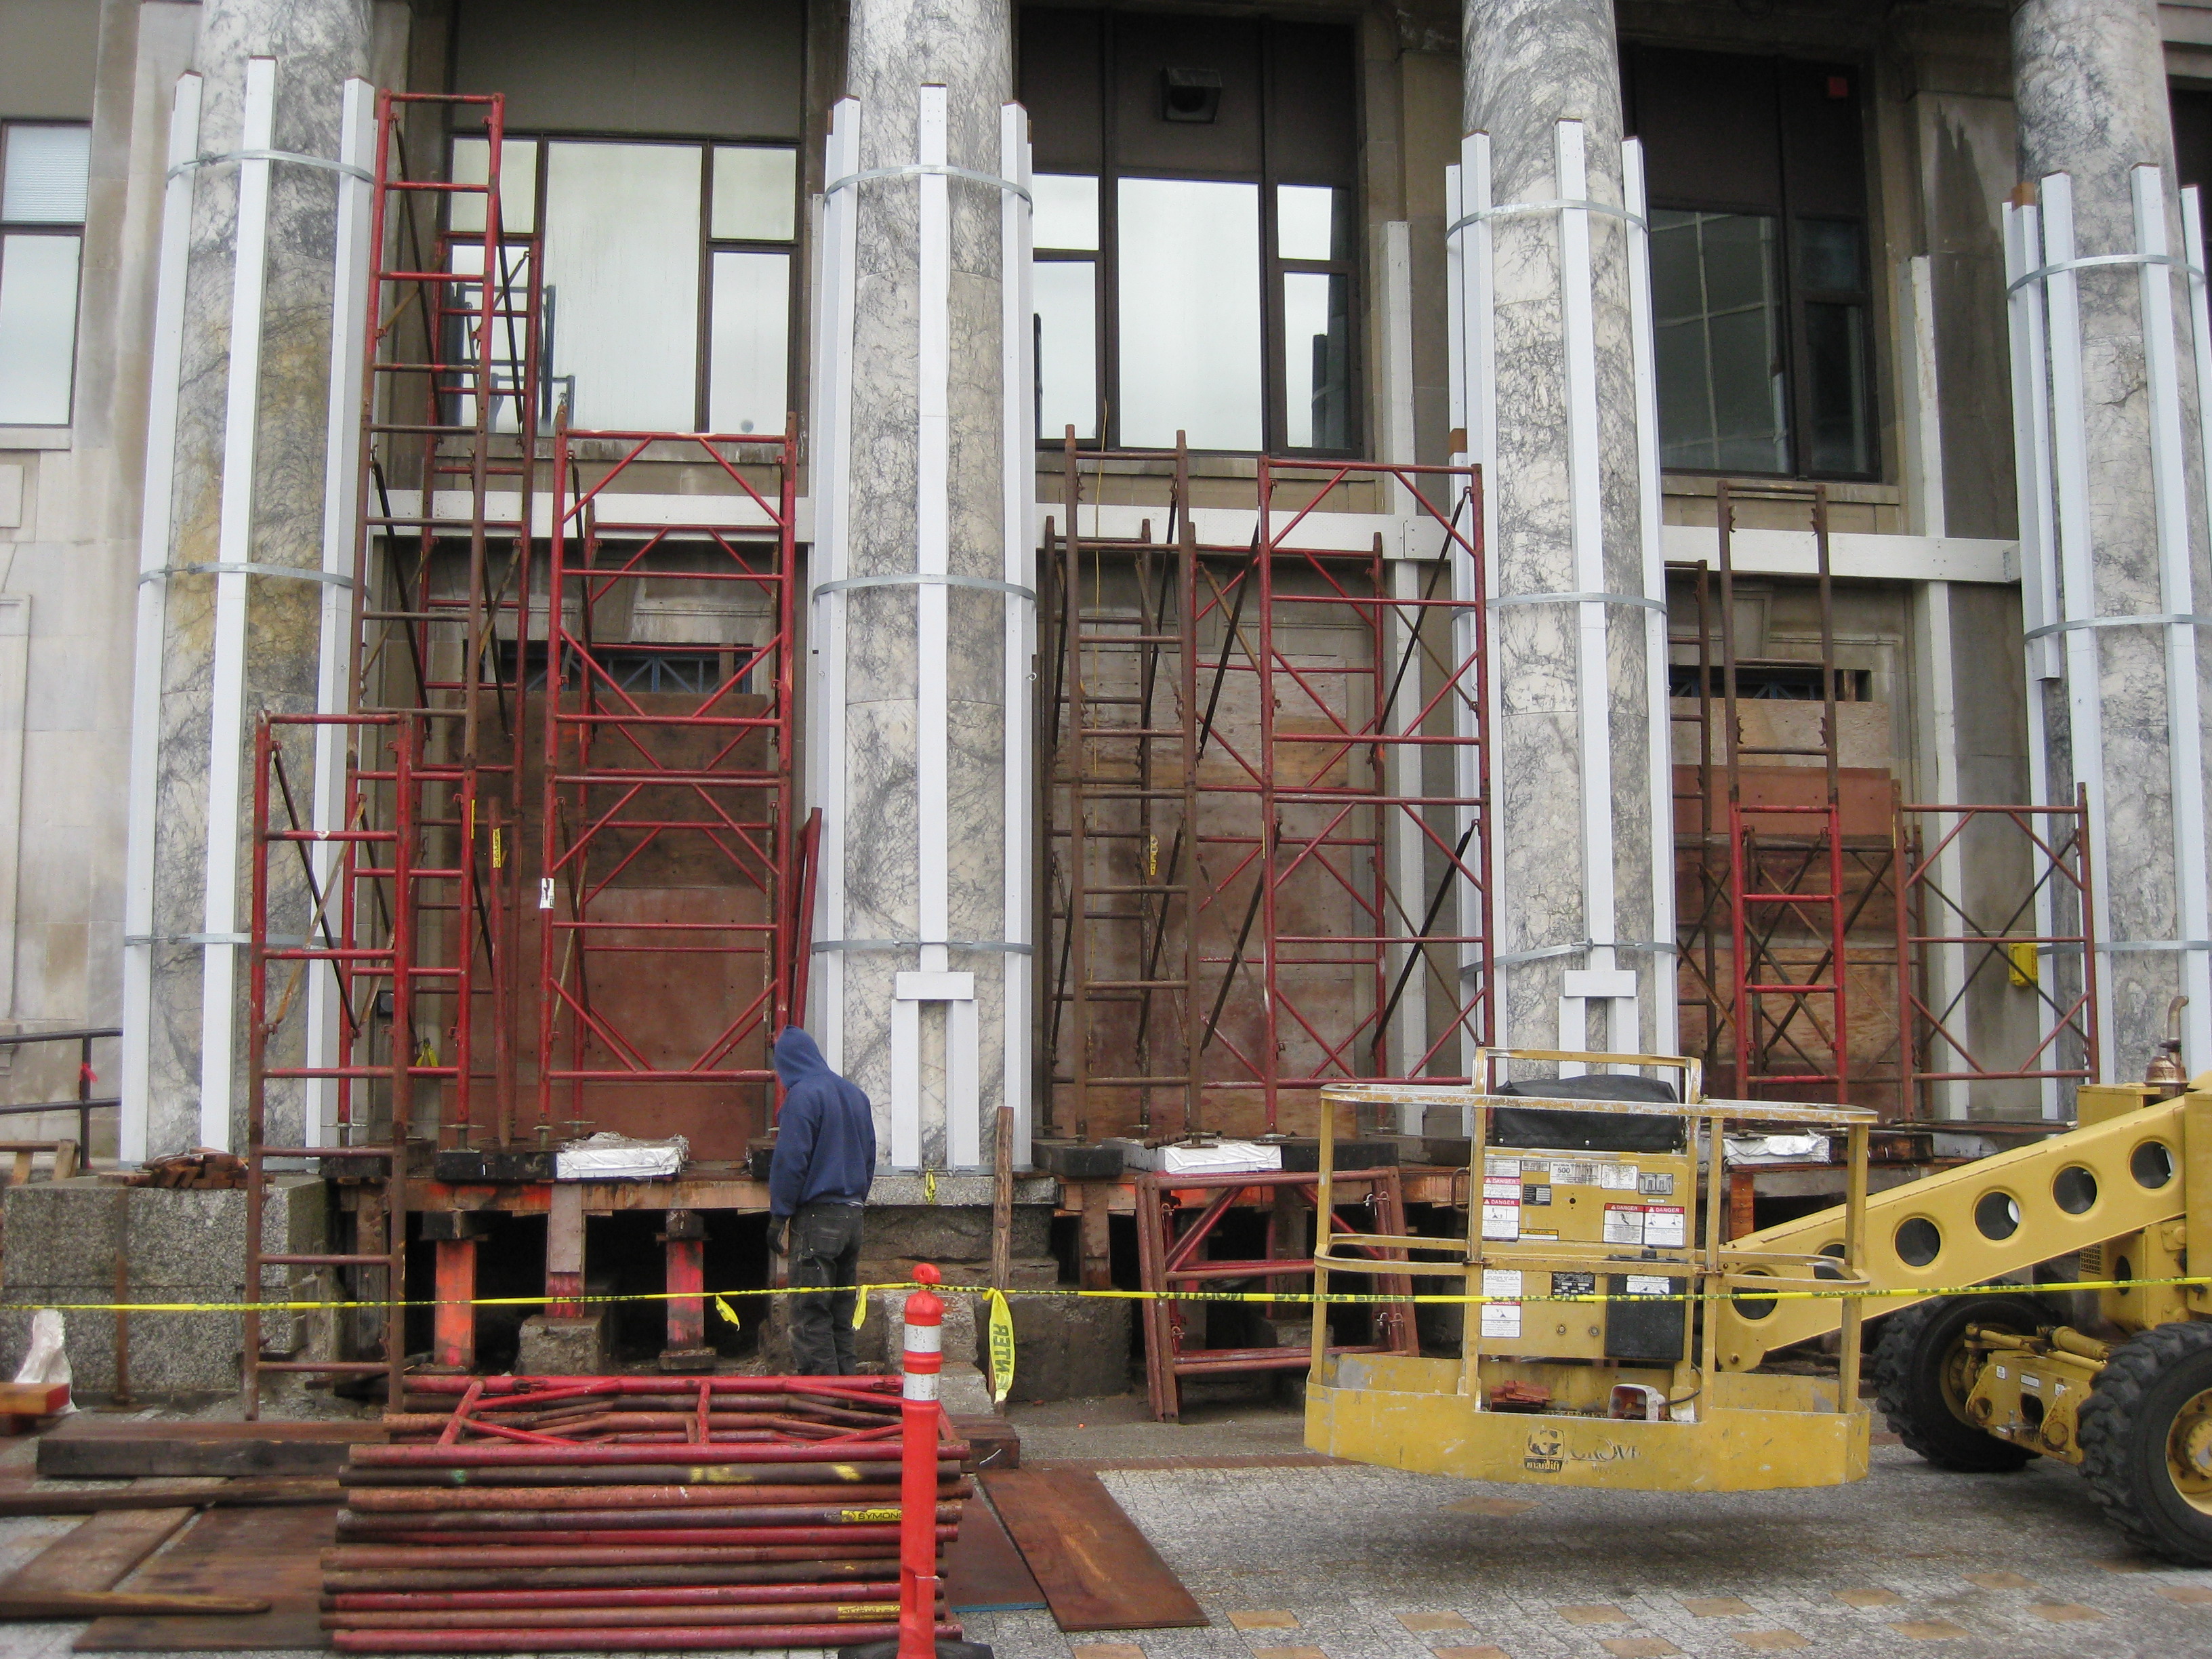
| Beautiful Juneau morning, marble columns with temporary steel bracing and an un-faced main entrance | Granite blocks on the ends of the front stairs have been removed to allow for foundation repair |
Update July 26, 2013

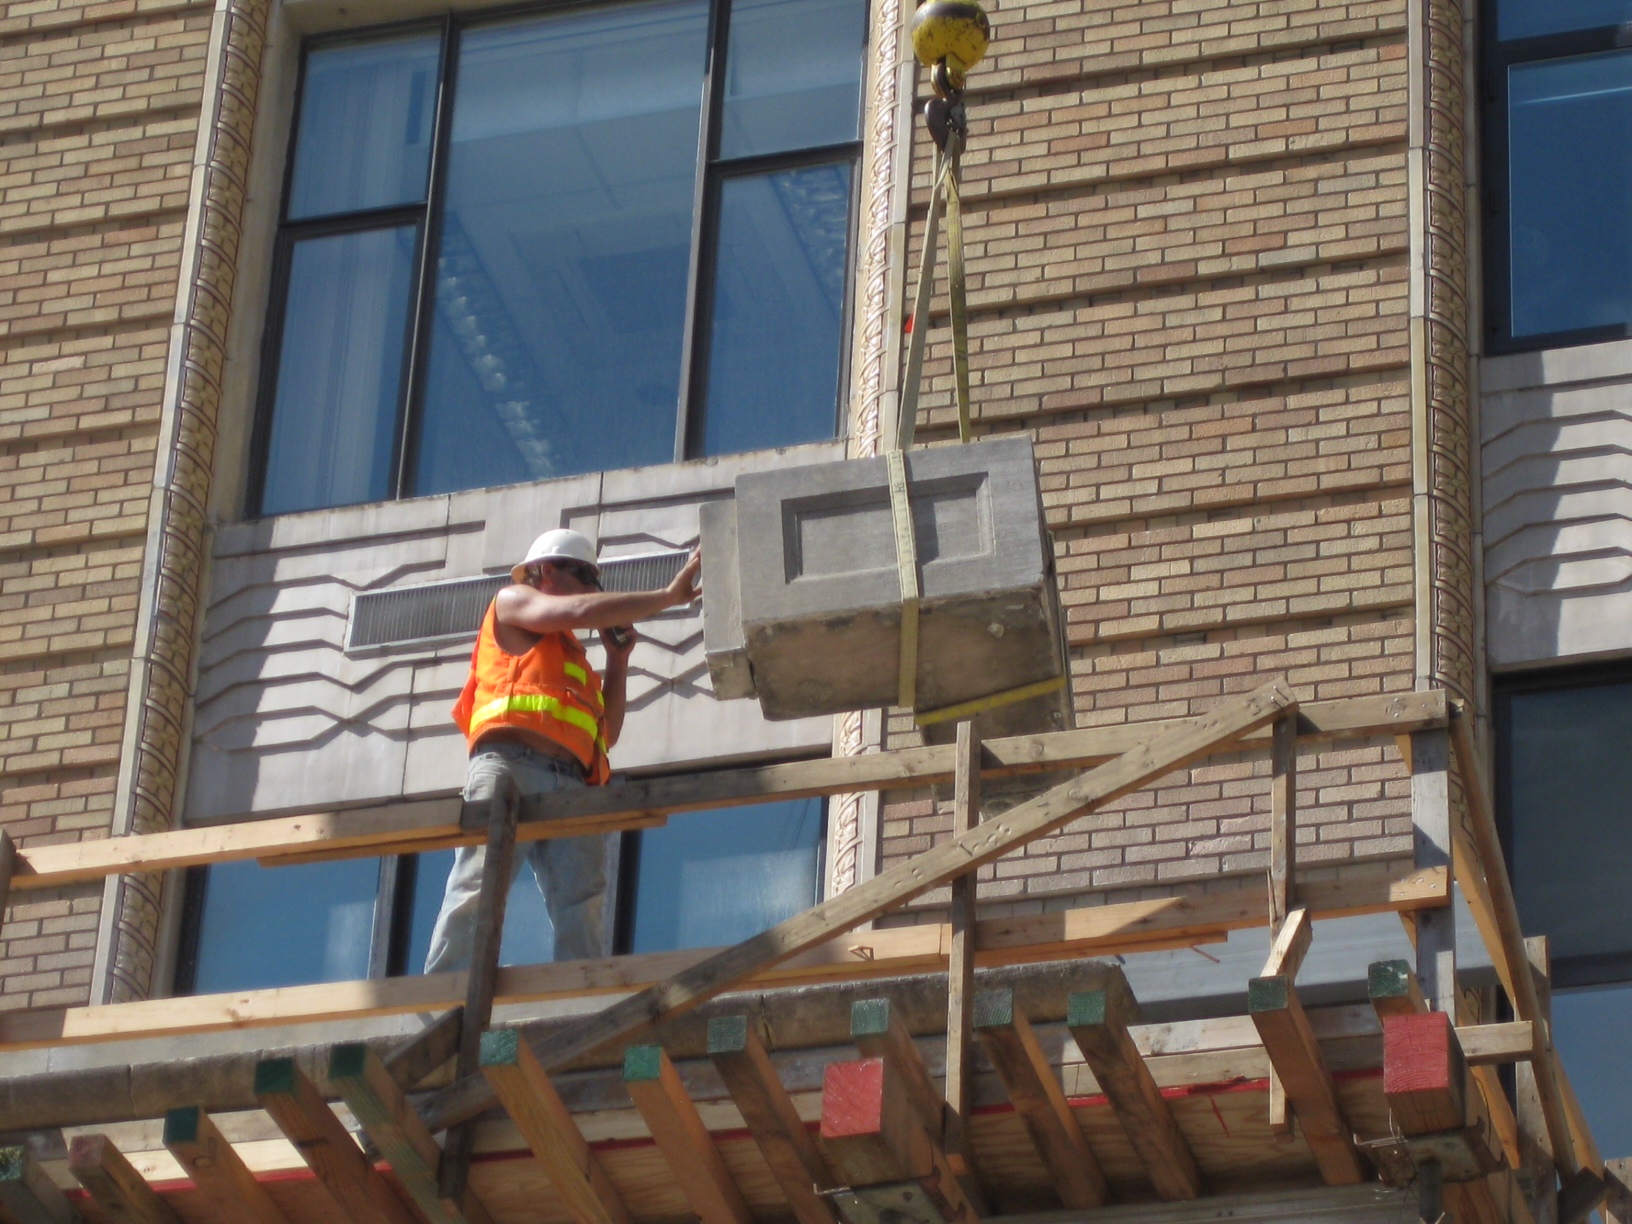
|
|
| Stone cladding removal from face of building around main entrance begins | Stone cladding pieces being loaded for transportation to off-site storage facility |
|
|
| Stone cladding removed from 2nd floor level to 1st floor level | Stone cladding removal at main entrance complete |
Update July 19, 2013
|
|
| Worker installs temporary bracing from concrete columns to angle iron fastened to capital tops. This bracing is required so lower temporary bracing and collars on columns can be removed prior to stone removal on face of building. | Overhead view of installed temporary bracing from concrete columns to angle iron fastened to capital tops |
|
|
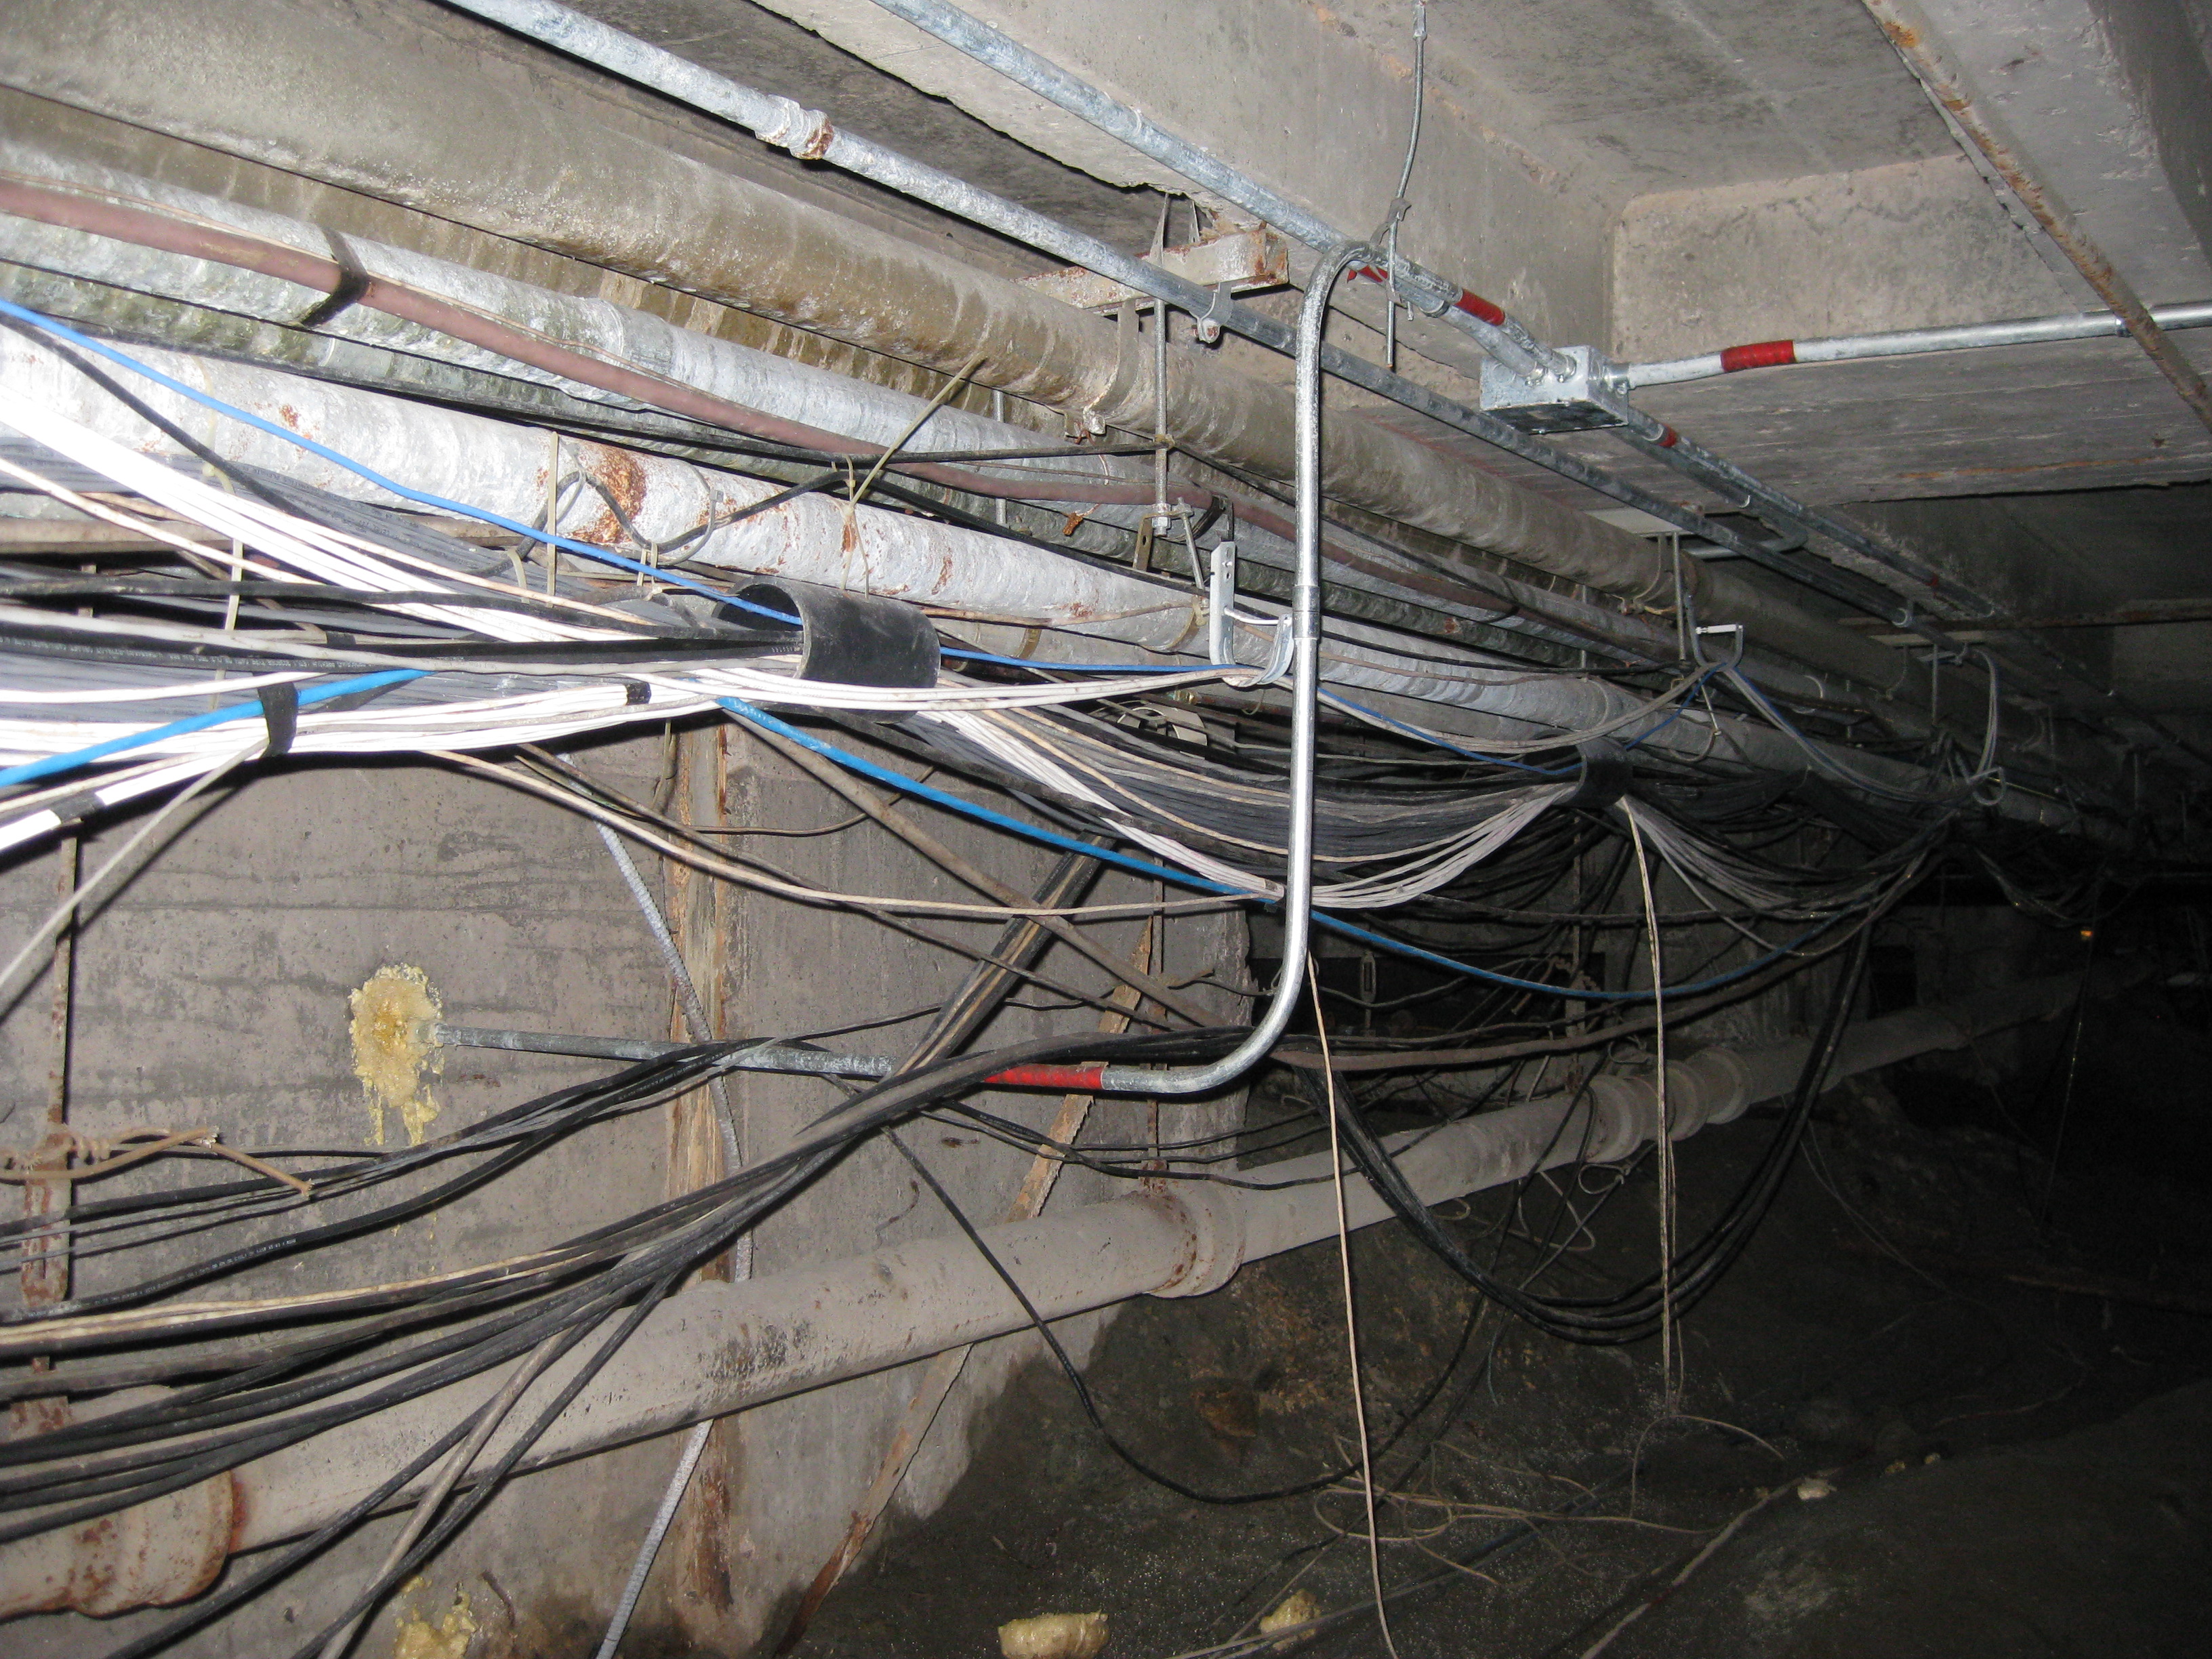
| Excavation completed in this area of the crawl space showing major progress | Electrical, data and communication wire management in crawl space provides access for storm and waste line replacement |
Update July 12, 2013

|
|
| Portico demolition is complete exposing the concrete columns, beams and brick infill for temporary bracing installation | Tops of capitals are exposed for temporary bracing installation |

|
|
| Tops of capitals are laid out and drilled to accept mechanical fasteners and steel angle iron for temporary bracing | Steel angle iron will be fastened to tops of capitals for temporary bracing back to concrete columns |
Update July 5, 2013

|
|
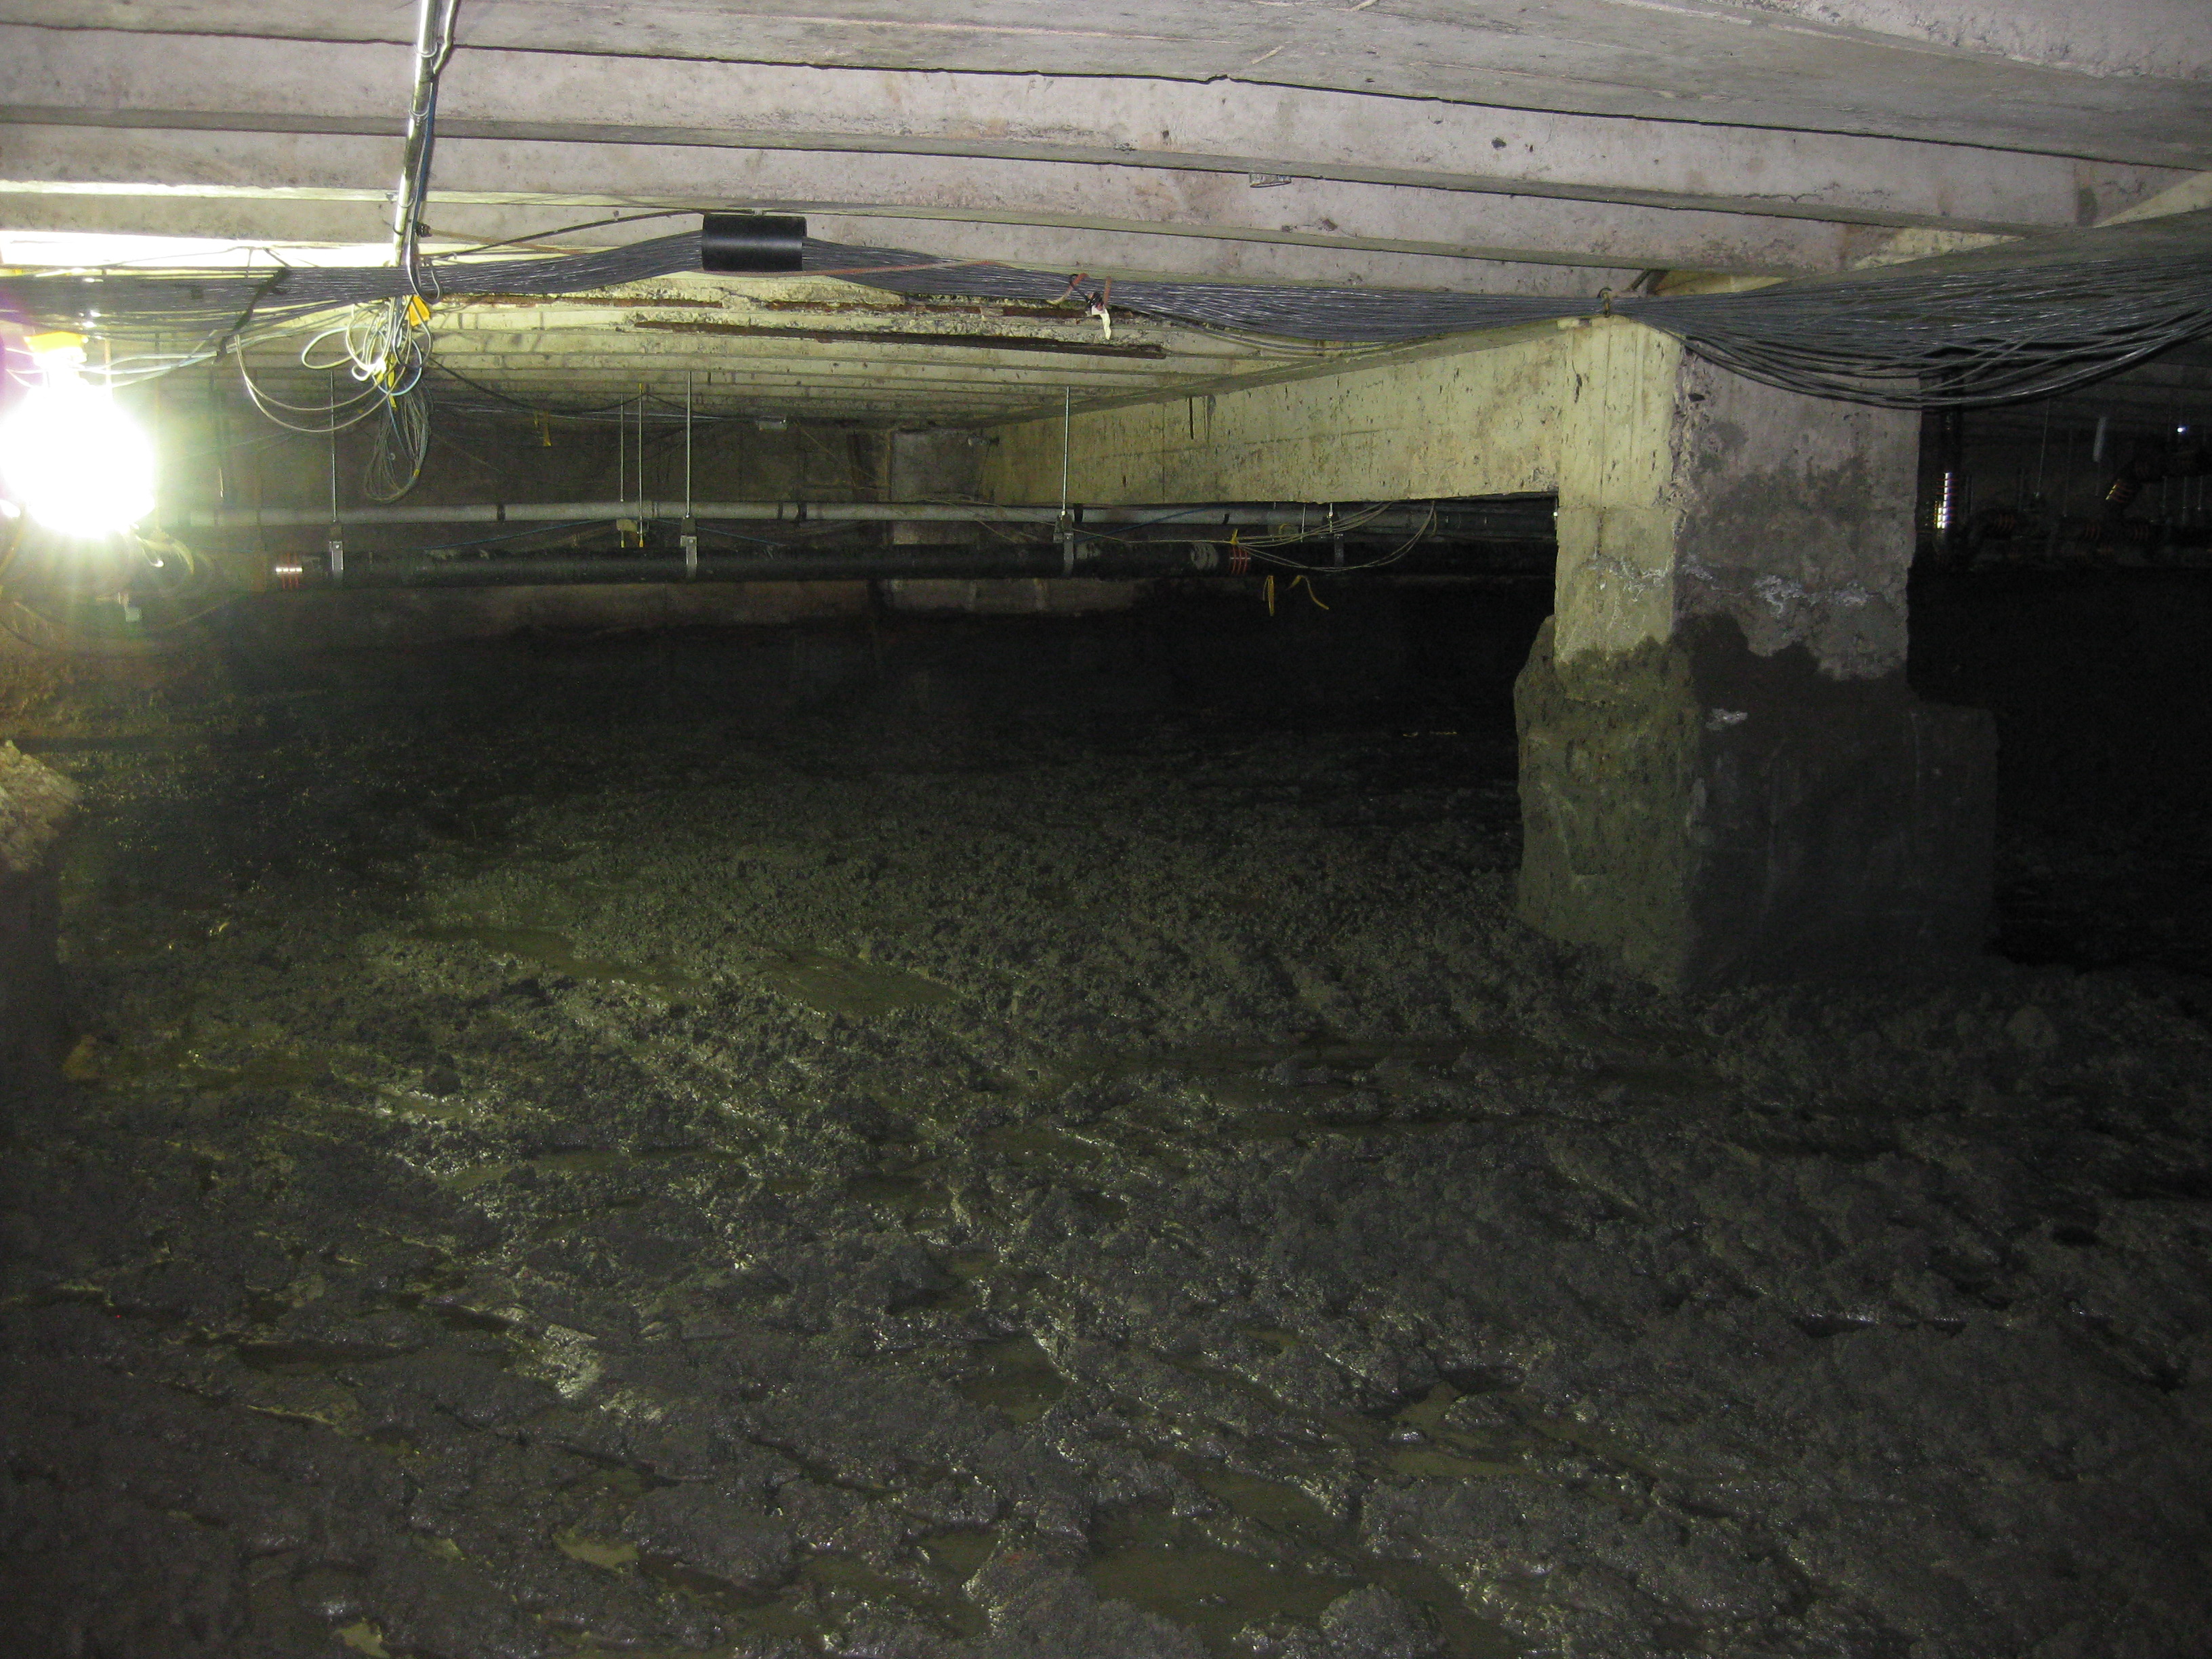
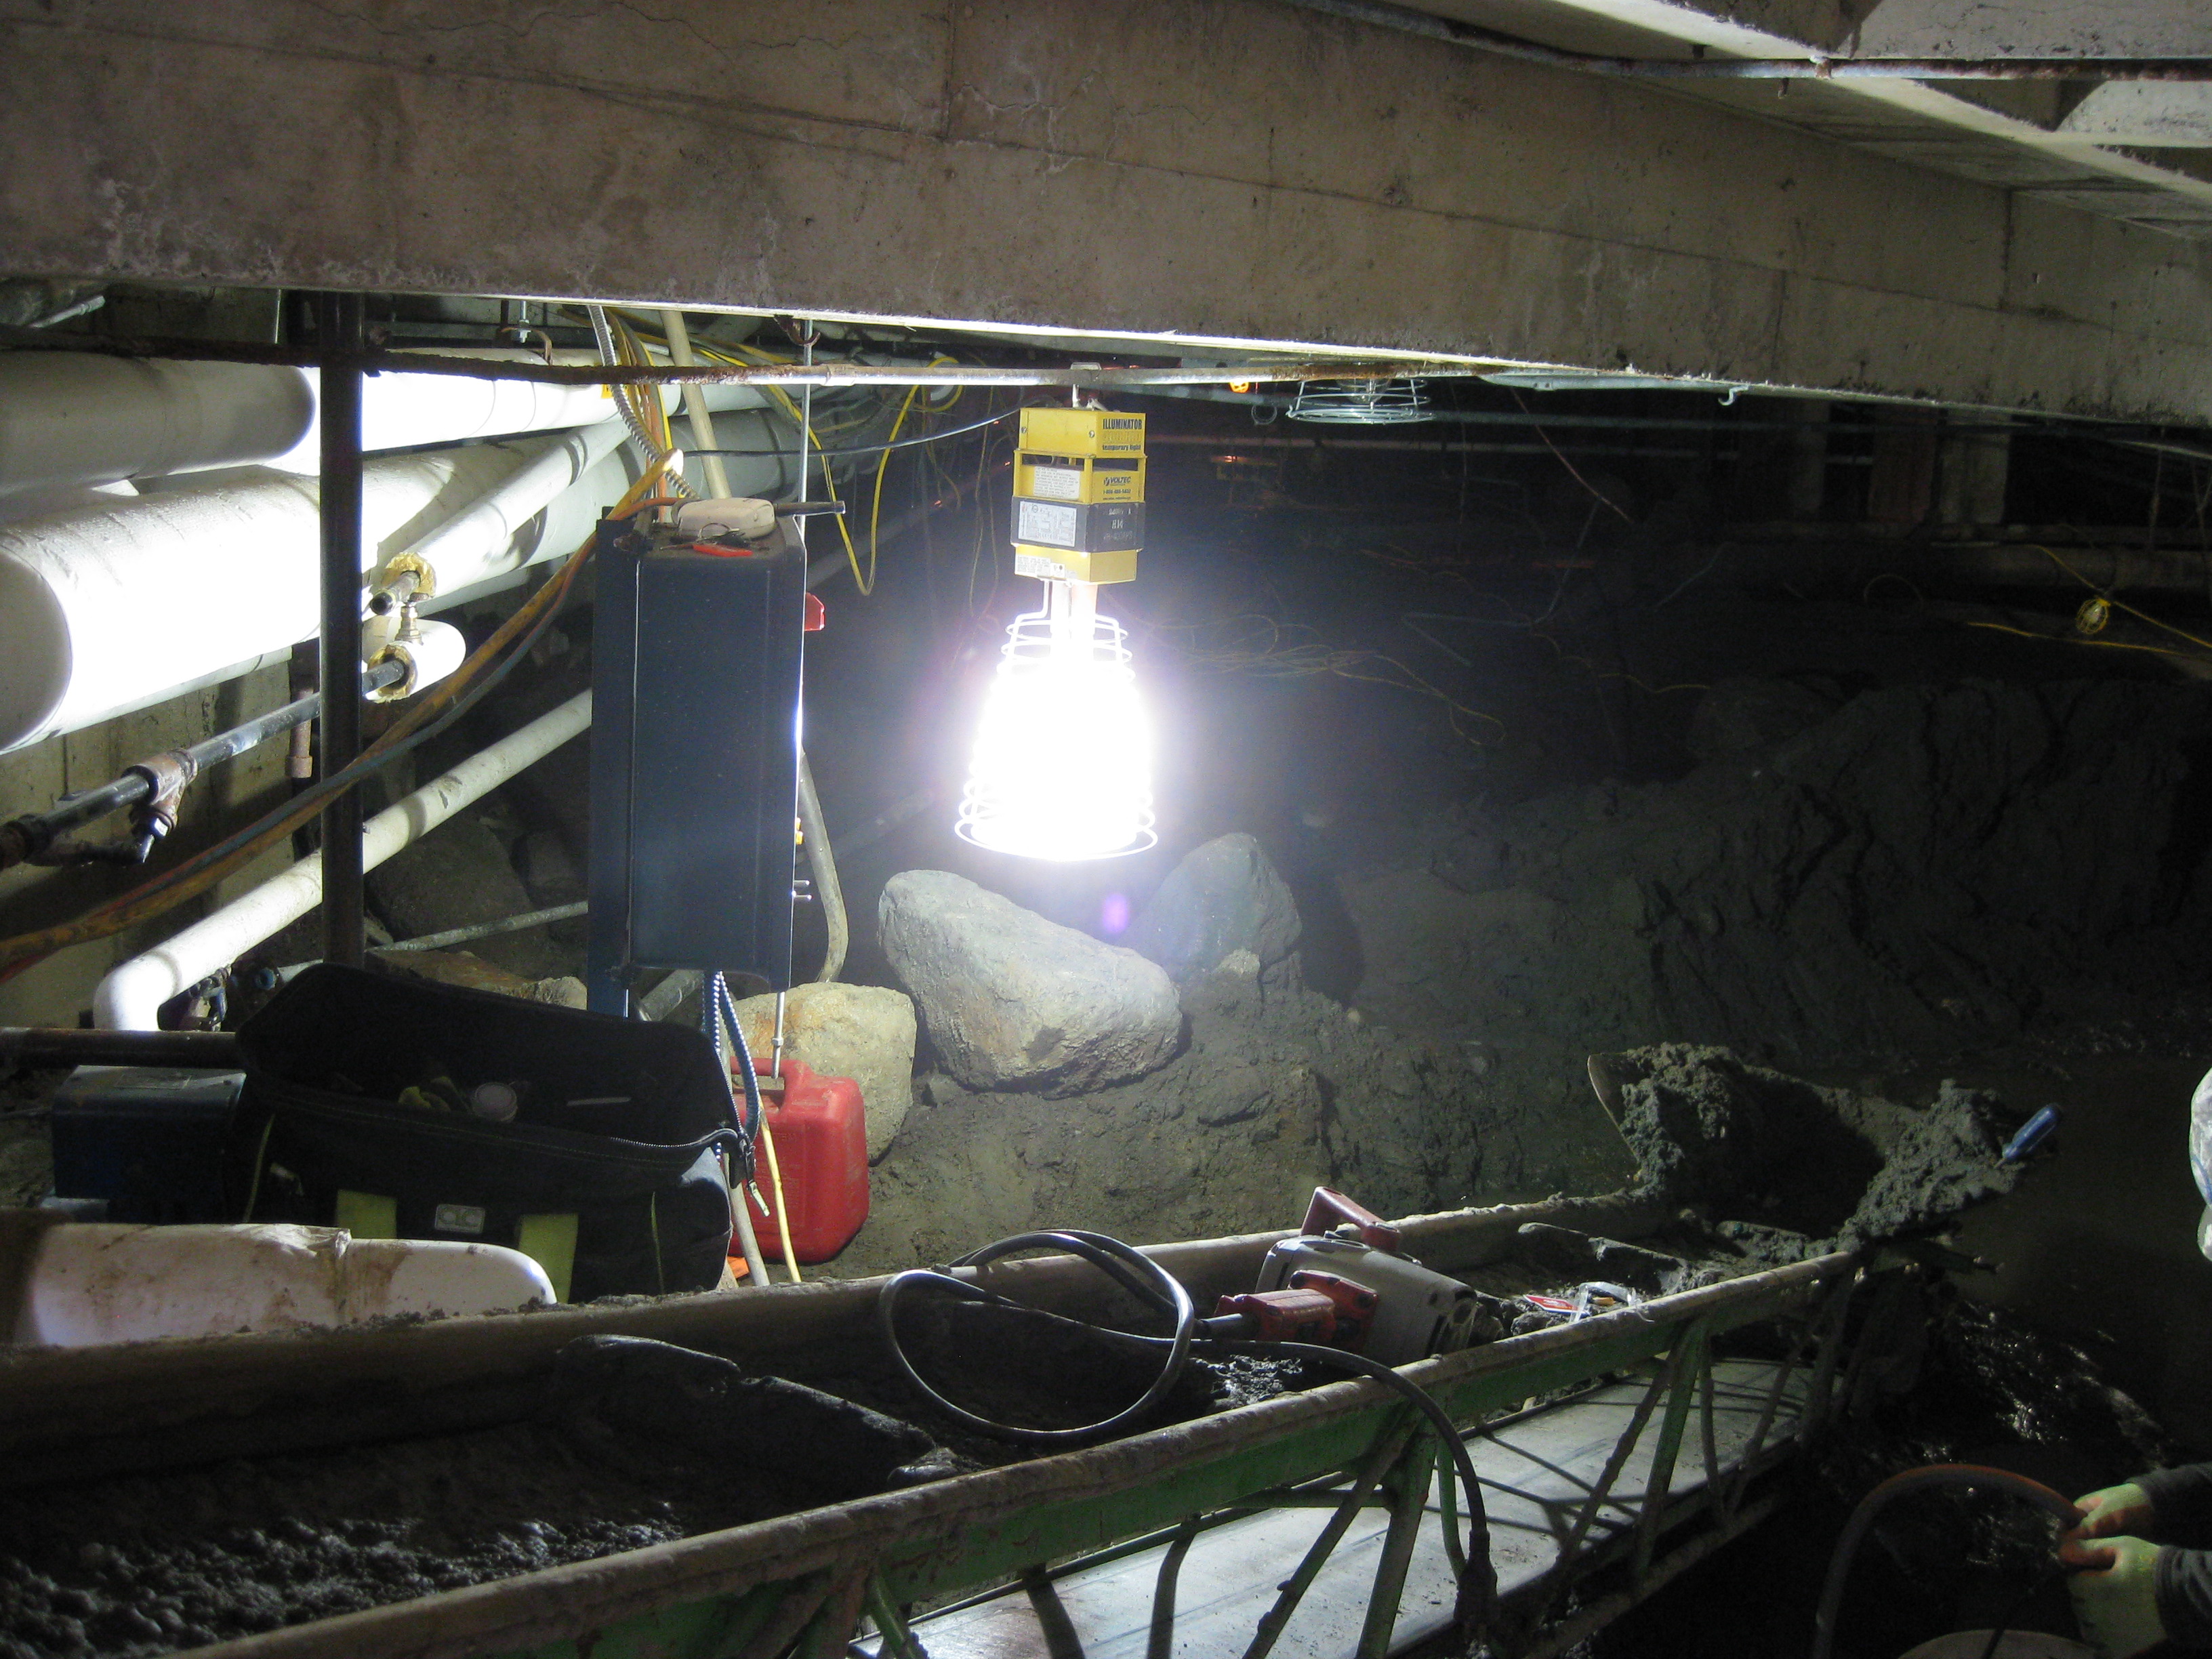
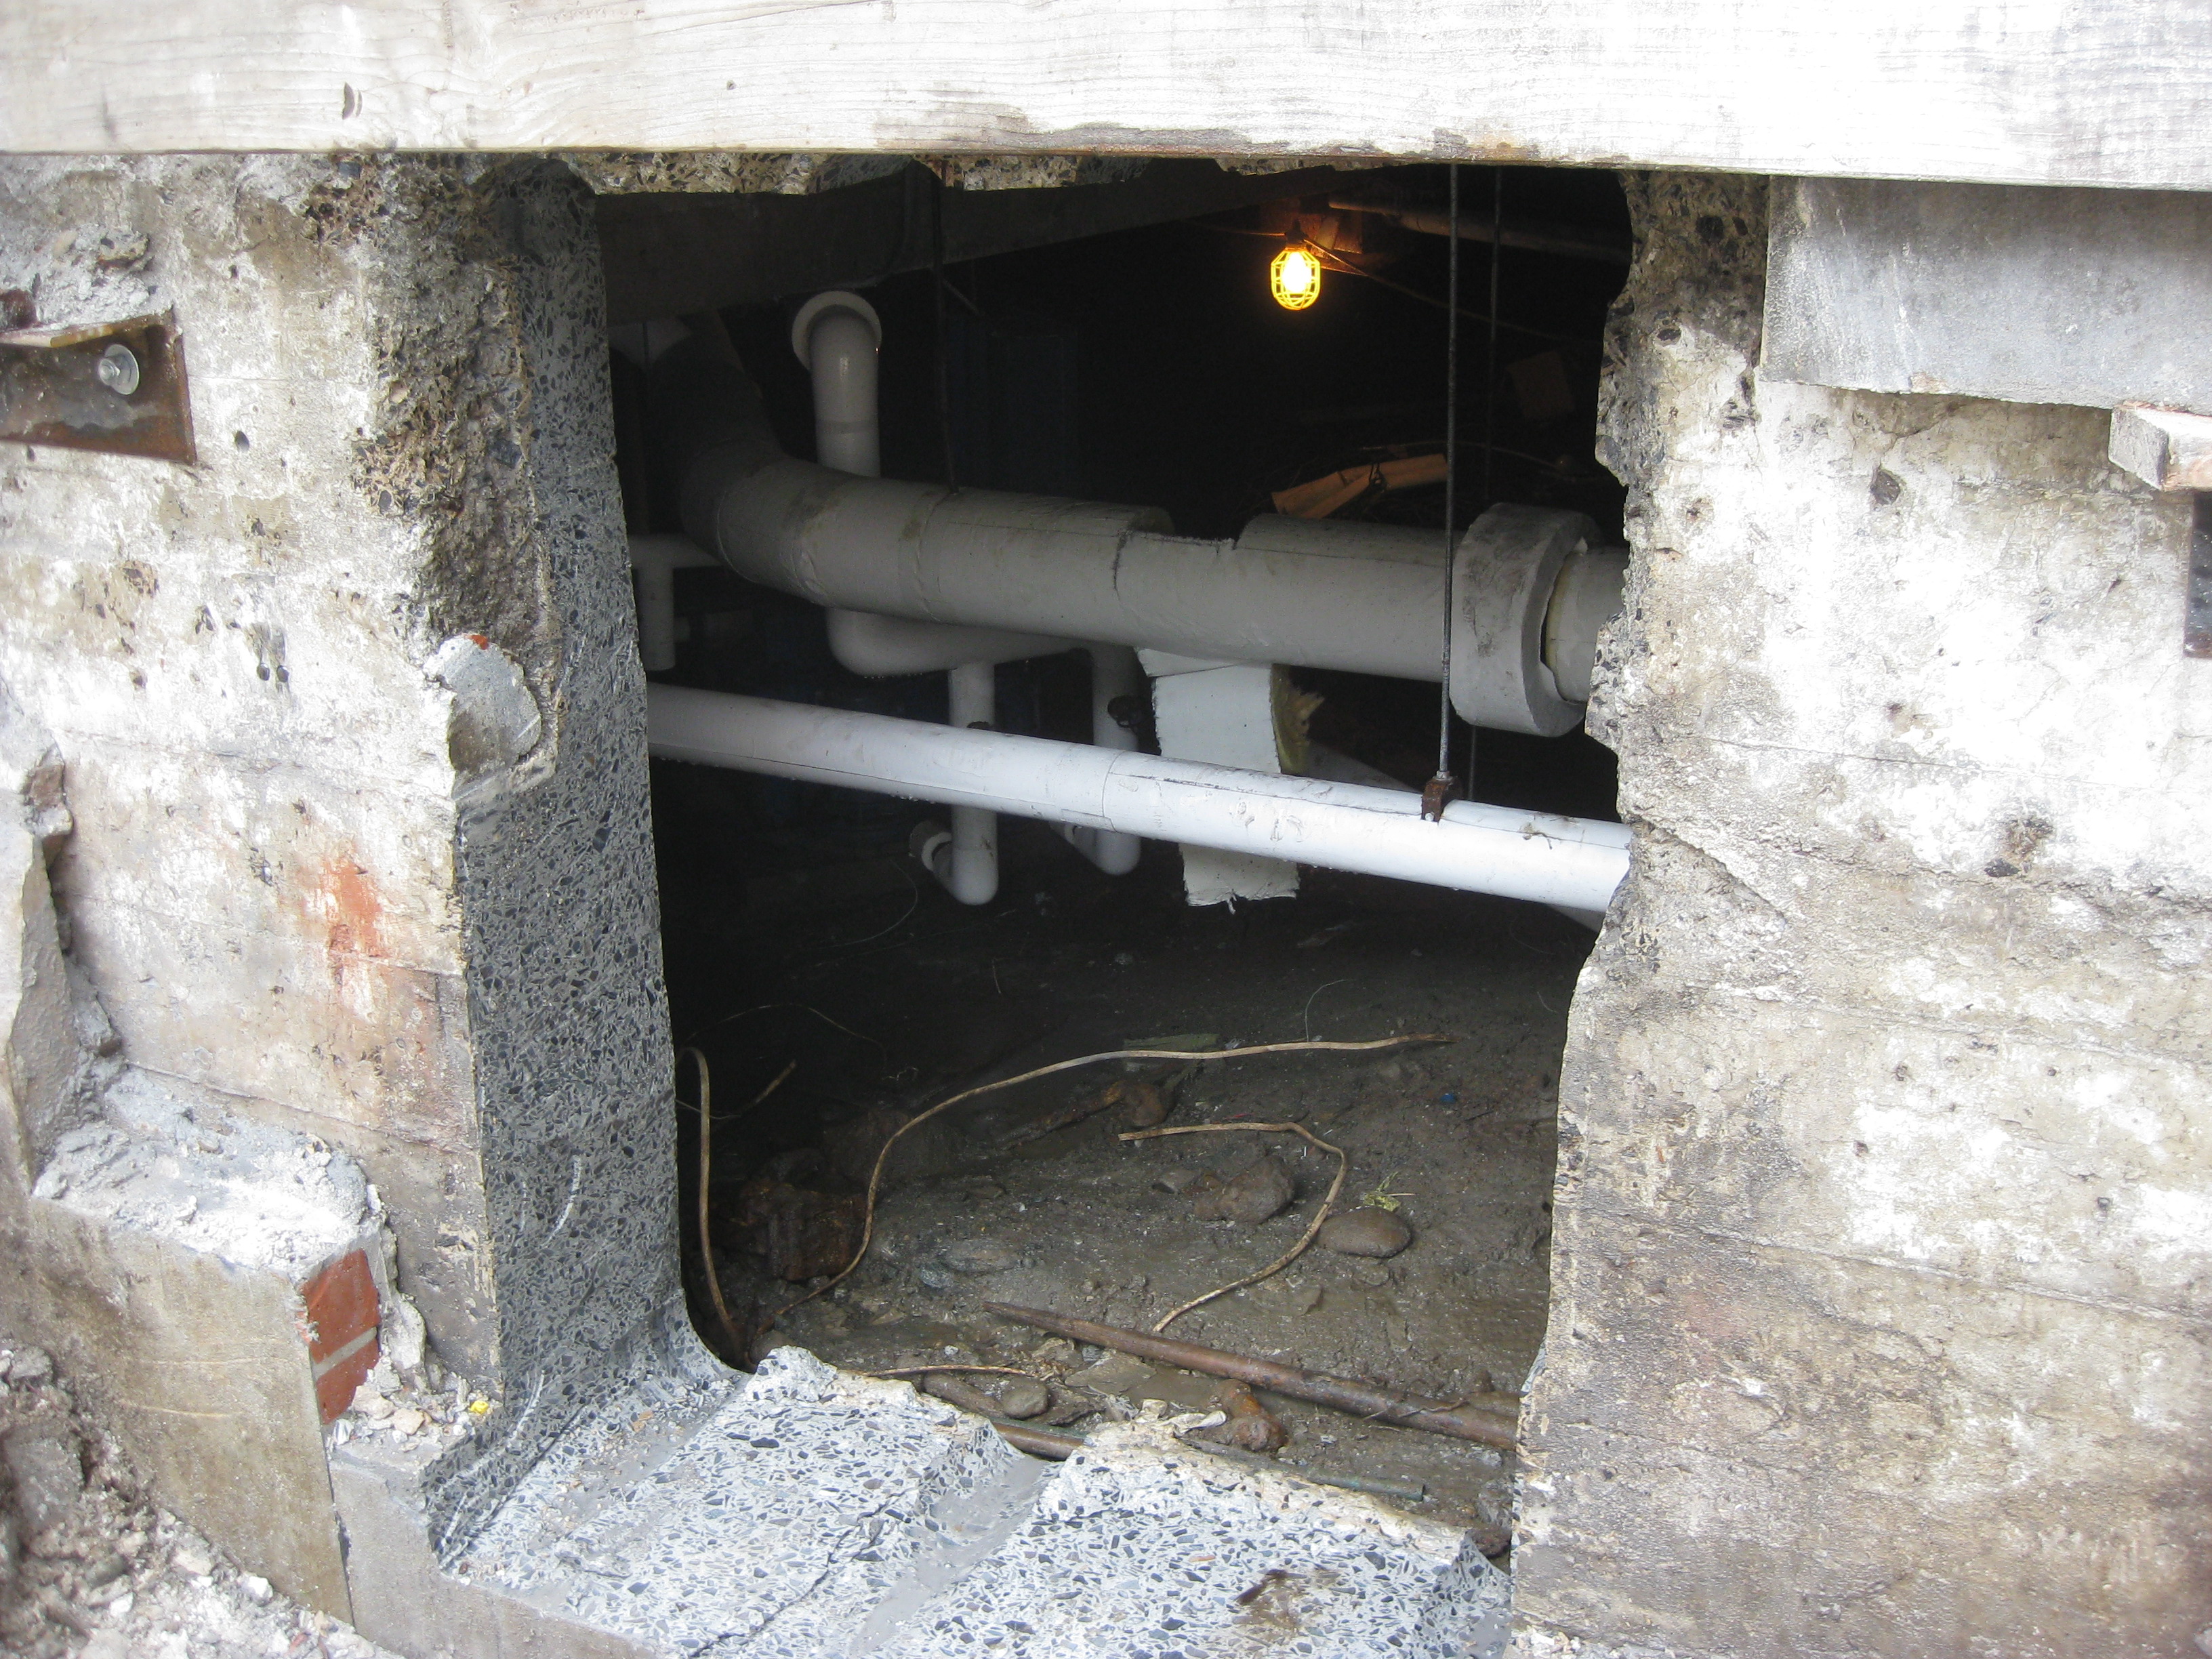
| Excavation continues in the crawl space as evidenced by the light and dark color of the footings and foundation. The lighter colored/dry upper portions of the footings and foundation show how much of the footings and foundation was above grade prior to excavation. The darker colored/wet lower portions show how much soil has been excavated and removed. | Excavation in the crawl space is to allow access to aging waste lines and the installation of perforated pipe at the footing and foundation to collect ground water and runoff. New drain lines will collect and divert water to CBJ storm drains. |
|
|
| Other items in the crawl space requiring attention are miscellaneous electrical, data and communication lines. These will be replaced as needed during cable and wire management improvements. | Demolition of concrete and steel continues on the portico slab |
|
|
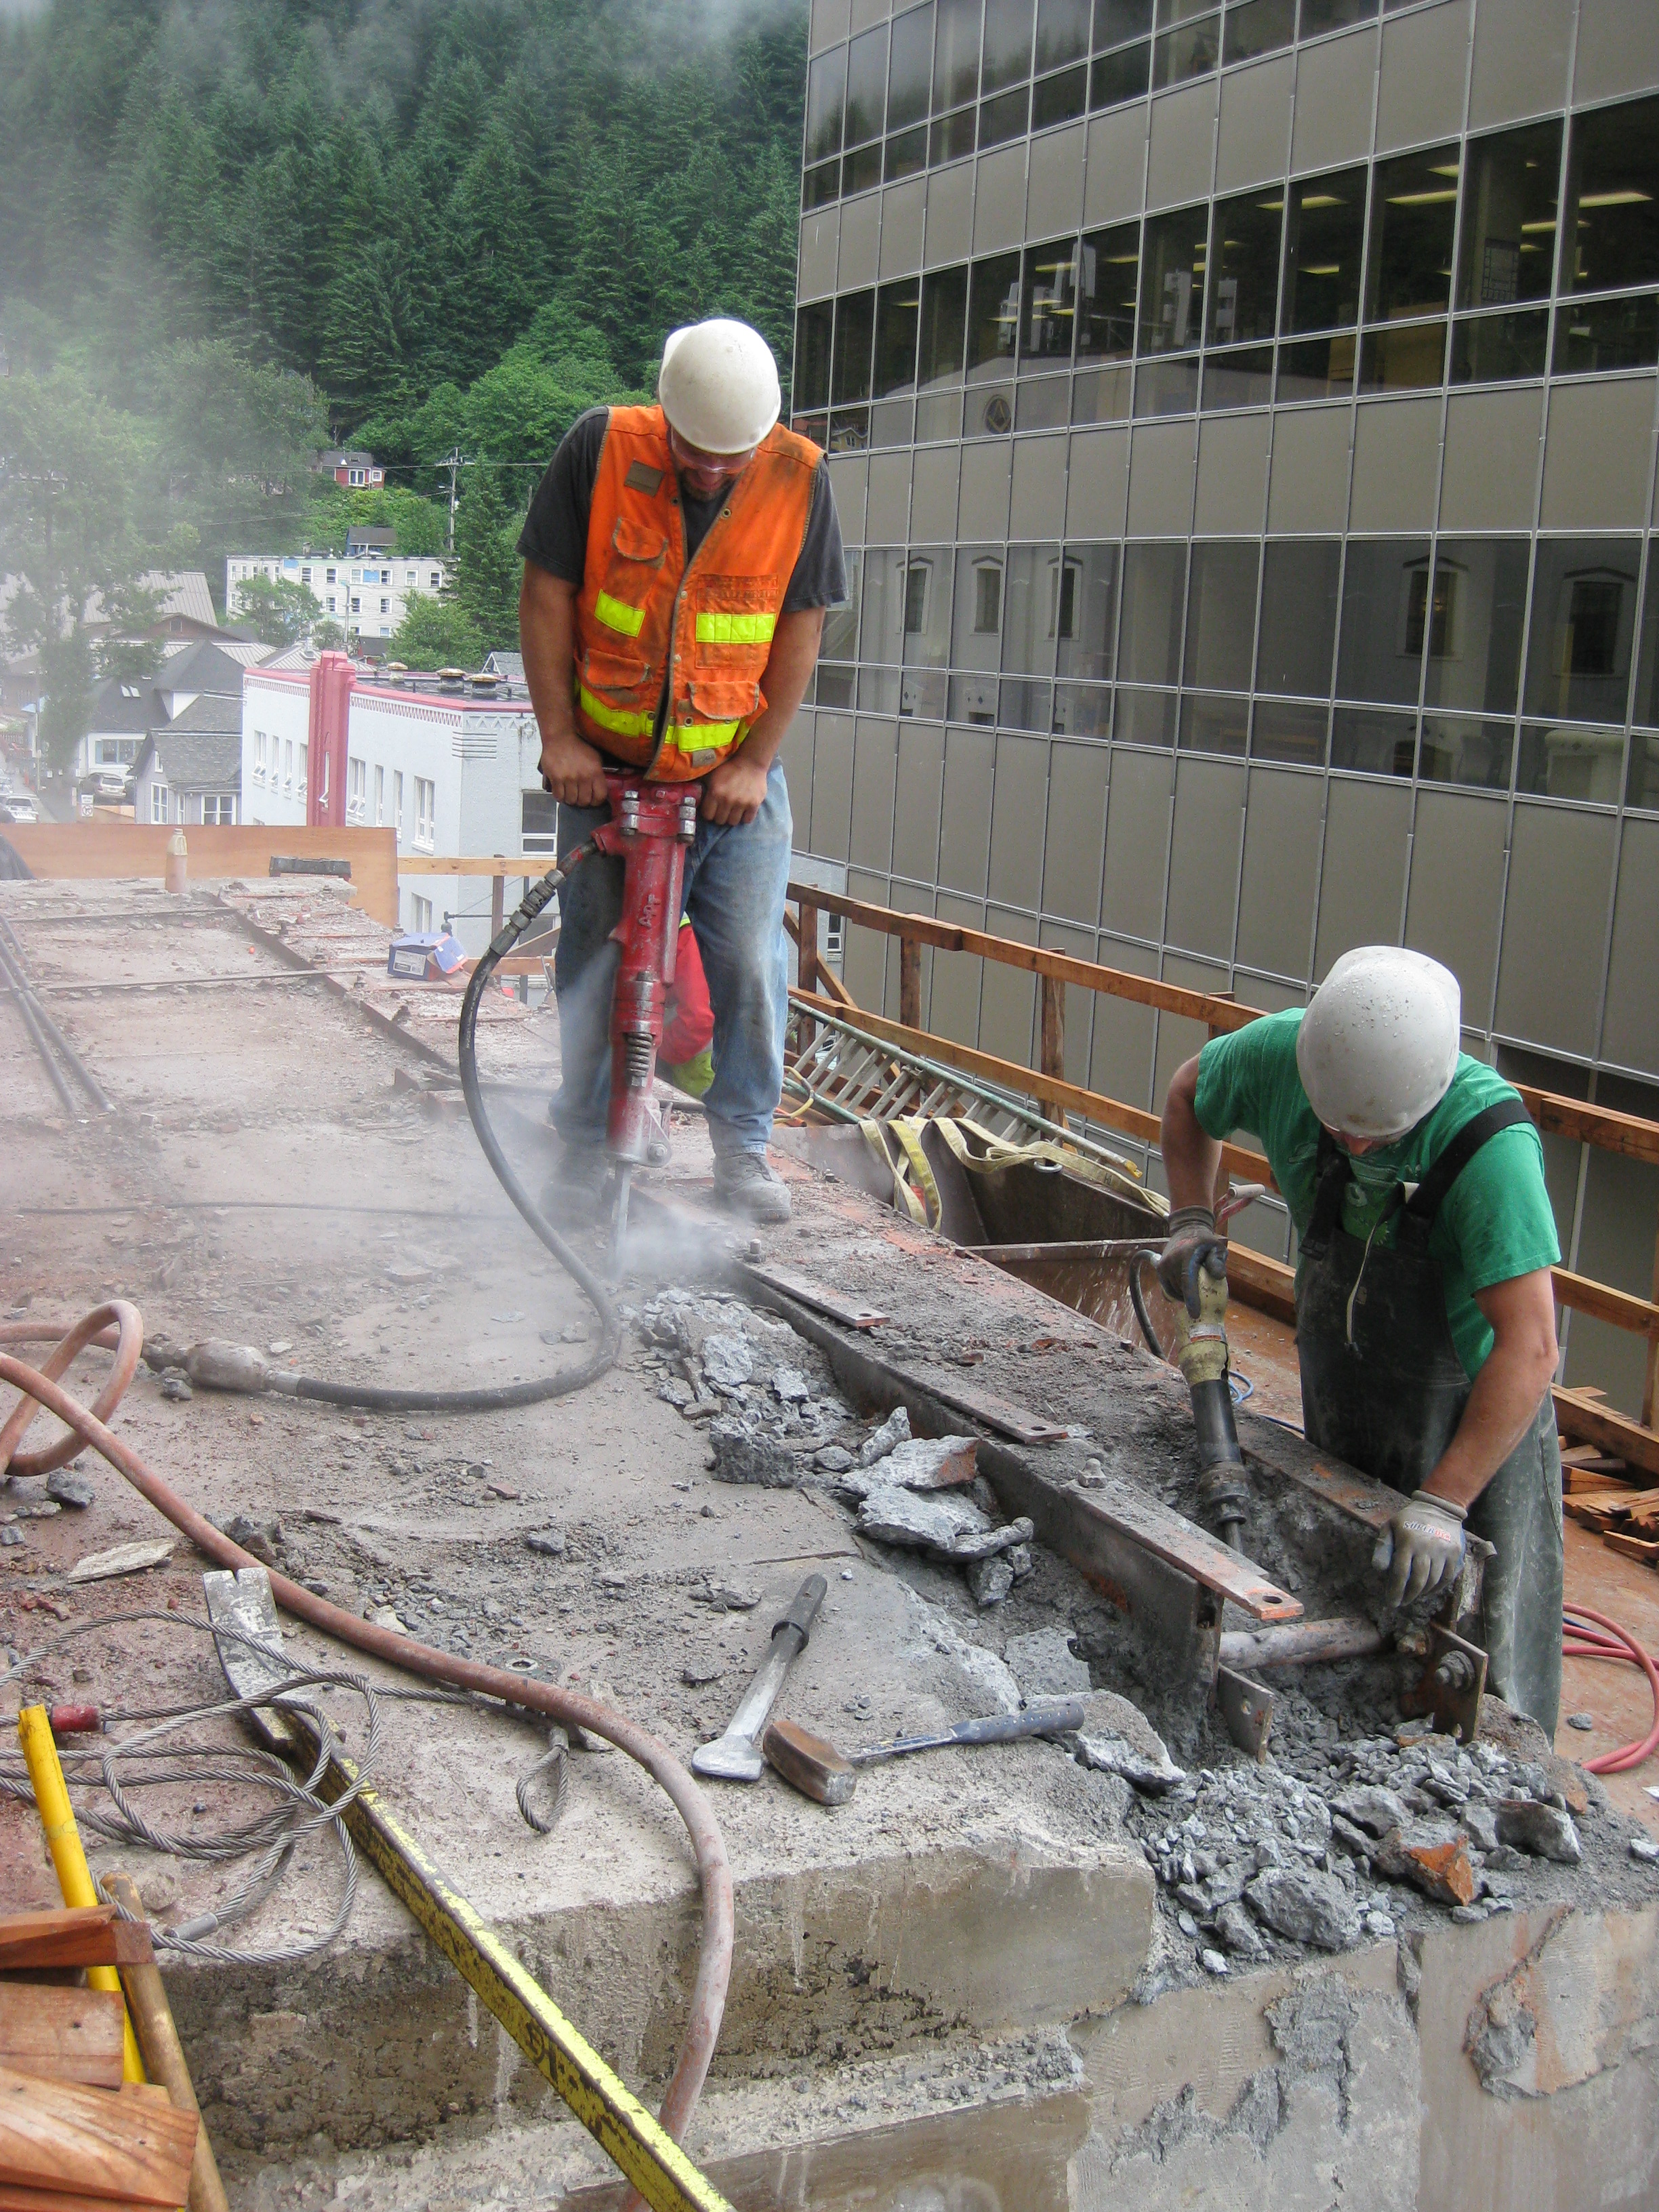
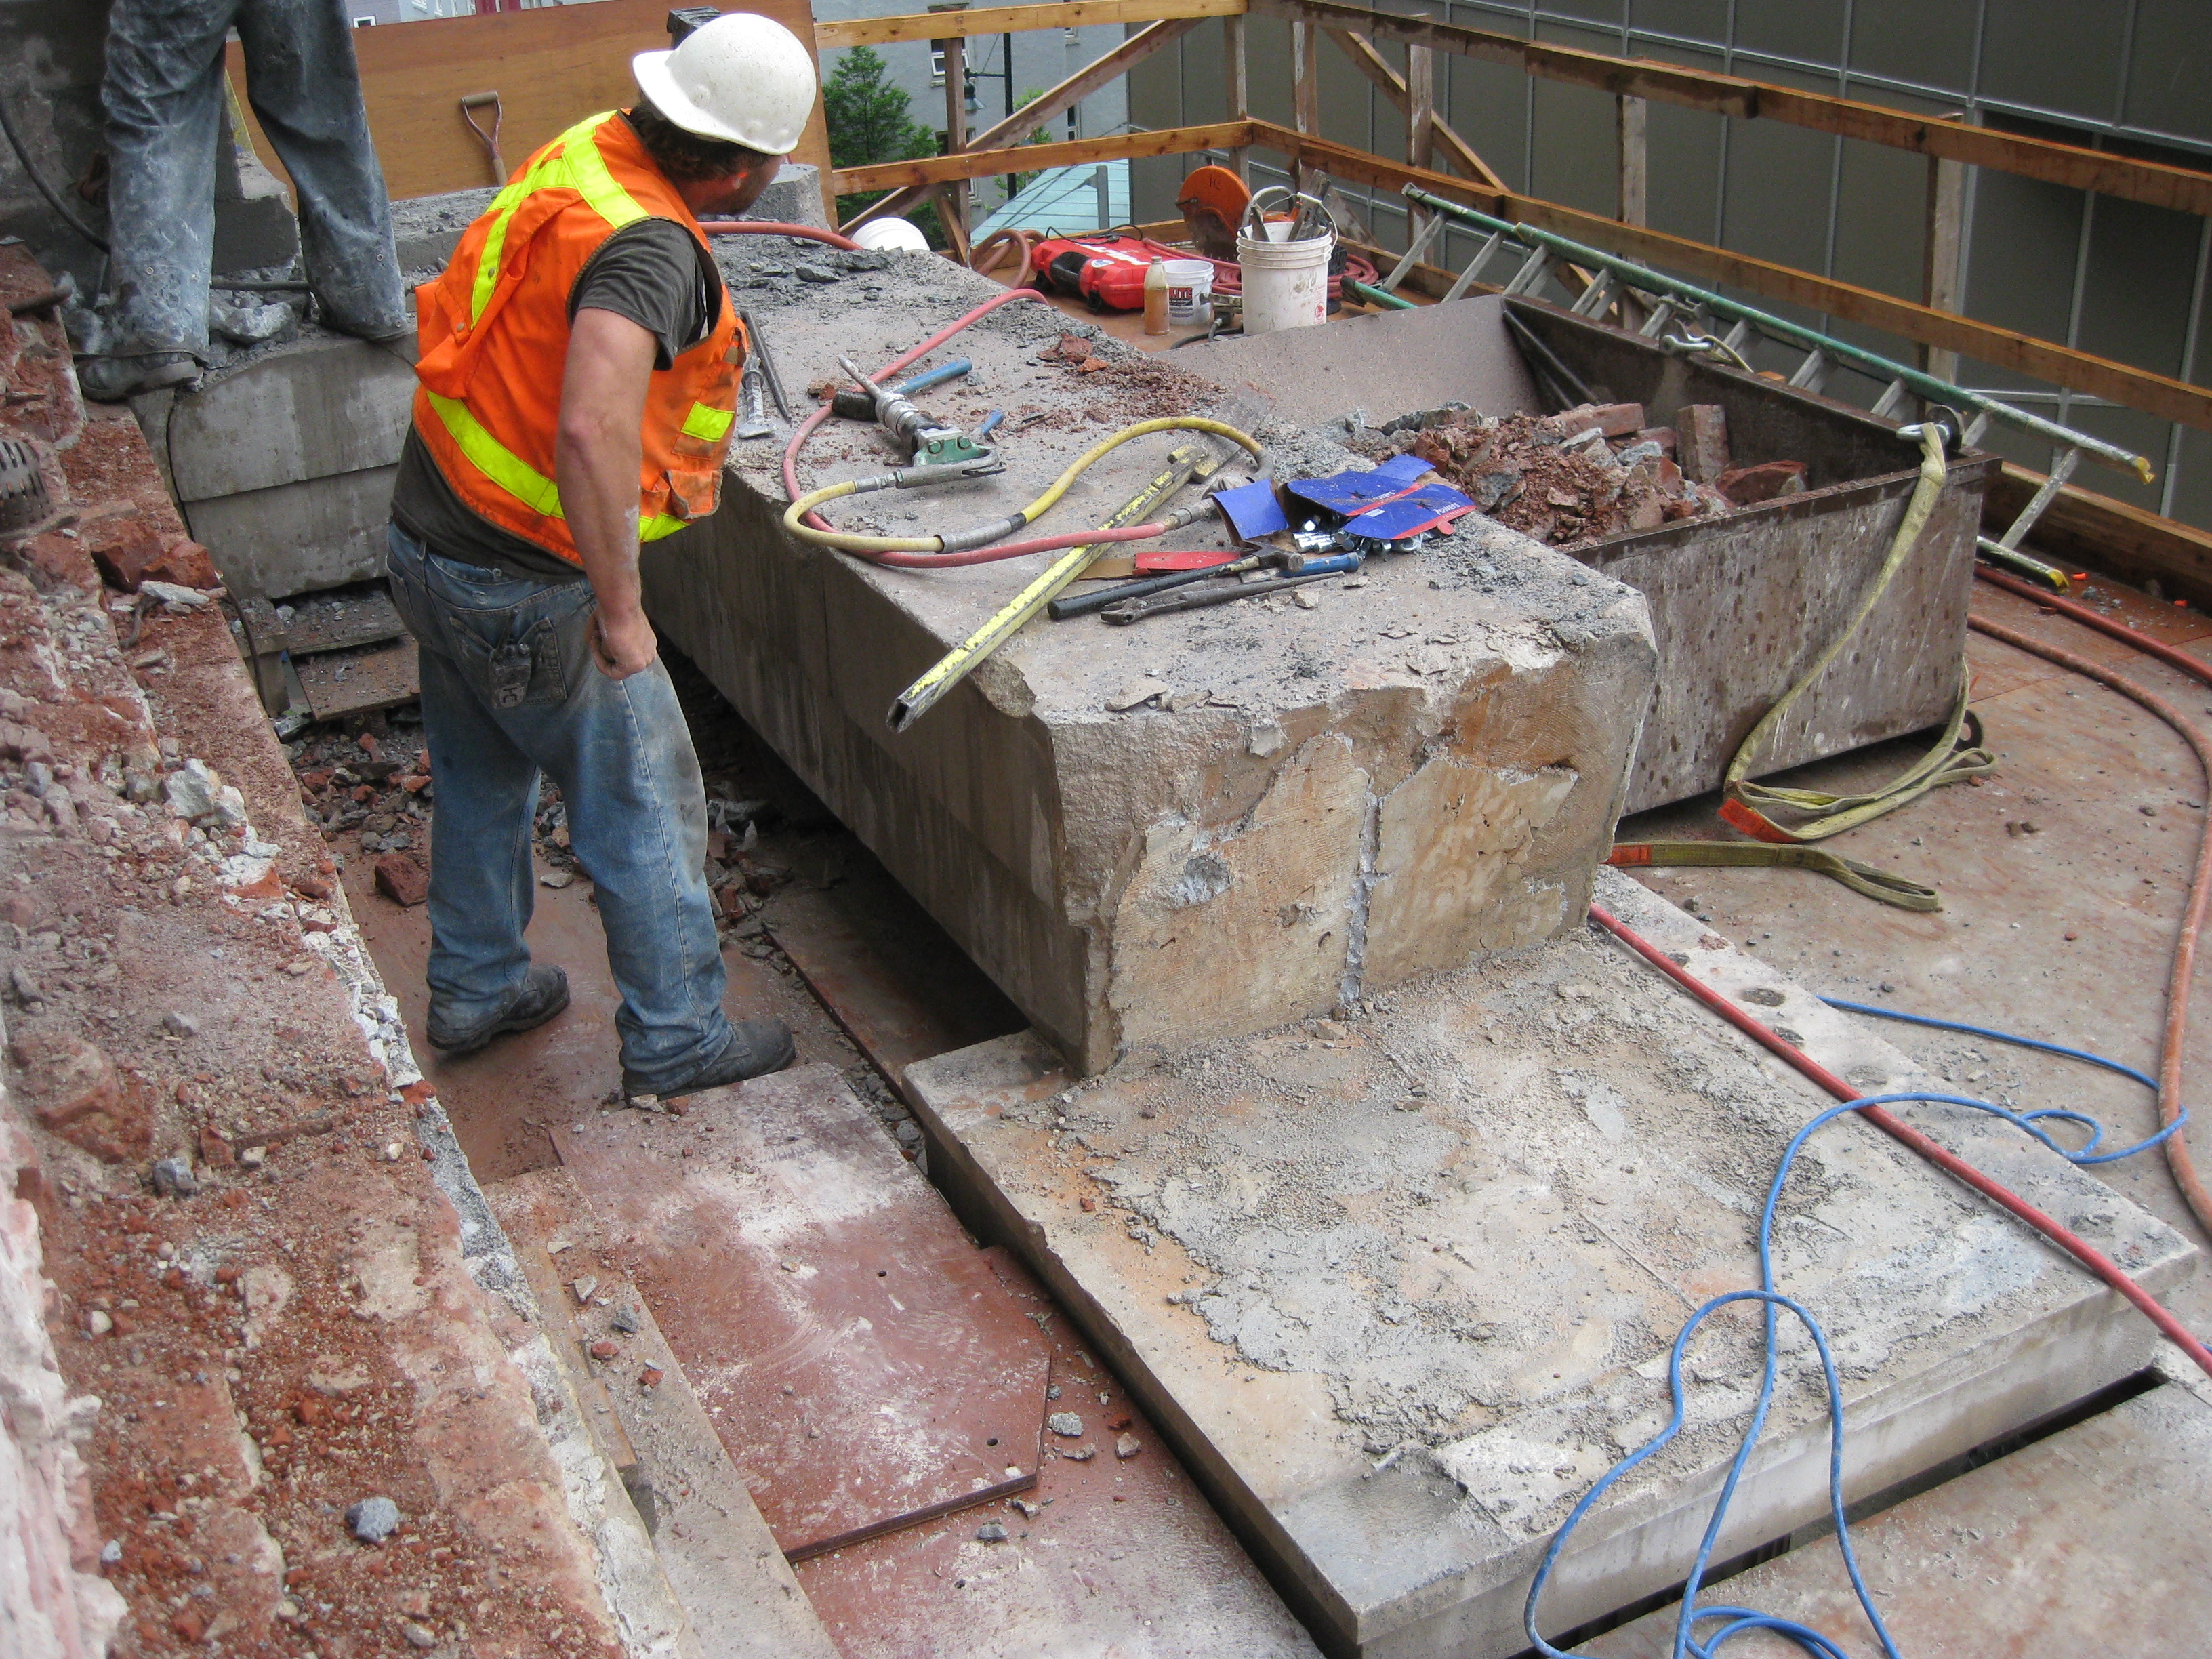
| Portico slab removed, workers jackhammer and remove remaining blocks and pieces of portico | Upper portico demolition complete. Stone pieces remaining are sitting directly on top of the marble columns. The next phase of demolition will be to remove the sandstone cladding from the exterior wall at the main entrance |
Update June 28, 2013
|
|
| Demolition continues on the portico upper concrete deck | Salvaged piece of portico sandstone is lowered for transportation to off-site storage. Salvaged pieces will be retained for replicating information for Phase II. |
|
|
| Exterior brick cladding removal from South wall above portico. Steel beam has been temporarily installed to support cladding above and will remain in place until removed during Phase II. | Excavation and soil removal continues in the crawl space with the assistance of four conveyor belts in the crawl space and one on the exterior. Contractor has completed approximately 25% of required soil removal. |
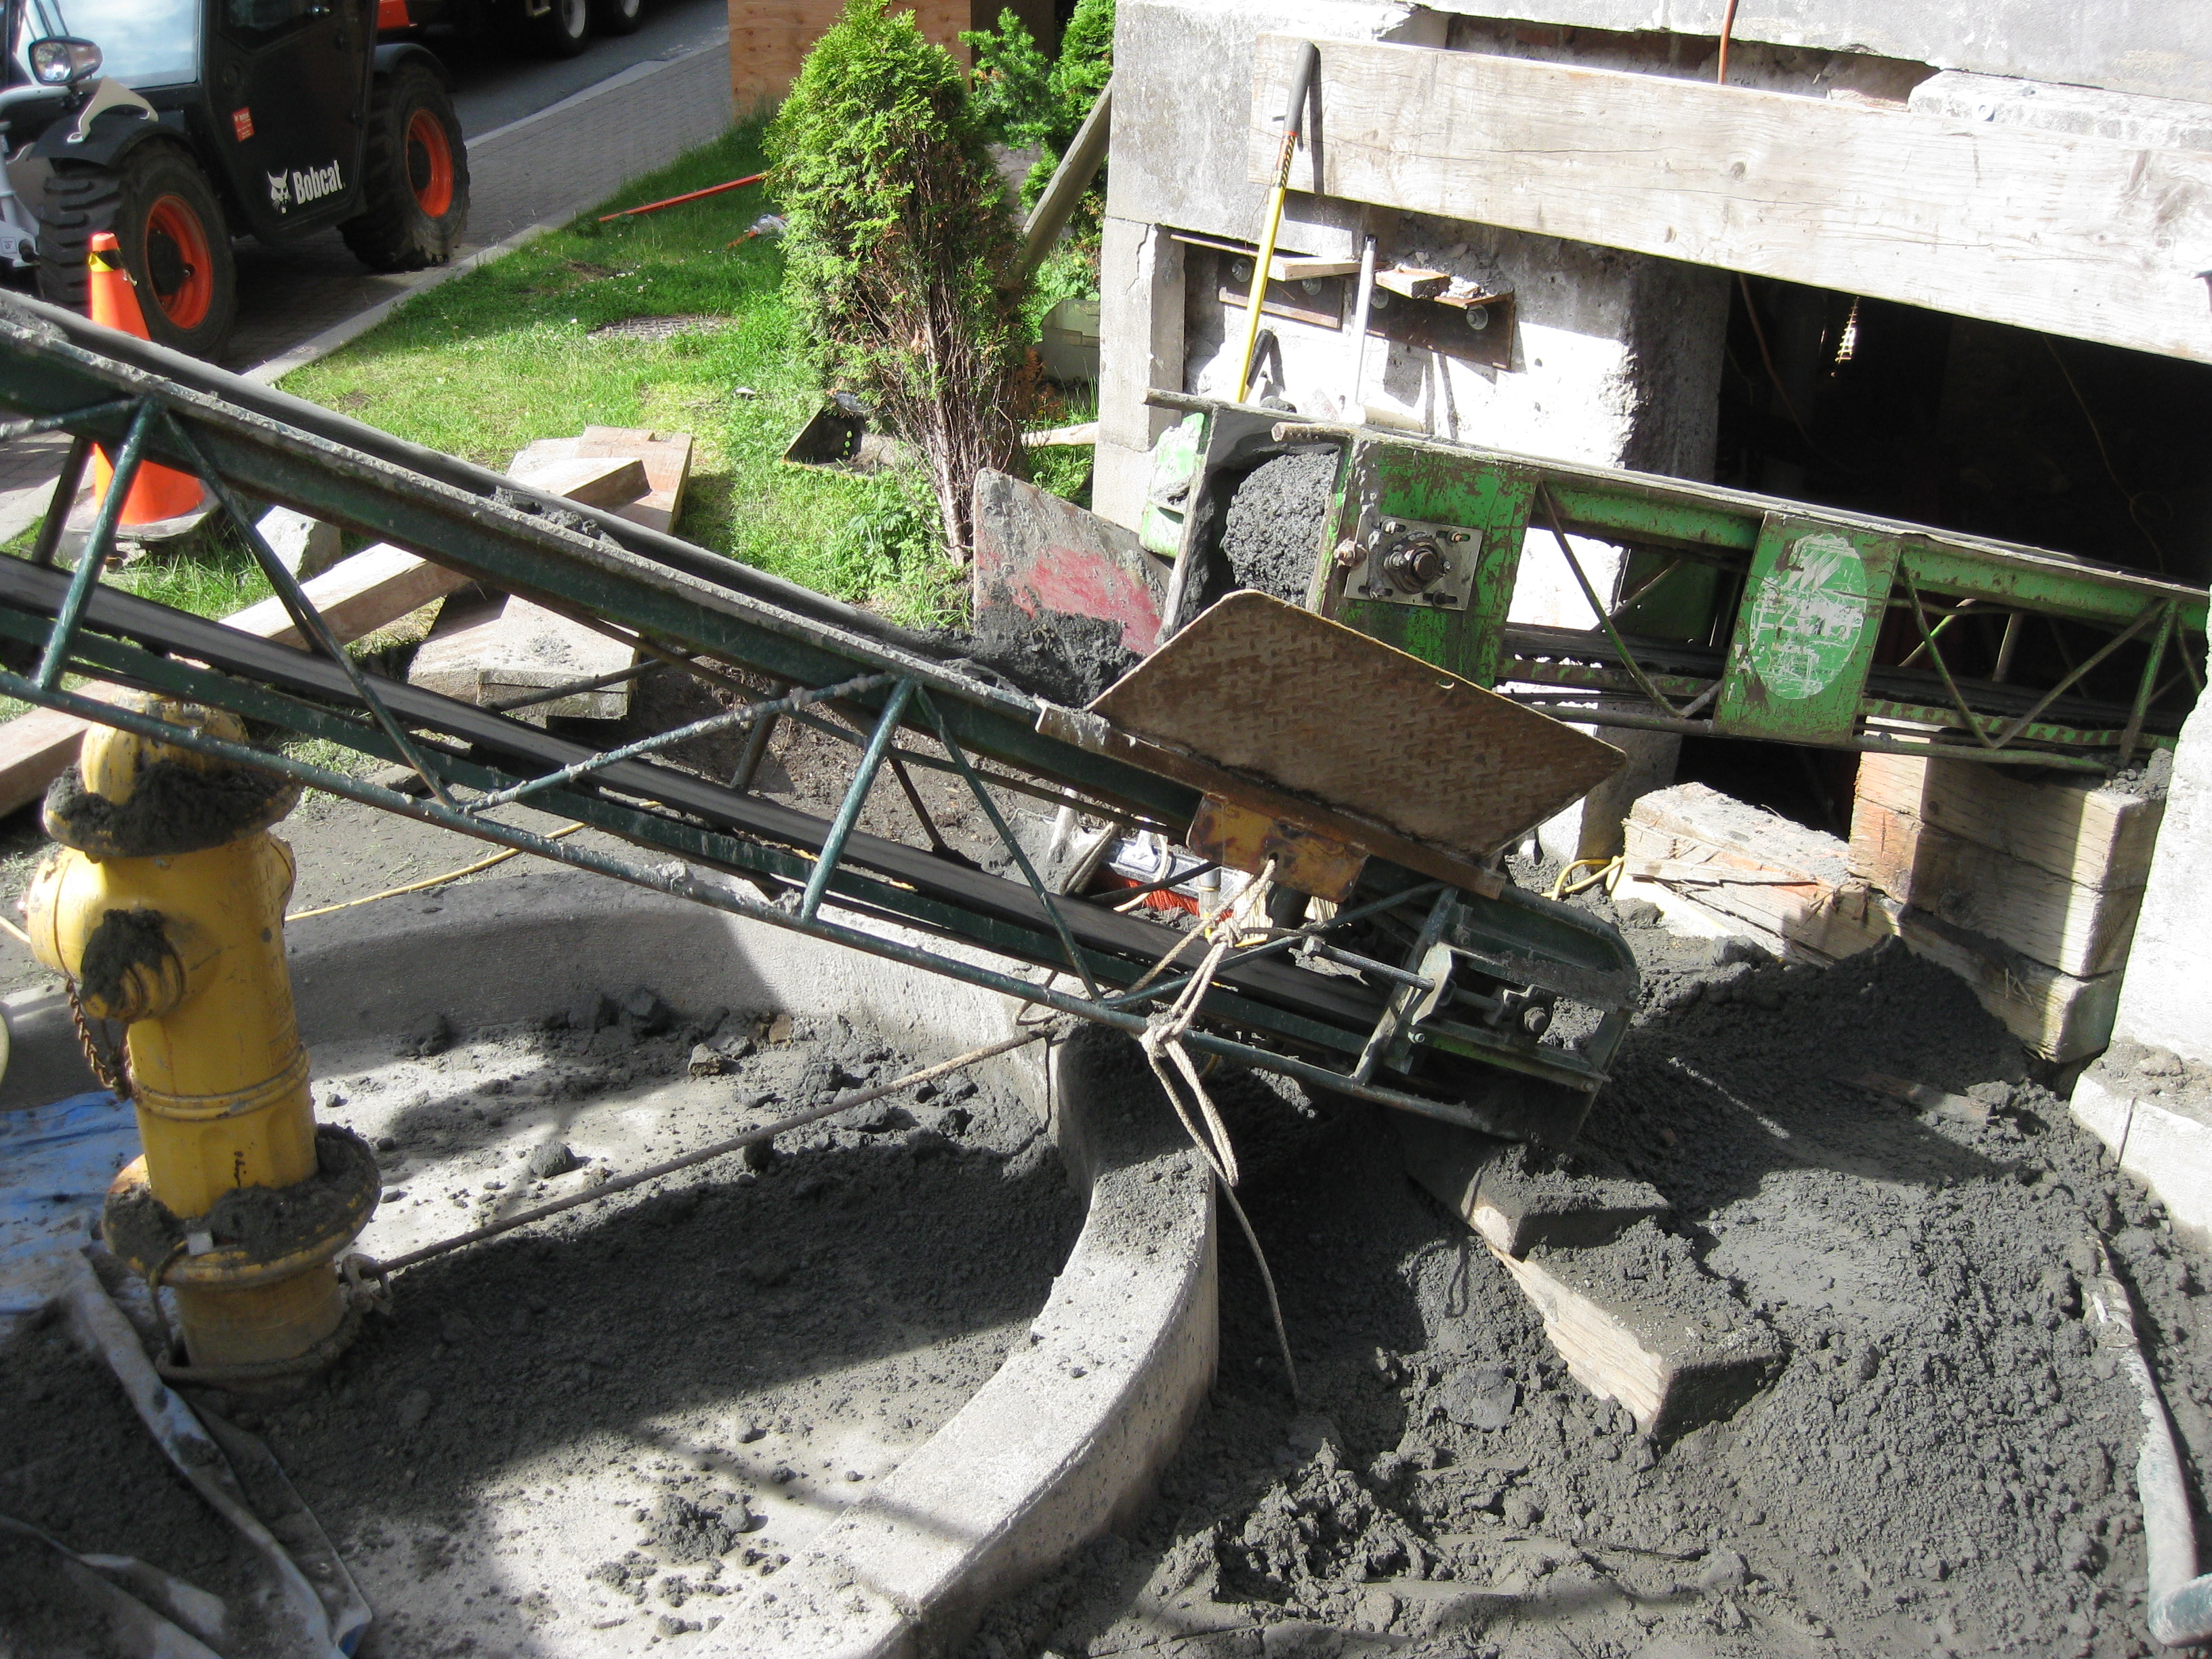
|
|
| Exterior conveyor belt lifting soil into dump truck | Steel bands are clamped around marble columns and steel angle iron is mechanically fastened to main entrance wall. Steel bracing will be attached at a 45 degree angle from two sides of the steel bands back to the angle iron attached to the building. Bracing is to ensure columns remain in place during final demolition of the upper portion of the portico. Bracing will remain in place until new concrete pilasters and slab have been poured. |
Update June 21, 2013
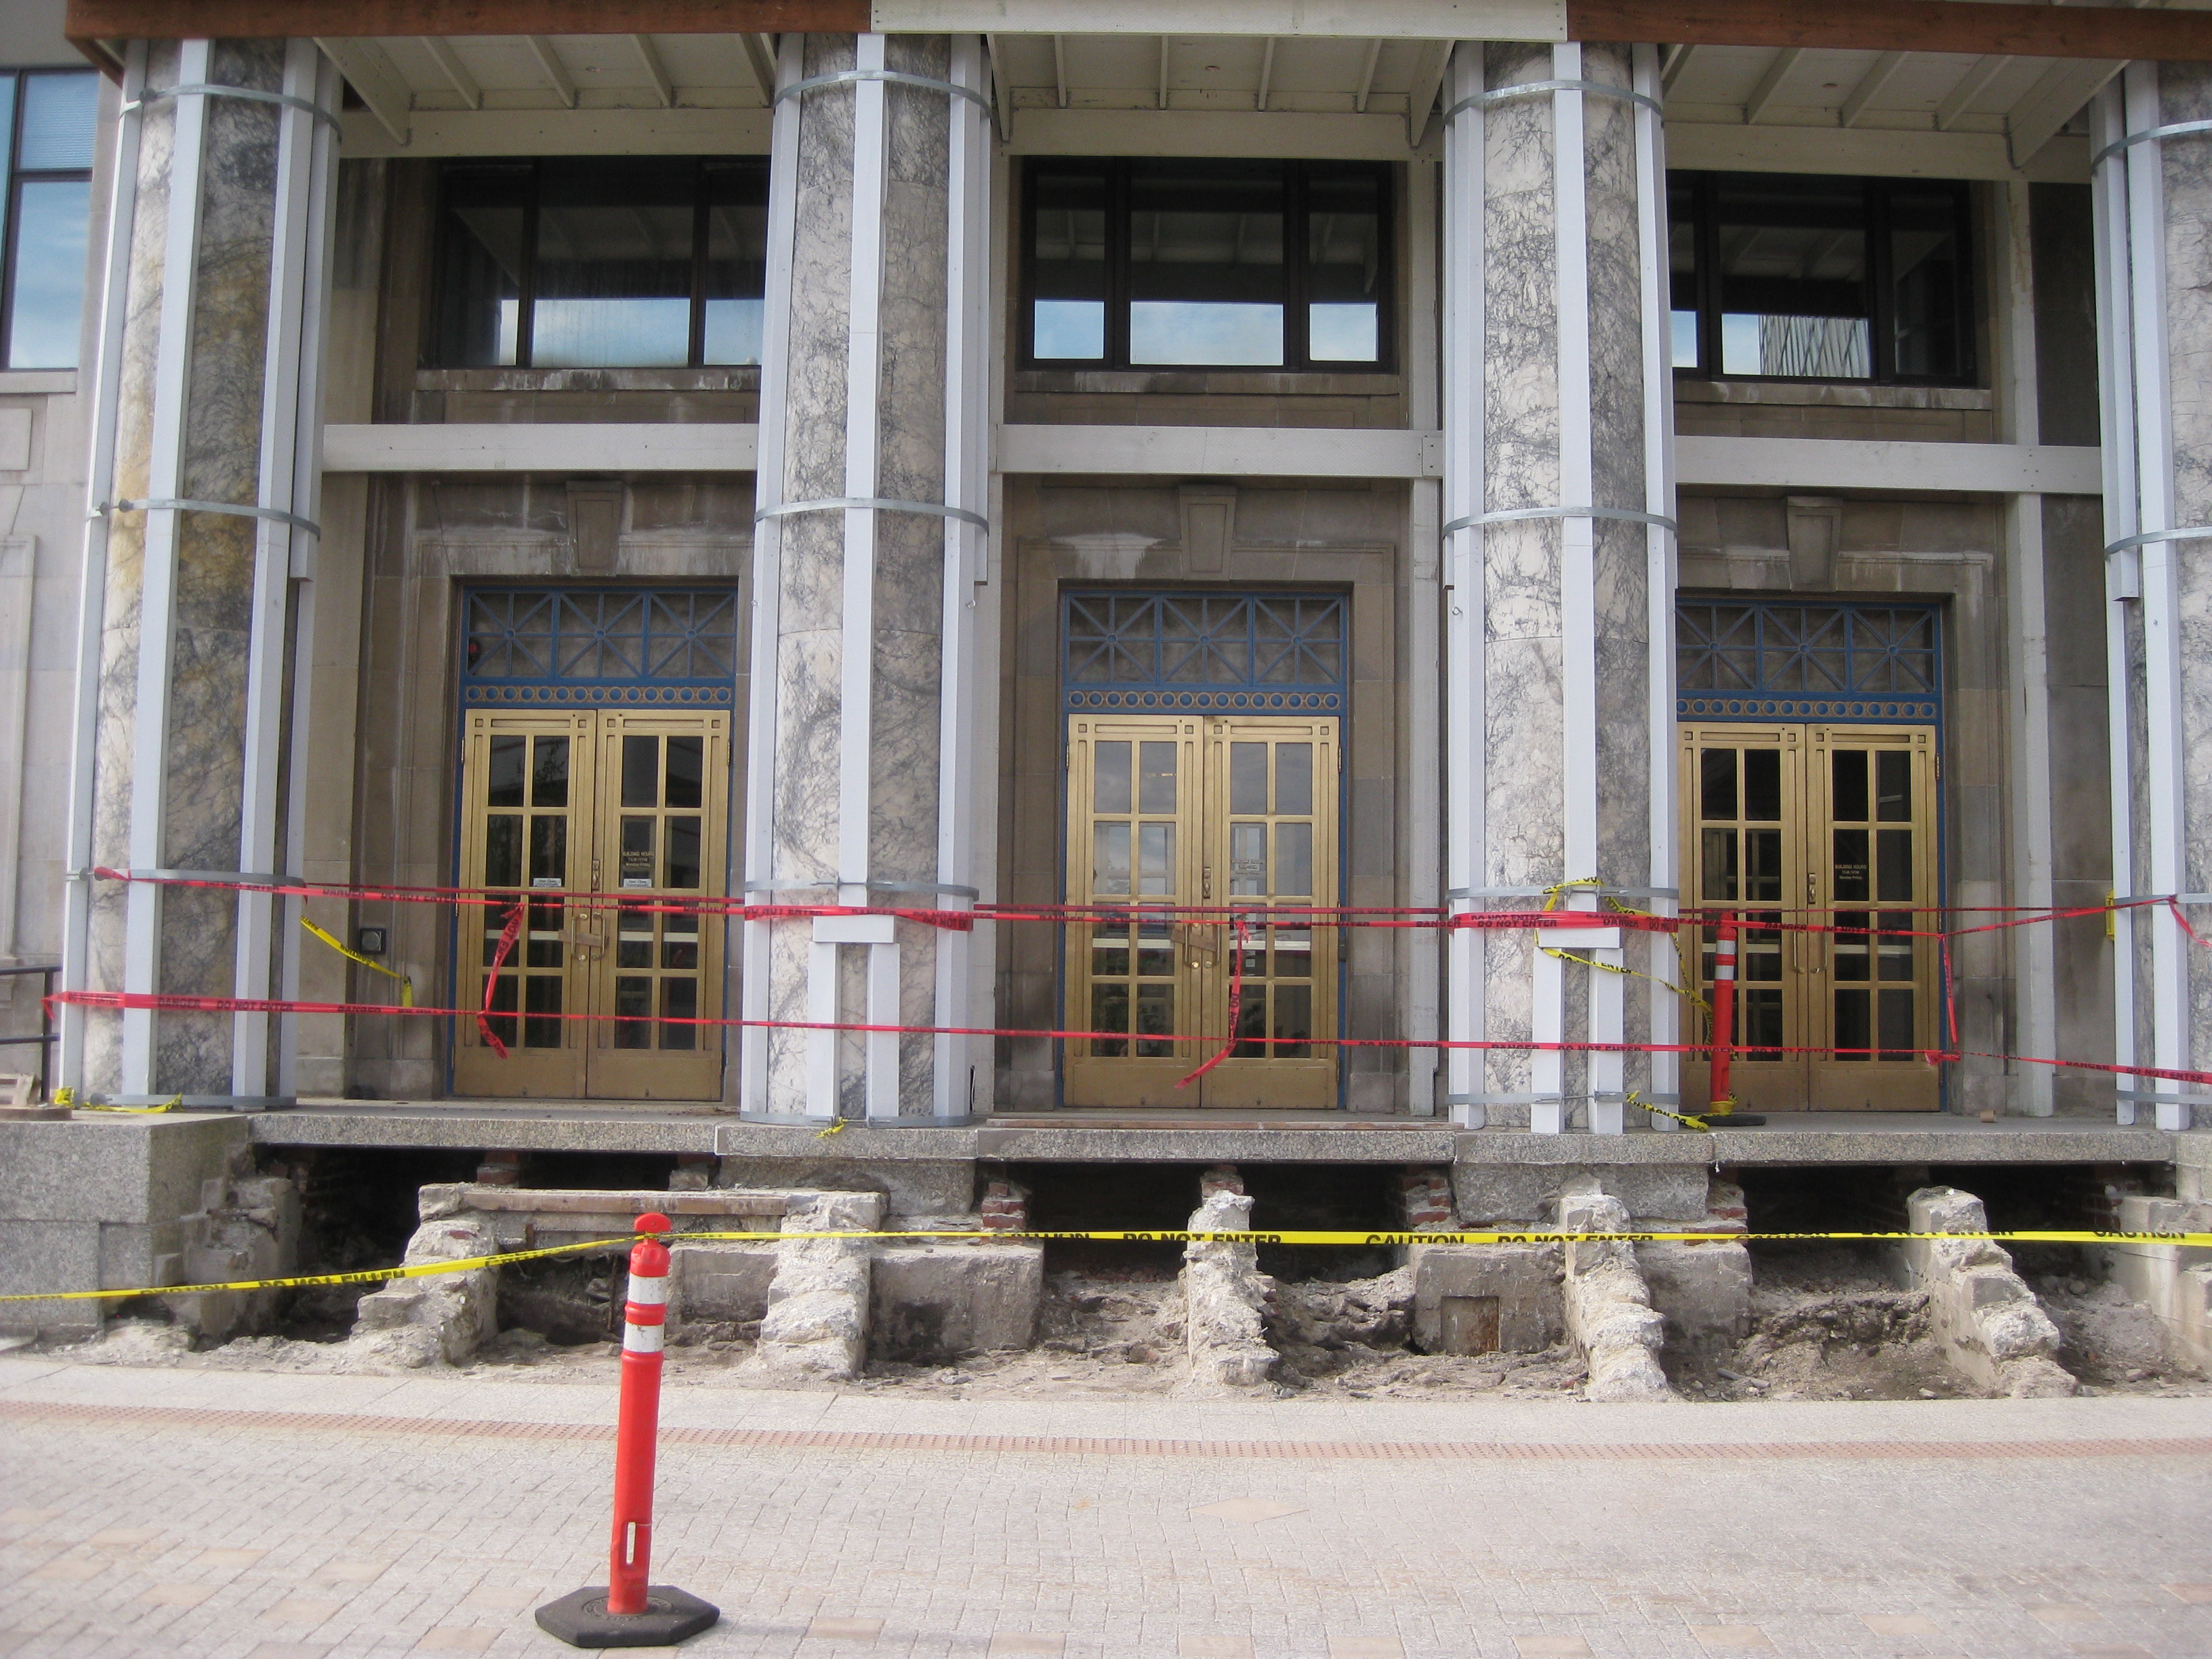
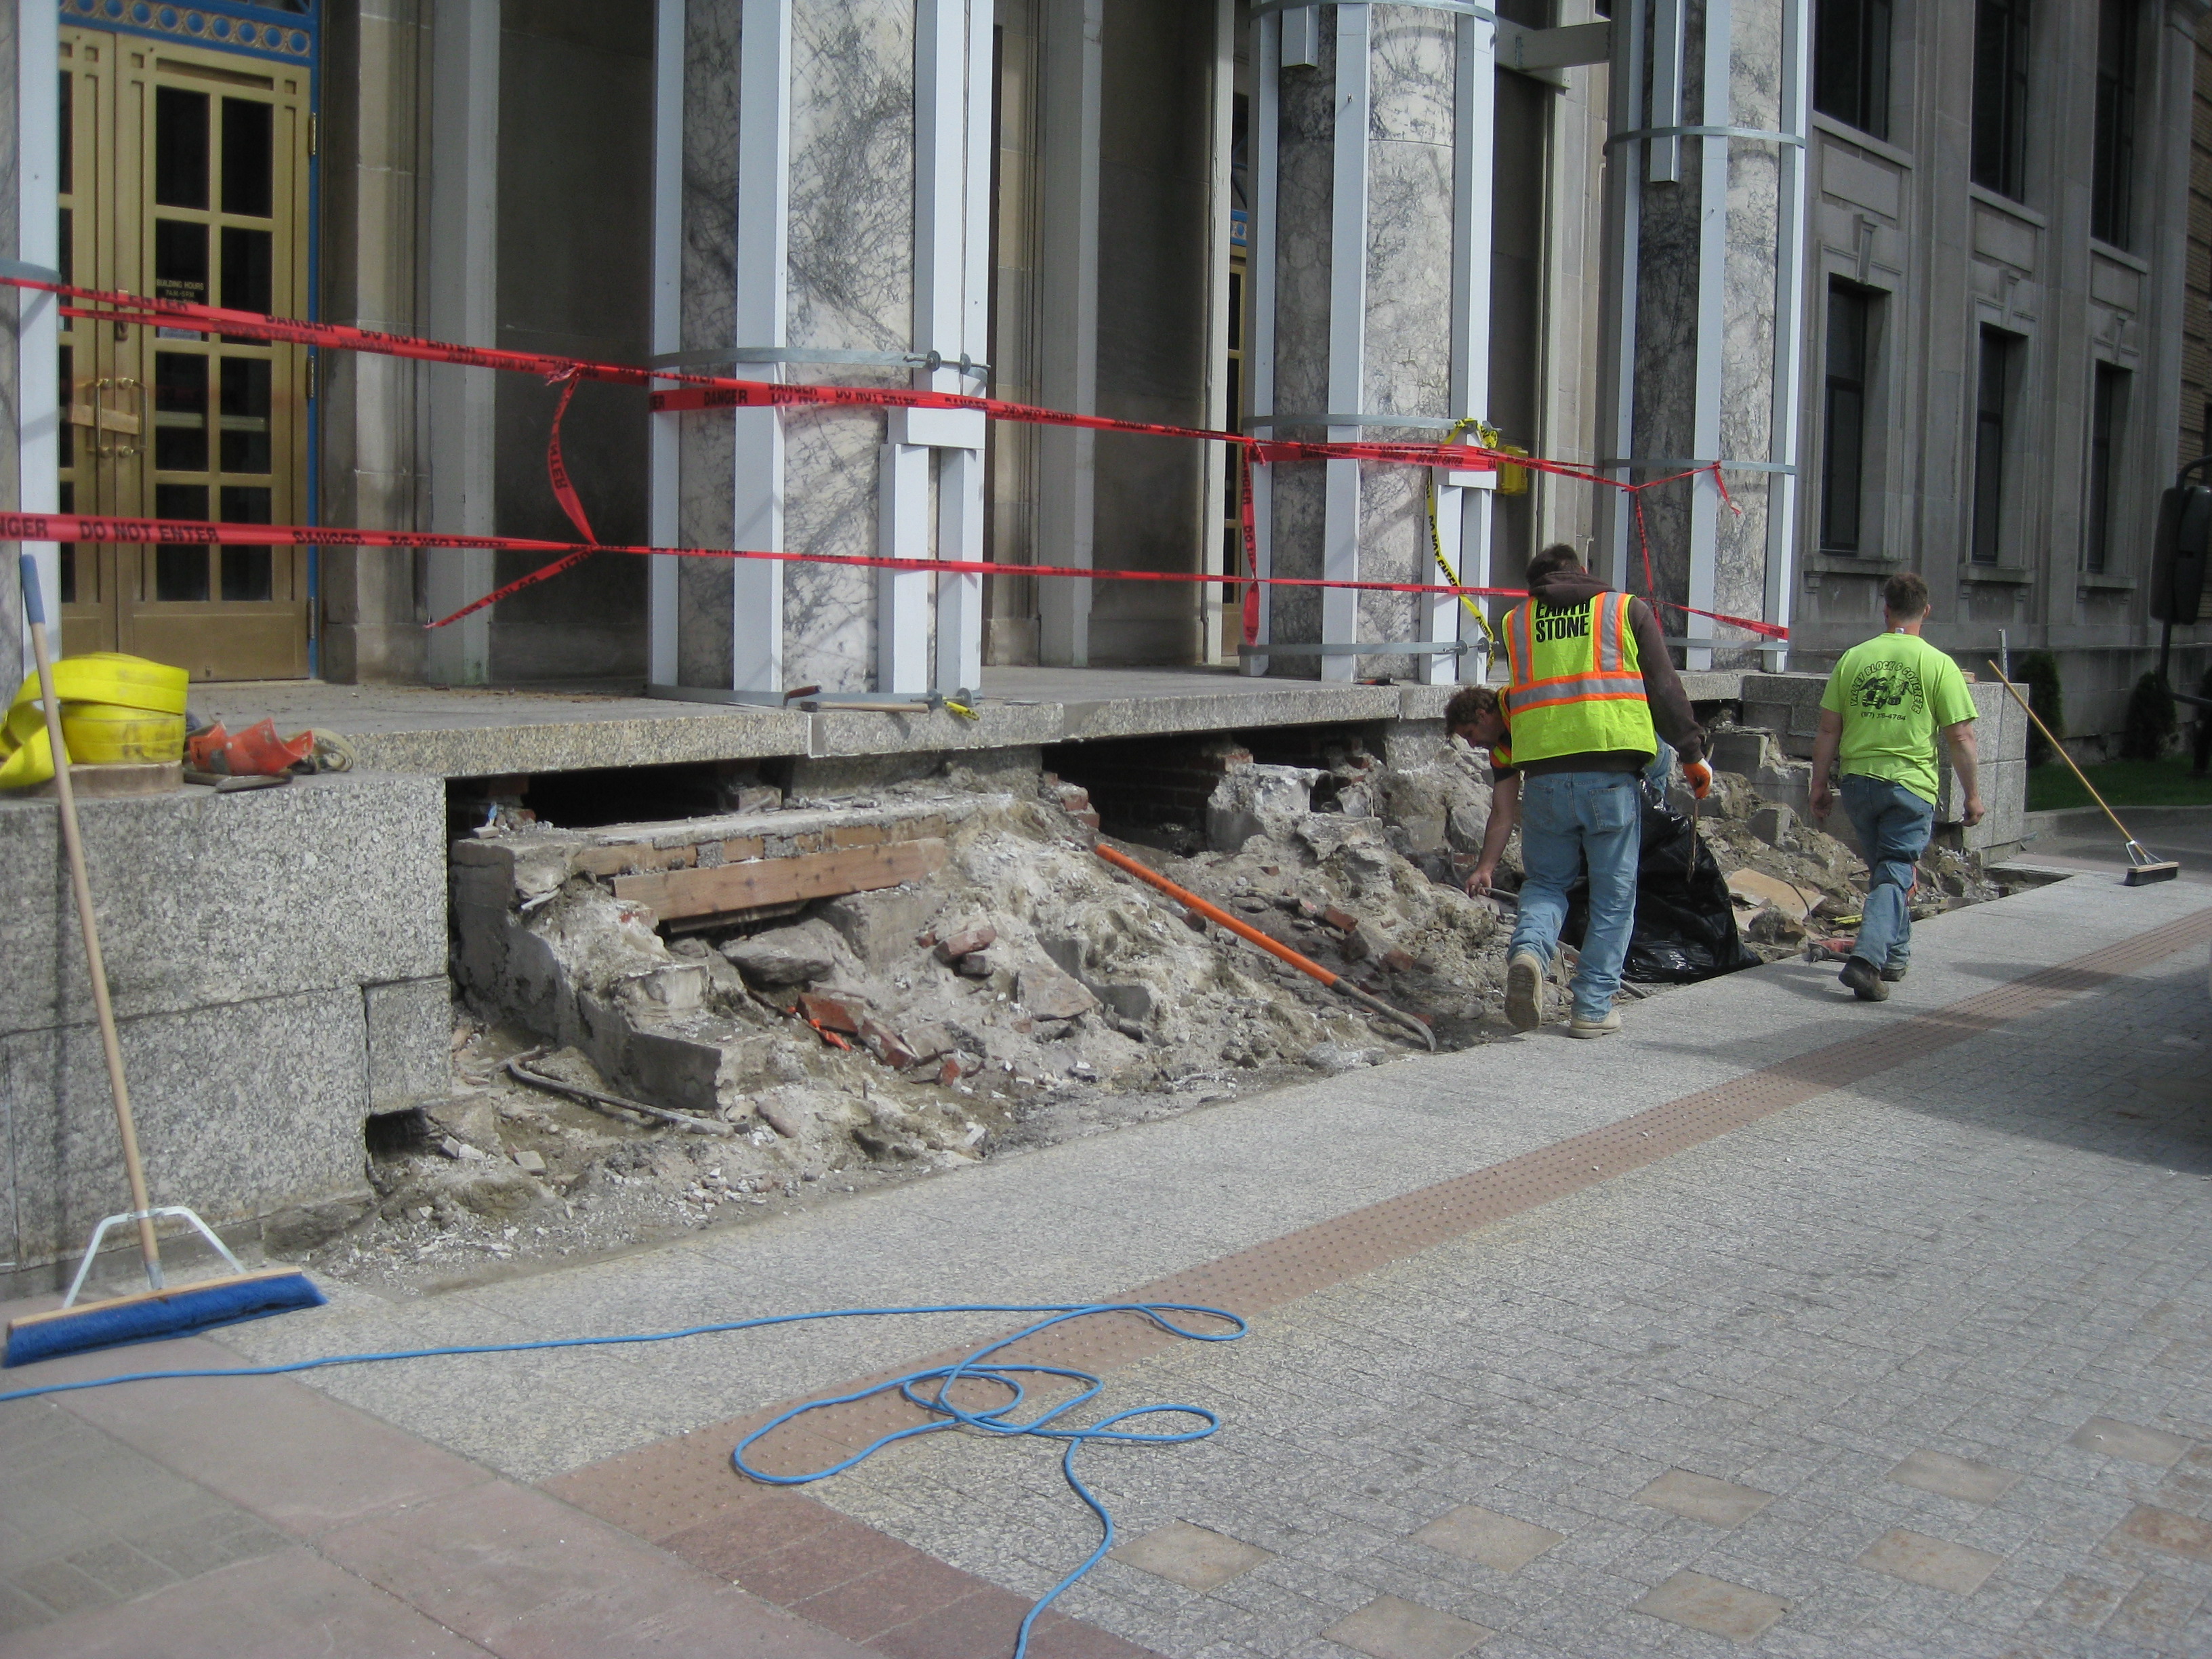
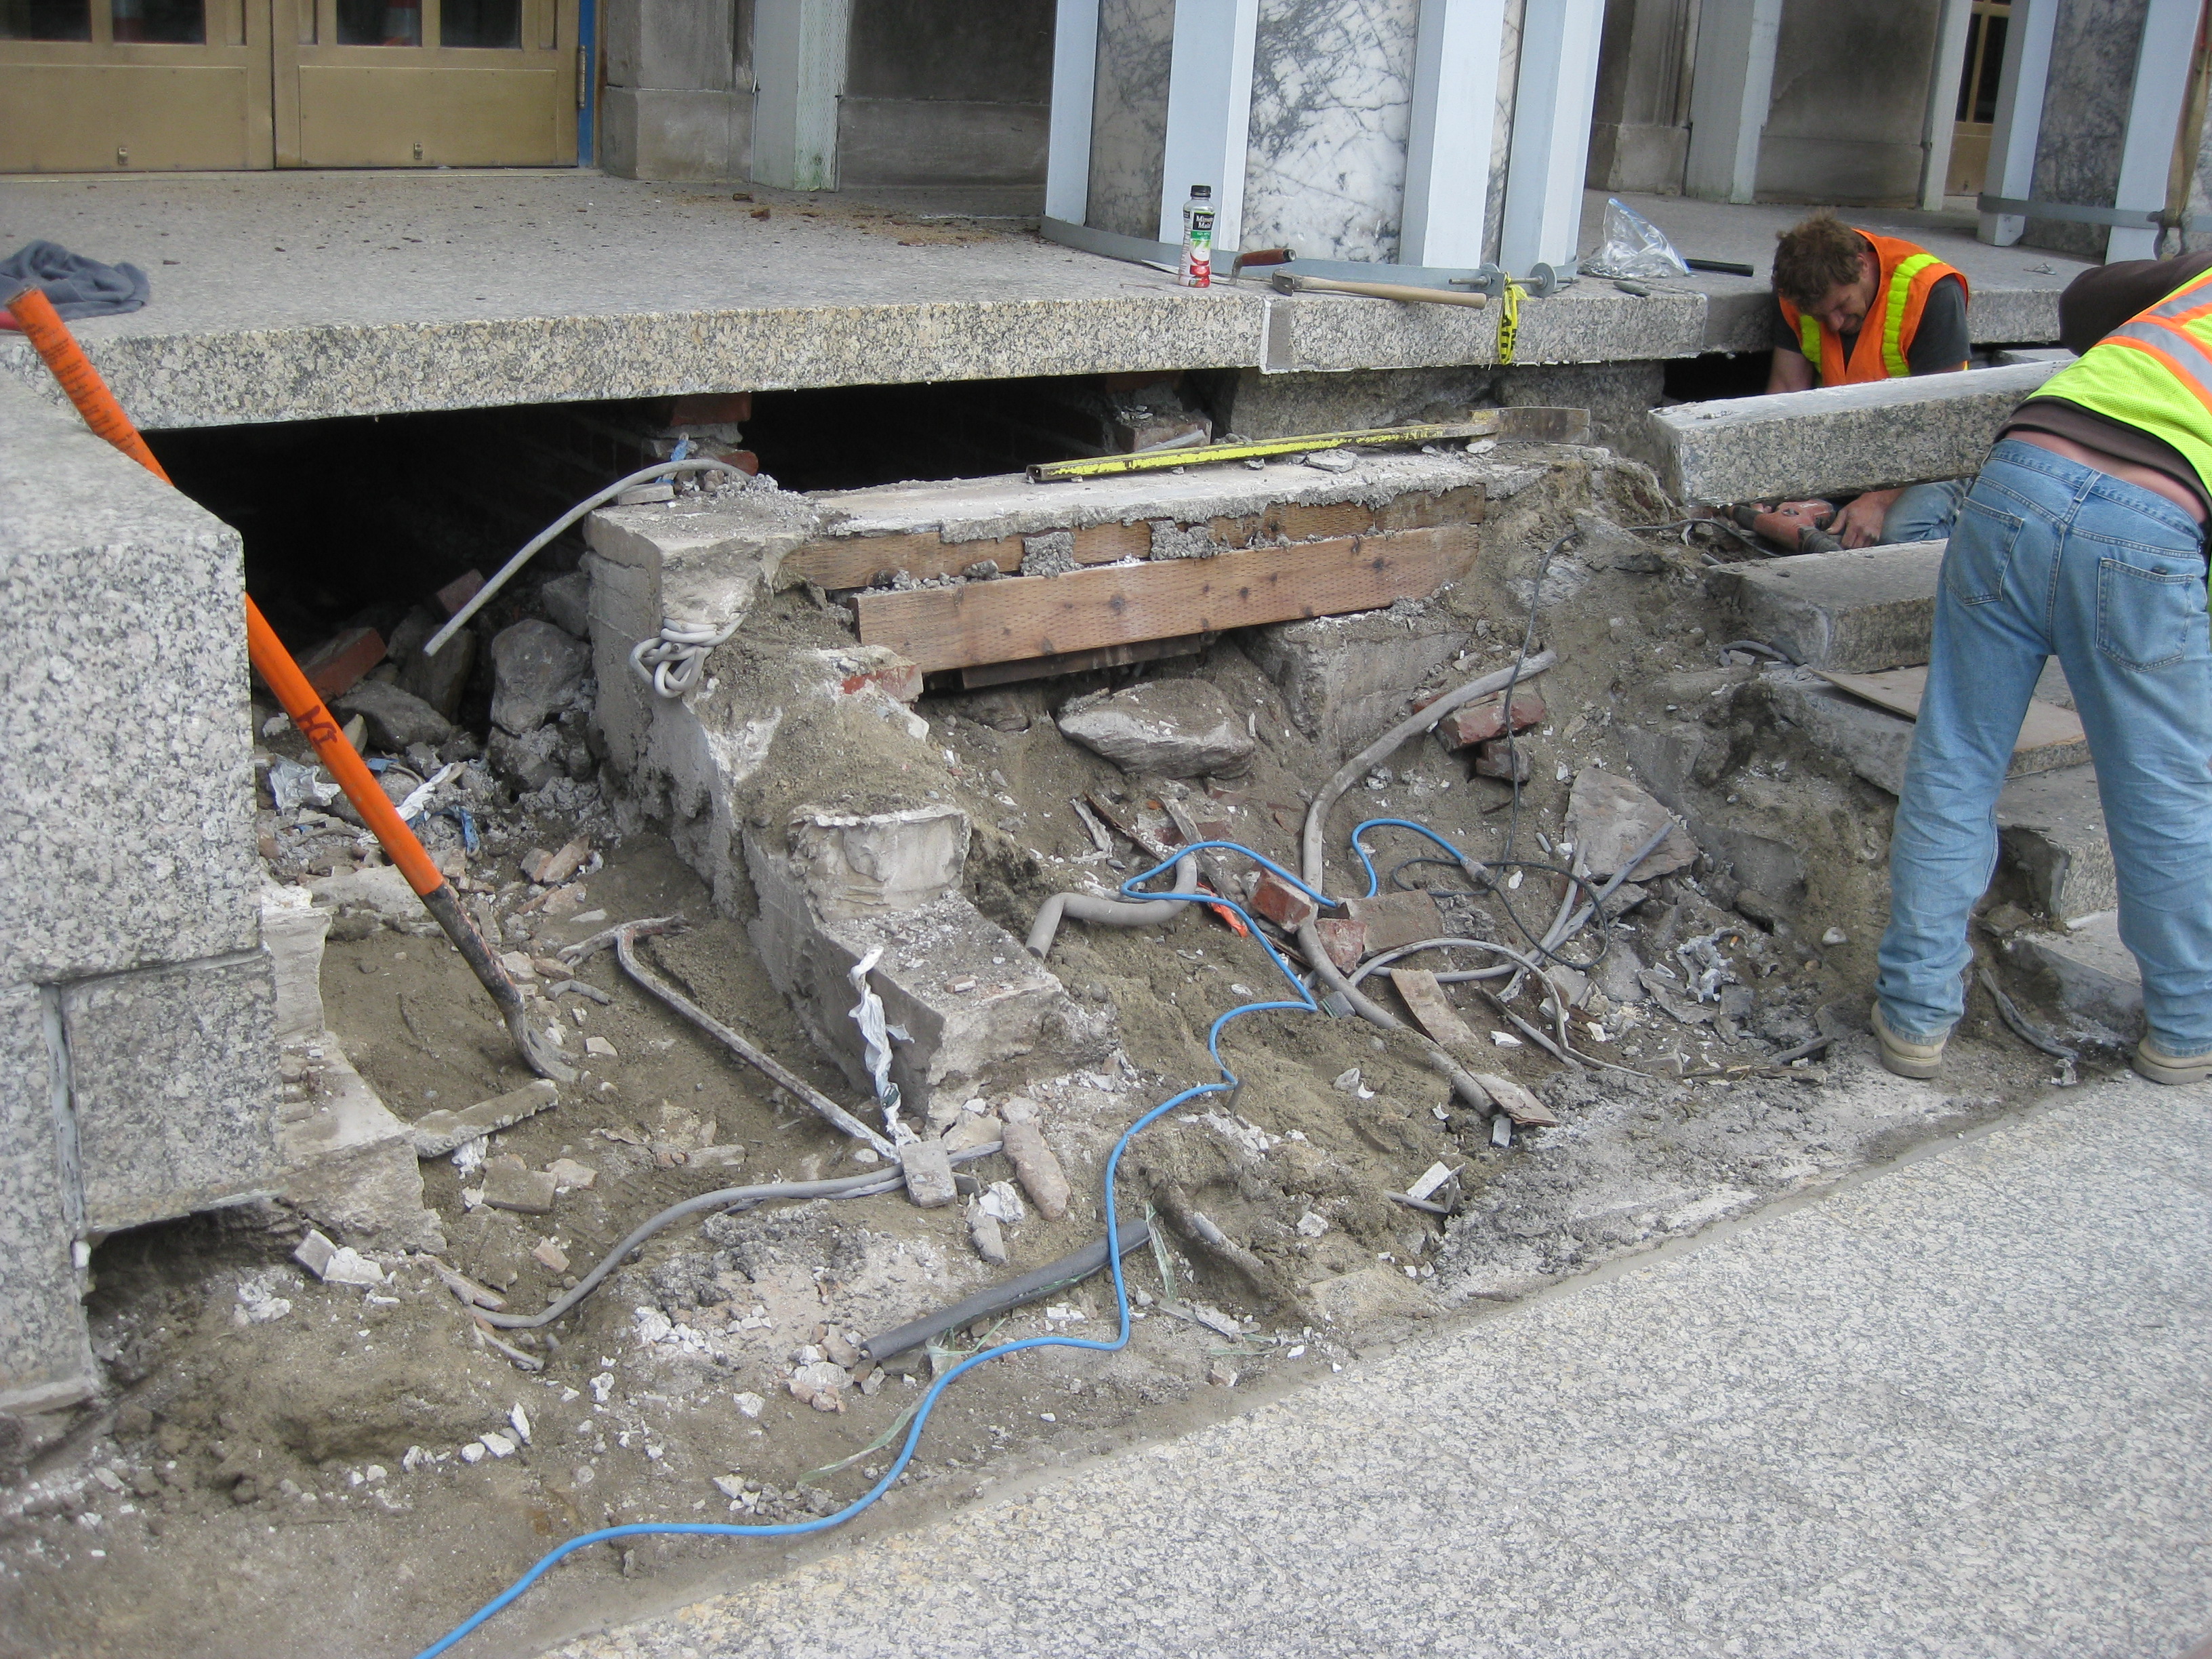
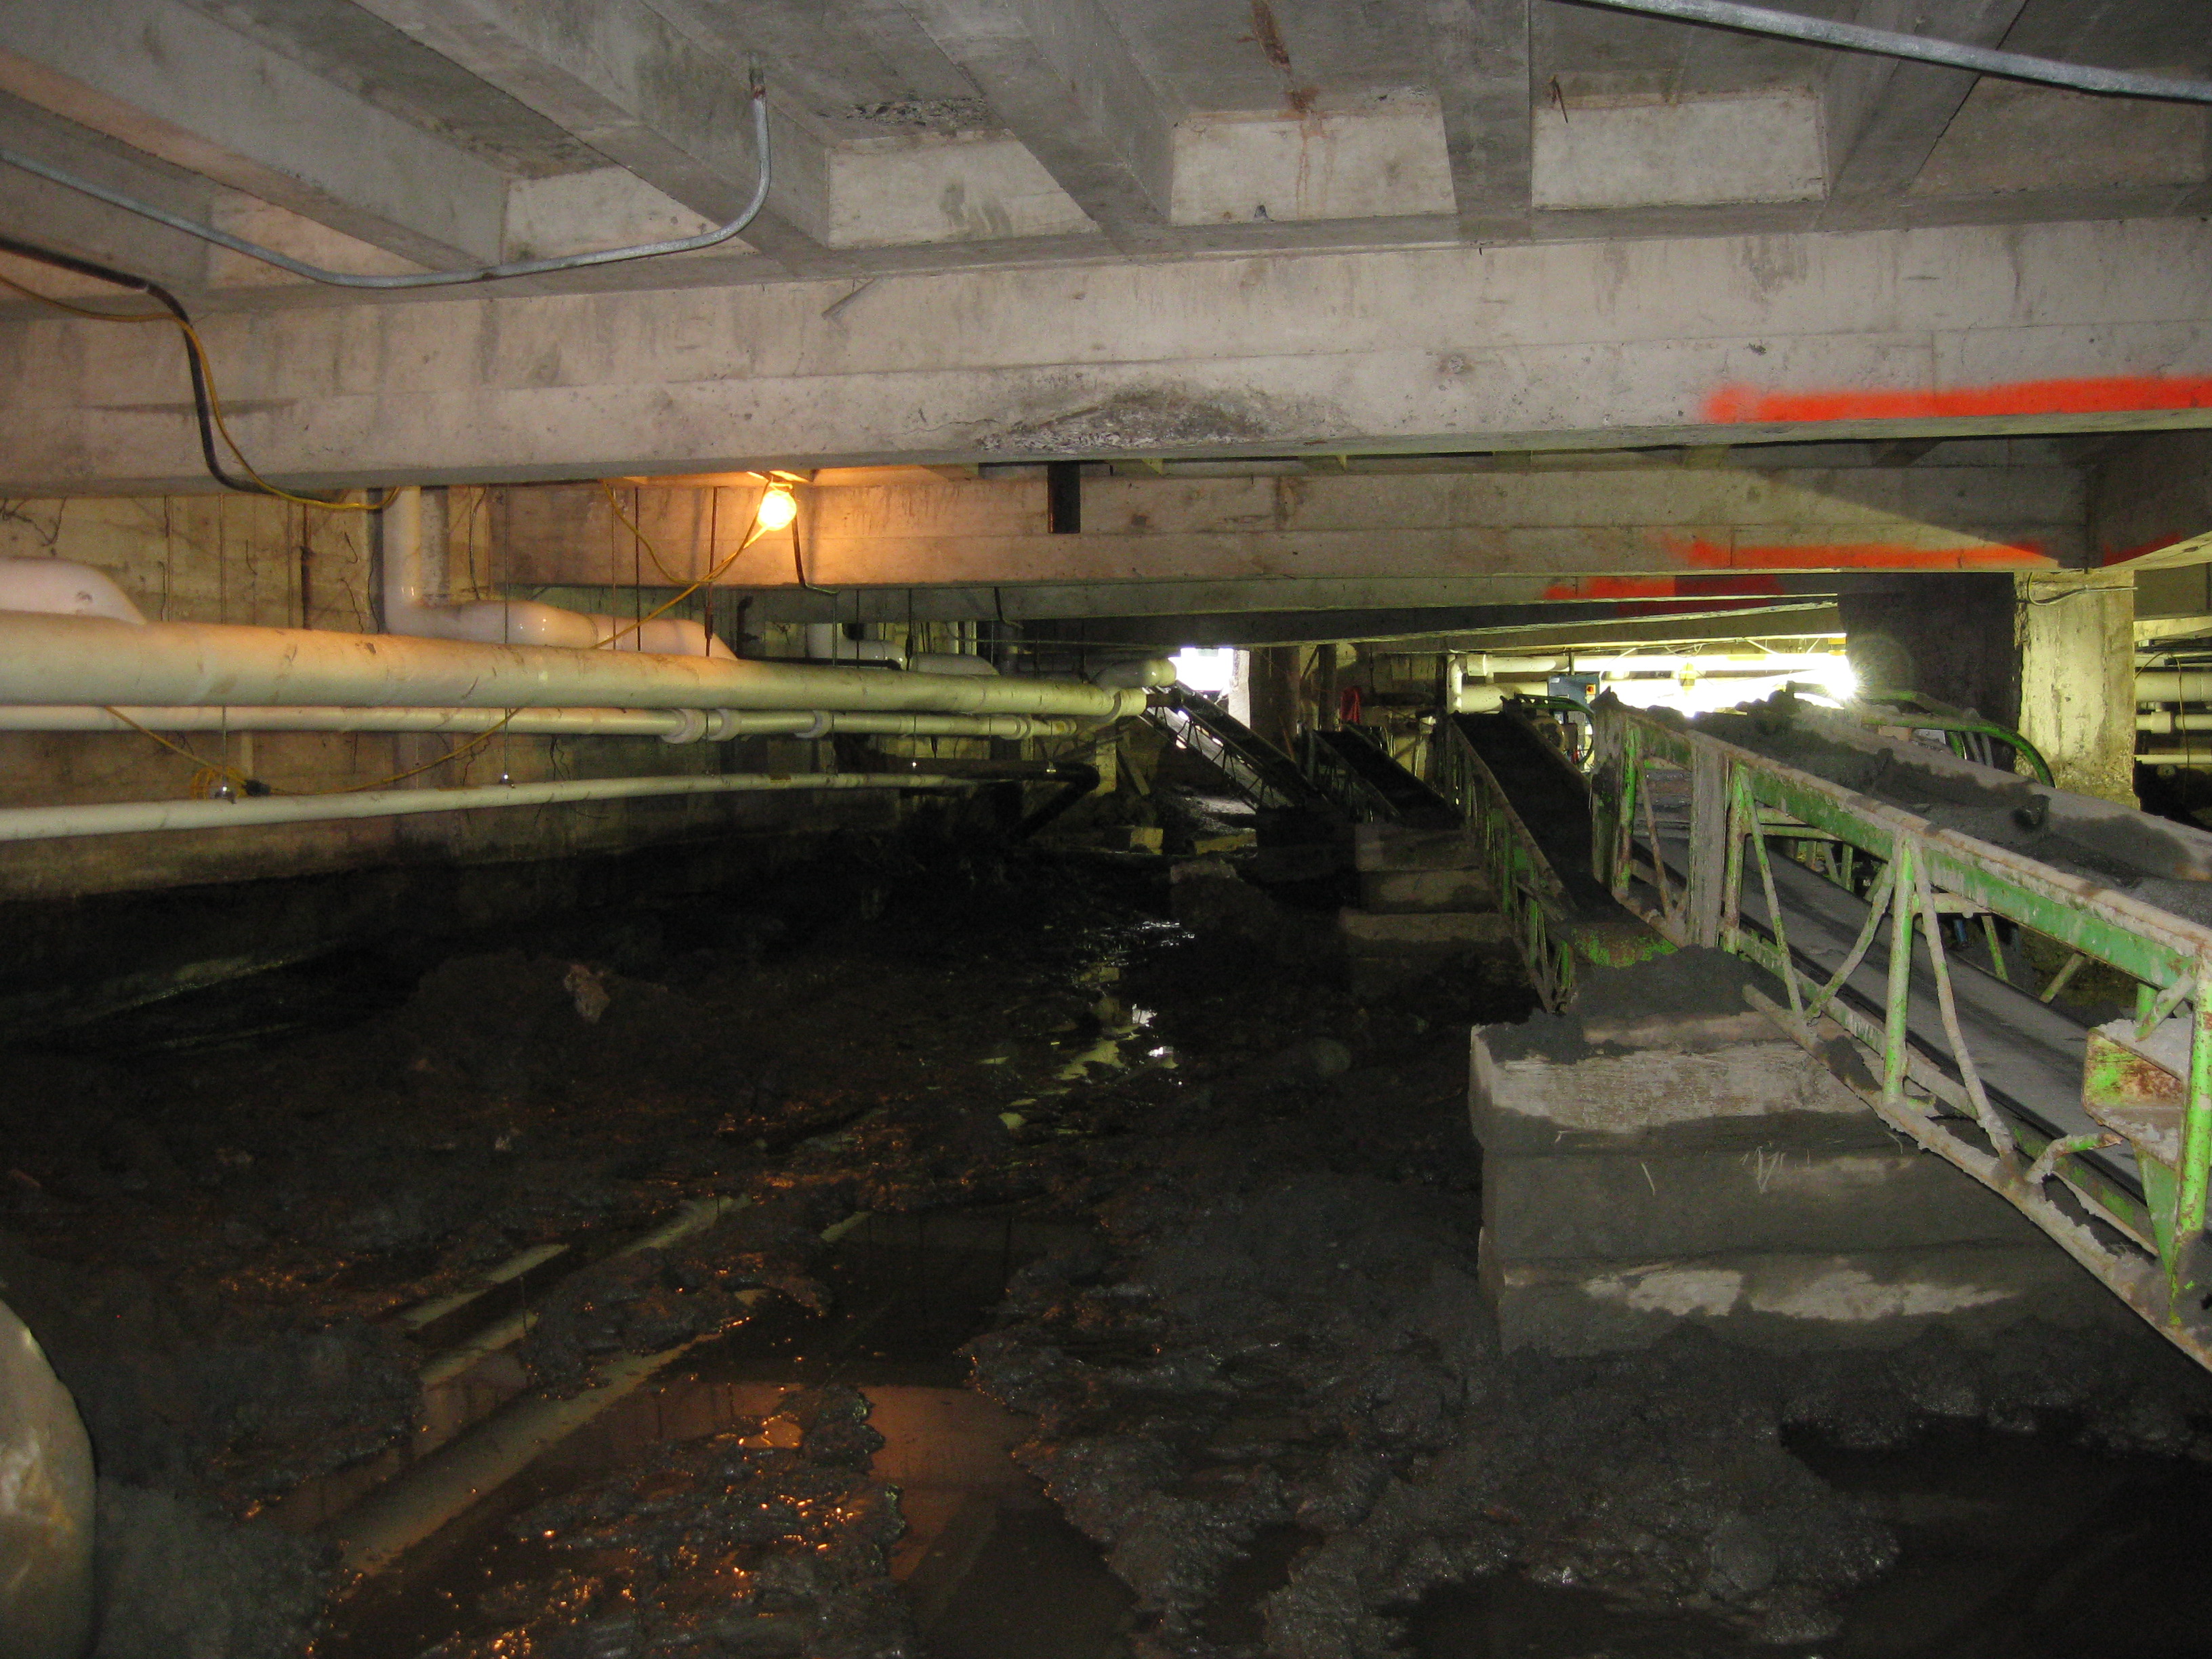
Excavation slowly continues under the building while demolition is
moving right along with the portico. Temporary steel ledger is in place,
portico balusters and blocks have been removed and brick cladding is now
being removed. 4th Street will be closed to traffic for the next two
weeks starting on Monday, June 24, 2013, for demolition to the portico slab and
sandstone cladding around the main entrance doors and windows.
|
| |
| Portico corner stone removal | Overhead view of work area | |
|
|
|
| Portico railing blocks | Portico slab, railing removed, brick cladding demo |
Update June 14, 2013
This week excavation is taking place in the crawl space. As of yesterday four truckloads of soil have been hauled away
equating to one truck per day far below their estimated six per day. The
Project Manager brought up the subject at yesterday's meeting and
talked with the General Contractor about it. They are aware and plan to step things up with additional equipment.
The shoring, work platform and safety railing is all in place at the portico. Some brick demo was performed to expose the
concrete columns for installation of steel brackets. A saw cut into the brickwork was made for the steel angle iron.
A steel beam/ledger will be installed onto brackets to support upper brick while lower brick, portico and sandstone
cladding is removed. The steel ledger will remain in place until Phase II at which point it will be removed during cladding
demolition.
Preliminary demolition has been performed to the sandstone railing/balusters. Major demo to the portico should begin on
Wednesday, June 19, 2013, and take approximately one week. Excavation will continue in the crawl space until the predetermined
amount has been removed.
|
|
| Mini excavator, conveyer belt and worker in crawl space | Conveyer belt and other misc equipment in crawl space |
|
|
| Portico roof, steel brackets, saw cut at exterior lounge wall |
Steel angle iron installed in saw cut and bracket. Steel ledger/beam will be installed between the two |
Update June 10, 2013
Metal shoring assembly/installation. Conveyer belt is due for delivery and installation today and
excavation set for tomorrow. Starting tomorrow morning the daycare pick up/drop off area will be relocated to the upper
half of the Seward Street loading zone. The lower portion will be designated for contractor use for trucks and
equipment to remove, load and haul away the excavated soil and debris.
Update June 7, 2013
Arete Construction removed cornerstone and excavated the soil (corner of 4th and Seward) to expose the footing and foundation. Core
drilling and concrete cutting was performed to create access in and out of
the crawl space. Portico granite slabs were
shored up with timbers in preparation for metal shoring above. Metal shoring delivered to site and shoring
installation begins.
Update May 31, 2013
The architects and project director met at the Capitol portico stairs to investigate the quality of the concrete
foundations under the columns and stair stringers. It appears that the initial concrete pour up to about two feet below
the ground floor and the concrete in the sub stringers is sound. There are some unexplained cracks and cold joints
between pours that may need repair.
The architects recommend core drilling into the brick and mortar between the top of the column piers and the granite
block supporting the columns to determine if the brick and mortar is continuous and its condition.
Hendricksen Construction, a subcontractor, probed alongside the landing slab using a #6 rebar and a jack hammer and
reached resistance about 13 feet below grade which is consistent with the original drawing 400-E which shows a
continuous footing under the portico at approximate elevation 59.0 (approximately 17 feet below ground floor).
The architects instructed the contractor to shore the granite landing and remove all the brick and loose and
deteriorated concrete and mortar while we determine how best to re-construct the supports.